Get 20% OFF All Premium 3D & STL Models!

“`html
The allure of 3D printing lies in its ability to transform digital designs into tangible objects. For automotive enthusiasts and model makers, this means bringing dream cars to life with stunning detail. However, the inherent layer-by-layer process of 3D printing can often result in noticeable ridges and a less-than-perfect surface finish, especially when working with intricate designs from platforms like 88cars3d.com. This comprehensive guide delves into the techniques and best practices for achieving exceptionally smooth surfaces on your 3D printed car models. We’ll cover everything from initial STL file preparation and optimal printer settings to advanced post-processing methods, ensuring your miniature marvels boast a showroom-worthy finish. Whether you’re a seasoned pro or just starting your 3D printing journey, this article provides the knowledge and practical steps needed to elevate your models to the next level.
The journey to a smooth 3D printed car model begins long before the printing process itself. The STL (Stereolithography) file format, the standard for 3D printing, plays a crucial role. Understanding its structure and potential limitations is paramount. STL files represent a 3D object as a collection of interconnected triangles. The density of these triangles directly affects the smoothness of curved surfaces. A low triangle count results in a faceted appearance, while a high count creates a smoother, more refined surface. This is especially critical when working with detailed automotive models that feature complex curves and intricate details.
When downloading or creating STL files, always prioritize models with a high polygon count. While a high-resolution STL file can be larger in size, the improved surface definition translates to a smoother printed part. Platforms like 88cars3d.com typically offer models with optimized triangle counts, balancing detail with file size. However, it’s still essential to examine the model in a mesh editing software like Meshmixer or Blender before printing. Aim for a mesh density that accurately captures the curves and features of the car model without being excessively dense, which can strain your printer’s resources. A good starting point is to visually inspect the model at the closest distance you anticipate viewing the final print; if you can still distinguish individual facets, the resolution might be too low.
Even high-quality STL files can sometimes contain errors such as non-manifold edges, holes, or flipped normals. These errors can lead to print failures or imperfections in the final surface finish. Before slicing, it’s crucial to repair any mesh errors using software like Netfabb, Meshmixer, or even the built-in repair tools in your slicing software (Cura, PrusaSlicer). Netfabb offers advanced repair functionalities, automatically identifying and fixing a wide range of mesh issues. In Meshmixer, the “Make Solid” tool is invaluable for creating a watertight mesh, essential for successful 3D printing. Remember, a clean and error-free STL file is the foundation for a smooth and aesthetically pleasing 3D printed car model. Failing to repair these errors can lead to unexpected gaps, distorted surfaces, and overall reduced print quality.
Slicing is the process of converting the 3D model into a series of 2D layers that the 3D printer can understand. The slicing parameters you choose have a significant impact on the final surface finish. Experimentation is key to finding the optimal settings for your specific printer, filament, and model geometry.
Layer height is arguably the most critical parameter affecting surface smoothness. Smaller layer heights result in finer details and less visible layer lines, leading to a smoother surface. For car models, especially those with curved surfaces, a layer height between 0.08mm and 0.12mm is generally recommended. While smaller layer heights improve surface finish, they also increase print time significantly. For example, reducing the layer height from 0.2mm to 0.1mm can double the printing time. Therefore, it’s essential to strike a balance between surface quality and print speed. Some printers support variable layer height, allowing you to use smaller layer heights for areas requiring high detail and larger layer heights for less critical sections. Experiment with adaptive layer height settings in Cura or PrusaSlicer to optimize both print time and surface quality.
Print speed also plays a crucial role in surface quality. Higher print speeds can lead to vibrations, inconsistent extrusion, and ultimately, a rougher surface finish. Reducing the print speed allows the printer to deposit material more accurately and consistently, resulting in smoother layers. For optimal surface quality, especially with intricate car models, consider reducing the print speed to 30-40 mm/s. Slower speeds also improve the adhesion between layers, reducing the likelihood of delamination and warping. Pay close attention to the first layer speed, as this is critical for bed adhesion. A slower first layer speed (e.g., 15-20 mm/s) ensures that the initial layer is firmly bonded to the build plate, providing a solid foundation for the rest of the print.
The type of filament you choose significantly affects the potential surface finish of your 3D printed car model. Different materials have varying properties, including shrinkage rates, temperature requirements, and surface textures. Selecting the right material is crucial for achieving the desired level of smoothness and detail.
PLA (Polylactic Acid) is a popular choice for beginners due to its ease of use, low printing temperature, and minimal warping. It generally produces a decent surface finish, but it’s less heat-resistant than other materials. ABS (Acrylonitrile Butadiene Styrene) offers higher heat resistance and durability, making it suitable for functional parts. However, ABS is more prone to warping and requires a heated bed and enclosure for optimal results. PETG (Polyethylene Terephthalate Glycol-modified) is a good compromise between PLA and ABS, offering a balance of ease of use, strength, and heat resistance. PETG typically produces a smoother surface finish than ABS and is less prone to warping than ABS but more so than PLA. For car models intended for display and not subjected to high temperatures, PLA or PETG are generally preferred due to their ease of printing and potential for smoother surfaces. If functional prototypes or parts requiring heat resistance are needed, ABS becomes a more suitable option, albeit with more challenges in achieving a perfectly smooth finish.
For the ultimate in surface smoothness and detail, resin printing (SLA/DLP/LCD) is the preferred choice. Resin printers use liquid photopolymer resin that is cured by UV light, resulting in incredibly fine layers and virtually invisible layer lines. Resin printing is particularly well-suited for intricate car models with complex geometries and fine details. The layer heights in resin printing can be as low as 0.025mm, producing surfaces that are significantly smoother than those achievable with FDM printing. However, resin printing also has its drawbacks. Resin printers tend to be more expensive than FDM printers, and the resin itself is often more costly. Resin printing also requires post-processing, including washing and curing, to remove uncured resin and fully harden the part. Despite these challenges, the exceptional surface finish and detail achievable with resin printing make it an ideal choice for creating high-quality, visually stunning 3D printed car models. When sourcing models for resin printing, ensure they are optimized for the process. Platforms like 88cars3d.com may indicate which models are particularly suitable for resin printing, taking into account the finer details and support structures required.
Support structures are often necessary to 3D print overhangs and complex geometries. However, the interface between the support structures and the model surface can sometimes leave blemishes or imperfections. Careful consideration of support generation and removal techniques is crucial for maintaining a smooth surface finish.
Different slicing software offers various support patterns, such as linear, grid, and tree supports. Tree supports are often preferred for car models as they minimize the contact area with the model surface, reducing the risk of blemishes. The support density also affects the surface finish. Higher support densities provide more stability but can be more difficult to remove and may leave more noticeable marks. Experiment with different support densities to find a balance between stability and ease of removal. A good starting point is a support density of 15-20%. Also, consider the support interface settings. Adjusting the support Z distance (the gap between the support and the model) can significantly impact the ease of support removal and the resulting surface finish. A slightly larger Z distance (e.g., 0.2mm) makes the supports easier to remove but may result in slightly less support for the overhangs.
Removing support structures carefully is essential to avoid damaging the model surface. Use specialized tools like needle-nose pliers, flush cutters, and hobby knives to gently detach the supports. Avoid pulling or yanking the supports, as this can cause chipping or cracking. After removing the supports, you may need to perform some post-processing to smooth out any blemishes or imperfections. Sanding with progressively finer grits of sandpaper (e.g., 220, 400, 600, 800 grit) can help to blend the support scars into the surrounding surface. For more significant imperfections, you can use a filler primer to fill in the gaps and then sand smooth. Wet sanding can also help to achieve a smoother finish. Remember to wear appropriate safety gear, such as a dust mask, when sanding 3D printed parts. For resin prints, support removal is often easier due to the material’s inherent properties. However, careful post-curing is essential to ensure the surface is fully hardened and resistant to scratches.
Even with optimized printing parameters and careful support removal, some post-processing is usually necessary to achieve a truly smooth and polished surface on your 3D printed car model. Post-processing techniques can range from simple sanding and polishing to more advanced methods like applying coatings or vapor smoothing.
Sanding is the most common post-processing technique for smoothing 3D printed surfaces. Start with a coarser grit sandpaper (e.g., 220 grit) to remove any major imperfections and then gradually move to finer grits (e.g., 400, 600, 800, 1000 grit) to achieve a smooth surface. Wet sanding can help to prevent the sandpaper from clogging and create a smoother finish. After sanding, apply a filler primer to fill in any remaining gaps or imperfections. Sand the primer smooth and then apply multiple thin coats of paint. Automotive-grade paints offer excellent coverage and durability. Consider using an airbrush for a more even and professional finish. Clear coating the painted model will protect the paint and add a glossy sheen. Remember to allow each coat of paint and primer to fully dry before applying the next. Proper preparation and patience are key to achieving a flawless paint job.
For ABS prints, vapor smoothing can be used to significantly reduce layer lines and create a remarkably smooth surface. Vapor smoothing involves exposing the printed part to acetone vapor, which melts the surface of the plastic and blends the layers together. This technique requires caution as acetone is flammable and can be hazardous. Use a dedicated vapor smoothing chamber and follow safety precautions carefully. Epoxy coating is another advanced technique that can be used to create a smooth and durable finish. Epoxy resin is applied to the surface of the printed part, filling in any gaps or imperfections. After the epoxy cures, it can be sanded and polished to a high gloss. Epoxy coating is particularly effective for large or complex models that are difficult to sand. Both vapor smoothing and epoxy coating require experience and specialized equipment but can produce exceptional results. Always research and understand the risks involved before attempting these advanced techniques.
Achieving consistently smooth surfaces on 3D printed car models requires a well-calibrated and properly maintained printer. Regular maintenance and calibration ensure that your printer is operating at its optimal performance, minimizing print defects and maximizing surface quality.
Proper bed leveling is crucial for ensuring that the first layer adheres evenly to the build plate. An uneven bed can lead to warping, poor adhesion, and inconsistent layer heights, all of which can negatively impact the surface finish. Use the printer’s built-in bed leveling features or manual bed leveling techniques to ensure that the bed is perfectly level. Z-offset calibration is also essential for setting the correct distance between the nozzle and the build plate. If the nozzle is too close to the bed, it can cause the first layer to be squished, resulting in a rough surface. If the nozzle is too far from the bed, the first layer may not adhere properly. Adjust the Z-offset until the first layer is smooth and even. Regularly check and adjust the bed leveling and Z-offset to maintain consistent print quality.
Accurate extruder calibration is essential for ensuring that the correct amount of filament is being extruded. Under-extrusion can lead to gaps and thin layers, while over-extrusion can result in blobs and uneven surfaces. Calibrate the extruder by measuring the amount of filament that is extruded and adjusting the E-steps value in the printer’s firmware. Proper filament management is also important. Keep your filament dry and free from dust and debris. Use a filament dryer or storage container to protect the filament from moisture. Moisture can cause the filament to swell and become brittle, leading to printing problems and reduced surface quality. Regularly clean the nozzle to prevent clogs and ensure consistent extrusion. Clogged nozzles can cause under-extrusion and lead to rough surfaces. A well-maintained extruder ensures consistent and accurate filament deposition, resulting in smoother and more consistent print results.
Achieving smooth surfaces on 3D printed car models requires a combination of careful planning, optimized printing parameters, and effective post-processing techniques. From selecting high-resolution STL files from sources like 88cars3d.com to meticulously sanding and painting the finished product, each step plays a crucial role in the final outcome. Remember that experimentation and patience are key to mastering the art of 3D printing. By understanding the principles outlined in this guide and applying them to your own projects, you can transform your 3D printed car models into miniature works of art. Take the time to experiment with different settings, materials, and techniques to discover what works best for your printer and your specific models. Embrace the learning process and don’t be afraid to try new things. With practice and dedication, you can consistently achieve stunning results and create 3D printed car models that are worthy of display. The tips and techniques described will help you to successfully print the models you find on marketplaces such as 88cars3d.com, giving you a great looking final product.
“`

Texture: Yes | Material: Yes
Download the highly detailed, game-ready Volkswagen Jetta GLI 2019 3D Model. Features an aggressive honeycomb grille with red accents, sleek aerodynamic profile, and exclusive GLI sport wheels. Includes .blend, .fbx, .obj, .glb, .stl, .ply, .unreal, and .max formats for game development, AR/VR, and rendering.
Price: $19.99
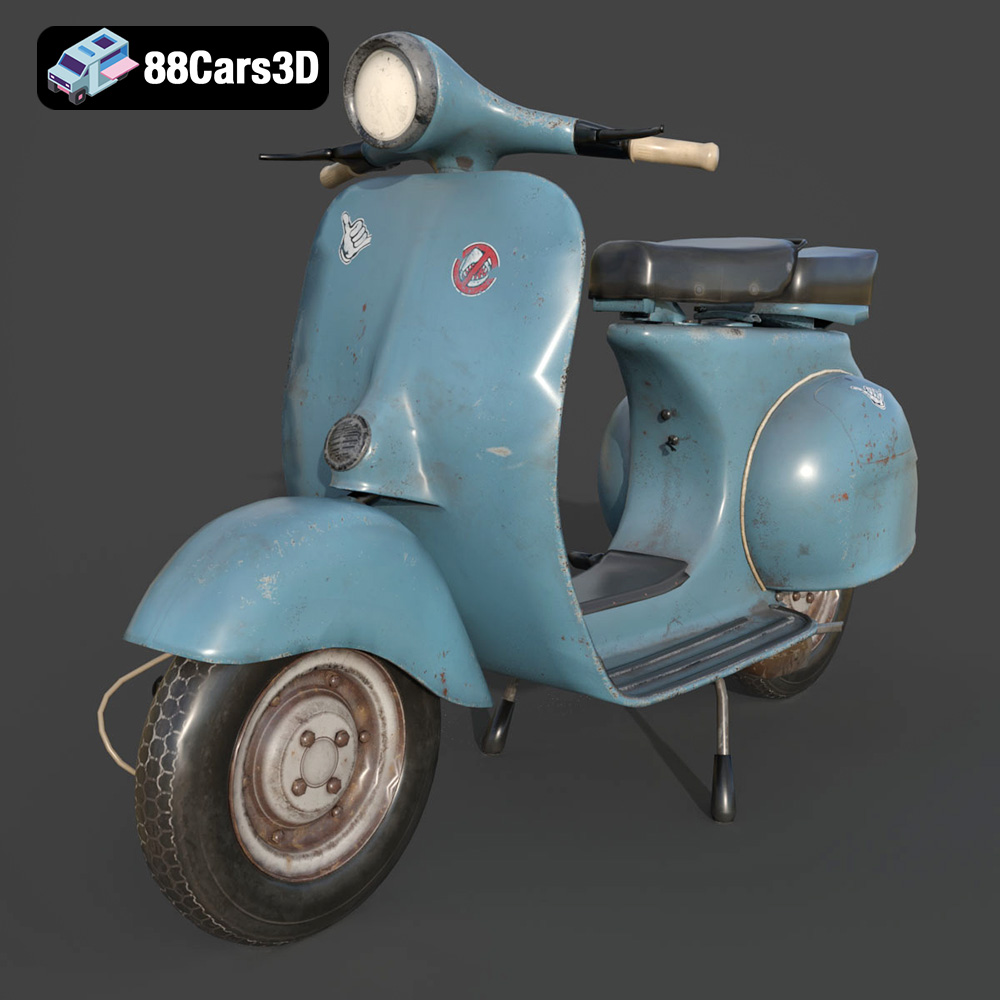
Texture: Yes | Material: Yes
Download the highly detailed, game-ready Vintage Vespa 3D Model. Features iconic rounded monocoque styling, classic saddle, and chrome accents. Includes .blend, .fbx, .obj, .glb, .stl, .ply, .unreal, and .max formats for game development, AR/VR, and rendering.
Price: $19.99

Texture: Yes | Material: Yes
Download the highly detailed, game-ready Vespa GS 150 3D Model. Features elegant aerodynamic curves, classic leg shield, and detailed engine casing. Includes .blend, .fbx, .obj, .glb, .stl, .ply, .unreal, and .max formats for game development, AR/VR, and rendering.
Price: $19.99
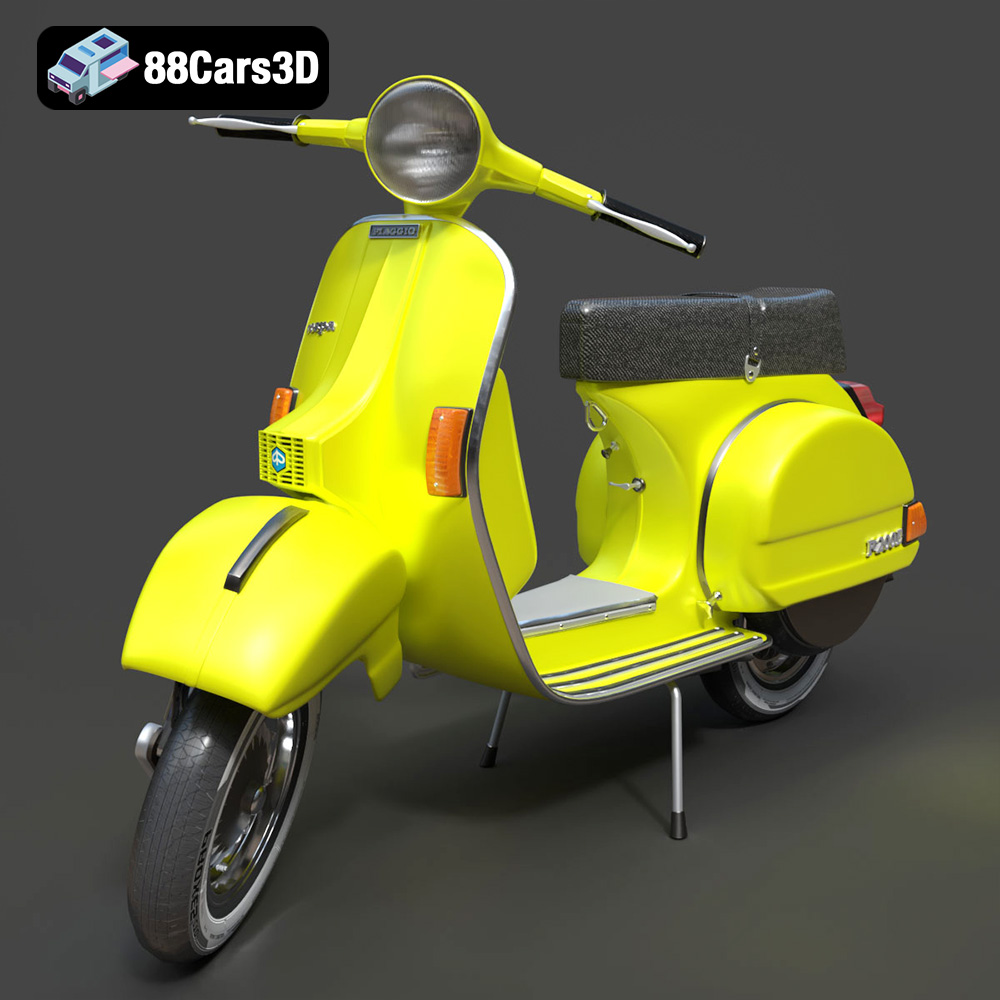
Texture: Yes | Material: Yes
Download the highly detailed, game-ready Vespa P200E 3D Model. Features classic vintage styling, accurate step-through frame geometry, and authentic detailing. Includes .blend, .fbx, .obj, .glb, .stl, .ply, .unreal, and .max formats for game development, AR/VR, and rendering.
Price: $19.99
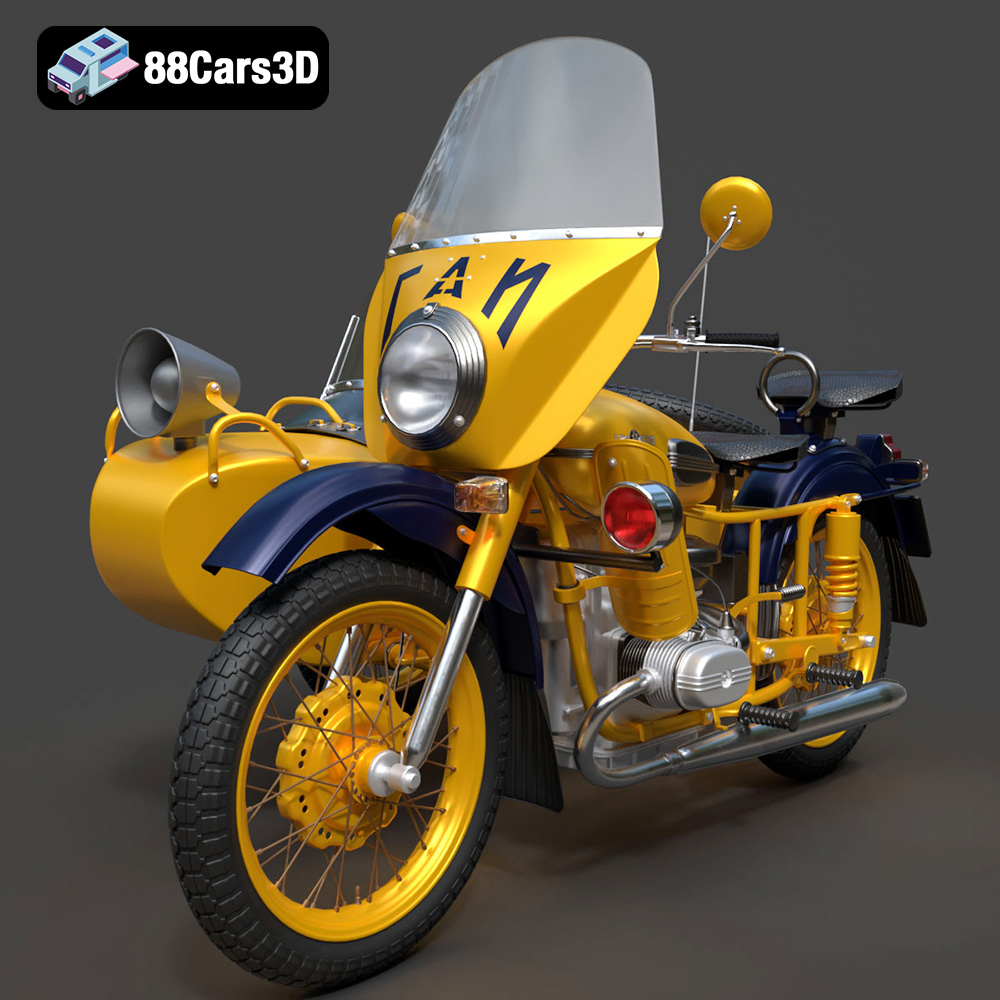
Texture: Yes | Material: Yes
Download the highly detailed, game-ready Ural M67-36-P 1976 3D Model. Features the iconic air-cooled boxer engine, vintage utilitarian styling, and authentic spoked wheels. Includes .blend, .fbx, .obj, .glb, .stl, .ply, .unreal, and .max formats for game development, AR/VR, and rendering.
Price: $19.99
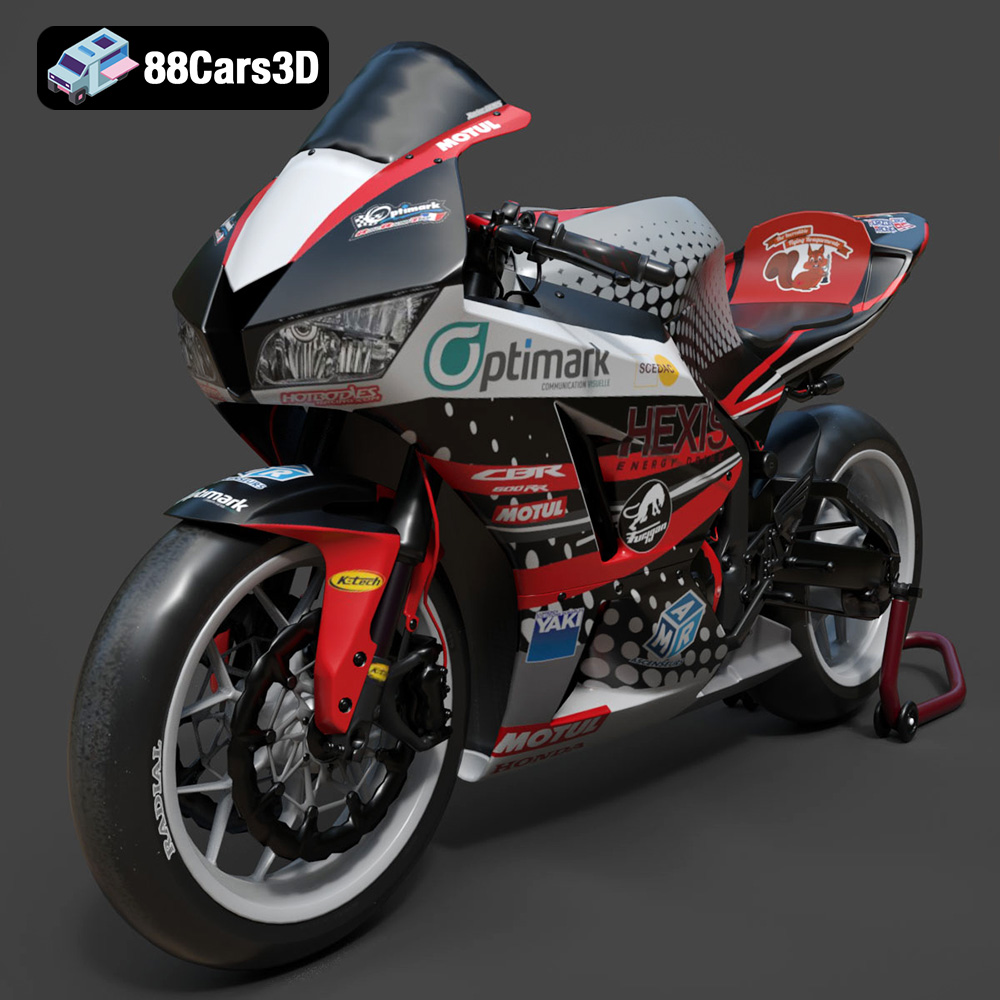
Texture: Yes | Material: Yes
Download the highly detailed, game-ready Honda CBR600RR 3D Model. Features aerodynamic fairings, an iconic center-up exhaust, and an aggressive track-focused stance. Includes .blend, .fbx, .obj, .glb, .stl, .ply, .unreal, and .max formats for game development, AR/VR, and rendering.
Price: $19.99
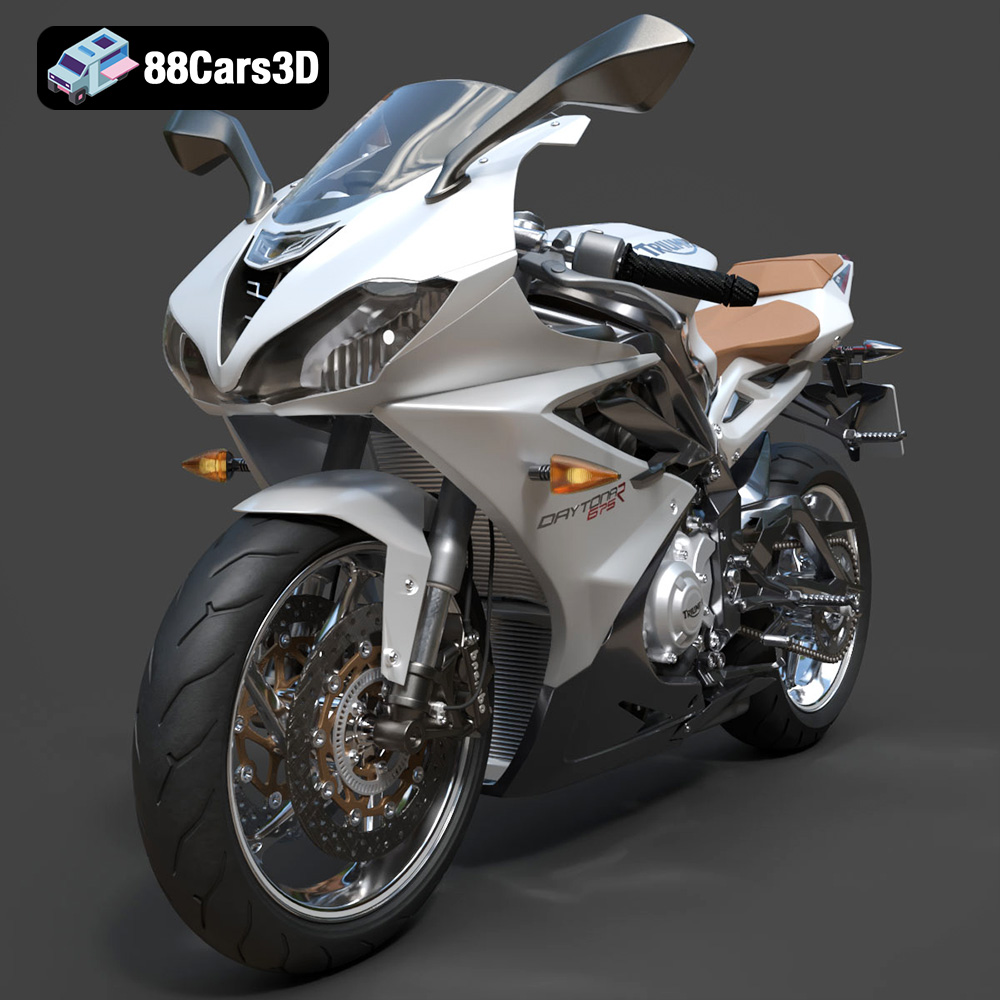
Texture: Yes | Material: Yes
Download the highly detailed, game-ready Triumph Daytona 675R ABS 2015 3D Model. Features aerodynamic sport fairings, a detailed inline-triple engine, and premium Öhlins suspension components. Includes .blend, .fbx, .obj, .glb, .stl, .ply, .unreal, and .max formats for game development, AR/VR, and rendering.
Price: $19.99

Texture: Yes | Material: Yes
Download the highly detailed, game-ready Toyota Tacoma TRD Off-Road 2016 3D Model. Features a rugged exterior, TRD off-road suspension details, and a meticulously crafted interior. Includes .blend, .fbx, .obj, .glb, .stl, .ply, .unreal, and .max formats for game development, AR/VR, and rendering.
Price: $19.99

Texture: Yes | Material: Yes
Download the highly detailed, game-ready Toyota Supra 2020 3D Model. Features aggressive aerodynamic styling, a distinctive double-bubble roof, and accurate B58 engine components. Includes .blend, .fbx, .obj, .glb, .stl, .ply, .unreal, and .max formats for game development, AR/VR, and rendering.
Price: $19.99

Texture: Yes | Material: Yes
Download the highly detailed, game-ready Toyota RAV4 LE 2019 3D Model. Features rugged exterior styling, signature polygonal motif, and a detailed interior. Includes .blend, .fbx, .obj, .glb, .stl, .ply, .unreal, and .max formats for game development, AR/VR, and rendering.
Price: $19.99

