Get 20% OFF All Premium 3D & STL Models!

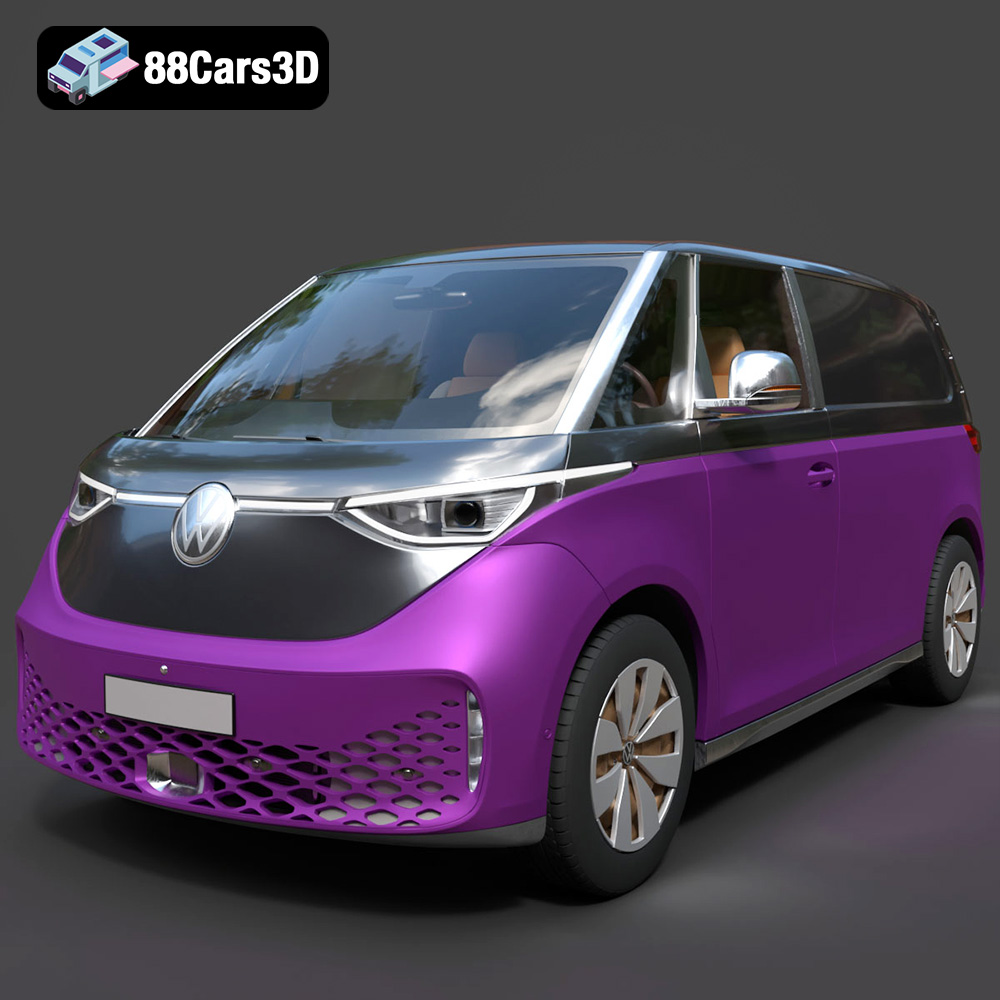
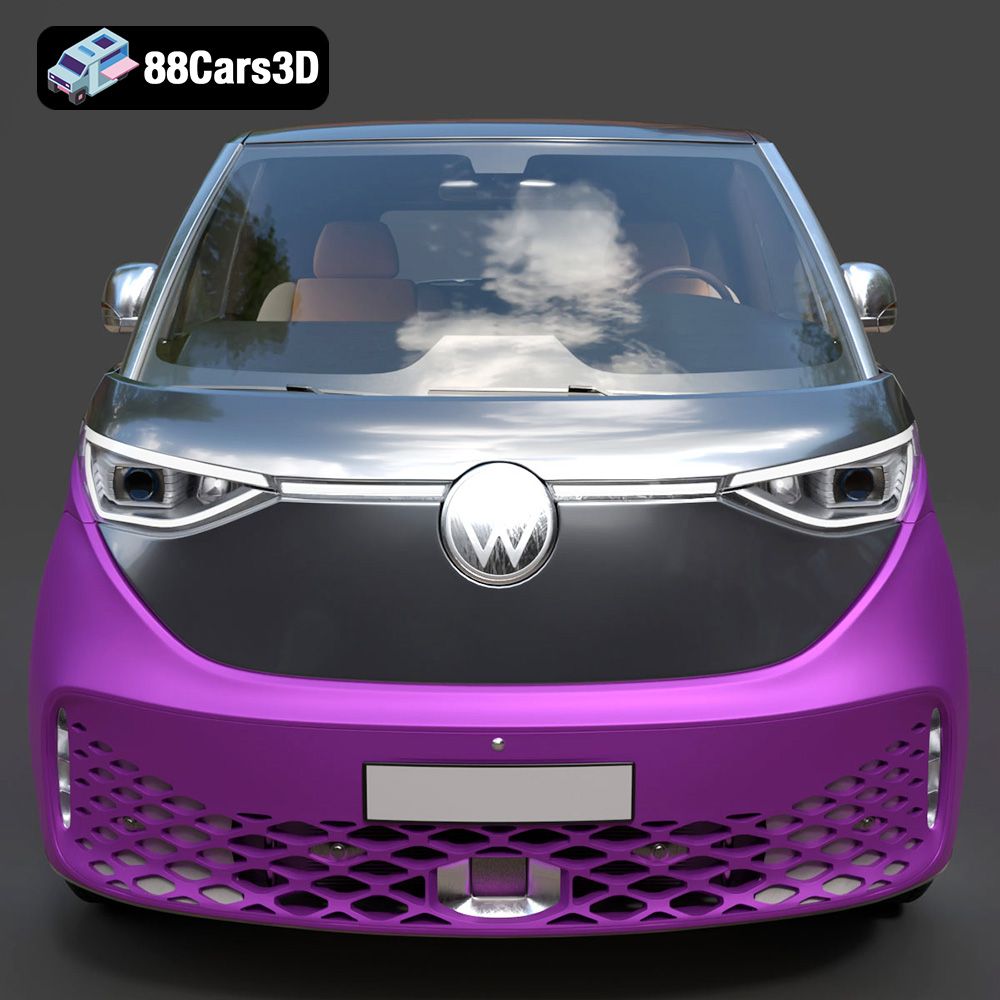
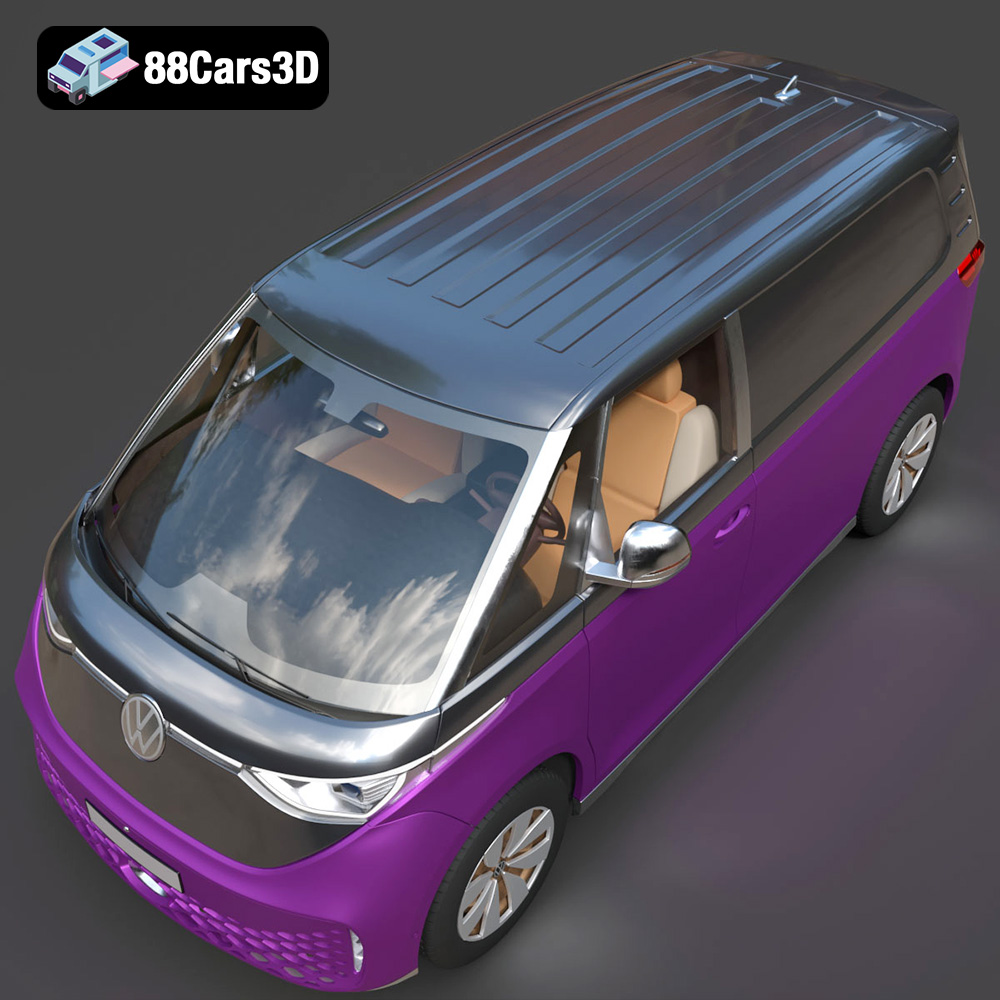
The Volkswagen ID. Buzz Cargo 2023 is more than just a vehicle; it’s an icon of modern electric mobility. Owning a detailed replica, brought to life through the magic of 3D printing, is a fantastic project for hobbyists and enthusiasts alike. This guide provides a comprehensive overview of how to successfully 3D print the Volkswagen ID. Buzz Cargo 2023 3D model, focusing on optimal settings, materials, and post-processing techniques. Whether you’re a seasoned 3D printing expert or just starting out, this article will equip you with the knowledge to create a stunning 3D printed version of this iconic electric van. The detailed STL files available from 88cars3d.com make this project accessible to anyone with a 3D printer.
Before diving into the specifics of printing the Volkswagen ID. Buzz Cargo, it’s crucial to understand the different 3D model file formats and their suitability for additive manufacturing. The model comes with a variety of formats, but some are more appropriate than others for 3D printing purposes.
The .stl (Stereolithography) format is the undisputed industry standard for 3D printing. It represents the surface geometry of a 3D object as a collection of triangles. This simplicity makes it highly compatible with virtually all 3D printers and slicing software. However, the .stl format only stores the mesh data, meaning it doesn’t contain any information about color, texture, or materials.
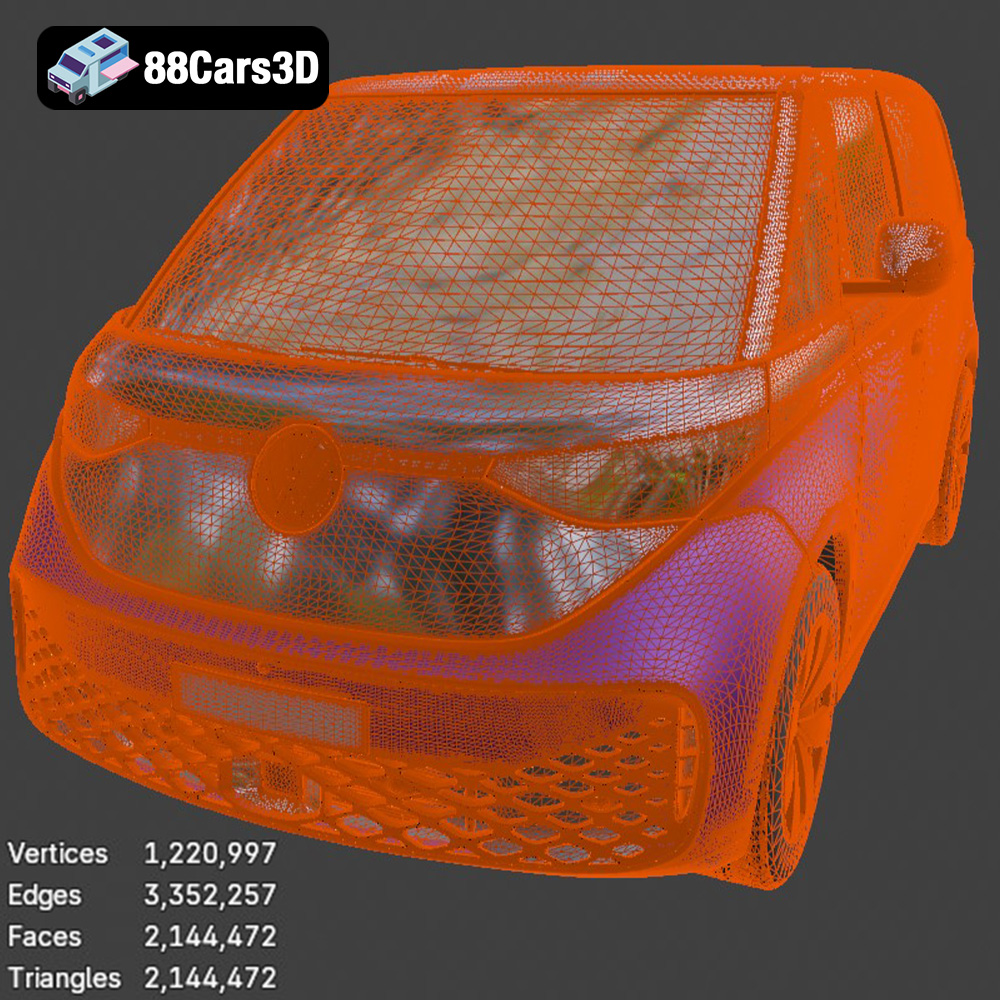
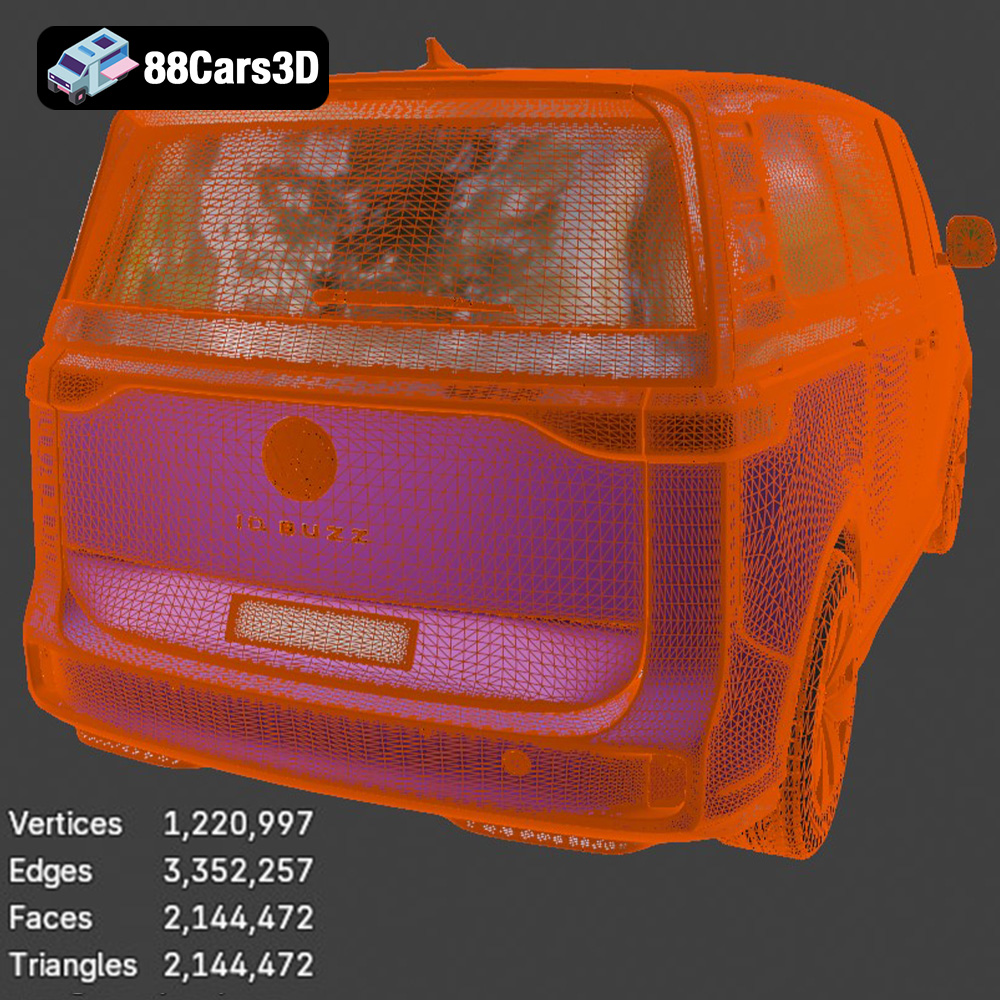
For 3D printing, the .stl format is ideal because slicing software primarily focuses on converting the mesh into layers that the printer can then build. The quality of the .stl file directly impacts the final print. A poorly generated .stl with large, poorly shaped triangles can result in a faceted or blocky print, especially on curved surfaces. Ensure the .stl file for the Volkswagen ID. Buzz Cargo is generated with sufficient resolution to capture the vehicle’s smooth lines and intricate details. Check for any errors in the mesh like non-manifold edges, flipped normals, or holes. Many free software tools exist to repair and optimize .stl files before printing.
The .obj (Wavefront Object) format is another widely used format for 3D models. Unlike .stl, .obj supports color and texture information through associated .mtl (Material Template Library) files. While .obj files can be 3D printed, the texture information is typically ignored unless you have a multi-material printer capable of printing in color. It’s generally less preferred than .stl for basic 3D printing because it’s often larger in file size and the texture information isn’t needed.
The .ply (Polygon File Format or Stanford Triangle Format) is designed to store 3D data acquired from 3D scanners. It can store color and other properties per vertex, making it suitable for high-detail models. However, like .obj, its complexity isn’t always necessary for standard 3D printing, and .stl remains the more practical choice.
The .blend format is the native file format for Blender, a popular open-source 3D modeling software. This format is highly valuable if you want to modify the Volkswagen ID. Buzz Cargo model before printing. You can adjust the design, add details, or separate parts for easier printing. However, you’ll need Blender installed to open and edit .blend files. Before printing, the model must be exported as an .stl file.
The .fbx (Filmbox) format is a proprietary format developed by Autodesk. It supports animation, textures, and materials, making it suitable for game development and animation. While some slicing software can import .fbx files, the material information is generally not used in standard 3D printing.
The .glb (GL Transmission Format Binary) is optimized for web-based viewing and Augmented Reality (AR) applications. It combines the 3D model and textures into a single binary file, making it efficient for online distribution. While .glb files are excellent for previewing the model, they are not directly used for 3D printing.
The .max format is the native file format for 3ds Max, another professional 3D modeling software. Similar to .blend, this format is ideal if you intend to heavily modify the Volkswagen ID. Buzz Cargo model. You will need 3ds Max installed to open and edit .max files. Before printing, export the model as an .stl file.
In summary, the .stl format is the optimal choice for 3D printing the Volkswagen ID. Buzz Cargo. Ensure the .stl file is high-quality and error-free for the best possible print results. Use the .blend or .max files to customize the model if desired, but always export to .stl before slicing.
Before sending the Volkswagen ID. Buzz Cargo 3D model to your printer, meticulous preparation is key. This involves selecting the right slicing software, optimizing the model for printing, and understanding crucial settings.
Slicing software is the bridge between your 3D model and your 3D printer. It converts the .stl file into a series of instructions (G-code) that the printer can understand. Popular choices include Cura, Simplify3D, PrusaSlicer, and IdeaMaker. Each has its strengths, but all allow you to control essential parameters like layer height, infill density, support structures, and print speed. Choose a slicer that aligns with your printer’s capabilities and your experience level.
The orientation of the Volkswagen ID. Buzz Cargo on the print bed significantly impacts print quality and the need for support structures. Generally, orienting the model with the flattest side down maximizes adhesion and stability. However, consider the overhangs – areas of the model that extend beyond the layer below. Large overhangs require support structures to prevent sagging or collapse during printing.
For the ID. Buzz Cargo, carefully evaluate areas like the roof, side mirrors, and bumpers. Experiment with different orientations in your slicing software to minimize the amount of support material needed. Supports can be time-consuming to remove and can leave blemishes on the final print. Consider splitting the model into smaller parts that can be printed separately and then assembled. This allows you to optimize the orientation of each part individually and reduce the need for supports. The Blender file provided may be particularly useful for this.
Consider the desired size of your 3D printed Volkswagen ID. Buzz Cargo. Scaling the model up or down is easily done within the slicing software. However, be mindful of the printer’s build volume and the level of detail you want to preserve. Large-scale prints can take significantly longer and consume more material.
For resin printing (SLA/DLP), hollowing the model is crucial to reduce material consumption and prevent cracking due to internal pressure. Leave a small hole (or multiple holes) in a discreet location to allow resin to drain out after printing. Ensure these holes are positioned downwards during printing to facilitate drainage.
The choice of material and printer settings significantly impacts the final outcome of your 3D printed Volkswagen ID. Buzz Cargo. Experimentation is encouraged, but here are some general guidelines.
* **PLA (Polylactic Acid):** PLA is a popular choice for FDM (Fused Deposition Modeling) printing due to its ease of use, low cost, and wide availability. It’s biodegradable and produces relatively odorless prints. PLA is suitable for display models but may not be ideal for functional parts that require high strength or heat resistance.
* **PETG (Polyethylene Terephthalate Glycol-modified):** PETG offers a good balance of strength, flexibility, and heat resistance. It’s more durable than PLA and is a good option for parts that may experience some stress or outdoor exposure. PETG can be slightly more challenging to print than PLA, requiring careful temperature and speed adjustments to avoid stringing.
* **Resin (SLA/DLP):** Resin printing (SLA/DLP) offers superior detail and surface finish compared to FDM. It’s ideal for creating highly accurate and intricate models like the Volkswagen ID. Buzz Cargo. However, resin prints are typically more brittle than FDM prints and require post-processing steps like washing and curing.
* **Layer Height:** A layer height of 0.1mm to 0.2mm provides a good balance of print speed and detail. Lower layer heights (e.g., 0.05mm) result in finer details but increase print time.
* **Infill Density:** An infill density of 15-25% is generally sufficient for display models. Increase the infill density for parts that require greater strength.
* **Print Speed:** A print speed of 40-60mm/s is a good starting point. Adjust the speed based on the material and the printer’s capabilities.
* **Temperature:** Follow the manufacturer’s recommendations for the specific filament you are using. PLA typically prints at 200-220°C, while PETG prints at 230-250°C.
* **Bed Adhesion:** Use a heated bed and consider applying a bed adhesion aid like glue stick or hairspray to ensure the print adheres firmly to the build plate.
* **Layer Height:** A layer height of 0.025mm to 0.05mm is common for resin printing. Lower layer heights result in finer details but increase print time.
* **Exposure Time:** The exposure time determines how long each layer is exposed to UV light. Calibrate the exposure time based on the resin you are using and your printer’s specifications. Insufficient exposure can lead to incomplete curing and failed prints.
* **Lift Speed:** Adjust the lift speed to prevent the model from sticking to the FEP film. A slower lift speed generally improves print success.
Post-processing is essential to achieve a polished and professional-looking 3D printed Volkswagen ID. Buzz Cargo.
Carefully remove the support structures using appropriate tools like pliers or a hobby knife. Take your time to avoid damaging the model. After removing the supports, sanding is necessary to smooth out any blemishes or rough edges. Start with coarse sandpaper (e.g., 220 grit) and gradually move to finer grits (e.g., 400, 600, 800 grit) to achieve a smooth surface. Wet sanding can help to reduce dust and improve the sanding process.
Priming is crucial for creating a smooth and uniform surface for painting. Apply several thin coats of primer, allowing each coat to dry completely before applying the next. After the primer has dried, lightly sand the surface with fine-grit sandpaper.
Choose high-quality paints designed for plastic models. Apply thin, even coats using an airbrush or spray can. Multiple thin coats are better than one thick coat, which can lead to runs and drips. Allow each coat to dry completely before applying the next. Consider using masking tape to create clean lines and separate different colored areas.
If you printed the Volkswagen ID. Buzz Cargo in multiple parts, carefully assemble them using glue or epoxy. Pay attention to the alignment of the parts to ensure a seamless fit. Consider adding additional details like decals, stickers, or custom paintwork to enhance the realism of the model.
Even with careful preparation, 3D printing can present challenges. Here are some common issues and their solutions.
* **Issue:** The corners of the print lift off the bed during printing, causing warping.
* **Solution:** Ensure the bed is properly leveled and heated. Use a bed adhesion aid like glue stick or hairspray. Increase the bed temperature slightly. Consider using a brim or raft to improve adhesion.
* **Issue:** Thin strands of filament (stringing) or small blobs of plastic appear on the print.
* **Solution:** Reduce the printing temperature. Increase retraction distance and speed. Adjust travel speed. Ensure the filament is dry.
* **Issue:** Layers of the print are misaligned, resulting in a shifted appearance.
* **Solution:** Check the belt tension on the printer. Ensure the printer is stable and not subject to vibrations. Reduce print speed.
* **Issue:** Layers of the print are thin, weak, or missing entirely.
* **Solution:** Increase the printing temperature. Reduce print speed. Increase the flow rate. Ensure the nozzle is not clogged.
By understanding these common issues and their solutions, you can troubleshoot problems effectively and improve your 3D printing success rate. The Volkswagen ID. Buzz Cargo 2023 3D model from 88cars3d.com provides a fantastic opportunity to hone your skills and create a stunning piece.
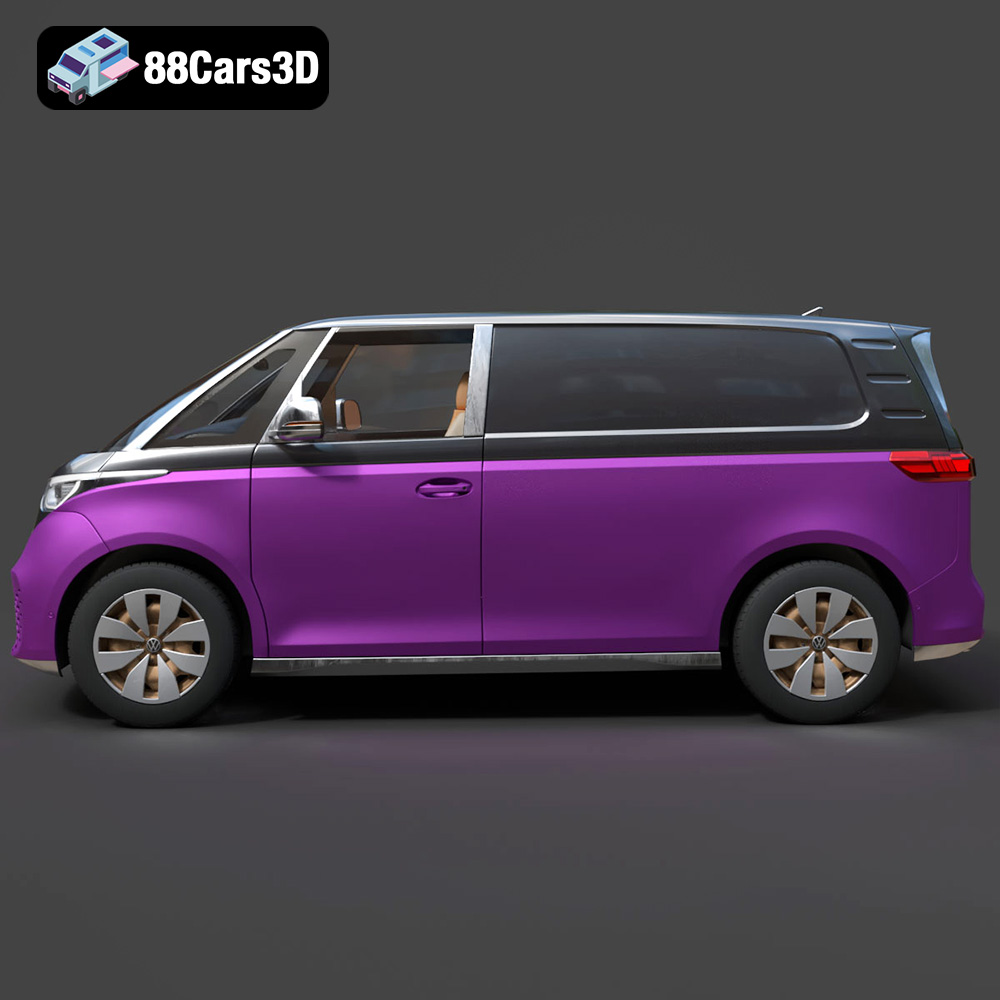
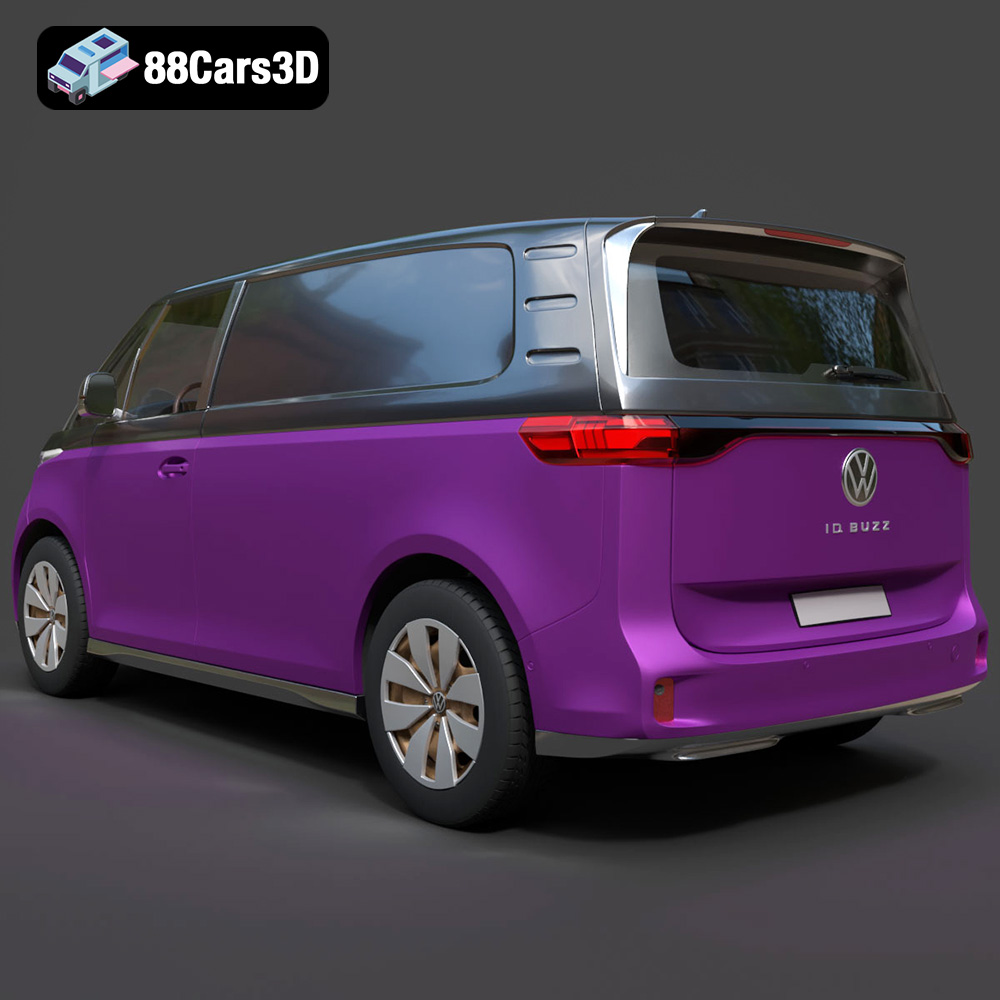
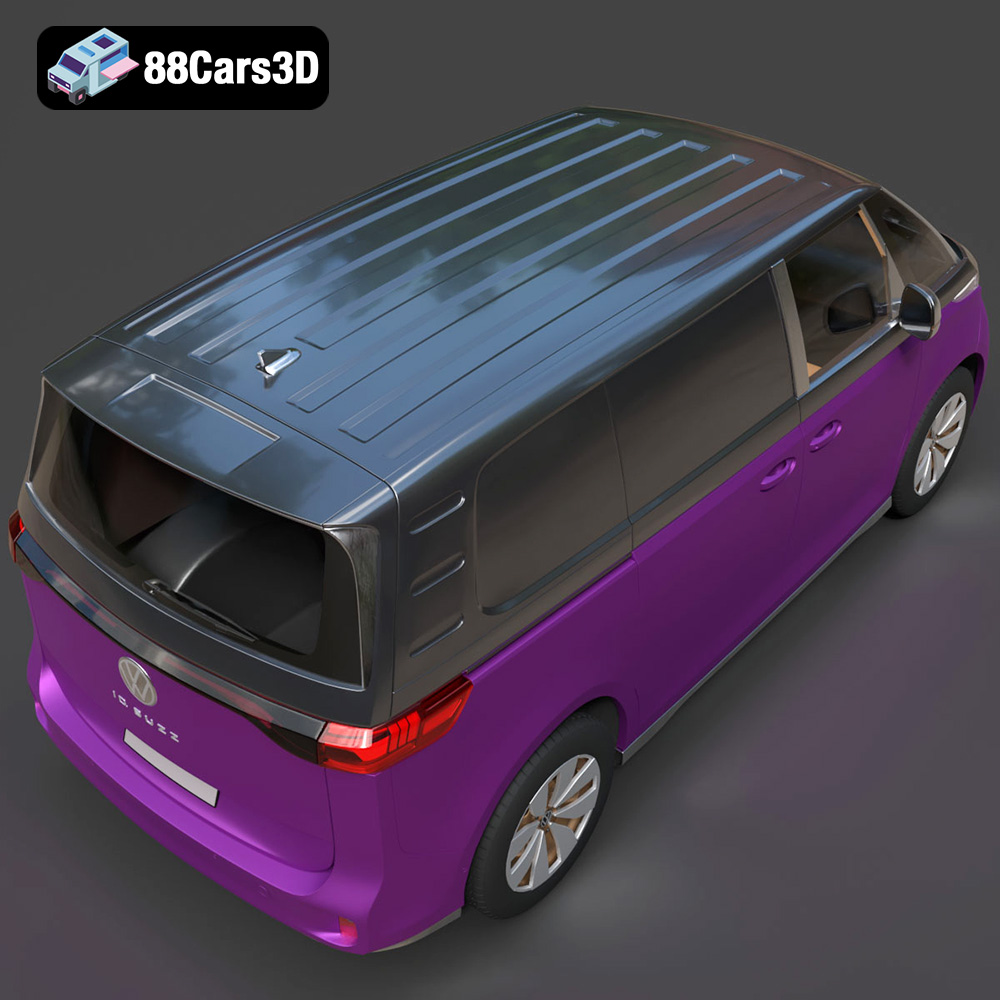
Enhance your digital projects with the meticulously crafted Volkswagen ID. Buzz Cargo 2023 3D Model. Designed to meet professional standards, this model delivers exceptional realism, making it an excellent choice for a wide variety of 3D applications. This model features clean geometry and realistic materials, ensuring a smooth integration into your workflow. Whether you are focusing on close-up shots or wide-angle scenes, the precise detailing and optimized mesh structure guarantee an impressive visual output without compromising performance. Ideal for game development, architectural visualization, AR/VR experiences, and cinematic rendering, this versatile 3D model adapts seamlessly to your specific project needs. The accurate proportions and authentic design elements bring a true-to-life representation of the Volkswagen ID. Buzz Cargo to your digital environment.
$39.99
.arvr
.blend
.car3dmodel
.commercialvehicle
.electricvan
.ev
.fbx
.gameasset
.glb
.idbuzzcargo
.max
.obj
.ply
.rendering
.simulation
.stl
.unreal
.van
.volkswagen