Get 20% OFF All Premium 3D & STL Models!

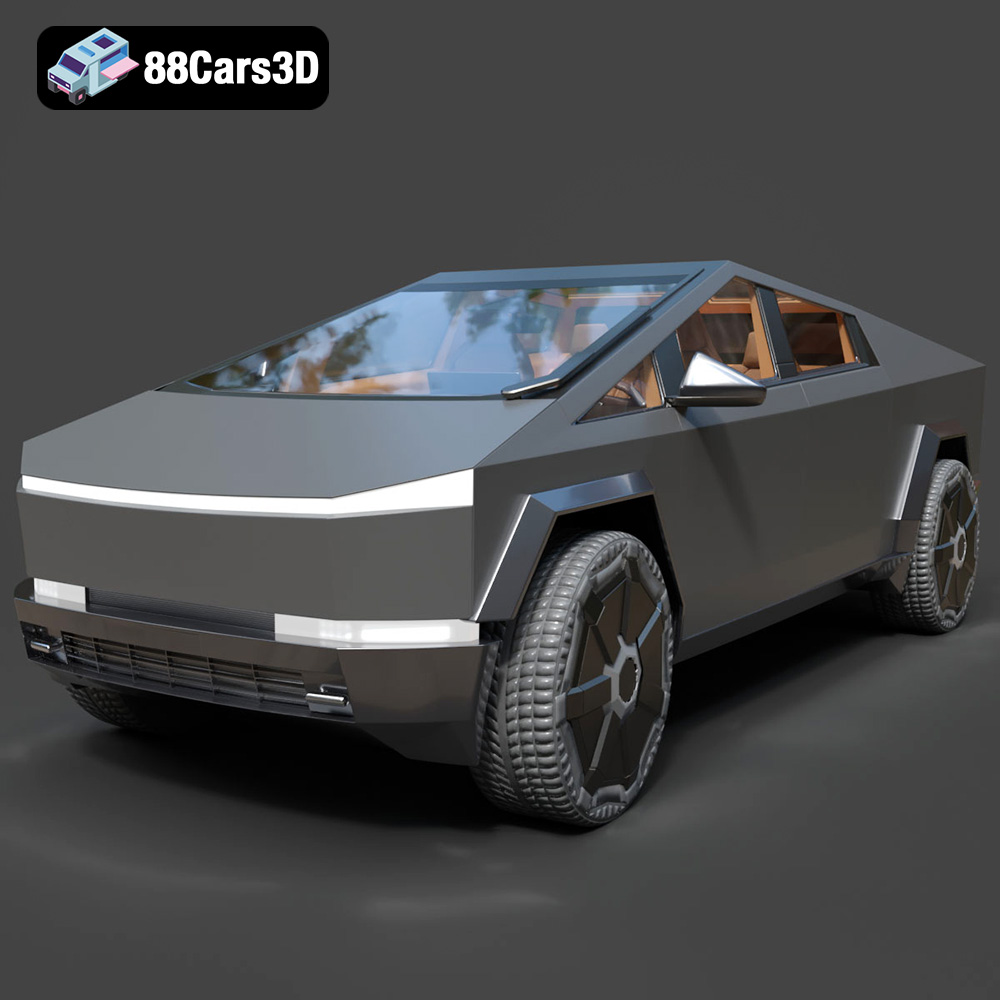
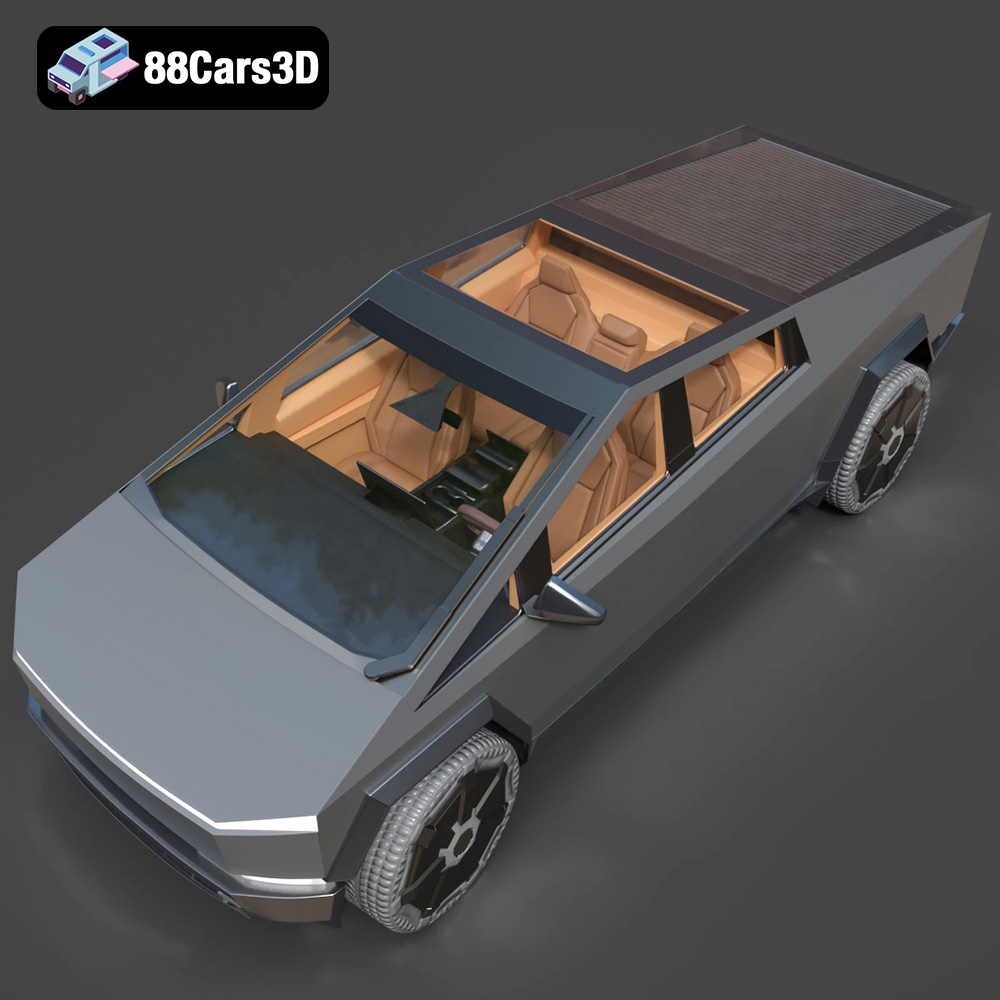
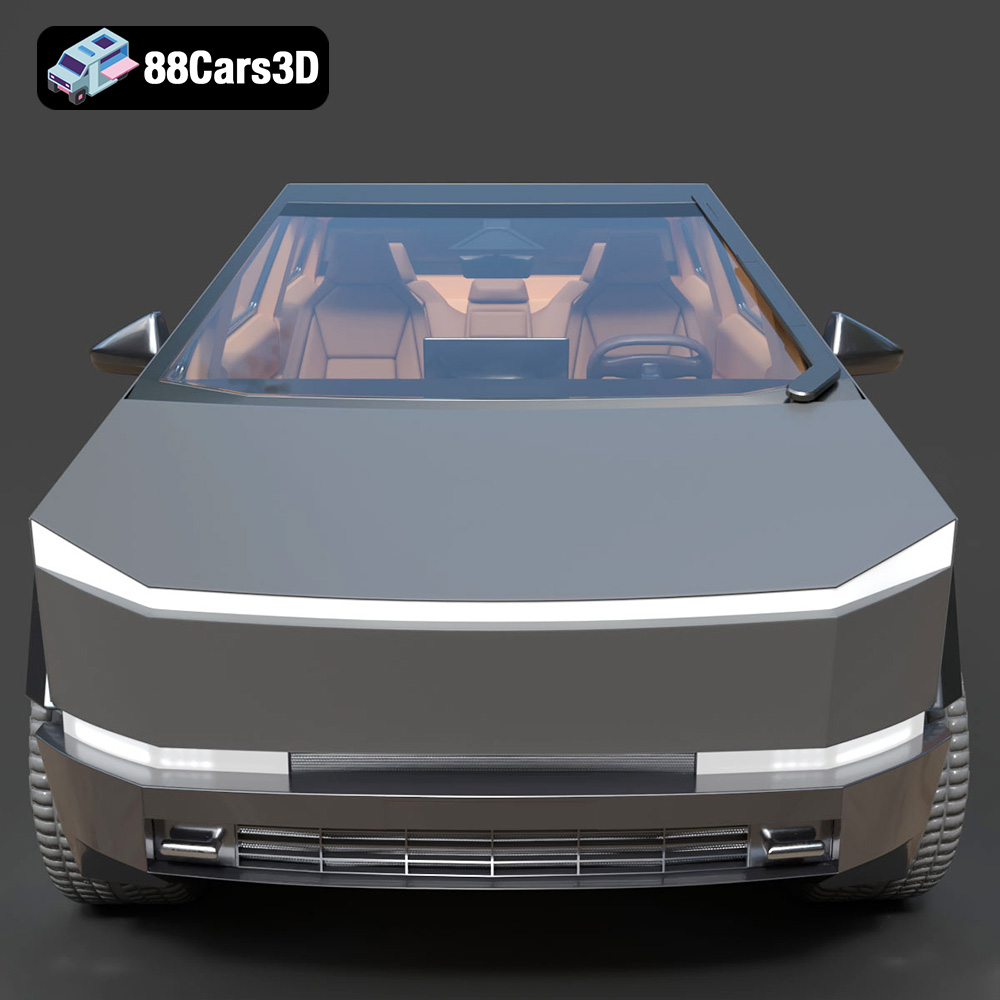
The Tesla Cybertruck 2024 has captured the imagination of the world with its bold, angular design and promise of futuristic performance. While owning the real deal might be a dream for many, 3D printing offers an accessible way to bring this iconic vehicle into your life. This guide will walk you through the process of 3D printing a high-quality Tesla Cybertruck 2024 model, specifically focusing on the STL files available at 88cars3d.com, covering everything from pre-print preparation to post-processing techniques.
Choosing the right 3D printer is crucial for a successful Cybertruck print. The level of detail you desire, the size of the model, and your budget will all influence your decision.
* Pros: FDM printers are generally more affordable and can handle larger print volumes. They are also capable of printing with a wide range of materials like PLA, PETG, ABS, and even some composites. For a larger Cybertruck model, an FDM printer with a decent build volume is a good starting point.
* Cons: FDM prints typically have visible layer lines, which might require more post-processing to achieve a smooth finish. The level of detail might also be lower compared to resin printing.
* Recommendation: If you’re new to 3D printing or prefer larger, more durable models, an FDM printer like the Creality Ender 3 S1 Pro or Prusa i3 MK3S+ are great options.
* Pros: Resin printers excel at producing highly detailed prints with smooth surfaces. They are ideal for smaller, more intricate models where visual fidelity is paramount. If you’re aiming for a display-quality Cybertruck model, resin printing is the way to go.
* Cons: Resin printers have smaller build volumes compared to FDM printers. Resin can also be more expensive and requires careful handling and disposal. Post-processing also involves washing and curing the prints.
* Recommendation: For a detailed Cybertruck model, consider a resin printer like the Elegoo Mars 4 Ultra or Anycubic Photon Mono X 6K.
Selecting the appropriate file format is vital for a successful 3D printing experience. The format determines how the 3D model’s data is interpreted by the slicing software and the printer. Let’s explore the various file formats available for the Tesla Cybertruck 2024 model from 88cars3d.com and their implications for 3D printing.
The .stl (Stereolithography) format is the workhorse of 3D printing. It represents the surface geometry of a 3D object as a collection of triangles. This simplicity makes it universally compatible with almost all 3D printing software and hardware. The STL file format from 88cars3d.com contains only mesh data – it does not store color, texture, or material information. Therefore, any color or texture you see on the rendered model is purely for visualization and will not be replicated during 3D printing unless you manually paint or apply textures after printing.
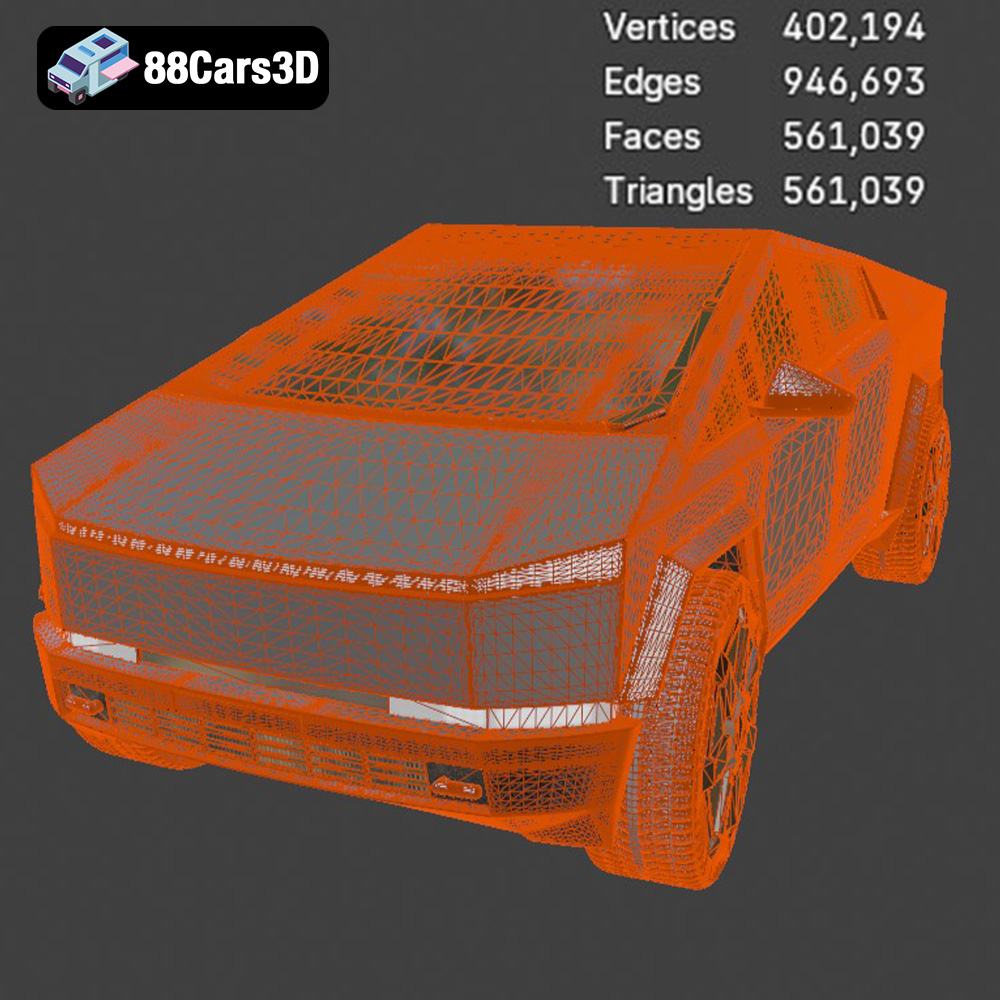
When working with STL files, it’s important to consider the mesh resolution. A higher resolution STL will have more triangles, resulting in a smoother surface on the printed object. However, it also increases the file size and processing time. Conversely, a low-resolution STL will have fewer triangles, leading to a faceted appearance. Slicing software allows you to adjust the mesh resolution before printing, striking a balance between detail and performance. Also, make sure to check and repair the STL file for any errors such as non-manifold edges or holes before importing it into the slicing software. Numerous free online tools can help with this. For basic 3D printing, the STL format from 88cars3d.com will often be the most suitable and easiest to work with.
The .obj (Wavefront Object) format is another widely used 3D model format. Unlike STL, OBJ supports storing color and texture information alongside the geometry. This can be useful if you plan to add custom colors or textures to your Cybertruck model in a 3D modeling software before printing. However, most 3D printers still print in a single color at a time. The color information from an OBJ file would be primarily useful for visualization during the design and slicing stages. For multi-color printing, you’d need to use a printer equipped for it and slice the model accordingly. OBJ files are typically larger than STL files due to the added color and texture data.
The .ply (Polygon File Format) is designed to store 3D data acquired from 3D scanners. It is known for its ability to represent complex geometries with high precision. While less common than STL for general 3D printing, PLY can be advantageous when you need to capture extremely fine details. For the Cybertruck model, if you plan to incorporate intricate surface patterns or details, a PLY file might offer better results. However, ensure your slicing software and printer support the PLY format before using it. PLY files can also be quite large, so consider your computer’s processing power and the available storage space.
The .blend format is the native file format for Blender, a popular open-source 3D creation suite. It’s incredibly versatile as it allows you to fully customize the Cybertruck model before exporting it for 3D printing. You can modify the geometry, add details, adjust proportions, or even create custom parts. If you’re comfortable with Blender, the .blend file provides the most flexibility. Before exporting the model for 3D printing, ensure you convert it to STL format. Blender allows you to easily control the mesh resolution during the export process, optimizing it for 3D printing.
The .fbx (Filmbox) format is primarily used for exchanging 3D data between different software applications, especially in game development and animation. It supports storing geometry, textures, materials, and animations. While some slicing software may support importing FBX files, the material information is not typically used for 3D printing, as most printers only deal with geometry. The FBX version provided for the Cybertruck model would be most useful if you intend to use the model in a game engine or animation software after printing.
The .glb (GL Transmission Format Binary) format is designed for efficient transmission and loading of 3D models, especially in web-based applications and augmented reality (AR). It is a compact format that includes geometry, textures, and animations in a single file. While you can’t directly 3D print a GLB file, it’s incredibly useful for previewing the Cybertruck model in AR using your smartphone or tablet. This allows you to visualize the model in your physical environment before committing to printing it.
The .max format is the native file format for 3ds Max, a professional 3D modeling, animation, and rendering software. Similar to the .blend file, the .max file gives you complete control over the Cybertruck model. You can modify the geometry, add details, create custom parts, and prepare the model for rendering. Before 3D printing, you’ll need to export the model from 3ds Max in STL format. Ensure that the mesh resolution is optimized for printing and that there are no errors in the mesh.
Once you’ve chosen your printer and file format, it’s time to prepare the model for printing using slicing software. This software converts the 3D model into a series of instructions that the printer can understand.
* Cura: A free and open-source slicer that’s easy to use and offers a wide range of customizable settings.
* PrusaSlicer: Another excellent open-source slicer known for its advanced features and support for various printer types.
* Simplify3D: A commercial slicer that provides more advanced control over printing parameters and support structures.
* Minimizing Supports: The orientation of the Cybertruck model on the build plate significantly impacts the amount of support material required. Orient the model to minimize overhangs and unsupported areas.
* Surface Finish: Consider the most visible surfaces of the Cybertruck. Orient the model so that these surfaces are facing upwards, minimizing the need for support removal and post-processing.
* Strength and Stability: If you plan to display or handle the printed Cybertruck frequently, orient it to maximize strength along critical axes.
* Optimizing for STL Files: Since the STL files from 88cars3d.com are optimized for printing, experiment to find which orientation works best for your printer and desired level of detail.
Achieving a successful Cybertruck print depends on dialing in the right printer settings. These settings will vary depending on your printer, material, and desired outcome.
* FDM: A layer height of 0.1mm to 0.2mm offers a good balance between detail and print time. For larger models, you can increase the layer height to 0.25mm or 0.3mm to reduce print time.
* Resin: Resin printers can achieve much finer layer heights, typically ranging from 0.025mm to 0.05mm.
* FDM: An infill density of 15% to 25% is usually sufficient for a decorative Cybertruck model. For a stronger, more durable model, increase the infill density to 50% or higher.
* Resin: Resin prints are typically solid, so infill density is not a factor.
* FDM: A print speed of 40mm/s to 60mm/s is a good starting point for PLA and PETG. You may need to reduce the speed for more complex areas or overhangs.
* Resin: Print speed is determined by the exposure time per layer and the Z-axis movement speed. Refer to your resin manufacturer’s recommendations.
* FDM: Use support structures to support overhangs and unsupported areas. Experiment with different support patterns and densities to find the optimal balance between support strength and ease of removal.
* Resin: Resin printers require support structures for most models. Use a support generation tool in your slicing software to create the necessary supports.
The choice of material significantly impacts the final look, feel, and durability of your 3D printed Cybertruck.
* Pros: PLA is a biodegradable and easy-to-print material. It’s ideal for beginners and offers a wide range of colors.
* Cons: PLA is not very heat-resistant and can become brittle over time.
* Use Case: Perfect for display models and prototypes.
* Pros: PETG is more durable and heat-resistant than PLA. It’s also more flexible, making it less prone to cracking.
* Cons: PETG can be more challenging to print than PLA and may require higher temperatures.
* Use Case: Suitable for functional parts and models that require more durability.
* Pros: ABS is a strong and heat-resistant material commonly used in automotive applications.
* Cons: ABS is more difficult to print than PLA and PETG and requires a heated bed and enclosure to prevent warping.
* Use Case: Ideal for models that need to withstand high temperatures or stress.
* Pros: Resin offers exceptional detail and smooth surfaces.
* Cons: Resin is more expensive and requires careful handling and disposal. Resin prints are also typically more brittle than FDM prints.
* Use Case: Best for display models and intricate details.
After printing, post-processing can enhance the appearance and functionality of your 3D printed Cybertruck.
* Carefully remove support structures using pliers, cutters, or a hobby knife.
* Sand down any remaining support marks to create a smooth surface.
* Start with coarse-grit sandpaper (e.g., 220 grit) to remove layer lines and imperfections.
* Gradually move to finer grits (e.g., 400, 600, 800 grit) to achieve a smooth finish.
* Wet sanding can help to reduce dust and create an even smoother surface.
* Apply a thin coat of primer to the model to fill in any remaining imperfections and create a uniform surface for painting.
* Sand the primer lightly with fine-grit sandpaper after it dries.
* Use acrylic paints or spray paints to add color and detail to the Cybertruck model.
* Apply multiple thin coats of paint for a smooth, even finish.
* Consider using stencils or masking tape to create intricate designs.
* If the Cybertruck model is printed in multiple parts, assemble them using glue or fasteners.
* Ensure that all parts fit together properly and are securely attached.
Even with careful preparation, you may encounter some challenges during the 3D printing process.
* Ensure your print bed is properly leveled.
* Use a heated bed for materials like ABS.
* Apply an adhesive like glue stick or hairspray to the print bed.
* Enclose the printer to maintain a consistent temperature.
* Reduce the retraction distance and speed in your slicer settings.
* Lower the printing temperature.
* Ensure that the filament is dry.
* Tighten the belts on your printer.
* Reduce the printing speed.
* Ensure that the printer is stable and not vibrating.
* Increase the printing temperature.
* Increase the flow rate.
* Check for clogs in the nozzle.
The print time and material cost will vary depending on the size of the model, the printer settings, and the material used.
* **FDM:** A typical Cybertruck model printed on an FDM printer might take 10-30 hours and cost $5-$20 in material.
* **Resin:** A resin print might take 4-12 hours and cost $10-$30 in resin.
Keep in mind that these are just estimates. The actual print time and material cost may vary.
Experience the futuristic design of the Tesla Cybertruck 2024 with this exceptionally realistic 3D model. Built to precise proportions, this asset captures the distinctive angular exoskeleton and advanced aesthetic of the iconic electric pickup truck, ensuring a striking presence in any digital environment.
$39.99
3D printing the Tesla Cybertruck 2024 model from 88cars3d.com is a rewarding project that allows you to bring a futuristic icon into your home. By carefully selecting the right printer, material, and settings, you can create a stunning replica that showcases the unique design of the Cybertruck. Remember to focus on proper pre-print preparation, including choosing the right file format and orientation. Don’t be afraid to experiment with different settings and post-processing techniques to achieve your desired results. With a bit of patience and effort, you’ll have a 3D printed Cybertruck that’s sure to turn heads.
.arvr
.blend
.car3dmodel
.cybertruck
.electricvehicle
.fbx
.gameasset
.glb
.max
.obj
.pickup
.ply
.rendering
.simulation
.stl
.tesla
.truck
.unreal