Get 20% OFF All Premium 3D & STL Models!

“`html
3D printing opens a world of possibilities, allowing you to create physical objects from digital designs. For automotive enthusiasts, printing detailed car models from STL files is a particularly exciting application. Platforms like 88cars3d.com offer a vast library of high-quality, printable car models. However, the journey from downloading an STL file to holding a perfectly printed model in your hands isn’t always smooth. Beginners often encounter pitfalls that can lead to failed prints, wasted filament, and frustration. This comprehensive guide highlights the top 10 mistakes beginners make when printing STL files, particularly those from sources like 88cars3d.com, and provides practical solutions to overcome them. By understanding these common errors and implementing the recommended techniques, you can significantly improve your 3D printing success rate and enjoy the rewarding experience of creating stunning 3D printed car models.
One of the most frequent errors beginners make is assuming that every downloaded STL file is perfectly ready for printing. While many designers strive for perfection, imperfections can still exist in the mesh. These imperfections can manifest as non-manifold edges, flipped normals, and holes in the model, all of which can wreak havoc during the slicing and printing process.
Non-manifold geometry refers to areas in the 3D model where the mesh structure violates fundamental rules of how a solid object should be defined. A common example is an edge shared by more than two faces, creating ambiguity for the slicer software. These errors often lead to unexpected behavior, such as missing sections in the print or the slicer failing to generate a toolpath altogether.
Fortunately, several software tools are available to repair STL files. Netfabb Basic is a popular choice, offering automated mesh repair capabilities. Simply import the STL file, run the repair function, and Netfabb will attempt to fix any detected errors. Alternatively, Meshmixer provides more manual control, allowing you to inspect the mesh and address specific issues. Using these tools before slicing will save time and filament by preventing prints of corrupted files.
The orientation in which you place your STL file on the print bed has a significant impact on the print’s quality, strength, and the amount of support material required. Beginners often overlook this crucial step, leading to weaker parts and excessive support structures.
Support structures are necessary for overhangs and bridges, but they consume filament and require post-processing for removal. By strategically orienting the model, you can minimize the need for supports. For instance, when printing a car body, orienting it with the roof facing down might reduce the need for supports compared to printing it upright.
Consider the direction of stress when orienting the model. Layers are generally weaker than the material itself, so orienting the model such that the applied force is perpendicular to the layers will improve its overall strength. For example, a car axle should be printed vertically to maximize its resistance to bending forces.
Even with a perfect STL file, incorrect 3D printer settings can lead to disastrous results. This includes parameters such as layer height, printing temperature, print speed, and bed adhesion settings.
Layer height determines the resolution of your print. Lower layer heights (e.g., 0.1mm) produce smoother surfaces and finer details but increase print time. Higher layer heights (e.g., 0.3mm) are faster but result in more visible layer lines. For detailed car models, a layer height between 0.1mm and 0.2mm is often a good compromise between quality and speed.
Printing temperature affects the material’s flow and adhesion. Too low a temperature can cause poor layer adhesion and warping, while too high a temperature can lead to stringing and deformation. Print speed also plays a role. Excessive speed can reduce print quality and increase the risk of failure. It’s essential to calibrate these settings based on the specific filament you’re using. Start with the manufacturer’s recommended settings and fine-tune them based on test prints.
A common frustration for beginners is a print detaching from the bed mid-print. This is often due to insufficient bed adhesion.
Proper bed preparation is crucial. Clean the bed with isopropyl alcohol to remove any grease or debris. For PLA, a heated bed temperature of 60°C is usually sufficient. For ABS, a higher temperature of 100-110°C is required. Consider using adhesion aids like painter’s tape, blue tape, or a glue stick to improve adhesion. Some printers also have specialized build surfaces that offer excellent adhesion.
If bed adhesion is still an issue, consider using a brim or raft. A brim adds a single-layer outline around the base of the model, increasing the surface area in contact with the bed. A raft creates a multi-layer base that the model is printed on, providing even better adhesion, especially for complex geometries.
Overhangs and bridges require support structures to prevent them from collapsing during printing. However, generating and placing supports effectively requires practice. Beginners often underestimate the amount or placement of supports needed.
Carefully examine the model and identify all areas that require support. Pay attention to the angle of overhangs. As a general rule, overhangs exceeding 45 degrees require support. Use support generation tools in your slicer software (Cura, PrusaSlicer, etc.) to automatically generate supports. Manually add supports in areas where the automatic generator misses critical sections.
Choose a support material that is easy to remove from the printed part. Soluble support materials, like PVA, are ideal for complex geometries but require a dual-extrusion printer. Adjust the support density to balance support strength and ease of removal. A lower density support is easier to remove but may not provide sufficient support for heavy overhangs. For printing car models from STL files obtained at places like 88cars3d.com, you should choose density adequate enough to prevent the fine details from collapsing.
Infill refers to the internal structure of the printed part. It affects the print’s strength, weight, and print time. Beginners often use a default infill setting without considering its impact on the final product.
Different infill patterns offer varying levels of strength and material usage. Common patterns include grid, lines, triangles, and gyroid. Gyroid infill is known for its excellent strength-to-weight ratio. Concentric infill can provide a visually appealing internal structure for transparent parts. Experiment with different patterns to find the best balance for your specific needs.
Infill density is the percentage of the part’s interior that is filled with material. A higher density (e.g., 100%) results in a stronger but heavier and more time-consuming print. A lower density (e.g., 15%) is faster and lighter but weaker. For car models, a density of 20-30% is usually sufficient for most parts. Increase the density for parts that require higher strength, such as axles or suspension components.
Filament issues can cause a variety of printing problems, including clogs, under-extrusion, and poor layer adhesion.
Store your filament in a dry, airtight container to prevent it from absorbing moisture. Moisture can significantly degrade filament quality and lead to printing issues. Use desiccant packs to absorb any residual moisture in the container. Consider using a filament dryer for filaments that are particularly susceptible to moisture absorption, such as nylon.
Ensure that your filament has a consistent diameter. Variations in diameter can cause inconsistent extrusion. Use a caliper to measure the filament diameter at several points and check for consistency. If you notice significant variations, consider using a different brand of filament.
A properly calibrated printer is essential for accurate and reliable prints. Beginners often skip this step, assuming that their printer is ready to go out of the box.
Bed leveling ensures that the nozzle is at the correct distance from the print bed across the entire printing surface. An uneven bed can cause poor bed adhesion in some areas and nozzle scraping in others. Follow your printer’s instructions for bed leveling. Many printers have automatic bed leveling features, which simplify the process. For manual leveling, use a piece of paper to gauge the distance between the nozzle and the bed. The paper should be able to slide under the nozzle with slight resistance.
Extruder calibration ensures that the printer extrudes the correct amount of filament. An incorrectly calibrated extruder can lead to under-extrusion or over-extrusion. Follow online guides to calibrate your extruder’s E-steps (steps per millimeter) setting. This process involves measuring the amount of filament extruded and adjusting the E-steps value accordingly.
Post-processing is the process of cleaning up and finishing the printed part. Beginners often rush this step, resulting in a less-than-ideal final product.
Carefully remove support structures using pliers, cutters, or specialized support removal tools. Be patient and avoid applying excessive force, which can damage the printed part. For soluble support materials, dissolve the supports in water according to the manufacturer’s instructions.
Sanding smooths out layer lines and imperfections on the surface of the print. Start with coarse-grit sandpaper (e.g., 220 grit) and gradually move to finer grits (e.g., 400 grit, 600 grit). Wet sanding can help to reduce dust and create a smoother finish. Consider using a primer to prepare the surface for painting. Applying several thin coats of paint is better than applying one thick coat, which can lead to drips and uneven coverage. After downloading premium STL files for printable car models from marketplaces such as 88cars3d.com, you would want to spend enough time on post processing to make them look as photorealistic as possible.
3D printing is a process of continuous learning and refinement. Beginners often get discouraged by initial failures and give up too easily.
Don’t be afraid to experiment with different settings and techniques. Print small test pieces to evaluate the impact of different parameters. Keep detailed notes of your settings and results. Use this information to refine your printing process and improve your success rate. Consider joining online communities and forums to learn from experienced 3D printers and share your experiences.
Every failed print is a learning opportunity. Analyze the failure and identify the cause. Adjust your settings and try again. Don’t be afraid to ask for help from experienced users. With patience and persistence, you can overcome any challenges and achieve your 3D printing goals.
Mastering 3D printing, especially for intricate projects like printable car models sourced from platforms like 88cars3d.com, requires understanding and avoiding common beginner mistakes. By diligently preparing your STL files, optimizing print orientation and settings, ensuring proper bed adhesion, mastering support structures, managing filament effectively, calibrating your printer accurately, and embracing patience and experimentation, you can significantly improve your print quality and reduce failures. Remember that each print, successful or not, contributes to your learning journey. Take the time to analyze your results, adjust your approach, and continuously refine your skills. With dedication and the right techniques, you’ll be creating stunning 3D printed car models in no time. Now, go forth, experiment, and bring your favorite automotive designs to life!
“`
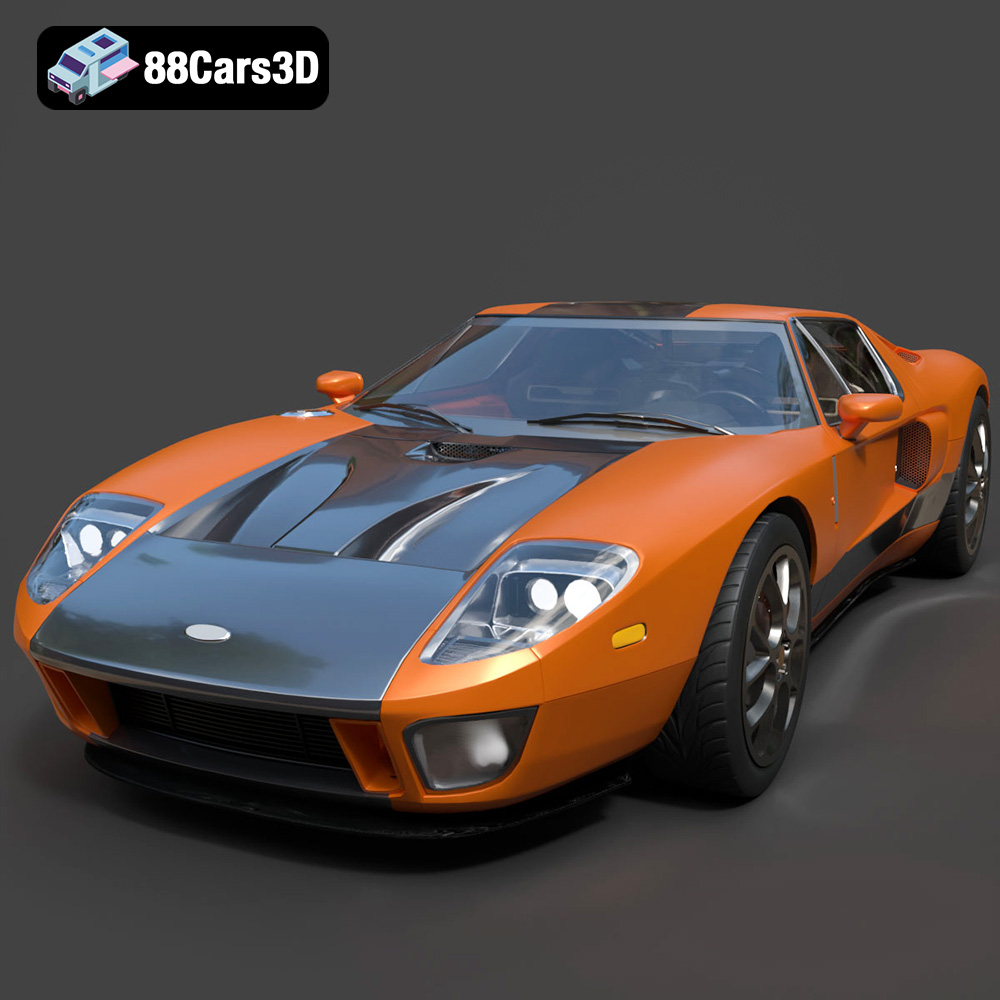
Texture: Yes | Material: Yes
Download the highly detailed, game-ready Ford GT 2005 3D Model. Features signature aerodynamic bodylines, mid-mounted supercharged V8 detailing, and iconic racing stripes. Includes .blend, .fbx, .obj, .glb, .stl, .ply, .unreal, and .max formats for game development, AR/VR, and rendering.
Price: $19.99
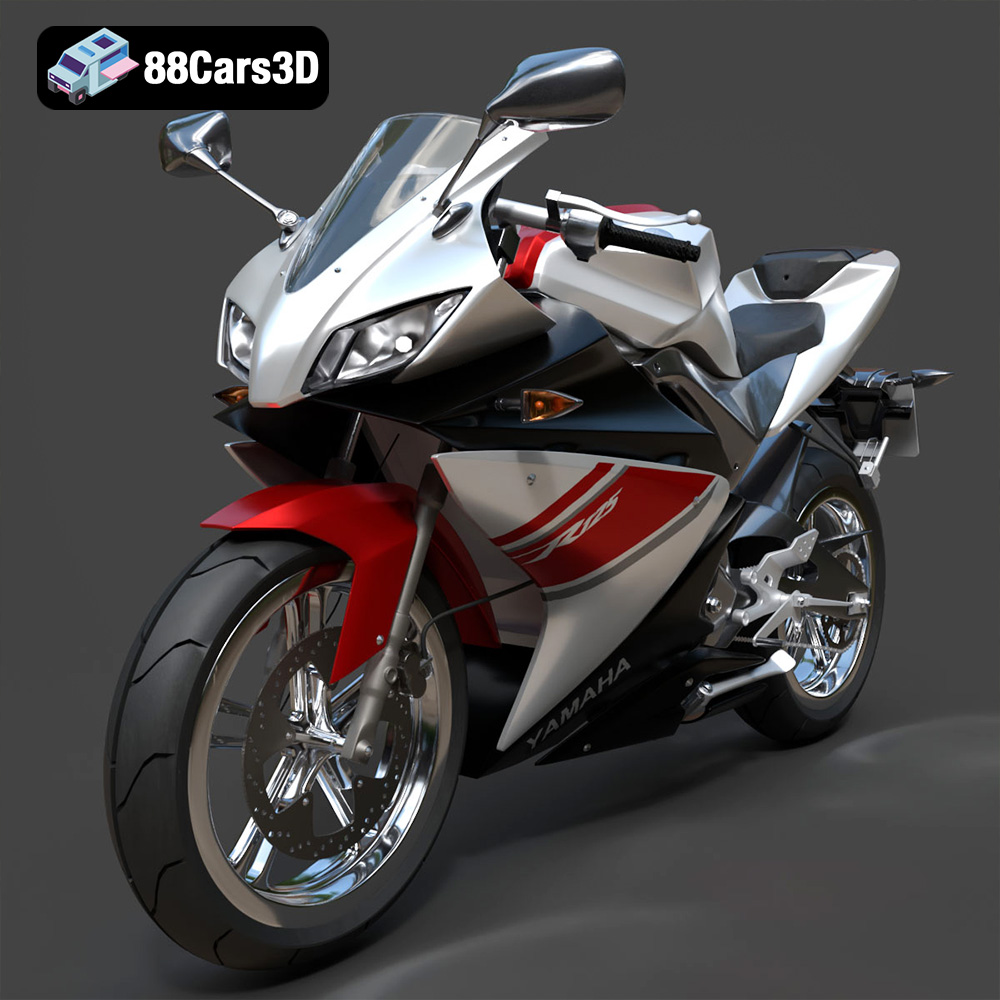
Texture: Yes | Material: Yes
Download the highly detailed, game-ready Yamaha YZF-R125 EU 3D Model. Features an aggressive aerodynamic fairing, twin LED headlights, and a detailed 125cc engine block. Includes .blend, .fbx, .obj, .glb, .stl, .ply, .unreal, and .max formats for game development, AR/VR, and rendering.
Price: $19.99
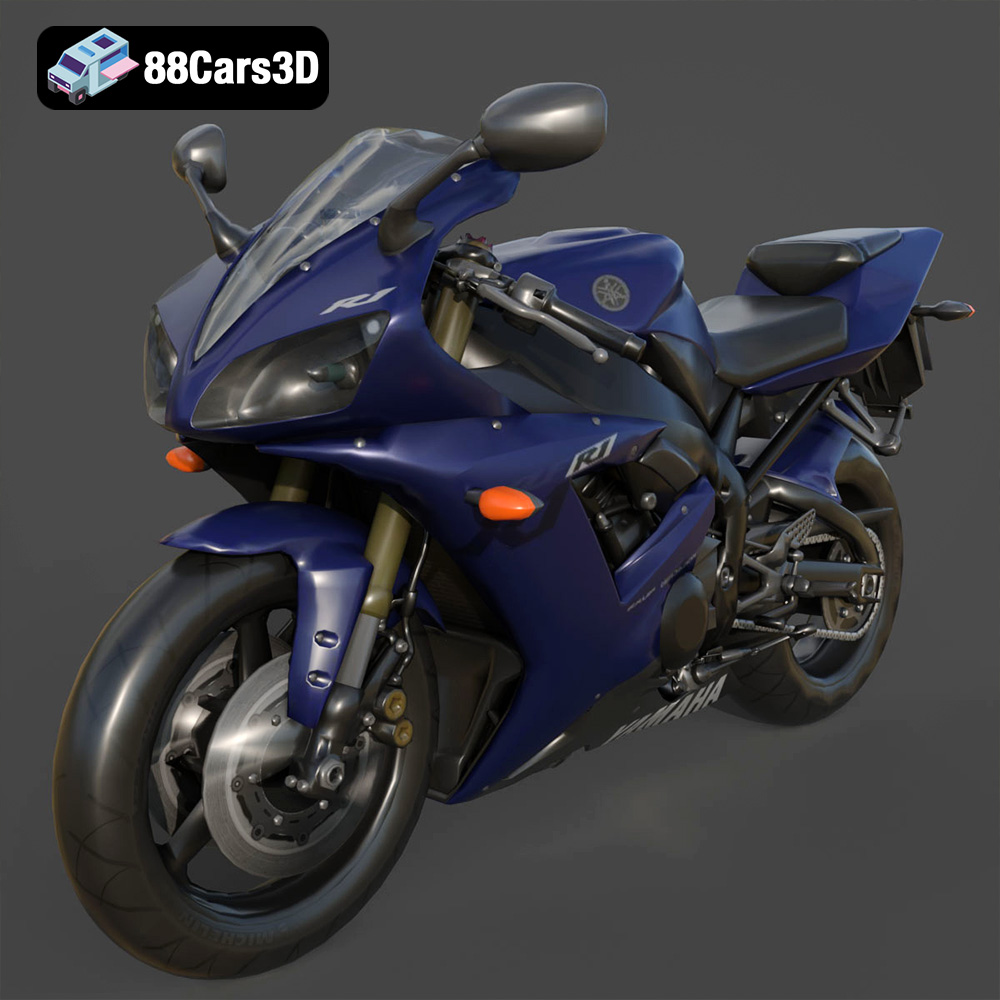
Texture: Yes | Material: Yes
Download the highly detailed, game-ready Yamaha R1 3D Model. Features aggressive aerodynamic fairings, a detailed crossplane inline-4 engine, and track-focused suspension geometry. Includes .blend, .fbx, .obj, .glb, .stl, .ply, .unreal, and .max formats for game development, AR/VR, and rendering.
Price: $19.99
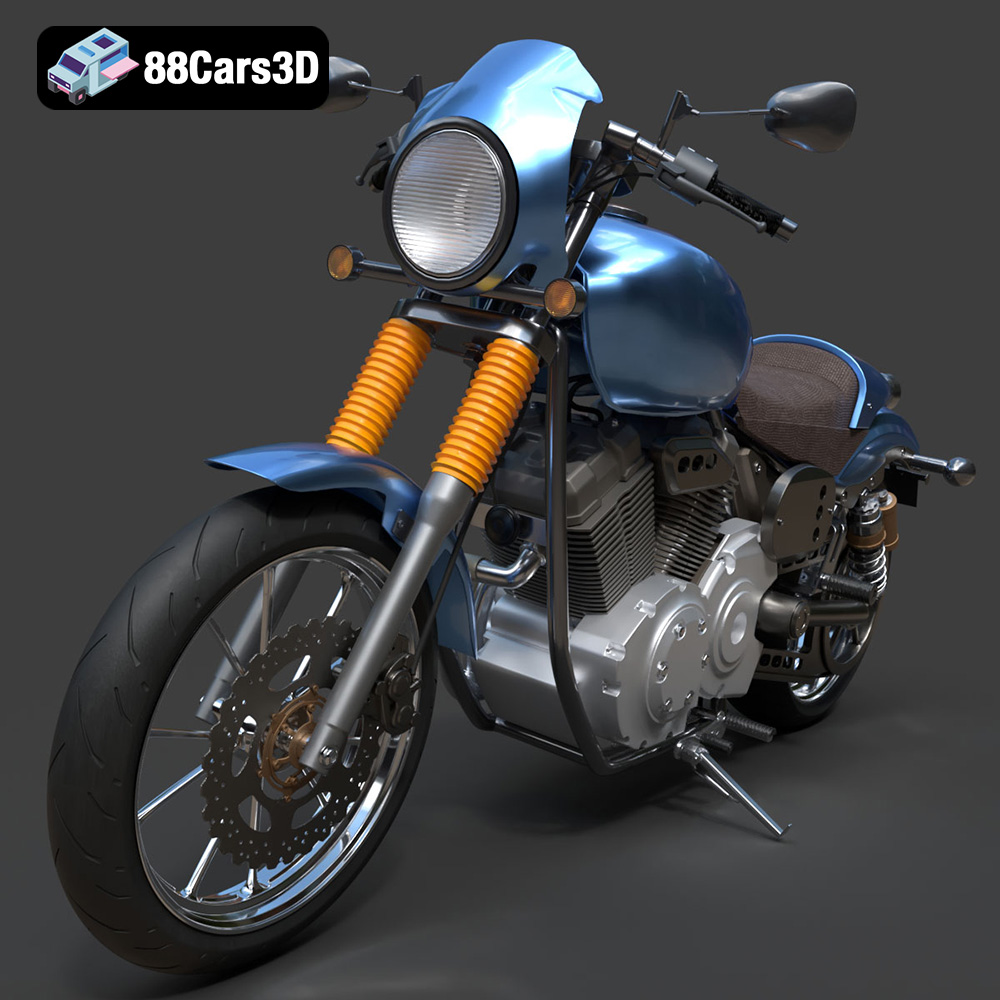
Texture: Yes | Material: Yes
Download the highly detailed, game-ready Yamaha XV950 Racer 3D Model. Features an aggressive cafe-racer front cowl, detailed air-cooled V-twin engine, and classic retro styling. Includes .blend, .fbx, .obj, .glb, .stl, .ply, .unreal, and .max formats for game development, AR/VR, and rendering.
Price: $19.99

Texture: Yes | Material: Yes
Download the highly detailed, game-ready Volvo VNL Tractor Truck 2002 3D Model. Features iconic aerodynamic styling, detailed fifth-wheel coupling, and heavy-duty chassis. Includes .blend, .fbx, .obj, .glb, .stl, .ply, .unreal, and .max formats for game development, AR/VR, and rendering.
Price: $39.99
Texture: Yes | Material: Yes
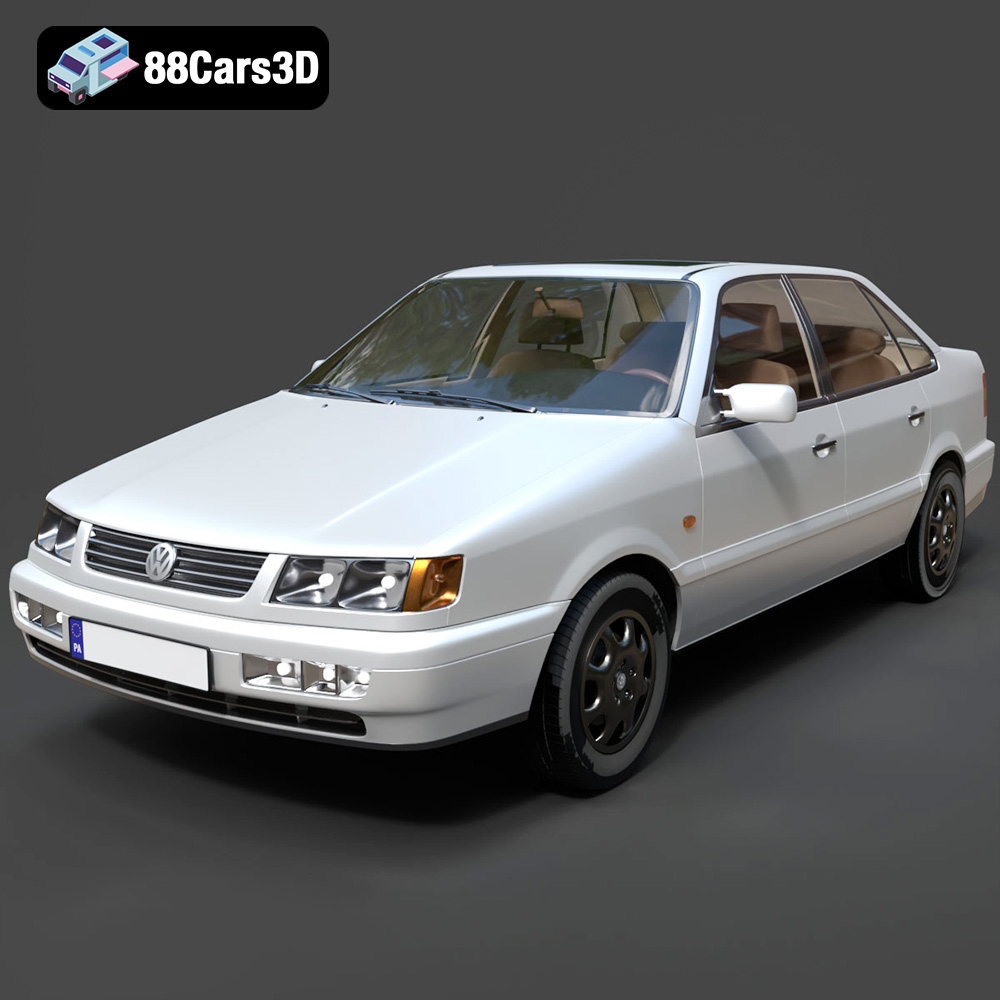
Download the highly detailed, game-ready Volkswagen Passat Mk4 B4 Sedan 1993 3D Model. Features accurate 90s sedan styling, detailed front grille-less fascia, and a classic interior setup. Includes .blend, .fbx, .obj, .glb, .stl, .ply, .unreal, and .max formats for game development, AR/VR, and rendering.
Price: $39.99

Texture: Yes | Material: Yes
Download the highly detailed, game-ready Volkswagen Jetta GLI 2019 3D Model. Features an aggressive honeycomb grille with red accents, sleek aerodynamic profile, and exclusive GLI sport wheels. Includes .blend, .fbx, .obj, .glb, .stl, .ply, .unreal, and .max formats for game development, AR/VR, and rendering.
Price: $39.99
Texture: Yes | Material: Yes
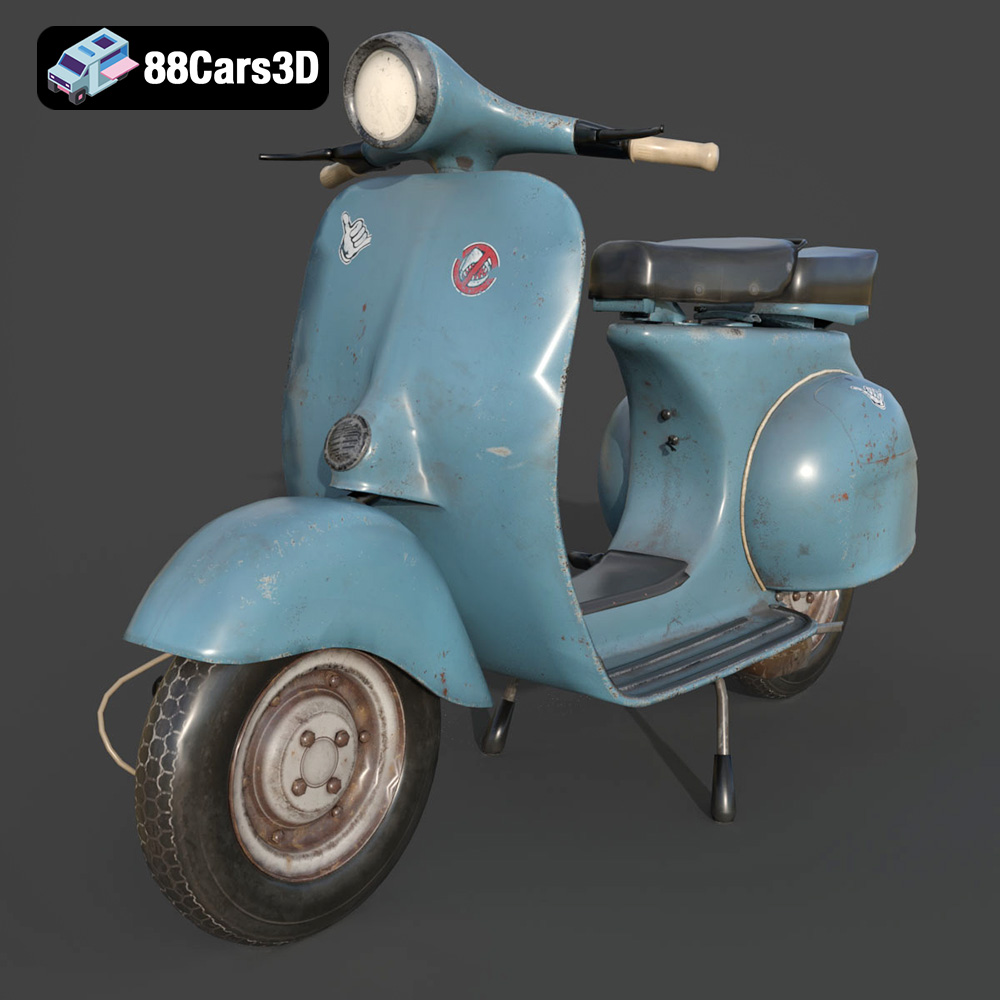
Download the highly detailed, game-ready Vintage Vespa 3D Model. Features iconic rounded monocoque styling, classic saddle, and chrome accents. Includes .blend, .fbx, .obj, .glb, .stl, .ply, .unreal, and .max formats for game development, AR/VR, and rendering.
Price: $39.99

Texture: Yes | Material: Yes
Download the highly detailed, game-ready Vespa GS 150 3D Model. Features elegant aerodynamic curves, classic leg shield, and detailed engine casing. Includes .blend, .fbx, .obj, .glb, .stl, .ply, .unreal, and .max formats for game development, AR/VR, and rendering.
Price: $39.99
Texture: Yes | Material: Yes
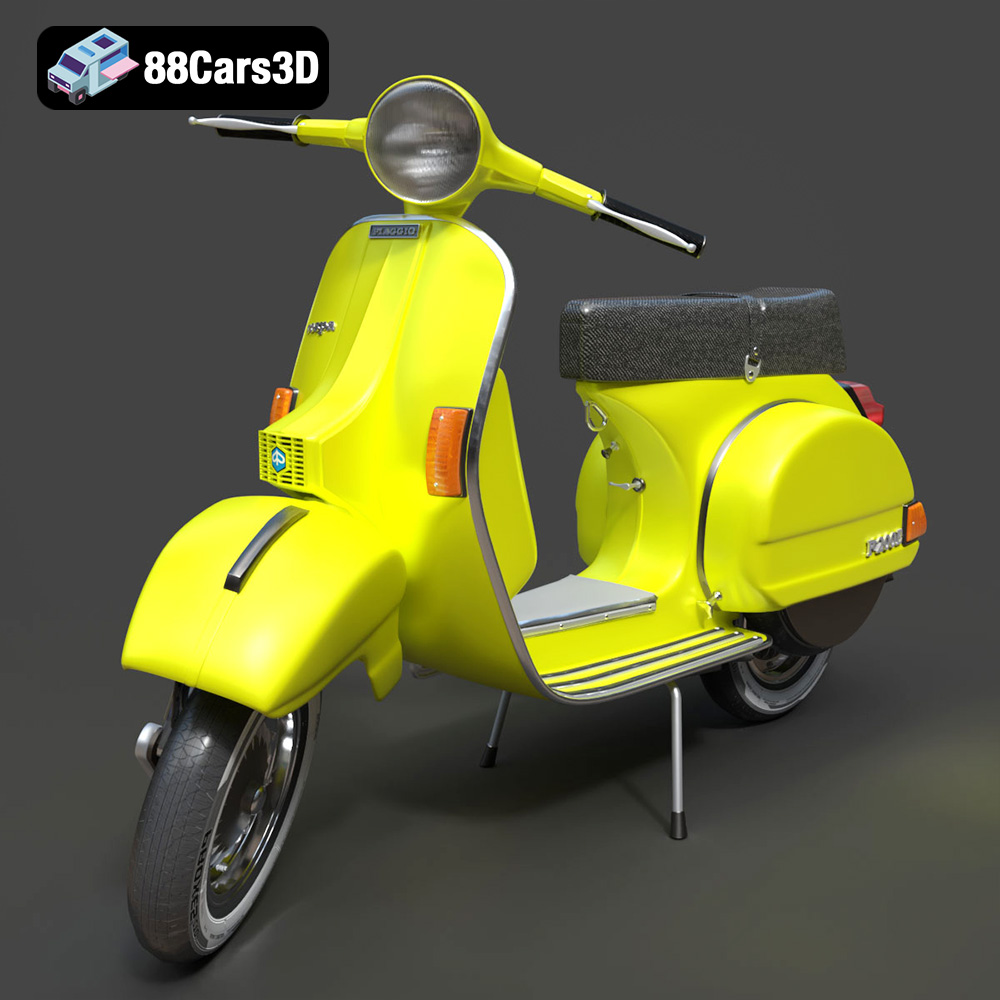
Download the highly detailed, game-ready Vespa P200E 3D Model. Features classic vintage styling, accurate step-through frame geometry, and authentic detailing. Includes .blend, .fbx, .obj, .glb, .stl, .ply, .unreal, and .max formats for game development, AR/VR, and rendering.
Price: $39.99

