Get 20% OFF All Premium 3D & STL Models!

“`html
The journey from a digital 3D model to a tangible object is a fascinating one, and at the heart of this transformation lies the slicing process. Whether you’re a seasoned 3D printing enthusiast or just starting out, understanding how to properly slice STL files is crucial for achieving high-quality prints. This comprehensive guide will delve into the intricacies of STL slicing, covering everything from file preparation to advanced slicing parameters, ensuring you get the most out of your 3D printer and your designs. Platforms like 88cars3d.com offer print-ready STL files, but even with expertly designed models, proper slicing is essential.
In this guide, you will learn about:
By the end of this guide, you’ll have the knowledge and skills to confidently slice STL models and produce stunning, high-quality 3D prints.
The STL (Stereolithography) file format is the de facto standard for 3D printing. It represents the surface geometry of a 3D object using a mesh of interconnected triangles. While simple in concept, understanding the nuances of STL files is critical for successful slicing and printing. Poorly constructed STL files can lead to slicing errors, weak prints, and a frustrating experience overall.
The quality of the STL mesh directly affects the print quality. A well-defined mesh has uniform triangle sizes and avoids long, skinny triangles, which can cause artifacts in the printed model. Look for “manifold” meshes, meaning the mesh forms a closed volume. Non-manifold meshes, with holes or self-intersections, can confuse the slicer and lead to unpredictable results. Use mesh repair tools like those found in Meshmixer or Netfabb to fix any errors before slicing. Many free online tools are also available for quick fixes. Before slicing models downloaded from marketplaces such as 88cars3d.com, it is still a good idea to perform a quick check of the mesh integrity.
A higher-resolution STL file contains more triangles, resulting in a smoother surface and more accurate representation of the original design. However, a high-resolution file also means a larger file size, which can slow down the slicing process and consume more storage space. Finding the right balance between resolution and file size is key. For most applications, a moderate resolution is sufficient. However, for models with intricate details or curved surfaces, a higher resolution may be necessary. You can often control the resolution when exporting your model from CAD software. As a rule of thumb, increasing the triangle count beyond what the printer can accurately reproduce is unnecessary and wastes resources.
Slicing software is the bridge between your 3D model and your 3D printer. It takes the STL file and converts it into a series of instructions (G-code) that the printer can understand. There are many slicing software options available, each with its own strengths and weaknesses. Choosing the right one depends on your printer, your experience level, and your specific needs.
Some of the most popular slicing software options include:
When choosing slicing software, consider the following features:
Once you’ve chosen your slicing software, the next step is to optimize the slicing parameters. These parameters control how the slicer converts the STL file into G-code and directly impact the print quality, strength, and speed of your prints.
Layer height is the thickness of each individual layer of plastic that the printer deposits. A smaller layer height results in smoother surfaces and more detailed prints, but it also increases print time. A larger layer height results in faster prints but can sacrifice surface quality. A common starting point is 0.2mm, but you can adjust it based on the specific model and your desired level of detail. For highly detailed models, you might go as low as 0.1mm or even 0.05mm. For functional parts where speed is more important than aesthetics, you can increase the layer height to 0.3mm or even 0.4mm. Keep in mind that the nozzle size also impacts the minimum layer height. Generally, layer height should be between 25% and 75% of your nozzle diameter.
Infill refers to the internal structure of the 3D printed object. Infill density determines how solid the inside of the print is. A higher infill density results in a stronger print, but it also uses more material and increases print time. A lower infill density results in a faster print with less material, but it also reduces the strength of the print. Common infill densities range from 15% to 50%. The infill pattern also affects the strength and weight of the print. Some common infill patterns include:
Print speed and temperature are closely related. The optimal print speed depends on the material you’re using and the temperature of the hot end and build plate. Printing too fast can lead to poor layer adhesion and warping. Printing too slow can cause stringing and other artifacts. Consult your filament manufacturer’s recommendations for the optimal temperature range. A good starting point for PLA is 200-220°C for the hot end and 60°C for the build plate. For ABS, the recommended temperature range is 230-250°C for the hot end and 80-110°C for the build plate. Experiment with different print speeds to find the sweet spot for your printer and material. Generally, slower speeds result in better quality, especially for overhangs and bridges.
Support structures are temporary structures that are printed to support overhanging features and bridges. Without supports, these features would collapse during printing. Generating effective support structures is crucial for printing complex geometries successfully. Removing the supports cleanly without damaging the model is also an important consideration.
There are several types of support structures, each with its own advantages and disadvantages:
Several settings can be adjusted to optimize support generation:
Even with careful preparation, slicing and printing issues can still arise. Knowing how to troubleshoot these issues can save you time, material, and frustration.
Some common slicing errors include:
Some common printing problems include:
As mentioned earlier, non-manifold meshes are a common source of slicing and printing problems. These meshes contain errors like holes, self-intersections, and flipped normals. Before slicing any STL file, it’s essential to check for and repair these errors. Several software tools can help with this process, including Meshmixer, Netfabb, and online mesh repair services. These tools automatically detect and fix common mesh errors, ensuring that the slicer can generate a valid G-code file. The specific steps for repairing a mesh will vary depending on the software you’re using, but the general process involves importing the STL file, identifying the errors, and applying the appropriate repair functions.
Beyond the basic slicing parameters, there are several advanced techniques that can be used to further enhance print quality and optimize the printing process. These techniques require a deeper understanding of 3D printing principles and can be more complex to implement, but they can yield significant improvements in print quality and efficiency.
Variable layer height allows you to adjust the layer height dynamically during the printing process. This technique is particularly useful for models with both smooth surfaces and intricate details. By using a smaller layer height for the detailed areas and a larger layer height for the smooth surfaces, you can optimize both print quality and print time. Most advanced slicing software offers variable layer height features. The process typically involves identifying the areas of the model that require a smaller layer height and specifying the desired layer height for those areas. This can be done manually or automatically, depending on the software.
Adaptive infill is a technique that adjusts the infill density based on the structural requirements of the model. Areas that require more strength receive a higher infill density, while areas that require less strength receive a lower infill density. This technique can significantly reduce material usage and print time without compromising the overall strength of the print. Adaptive infill is typically implemented using specialized slicing software or plugins. The process involves analyzing the model’s geometry and identifying the areas that require more or less support. The slicer then automatically adjusts the infill density accordingly.
Mastering STL slicing is an ongoing journey of learning and experimentation. By understanding the fundamentals of STL files, choosing the right slicing software, optimizing key parameters, generating effective support structures, and troubleshooting common issues, you can significantly improve the quality and efficiency of your 3D prints. Remember to experiment with different settings and techniques to find what works best for your printer, your materials, and your specific needs.
Platforms like 88cars3d.com offer a fantastic resource for high-quality, printable car models. With the knowledge gained from this guide, you’ll be well-equipped to bring these models to life with stunning detail and precision. Take the time to understand your printer’s capabilities, the properties of your chosen materials, and the nuances of the slicing process. With practice and patience, you’ll be able to produce professional-quality 3D prints that showcase your creativity and technical skills.
Here are some actionable next steps:
“`
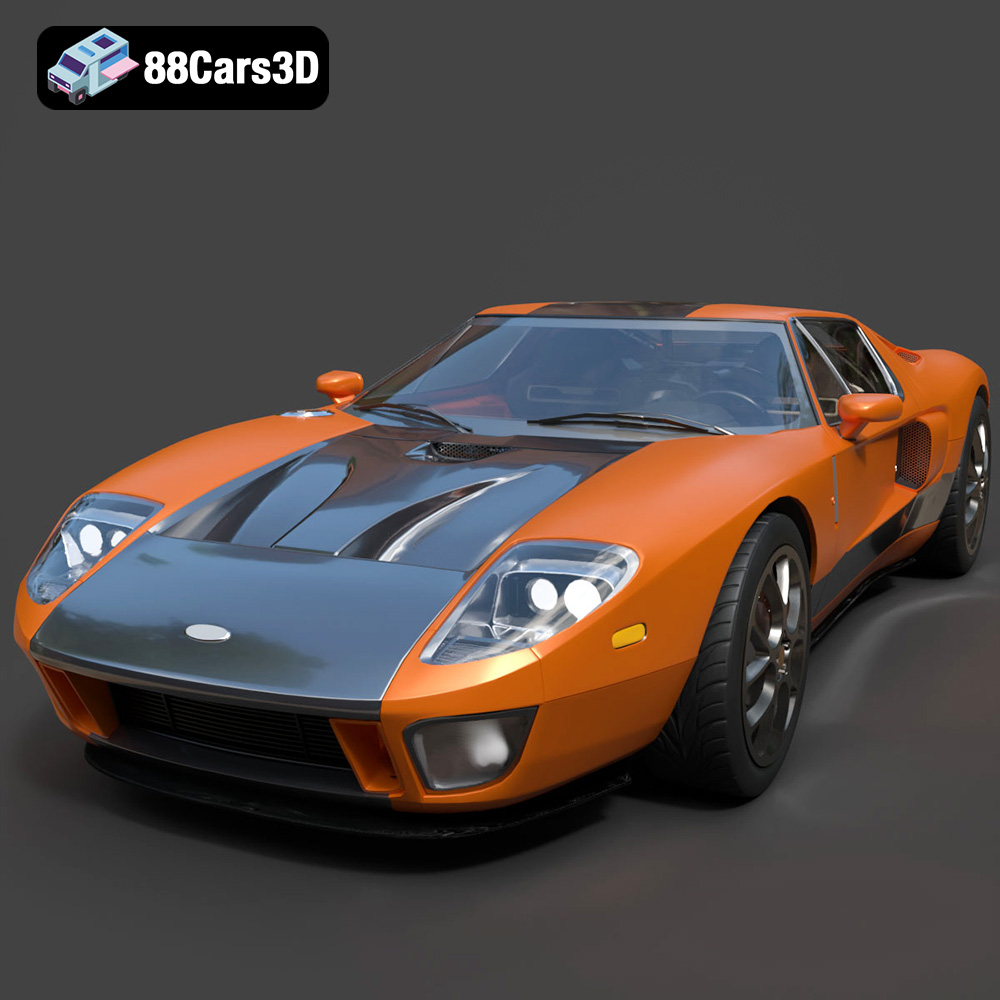
Texture: Yes | Material: Yes
Download the highly detailed, game-ready Ford GT 2005 3D Model. Features signature aerodynamic bodylines, mid-mounted supercharged V8 detailing, and iconic racing stripes. Includes .blend, .fbx, .obj, .glb, .stl, .ply, .unreal, and .max formats for game development, AR/VR, and rendering.
Price: $19.99
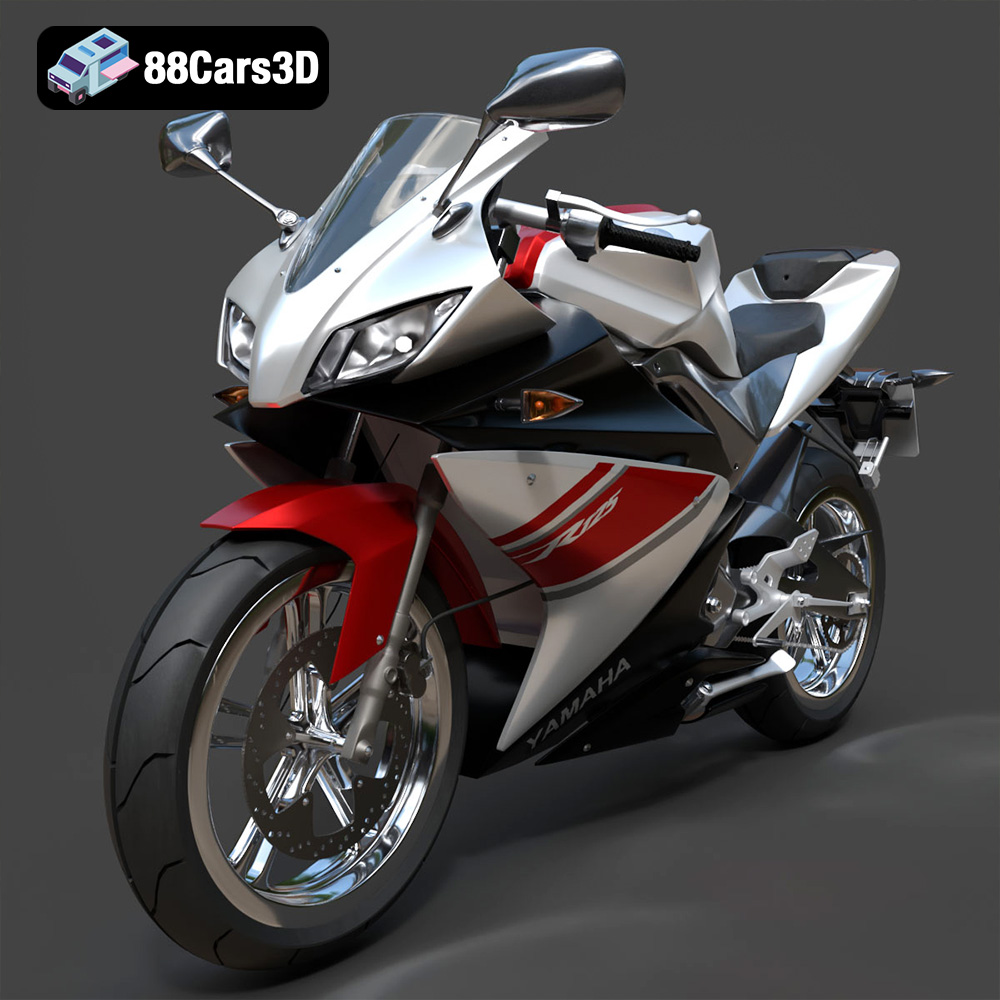
Texture: Yes | Material: Yes
Download the highly detailed, game-ready Yamaha YZF-R125 EU 3D Model. Features an aggressive aerodynamic fairing, twin LED headlights, and a detailed 125cc engine block. Includes .blend, .fbx, .obj, .glb, .stl, .ply, .unreal, and .max formats for game development, AR/VR, and rendering.
Price: $19.99
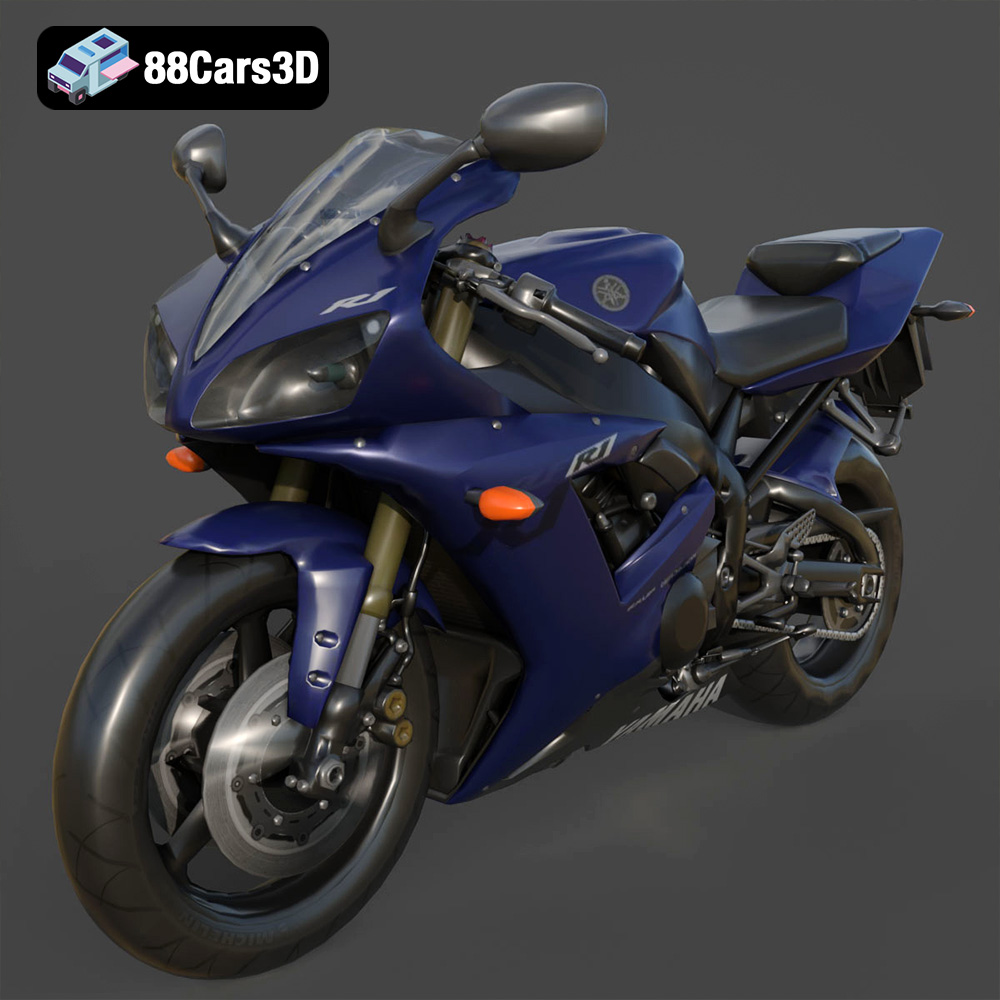
Texture: Yes | Material: Yes
Download the highly detailed, game-ready Yamaha R1 3D Model. Features aggressive aerodynamic fairings, a detailed crossplane inline-4 engine, and track-focused suspension geometry. Includes .blend, .fbx, .obj, .glb, .stl, .ply, .unreal, and .max formats for game development, AR/VR, and rendering.
Price: $19.99
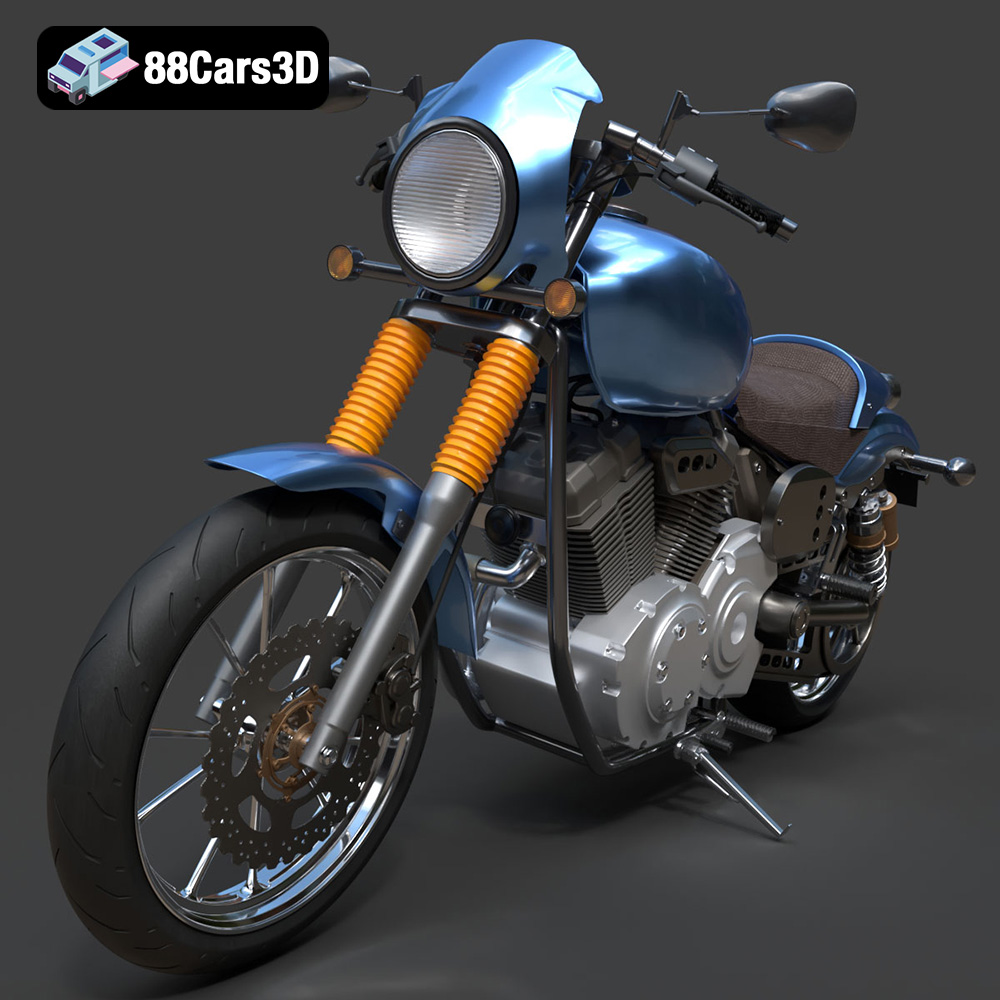
Texture: Yes | Material: Yes
Download the highly detailed, game-ready Yamaha XV950 Racer 3D Model. Features an aggressive cafe-racer front cowl, detailed air-cooled V-twin engine, and classic retro styling. Includes .blend, .fbx, .obj, .glb, .stl, .ply, .unreal, and .max formats for game development, AR/VR, and rendering.
Price: $19.99

Texture: Yes | Material: Yes
Download the highly detailed, game-ready Volvo VNL Tractor Truck 2002 3D Model. Features iconic aerodynamic styling, detailed fifth-wheel coupling, and heavy-duty chassis. Includes .blend, .fbx, .obj, .glb, .stl, .ply, .unreal, and .max formats for game development, AR/VR, and rendering.
Price: $39.99
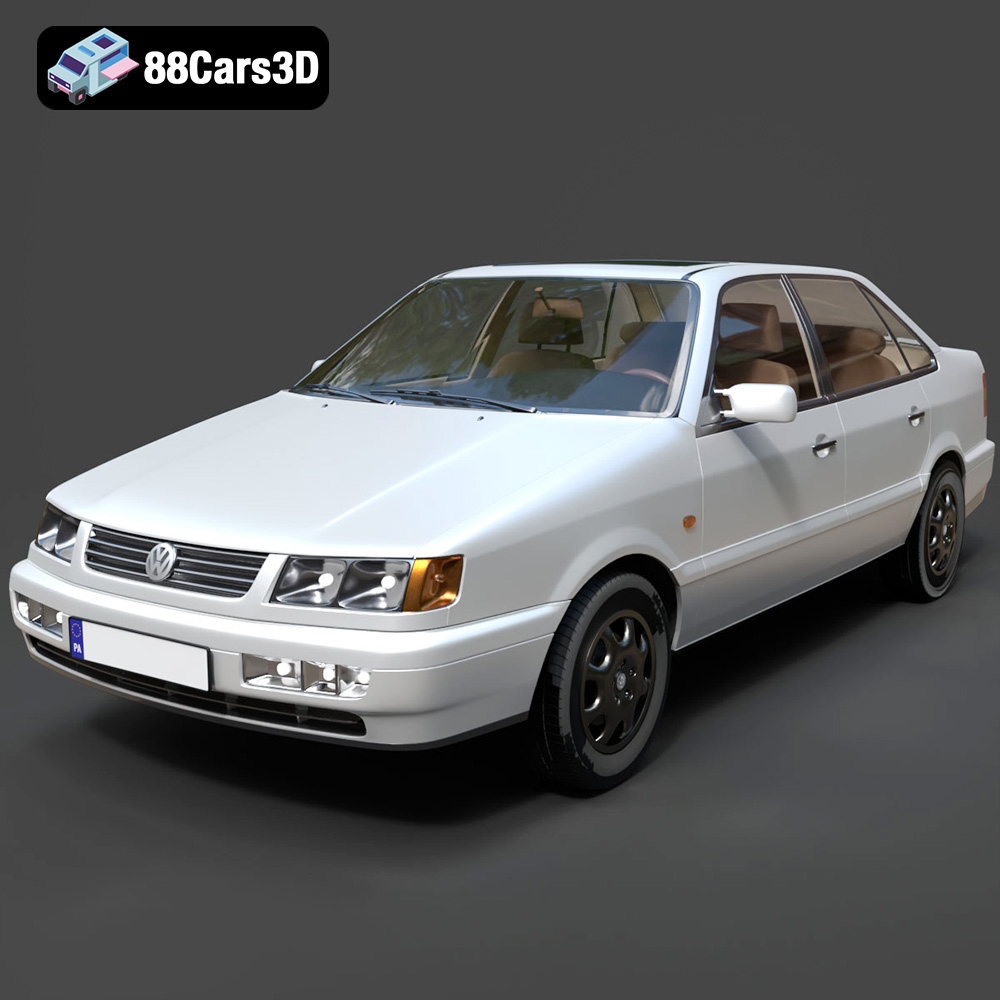
Texture: Yes | Material: Yes
Download the highly detailed, game-ready Volkswagen Passat Mk4 B4 Sedan 1993 3D Model. Features accurate 90s sedan styling, detailed front grille-less fascia, and a classic interior setup. Includes .blend, .fbx, .obj, .glb, .stl, .ply, .unreal, and .max formats for game development, AR/VR, and rendering.
Price: $39.99

Texture: Yes | Material: Yes
Download the highly detailed, game-ready Volkswagen Jetta GLI 2019 3D Model. Features an aggressive honeycomb grille with red accents, sleek aerodynamic profile, and exclusive GLI sport wheels. Includes .blend, .fbx, .obj, .glb, .stl, .ply, .unreal, and .max formats for game development, AR/VR, and rendering.
Price: $39.99
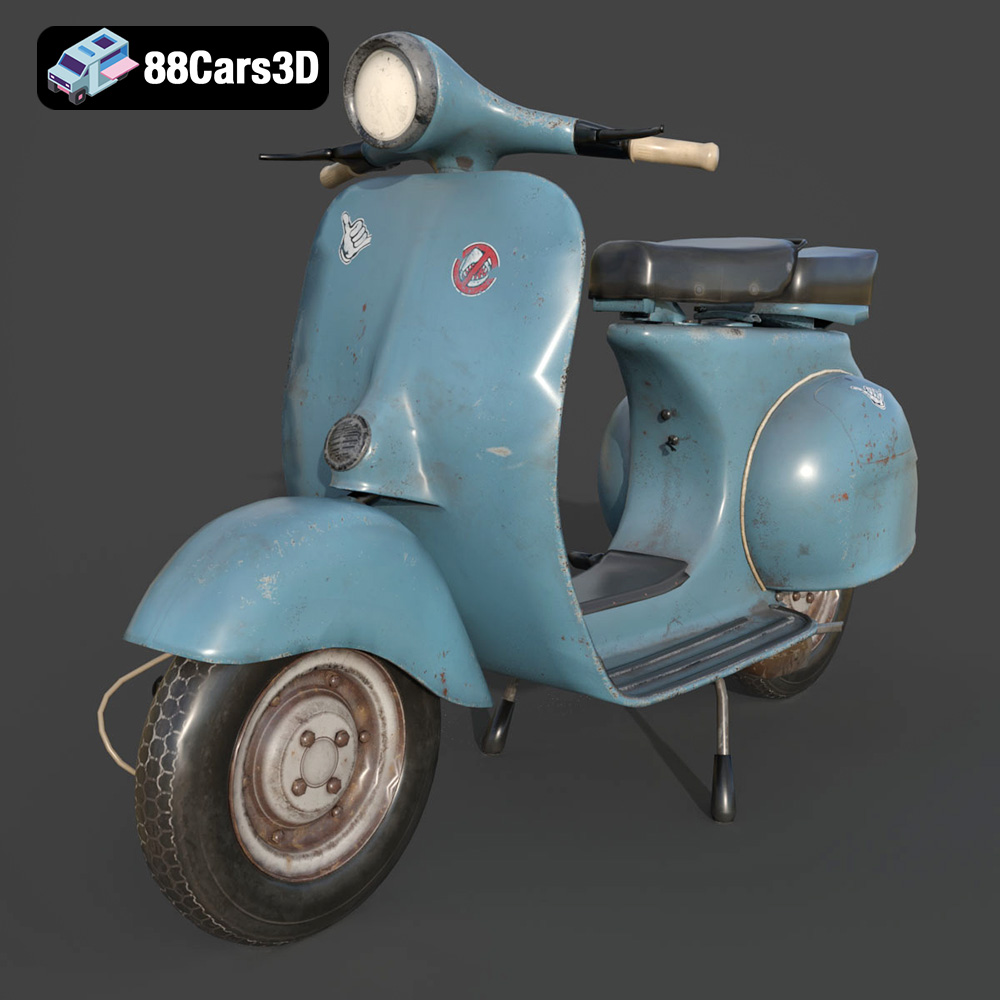
Texture: Yes | Material: Yes
Download the highly detailed, game-ready Vintage Vespa 3D Model. Features iconic rounded monocoque styling, classic saddle, and chrome accents. Includes .blend, .fbx, .obj, .glb, .stl, .ply, .unreal, and .max formats for game development, AR/VR, and rendering.
Price: $39.99

Texture: Yes | Material: Yes
Download the highly detailed, game-ready Vespa GS 150 3D Model. Features elegant aerodynamic curves, classic leg shield, and detailed engine casing. Includes .blend, .fbx, .obj, .glb, .stl, .ply, .unreal, and .max formats for game development, AR/VR, and rendering.
Price: $39.99
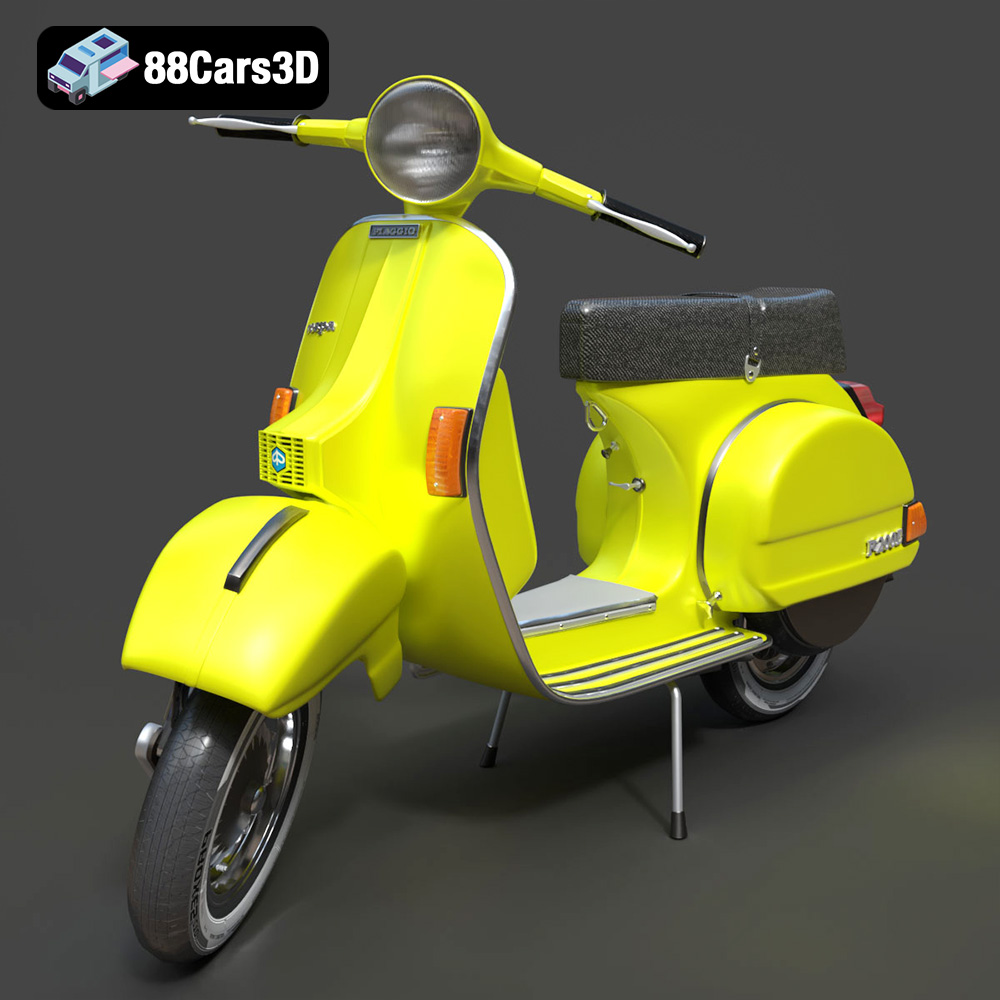
Texture: Yes | Material: Yes
Download the highly detailed, game-ready Vespa P200E 3D Model. Features classic vintage styling, accurate step-through frame geometry, and authentic detailing. Includes .blend, .fbx, .obj, .glb, .stl, .ply, .unreal, and .max formats for game development, AR/VR, and rendering.
Price: $39.99

