Get 20% OFF All Premium 3D & STL Models!

“`html
The world of 3D printing has opened up incredible possibilities for automotive enthusiasts, model collectors, and hobbyists. From creating scale models of classic cars to prototyping new designs, the ability to bring virtual designs into the physical realm is truly transformative. However, achieving stunningly detailed vehicle models requires selecting the right 3D printer and mastering the nuances of printing. This guide will explore the best 3D printers for creating detailed vehicle models, covering both FDM (Fused Deposition Modeling) and resin technologies, alongside essential tips and techniques for achieving optimal results. Whether you’re a seasoned 3D printing expert or just starting your journey, this comprehensive overview will empower you to create breathtakingly realistic vehicle models.
In this article, you will learn about:
The first crucial decision in 3D printing vehicle models is choosing between FDM and resin 3D printing. Each technology offers unique advantages and disadvantages, impacting the final quality, detail, and cost of your prints. Understanding these differences is key to selecting the right printer for your specific needs and preferences.
FDM printers work by extruding molten plastic filament, layer by layer, to build a 3D object. They are known for their versatility in material selection (PLA, PETG, ABS, etc.), affordability, and relatively large build volumes. FDM printing is a great option for larger car models or parts where extreme detail isn’t critical. For example, you might use an FDM printer to create a chassis or interior components, then use resin for the exterior body panels. Common layer heights for FDM printing car models range from 0.1mm to 0.2mm. PLA is a popular choice for its ease of printing and biodegradability, while ABS offers greater heat resistance for models that might be exposed to sunlight.
Resin printers, on the other hand, utilize liquid resin cured by UV light to create highly detailed and precise objects. This technology excels in producing smooth surfaces, intricate features, and fine details, making it ideal for complex vehicle models where accuracy is paramount. Resin printers are perfect for smaller scale models or intricate parts such as emblems, grilles, and detailed interior components. Layer heights as low as 0.02mm are achievable, resulting in near-flawless surface finishes. However, resin printing typically involves a smaller build volume and requires more meticulous post-processing, including washing and curing, due to the nature of the resin material.
Selecting the right FDM printer is crucial for achieving good results. Several models stand out for their reliability, precision, and features that benefit vehicle model printing. These printers offer a good balance of performance, price, and ease of use.
The Prusa i3 MK3S+ is a highly regarded FDM printer known for its reliability, consistent performance, and open-source design. It features automatic bed leveling, a sturdy frame, and a large community support network. For printing car models, its consistent extrusion and precise movement are key to achieving accurate shapes and minimizing layer lines. Consider using a 0.4mm nozzle for general-purpose printing and experimenting with a 0.25mm nozzle for finer details. Print speeds around 40-60mm/s are recommended for optimal quality.
The Creality Ender 3 V2 is a popular choice for budget-conscious users. Despite its affordability, it offers a decent build volume and can be significantly upgraded with aftermarket parts to improve its performance. Upgrades such as a direct drive extruder and a more robust bed leveling system can significantly enhance its ability to print intricate car models. This makes it a great option for learning and experimenting without breaking the bank. Experiment with different infill patterns like gyroid or cubic for a balance of strength and print time, typically around 15-20% infill.
For users seeking professional-grade performance and reliability, the Ultimaker S3 is an excellent option. This printer features dual extrusion capabilities, allowing for printing with multiple materials or support structures. Its precise temperature control, enclosed build chamber, and advanced features make it suitable for printing complex vehicle models with excellent accuracy and surface finish. This printer is ideal for printing with materials like ABS or Nylon, which require higher temperatures and a controlled environment. Ultimaker also offers excellent software integration, making the slicing process seamless and intuitive.
Resin printers are the go-to choice for achieving exceptional detail and smooth surfaces. Several models have gained popularity among hobbyists and professionals for their performance and user-friendly features.
The Anycubic Photon Mono X offers a large build volume compared to other resin printers, making it possible to print larger car models or multiple parts simultaneously. Its monochrome LCD screen allows for faster curing times, reducing overall print time. The printer is known for its user-friendly interface and ease of use, making it a great option for beginners. Layer heights of 0.05mm or even 0.025mm are easily achievable, rendering stunning details on small-scale car models. Always ensure proper ventilation when working with resin printers and wear appropriate personal protective equipment (PPE).
The Elegoo Mars 3 Pro is another popular choice, known for its excellent detail and affordability. Its compact design and user-friendly interface make it a great option for hobbyists. The printer’s high-resolution LCD screen and stable Z-axis ensure consistent print quality, even for intricate vehicle models. Experimenting with different resin types, such as ABS-like resins, can improve the durability and impact resistance of your printed models. The Elegoo Mars series are well-supported, with a wealth of online resources and community support available.
The Formlabs Form 3 is a professional-grade resin printer that offers exceptional detail, accuracy, and reliability. Its advanced Low Force Stereolithography (LFS) technology minimizes support structures and allows for printing complex geometries with minimal distortion. While it comes at a higher price point, the Form 3 delivers unmatched print quality and is ideal for producing high-end vehicle models. Formlabs offers a range of specialized resins tailored for different applications, including high-temperature resins for simulating automotive parts and flexible resins for creating rubber-like components. This printer is often used in professional prototyping and model-making environments.
Proper slicing and support generation are critical for successful 3D printing, especially for complex vehicle models. The slicing software converts the STL file into a series of layers that the printer can understand, while support structures provide temporary scaffolding to prevent overhangs from collapsing during printing. Platforms like 88cars3d.com offer print-ready STL files, but mastering slicing techniques is crucial for optimal results.
Optimizing slicer settings is essential for achieving the desired level of detail and surface finish. Key parameters to consider include layer height, print speed, infill density, and temperature. Lower layer heights (e.g., 0.1mm or lower for FDM, 0.05mm or lower for resin) result in smoother surfaces and finer details but increase print time. Slower print speeds generally improve print quality, especially for intricate features. Infill density affects the strength and weight of the model; for vehicle models, a moderate infill density (e.g., 15-25% for FDM) is typically sufficient. Temperature settings depend on the material being used and should be adjusted based on the manufacturer’s recommendations. Popular slicers include Cura, PrusaSlicer, and Simplify3D.
Support structures are crucial for printing overhangs and complex geometries. However, poorly designed support structures can be difficult to remove and leave unsightly marks on the finished model. It’s important to carefully consider the placement and type of support structures. Tree supports, for example, offer better support with less material and are easier to remove than traditional linear supports. When slicing, adjust support density and interface layers to find a balance between sufficient support and ease of removal. In Cura, experiment with the “Support Placement” setting to target overhangs specifically. For resin printing, consider using pre-supported models or manually adding supports in software like Chitubox or Lychee Slicer.
Print orientation plays a significant role in the success and quality of the print. Choosing the right orientation can minimize the need for support structures, improve surface finish, and enhance the structural integrity of the model. Consider the direction of the layers and how they will affect the appearance and strength of the finished model. Bed adhesion is also critical, especially for FDM printing. Ensure that the print bed is clean and level, and use appropriate bed adhesion methods such as a brim or raft to prevent warping or detachment during printing. For resin printing, ensure the build plate is properly calibrated and the first few layers are exposed for a longer duration to ensure good adhesion.
Post-processing is the final step in creating stunning vehicle models. It involves cleaning, sanding, painting, and assembling the printed parts to achieve a realistic and polished look. Mastering these techniques can significantly enhance the visual appeal of your models. When downloading models from marketplaces such as 88cars3d.com, knowing post-processing can truly elevate your final product.
The first step in post-processing is to remove any support structures. For FDM prints, use pliers, cutters, or a sharp knife to carefully remove the supports. Take your time and avoid damaging the model. For resin prints, wash the model in isopropyl alcohol (IPA) to remove any uncured resin. Use a soft brush to gently scrub the surface. After washing, cure the model under UV light to fully harden the resin. This process can be done using a dedicated curing station or by placing the model in direct sunlight.
Sanding is essential for smoothing out layer lines and imperfections on the surface of the model. Start with coarse-grit sandpaper (e.g., 220-grit) and gradually move to finer grits (e.g., 400-grit, 600-grit, 800-grit) to achieve a smooth finish. Wet sanding can help to minimize dust and improve the smoothness of the surface. For hard-to-reach areas, use small sanding sponges or files. Applying a primer after sanding can help to fill in any remaining imperfections and provide a better surface for painting.
Painting is the final touch that brings your vehicle model to life. Use high-quality acrylic paints designed for model making. Apply multiple thin coats of paint to avoid drips and runs. Use masking tape to create sharp lines and define different areas of the model. Consider using an airbrush for a smoother and more even finish. Detailing can be done using fine brushes, decals, and weathering techniques to add realism and character to your model. Applying a clear coat after painting will protect the finish and add a glossy or matte sheen.
Choosing the right material and calibrating your printer are vital for achieving optimal results. The material affects the strength, appearance, and durability of the model, while printer calibration ensures accurate and consistent prints.
FDM printers offer a wide range of materials to choose from, including PLA, PETG, ABS, Nylon, and more. PLA is easy to print and biodegradable, making it a good choice for beginners. PETG is stronger and more flexible than PLA, with better heat resistance. ABS is known for its durability and heat resistance but requires a heated bed and enclosure to prevent warping. Nylon is a strong and flexible material ideal for functional parts. For resin printers, options include standard resins, ABS-like resins, flexible resins, and high-temperature resins. Each resin type has different properties and is suitable for different applications. Consider the intended use of the model when selecting a material.
Proper printer calibration is essential for achieving accurate and consistent prints. This includes leveling the print bed, adjusting the Z-offset, and calibrating the extruder. Bed leveling ensures that the nozzle is at the correct distance from the print bed across the entire surface. Z-offset adjusts the initial layer height for optimal adhesion. Extruder calibration ensures that the correct amount of filament is being extruded. Follow the manufacturer’s instructions for calibrating your printer. Regular maintenance, such as cleaning the nozzle and lubricating the moving parts, will also help to maintain print quality.
3D printing can sometimes be challenging, and it’s important to be able to troubleshoot common printing issues. These issues can include warping, stringing, under-extrusion, over-extrusion, and layer adhesion problems. Warping can be caused by poor bed adhesion or temperature fluctuations. Stringing is caused by excess filament oozing from the nozzle during travel moves. Under-extrusion is caused by insufficient filament being extruded, while over-extrusion is caused by too much filament being extruded. Layer adhesion problems can be caused by insufficient bed temperature or poor bed leveling. Researching common issues and their solutions online can save you time and frustration.
Creating detailed vehicle models with 3D printing is an exciting and rewarding endeavor. By understanding the differences between FDM and resin printing, choosing the right printer and materials, mastering slicing techniques, and perfecting post-processing methods, you can unlock the full potential of 3D printing and bring your automotive visions to life. Remember to carefully calibrate your printer, experiment with different settings, and continuously refine your techniques to achieve the best possible results. Now, armed with this knowledge, you are well-equipped to embark on your 3D printing journey and create breathtakingly realistic vehicle models. Start exploring the possibilities today and bring your passion for cars to the physical world!
The key takeaways from this guide include:
“`
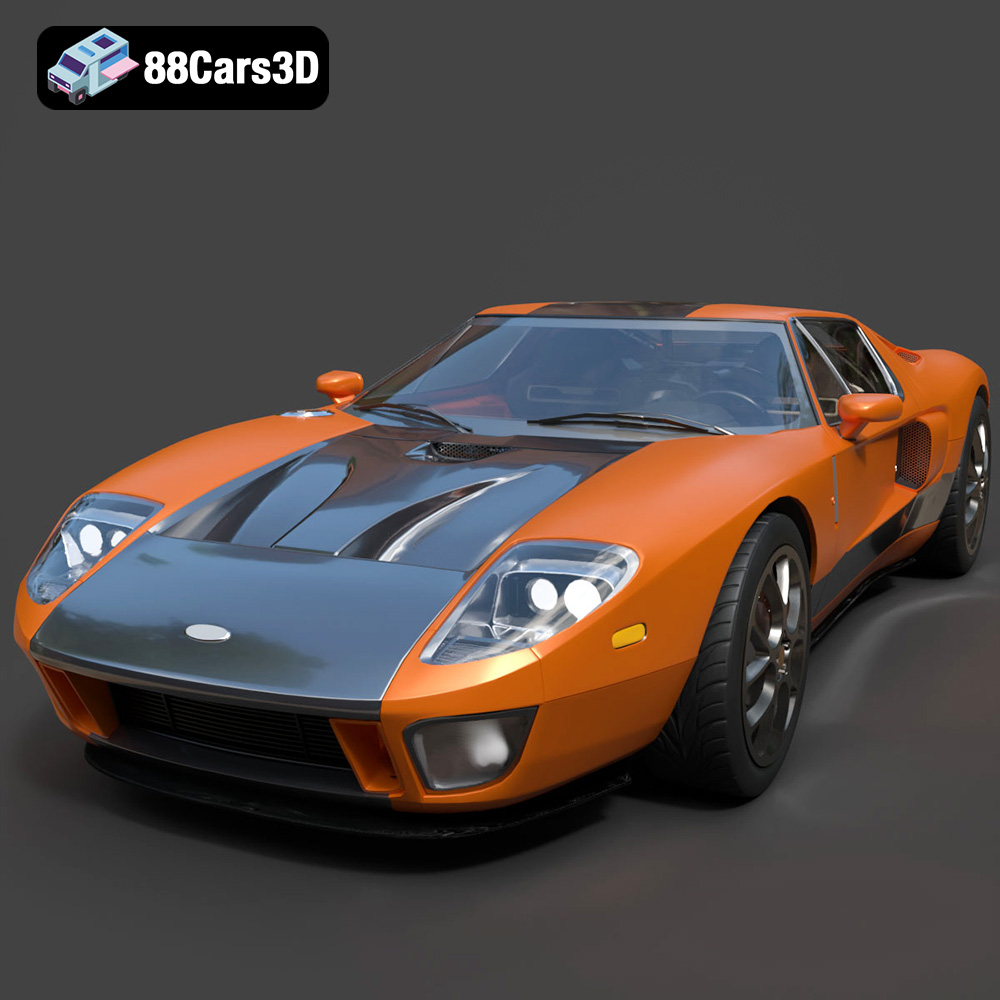
Texture: Yes | Material: Yes
Download the highly detailed, game-ready Ford GT 2005 3D Model. Features signature aerodynamic bodylines, mid-mounted supercharged V8 detailing, and iconic racing stripes. Includes .blend, .fbx, .obj, .glb, .stl, .ply, .unreal, and .max formats for game development, AR/VR, and rendering.
Price: $19.99
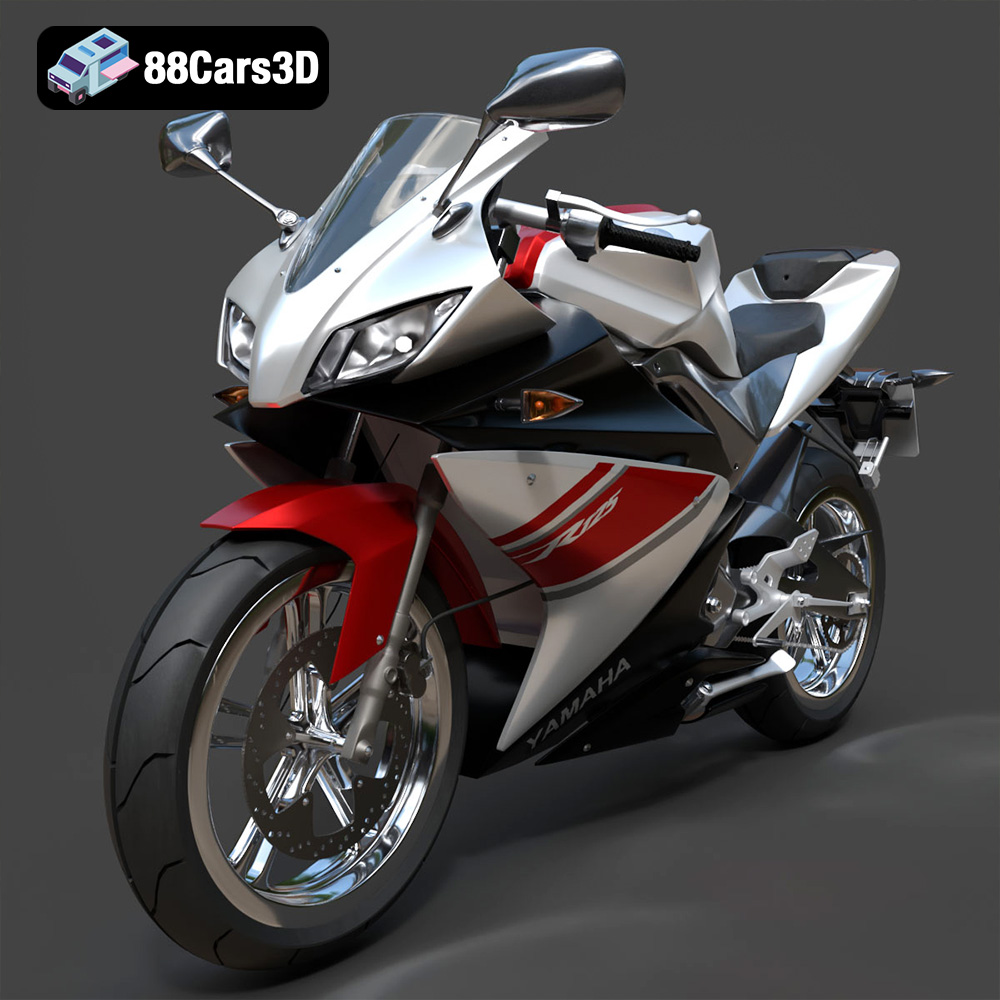
Texture: Yes | Material: Yes
Download the highly detailed, game-ready Yamaha YZF-R125 EU 3D Model. Features an aggressive aerodynamic fairing, twin LED headlights, and a detailed 125cc engine block. Includes .blend, .fbx, .obj, .glb, .stl, .ply, .unreal, and .max formats for game development, AR/VR, and rendering.
Price: $19.99
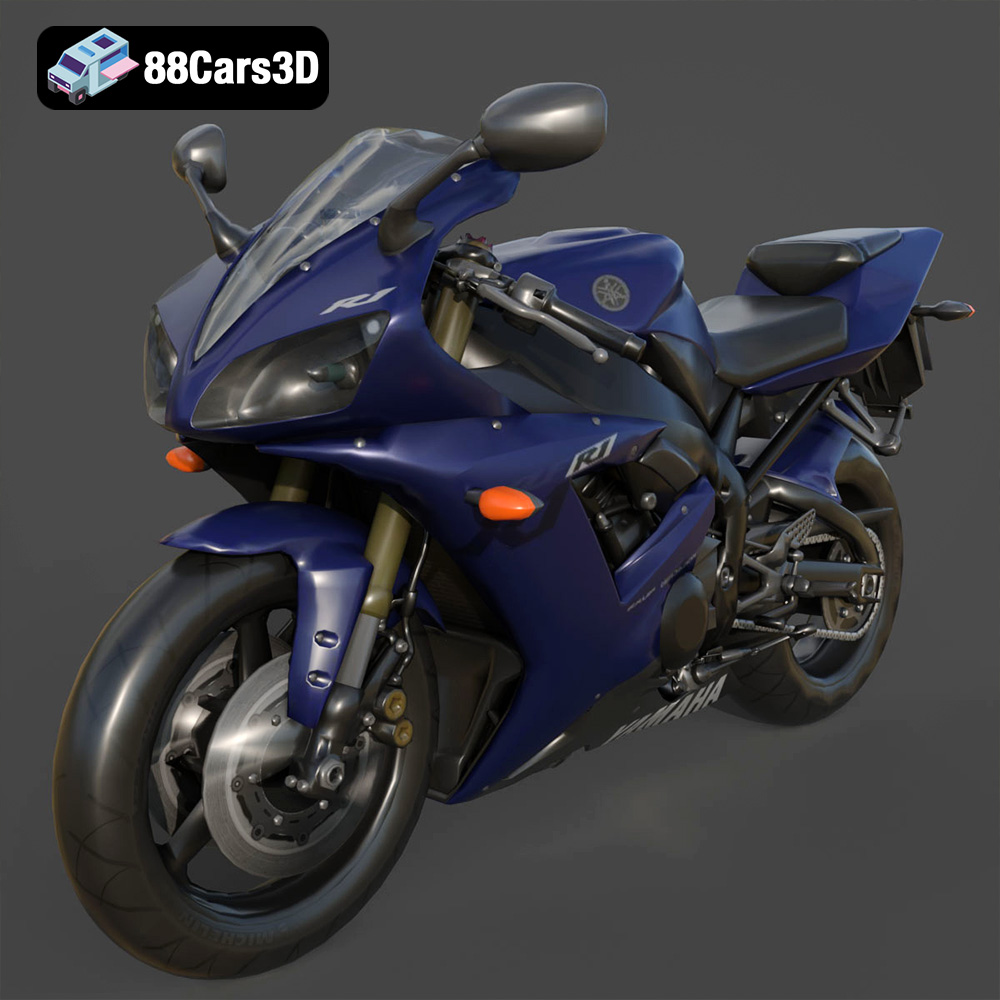
Texture: Yes | Material: Yes
Download the highly detailed, game-ready Yamaha R1 3D Model. Features aggressive aerodynamic fairings, a detailed crossplane inline-4 engine, and track-focused suspension geometry. Includes .blend, .fbx, .obj, .glb, .stl, .ply, .unreal, and .max formats for game development, AR/VR, and rendering.
Price: $19.99
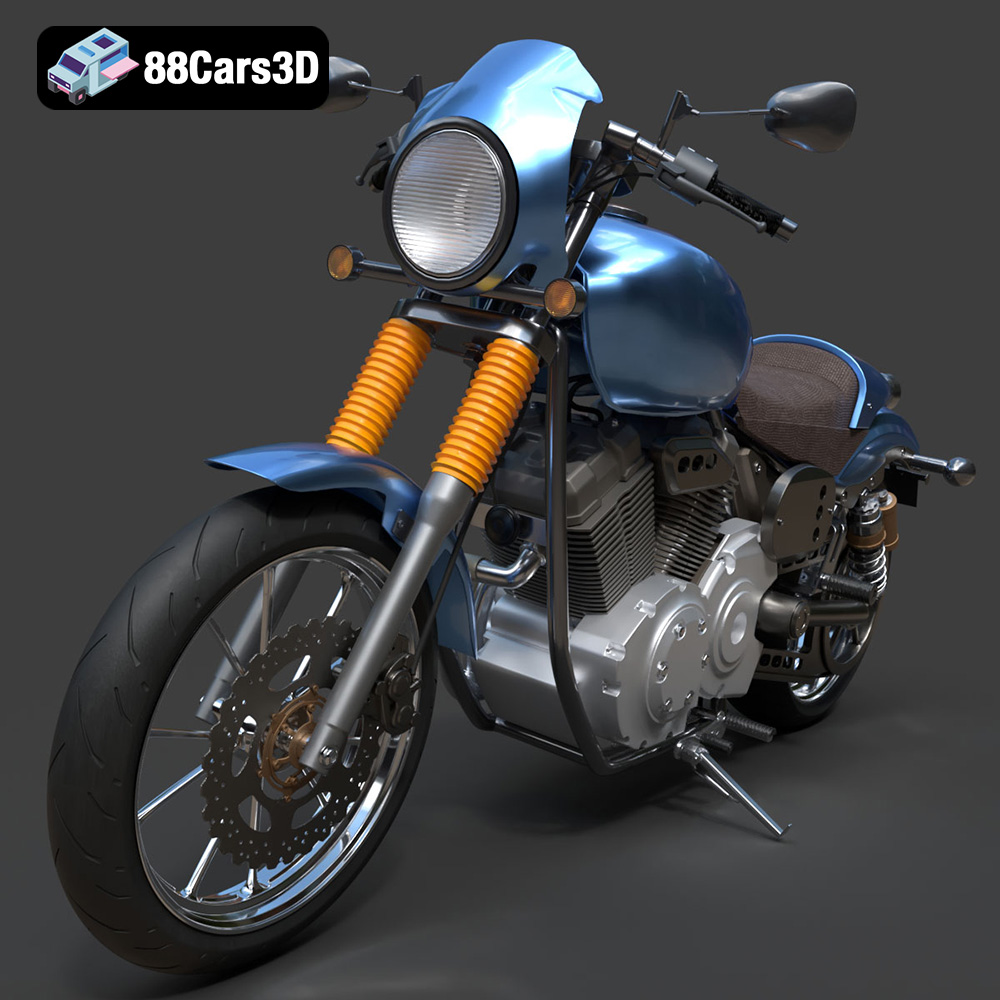
Texture: Yes | Material: Yes
Download the highly detailed, game-ready Yamaha XV950 Racer 3D Model. Features an aggressive cafe-racer front cowl, detailed air-cooled V-twin engine, and classic retro styling. Includes .blend, .fbx, .obj, .glb, .stl, .ply, .unreal, and .max formats for game development, AR/VR, and rendering.
Price: $19.99

Texture: Yes | Material: Yes
Download the highly detailed, game-ready Volvo VNL Tractor Truck 2002 3D Model. Features iconic aerodynamic styling, detailed fifth-wheel coupling, and heavy-duty chassis. Includes .blend, .fbx, .obj, .glb, .stl, .ply, .unreal, and .max formats for game development, AR/VR, and rendering.
Price: $39.99
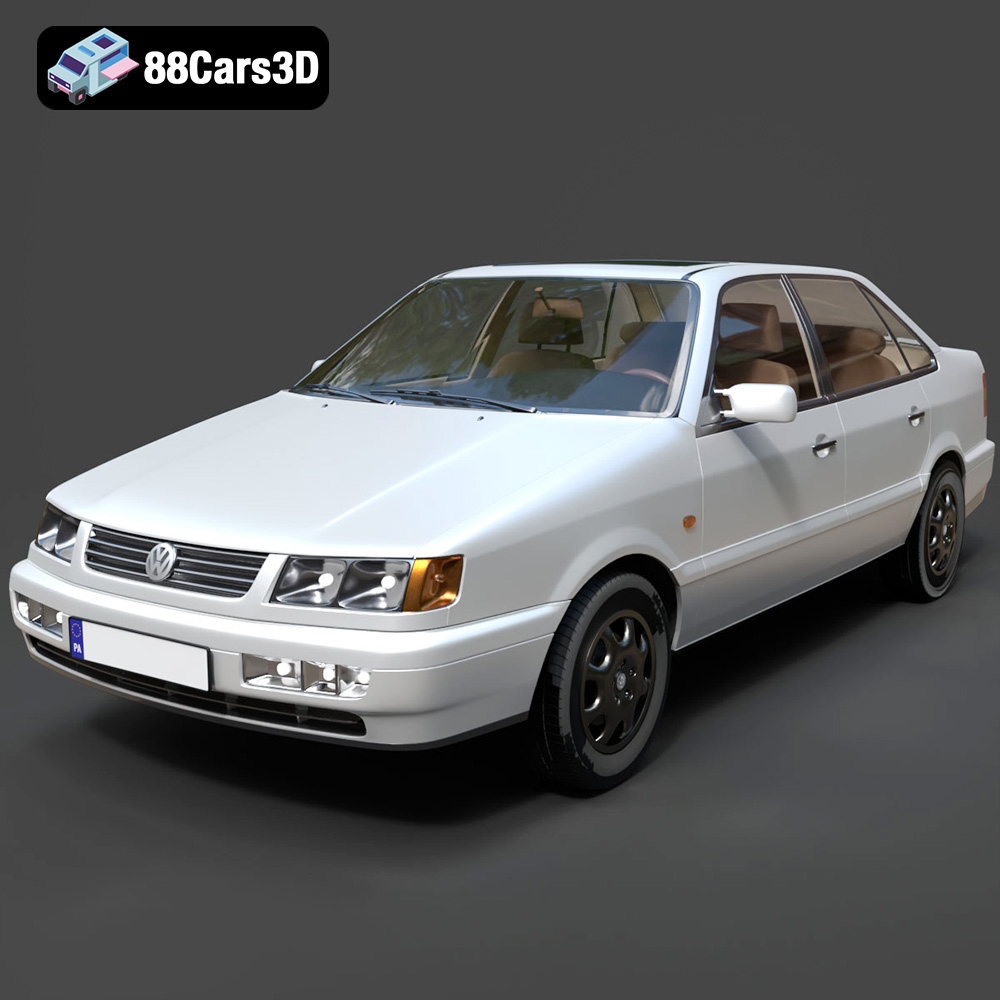
Texture: Yes | Material: Yes
Download the highly detailed, game-ready Volkswagen Passat Mk4 B4 Sedan 1993 3D Model. Features accurate 90s sedan styling, detailed front grille-less fascia, and a classic interior setup. Includes .blend, .fbx, .obj, .glb, .stl, .ply, .unreal, and .max formats for game development, AR/VR, and rendering.
Price: $39.99
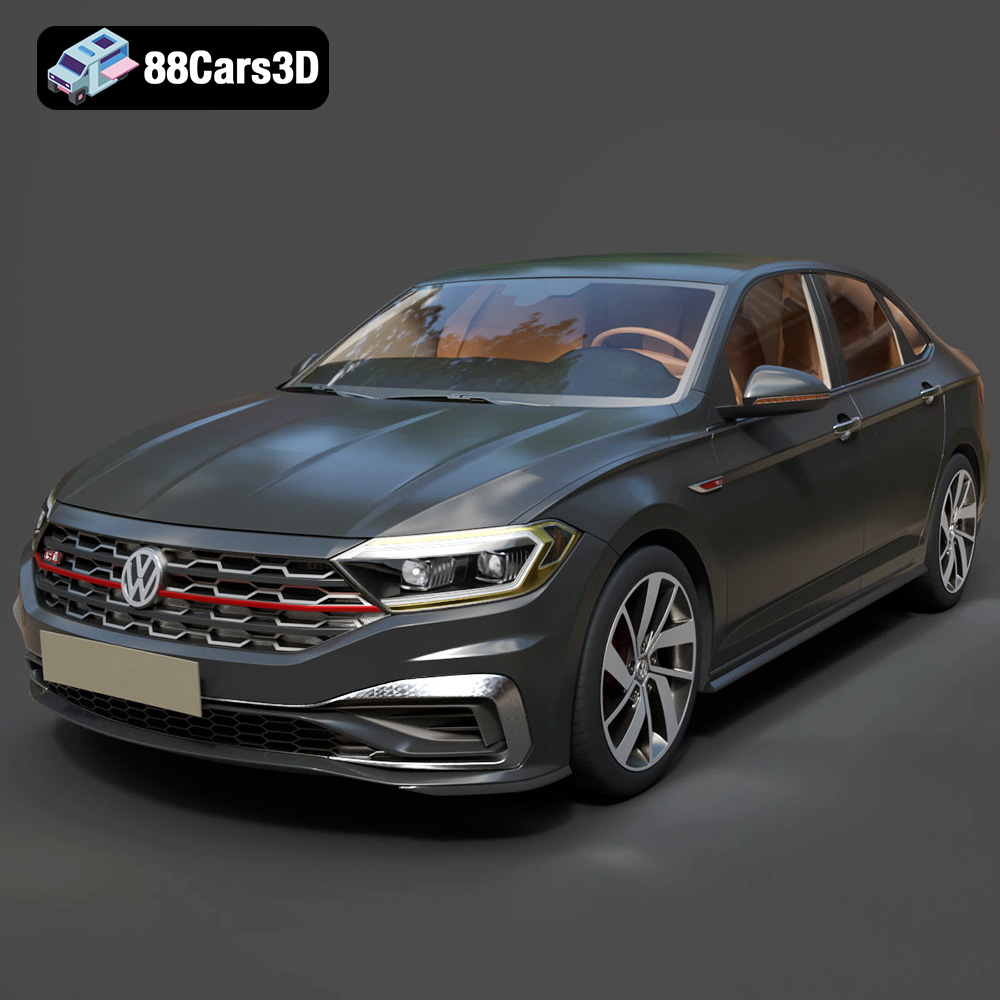
Texture: Yes | Material: Yes
Download the highly detailed, game-ready Volkswagen Jetta GLI 2019 3D Model. Features an aggressive honeycomb grille with red accents, sleek aerodynamic profile, and exclusive GLI sport wheels. Includes .blend, .fbx, .obj, .glb, .stl, .ply, .unreal, and .max formats for game development, AR/VR, and rendering.
Price: $39.99
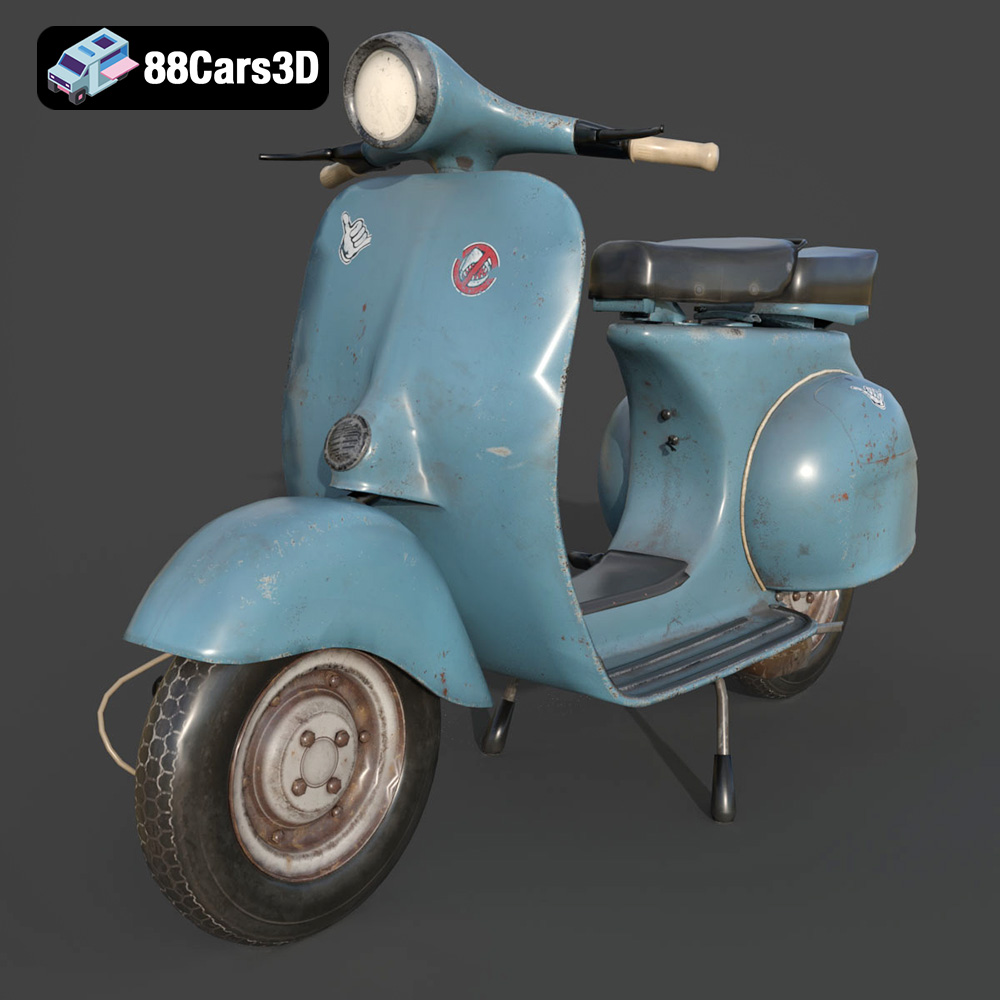
Texture: Yes | Material: Yes
Download the highly detailed, game-ready Vintage Vespa 3D Model. Features iconic rounded monocoque styling, classic saddle, and chrome accents. Includes .blend, .fbx, .obj, .glb, .stl, .ply, .unreal, and .max formats for game development, AR/VR, and rendering.
Price: $39.99

Texture: Yes | Material: Yes
Download the highly detailed, game-ready Vespa GS 150 3D Model. Features elegant aerodynamic curves, classic leg shield, and detailed engine casing. Includes .blend, .fbx, .obj, .glb, .stl, .ply, .unreal, and .max formats for game development, AR/VR, and rendering.
Price: $39.99
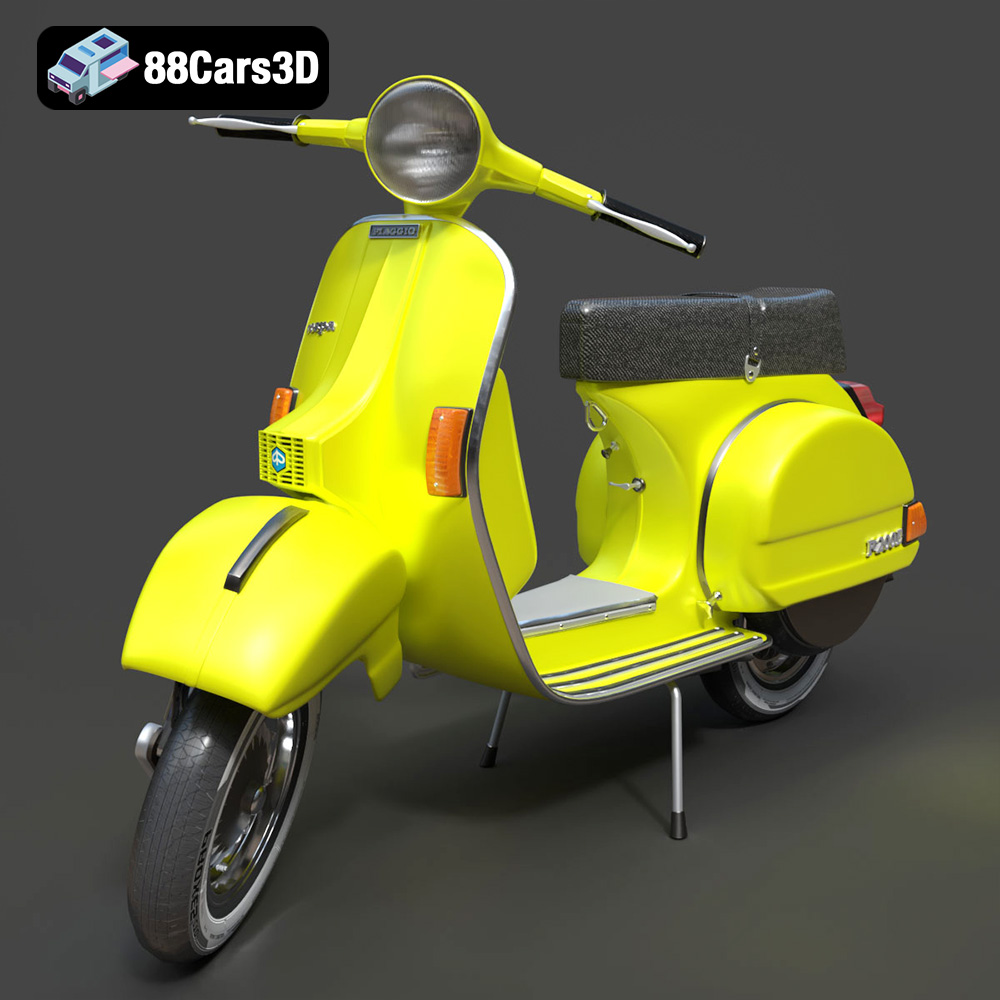
Texture: Yes | Material: Yes
Download the highly detailed, game-ready Vespa P200E 3D Model. Features classic vintage styling, accurate step-through frame geometry, and authentic detailing. Includes .blend, .fbx, .obj, .glb, .stl, .ply, .unreal, and .max formats for game development, AR/VR, and rendering.
Price: $39.99

