Get 20% OFF All Premium 3D & STL Models!

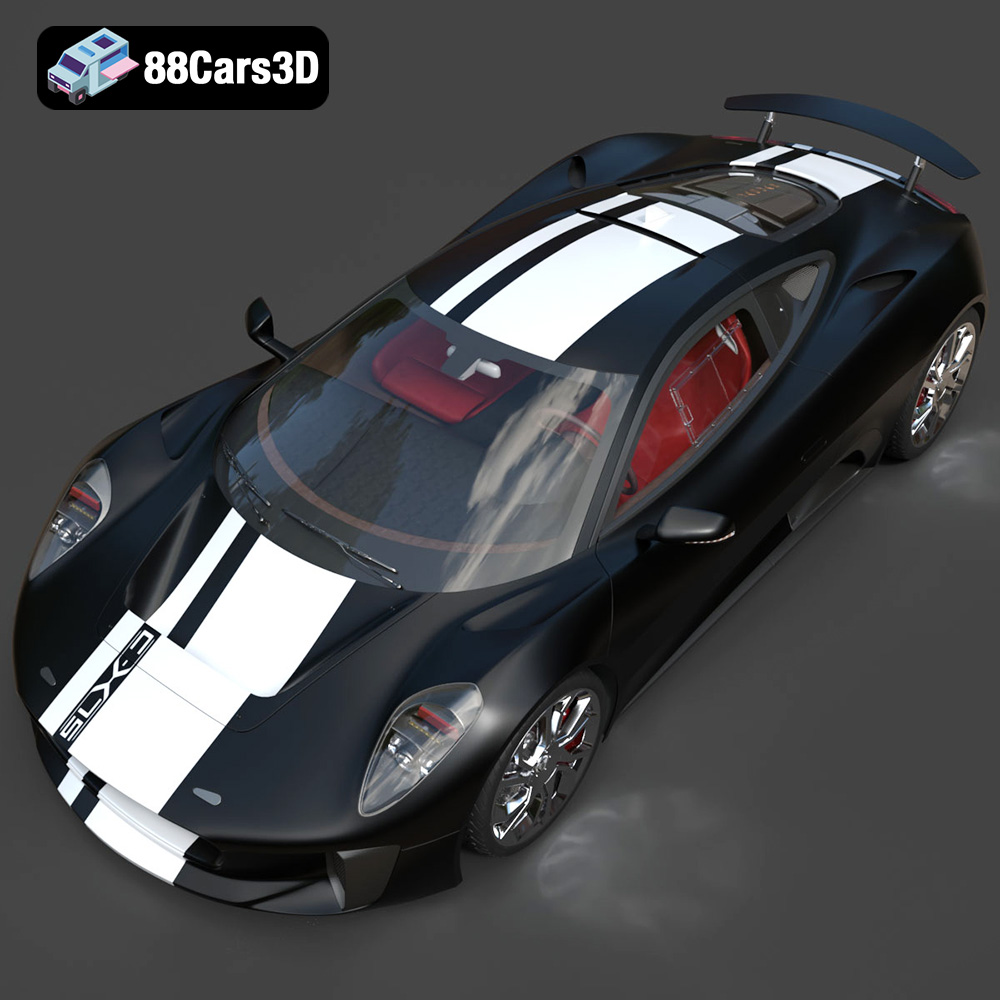
The Jaguar C-X75 2014, a stunning hybrid-electric concept car, is a dream for automotive enthusiasts. Now, thanks to 88cars3d.com, you can bring this dream to life with a highly detailed 3D model optimized for various applications, including 3D printing. This guide will walk you through the process of successfully 3D printing your own Jaguar C-X75, covering everything from pre-print preparation to post-processing techniques. Whether you’re a seasoned 3D printing expert or a beginner, this comprehensive guide will provide the knowledge needed to create a stunning replica of this iconic vehicle.
Before diving into the specifics of printing the Jaguar C-X75, it’s crucial to understand the different file formats available and which ones are best suited for 3D printing. The model comes in several formats, each designed for different purposes, but for 3D printing, the .stl format is your primary focus.
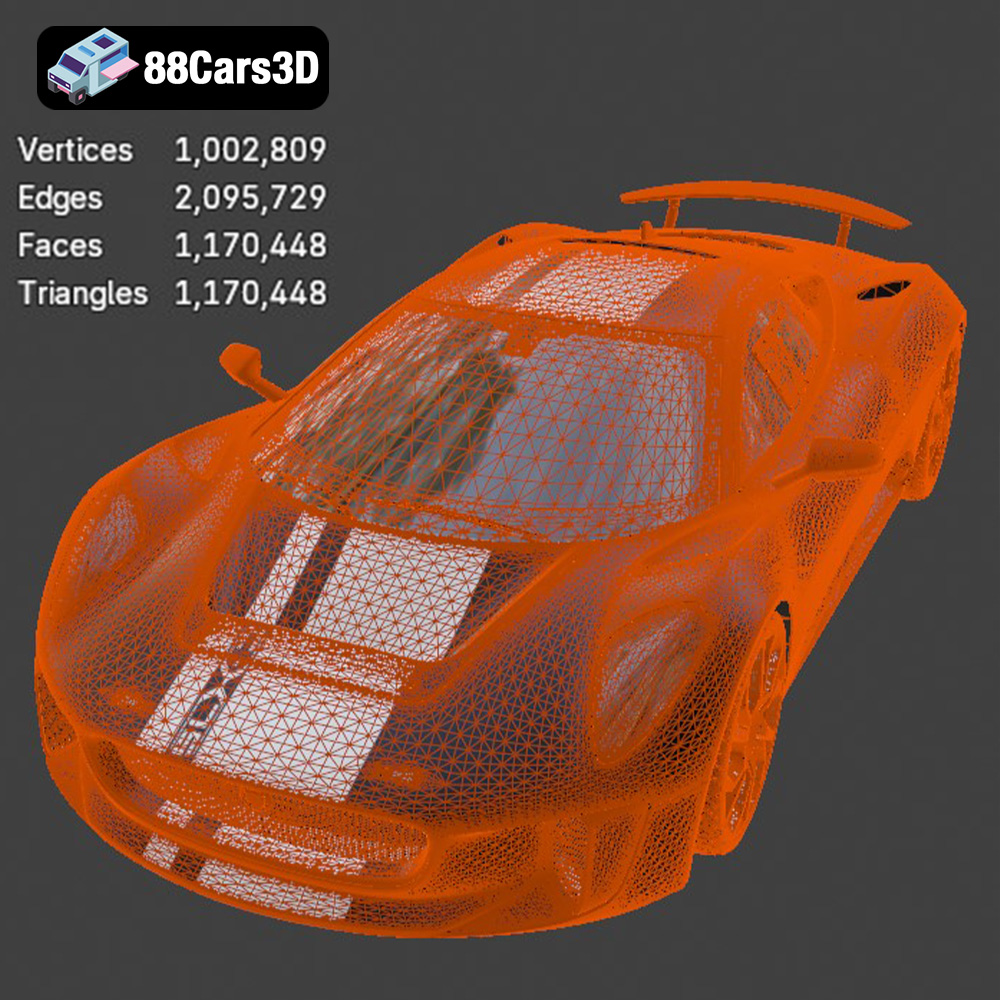
The .stl (Stereolithography) file format is the industry standard for 3D printing. It represents the surface geometry of a 3D object using a mesh of triangles. This simplicity makes it universally compatible with slicing software and 3D printers. The Jaguar C-X75 model available on 88cars3d.com includes an .stl file specifically optimized for 3D printing. It’s crucial to ensure the .stl file is well-formed (watertight) with no holes or self-intersecting faces before printing to avoid errors.
The .obj (Object) format is another widely used 3D model format. Unlike .stl, .obj files can store color and texture information. While some 3D printers can handle multi-material or color printing using .obj files, it’s less common than using dedicated color printing technologies. For the Jaguar C-X75, the .obj file is more suitable for rendering and visualization purposes unless you plan to apply custom painting and detailing after printing.
The .ply (Polygon File Format) is designed to store 3D data from scanners and other high-resolution sources. It supports more complex polygon structures than .stl, allowing for the capture of finer details. While .ply can be used for 3D printing, it may require more processing power and can result in larger file sizes. Ensure your slicing software can efficiently handle .ply files if you choose to use this format for the Jaguar C-X75.
The .blend file is the native format for Blender, a popular open-source 3D modeling software. This format allows you to fully customize the Jaguar C-X75 model before exporting it for 3D printing. You can modify the geometry, add details, or even split the model into smaller parts for easier printing and assembly. However, you will need to export the modified model as an .stl file before slicing.
The .fbx (Filmbox) format is primarily used for exchanging 3D data between different software packages, particularly in game development. While it supports materials and animations, these features are often irrelevant for 3D printing. Some advanced slicing software might be able to import material information from .fbx files, but it’s generally best to focus on the .stl file for 3D printing the Jaguar C-X75 model.
The .glb (GL Transmission Format Binary) is designed for efficient transmission and loading of 3D models in web and AR/VR applications. It’s a self-contained format that includes geometry, textures, and animations. While you can use .glb to preview the Jaguar C-X75 model in AR before printing, it’s not a direct 3D printing format. You’ll still need to use the .stl file for slicing.
.max is the native format for Autodesk 3ds Max, a professional 3D modeling, rendering, and animation software. It’s similar to .blend in that it allows for extensive customization of the Jaguar C-X75 model. If you’re familiar with 3ds Max, you can use the .max file to modify the model before exporting it as an .stl file for 3D printing.
For optimal 3D printing results with the Jaguar C-X75 model from 88cars3d.com, always prioritize using the .stl file. Ensure it’s properly prepared and optimized for your specific printer and material. Checking mesh quality is paramount; use mesh repair tools in software like Meshmixer or Netfabb to fix any errors before slicing.
Before you can start 3D printing the Jaguar C-X75, you need to prepare the model using slicing software. This involves importing the .stl file, adjusting settings, and generating the G-code that your printer will use.
There are several excellent slicing software options available, both free and paid. Popular choices include Cura, Simplify3D, PrusaSlicer, and IdeaMaker. Each slicer has its own strengths and weaknesses, so experiment to find the one that best suits your needs and printer. For beginners, Cura is a great starting point due to its user-friendly interface and extensive features.
The orientation of the model on the print bed is crucial for print quality and support requirements. Consider these factors when orienting the Jaguar C-X75:
* **Minimize Support:** Orient the model to reduce the amount of support material needed. Too much support can be difficult to remove and may leave blemishes on the surface. For the C-X75, consider printing it with the roof facing upwards to minimize supports on the curved body panels.
* **Critical Features:** Ensure that important details, such as the front grille or rear lights, are printed with the highest possible resolution. This may involve rotating the model to position these features on the Z-axis.
* **Layer Adhesion:** Orient the model to maximize layer adhesion. Avoid large overhangs that can cause warping or delamination.
Support structures are often necessary to support overhanging features. The type of support (e.g., tree supports, linear supports) and density can significantly impact print quality and material usage. Experiment with different support settings to find the optimal balance.
The Jaguar C-X75 model can be scaled to your desired size. However, consider the limitations of your printer and the level of detail you want to preserve. Scaling the model too small may result in the loss of fine details, while scaling it too large may exceed the build volume of your printer. A scale of 1:24 or 1:18 is a good starting point for desktop 3D printers.
The choice of material and printer settings will significantly impact the final result. Experimentation is key, but here are some general guidelines for 3D printing the Jaguar C-X75.
* **PLA (Polylactic Acid):** PLA is a biodegradable thermoplastic polymer derived from renewable resources. It’s easy to print, offers good detail, and is suitable for non-functional parts. PLA is an excellent choice for beginners and for creating display models of the Jaguar C-X75.
* **PETG (Polyethylene Terephthalate Glycol-modified):** PETG is a more durable and heat-resistant alternative to PLA. It offers good layer adhesion and is less prone to warping. PETG is a good choice for parts that may be exposed to sunlight or higher temperatures.
* **Resin:** Resin printers offer incredible detail and smooth surfaces, making them ideal for intricate models like the Jaguar C-X75. Resin prints are generally more brittle than FDM prints and may require additional post-processing.
* **Layer Height:** A lower layer height (e.g., 0.1mm or 0.05mm) will result in smoother surfaces and finer details, but it will also increase print time. Experiment with different layer heights to find the optimal balance between print quality and speed.
* **Infill Density:** Infill density affects the strength and weight of the model. For a display model, a low infill density (e.g., 10-15%) is sufficient. For parts that need to be more durable, increase the infill density.
* **Print Speed:** A slower print speed will generally result in better print quality, especially for intricate details. Start with a print speed of 40-60mm/s and adjust as needed.
* **Temperature:** Follow the manufacturer’s recommended temperature settings for the chosen material.
* **Supports:** Use appropriate support settings, including support density, overhang angle, and support type, to ensure proper support without excessive material usage or damage to the model surface.
If you’re using a resin printer, consider these additional settings:
* **Layer Exposure Time:** The layer exposure time determines how long each layer is exposed to the UV light. Adjust this setting to achieve proper curing and layer adhesion.
* **Lift Distance and Speed:** The lift distance and speed affect how the build plate moves between layers. Optimize these settings to prevent suction forces from pulling the model off the supports.
Once the print is complete, post-processing is essential to achieve a professional-looking finish.
Carefully remove support structures using pliers or a sharp knife. Be gentle to avoid damaging the model surface. Sand the surface using progressively finer grits of sandpaper to remove any imperfections and smooth out layer lines. Start with a coarse grit (e.g., 220 grit) and work your way up to a fine grit (e.g., 600 grit or higher).
Apply a primer to the model to create a smooth and uniform surface for painting. Use multiple thin coats of primer and sand lightly between coats. Choose high-quality automotive paints in the desired colors. Apply the paint in thin, even coats and allow each coat to dry completely before applying the next. Consider using an airbrush for a professional finish.
The Jaguar C-X75 model from 88cars3d.com may consist of multiple parts that need to be assembled. Use super glue or epoxy to join the parts together. Add fine details, such as decals, emblems, and clear coats, to enhance the realism of the model.
Even with careful preparation, you may encounter some common 3D printing issues. Here are some tips for troubleshooting:
* **Warping:** Warping occurs when the corners of the model lift off the print bed. To prevent warping, ensure the print bed is properly leveled and heated. Use a brim or raft to improve adhesion.
* **Stringing:** Stringing occurs when the printer extrudes filament while moving between parts of the model. To prevent stringing, reduce the printing temperature and increase retraction settings.
* **Layer Delamination:** Layer delamination occurs when the layers of the model separate. To prevent layer delamination, increase the printing temperature and reduce the print speed.
* **Support Failure:** If supports fail during printing, increase the support density and adjust the support placement.
* **Elephant Foot:** An “elephant foot” effect where the first few layers are wider than the rest is caused by excessive bed temperature and pressure. Reduce these settings slightly.
The print time and material cost will vary depending on the size of the model, the chosen material, and the printer settings. A typical 1:24 scale model of the Jaguar C-X75 may take 10-20 hours to print and use 100-200 grams of filament. Resin prints may take slightly longer but use less material. Consider these estimates when planning your project and ordering materials. The detail and size of the model greatly impact these estimates.
3D printing the Jaguar C-X75 2014 model from 88cars3d.com is a rewarding project that allows you to bring a piece of automotive history to life. By following the guidelines in this comprehensive guide, you can achieve stunning results and create a truly unique display piece. Remember to experiment with different materials, settings, and post-processing techniques to find what works best for you and your printer. Happy printing!
Experience unparalleled realism with the Jaguar C-X75 2014 3D Model. This exceptionally detailed digital replica captures the essence of the renowned hybrid-electric concept car, offering automotive enthusiasts and professionals an immaculate asset for their digital projects. Engineered with precision, this model brings the stunning aerodynamics and aggressive styling of the C-X75 to your virtual environments.
$39.99
.arvr
.blend
.c-x75
.car3dmodel
.conceptcar
.cx75
.fbx
.gameasset
.glb
.hybrid
.hypercar
.jaguar
.max
.obj
.ply
.rendering
.simulation
.sportsCar
.stl
.unreal