Get 20% OFF All Premium 3D & STL Models!

“`html
The world of 3D printing has exploded in recent years, becoming increasingly accessible to hobbyists, makers, and even automotive enthusiasts looking to bring their digital designs to life. If you’re eager to dive into the realm of additive manufacturing and print stunning printable car models from platforms like 88cars3d.com, but are hesitant due to budget constraints, fear not! This comprehensive guide will explore some of the top budget 3D printers perfectly suited for beginners, focusing on the specific needs of printing STL files, particularly those intricate car models we all love. We’ll delve into the technical aspects of each printer, explore optimal settings for printing car models, and provide tips for achieving high-quality results without breaking the bank. From FDM to resin printing, we’ll cover the essential information you need to make an informed decision and start your 3D printing journey successfully. We’ll also touch upon file preparation and troubleshooting common issues that arise when printing complex geometries.
The first major decision when entering the 3D printing world is choosing between Fused Deposition Modeling (FDM) and resin-based printers (SLA, DLP, MSLA). FDM printers, which extrude melted plastic filament, are generally more affordable and easier to maintain, making them a great starting point. Resin printers, on the other hand, use liquid resin cured by light, offering superior detail and smoother surfaces, ideal for intricate car model details, though at a higher initial cost and with a steeper learning curve. For printing 88cars3d.com car models, both technologies have their advantages. Larger models or prototypes might be better suited for FDM due to build volume, while smaller, detailed models would shine on a resin printer.
Ultimately, the “best” choice depends on your priorities. If you value affordability, ease of use, and larger build volumes, an FDM printer is likely the way to go. If you prioritize intricate detail and smooth surfaces, and are willing to invest more time and money, a resin printer might be a better fit. Consider what types of models from 88cars3d.com you are most interested in printing to inform your decision.
When comparing 3D printers, pay close attention to these specifications: Build volume (the maximum size of objects you can print), layer resolution (the minimum layer thickness the printer can achieve, measured in microns), print speed (how quickly the printer can extrude or cure material), nozzle size (for FDM printers; smaller nozzles allow for finer details), and bed adhesion (how well the printed object sticks to the print bed). For printing car models, a decent layer resolution is crucial for capturing fine details, especially on smaller parts. Good bed adhesion is essential to prevent warping, a common issue with larger prints. Keep these factors in mind when evaluating budget options.
Let’s explore some popular and affordable FDM 3D printers suitable for beginners interested in printing STL files, including car models from sources like 88cars3d.com. These printers offer a balance of affordability, ease of use, and print quality, making them great entry points into the world of 3D printing.
The Creality Ender 3 series is a perennial favorite among beginners. The Ender 3 V2 and Ender 3 S1 offer excellent value for money, with a decent build volume of 220 x 220 x 250 mm. These printers are known for their upgradability, allowing you to improve their performance over time. The Ender 3 S1 features a direct drive extruder, which improves printing with flexible filaments like TPU, opening possibilities for printing car tires or other flexible parts. Both printers are compatible with various slicing software, such as Cura and PrusaSlicer, and can readily process STL files downloaded from online marketplaces. For printing car models, consider a layer height of 0.12mm to 0.2mm for a good balance between detail and print time. Infill percentage of 15-20% is typically sufficient for structural integrity. Print speeds between 40-60mm/s are recommended for optimal results.
Key Specifications & Settings:
The Anycubic Mega S is another excellent choice for beginners, known for its sturdy frame and relatively easy assembly. It offers a similar build volume to the Ender 3 series (210 x 210 x 205 mm) and is compatible with standard filaments like PLA and PETG. Its heated bed ensures good adhesion for most materials. The Mega S also features a user-friendly touchscreen interface. When printing STL car models on the Anycubic Mega S, you might want to experiment with different infill patterns to achieve the desired strength and weight. Consider using a gyroid infill pattern for a good balance of strength and material usage. Wall thickness of 1.2mm (3 perimeters with a 0.4mm nozzle) will provide sufficient strength for most car model parts.
Key Specifications & Settings:
If you’re looking for exceptionally detailed prints and are willing to invest a bit more time and money, a resin 3D printer might be a better fit. These printers excel at capturing intricate details, making them ideal for smaller, more complex car models available on platforms such as 88cars3d.com.
The Elegoo Mars series has consistently been a popular choice for beginners entering the resin printing world. The Mars 3 and Mars 4 offer excellent print quality at an affordable price. These printers use MSLA technology, which provides fast curing times and high resolution. The Mars 3 offers a 4K resolution, while the Mars 4 steps up to a 9K resolution, resulting in incredibly detailed prints. When printing car models with these printers, you’ll want to pay close attention to support structures. Proper support placement is crucial for preventing print failures and ensuring that delicate features are printed correctly. Use light supports with small contact points to minimize damage to the surface of the model during removal. Exposure times will need to be dialed in based on the resin used; refer to the resin manufacturer’s recommendations as a starting point.
Key Specifications & Settings:
The Anycubic Photon Mono 4K is another excellent budget resin printer. It offers a similar level of detail and build volume to the Elegoo Mars series. The Mono 4K utilizes a monochrome LCD screen, which allows for faster curing times and longer screen lifespan compared to older RGB screens. Proper leveling of the build plate is crucial for successful resin prints. Ensure that the build plate is perfectly level before starting a print. When printing hollowed car models, make sure to include drain holes to prevent resin from being trapped inside the model. Trapped resin can lead to cracking and warping over time.
Key Specifications & Settings:
Slicing software is essential for preparing STL files for 3D printing. It converts the 3D model into a series of layers that the printer can understand. Popular slicing software options include Cura, PrusaSlicer, Simplify3D, and Chitubox (for resin printers). Each software offers a range of settings that can be adjusted to optimize print quality, speed, and material usage.
For FDM printing of car models, focus on these key settings in your chosen slicer: Layer height (smaller layer heights produce smoother surfaces but increase print time), infill density (higher infill provides greater strength but uses more material), print speed (slower speeds generally improve print quality, especially for intricate details), support structures (necessary for overhangs and complex geometries), and bed adhesion (ensure the model adheres firmly to the build plate). When printing larger car models, consider using a raft or brim to improve bed adhesion and prevent warping. Experiment with different infill patterns to find the best balance between strength and material usage.
For resin printing of car models, the most critical settings are: Layer thickness (smaller layer thicknesses yield higher detail), exposure time (the duration the UV light shines on each layer; crucial for proper curing), lift distance and speed (how far and how quickly the build plate moves up after each layer), and support structures (essential for preventing print failures). Properly orienting the model and adding sufficient supports are critical for successful resin prints. Use light supports with small contact points to minimize damage to the surface of the model. Also consider hollowing the model to reduce resin consumption and print time, but remember to add drain holes.
Before slicing your STL file, it’s crucial to ensure that the mesh is clean and error-free. Imperfect meshes can lead to print failures or poor print quality. Common mesh errors include non-manifold edges, holes, and overlapping faces. Several software tools can be used to repair STL files, including Meshmixer, Netfabb, and Blender. These tools can automatically detect and fix many common mesh errors.
Meshmixer is a free and powerful tool for editing and repairing STL files. It offers a variety of features, including automatic mesh repair, support generation, and hollowing. To repair an STL file in Meshmixer, simply import the file and select “Edit” -> “Make Solid.” Meshmixer will automatically identify and fix many common mesh errors. You can also use the “Inspector” tool to manually identify and fix specific issues. When repairing car model files, pay close attention to areas with intricate details, as these are often prone to errors.
A manifold mesh is a closed, watertight mesh that is essential for successful 3D printing. Non-manifold edges or holes can cause slicing errors and print failures. Use a mesh analysis tool in Meshmixer or Netfabb to check for non-manifold edges and holes. If any are found, use the repair tools in the software to fix them before proceeding with slicing. This step is especially important for models downloaded from online marketplaces, as they may contain errors introduced during the modeling process.
After printing your car model, some post-processing is typically required to achieve the desired finish. Common post-processing techniques include removing support structures, sanding, painting, and assembly (if the model consists of multiple parts). The specific techniques required will depend on the printing technology used (FDM or resin) and the desired level of detail.
For FDM prints, support structures can be removed using pliers, cutters, or a knife. Be careful not to damage the surface of the model during removal. After removing the supports, sanding can be used to smooth out any rough edges or imperfections. Start with coarse sandpaper and gradually move to finer grits. For resin prints, supports are typically removed using flush cutters. Resin models are often more fragile than FDM models, so be extra careful during support removal. Sanding can also be used to smooth out any imperfections on resin prints. Wet sanding is often recommended for resin to minimize dust.
Painting can significantly enhance the appearance of your 3D printed car models. Use acrylic paints specifically designed for plastic models. Apply multiple thin coats of paint for best results. Masking tape can be used to create clean lines and intricate designs. After painting, consider applying a clear coat to protect the paint and add a glossy finish. For added realism, use washes and dry brushing to create shadows and highlights. Pay attention to details such as panel lines, grilles, and headlights.
3D printing can be a challenging process, and it’s common to encounter issues such as warping, poor adhesion, stringing, and layer separation. Understanding the causes of these problems and how to fix them is essential for successful 3D printing. Consistent printer calibration and maintenance are also vital for reliable and high-quality prints.
Warping occurs when the corners of a print lift off the build plate. This is often caused by poor bed adhesion or uneven cooling. To prevent warping, ensure that the build plate is properly leveled and clean. Use a bed adhesion aid such as glue stick or hairspray. Adjust the bed temperature to the recommended setting for the filament being used. Enclosing the printer can also help to prevent warping by maintaining a consistent temperature. If warping persists, try increasing the brim size or using a raft.
Stringing occurs when thin strands of filament are left between different parts of the print. This is often caused by excessive retraction distance or temperature. To resolve stringing, decrease the retraction distance and temperature in your slicing software. Also, ensure that the filament is dry. Layer separation occurs when the layers of a print do not adhere properly to each other. This can be caused by low temperature, insufficient cooling, or poor bed adhesion. To resolve layer separation, increase the temperature, decrease the cooling fan speed, and ensure that the build plate is properly leveled and clean.
Choosing the right budget 3D printer is a crucial first step for beginners eager to print STL files of car models, especially those found on platforms like 88cars3d.com. By understanding the differences between FDM and resin printers, carefully considering printer specifications, mastering slicing software settings, and learning basic troubleshooting techniques, you can embark on a rewarding journey into the world of additive manufacturing. Remember to focus on proper file preparation, experiment with different settings, and be patient as you learn and refine your skills. With dedication and practice, you’ll be creating stunning 3D printed car models in no time! Explore platforms such as 88cars3d.com for a wide selection of STL files to fuel your passion and creativity. Don’t be afraid to experiment and learn from your mistakes; the world of 3D printing is vast and constantly evolving, so continuous learning is key. Happy printing!
“`

Texture: Yes | Material: Yes
Download the highly detailed, game-ready Toyota Camry 2018 3D Model. Features an aggressive aerodynamic body, distinct LED lighting signature, and precise interior detailing. Includes .blend, .fbx, .obj, .glb, .stl, .ply, .unreal, and .max formats for game development, AR/VR, and rendering.
Price: $19.99
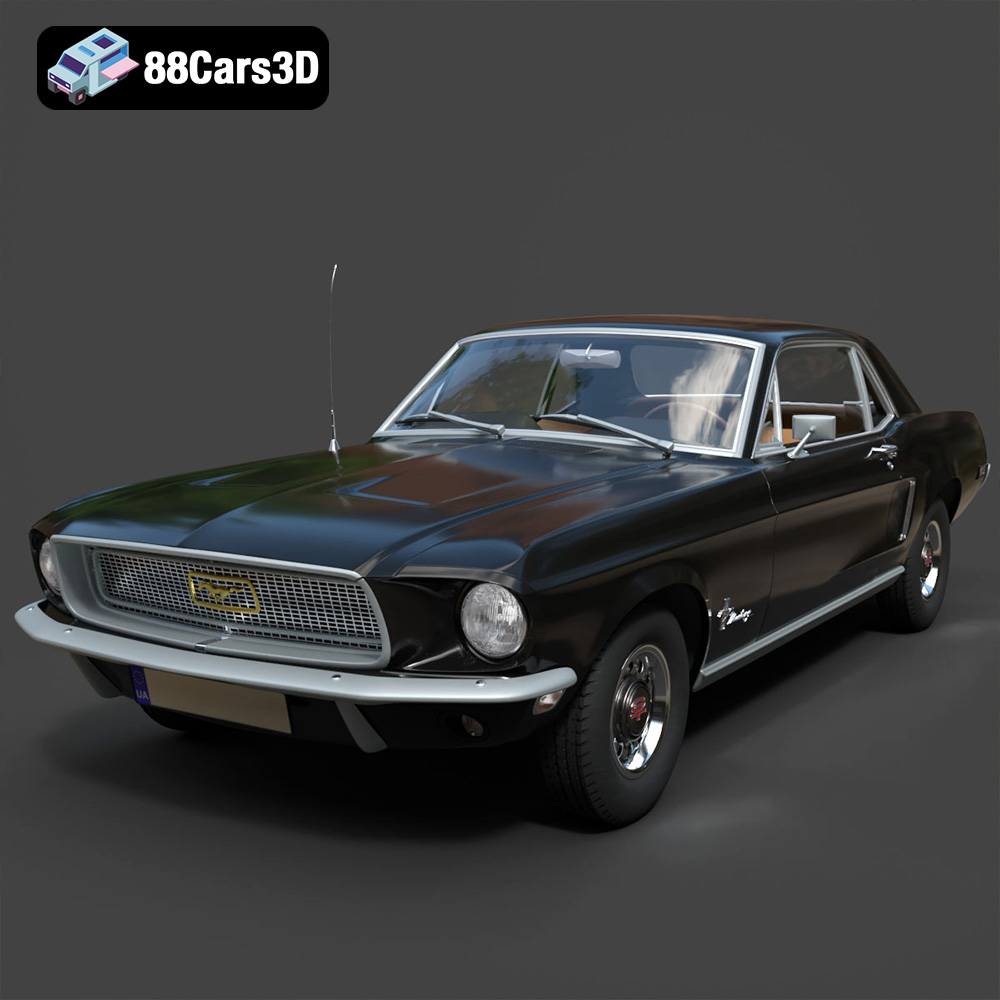
Texture: Yes | Material: Yes
Download the highly detailed, game-ready Ford Mustang Hardtop 1968 3D Model. Features the iconic galloping pony grille, signature tri-bar taillights, and an authentic vintage interior. Includes .blend, .fbx, .obj, .glb, .stl, .ply, .unreal, and .max formats for game development, AR/VR, and rendering.
Price: $19.99
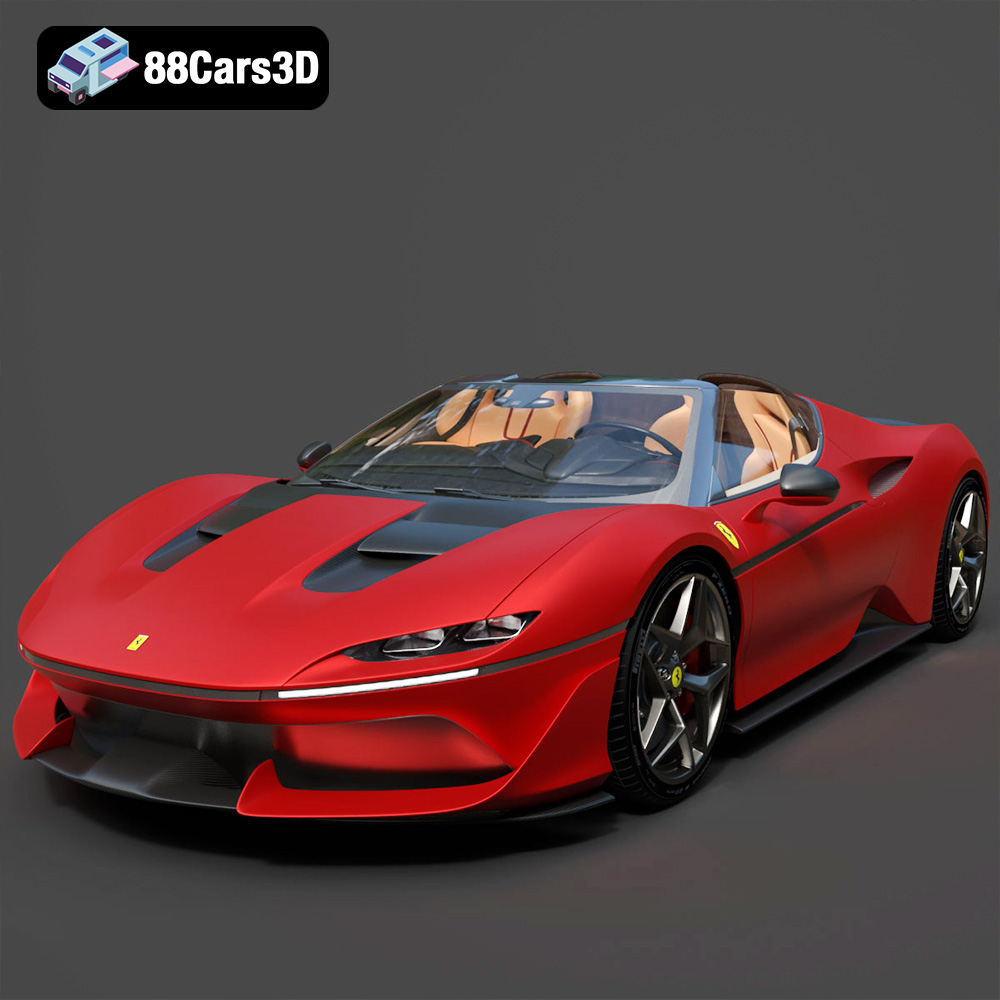
Texture: Yes | Material: Yes
Download the highly detailed, game-ready Ferrari J50 2017 3D Model. Features aggressive aerodynamic styling, twin-turbo V8 engine details, and targa top design. Includes .blend, .fbx, .obj, .glb, .stl, .ply, .unreal, and .max formats for game development, AR/VR, and rendering.
Price: $19.99
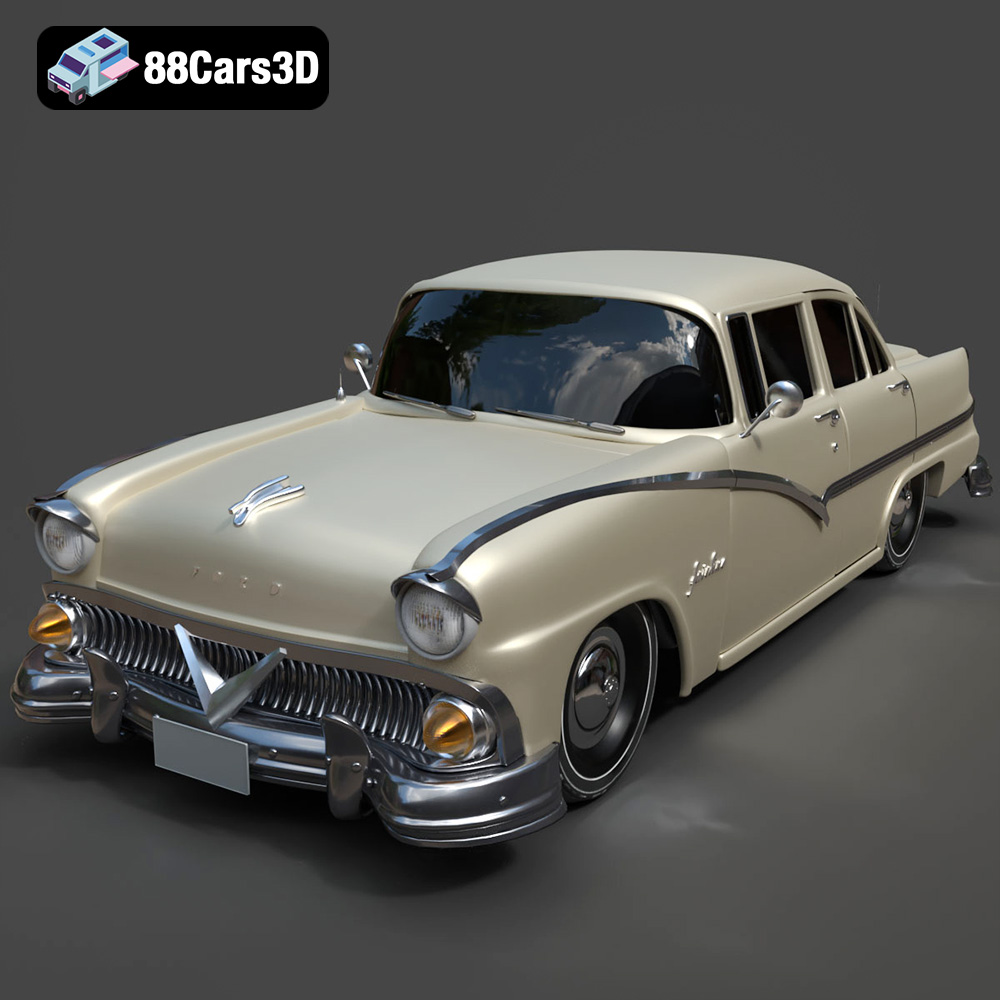
Texture: Yes | Material: Yes
Download the highly detailed, game-ready Ford Fairlin 3D Model. Features iconic classic styling, sweeping bodylines, and an accurate vintage interior. Includes .blend, .fbx, .obj, .glb, .stl, .ply, .unreal, and .max formats for game development, AR/VR, and rendering.
Price: $19.99
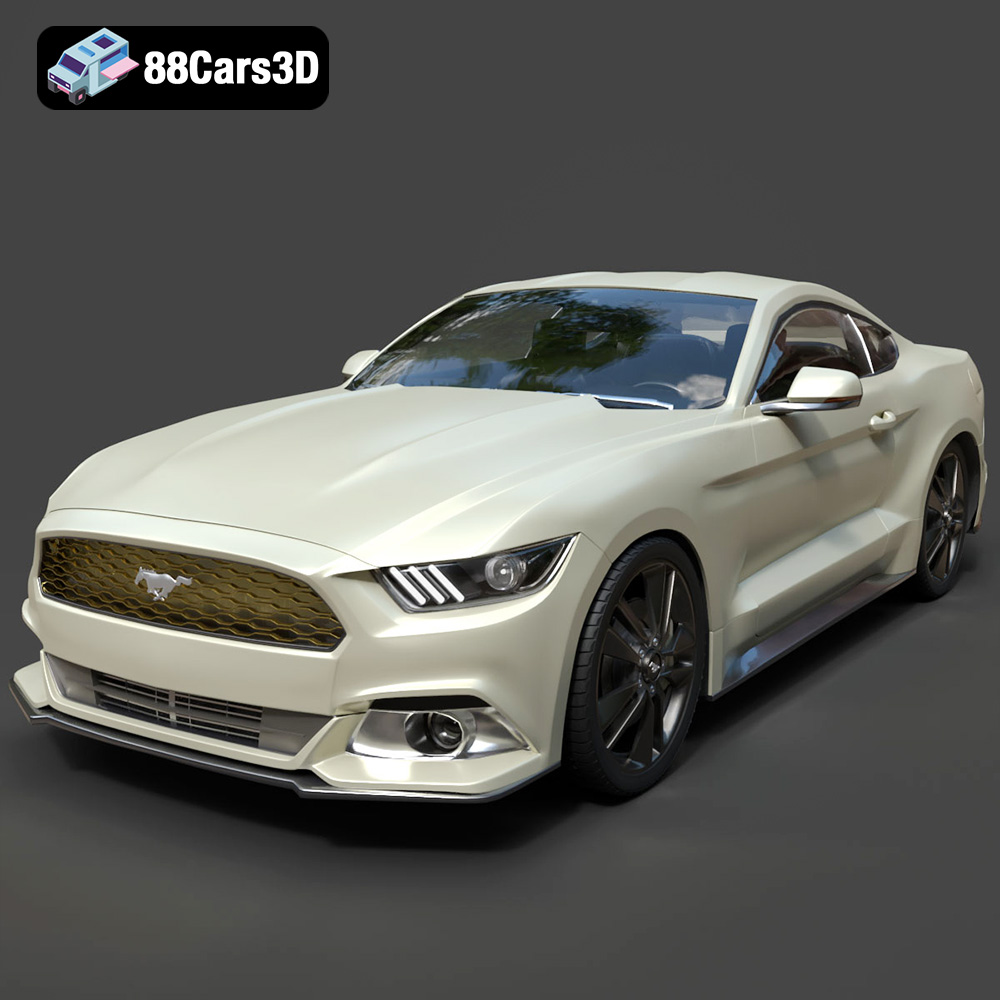
Texture: Yes | Material: Yes
Download the highly detailed, game-ready Ford Mustang GT 3D Model. Features aggressive muscle car styling, a highly detailed V8 engine bay, and accurate interior cockpit. Includes .blend, .fbx, .obj, .glb, .stl, .ply, .unreal, and .max formats for game development, AR/VR, and rendering.
Price: $19.99

Texture: Yes | Material: Yes
Download the highly detailed, game-ready Renault Megane CC 2011 3D Model. Features an accurately modeled folding glass roof, sleek aerodynamic body lines, and a detailed interior. Includes .blend, .fbx, .obj, .glb, .stl, .ply, .unreal, and .max formats for game development, AR/VR, and rendering.
Price: $19.99
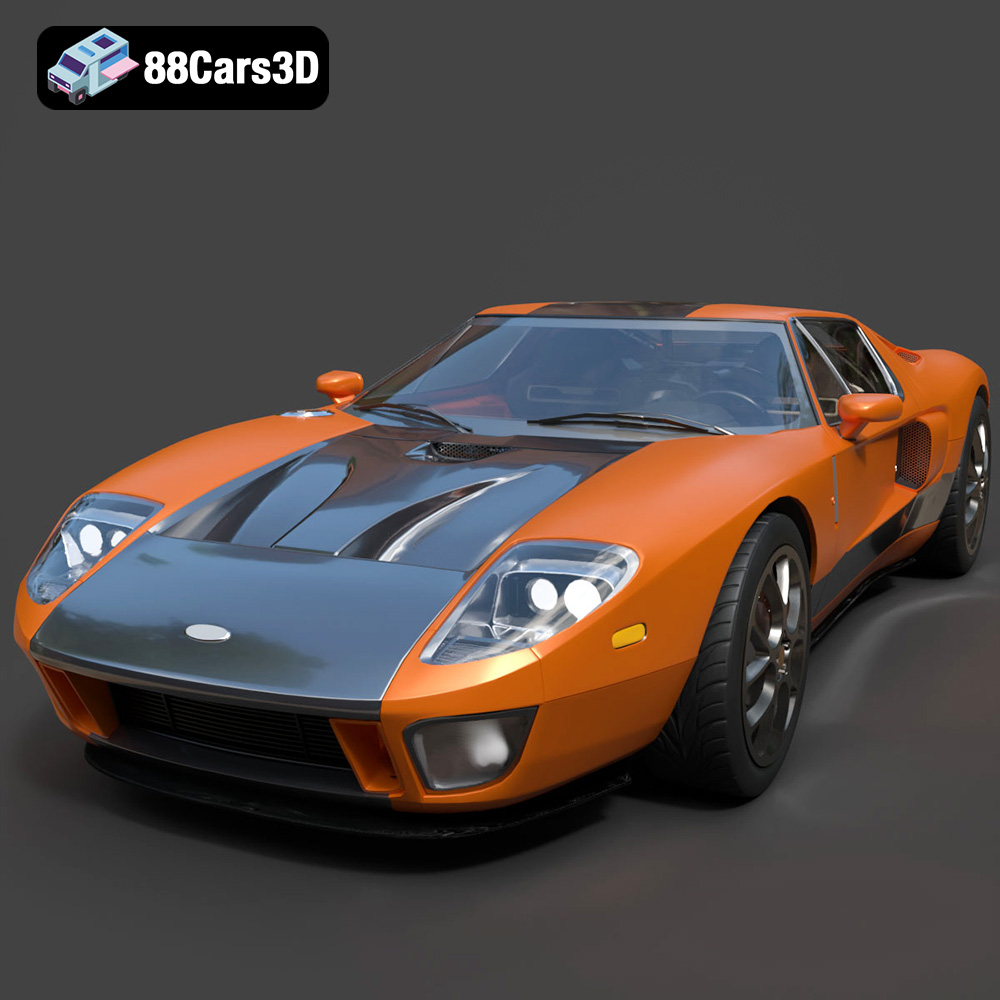
Texture: Yes | Material: Yes
Download the highly detailed, game-ready Ford GT 2005 3D Model. Features signature aerodynamic bodylines, mid-mounted supercharged V8 detailing, and iconic racing stripes. Includes .blend, .fbx, .obj, .glb, .stl, .ply, .unreal, and .max formats for game development, AR/VR, and rendering.
Price: $19.99
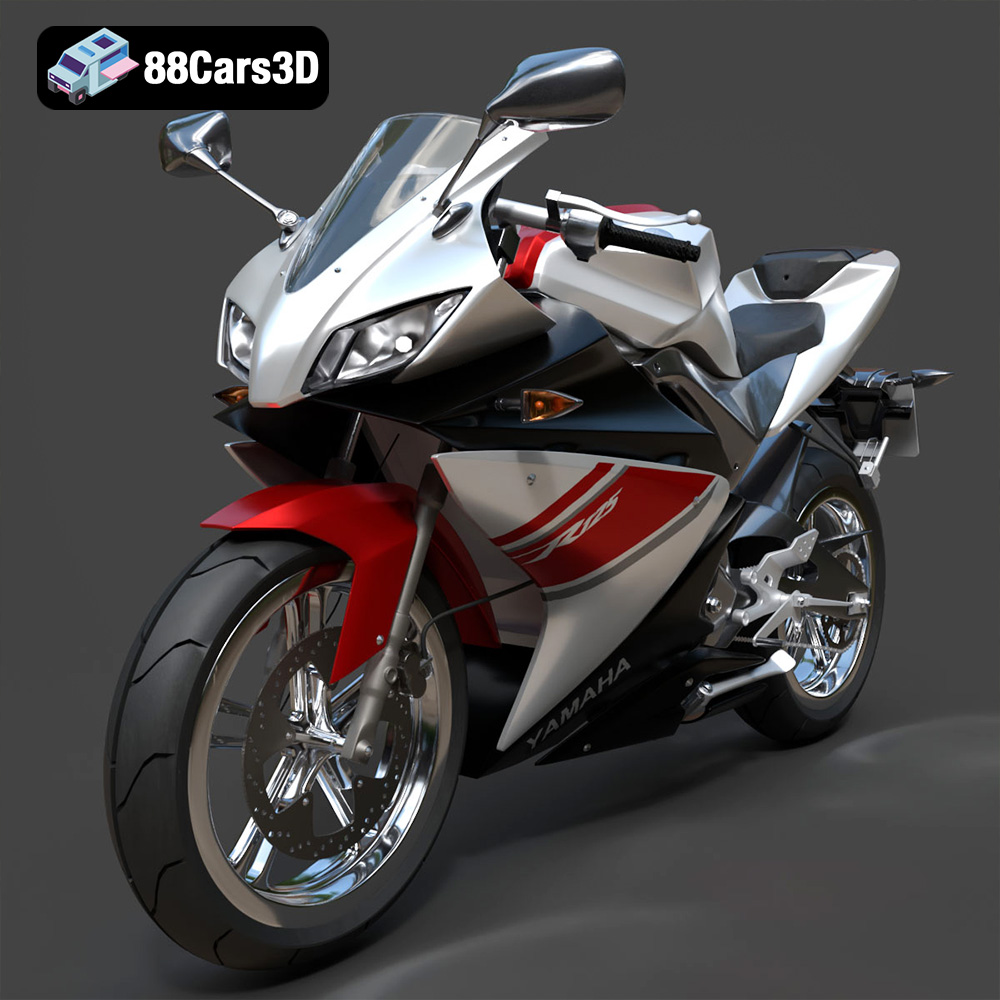
Texture: Yes | Material: Yes
Download the highly detailed, game-ready Yamaha YZF-R125 EU 3D Model. Features an aggressive aerodynamic fairing, twin LED headlights, and a detailed 125cc engine block. Includes .blend, .fbx, .obj, .glb, .stl, .ply, .unreal, and .max formats for game development, AR/VR, and rendering.
Price: $19.99
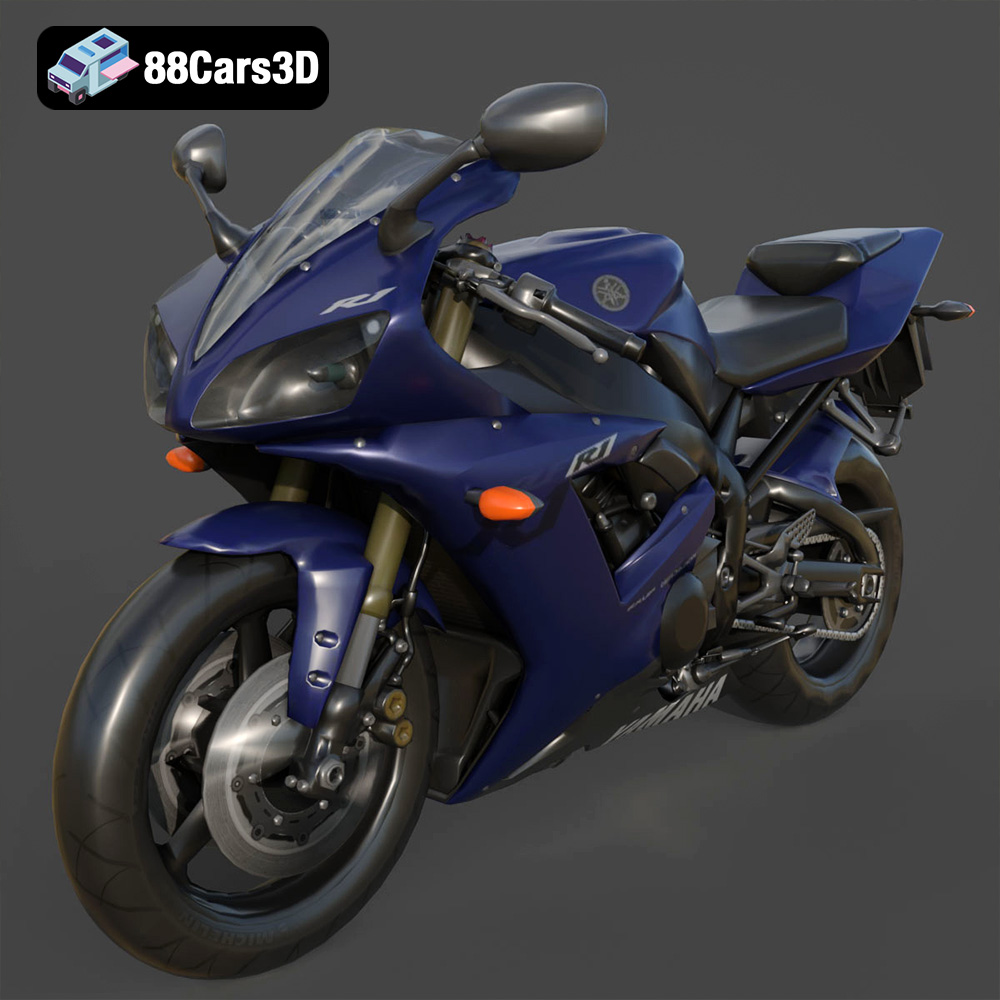
Texture: Yes | Material: Yes
Download the highly detailed, game-ready Yamaha R1 3D Model. Features aggressive aerodynamic fairings, a detailed crossplane inline-4 engine, and track-focused suspension geometry. Includes .blend, .fbx, .obj, .glb, .stl, .ply, .unreal, and .max formats for game development, AR/VR, and rendering.
Price: $19.99
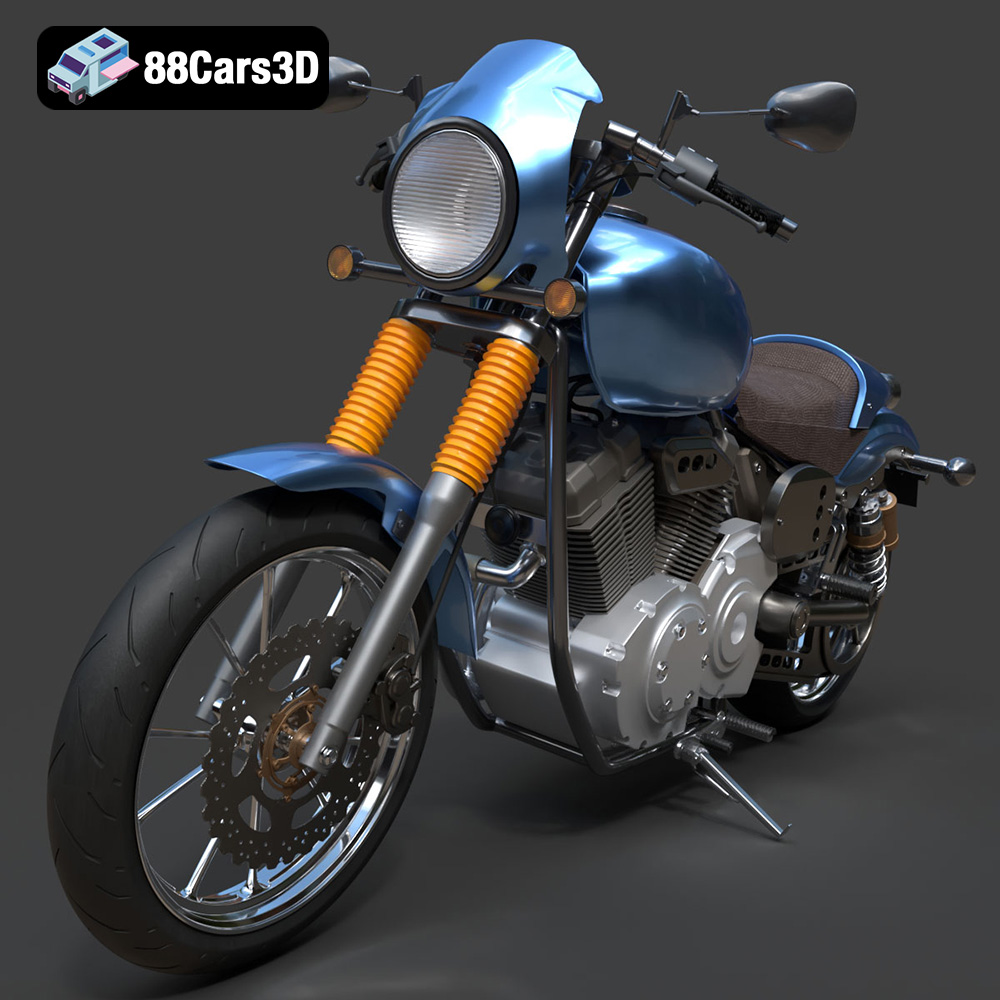
Texture: Yes | Material: Yes
Download the highly detailed, game-ready Yamaha XV950 Racer 3D Model. Features an aggressive cafe-racer front cowl, detailed air-cooled V-twin engine, and classic retro styling. Includes .blend, .fbx, .obj, .glb, .stl, .ply, .unreal, and .max formats for game development, AR/VR, and rendering.
Price: $19.99

