Get 20% OFF All Premium 3D & STL Models!

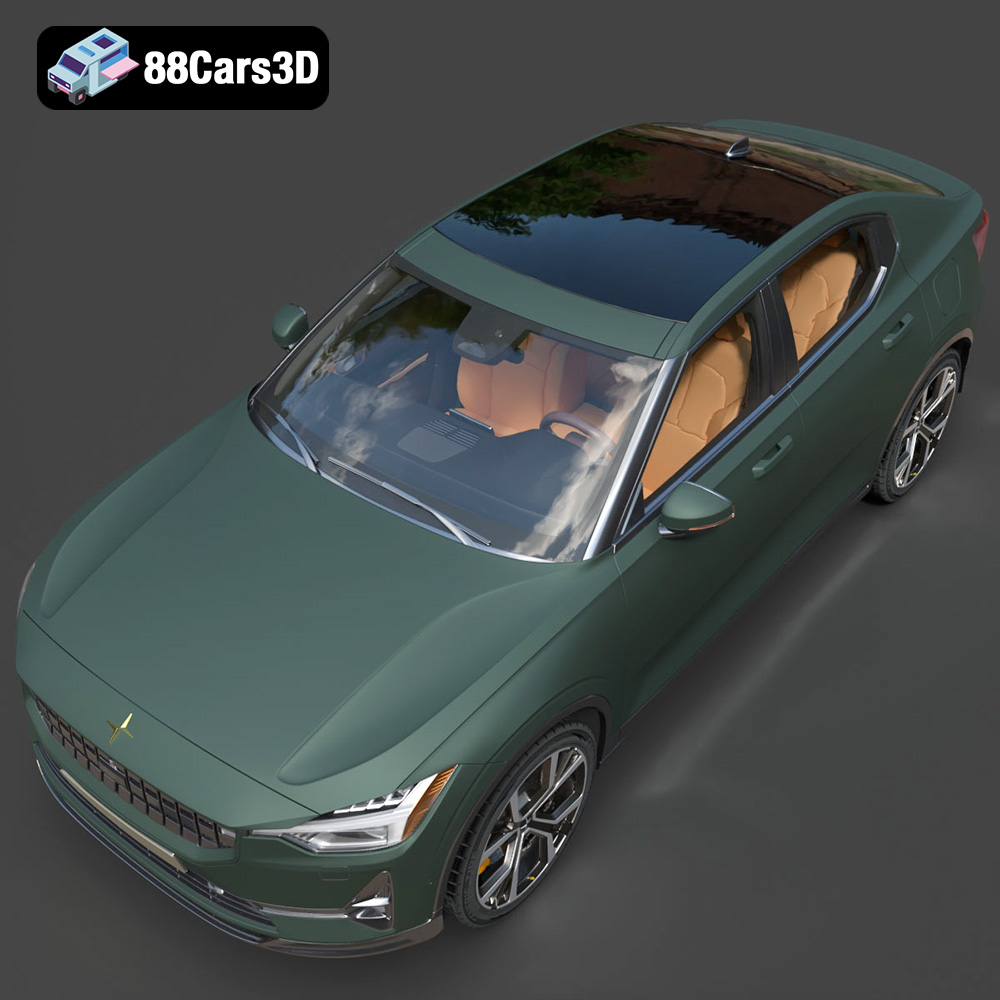
The Polestar 2 2020 is a striking example of modern electric vehicle design, and now, thanks to 88cars3d.com, you can bring this innovative fastback to life through the power of 3D printing. This comprehensive guide will walk you through every step of the process, from selecting the right materials and settings to post-processing techniques that will transform your 3D print into a stunning replica. Whether you’re a seasoned 3D printing enthusiast or a newcomer to additive manufacturing, this article will provide you with the knowledge and techniques to successfully 3D print the Polestar 2 2020.
Before diving into the specifics of printing the Polestar 2 2020, it’s crucial to understand the different file formats available and how they impact the printing process. Several formats are included with this model (.blend, .fbx, .obj, .glb, .stl, .ply, .unreal, .max), but not all are created equal when it comes to 3D printing.
The .stl (Stereolithography) format is the workhorse of 3D printing. It represents a 3D object’s surface geometry as a collection of triangles. It’s a mesh-only format, meaning it only stores the surface shape and doesn’t contain color, texture, or material information. This simplicity makes it universally compatible with slicing software, which is essential for preparing a model for 3D printing.
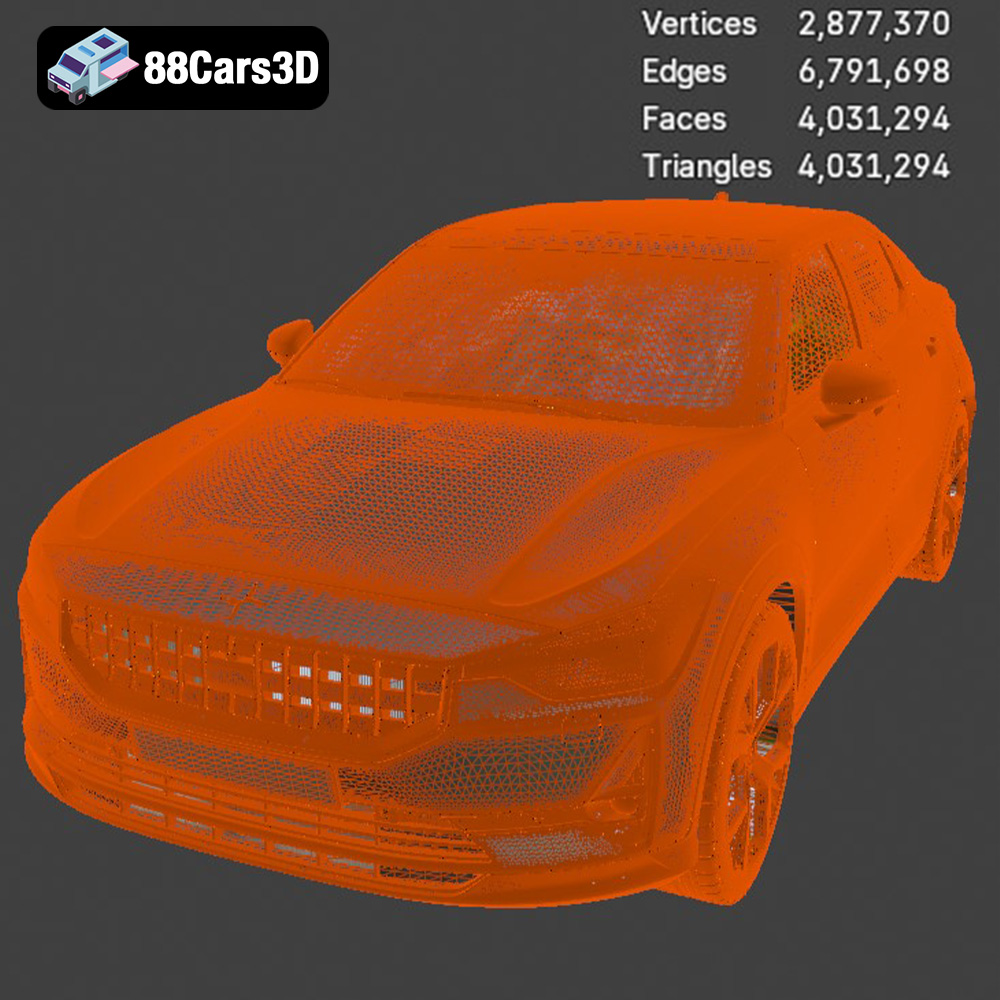
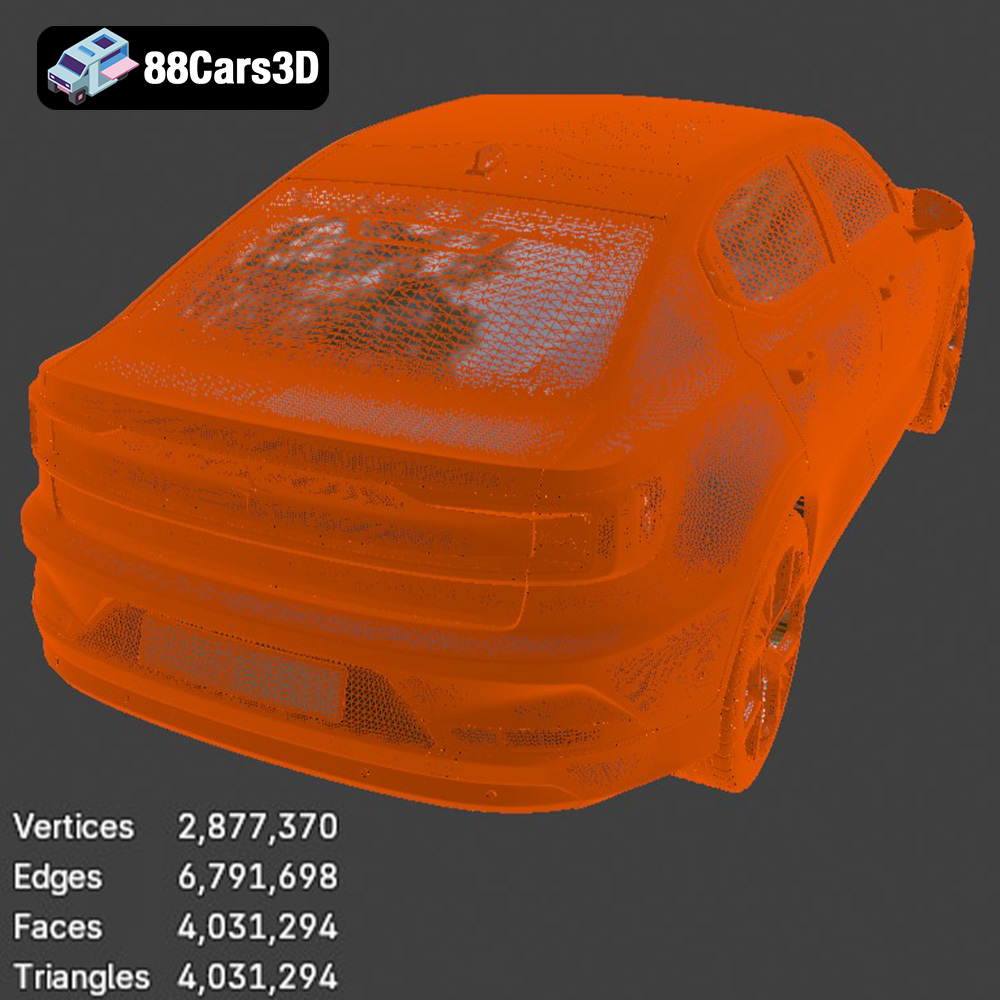
When working with .stl files, mesh quality is paramount. A poorly constructed mesh with holes, self-intersections, or non-manifold geometry can lead to printing errors. Most slicing software includes basic mesh repair tools, but it’s always best to start with a clean, well-designed .stl file. The Polestar 2 2020 model from 88cars3d.com is optimized for 3D printing and therefore, includes a high-quality STL file.
The .obj (Wavefront Object) format is another popular choice for 3D models, especially when color and texture information are important. Unlike .stl, .obj can store vertex colors and references to external material files. While it is possible to print .obj files, doing so requires that you paint the model after printing.
The .ply (Polygon File Format) is designed to store 3D data acquired from 3D scanners. It can handle complex meshes and store additional information like color, normals, and texture coordinates. Like .obj, .ply files can be printed, but they may require additional processing or specific slicer settings due to their high detail and potential for large file sizes.
The .blend format is the native file format for Blender, a free and open-source 3D creation suite. It contains the entire Blender scene, including the model geometry, materials, textures, lighting, and animations. While you can’t directly 3D print a .blend file, it’s invaluable for customizing the Polestar 2 2020 model before exporting it to a 3D-printable format like .stl. You can make modifications, add details, or simplify the model as needed.
The .fbx (Filmbox) format is developed by Autodesk and is primarily used for interoperability between different 3D software packages. It supports geometry, materials, textures, animation, and rigging. While some advanced slicing software might be able to import .fbx files and retain material information (for multi-material printing), .stl remains the preferred format for its simplicity and widespread compatibility.
The .glb (GL Transmission Format Binary) is a binary file format that represents 3D models in a compact and efficient way. It’s commonly used for web-based applications and AR/VR experiences. While you can’t directly 3D print a .glb file, it’s useful for previewing the Polestar 2 2020 model in augmented reality to get a sense of its scale and appearance before committing to a print.
The .max format is the native file format for Autodesk 3ds Max, a professional 3D modeling and animation software. It contains the entire 3ds Max project, similar to .blend for Blender. You can use .max to make extensive modifications to the Polestar 2 2020 model before exporting it to a 3D-printable format like .stl.
For 3D printing the Polestar 2 2020, the .stl file is the most suitable starting point. Its widespread compatibility, ease of use, and focus on surface geometry make it the ideal format for translating the digital model into a physical object. If you want to customize the model before printing, use the .blend or .max files to make modifications and then export the result as an .stl file.
Once you have your .stl file, the next step is to prepare it for 3D printing using slicing software. This process involves converting the 3D model into a series of layers that the 3D printer can understand.
Numerous slicing software options are available, each with its own strengths and weaknesses. Popular choices include Cura, PrusaSlicer, Simplify3D, and Chitubox (for resin printing). Select one that aligns with your printer type and desired level of control. For this project, Cura and PrusaSlicer are excellent choices for FDM printers, while Chitubox is ideal for resin printers.
Orienting the model correctly is crucial for print success. Consider factors like minimizing support material, reducing overhangs, and maximizing bed adhesion. For the Polestar 2 2020, printing the main body at an angle (approximately 30-45 degrees) can improve surface quality and reduce the need for supports on the roof and hood. Separate components like wheels, mirrors, and light blades should be oriented for optimal detail and strength.
Support structures are often necessary to support overhanging features during printing. Slicing software automatically generates supports, but you can manually adjust their placement and density for optimal results. Pay close attention to areas like the side mirrors, light blades, and steering wheel, as these require adequate support.
The choice of material significantly impacts the final appearance, strength, and durability of your 3D printed Polestar 2 2020. Here’s a breakdown of common 3D printing materials and their suitability for this project.
PLA (Polylactic Acid) is a popular thermoplastic known for its ease of printing, low odor, and biodegradable properties. It’s a good choice for beginners and for creating display models. PLA is available in a wide range of colors, making it easy to match the Polestar 2 2020’s iconic hues. However, PLA is less heat-resistant and more brittle than other materials, so it’s not ideal for parts that will be exposed to high temperatures or stress.
PETG (Polyethylene Terephthalate Glycol-modified) offers a good balance of strength, heat resistance, and ease of printing. It’s more durable than PLA and can withstand higher temperatures, making it a better choice for functional parts or models that will be displayed outdoors. PETG also has good layer adhesion, which reduces the risk of delamination.
Resin printing (SLA/DLP) offers the highest level of detail and surface smoothness, making it ideal for intricate parts like the light blades, mirrors, and interior components of the Polestar 2 2020. Resin prints also require post-curing under UV light to achieve their final strength and hardness. However, resin materials can be more brittle than thermoplastics and require careful handling due to their toxicity. The recommended layer height of 0.04-0.12mm highlights that resin is the preferred option for finer detail parts.
Achieving a high-quality 3D print requires careful attention to printer settings. Here are some recommended settings for printing the Polestar 2 2020.
A lower layer height (e.g., 0.1mm for FDM or 0.04mm for resin) will result in smoother surfaces and finer details. However, it will also increase the print time. For FDM printing, a print speed of 40-60 mm/s is a good starting point. For resin printing, follow the manufacturer’s recommended settings for your specific resin.
Infill density affects the strength and weight of the print. A higher infill density (e.g., 20-30%) will make the model stronger but also increase material consumption. For a display model, a lower infill density is usually sufficient. Wall thickness (the number of perimeter layers) also affects strength and surface quality. A wall thickness of 1.2-2.0 mm is recommended for the Polestar 2 2020.
For PLA, a nozzle temperature of 200-220°C and a bed temperature of 60-70°C are generally recommended. For PETG, a nozzle temperature of 230-250°C and a bed temperature of 70-80°C are typical. Good bed adhesion is essential to prevent warping or detachment during printing. Use a heated bed, apply a bed adhesive (e.g., glue stick or hairspray), and ensure the bed is properly leveled.
Post-processing is where you transform a raw 3D print into a finished product. This involves removing support structures, sanding imperfections, painting, and assembling the various components.
Carefully remove support structures using pliers or a sharp knife. Take your time to avoid damaging the model. Sand the surface with progressively finer grits of sandpaper to smooth out layer lines and imperfections. Start with a coarse grit (e.g., 220) and gradually move to finer grits (e.g., 400, 600, 800) for a smooth finish.
Apply a primer to the model to create a uniform surface for painting. Primer also helps the paint adhere better and fills in any remaining imperfections. Once the primer is dry, you can paint the model using spray paint or an airbrush. Consider using authentic factory colors with metallic finishes to accurately replicate the Polestar 2 2020’s appearance.
Assemble the various components of the model, such as the wheels, mirrors, and light blades, using glue or fasteners. Add fine details like decals, badges, and window trim to enhance the realism of the model.
Even with careful preparation, 3D printing can sometimes present challenges. Here are some common issues and their solutions.
Warping occurs when the corners of the print lift off the bed due to uneven cooling. To prevent warping, use a heated bed, apply a bed adhesive, and ensure the bed is properly leveled. Enclosing the printer can also help maintain a more consistent temperature.
Stringing is caused by oozing filament between travel moves. To reduce stringing, decrease the nozzle temperature, increase retraction settings, and adjust travel speed.
Layer shifting occurs when the printer suddenly shifts position during printing. This can be caused by loose belts, stepper motor issues, or obstructions in the printer’s path. Check and tighten belts, lubricate moving parts, and ensure there are no obstructions.
The print time and material cost for the Polestar 2 2020 will vary depending on the size of the model, the material used, and the printer settings. A small display model printed in PLA might take 10-15 hours and cost a few dollars in material. A larger, more detailed model printed in resin could take 20-30 hours and cost significantly more. Slicing software typically provides estimates of print time and material usage.
By following these guidelines and tips, you can successfully 3D print the Polestar 2 2020 and create a stunning replica of this innovative electric vehicle. The optimized topology of the model available at 88cars3d.com will streamline the printing process. Happy printing!
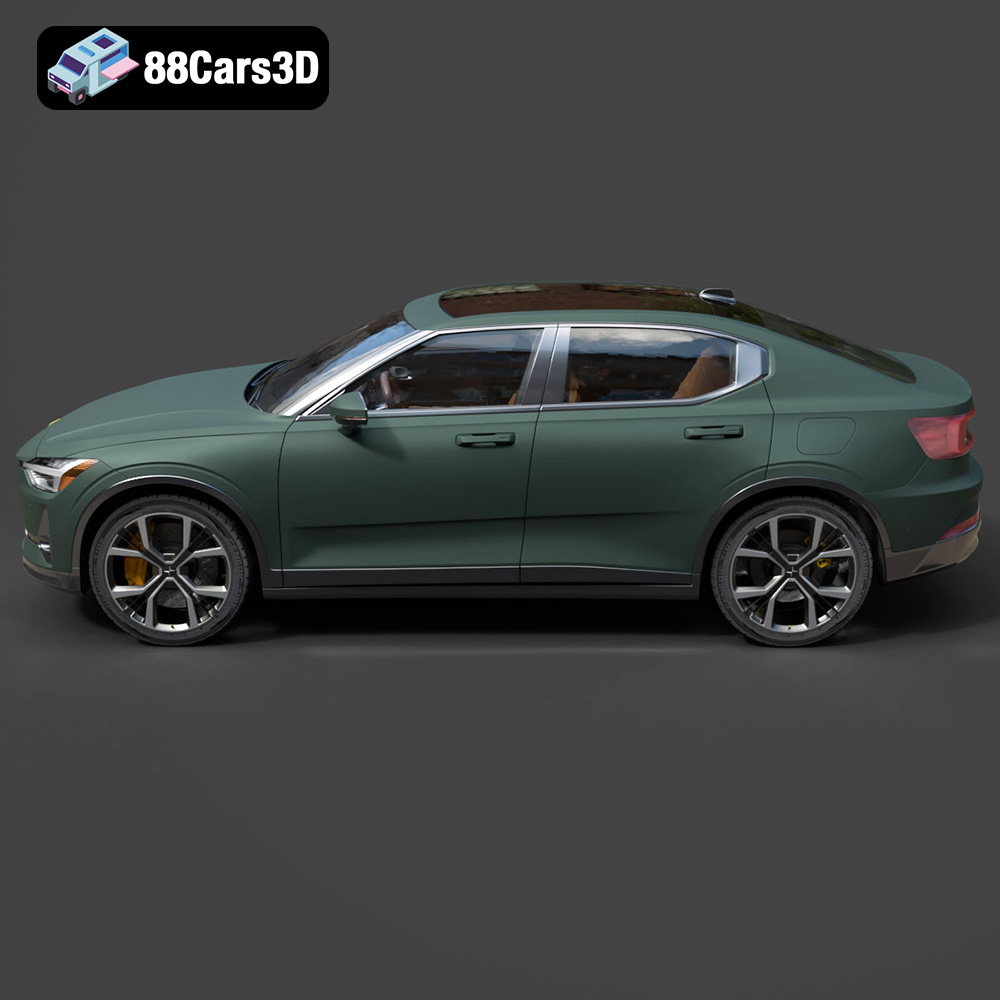
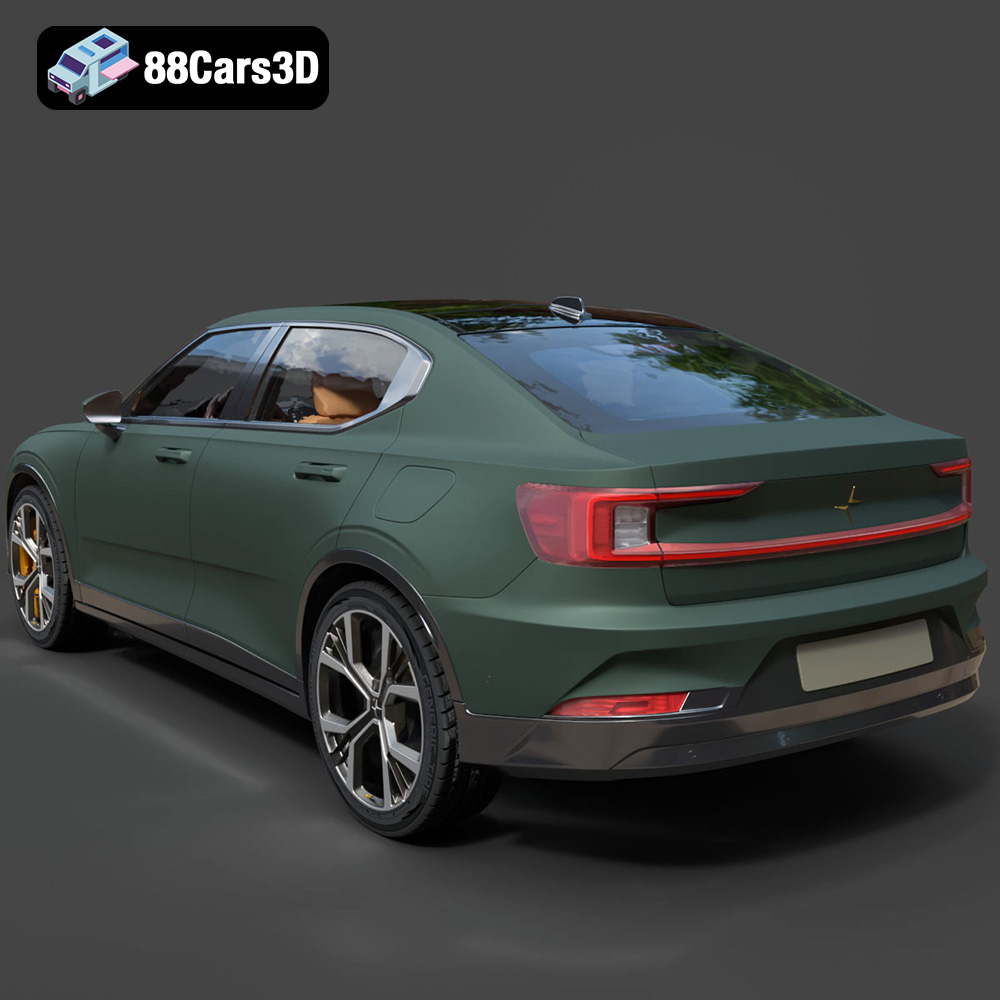
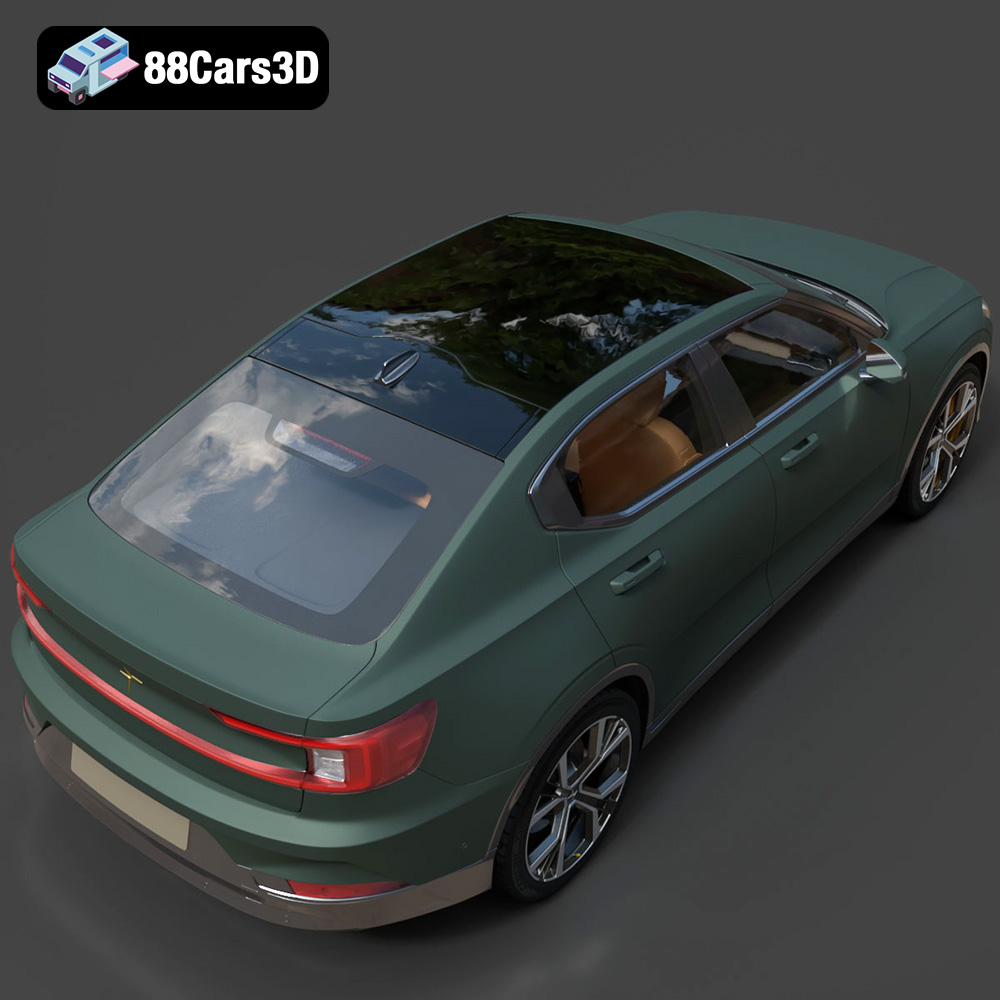
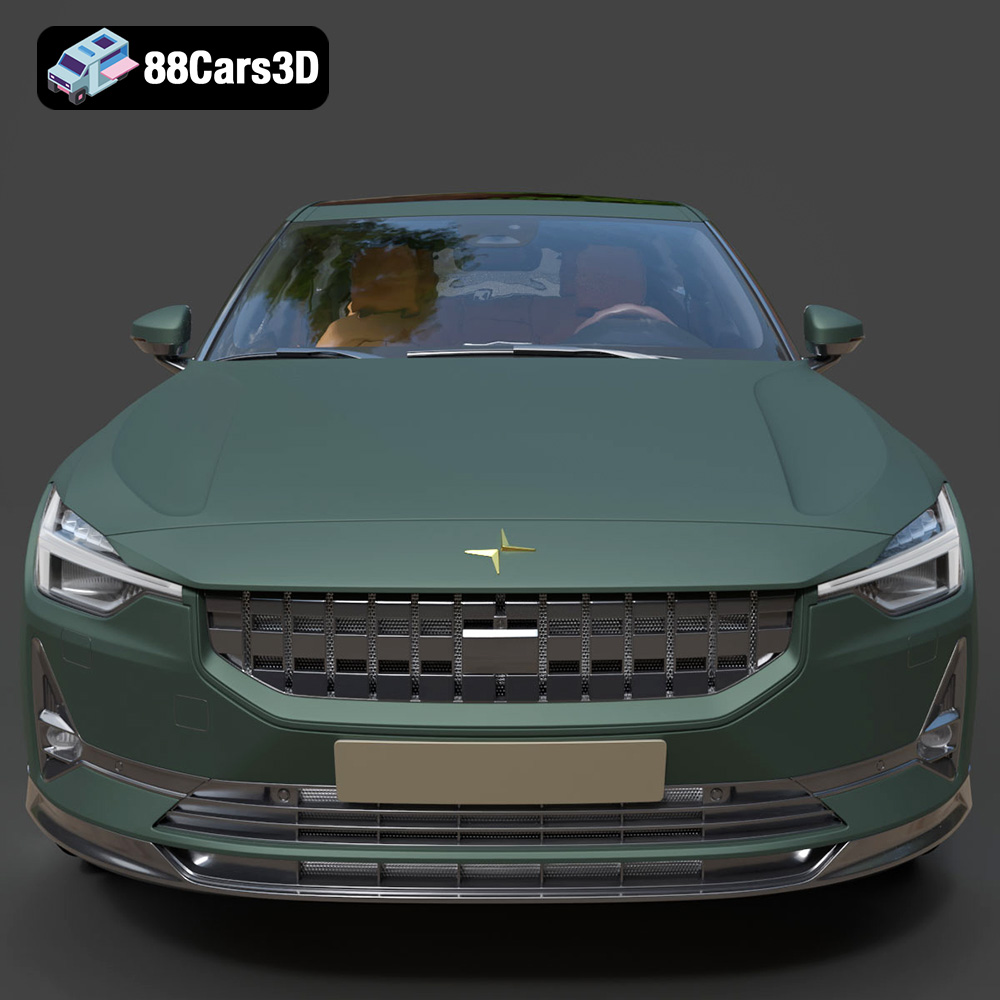
Discover the sleek and innovative Polestar 2 2020, a premium all-electric fastback that redefines Scandinavian minimalist design and sustainable performance. This cutting-edge EV features iconic visual elements such as signature pixel LED headlights, a striking full-width taillight blade, frameless mirrors, and a distinctively aerodynamic profile that sets it apart in the modern electric vehicle market. Optimized for 3D printing!
$39.99
.blend
.ev
.fastback
.fbx
.glb
.max
.obj
.ply
.polestar
.rendering
.stl
.unreal
car-3d-model
electric-car
game asset
game-ready
low-poly
optimized
polestar-2
VR/AR