Get 20% OFF All Premium 3D & STL Models!

The Jaguar XFR-S 2014, a symbol of performance and luxury, can now grace your desk or become a standout piece in your collection thanks to the power of 3D printing. This guide provides a comprehensive overview of how to successfully 3D print the Jaguar XFR-S 2014 3D model, available at 88cars3d.com, covering everything from pre-print preparation to post-processing techniques. Whether you’re a seasoned 3D printing enthusiast or just starting, this guide will equip you with the knowledge to achieve stunning results.
Before diving into the specifics of printing the Jaguar XFR-S, it’s crucial to understand the various file formats available and their implications for 3D printing. Different formats offer varying levels of detail, texture support, and compatibility with slicing software. Choosing the right format is the first step toward a successful print.
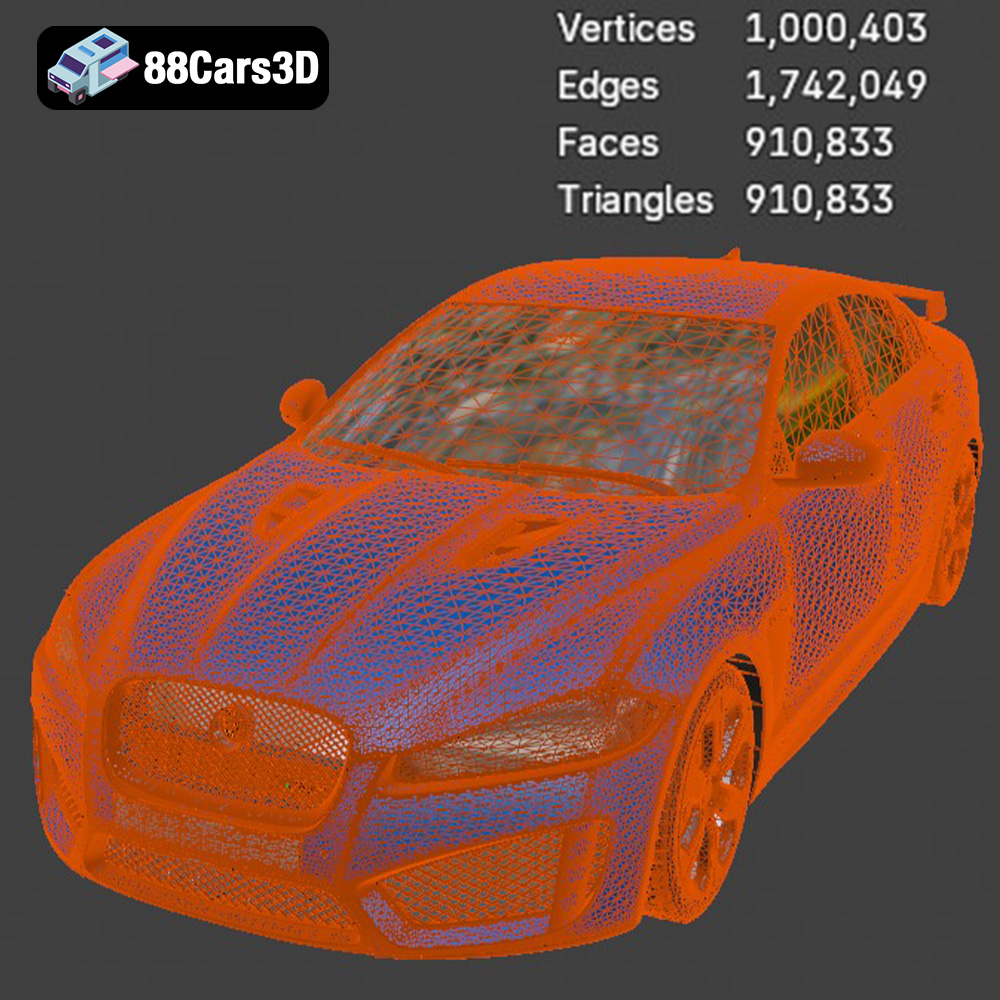
The .stl (Stereolithography) format is the industry standard for 3D printing. It represents the 3D model’s surface geometry using a mesh of triangles. This simplicity is its strength, making it universally compatible with nearly all 3D printers and slicing software. However, .stl files only store the surface geometry, meaning they don’t contain color or texture information. For the Jaguar XFR-S, the .stl file will provide the basic shape, ready to be sliced and printed. When preparing the .stl file, ensure the mesh is closed (watertight) and doesn’t contain any self-intersections or flipped normals. Most slicing software includes tools to automatically repair minor mesh errors. The quality of the mesh significantly impacts the final print; a higher triangle count results in a smoother surface but also a larger file size and potentially longer processing times. For the XFR-S, consider balancing detail with printability. For smaller scale models, optimizing the triangle count can be helpful.
The .obj (Object) format is a more versatile option that can store color and texture information along with the geometry. While not as universally supported as .stl, it’s compatible with many advanced slicing software packages. If you intend to paint the 3D printed Jaguar XFR-S, the .obj format can be useful for planning and visualizing the color scheme. However, most 3D printers only print in a single color at a time, so the color information in the .obj file won’t be directly translated during the printing process. It’s primarily useful for pre-visualization.
The .ply (Polygon File Format) is designed for storing high-resolution 3D data, often acquired from 3D scanners. It supports color and other properties per vertex, allowing for more detailed representations. While potentially offering higher fidelity for the Jaguar XFR-S, it might not be ideal for standard FDM 3D printers due to the complexity of the file and potential for very long processing times. .ply files are more commonly used in scientific visualization and analysis.
While the .blend, .fbx, .glb and .max formats are included with the Jaguar XFR-S model, it’s important to understand their purpose. The .blend file is the native Blender file, allowing you to directly edit the model in Blender before exporting it in a suitable format for 3D printing. The .fbx format is useful for importing into game engines like Unreal Engine or Unity, while .glb is optimized for AR/VR applications. The .max file is for users of 3ds Max. These formats are not directly used for printing, but they offer the flexibility to customize the model before generating the .stl file for printing.
Before you start the 3D printing process, preparing the model is crucial for ensuring a successful outcome. This involves several steps, including choosing the right orientation, adding supports, and adjusting the model’s scale.
The orientation of the Jaguar XFR-S on the print bed significantly impacts print quality and the amount of support material required. Consider placing the car with the roof facing upwards. This minimizes the need for supports on the visible exterior surfaces, preserving their smoothness. However, this orientation will require supports for the underside of the car, wheel wells, and potentially some areas of the chassis. Alternatively, printing the car on its side might reduce the overall support material but could lead to less desirable surface finishes on curved areas. Experimentation is key. Slicing software such as Cura, Simplify3D, and PrusaSlicer offer various support generation options. Tree supports are often a good choice as they use less material and are easier to remove. Always inspect the generated supports in the slicer preview to ensure they adequately support all overhanging features.
The scale of the model affects the level of detail you can achieve and the overall print time. A larger scale allows for finer details to be printed but increases the printing time and material usage. For the Jaguar XFR-S, a scale of 1:24 or 1:18 can capture the details well. Consider the capabilities of your 3D printer when choosing the scale. If your printer has a small build volume, you might need to print the car in multiple parts and assemble them later. Adjust the model’s resolution in the slicing software based on the desired print quality and printer capabilities. Lower layer heights (e.g., 0.1mm or 0.15mm) will result in smoother surfaces but will significantly increase print time. A layer height of 0.2mm is a good balance between quality and speed for many FDM printers.
Before slicing, it’s essential to check the model for any errors, such as non-manifold edges, holes, or flipped normals. Most slicing software packages include tools to automatically repair these issues. Alternatively, you can use dedicated mesh editing software like MeshLab or Blender to fix any imperfections. Ensure that the model is a closed, watertight mesh before proceeding. Optimizing the mesh can also improve print quality and reduce processing time. This involves reducing the polygon count while preserving the overall shape and details of the Jaguar XFR-S. Mesh optimization can be performed in Blender or other 3D modeling software.
Choosing the right material is critical for achieving the desired look, feel, and durability of your 3D printed Jaguar XFR-S. Different materials offer different properties, such as strength, flexibility, and temperature resistance.
PLA (Polylactic Acid) is a popular choice for 3D printing due to its ease of use, biodegradability, and wide availability. It’s a good option for printing the Jaguar XFR-S if you’re primarily concerned with aesthetics and don’t require high strength or temperature resistance. PLA is available in a wide range of colors, making it easy to find a color that closely matches the original car. PLA is best printed at temperatures between 190°C and 220°C, with a bed temperature between 50°C and 60°C. Avoid using PLA for parts that will be exposed to high temperatures, as it can soften and deform.
PETG (Polyethylene Terephthalate Glycol-modified) is a stronger and more durable alternative to PLA. It offers better impact resistance, temperature resistance, and flexibility. PETG is a good choice for printing the Jaguar XFR-S if you want a model that can withstand some wear and tear. It’s also more resistant to warping than PLA, making it easier to print larger parts. PETG is typically printed at temperatures between 220°C and 250°C, with a bed temperature between 70°C and 80°C. It’s important to ensure good bed adhesion when printing with PETG to prevent warping.
For unparalleled detail and smooth surfaces, consider using resin printing (SLA or DLP). Resin printers use liquid resin that is cured by UV light, resulting in incredibly fine details and layer resolutions. This is ideal for replicating intricate features of the Jaguar XFR-S, such as the grille, headlights, and interior details. However, resin printing requires more post-processing, including washing and curing the printed parts. Resins also tend to be more brittle than PLA or PETG, so the model might be more fragile. When using resin, orient the model to minimize the cross-sectional area of each layer to reduce the risk of print failures. Also, hollow out the model to save resin and reduce printing time.
Achieving a successful print requires fine-tuning your 3D printer settings. These settings will vary depending on your printer model and the material you’re using, but the following are some general guidelines.
Layer height determines the resolution and smoothness of the printed model. Lower layer heights result in smoother surfaces but increase print time. For the Jaguar XFR-S, a layer height of 0.1mm to 0.2mm is recommended. Print speed also affects print quality. Slower print speeds typically result in better adhesion and fewer imperfections. Start with a print speed of 40mm/s to 60mm/s and adjust as needed. For intricate details, you may need to reduce the print speed further.
Infill density determines the internal strength of the printed model. Higher infill densities result in stronger models but increase print time and material usage. For the Jaguar XFR-S, an infill density of 15% to 25% is usually sufficient. Choose an infill pattern that provides good strength and stability, such as grid, triangle, or gyroid. The gyroid infill pattern offers excellent strength-to-weight ratio and is a good choice for larger prints.
The optimal printing temperature depends on the material you’re using. Refer to the material manufacturer’s recommendations for the correct temperature settings. Proper cooling is also essential to prevent warping and ensure good layer adhesion. Use a cooling fan to cool the printed layers as they are deposited. Adjust the fan speed based on the material and the complexity of the model. For PLA, full fan speed is generally recommended, while PETG might require lower fan speeds to prevent layer delamination.
Once the printing is complete, post-processing is necessary to refine the appearance and finish of the Jaguar XFR-S.
Carefully remove the support structures from the printed model. Use pliers, a hobby knife, or specialized support removal tools to avoid damaging the model. After removing the supports, sand the surface to smooth out any imperfections and remove any remaining support marks. Start with coarse sandpaper (e.g., 220 grit) and gradually move to finer grits (e.g., 400 grit, 600 grit, 800 grit) to achieve a smooth finish. Wet sanding can help to reduce dust and improve the smoothness of the surface.
Painting is a great way to enhance the realism of the 3D printed Jaguar XFR-S. Apply a primer to the model to create a smooth and even surface for the paint to adhere to. Use spray paint or airbrush to apply the desired colors. Multiple thin coats are better than one thick coat to avoid runs and drips. After painting, apply a clear coat to protect the paint and add a glossy or matte finish. You can also use polishing compounds to further enhance the shine of the model.
If you printed the Jaguar XFR-S in multiple parts, you’ll need to assemble them after post-processing. Use adhesive, such as super glue or epoxy, to join the parts together. Ensure that the parts are properly aligned before applying the adhesive. You can also use small clamps or tape to hold the parts together while the adhesive dries.
Even with careful preparation, 3D printing issues can arise. Here are some common problems and their solutions.
Warping occurs when the corners of the printed model lift off the print bed. This is often caused by poor bed adhesion or temperature fluctuations. To prevent warping, ensure that the print bed is clean and level. Use a bed adhesive, such as glue stick or hairspray, to improve adhesion. Enclosing the printer can also help to maintain a consistent temperature and prevent warping. Additionally, consider adding a brim to the model in the slicing software to increase the surface area in contact with the print bed.
Stringing occurs when thin strands of filament are left between different parts of the printed model. This is often caused by excessive nozzle temperature or retraction settings. To prevent stringing, reduce the nozzle temperature and increase the retraction distance and speed in the slicing software. You can also try enabling coasting or wiping to reduce the amount of filament that oozes out of the nozzle.
Layer delamination occurs when the printed layers separate from each other. This is often caused by insufficient layer adhesion or poor cooling. To prevent layer delamination, increase the nozzle temperature and reduce the print speed. Ensure that the cooling fan is not cooling the layers too quickly. You can also try increasing the layer height slightly to improve adhesion.
Printing the Jaguar XFR-S 2014 model from 88cars3d.com can be a rewarding experience. By understanding the file formats, carefully preparing the model, choosing the right materials and settings, and mastering post-processing techniques, you can create a stunning replica of this iconic performance sedan. Remember to experiment and adjust the settings based on your printer and material to achieve the best results.
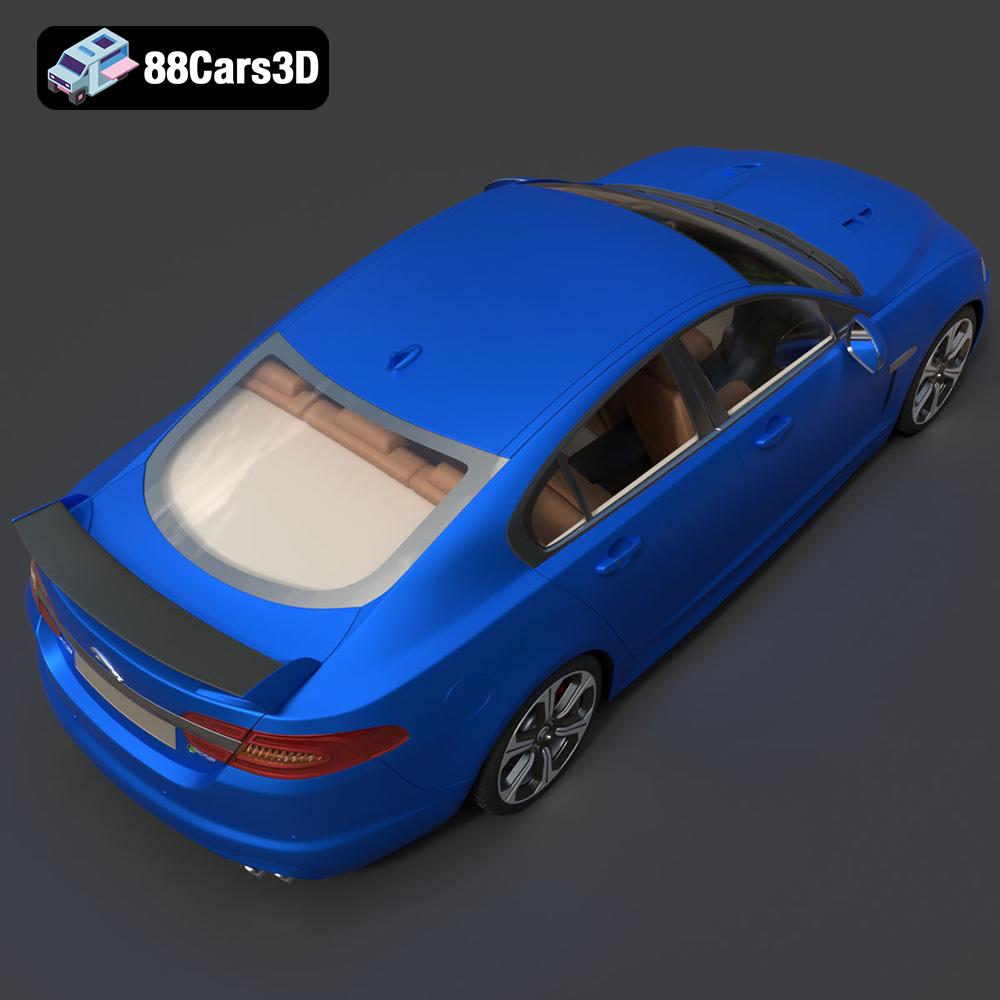
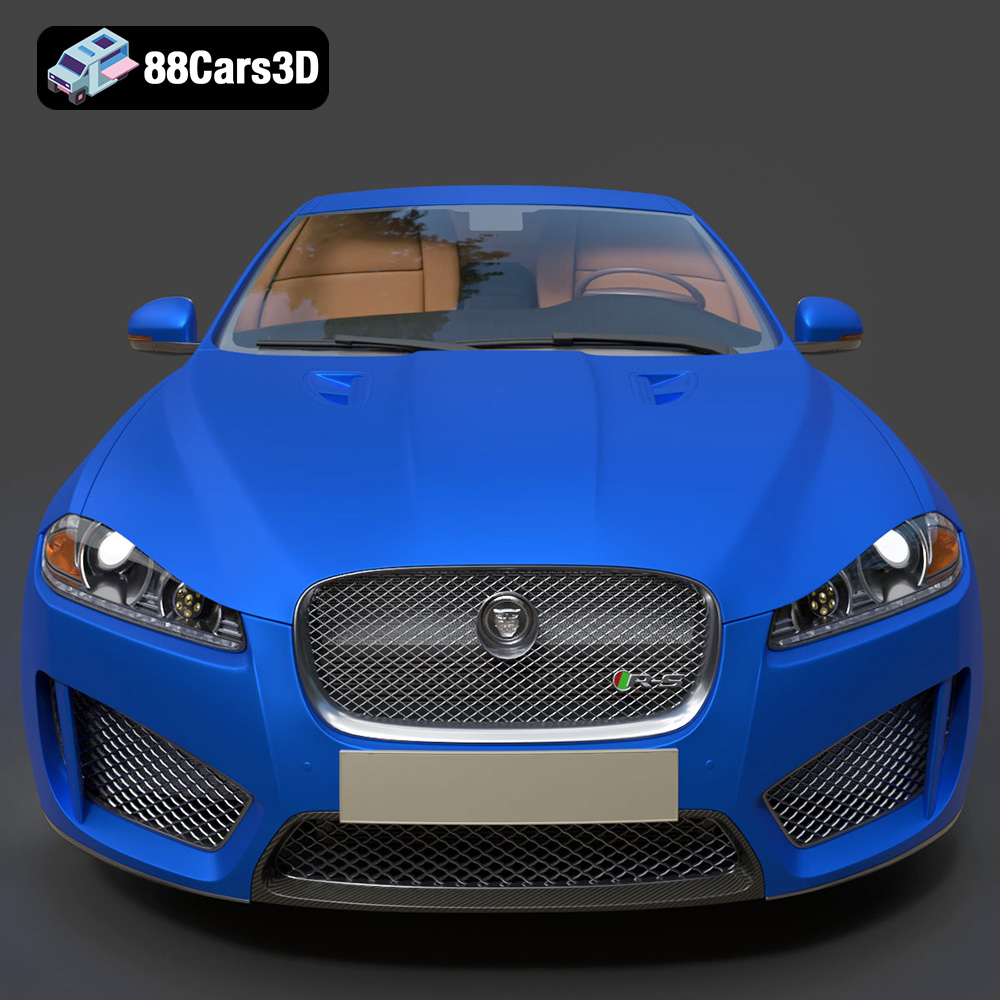
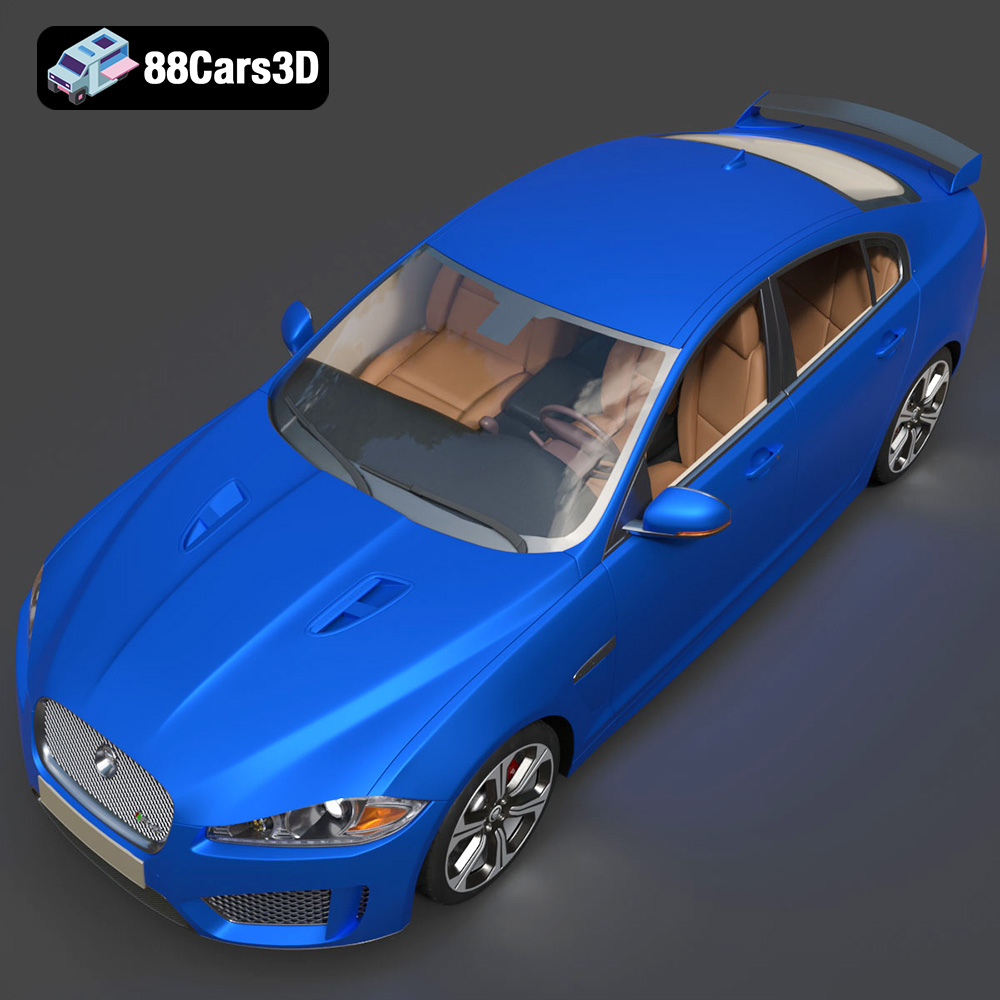
The Jaguar XFR-S 2014 3D Model delivers an exceptionally realistic representation of the iconic performance sedan. Designed with precision, this asset captures the aggressive styling, aerodynamic profile, and distinct characteristics of the XFR-S.
Featuring clean geometry, meticulously crafted realistic materials, and an optimized polygon count, this model ensures professional-grade performance. The fully modeled interior and detailed exterior make it versatile for close-up shots and expansive scenes.
Perfectly suited for game development, architectural visualization, cinematic rendering, and AR/VR applications, it provides a seamless integration into any production pipeline.
$39.99
.arvr
.blend
.car3dmodel
.fbx
.gameasset
.glb
.jaguar
.luxurycar
.max
.obj
.ply
.rendering
.sedan
.simulation
.sportssedan
.stl
.unreal
.xfrs