Get 20% OFF All Premium 3D & STL Models!

“`html
The world of 3D printing offers incredible possibilities for automotive enthusiasts, hobbyists, and engineers alike. With a vast library of printable car models available in STL format, bringing your dream car to life has never been easier. However, choosing the right 3D printing technology is crucial for achieving the desired results. Two dominant technologies stand out: Fused Deposition Modeling (FDM) and Stereolithography (SLA), commonly known as resin printing. This guide will delve deep into the nuances of each technology, comparing their strengths and weaknesses to help you determine which is best suited for printing car STL files, especially those available on platforms like 88cars3d.com. We will cover everything from file preparation and printer settings to post-processing techniques, ensuring you have the knowledge to create stunning, high-quality models.
Before diving into the printer technologies, it’s essential to understand the STL file format, the cornerstone of 3D printing. STL (stereolithography) files represent 3D models as a collection of triangles, approximating the surface geometry. A higher number of triangles results in a smoother, more detailed model, but also a larger file size. When downloading models from marketplaces such as 88cars3d.com, pay attention to the file size and the level of detail. A well-prepared STL file is crucial for successful printing, regardless of whether you’re using FDM or resin technology.
Mesh topology refers to the structure of the triangles that make up the STL file. Problems like non-manifold edges, holes, and self-intersections can lead to printing errors. Software like Meshmixer and Netfabb are invaluable for repairing these issues. Always inspect your STL files for errors before slicing, and utilize mesh repair tools to ensure a “watertight” model. For instance, in Meshmixer, the “Make Solid” function can automatically repair many common mesh problems. Pay special attention to STL files of car models, as intricate details like grilles and mirrors are often susceptible to mesh errors.
Beyond repair, optimizing STL files involves simplifying the mesh (reducing the triangle count) without sacrificing essential details. This can improve slicing speed and reduce the computational load on your 3D printer. Blender offers powerful sculpting and mesh editing tools for this purpose. Consider using decimation modifiers to reduce the polygon count in areas with less curvature. Additionally, ensure the model is properly scaled to your desired size before exporting to STL. Scaling issues can lead to unexpected print results. Remember that properly optimized STL files contribute significantly to the success of the printing process and the final quality of your 3D printed car model.
FDM (Fused Deposition Modeling) is a widely accessible and cost-effective 3D printing technology. It works by extruding heated thermoplastic filament layer by layer to build the model. Common materials include PLA (Polylactic Acid), PETG (Polyethylene Terephthalate Glycol), and ABS (Acrylonitrile Butadiene Styrene). FDM is particularly well-suited for printing larger car models or parts requiring structural strength. However, it typically produces parts with noticeable layer lines and may struggle with very fine details compared to resin printing. It is, however, perfect for initial prototypes and testing the size and fit of your car model before committing to a more detailed resin print.
Slicing is the process of converting the STL file into a series of instructions (G-code) that the 3D printer can understand. Key slicing parameters in software like Cura and PrusaSlicer include layer height, infill percentage, print speed, and temperature. For car models, a layer height of 0.1mm to 0.2mm offers a good balance between print time and surface quality. Infill percentage determines the internal density of the model, with higher percentages providing greater strength. A range of 15-25% is often sufficient for car models unless structural integrity is paramount. Print speed affects both print time and quality; slower speeds generally result in smoother surfaces. A speed of 40-60 mm/s is a good starting point. Consider experimenting with different settings to find the optimal balance for your specific printer and filament.
Support structures are necessary for FDM printing to support overhanging features and prevent them from collapsing during printing. Careful placement of supports is crucial to minimize material waste and simplify post-processing. Cura and PrusaSlicer offer automated support generation tools, but manual adjustments are often necessary to optimize support placement. Consider using tree supports for complex geometries as they are easier to remove. When printing car models, pay close attention to areas like wheel arches, spoilers, and mirrors, as these often require significant support. The support interface settings influence how easily supports are removed; experiment with different interface layers and densities to find the sweet spot.
Resin 3D printing, specifically SLA (Stereolithography) and DLP (Digital Light Processing), uses UV light to cure liquid resin layer by layer. This technology excels at producing highly detailed parts with smooth surfaces, making it ideal for printing intricate car models with fine features. Resin printers are capable of achieving significantly higher resolution than FDM printers. However, resin printing typically involves a smaller build volume and requires more extensive post-processing, including washing and curing. It is the preferred method when aesthetic appeal and accurate replication of the original design are critical.
A variety of resins are available, each with unique properties. Standard resins are suitable for general-purpose printing, while tough resins offer increased strength and impact resistance. Flexible resins can be used to create parts with rubber-like properties. For car models, consider using a resin with good detail resolution and dimensional accuracy. Experiment with different resin colors to achieve the desired aesthetic. When selecting a resin, always consult the manufacturer’s specifications for optimal printing parameters, such as exposure time and layer height. Ensure proper ventilation when working with resins, as they can release fumes. Remember to always wear gloves when handling uncured resin to avoid skin irritation.
Key settings for resin printing include layer height, exposure time, and lift speed. Lower layer heights result in finer details but increase print time. A layer height of 0.025mm to 0.05mm is common for detailed car models. Exposure time determines how long each layer is exposed to UV light. Insufficient exposure leads to under-cured parts, while excessive exposure can cause over-curing and loss of detail. Lift speed affects how quickly the build plate moves between layers. Slower lift speeds can reduce the risk of layer separation, especially with larger models. Calibrating your resin printer is crucial for achieving optimal results. Perform exposure tests to determine the ideal exposure time for your chosen resin. Use calibration models specifically designed for resin printers to fine-tune settings and ensure dimensional accuracy.
Like FDM printing, resin printing often requires support structures to support overhanging features. However, the support structures in resin printing are typically finer and more delicate. Orientation plays a critical role in minimizing support requirements and improving print quality. Orienting the car model at an angle can reduce the cross-sectional area of each layer, minimizing the pulling force on the print and reducing the risk of layer separation. Consider orienting the model so that the most detailed features are facing upwards. Automatic support generation tools in software like Chitubox and Lychee Slicer can be helpful, but manual adjustments are often necessary to optimize support placement and minimize scarring on the model’s surface. Experiment with different support densities and tip diameters to find the optimal balance between support strength and ease of removal. Using thinner support tips will minimize the marks left on the surface of the car model.
Removing supports from resin prints requires patience and care. Use sharp tools, such as hobby knives and flush cutters, to carefully snip away the supports. Avoid applying excessive force, as this can damage the model. After removing the supports, wash the printed model in isopropyl alcohol (IPA) to remove any remaining uncured resin. Use a dedicated washing station for best results. Following the wash, cure the model in a UV curing chamber to fully harden the resin. Curing improves the strength and durability of the print. The curing time will vary depending on the resin type and the intensity of the UV light. Sanding and polishing can be used to further refine the surface finish of the model. Start with coarse-grit sandpaper and gradually work your way up to finer grits. Apply a clear coat to protect the paint and enhance the shine. For car models from sites like 88cars3d.com, this meticulous post-processing is what elevates the print from a mere prototype to a museum-quality replica.
Regardless of whether you choose FDM or resin printing, you’re likely to encounter some challenges along the way. Understanding common printing issues and how to troubleshoot them is crucial for achieving successful prints. This section will cover some of the most common problems and their solutions, including bed adhesion, warping, layer separation, and over-extrusion.
Bed adhesion refers to the ability of the first layer to stick to the print bed. Poor bed adhesion is a common cause of print failures, especially with FDM printing. Ensure the bed is properly leveled and clean. Use a bed adhesive, such as hairspray or glue stick, to improve adhesion. Adjust the nozzle height to ensure the first layer is properly squished onto the bed. For resin printing, ensure the build plate is properly calibrated and that the bottom layer exposure time is sufficient. Consider using a raft or brim to increase the surface area of the first layer. For both technologies, maintaining a consistent bed temperature is vital.
Warping occurs when the corners of the print lift off the bed, while layer separation happens when layers fail to adhere to each other properly. These issues are often caused by temperature fluctuations and poor adhesion. For FDM printing, use an enclosure to maintain a stable temperature. Increase the bed temperature and reduce the cooling fan speed. For resin printing, ensure the resin is properly mixed and that the ambient temperature is within the recommended range. Increase the exposure time and reduce the lift speed. Regularly inspect your printer for mechanical issues, such as loose belts or wobbly print beds, as these can also contribute to warping and layer separation.
Over-extrusion occurs when the printer extrudes too much material, resulting in blobs and imperfections. Under-extrusion happens when the printer doesn’t extrude enough material, leading to gaps and weak layers. Calibrate your extruder and adjust the flow rate in your slicing software. Check for clogs in the nozzle and clean it if necessary. Ensure the filament or resin is properly loaded and that there are no kinks or tangles. For resin printing, ensure the resin is not too viscous and that the exposure time is properly calibrated. Using a high-quality filament or resin is crucial for consistent results.
Ultimately, the choice between resin and FDM printing for car STL files depends on your specific needs and priorities. FDM offers affordability, larger build volumes, and good structural strength, making it suitable for larger models and functional prototypes. Resin printing excels in detail, surface finish, and accuracy, making it the preferred choice for intricate models and aesthetically pleasing replicas. Consider the level of detail required, the size of the model, the material properties needed, and your budget when making your decision. Platforms like 88cars3d.com offer a wide selection of car STL files optimized for both FDM and resin printing, so choose the technology that best aligns with your vision. Don’t be afraid to experiment with different settings and techniques to achieve the best possible results. With the right approach, you can create stunning 3D printed car models that capture the beauty and essence of automotive design.
“`

Texture: Yes | Material: Yes
Download the highly detailed, game-ready Ducati 1299 Panigale S 2017 3D Model. Features signature aerodynamic fairings, detailed Superquadro engine components, and aggressive Italian styling. Includes .blend, .fbx, .obj, .glb, .stl, .ply, .unreal, and .max formats for game development, AR/VR, and rendering.
Price: $19.99
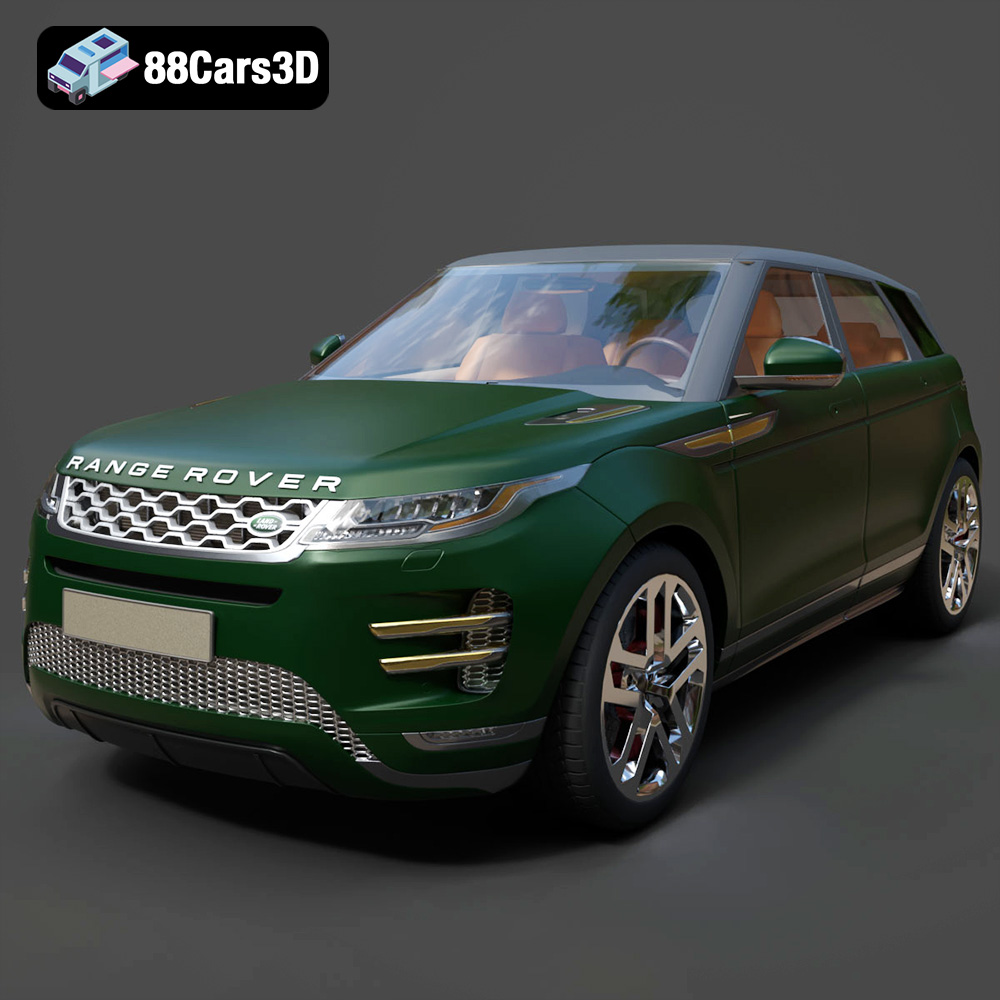
Texture: Yes | Material: Yes
Download the highly detailed, game-ready Range Rover Evoque R-Dynamic 2019 3D Model. Features flush deployable door handles, Matrix LED headlights, and R-Dynamic styling. Includes .blend, .fbx, .obj, .glb, .stl, .ply, .unreal, and .max formats for game development, AR/VR, and rendering.
Price: $19.99

Texture: Yes | Material: Yes
Download the highly detailed, game-ready Ford Mustang Mach 40 3D Model. Features aggressive custom widebody styling, a mid-mounted V8 engine, and classic retro-futuristic design. Includes .blend, .fbx, .obj, .glb, .stl, .ply, .unreal, and .max formats for game development, AR/VR, and rendering.
Price: $19.99
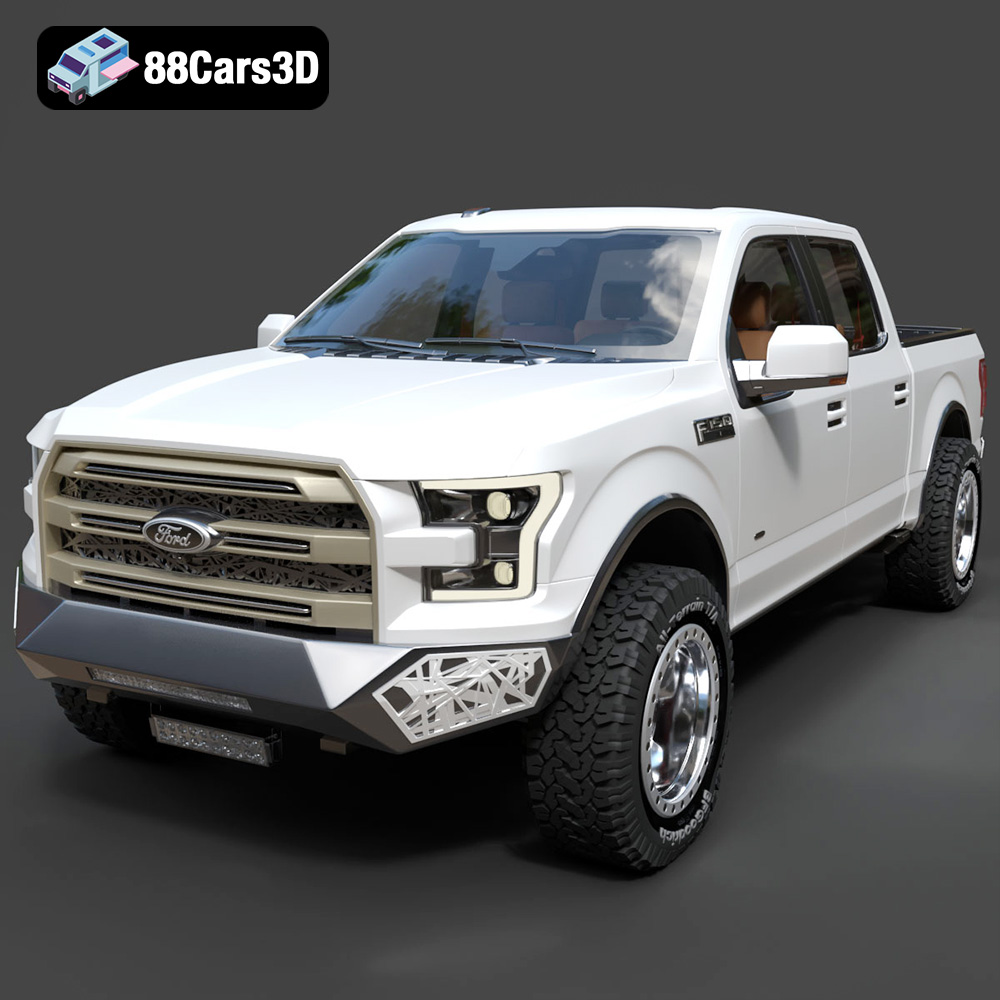
Texture: Yes | Material: Yes
Download the highly detailed, game-ready Ford F150 Raptor With Tuning From ARE 3D Model. Features custom ARE tuning accessories, aggressive off-road suspension, and rugged beadlock wheels. Includes .blend, .fbx, .obj, .glb, .stl, .ply, .unreal, and .max formats for game development, AR/VR, and rendering.
Price: $19.99

Texture: Yes | Material: Yes
Download the highly detailed, game-ready Mercedes-Benz AMG GLE 63 2021 3D Model. Features the iconic Panamericana grille, aggressive aerodynamic body styling, and a meticulously detailed luxurious interior. Includes .blend, .fbx, .obj, .glb, .stl, .ply, .unreal, and .max formats for game development, AR/VR, and rendering.
Price: $19.99
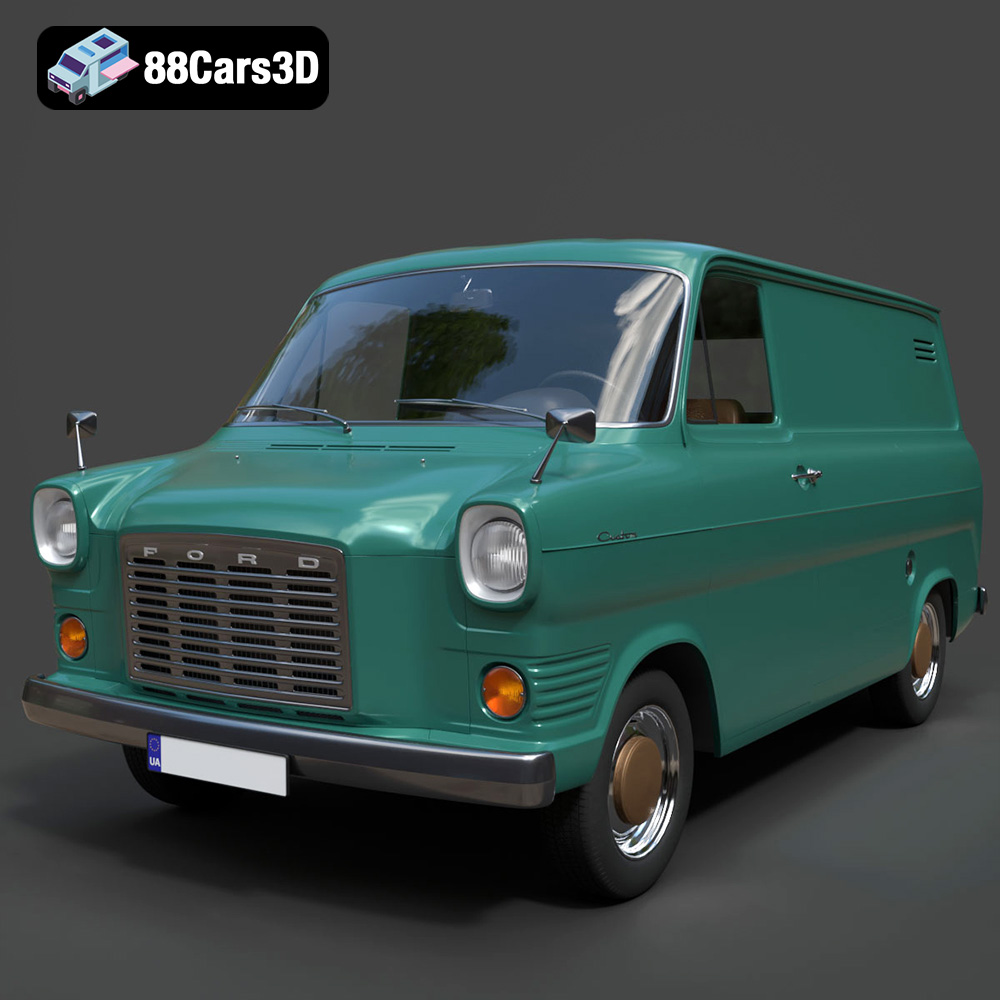
Texture: Yes | Material: Yes
Download the highly detailed, game-ready Ford Transit Mk1 Panel Van 1965 3D Model. Features iconic flat-front styling, vintage steel wheels, and a period-correct cargo bay. Includes .blend, .fbx, .obj, .glb, .stl, .ply, .unreal, and .max formats for game development, AR/VR, and rendering.
Price: $19.99

Texture: Yes | Material: Yes
Download the highly detailed, game-ready BMW X3 2024 3D Model. Features the iconic kidney grille, dynamic SUV proportions, and precise lighting elements. Includes .blend, .fbx, .obj, .glb, .stl, .ply, .unreal, and .max formats for game development, AR/VR, and rendering.
Price: $19.99

Texture: Yes | Material: Yes
Download the highly detailed, game-ready Tesla Model S Plaid 2021 3D Model. Features sleek aerodynamic styling, signature LED lighting, and the revolutionary Yoke steering interior. Includes .blend, .fbx, .obj, .glb, .stl, .ply, .unreal, and .max formats for game development, AR/VR, and rendering.
Price: $19.99
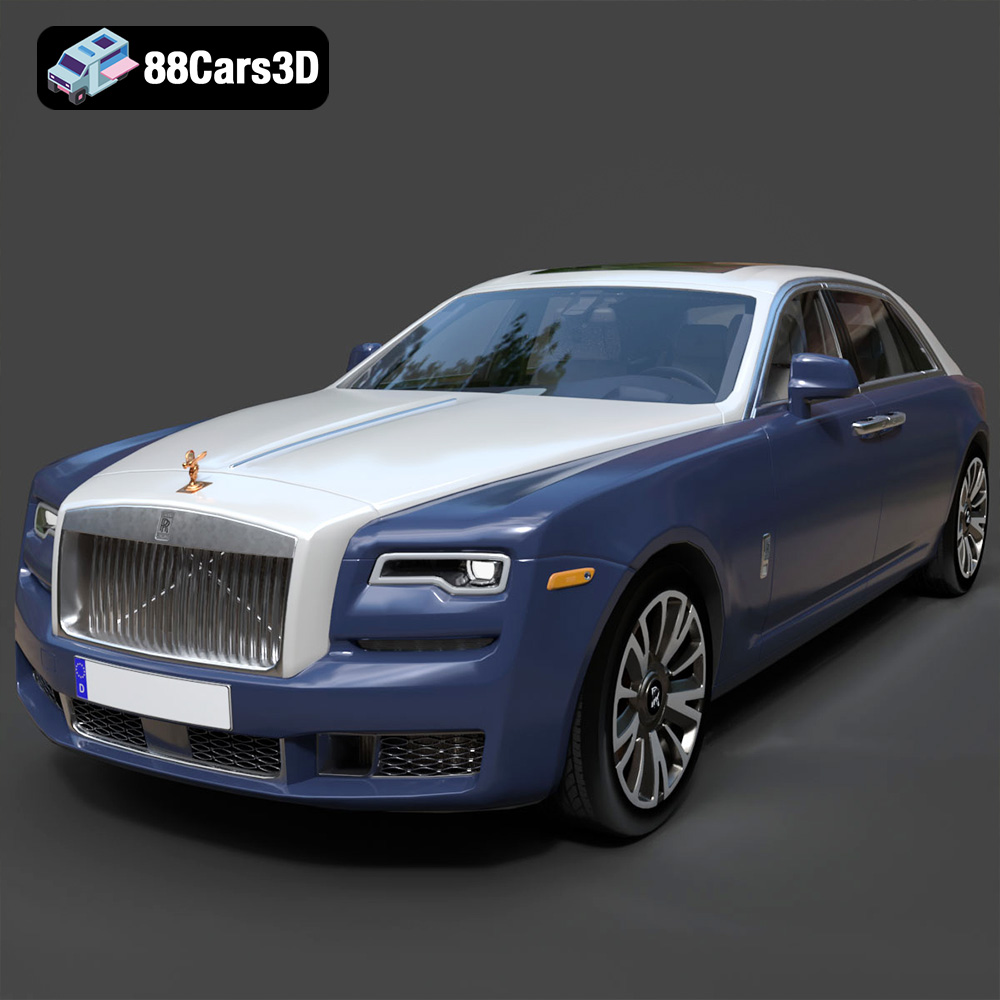
Texture: Yes | Material: Yes
Download the highly detailed, game-ready Rolls-Royce Ghost EWB 2018 3D Model. Features the iconic Pantheon grille, elongated luxury chassis, and elegant exterior lines. Includes .blend, .fbx, .obj, .glb, .stl, .ply, .unreal, and .max formats for game development, AR/VR, and rendering.
Price: $19.99
Texture: Yes | Material: Yes
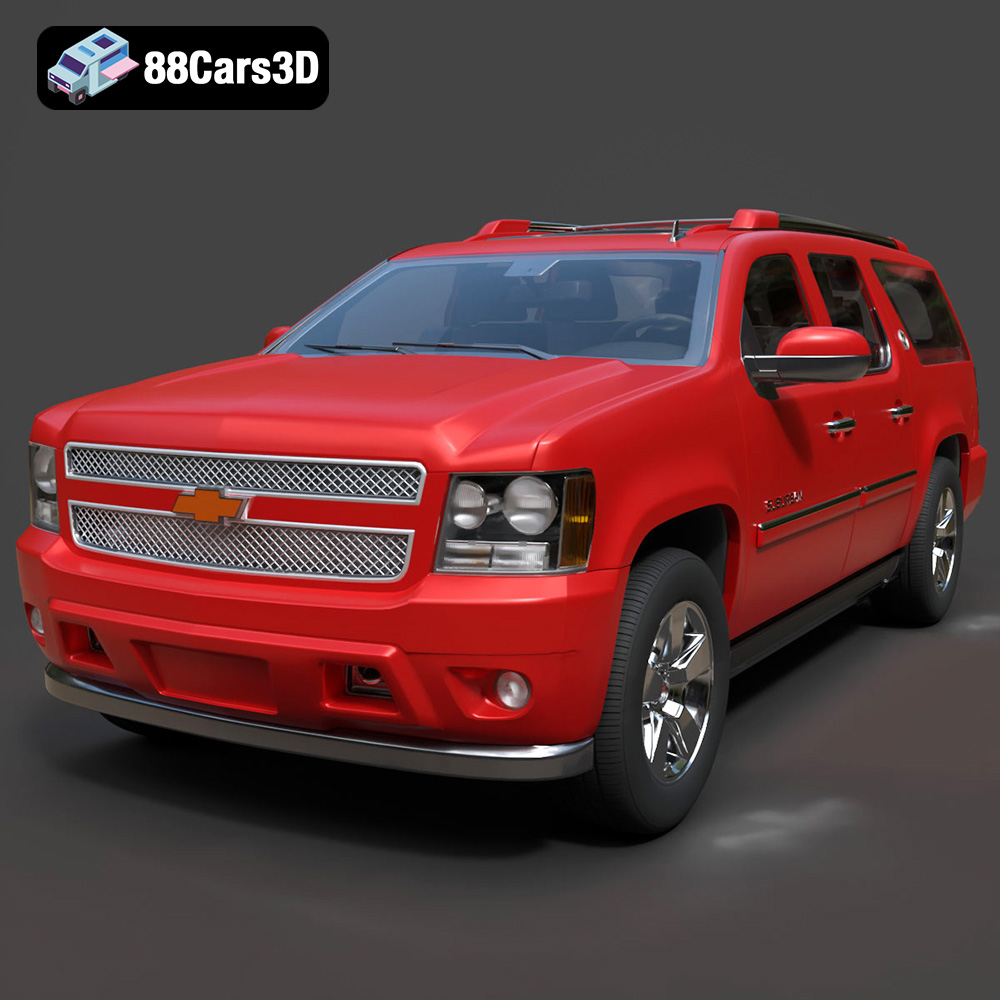
Download the highly detailed, game-ready Chevrolet Suburban 75th Diamond 3D Model. Features the iconic Diamond Edition styling, detailed interior, and accurate full-size SUV proportions. Includes .blend, .fbx, .obj, .glb, .stl, .ply, .unreal, and .max formats for game development, AR/VR, and rendering.
Price: $19.99

