Get 20% OFF All Premium 3D & STL Models!

The Vintage Vespa, a symbol of Italian style and freedom, can now grace your desk or shelf thanks to the power of 3D printing. With the high-quality 3D model available at 88cars3d.com, you can bring this timeless classic to life. This guide will walk you through the process, from choosing the right materials and settings to post-processing for a stunning final result. Whether you’re a seasoned 3D printing enthusiast or a curious beginner, this detailed walkthrough will help you successfully create your own miniature Vintage Vespa.
Before diving into printer settings and slicing strategies, it’s crucial to understand the various file formats associated with 3D models. Knowing the strengths and weaknesses of each format will enable you to make informed decisions and avoid potential printing pitfalls. While the Vintage Vespa model from 88cars3d.com comes in multiple formats, some are better suited for 3D printing than others.
The .stl (stereolithography) file format is the de facto standard for 3D printing. It represents the surface geometry of a 3D object as a collection of triangles. This simplicity makes it universally compatible with virtually all 3D printing software and hardware. When preparing the Vintage Vespa model for printing, you’ll primarily work with the .stl file. Slicing software uses the .stl data to generate the toolpaths that your 3D printer will follow to create the physical object.
While .stl is widely supported, it has limitations. It only stores geometric data (the shape) and doesn’t include information about color, texture, or materials. Furthermore, the quality of an .stl file depends on the number of triangles used to represent the surface. A low-resolution .stl file will have noticeable facets, while a high-resolution .stl file will be smoother but require more processing power. When downloading your Vintage Vespa model from 88cars3d.com, opt for the highest resolution .stl available to ensure the best possible print quality.
The .obj (Wavefront object) file format is another popular choice for 3D models. Unlike .stl, .obj can store color and texture information, making it suitable for 3D prints that require multiple colors or a textured surface. However, many 3D printers, particularly those using FDM (Fused Deposition Modeling) technology, cannot directly print with multiple colors from an .obj file. The color information is more relevant for rendering and visualization purposes.
For the Vintage Vespa, the .obj format might be useful if you plan to apply textures in a 3D modeling program and then render the model virtually. However, for actual 3D printing, the .stl format is generally preferred.
The .ply (Polygon File Format or Stanford Triangle Format) is designed for storing 3D data acquired from 3D scanners. It supports various data types, including color, texture coordinates, transparency, and surface normals, allowing for high-fidelity representation of complex shapes. While .ply offers excellent detail, it is not as universally supported by 3D printing software as .stl. If your chosen slicing software supports .ply, it could be an option for printing the Vintage Vespa, especially if you prioritize capturing intricate details.
The .blend format is the native file format for Blender, a free and open-source 3D creation suite. This format is extremely powerful because it contains the entire Blender scene, including the model’s geometry, textures, materials, lighting, and animations. If you’re familiar with Blender, the .blend file for the Vintage Vespa allows you to customize the model extensively before exporting it to .stl for 3D printing. You can modify the geometry, add details, or even create variations of the Vespa design.
The .fbx (Filmbox) format is a proprietary format developed by Autodesk. It is widely used for exchanging 3D data between different software applications, particularly in the game development and animation industries. .fbx supports a wide range of data types, including geometry, textures, materials, animation, and rigging. While some slicing software can import .fbx files, it is generally recommended to convert the model to .stl before printing. The material information in the .fbx file might not be accurately translated to the 3D printing process.
The .glb (GL Transmission Format Binary) is a file format designed for efficient transmission and loading of 3D models in web applications. It is particularly well-suited for augmented reality (AR) applications, as it allows users to preview 3D models in their real-world environment before committing to a purchase or a 3D print. While the .glb format is excellent for visualization, it is not directly compatible with most 3D printing software. You’ll typically need to convert the .glb file to .stl before you can slice and print the Vintage Vespa.
In summary, for 3D printing the Vintage Vespa model, the .stl file format is the most reliable and widely supported option. If you intend to customize the model before printing, the .blend file offers maximum flexibility, but you’ll need to export it to .stl after making your modifications.
Once you have your .stl file, the next step is to prepare it for 3D printing using slicing software. This software takes the 3D model and divides it into thin layers, generating the instructions (G-code) that your 3D printer will follow. Popular slicing software options include Cura, PrusaSlicer, Simplify3D, and Chitubox (for resin printers).
Before slicing, it’s crucial to inspect the .stl file for any errors or imperfections. Sometimes, 3D models can have non-manifold geometry, which can cause problems during slicing. Most slicing software includes tools to automatically repair minor errors. If the errors are significant, you may need to use a dedicated mesh editing program like MeshMixer or Blender.
Orientation is another critical factor. The way you orient the Vintage Vespa model on the print bed will affect the print quality, the amount of support material required, and the overall print time. Consider the following:
* **Frame:** Printing the frame at an angle (e.g., 45 degrees) can improve its structural integrity and reduce the need for extensive supports. However, this might increase print time.
* **Wheels:** Wheels are best printed upright to maintain circularity, but this may require supports. Consider splitting the wheel into two halves to avoid needing supports on the curved part, and then glue them together after printing.
* **Handlebars:** These require careful support placement to avoid damaging the delicate details.
The Vintage Vespa model can be scaled to suit your preferences. The recommended scales are 1:12, 1:18, or 1:24, which are common scale model sizes. When scaling, remember that smaller scales will require finer print settings and may be more challenging to print. Conversely, larger scales will be easier to print but will consume more material and take longer.
The choice of material significantly impacts the final appearance and properties of your 3D printed Vintage Vespa.
PLA (Polylactic Acid) is a popular thermoplastic known for its ease of use, low warping, and biodegradability. It’s an excellent choice for beginners and for printing parts that don’t require high strength or temperature resistance. PLA is available in a wide range of colors, making it easy to achieve a visually appealing result. For the Vintage Vespa, PLA is suitable for the frame, body panels, and interior components.
PETG (Polyethylene Terephthalate Glycol-modified) offers a good balance of strength, flexibility, and heat resistance. It’s more durable than PLA and less prone to warping than ABS. PETG is a good choice for parts that might be subjected to stress or slightly higher temperatures, such as the wheels and suspension components.
Resin printing, using technologies like SLA (Stereolithography) or DLP (Digital Light Processing), offers exceptional detail and smooth surfaces. Resin is ideal for printing small, intricate parts like the engine casing, handlebars, and mirrors. However, resin prints tend to be more brittle than filament prints and require more post-processing (washing and curing). If you want to capture every fine detail of the Vintage Vespa, resin is the way to go, especially at smaller scales.
Achieving a successful 3D print depends heavily on using the right printer settings. Here’s a breakdown of key parameters:
Layer height determines the resolution of your print. Smaller layer heights (e.g., 0.04-0.12 mm) result in smoother surfaces and finer details, but they also increase print time. Larger layer heights (e.g., 0.2 mm) are faster but sacrifice detail. For the Vintage Vespa, a layer height of 0.1 mm is a good compromise between speed and quality, especially for filament printing. If using resin, even smaller layer heights (25-50 microns) are possible for exceptional detail.
Infill density determines the amount of material used inside the 3D printed object. Higher infill densities (e.g., 50-100%) increase strength and weight but also consume more material. Lower infill densities (e.g., 10-20%) are faster and more economical but may compromise structural integrity. For the Vintage Vespa, an infill density of 20-30% is sufficient for most parts. For parts that require more strength, such as the frame, you can increase the infill density.
Support structures are necessary for printing overhangs and complex geometries. Slicing software automatically generates supports, but it’s essential to optimize their placement and settings to minimize damage to the printed part during removal. Consider using tree supports or light supports, which are easier to remove than standard supports.
Print speed and temperature depend on the material you’re using. Consult the manufacturer’s recommendations for optimal settings. Generally, slower print speeds result in better print quality, especially for intricate parts.
Post-processing is essential for transforming a raw 3D print into a polished, professional-looking model.
The first step is to carefully remove the support structures. Use sharp tools like hobby knives or pliers to avoid damaging the printed part. After removing the supports, sand the surface to remove any remaining imperfections and smooth out layer lines. Start with coarse sandpaper (e.g., 220 grit) and gradually move to finer grits (e.g., 400, 600, 800 grit) for a smooth finish.
Apply a primer coat to the sanded surface to prepare it for painting. Primer helps the paint adhere better and fills in any remaining imperfections. Once the primer is dry, you can paint the Vintage Vespa in your desired colors. Consider using authentic factory colors for a realistic look. Metallic finishes can be achieved using metallic paints or by applying a clear coat over a metallic base coat.
Assemble the different parts of the Vintage Vespa, using glue or screws as needed. Add details like decals, chrome trim, and other finishing touches to enhance the realism of the model.
Even with careful preparation, 3D printing can sometimes present challenges. Here are some common issues and how to address them:
* **Warping:** This occurs when the printed part lifts off the build plate due to uneven cooling. Ensure proper bed adhesion by using a heated bed, applying adhesive (e.g., glue stick or hairspray), or using a brim.
* **Stringing:** This happens when the printer extrudes filament while moving between parts. Reduce stringing by adjusting retraction settings, increasing travel speed, or lowering print temperature.
* **Layer Shifting:** This occurs when the printer head shifts during printing, resulting in misaligned layers. Check the belts and pulleys for tightness, and ensure the printer is stable and not subject to vibrations.
* **Elephant’s Foot:** This is when the first layer of the print is wider than the subsequent layers. This can be fixed by adjusting the initial layer height or temperature.
By understanding these common issues and their solutions, you can overcome challenges and achieve successful 3D prints of the Vintage Vespa. This classic scooter model available at 88cars3d.com is a fantastic way to improve your 3D printing skills and create a beautiful, detailed replica.
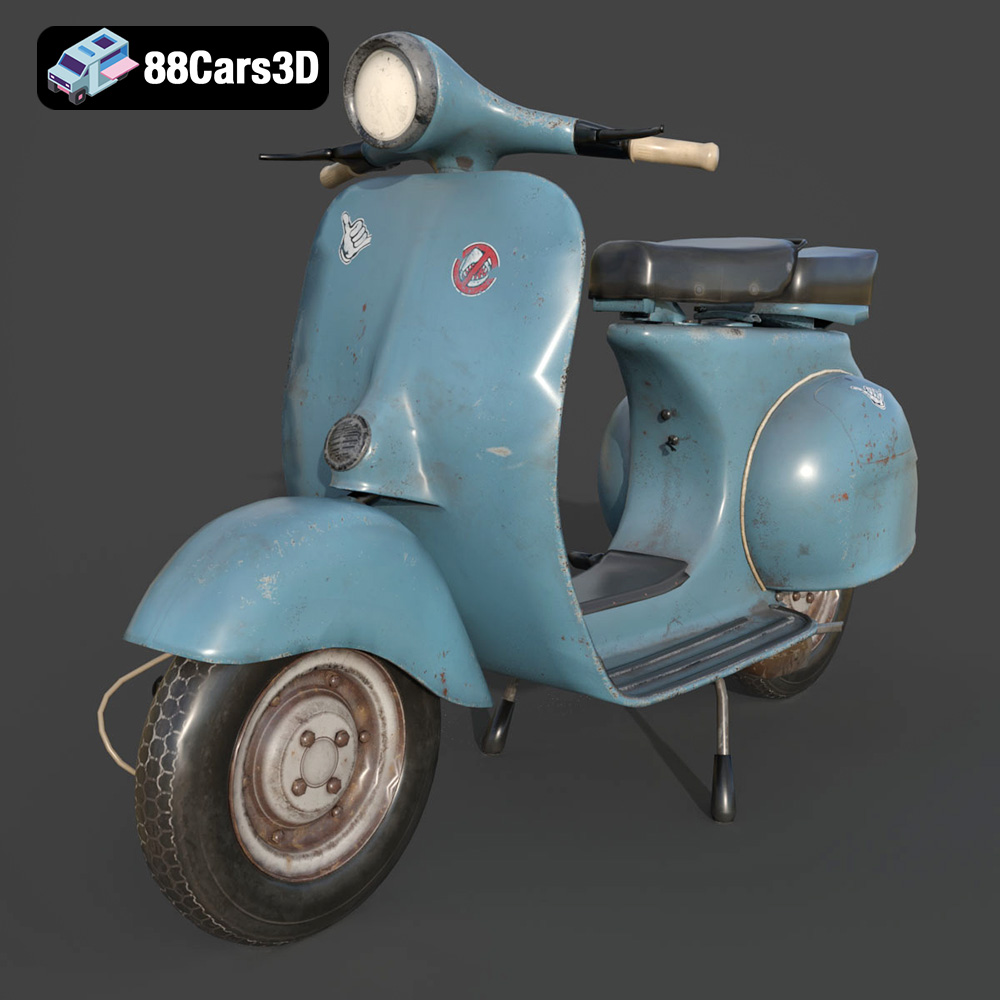
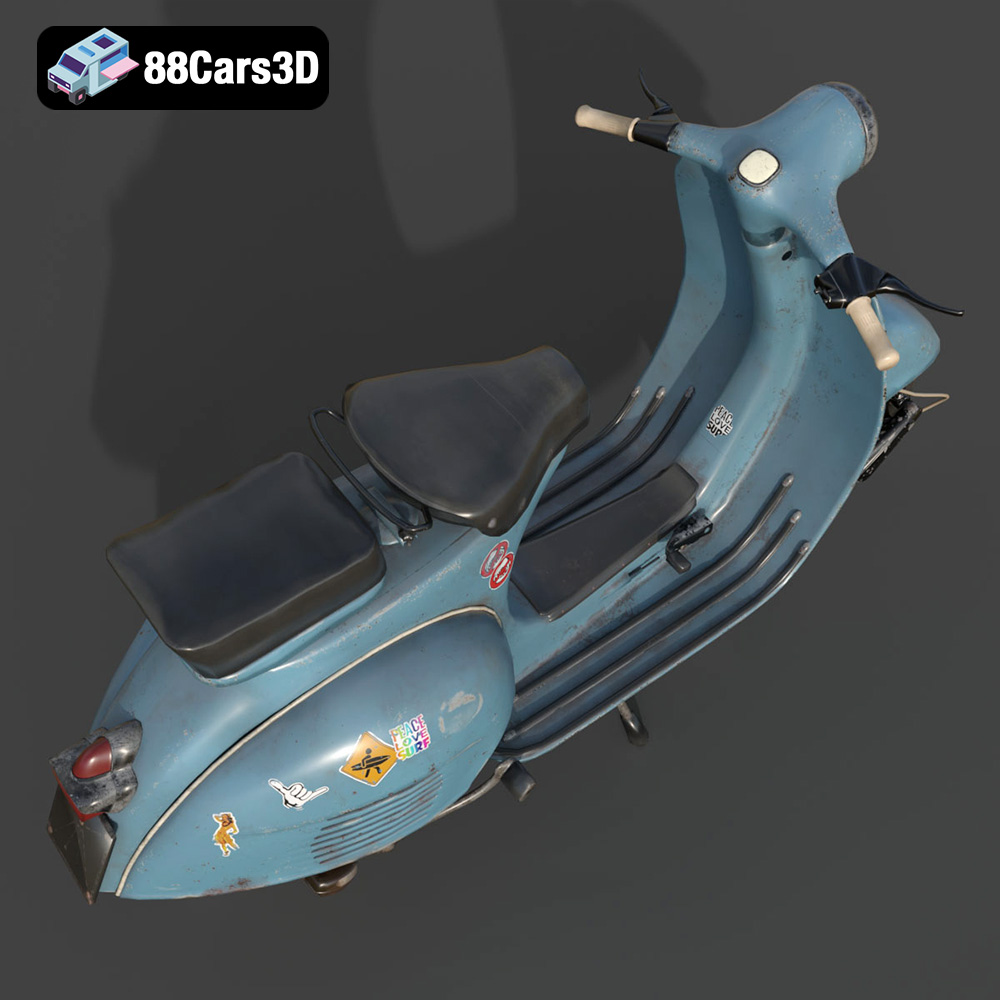
Capture the essence of Italian La Dolce Vita with this meticulously crafted Vintage Vespa 3D model. Celebrating decades of iconic design heritage, this classic scooter is immediately recognizable by its pressed steel monocoque chassis, beautifully sweeping side cowls, and signature step-through frame. From the authentic retro headlamp to the detailed engine side casing and vintage exhaust system, every element has been faithfully recreated to preserve the timeless elegance of this two-wheeled legend.
$39.99
.blend
.fbx
.glb
.max
.obj
.ply
.rendering
.scooter
.stl
.unreal
.vespa
classic-scooter
game asset
game-ready
low-poly
motorcycle-3d-model
optimized
retro-vehicle
vintage-vespa
VR/AR