Get 20% OFF All Premium 3D & STL Models!

The Volkswagen Schwimmwagen Typ 166 is a legendary piece of military history, a rugged amphibious vehicle that served with distinction during World War II. Now, thanks to the detailed 3D model available at 88cars3d.com, you can bring this iconic vehicle to life through the magic of 3D printing. This guide provides a comprehensive overview of how to successfully 3D print the Volkswagen Schwimmwagen Typ 166 model, covering everything from pre-print preparation to post-processing techniques. Whether you’re a seasoned 3D printing enthusiast or just starting out, this article will provide the knowledge and insights needed to create a stunning replica of this historical vehicle.
Choosing the right 3D printing technology is crucial for achieving the desired level of detail and accuracy in your Volkswagen Schwimmwagen Typ 166 model. The two primary options are Fused Deposition Modeling (FDM) and Stereolithography (SLA), also known as resin printing.
FDM printing is a popular choice due to its affordability and the wide range of materials available. It works by extruding molten plastic filament layer by layer to build the model. For the Schwimmwagen, FDM can be used effectively, especially for larger scales where layer lines are less noticeable. Materials like PLA and PETG are excellent choices for their ease of use and durability.
Resin printing, on the other hand, offers superior detail and surface finish. It uses a liquid resin that is cured by UV light, allowing for incredibly fine layers and intricate details. This method is highly recommended for smaller scale models of the Schwimmwagen, where capturing the nuances of the vehicle’s design is paramount. However, resin printing typically requires more post-processing and can be more expensive than FDM.
Choosing the correct file format is a crucial first step in preparing your 3D model for printing. Different file formats offer varying levels of compatibility, detail, and utility depending on your specific needs and software. Here’s a breakdown of the key formats and their relevance to 3D printing:
The .stl (Stereolithography) file format is the undisputed industry standard for 3D printing. It represents the surface geometry of a 3D object as a collection of triangles, effectively creating a mesh. This simplicity is its strength, making it universally compatible with virtually all 3D printing software and hardware. When you download the Volkswagen Schwimmwagen Typ 166 model from 88cars3d.com, the .stl version will be your primary file for printing.
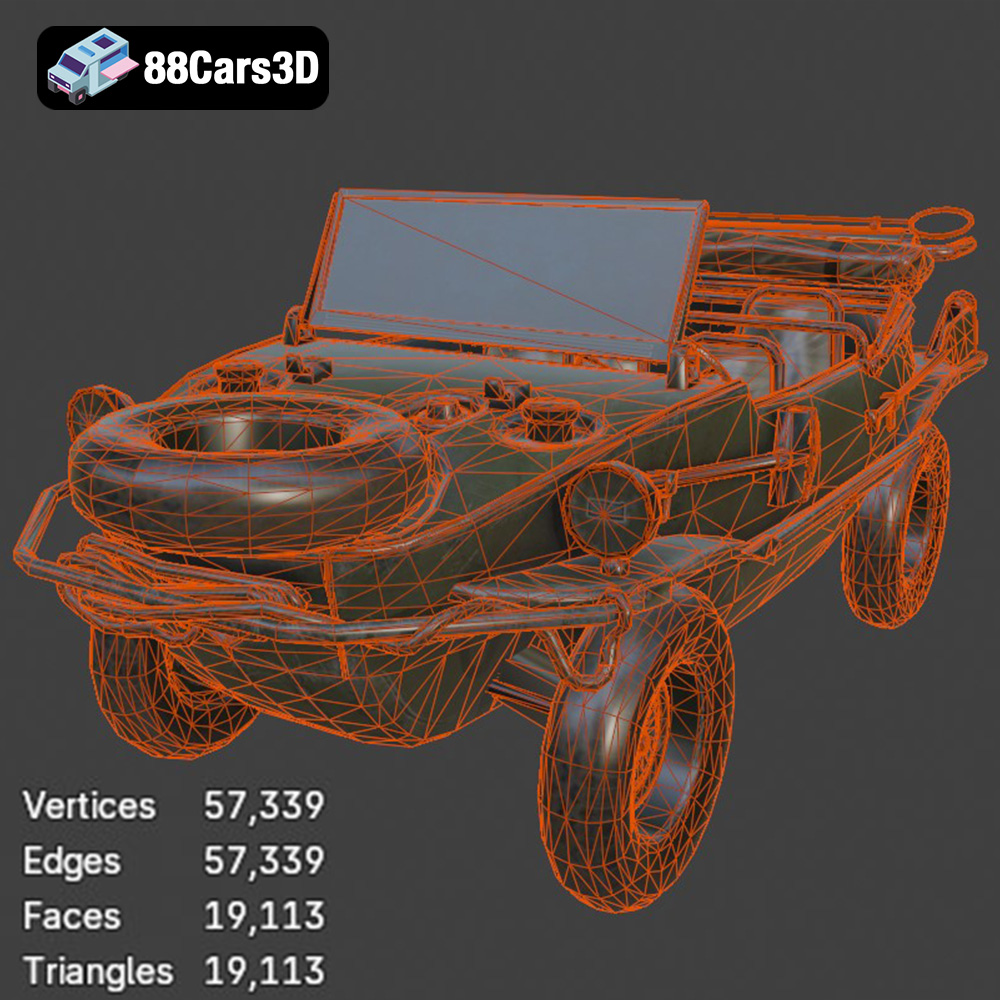
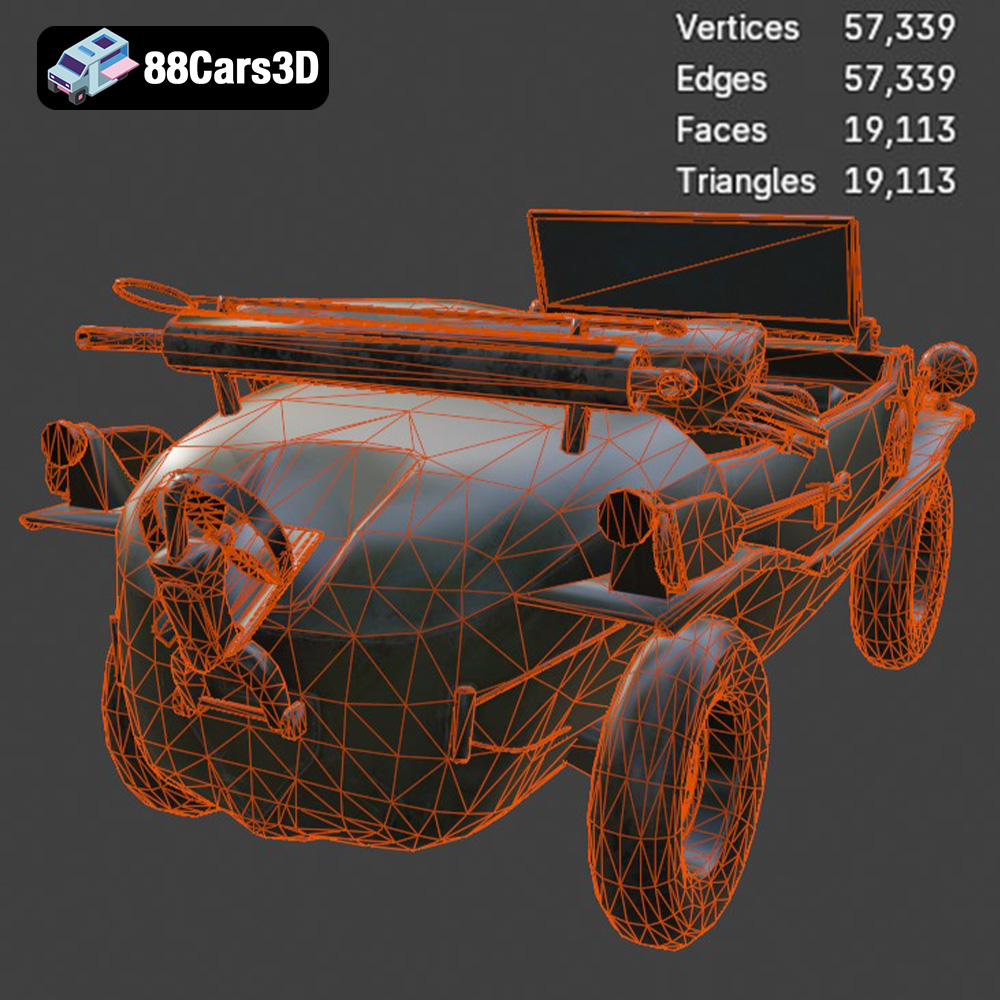
However, the .stl format has limitations. It only stores the mesh data, lacking information about color, textures, materials, or units. This means that any color or texture information included in other formats will be lost when converting to .stl. Additionally, the quality of the .stl file directly impacts the print quality. A poorly generated .stl with large triangles will result in a faceted, less smooth print. Slicing software reads the .stl mesh and generates instructions for the 3D printer, so a clean, well-defined .stl is essential. Ensure that the .stl file you use has a sufficient number of triangles to accurately represent the curves and details of the Schwimmwagen.
The .obj (Wavefront Object) format is another widely supported file type. Unlike .stl, .obj can store color and texture information alongside the geometric data. This makes it useful if you intend to create a multi-colored 3D print, although most standard 3D printers only print in a single color at a time. Some advanced printers can handle multiple filaments or materials to achieve full-color prints. While .obj is a more versatile format than .stl, it can sometimes be less efficient in terms of file size and might not be as universally supported by all slicing software.
The .ply (Polygon File Format or Stanford Triangle Format) is designed for storing 3D data acquired from 3D scanners. It supports various data types, including color, normals, texture coordinates, and transparency, making it suitable for high-detail models. The .ply format is capable of representing complex geometries with high precision. However, it is not as widely used as .stl or .obj in the 3D printing world, so compatibility with slicing software can be a concern.
.blend files are native to Blender, a free and open-source 3D creation suite. This format is incredibly powerful because it stores the entire Blender scene, including the model’s geometry, textures, lighting, animations, and modifiers. If you want to customize the Volkswagen Schwimmwagen Typ 166 model before printing, the .blend file is your best option. You can modify the model’s design, add details, or even create variations. Once you’re satisfied with your changes, you can export the model as an .stl file for 3D printing.
The .fbx (Filmbox) format is primarily used for exchanging 3D data between different software applications, particularly in the gaming and animation industries. It supports geometry, textures, materials, and animations. While not directly used for 3D printing, you might use the .fbx file to import the Volkswagen Schwimmwagen model into a 3D editing program, make adjustments, and then export it as an .stl file for printing. The main advantage of .fbx is its ability to retain material information, which can be useful if you plan to render the model or use it in a virtual environment after printing.
The .glb (GL Transmission Format Binary) is a file format designed for efficient delivery and loading of 3D models in web and mobile applications. It’s particularly well-suited for Augmented Reality (AR) applications, allowing users to preview the 3D model in their real-world environment before printing. While not directly used in the 3D printing process, the .glb format can be a valuable tool for visualizing the final printed model and ensuring it meets your expectations.
.max files are native to Autodesk 3ds Max, a professional 3D modeling, animation, and rendering software. Similar to .blend files, .max files store the entire 3D scene, allowing for extensive customization and editing of the model. If you’re a 3ds Max user, you can use the .max file to modify the Volkswagen Schwimmwagen Typ 166 model, add details, or create variations before exporting it as an .stl file for 3D printing.
For 3D printing the Volkswagen Schwimmwagen Typ 166 model from 88cars3d.com, the .stl file is your go-to format. Ensure it has a high enough resolution to capture the intricate details of the vehicle. If you plan to customize the model, use the .blend or .max file, make your changes, and then export it as a high-quality .stl file for printing.
Before sending the STL file to your 3D printer, you need to prepare it using slicing software. This software converts the 3D model into a series of layers that the printer can understand. Key aspects of pre-print preparation include model orientation, support generation, and parameter settings.
The orientation of the model on the print bed can significantly impact the final result. For the Volkswagen Schwimmwagen Typ 166, printing the frame at an angle can improve its structural integrity and reduce the need for extensive support structures. Wheels and other components should be printed separately, oriented to minimize support usage and maximize detail on visible surfaces.
Support structures are essential for printing overhanging parts like the exhaust, propeller, and steering wheel. Slicing software provides options for generating automatic supports, but manual adjustments may be necessary to ensure sufficient support without wasting material or damaging the model during removal. Consider using tree supports for complex geometries, as they tend to be easier to remove and leave fewer marks.
Fine-tuning the slicing parameters is critical for achieving the desired balance between print quality and print time. A layer height of 0.04–0.12 mm is recommended for resin printing to capture fine details, while FDM printing can use slightly larger layer heights. Infill density of 20–30% is sufficient for most parts, providing adequate strength without adding excessive weight or material. Adjust print speed to match the material and printer capabilities, with slower speeds generally resulting in higher quality prints.
The choice of material plays a significant role in the appearance, durability, and functionality of the 3D printed Volkswagen Schwimmwagen Typ 166.
PLA is a popular choice for FDM printing due to its ease of use and biodegradability. It offers good dimensional accuracy and is available in a wide range of colors. However, PLA is not as heat-resistant or durable as other materials, making it less suitable for parts that will be exposed to high temperatures or stress.
PETG combines the ease of printing of PLA with improved strength and heat resistance. It is a good all-around choice for FDM printing the Schwimmwagen, offering a balance of properties suitable for both aesthetic and functional parts. PETG is also more resistant to moisture and chemicals than PLA.
Resin is the material of choice for SLA printing, offering exceptional detail and a smooth surface finish. It is ideal for capturing the intricate details of the Schwimmwagen, such as the panel lines, rivets, and interior components. However, resin parts tend to be more brittle than FDM parts and require careful handling.
Now, let’s go over a detailed step-by-step guide on how to actually 3D print the Volkswagen Schwimmwagen Typ 166 model.
First, download the Volkswagen Schwimmwagen Typ 166 3D model from 88cars3d.com in your preferred file format (STL is recommended for printing). Inspect the model in a 3D viewer to ensure it is complete and free of errors. Look for any missing faces, non-manifold edges, or other issues that could cause problems during printing.
Import the STL file into your slicing software (e.g., Cura, Simplify3D, PrusaSlicer). Orient the model for optimal printing. As mentioned before, printing the frame at an angle can improve structural integrity and reduce support requirements. Separate components like wheels, the propeller, and interior parts should be oriented to maximize detail and minimize support usage.
Configure the print parameters based on your chosen material and printer capabilities. Key settings include:
* **Layer Height:** 0.1–0.2 mm for FDM, 0.04–0.12 mm for resin.
* **Infill Density:** 20–30%.
* **Wall Thickness:** 1.2–2.0 mm.
* **Support Structure:** Enable supports for overhanging parts, adjusting density and placement as needed.
* **Print Speed:** Adjust based on material and printer, typically between 40–60 mm/s for FDM.
Once you’ve configured all the settings, generate the G-code file. Review the G-code preview to ensure the model will be printed correctly, paying close attention to support placement and layer adhesion.
Load the G-code file onto your 3D printer and start the print. Monitor the print closely during the first few layers to ensure proper adhesion and support formation.
After the print is complete, carefully remove the model from the print bed and remove any support structures. Clean the model using appropriate solvents or water (depending on the material). Sand the surface to remove layer lines and imperfections. Apply primer and paint the model in the desired colors, adding weathering and details for a realistic finish.
Post-processing is an essential step in achieving a professional-looking 3D printed Volkswagen Schwimmwagen Typ 166.
Sanding is crucial for removing layer lines and achieving a smooth surface finish. Start with coarse sandpaper (e.g., 220 grit) and gradually move to finer grits (e.g., 400, 600, 800) to achieve a polished surface. For resin prints, wet sanding is recommended to prevent dust from becoming airborne.
Applying a primer coat is essential for ensuring proper paint adhesion and creating a uniform base color. Choose a primer that is compatible with your chosen material. Apply several thin coats of primer, allowing each coat to dry completely before applying the next. Once the primer is dry, paint the model using acrylic or enamel paints. Use masking tape to create clean lines and apply weathering effects using washes and dry brushing techniques. Consider researching authentic factory colors and military camouflage patterns for added realism.
Once all parts are printed and painted, assemble the model using glue or screws. Pay attention to the alignment of parts and ensure a secure fit. Add fine details such as decals, wires, and other accessories to enhance the realism of the model.
Even with careful preparation, 3D printing can sometimes present challenges. Here are some common issues and their solutions:
Warping occurs when the corners of the model lift off the print bed due to uneven cooling. To prevent warping, ensure the print bed is properly leveled and heated. Use a brim or raft to increase the contact area between the model and the print bed. Applying adhesive solutions like glue stick or hairspray can also improve bed adhesion.
Stringing occurs when molten plastic oozes from the nozzle during travel moves, leaving thin strands of material between parts. Blobs are caused by excessive material deposition at the start or end of a layer. To reduce stringing and blobs, optimize retraction settings, reduce print temperature, and increase travel speed.
Removing support structures can sometimes be challenging, especially for delicate parts. Use sharp tools like pliers or a hobby knife to carefully remove the supports, working slowly to avoid damaging the model. Consider using dissolvable support materials for complex geometries, which can be easily removed by soaking the model in water or a chemical solution.
3D printing the Volkswagen Schwimmwagen Typ 166 model from 88cars3d.com is a rewarding project that allows you to own a detailed replica of this iconic vehicle. By carefully selecting the right 3D printing technology, preparing the model with appropriate slicing parameters, and applying post-processing techniques, you can achieve stunning results. Remember to pay attention to model orientation, support generation, and material selection to ensure a successful print. With patience and attention to detail, you can create a 3D printed masterpiece that will impress any enthusiast. Happy printing!
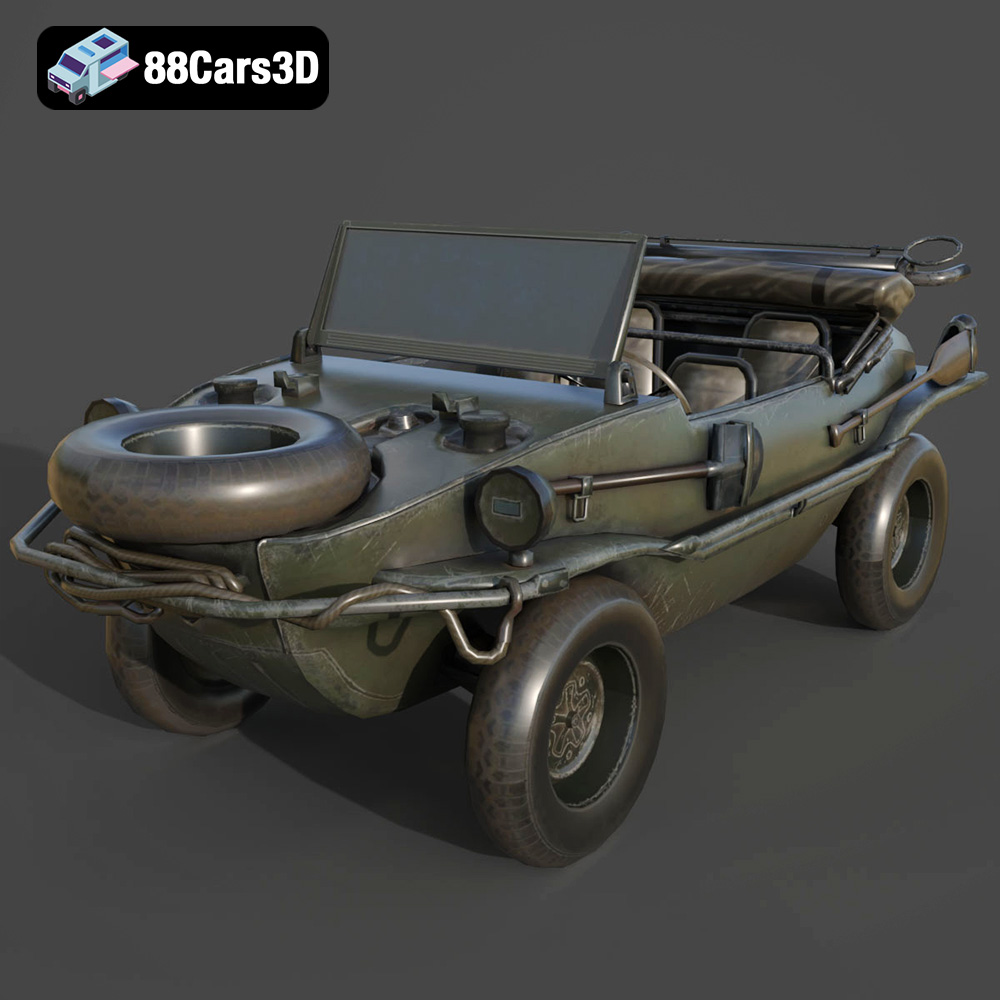
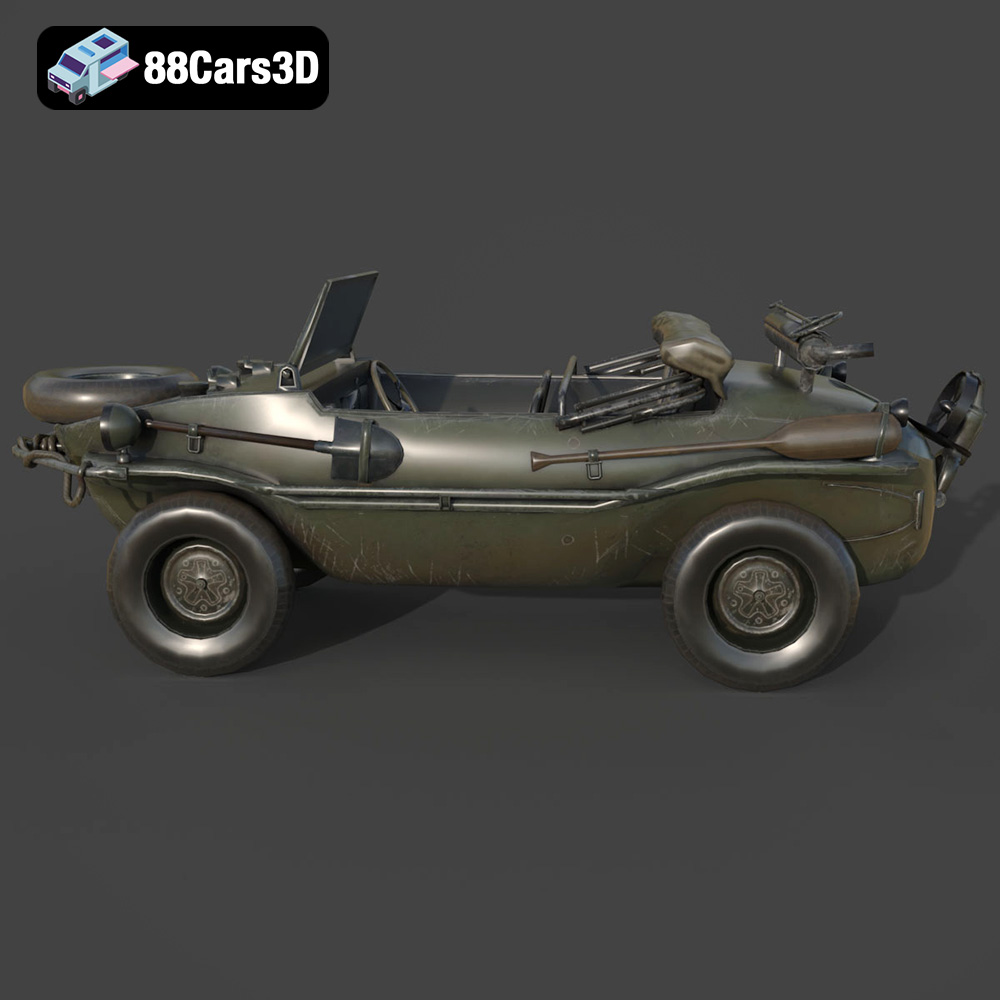
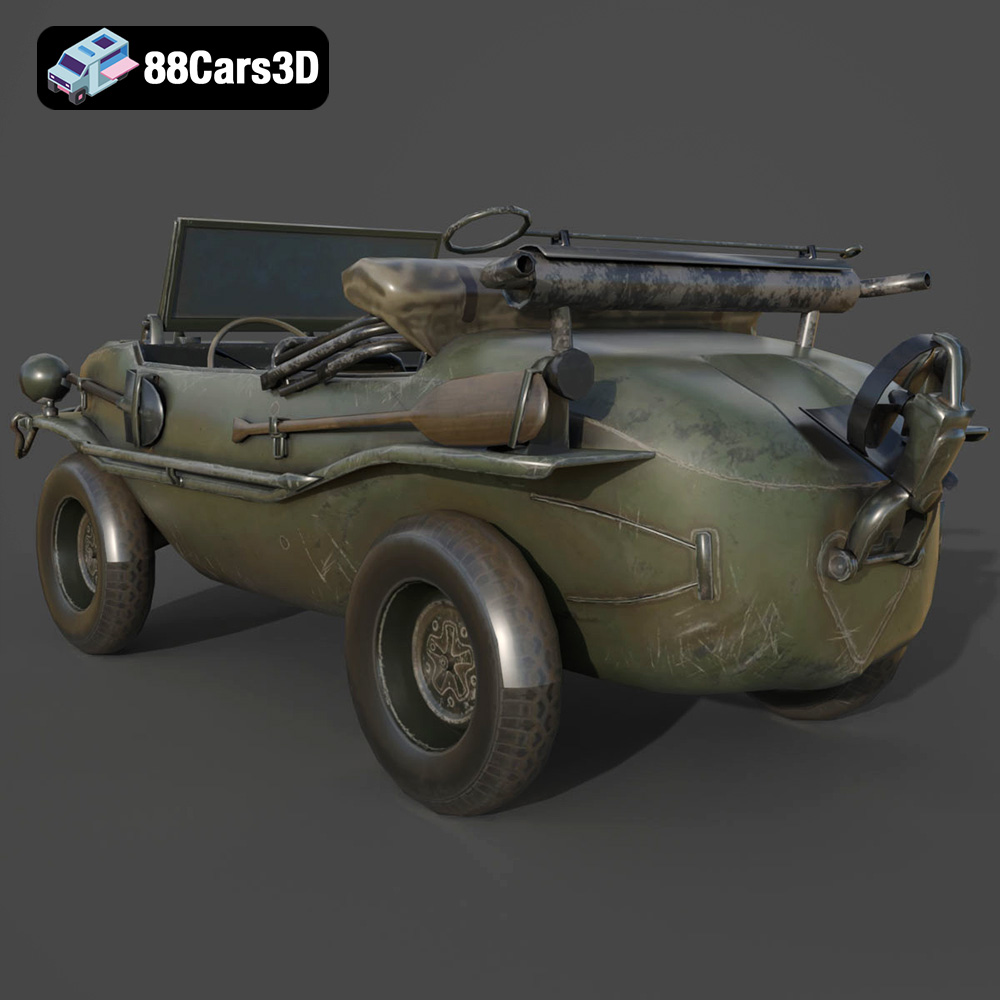
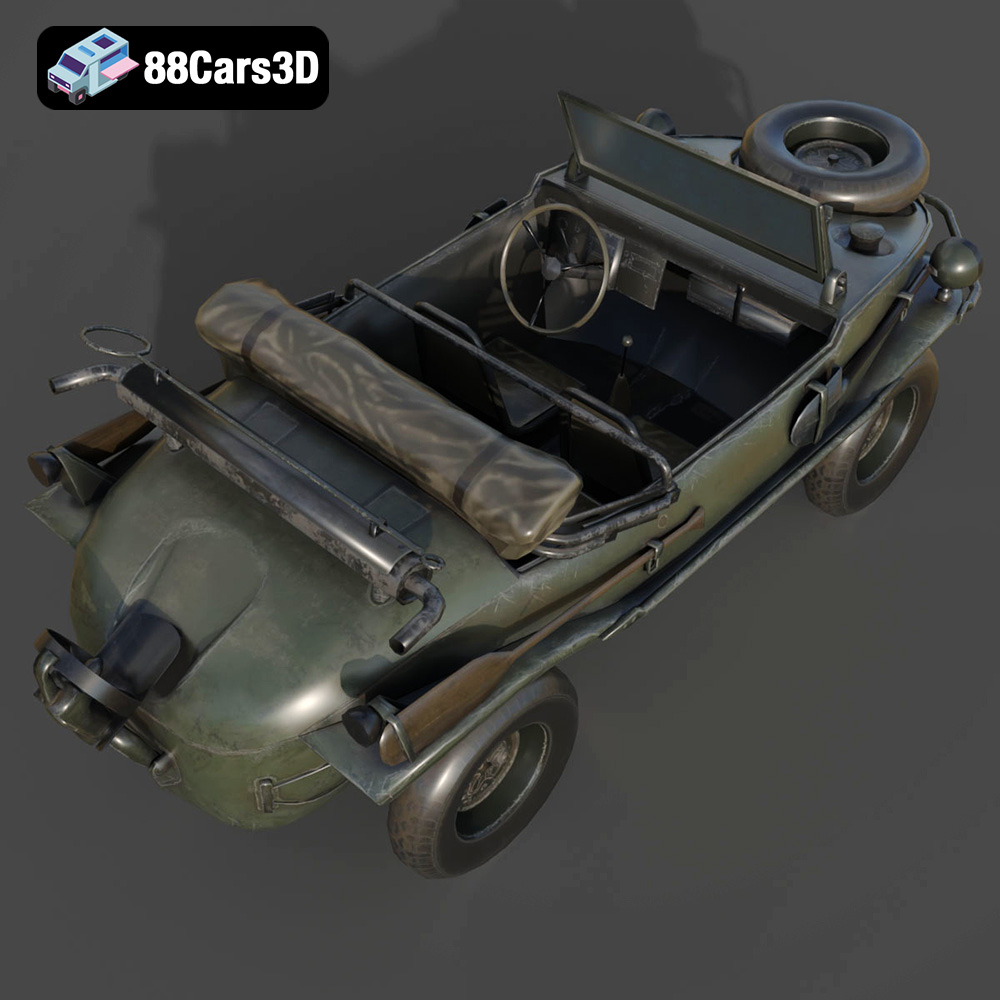
The Volkswagen Schwimmwagen Typ 166 is an iconic World War II amphibious off-road vehicle, celebrated for its rugged durability and unique boat-like hull design. Serving as one of the most mass-produced amphibious cars in history, it features a distinctive rear-mounted air-cooled flat-four engine, a fold-down propeller system, and four-wheel drive capability. This highly accurate 3D model meticulously captures its utilitarian military aesthetics, from the riveted watertight chassis to the spare tire mounted on the sloping front hood.
$39.99
.blend
.fbx
.glb
.max
.obj
.ply
.rendering
.stl
.unreal
.volkswagen
amphibious-vehicle
car-3d-model
classic-car
game asset
game-ready
low-poly
military-vehicle
off-road
optimized
schwimmwagen-typ-166
VR/AR
ww2-vehicle