

In the demanding world of 3D content creation, where deadlines loom and projects grow exponentially in complexity, managing your digital assets efficiently is paramount. Whether you’re an automotive designer crafting the next-generation vehicle, a game developer populating virtual worlds, or an architectural visualizer bringing environments to life, the sheer volume of models, materials, and textures can quickly become overwhelming. This is especially true when dealing with highly detailed assets like 3D car models, which often comprise numerous intricate components, complex material setups, and extensive UV layouts.
Fortunately, Blender, a powerful and increasingly industry-standard 3D creation suite, offers a robust solution: the Asset Browser. This integral feature transforms the way artists organize, access, and reuse their digital library, drastically cutting down production times and fostering a more consistent workflow. Imagine instantly dragging and dropping a perfectly rigged car chassis, a meticulously PBR-textured wheel, or a sophisticated car paint material directly into your scene, all pre-configured and ready to use. This isn’t just a convenience; it’s a fundamental shift towards a more productive and professional pipeline.
This comprehensive guide will delve deep into mastering the Blender Asset Browser, providing you with the knowledge and actionable strategies to build, maintain, and leverage a world-class 3D asset library. We’ll cover everything from initial setup and strategic categorization to advanced techniques for integrating high-quality automotive models, such as those found on platforms like 88cars3d.com. By the end, you’ll be equipped to harness the full potential of Blender’s Asset Browser, streamlining your workflow for rendering, game development, AR/VR, and all forms of visualization, ensuring your creative process is as efficient as it is inspiring.
At its core, the Blender Asset Browser serves as a centralized, searchable repository for your reusable 3D data. It’s more than just a file explorer; it’s a dynamic system that allows you to mark specific elements within your .blend files as “assets,” making them easily accessible across all your projects. This functionality addresses a critical pain point for 3D artists: the time-consuming process of searching for, opening, and appending/linking assets from various project files.
The benefits of a well-utilized Asset Browser are manifold. First and foremost, it offers unparalleled efficiency. Instead of manually navigating through folders, opening blend files, and then appending or linking objects, you can simply drag and drop from a visually rich interface. This not only saves precious minutes but also reduces mental overhead, allowing you to focus on the creative aspects of your work. Secondly, it ensures consistency across projects. By using standardized assets – be it a specific car wheel design or a branded paint material – you maintain visual coherence, which is crucial for client projects, series production, or maintaining brand identity. For collaborative environments, the Asset Browser facilitates seamless team integration, allowing shared libraries to be accessed by multiple artists, leading to higher quality and faster project delivery. This structured approach significantly reduces rework and frees up valuable resources.
The flexibility of the Asset Browser lies in the wide array of data types it supports. It’s not just about meshes; almost any reusable data block within Blender can be marked as an asset, transforming how you approach scene assembly and material development.
The true power of the Asset Browser becomes evident in large-scale productions and long-term projects. For an automotive design studio, for instance, a centralized library of pre-approved wheel designs, interior components, and paint finishes ensures that every designer is working with the same high-quality, standardized assets. This eliminates inconsistencies, reduces the need for constant re-modeling, and vastly accelerates the iteration process. For game developers, having a library of game-ready car models, optimized props, and environment elements means faster level design and consistent visual quality.
Moreover, the Asset Browser promotes a modular approach to scene building. Instead of building every scene from scratch, you can think of your projects as compositions of highly polished, reusable components. This not only speeds up initial setup but also makes projects more manageable and scalable, allowing you to tackle more ambitious creative endeavors with confidence. This efficiency extends to scenarios like creating multiple car variations for a commercial, where swapping out components like wheels, spoilers, or even entire interior dashboards becomes a matter of mere drag-and-drop operations.
Before you can begin populating your Asset Browser with high-quality models and materials, the first crucial step is to properly configure your asset libraries within Blender. This involves telling Blender where to look for your .blend files containing the marked assets. A well-planned and structured directory system is the backbone of an effective asset management workflow, much like an organized physical warehouse is essential for efficient inventory control.
To set up an asset library, navigate to Edit > Preferences > File Paths in Blender. Under the ‘Asset Libraries’ section, click the ‘Add’ button and specify the root folder where you intend to store your asset .blend files. You can add multiple asset libraries, which is particularly useful for separating personal assets from studio-shared assets, or segmenting based on project type (e.g., ‘Automotive Assets’, ‘Environment Props’, ‘Material Library’). Once a folder is added, Blender will recursively scan all .blend files within that directory and its subfolders for marked assets, making them available in the Asset Browser editor.
The key to a discoverable and maintainable asset library lies in a clear, logical folder structure on your hard drive. Generic folders like “Blender Assets” will quickly become unmanageable. Instead, think about how you would naturally categorize your assets in a physical archive. For automotive models, a robust structure might look something like this:
MyAssets/
Vehicles/
Cars/
Sedans/
SUVs/
SportsCars/
Electric/
Motorcycles/
Trucks/
VehicleParts/
Wheels/
Interiors/
Exteriors/ (Mirrors, Headlights, Grilles)
Engines/
Materials/
CarPaint/
TireRubber/
Glass/
LeatherFabric/
Environments/
HDRI/
Props/
Roads/
LightingSetups/NodeGroups/Within these folders, ensure your .blend files are named descriptively. For example, instead of `wheel.blend`, use `Car_Wheel_SportsRim01_v02.blend`. This immediately tells you what the file contains and its version, which is invaluable for long-term management. Consistency in naming is a powerful tool for quick identification and efficient retrieval.
Deciding whether to establish centralized, global libraries or project-specific ones depends largely on your workflow and team structure. Each approach has its merits:
For collaborative settings, a hybrid approach often works best. Core, standardized assets are kept in a centralized, read-only (or carefully managed write-access) library, while project-specific assets are developed and maintained within their respective project folders. This balance maximizes efficiency while retaining flexibility for unique project demands.
Once your asset libraries are configured, the next step is to populate them with actual assets. This process involves identifying the data blocks you wish to reuse, marking them as assets, and then saving them into a .blend file located within one of your designated asset library folders. Blender makes this remarkably intuitive, integrating the asset marking functionality directly into the user interface.
The primary way to mark an object, material, or node group as an asset is through the Outliner or the Properties panel. In the Outliner, simply right-click on the data block you want to mark (e.g., an object, a material under “Blender File”), and select “Mark as Asset.” Alternatively, if you have the desired item selected, you can go to its respective properties tab (e.g., Object Properties for an object, Material Properties for a material) and find the ‘Asset’ section, where you can click “Mark as Asset.” Once marked, the item will instantly appear in your Asset Browser when you select the relevant library. To unmark an asset, you follow the same steps but select “Clear Asset.” For detailed instructions on marking assets and utilizing the Asset Browser’s interface, refer to the comprehensive Blender 4.4 manual on the Asset Browser functionality: https://docs.blender.org/manual/en/4.4/editors/asset_browser/index.html.
While marking an asset makes it available, a crucial step in making your library truly effective is to ensure each asset has a clear, informative preview and descriptive metadata. Good previews are like the cover of a book – they allow for rapid visual identification, saving valuable time searching for the right component. Blender automatically generates a default thumbnail, but for complex assets like 3D car models or sophisticated materials, a custom, high-quality render is often indispensable.
To create a custom thumbnail:
Beyond previews, metadata provides critical textual information. In the ‘Asset’ tab of the sidebar, you can add:
Leveraging metadata ensures that your assets are not only visually identifiable but also thoroughly documented, facilitating collaboration and long-term project management.
A consistent and logical naming convention is just as important as the folder structure. It’s the first line of defense against chaos in a growing asset library. Without it, even with great previews, distinguishing between similar assets can become a guessing game. Adopt a scheme that is both descriptive and adheres to a predictable pattern.
A common and effective approach involves using prefixes to indicate the asset type, followed by a clear, descriptive name, and potentially a version number or key identifier:
OBJ_Car_SportsRim_TypeA_v01, OBJ_Headlight_LED_Modern, OBJ_Interior_Dashboard_Carbon.MAT_CarPaint_MetallicBlue_PBR, MAT_TireRubber_Rough, MAT_Glass_Tinted.NG_CarPaint_AdvancedShader, NG_Compositor_ColorGrade_Cinematic.WRD_StudioLighting_Softbox, WRD_HDRI_DaylightForest.When working with assets acquired from marketplaces like 88cars3d.com, it’s a good practice to standardize their naming immediately upon import and integration into your library. This proactive approach prevents future confusion and ensures that all your assets, regardless of origin, conform to your studio’s organizational standards. This level of meticulousness might seem tedious initially, but it pays dividends in the long run, drastically reducing the time spent searching and identifying assets, and improving overall project clarity.
As your asset library grows, simply having assets marked and named won’t be enough. The ability to quickly find the exact asset you need, out of hundreds or even thousands, becomes paramount. This is where robust categorization and comprehensive tagging come into play. The Blender Asset Browser’s filtering system is incredibly powerful, allowing you to slice and dice your library based on user-defined categories and keywords, transforming a vast collection into a highly navigable resource.
Categories provide a hierarchical structure, acting as primary organizational bins. Tags, on the other hand, offer a more granular, non-hierarchical way to describe assets, allowing for cross-category searches and more specific filtering. Both are essential for optimizing discoverability, especially for complex and varied collections like automotive models which can have diverse applications, styles, and performance characteristics.
Categories in the Asset Browser are defined by the folder structure of your asset .blend files on your disk. Blender automatically uses the folder names as categories, which reinforces the importance of a well-thought-out file path hierarchy. For automotive models, a strategic categorization scheme will allow you to quickly narrow down your search from “all assets” to “sports cars” or “interior materials.”
Consider categories and subcategories that reflect the logical breakdown of your projects and the assets you commonly use:
Cars/Sedans, Cars/SUVs, Cars/Sports, Cars/Classic, Cars/ElectricTrucks, Buses, MotorcyclesWheels/Rims, Wheels/TiresInteriors/Dashboards, Interiors/Seats, Interiors/SteeringWheelsExteriors/Headlights, Exteriors/Grilles, Exteriors/MirrorsEngines, SuspensionCarPaint/Metallic, CarPaint/Matte, CarPaint/PearlTireRubber, Glass, Leather, Fabric, Chrome, PlasticHDRI/Day, HDRI/Night, HDRI/StudioRoads, Buildings, Props/StreetFurnitureStudioSetups, OutdoorRigsShaderNodes, CompositorNodesWhen acquiring 3D car models from marketplaces such as 88cars3d.com, make it a habit to save them into the appropriate category folder immediately after initial processing. This proactive organization saves immense time in the long run and ensures new acquisitions are seamlessly integrated into your existing library structure.
While categories provide a broad stroke organization, tags offer the fine-grained control needed for specific searches. Tags are keywords you manually assign to each asset, allowing you to describe its characteristics, style, application, or any other relevant attribute. An asset can have multiple tags, enabling powerful cross-referencing that goes beyond simple hierarchical browsing.
Consider the following types of tags for your automotive assets:
Modern, Classic, Vintage, Futuristic, Sci-Fi, MuscleCarGameReady, HighPolyRender, AR/VR, 3DPrintable, VFXElectricVehicle, Hybrid, Autonomous, Rigged, Animated, DamagedPBR, Metallic, Matte, Glossy, CarbonFiber, LeatherLowPoly (e.g., <50k polys), MidPoly (e.g., 50k-200k polys), HighPoly (e.g., >200k polys), OptimizedExterior, Interior, EngineBay, Wheels, GlassFord, BMW, Audi, Toyota (if applicable and legally permissible for your use case)For example, a “Sports Car” model could have tags like: SportsCar, HighPolyRender, PBR, Modern, Exterior, Interior, Rigged. A “Wheel” asset might be tagged: Rim, Tire, Sports, Alloy, LowPoly, GameReady. This allows you to quickly filter for “GameReady LowPoly wheels” regardless of which ‘Vehicles’ subcategory they might be associated with. The more detailed and thoughtful your tagging, the more effortlessly you’ll navigate your extensive 3D library, ensuring you always find the perfect asset for your specific creative needs.
While creating assets from scratch is common, a significant portion of a professional 3D artist’s workflow involves acquiring and integrating existing models, especially for specialized assets like automotive vehicles. Marketplaces like 88cars3d.com offer high-quality 3D car models that are production-ready, but even these require careful integration into your Blender Asset Browser to maximize their utility. The goal is to transform external assets into seamlessly reusable components within your library, adhering to your established standards for quality, organization, and performance.
The process of integration typically involves importing the model, performing necessary optimizations or adjustments, and then marking and saving it as a Blender asset. This ensures that the model not only looks good but also functions optimally within your workflow, whether it’s for cinematic rendering, real-time game environments, or interactive AR/VR experiences.
Even when acquiring models from reputable sources, a certain level of pre-processing is often beneficial, if not essential, to ensure consistency and peak performance within your Blender projects.
The “optimization” needed for an automotive model depends entirely on its final application. A model destined for a high-resolution cinematic render will have different requirements than one for a mobile AR experience.
By tailoring your assets to their intended use and properly marking them with relevant tags (e.g., “GameReady,” “HighPolyRender,” “AR/VR”), you ensure that your Blender Asset Browser becomes a highly adaptable resource for any project requirement.
Beyond the basics of setting up and populating your Asset Browser, truly mastering it involves understanding advanced strategies for managing asset relationships, handling updates, and expanding the types of reusable content you store. As your projects become more intricate and your team expands, these advanced techniques become indispensable for maintaining a fluid, efficient, and collaborative workflow.
The power of the Asset Browser isn’t just in making assets available; it’s in how those assets integrate into your scenes and how they can be maintained over time. This includes making conscious decisions about how assets are brought into a project, how changes propagate, and how to safeguard against data loss or inconsistency.
When you drag an asset from the Asset Browser into your scene, Blender offers two fundamental options: Link or Append. Understanding the implications of each is critical for effective asset management.
For large automotive projects, a hybrid approach is often most effective: link core, standardized components, and append assets that require significant scene-specific customization.
Managing asset updates is a critical aspect of large-scale production. If you’re linking assets, updates are handled relatively seamlessly. When you modify and save the source .blend file of a linked asset, Blender will automatically refresh the linked instances in any open scenes the next time they are loaded, or if you manually reload the library.
For appended assets, updates are more manual. If an appended asset in your scene needs to be updated to a newer version from your library, you would typically delete the old appended instance and append the new version. To prevent confusion, it’s wise to use clear versioning in your asset naming (e.g., OBJ_Car_Wheel_SportsRim01_v01, then _v02, etc.).
For professional studios, integrating the Blender Asset Browser with external version control systems like Git LFS (for large binary files) or Perforce is a common practice. This provides a robust framework for managing asset history, tracking changes, and reverting to previous versions, essential for collaborative pipelines.
The Asset Browser’s utility extends far beyond just meshes and materials. Savvy artists leverage it to store entire environment setups, complex lighting rigs, and intricate shader or compositor node groups, dramatically accelerating scene creation and ensuring visual consistency.
World data blocks as assets. This allows you to drag and drop pre-configured HDRI environments, sky textures, and background setups directly into any scene. Imagine having a library of various studio lighting HDRIs or different outdoor ambient lighting conditions, ready to be applied instantly to your car renders.By fully embracing the breadth of what can be stored in the Asset Browser, you transform it into a comprehensive toolkit, not just for models, but for entire scene elements and stylistic treatments. This holistic approach unlocks immense productivity gains, allowing you to focus more on creative iteration and less on repetitive technical setup.
In the fast-paced and detail-oriented realm of 3D modeling and visualization, efficiency is no longer a luxury but a necessity. The Blender Asset Browser stands out as an indispensable tool, transforming a potentially chaotic collection of files into a meticulously organized, easily accessible, and highly reusable digital library. From the initial setup of your asset folders to the intricate process of marking, categorizing, and optimizing your 3D content, every step in mastering the Asset Browser contributes to a more streamlined, consistent, and ultimately more productive creative workflow.
We’ve explored the fundamental benefits of the Asset Browser, highlighting its role in enhancing productivity, ensuring visual consistency, and simplifying collaborative efforts. We delved into the specifics of configuring your libraries, emphasizing the importance of a logical folder structure and robust naming conventions tailored for complex assets like 3D car models. We then moved into the practical aspects of marking assets, stressing the value of high-quality previews and comprehensive metadata for quick discovery.
Crucially, we detailed how effective categorization and granular tagging act as the powerful indexing system for your ever-growing library, making even the most extensive collections navigable. We also provided a roadmap for integrating high-quality automotive models, whether created in-house or sourced from marketplaces like 88cars3d.com, ensuring they are pre-processed for optimal topology, UV mapping, and PBR material setup, and then optimized for diverse applications from game engines to high-fidelity renders and AR/VR experiences. Finally, we covered advanced strategies for managing asset relationships through linking and appending, addressing version control, and expanding your library to include complex world setups, lighting rigs, and sophisticated node groups.
Embracing the Blender Asset Browser is an investment in your professional future. It empowers you to tackle larger projects with greater confidence, iterate more rapidly, and maintain a higher standard of quality across all your 3D endeavors. If you haven’t yet integrated this powerful feature into your daily routine, there’s no better time to start. Begin by structuring your asset folders, mark your most frequently used objects and materials, and gradually build a robust, searchable library. The time saved and the consistency gained will undoubtedly propel your 3D artistry to new heights.
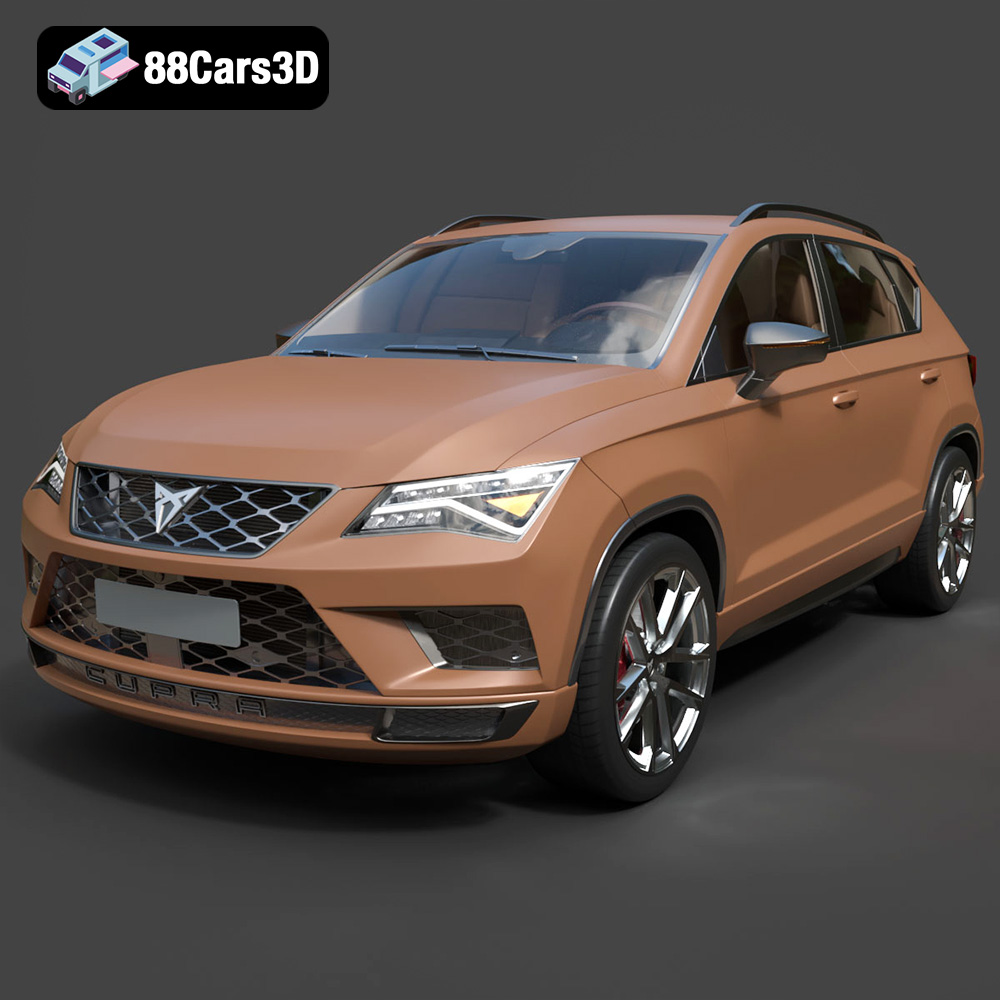
Texture: Yes | Material: Yes
Download the highly detailed, game-ready Seat Ateca Cupra 2019 3D Model. Features aggressive sporty styling, quad exhaust outlets, and high-detail interior. Includes .blend, .fbx, .obj, .glb, .stl, .ply, .unreal, and .max formats for game development, AR/VR, and rendering.
Price: $203.50
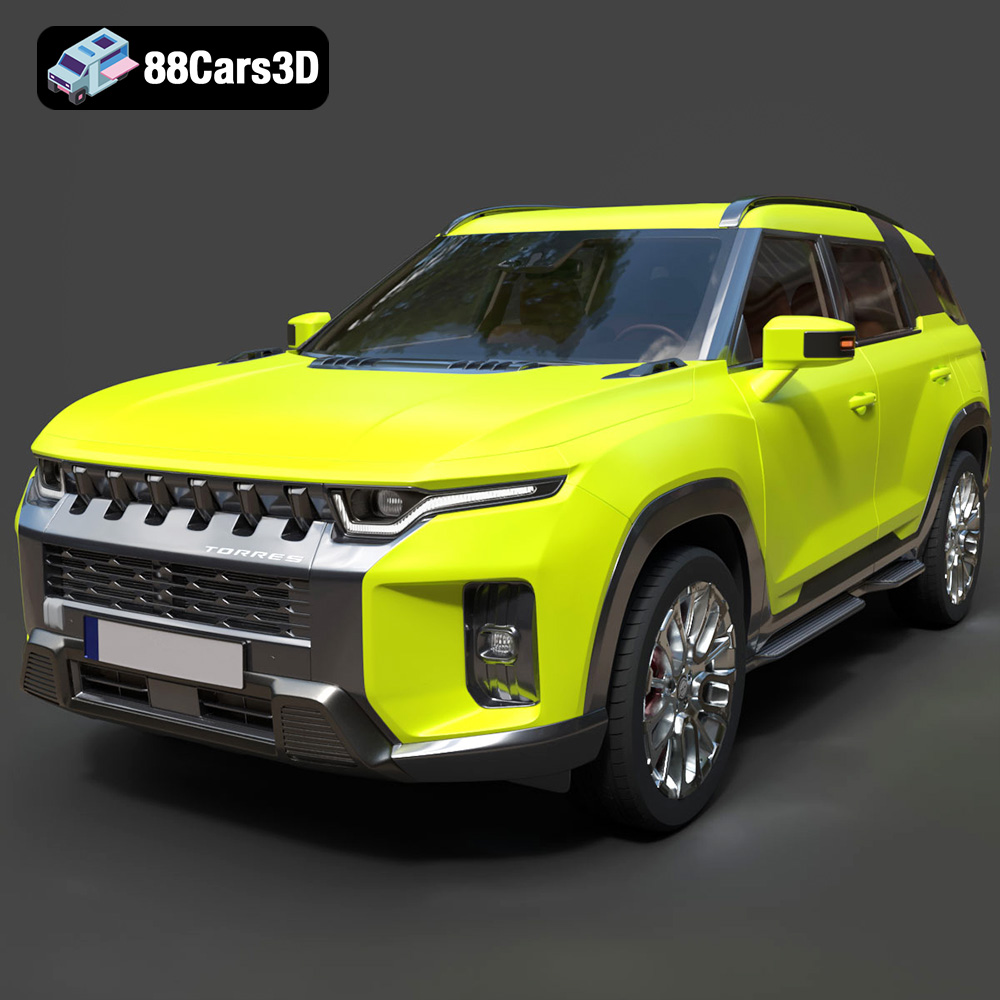
Texture: Yes | Material: Yes
Download the highly detailed, game-ready SsangYong Torres 2023 3D Model. Features rugged SUV styling, signature front grille, and precise body geometry. Includes .blend, .fbx, .obj, .glb, .stl, .ply, .unreal, and .max formats for game development, AR/VR, and rendering.
Price: $279.50

Texture: Yes | Material: Yes
Download the highly detailed, game-ready Chevrolet Corvette Stingray 3D Model. Features sculpted bodywork, detailed aggressive front grille, and iconic sport exhaust. Includes .blend, .fbx, .obj, .glb, .stl, .ply, .unreal, and .max formats for game development, AR/VR, and rendering.
Price: $122.99
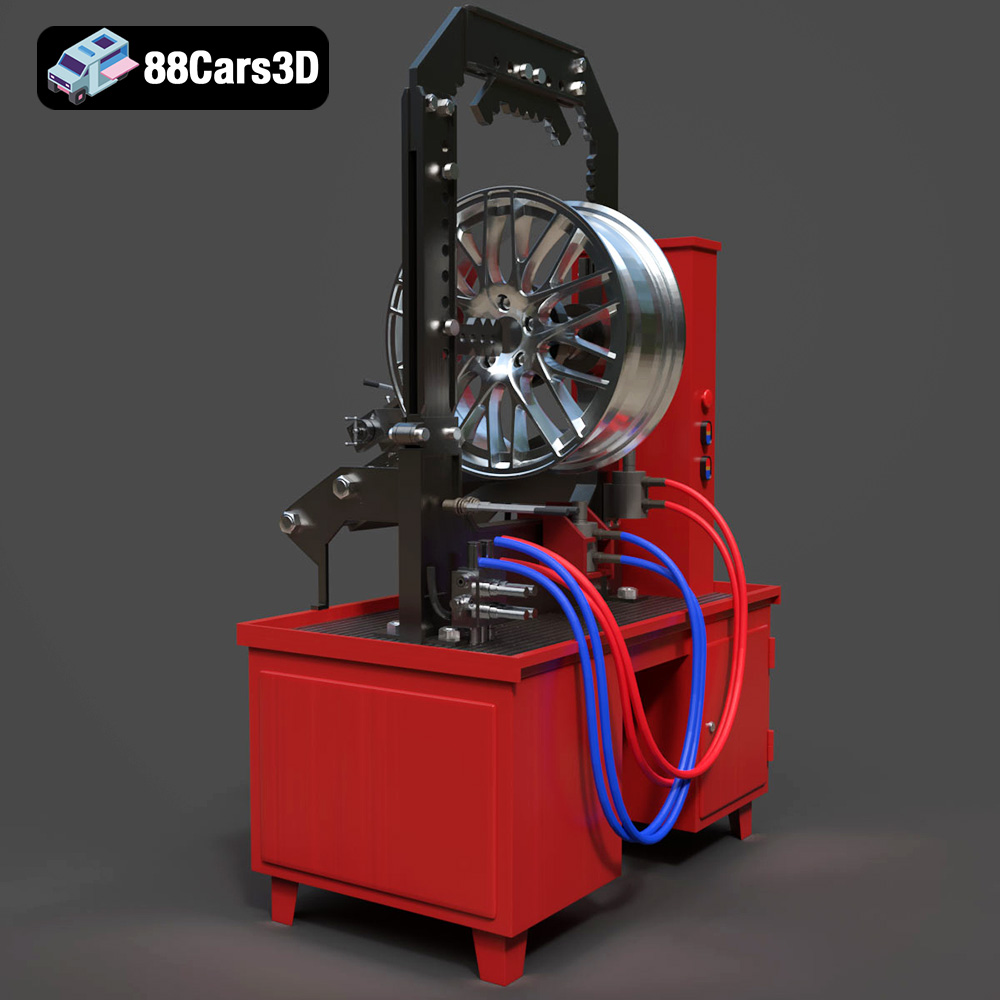
Texture: Yes | Material: Yes
Download the highly detailed, game-ready Stand for Straightening Alloy Wheels 3D Model. Features heavy-duty hydraulic press components, integrated lathe system, and realistic workshop controls. Includes .blend, .fbx, .obj, .glb, .stl, .ply, .unreal, and .max formats for game development, AR/VR, and rendering.
Price: $147.99
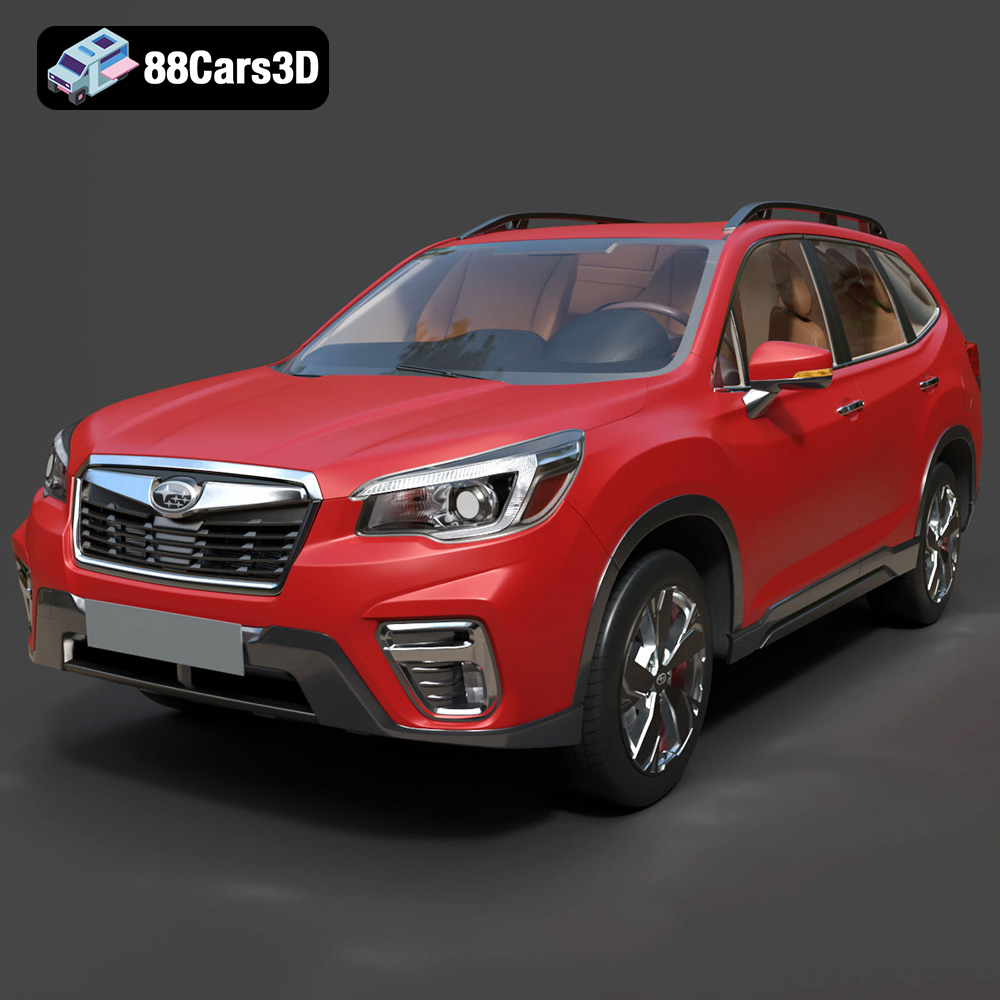
Texture: Yes | Material: Yes
Download the highly detailed, game-ready Subaru Forester 2019 3D Model. Features authentic crossover styling, detailed interior, and accurate exterior geometry. Includes .blend, .fbx, .obj, .glb, .stl, .ply, .unreal, and .max formats for game development, AR/VR, and rendering.
Price: $245.50
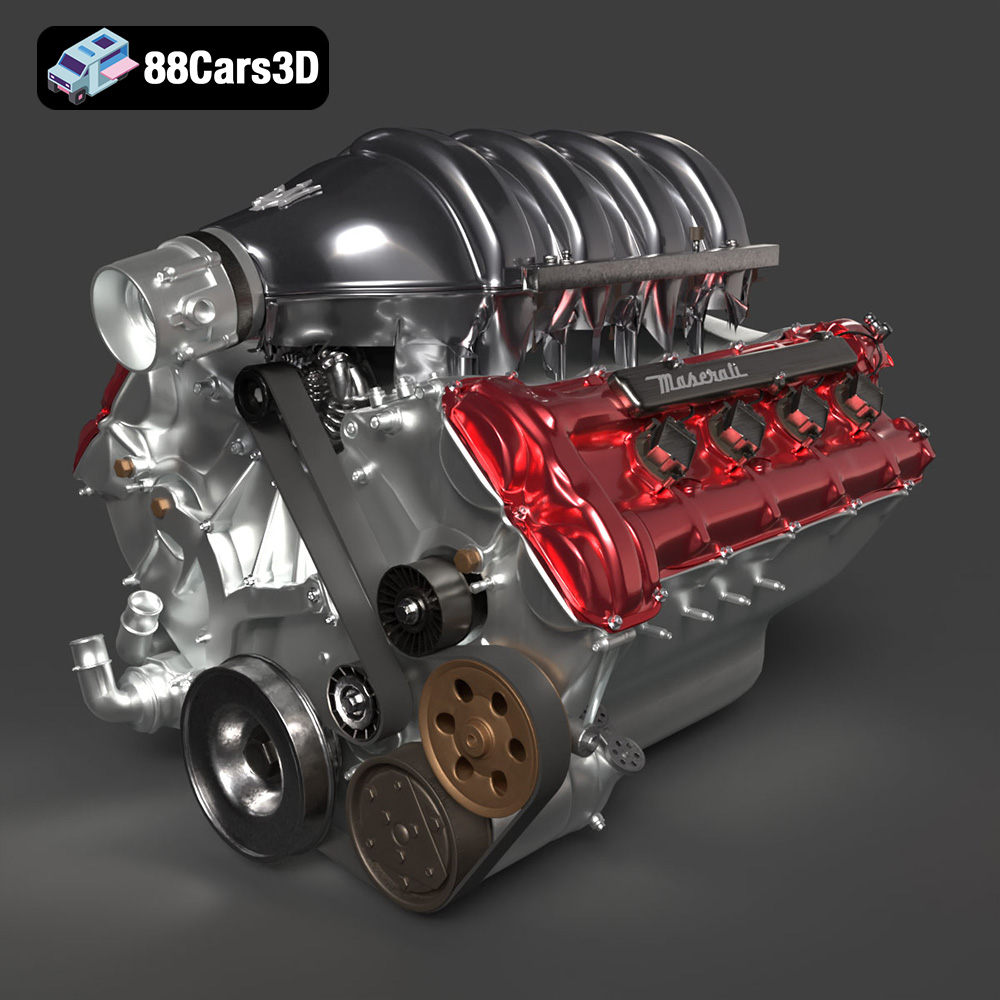
Texture: Yes | Material: Yes
Download the highly detailed, game-ready Maserati Engine 3D Model. Features intricate cylinder heads, realistic intake manifold, and precision mechanical detailing. Includes .blend, .fbx, .obj, .glb, .stl, .ply, .unreal, and .max formats for game development, AR/VR, and rendering.
Price: $141.50
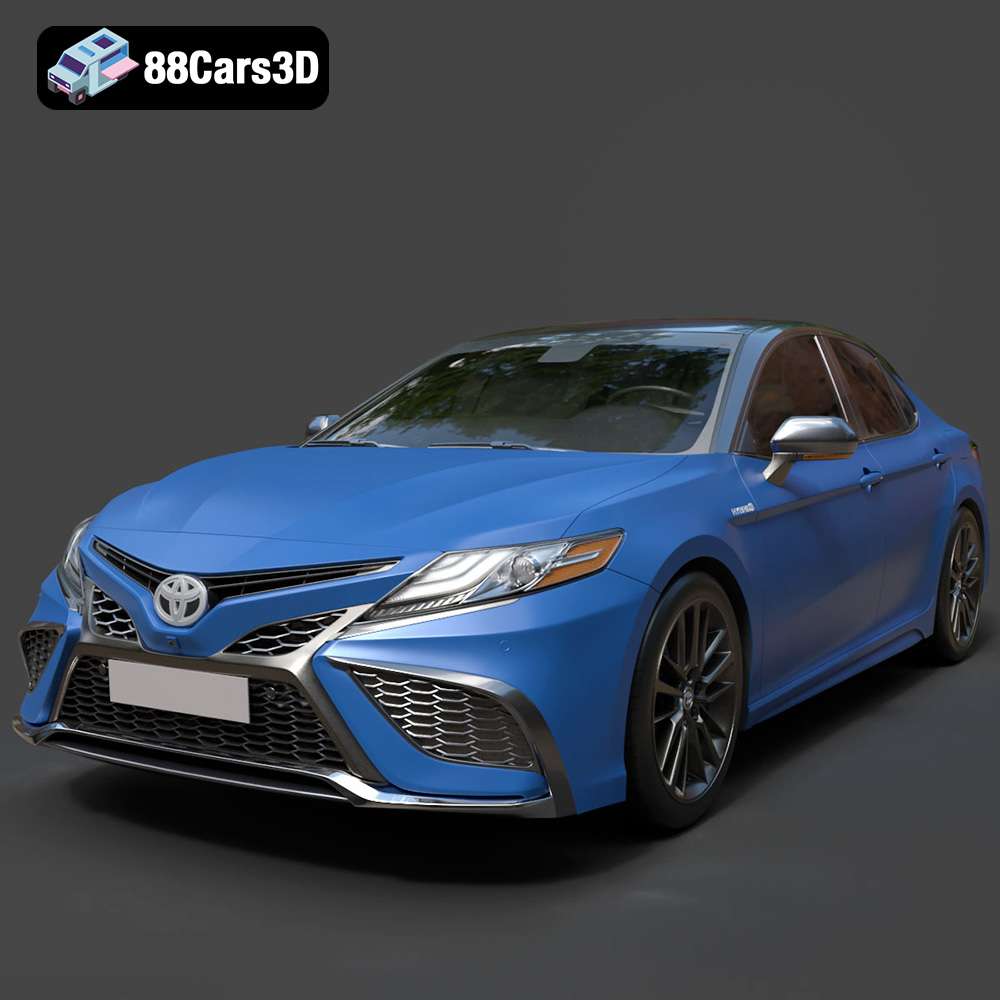
Texture: Yes | Material: Yes
Download the highly detailed, game-ready Toyota Camry XSE 2021 3D Model. Features an aggressive sport mesh grille, sculpted aerodynamic styling, and quad exhaust tips. Includes .blend, .fbx, .obj, .glb, .stl, .ply, .unreal, and .max formats for game development, AR/VR, and rendering.
Price: $271.50
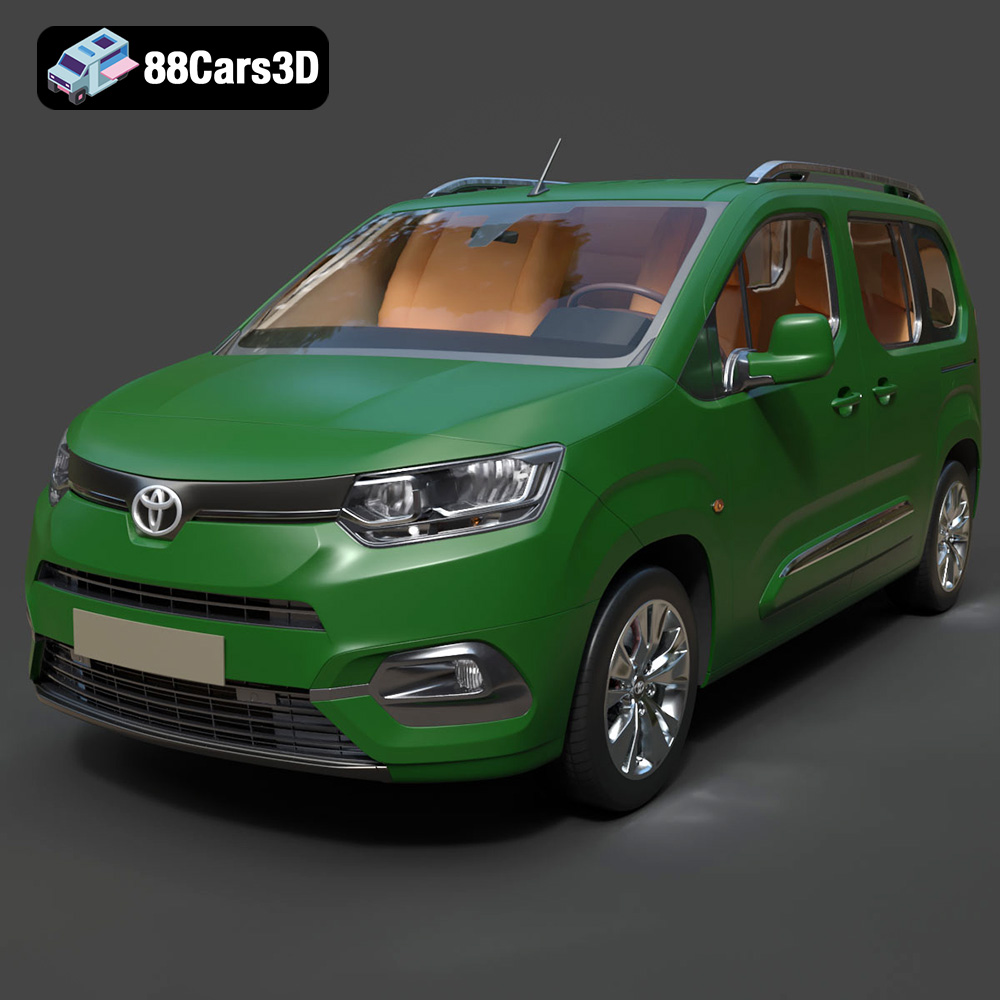
Texture: Yes | Material: Yes
Download the highly detailed, game-ready Toyota ProAce City 2020 3D Model. Features accurate exterior paneling, detailed interior cockpit, and authentic lighting units. Includes .blend, .fbx, .obj, .glb, .stl, .ply, .unreal, and .max formats for game development, AR/VR, and rendering.
Price: $266.50
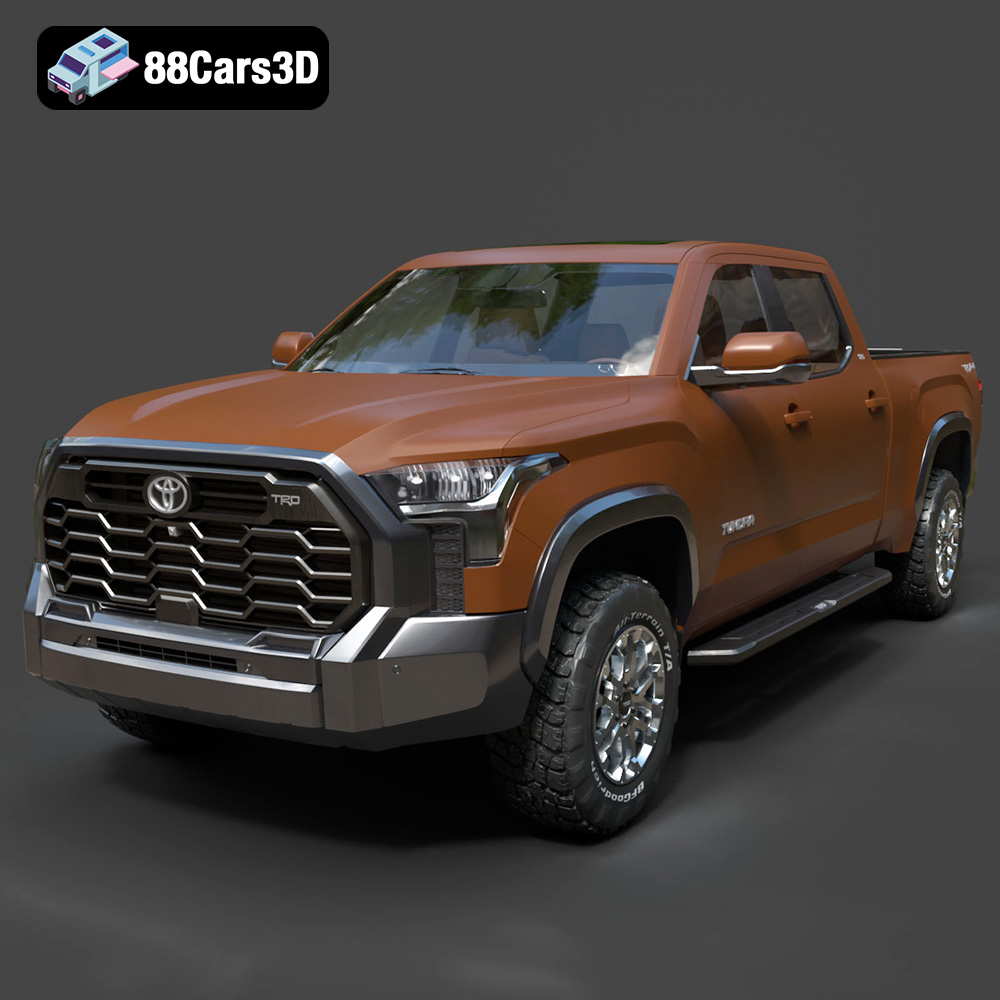
Texture: Yes | Material: Yes
Download the highly detailed, game-ready Toyota Tundra SR5 TRD 2022 3D Model. Features bold TRD front grille, aggressive off-road stance, and high-fidelity interior cockpit. Includes .blend, .fbx, .obj, .glb, .stl, .ply, .unreal, and .max formats for game development, AR/VR, and rendering.
Price: $298.50
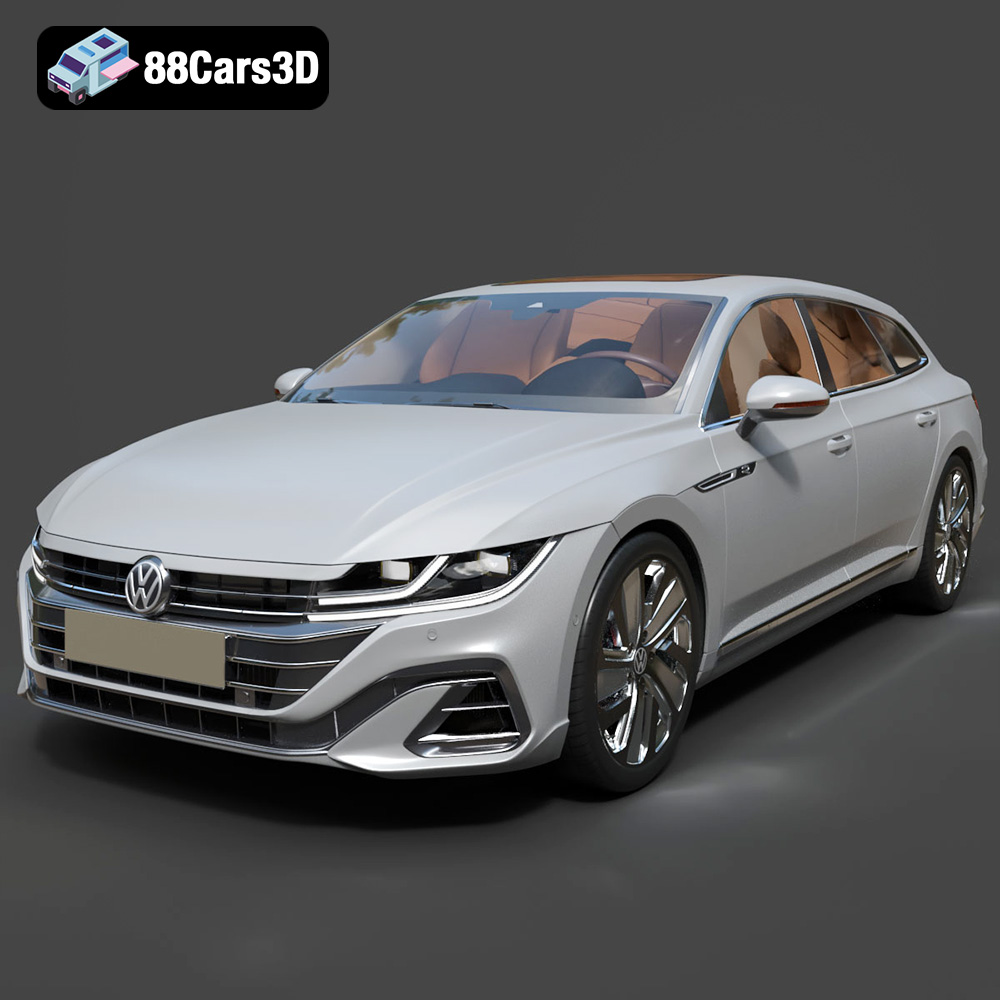
Texture: Yes | Material: Yes
Download the highly detailed, game-ready Volkswagen Arteon Shooting Brake Hybrid 2021 3D Model. Features sleek shooting brake silhouette, illuminated dynamic front grille, and full digital cockpit interior. Includes .blend, .fbx, .obj, .glb, .stl, .ply, .unreal, and .max formats for game development, AR/VR, and rendering.
Price: $217.50
