

In the dynamic world of 3D content creation, efficiency, flexibility, and precision are paramount. For automotive designers, game developers, and visualization artists working with 3D car models, the demands are exceptionally high. Traditional polygonal modeling, while robust, often requires extensive manual effort for iteration and variation. This is where procedural modeling emerges as a game-changer, and Blender’s Geometry Nodes system stands at the forefront of this revolution.
Geometry Nodes introduce a powerful, non-destructive, node-based workflow directly within Blender, transforming how artists approach complex tasks. Imagine the ability to generate entire car components, modify tire treads, or create intricate grille patterns with a few clicks, instantly updating across your model. This system empowers creators to build adaptable and intelligent assets, drastically cutting down production time and opening new avenues for creative exploration. This comprehensive guide will delve into the essentials of Blender Geometry Nodes, exploring how this powerful feature can elevate your automotive design and game asset development workflows, from foundational concepts to advanced techniques and optimization strategies. By the end, you’ll understand how to leverage proceduralism to craft stunning, high-quality 3D car models ready for rendering, real-time applications, and beyond.
The traditional approach to modeling a car often involves meticulous vertex pushing, edge sliding, and face extruding. While this method allows for immense control, it can be time-consuming and rigid, making revisions a labor-intensive process. Blender’s Geometry Nodes offer a radical alternative: a procedural workflow that treats geometry as data, manipulated through a series of interconnected nodes. This paradigm shift is not just about a different way of modeling; it’s about introducing unparalleled flexibility, iteration speed, and maintainability into your 3D pipeline, particularly valuable for the intricate details found in automotive design.
At its core, Geometry Nodes is a node-based system within Blender that allows you to define a sequence of operations to generate or modify mesh data. Instead of directly editing vertices, edges, and faces, you construct a “node tree” where each node performs a specific function—like creating a primitive shape, transforming geometry, scattering instances, or applying modifiers. This entire process is non-destructive. Your original mesh data remains untouched, and all changes are dynamically calculated by the node tree. This means you can alter a parameter at any point in the tree, and the entire resulting geometry updates instantly. For a deeper dive into specific nodes or their parameters, the official Blender 4.4 documentation provides comprehensive details on the Geometry Nodes editor and its functionalities.
For automotive models, proceduralism offers immense advantages. Consider the complexity of a car’s design: countless identical or highly similar components like wheel spokes, tire treads, interior buttons, or intricate grilles. Manually modeling and refining these elements for different car variants or design iterations is incredibly inefficient. With Geometry Nodes, you can define a single procedural system for a component, then easily adjust parameters to generate variations. Need a different spoke count for a wheel? Change a number. Want a denser tire tread? Adjust a slider. This leads to:
To begin with Geometry Nodes, you’ll primarily work in the Geometry Node Editor window. Here, you’ll connect nodes to form a logical flow of operations. Key concepts include:
The interface is intuitive, allowing you to search for nodes, connect them with wires, and adjust their individual parameters. As you build your node tree, the 3D viewport updates in real-time, providing immediate visual feedback on your procedural model.
The journey into procedural automotive modeling begins with understanding how to construct basic shapes and manipulate them effectively using core Geometry Node functionalities. While a full car body might still benefit from a combination of traditional and procedural techniques, many intricate components are perfectly suited for a node-based approach, offering a level of control and iteration speed unmatched by manual methods. This section explores fundamental nodes and techniques to lay the groundwork for complex 3D car model assemblies.
Every complex structure starts with simpler forms. Geometry Nodes provide a suite of nodes for generating fundamental geometric primitives:
The power lies in their parameters. Instead of manually editing vertices, you adjust numerical values or use other nodes to drive them, creating dynamic and responsive shapes. For example, by controlling the resolution of a primitive, you can easily switch between low-poly representations for game assets and high-poly versions for detailed automotive rendering.
Once you have basic forms, the next step is to manipulate and arrange them into more complex structures. Geometry Nodes offer powerful tools for this:
By leveraging these nodes, you can quickly build up complex arrays of shapes that would be incredibly time-consuming to model individually. This approach ensures consistency and allows for rapid adjustments across all instances, which is vital when working on detailed 3D car models where symmetry and repetition are common.
Boolean operations are fundamental for cutting, combining, and subtracting shapes, a common task in automotive design for creating vents, lights, and panel gaps. Geometry Nodes provide robust solutions for this:
When using Mesh Boolean, it’s important to consider the resulting topology. While Geometry Nodes generally handle topology well, complex boolean operations can sometimes lead to messy edge flow. Best practice involves keeping your boolean objects relatively clean and, if necessary, using remeshing techniques or manual cleanup after applying the Geometry Node modifier for final production assets, especially for game engines where clean topology is critical for performance and deformation. However, for initial design iteration and rapid prototyping, the non-destructive nature of procedural booleans is invaluable.
Moving beyond basic shapes, Geometry Nodes truly shine when it comes to crafting the intricate, high-fidelity details that distinguish a compelling 3D car model. Automotive design is rich with elegant curves, subtle surface variations, and precisely placed embellishments. This section explores advanced techniques that leverage Geometry Nodes to achieve this level of precision and visual richness, while maintaining a non-destructive workflow and laying the groundwork for realistic rendering and optimized game assets.
Curves are the backbone of elegant design, and in Geometry Nodes, they become dynamic tools for modeling complex automotive surfaces and trim:
These curve-based techniques are indispensable for achieving the clean, flowing lines characteristic of high-quality 3D car models. They offer a level of parametric control that manual curve editing simply cannot match, allowing for quick iterations on complex design elements.
Achieving the right level of detail is a constant challenge, especially when targeting both high-end automotive rendering and optimized game assets. Geometry Nodes provide solutions for dynamic subdivision:
These dynamic detail techniques allow you to maintain an efficient base mesh while generating high-resolution geometry only where and when it’s needed, optimizing performance without sacrificing visual fidelity.
Correct UV mapping is essential for applying textures and PBR materials realistically. Geometry Nodes can automate parts of this process, especially for generated or instanced geometry:
By integrating procedural UV generation and material assignment into your node tree, you can ensure that even complex, dynamically generated components are ready for sophisticated texturing and shading, an absolute must for high-quality visualization and rendering.
While the power of Geometry Nodes for intricate detailing is undeniable, the true test of any advanced modeling technique lies in its usability across various platforms. For professionals creating 3D car models for interactive experiences like video games, AR/VR applications, or real-time configurators, optimization is not an afterthought—it’s a critical component of the workflow. This section focuses on how to ensure your procedurally generated assets are lightweight, efficient, and ready for deployment in demanding real-time environments, maintaining the high standards expected from marketplaces like 88cars3d.com.
Level of Detail (LOD) is a fundamental optimization technique for game engines, where lower-polygon versions of an object are displayed when it’s further from the camera. Manually creating multiple LODs for complex automotive assets is a tedious process. Geometry Nodes offer a powerful, procedural solution:
Automating LOD creation ensures that your car models remain performant across diverse hardware, a crucial factor for immersive AR/VR experiences where framerate is king.
For highly detailed procedural geometry, especially micro-details that don’t need to be represented by actual polygons in a game engine, baking these details into textures is an essential optimization step. This allows for rich visual fidelity without the heavy polygon count:
This baking process is vital for converting complex procedural geometry into efficient, PBR-ready game assets that retain their visual quality. It’s a key step in bridging the gap between high-detail procedural modeling and real-time performance requirements.
Before exporting any procedural asset, especially for marketplaces or production pipelines, a final pass of cleanup and preparation is necessary to meet industry standards. When sourcing models from marketplaces such as 88cars3d.com, you expect clean, well-optimized files, and your own procedural assets should adhere to the same principles:
By meticulously optimizing and preparing your procedural assets, you guarantee their smooth integration into any production pipeline, meeting the demanding quality and performance requirements of modern 3D content, which is precisely why platforms like 88cars3d.com prioritize models with clean, optimized structures.
The power of proceduralism in Blender extends far beyond just manipulating mesh data. It offers incredible capabilities for defining materials, shading, and even entire scene environments dynamically. For realistic automotive rendering and visualization, the interplay between geometry, surfaces, and lighting is critical. Geometry Nodes can be cleverly integrated with Blender’s shader nodes to create dynamic PBR materials and streamline scene assembly, allowing for unparalleled control and iteration speed over the final visual presentation of your 3D car models.
PBR (Physically Based Rendering) materials are essential for achieving photorealistic results, but creating and assigning them for complex procedural models can be challenging. Geometry Nodes, in conjunction with shader nodes, provide a flexible solution:
This dynamic material approach ensures that your procedural assets are not only structurally sound but also visually rich and easily adaptable, making them ideal for high-end visualization and automotive rendering projects.
Beyond the car itself, the environment and lighting play a crucial role in presentation. Geometry Nodes can even assist in creating dynamic scene elements:
By extending procedural thinking to scene assembly, you gain greater control and efficiency in setting up diverse rendering environments for your 3D car models.
Once your procedural geometry and materials are set up, the next step is rendering. Blender’s Cycles and Eevee engines seamlessly integrate with Geometry Nodes. For external renderers like Corona, V-Ray, or Arnold (often used with 3ds Max or Maya), the process typically involves applying the Geometry Nodes modifier to finalize the mesh before export. However, the procedural nature offers distinct advantages:
The beauty of a procedural workflow is its adaptability. You can tailor the output of your Geometry Node tree to suit the specific requirements of any rendering engine, ensuring consistent, high-quality results for all your automotive rendering needs.
Blender Geometry Nodes are not just an academic exercise; they represent a tangible leap forward for professional 3D artists working with automotive models. The benefits translate directly into faster workflows, higher quality output, and greater creative freedom. This section explores practical applications of Geometry Nodes in real-world scenarios, highlights industry best practices, and offers solutions to common challenges, demonstrating how this procedural approach can streamline production and elevate the standard of 3D car models across various industries.
One of the most significant advantages of Geometry Nodes for automotive designers is the ability to conduct rapid prototyping and design iteration. In the early stages of design, quick visualization of different concepts is crucial:
This agility fundamentally changes the design process, allowing for more comprehensive exploration and faster decision-making, especially for complex structures inherent in automotive design.
For marketplaces and studios producing high volumes of 3D car models, Geometry Nodes offer significant production efficiencies:
By streamlining these aspects, Geometry Nodes contribute to a more robust and scalable production pipeline, which is essential for meeting the demands of modern 3D content creation.
The pace of technological advancement in 3D is relentless. Adopting procedural workflows with Geometry Nodes helps future-proof your skills and assets:
While powerful, Geometry Nodes come with their own set of challenges:
By understanding and addressing these common challenges, artists can harness the full potential of Geometry Nodes for creating exceptional 3D car models.
Blender Geometry Nodes represent a transformative shift in how 3D artists approach modeling, offering a powerful, non-destructive, and highly iterative workflow that is especially beneficial for the demanding world of automotive design and game asset creation. We’ve explored how these nodes empower you to build complex 3D car models with unparalleled precision, from the fundamental generation of basic forms to the crafting of intricate details and the optimization for real-time applications.
By embracing proceduralism, you unlock a realm of possibilities: rapid prototyping for design exploration, efficient generation of variants for diverse applications, and the ability to maintain consistent, high-quality topology and PBR materials across all your assets. We’ve also delved into critical aspects like procedural UV mapping, LOD generation for game engines, and the seamless integration with various file formats like FBX, GLB, and USDZ for broad compatibility across AR/VR and visualization platforms. The commitment to technical excellence and optimization, exemplified by the quality of models found on platforms like 88cars3d.com, is precisely what Geometry Nodes help you achieve.
The journey with Geometry Nodes is an ongoing learning experience, but the investment is richly rewarded with increased efficiency, creative freedom, and the ability to produce truly professional-grade 3D content. I encourage you to experiment, build your own node group libraries, and integrate these powerful tools into your daily workflow. The future of 3D modeling is procedural, and by mastering Blender Geometry Nodes, you are well-equipped to drive innovation in automotive design, game development, and high-fidelity visualization.

Texture: Yes | Material: Yes
Download the highly detailed, game-ready Seat Ateca Cupra 2019 3D Model. Features aggressive sporty styling, quad exhaust outlets, and high-detail interior. Includes .blend, .fbx, .obj, .glb, .stl, .ply, .unreal, and .max formats for game development, AR/VR, and rendering.
Price: $203.50
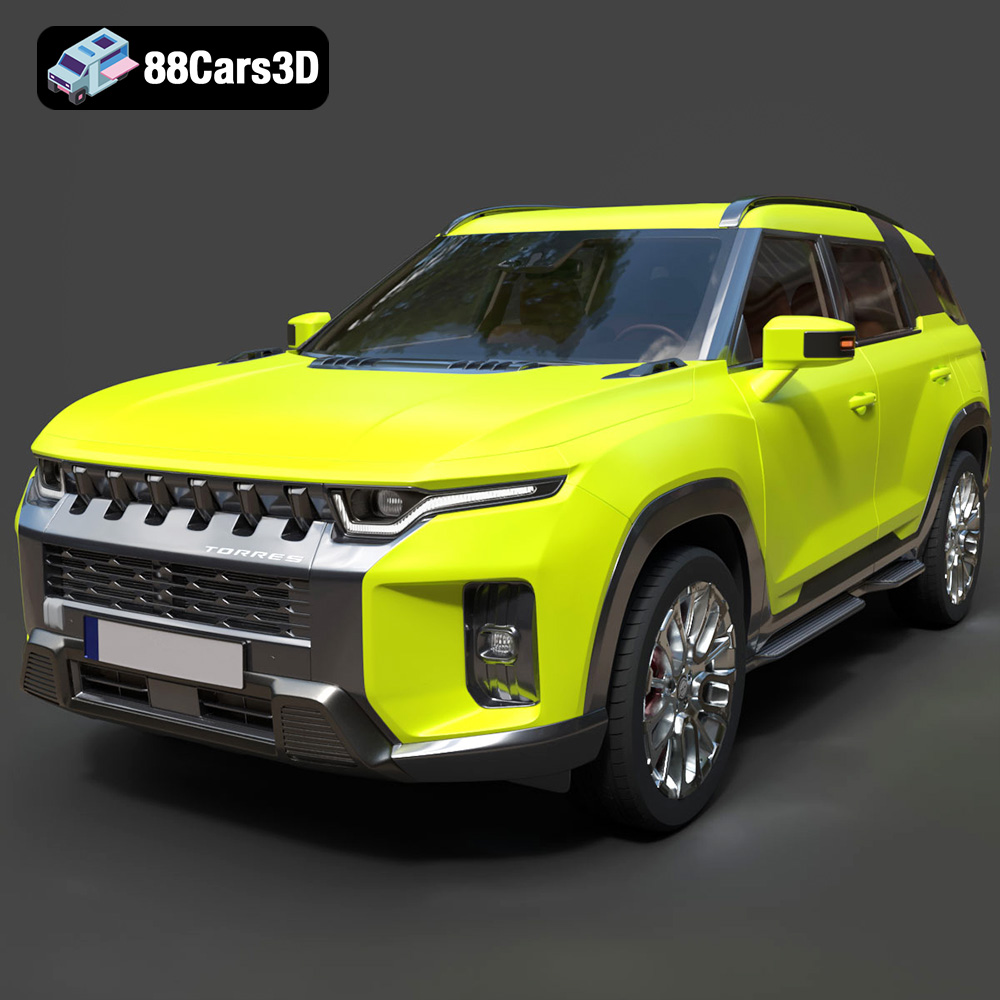
Texture: Yes | Material: Yes
Download the highly detailed, game-ready SsangYong Torres 2023 3D Model. Features rugged SUV styling, signature front grille, and precise body geometry. Includes .blend, .fbx, .obj, .glb, .stl, .ply, .unreal, and .max formats for game development, AR/VR, and rendering.
Price: $279.50

Texture: Yes | Material: Yes
Download the highly detailed, game-ready Chevrolet Corvette Stingray 3D Model. Features sculpted bodywork, detailed aggressive front grille, and iconic sport exhaust. Includes .blend, .fbx, .obj, .glb, .stl, .ply, .unreal, and .max formats for game development, AR/VR, and rendering.
Price: $122.99
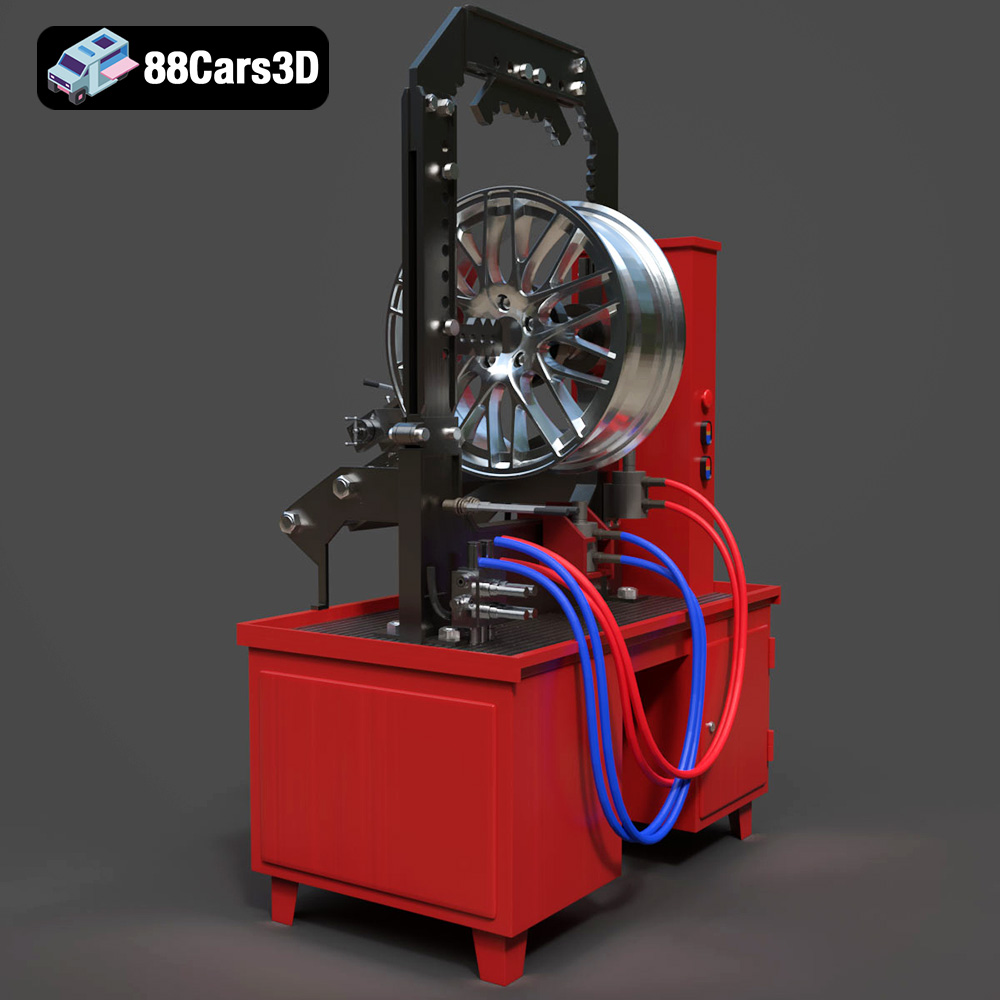
Texture: Yes | Material: Yes
Download the highly detailed, game-ready Stand for Straightening Alloy Wheels 3D Model. Features heavy-duty hydraulic press components, integrated lathe system, and realistic workshop controls. Includes .blend, .fbx, .obj, .glb, .stl, .ply, .unreal, and .max formats for game development, AR/VR, and rendering.
Price: $147.99

Texture: Yes | Material: Yes
Download the highly detailed, game-ready Subaru Forester 2019 3D Model. Features authentic crossover styling, detailed interior, and accurate exterior geometry. Includes .blend, .fbx, .obj, .glb, .stl, .ply, .unreal, and .max formats for game development, AR/VR, and rendering.
Price: $245.50
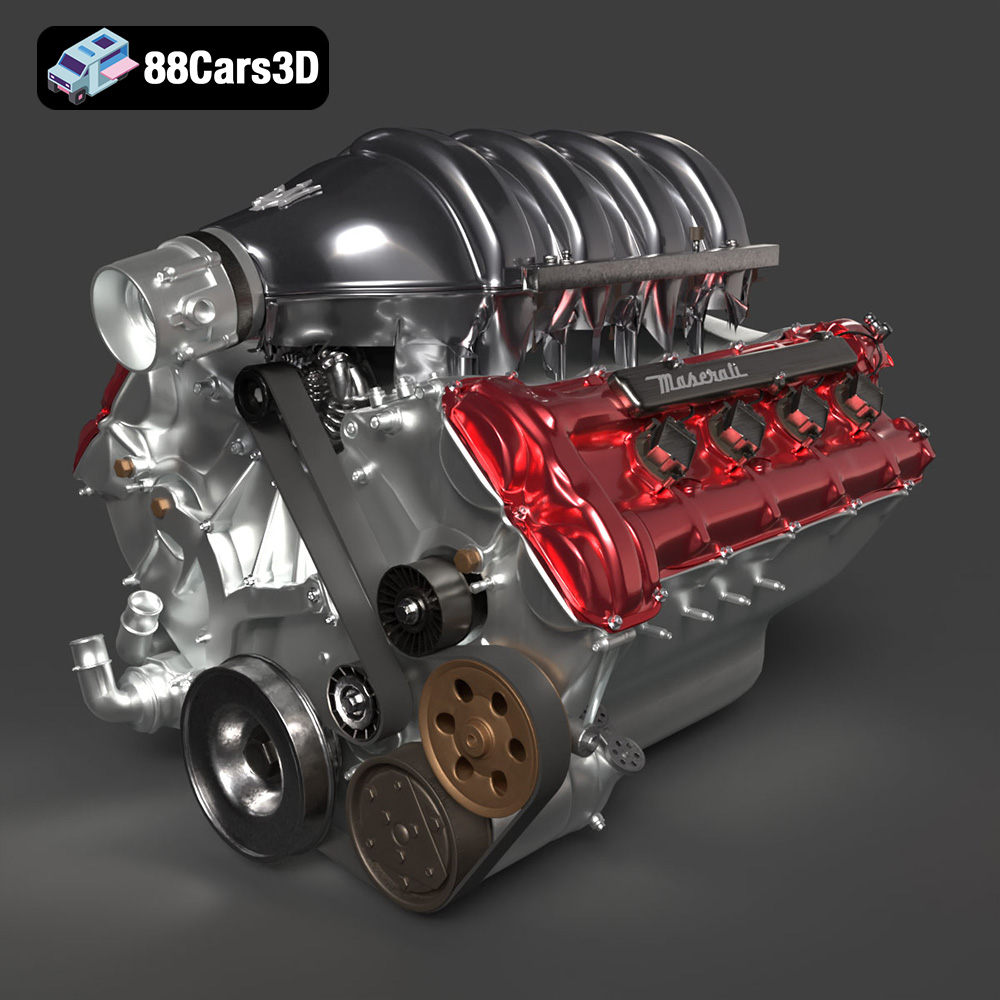
Texture: Yes | Material: Yes
Download the highly detailed, game-ready Maserati Engine 3D Model. Features intricate cylinder heads, realistic intake manifold, and precision mechanical detailing. Includes .blend, .fbx, .obj, .glb, .stl, .ply, .unreal, and .max formats for game development, AR/VR, and rendering.
Price: $141.50
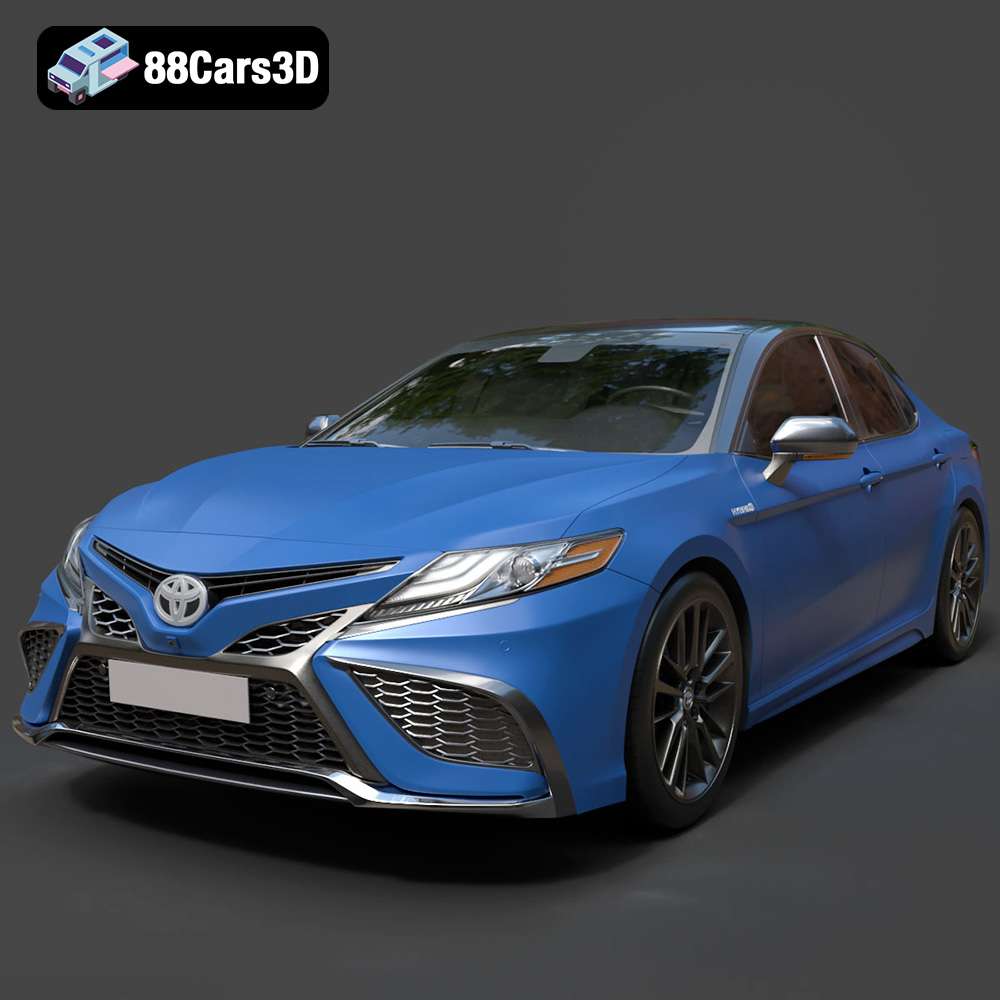
Texture: Yes | Material: Yes
Download the highly detailed, game-ready Toyota Camry XSE 2021 3D Model. Features an aggressive sport mesh grille, sculpted aerodynamic styling, and quad exhaust tips. Includes .blend, .fbx, .obj, .glb, .stl, .ply, .unreal, and .max formats for game development, AR/VR, and rendering.
Price: $271.50
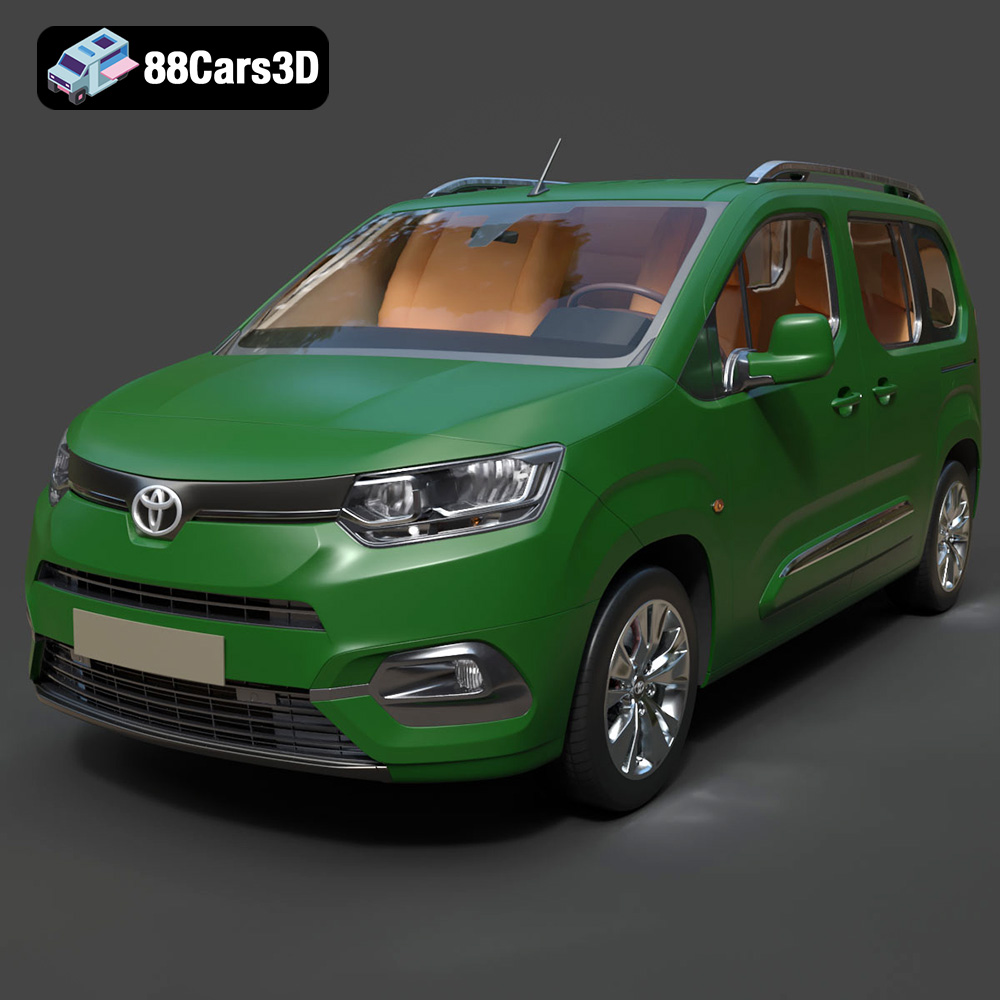
Texture: Yes | Material: Yes
Download the highly detailed, game-ready Toyota ProAce City 2020 3D Model. Features accurate exterior paneling, detailed interior cockpit, and authentic lighting units. Includes .blend, .fbx, .obj, .glb, .stl, .ply, .unreal, and .max formats for game development, AR/VR, and rendering.
Price: $266.50
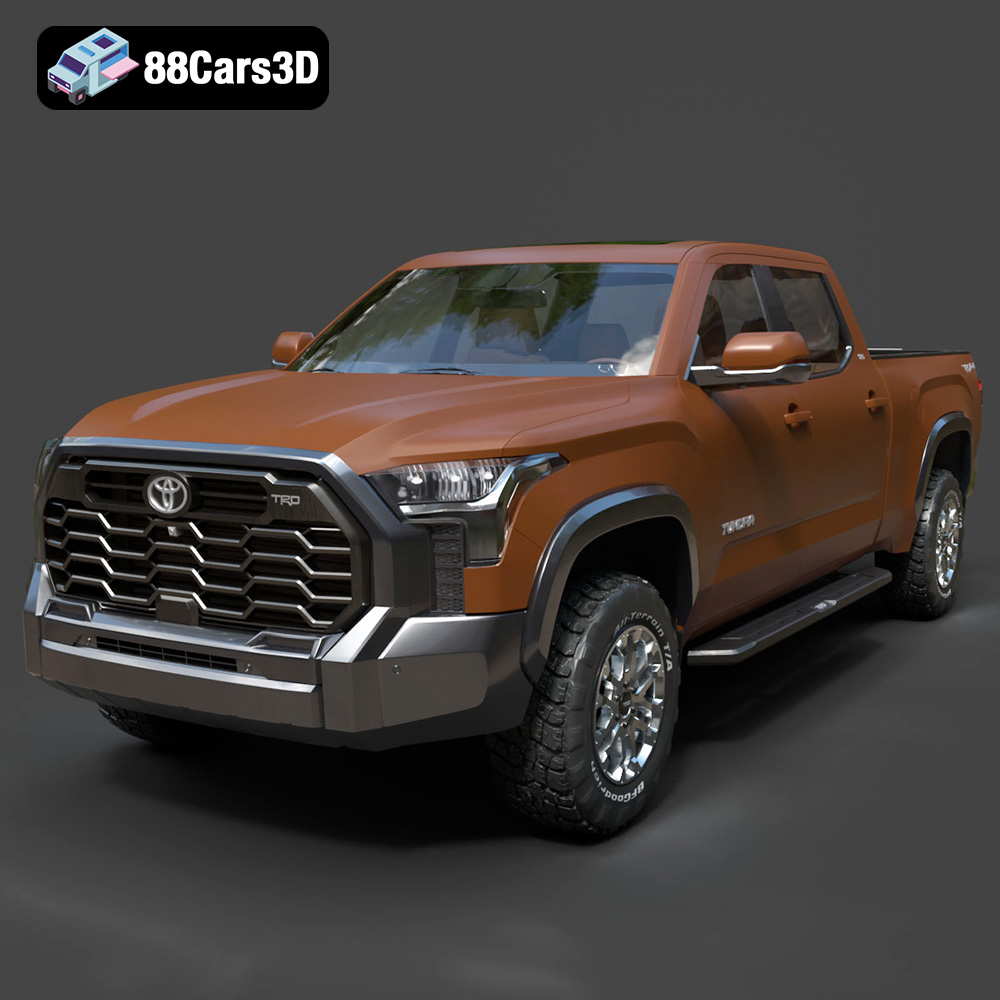
Texture: Yes | Material: Yes
Download the highly detailed, game-ready Toyota Tundra SR5 TRD 2022 3D Model. Features bold TRD front grille, aggressive off-road stance, and high-fidelity interior cockpit. Includes .blend, .fbx, .obj, .glb, .stl, .ply, .unreal, and .max formats for game development, AR/VR, and rendering.
Price: $298.50
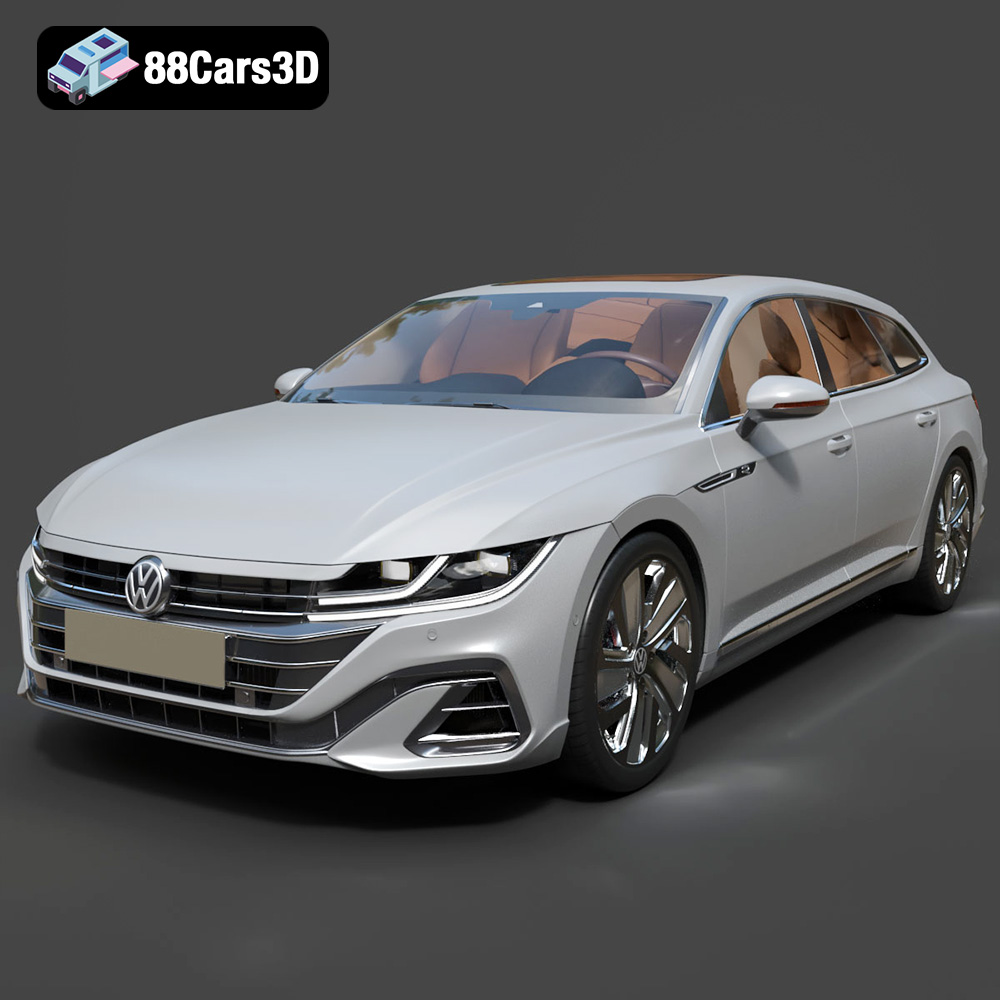
Texture: Yes | Material: Yes
Download the highly detailed, game-ready Volkswagen Arteon Shooting Brake Hybrid 2021 3D Model. Features sleek shooting brake silhouette, illuminated dynamic front grille, and full digital cockpit interior. Includes .blend, .fbx, .obj, .glb, .stl, .ply, .unreal, and .max formats for game development, AR/VR, and rendering.
Price: $217.50
