

In the fast-paced world of 3D production, from automotive visualization to game development, efficiency and organization are paramount. For professionals dealing with intricate 3D car models—each comprising countless meshes, materials, textures, and rigging data—managing a sprawling library of assets can quickly become a bottleneck. Imagine sifting through folders filled with ambiguously named files, struggling to find that specific chrome material or a custom wheel rim you created months ago. This challenge is precisely what Blender’s Asset Browser was designed to address. It’s not just a fancy file explorer; it’s a powerful tool that transforms chaotic asset management into a streamlined, productive workflow. This comprehensive guide will delve deep into leveraging the Blender Asset Browser to organize your 3D car model library, ensuring consistency, accelerating your projects, and enhancing collaborative efforts. Whether you’re an individual artist or part of a larger studio, mastering this feature will revolutionize how you interact with your 3D assets, allowing you to focus more on creativity and less on administrative overhead.
The journey of creating a high-quality 3D car model is a meticulous one, involving complex modeling, detailed UV unwrapping, sophisticated PBR material setup, and often, intricate rigging for animation. Each component, from a custom headlight assembly to a detailed interior upholstery material, represents a valuable asset. Multiply this by dozens or hundreds of car models, and you quickly accumulate an overwhelming volume of data. Without a robust system in place, retrieving, reusing, and updating these assets becomes an arduous task, leading to duplicated efforts, inconsistent quality across projects, and significant time wastage. For instance, an artist might spend hours recreating a specific car paint shader because they can’t locate its previous iteration, or a project might suffer from mismatched tire treads simply due to poor asset tracking. This inefficiency not only impacts individual productivity but also hinders team collaboration, as sharing and integrating assets seamlessly becomes a logistical nightmare.
For automotive 3D artists, the need for stringent asset organization is even more pronounced. A single 3D car model can easily consist of hundreds of separate objects—chassis, doors, hood, trunk, wheels, tires, brake calipers, interior components like seats, dashboard, steering wheel, and numerous smaller details. Each of these objects requires unique materials and often multiple texture maps (albedo, metallic, roughness, normal, ambient occlusion, displacement). If these elements are not meticulously organized and easily accessible, the process of assembling a new car variant, swapping out components, or even just setting up a render scene becomes a frustrating exercise in digital archaeology. Consistency in material libraries, for example, ensures that all your car models feature realistic and uniform chrome, glass, or carbon fiber, maintaining a high standard across your portfolio. Furthermore, for studios working on series production or variations of existing models, a well-structured asset library allows for rapid prototyping and iteration, directly impacting project delivery times and profitability.
Relying on manual asset tracking often leads to a litany of common pitfalls that can derail a 3D production pipeline. One prevalent issue is the “folder chaos”—a labyrinth of nested directories with obscure names, making it nearly impossible to find specific assets. Another is inconsistent naming conventions, or worse, no naming conventions at all, resulting in files like “Car_Final.blend,” “Car_Final_V2.blend,” and “Car_Final_REALLY_Final.blend.” This makes version control a nightmare and collaboration impractical. Artists might also struggle with scattered texture files, leading to broken links when assets are moved or shared. Furthermore, without a centralized system, there’s a higher risk of duplicating assets, bloating project files, and wasting valuable storage space. These ad-hoc solutions not only consume valuable time but also introduce a high margin of error, making it difficult to maintain quality control and adhere to project deadlines. The Blender Asset Browser offers a powerful antidote to these pervasive issues, providing a structured, intuitive, and efficient way to manage your entire 3D asset collection.
Blender’s Asset Browser acts as a central repository for your reusable 3D assets, allowing you to quickly catalog, preview, and drag-and-drop elements directly into any Blender scene. It’s designed to be intuitive yet powerful, transforming the way artists manage their digital library. At its core, the Asset Browser operates by referencing specific Blend files designated as “asset libraries.” Instead of searching through countless folders, you access a visual interface where all your marked assets are displayed with customizable previews and categorized for easy retrieval. This fundamental shift from file-based searching to visual, categorized browsing is a game-changer, especially for environments rich in highly detailed 3D car models. Understanding its setup and core concepts is the first step towards a significantly more organized and productive workflow.
The foundation of using the Asset Browser lies in properly setting up your asset libraries. This involves telling Blender where to look for your asset files. The process is straightforward:
You can define multiple asset library paths, allowing you to categorize your assets across different physical locations or network drives, which is particularly useful for studios or artists with specialized asset types. Once a path is defined, any .blend file within that directory (or its subdirectories) can serve as an asset source. For accurate and up-to-date information on setting up asset libraries and other features, always refer to the official documentation: Blender 4.4 Documentation – Asset Library Setup. This step is critical; without correctly configured paths, the Asset Browser won’t be able to display your valuable collection of 3D car components or custom materials.
The versatility of the Asset Browser extends to a wide array of Blender data types, allowing you to catalog almost any reusable element from your scenes. This broad scope is incredibly beneficial for managing the diverse components that make up a 3D car model.
By enabling you to catalog these diverse data types, the Asset Browser empowers you to create a comprehensive, modular library for your 3D car production pipeline. Imagine having a library of various wheel designs, interior components, or even entire car bodies, all instantly available at your fingertips.
The true power of the Asset Browser is realized when your assets are not just organized, but also meticulously prepared for reuse. Simply dragging and dropping a poorly constructed model into a scene can lead to issues ranging from messy topology to broken materials. For complex assets like 3D car models, which demand precision and optimization, pre-preparation is non-negotiable. This involves ensuring clean geometry, efficient UV maps, correctly configured PBR materials, and thoughtful naming conventions. By investing time in this preparation phase, you guarantee that every asset you add to your library is production-ready, saving countless hours down the line and maintaining a consistent level of quality across all your projects.
Before a 3D car model or its components are marked as assets, they must meet certain quality standards.
These technical considerations ensure that when you pull an asset from your library, it functions perfectly and maintains the high visual fidelity expected in modern 3D production.
Once your 3D car models or components are meticulously prepared, the next step is to formally integrate them into the Asset Browser. This process involves marking them as assets, assigning them to logical catalogs, and generating effective preview images.
Drag your marked assets from “Unassigned” into their respective catalogs. This hierarchical organization makes finding assets incredibly intuitive.
Effective previews, coupled with clear naming (e.g., “SportsCar_ModelX_2023_Red,” “Wheel_5Spoke_BlackGloss,” “Material_MetallicBlue_Paint”), significantly enhance the usability of your asset library, especially when sourcing high-quality models from platforms like 88cars3d.com, where visual clarity is key.
Once your assets are meticulously prepared and cataloged within Blender’s Asset Browser, the real magic begins. Smart asset management transcends simple organization; it’s about optimizing your entire workflow to maximize efficiency, maintain consistency, and facilitate creative iteration. This involves understanding how to effectively manage asset versions, leverage the power of catalogs and tags for rapid prototyping, and strategically choose between linking and appending assets to suit your project’s needs. These techniques are particularly beneficial when working with complex projects involving numerous 3D car models, as they directly impact production speed and collaboration.
Managing versions of your assets is a critical aspect of any professional 3D pipeline. As a 3D car model evolves—perhaps a wheel design gets updated, or a material shader is refined—you need a reliable way to incorporate these changes into existing projects without breaking anything. Blender’s Asset Browser supports this through its linking capabilities and by encouraging good file management practices.
When you drag an asset from the browser into your scene, you have the option to “Link” or “Append.” If you “Link” an object or material, your current project maintains a live connection to the source .blend file in your asset library. This means if you later open the source .blend file, modify the asset (e.g., change the tire tread pattern on a wheel asset), and save it, all projects that have linked to that asset will automatically reflect the update upon reopening. This is incredibly powerful for maintaining consistency across a series of car models or for ensuring all projects use the latest version of a shared material.
However, a linked asset also means you cannot directly modify it within the current project; you must go back to the source .blend file to make changes. If you need a completely independent copy of the asset that can be freely edited without affecting the source, you would “Append” it.
For robust version control, especially in team environments, consider these best practices:
By implementing these strategies, you ensure that your asset library remains dynamic and adaptable, allowing for continuous refinement of your 3D car models without jeopardizing ongoing projects.
The true efficiency boost from the Asset Browser comes from its catalog and tagging system, which enables rapid prototyping and fluid iteration, particularly for design-intensive tasks like automotive visualization. Instead of building every car from scratch, you can assemble complex models from pre-made components with remarkable speed.
Catalogs provide a hierarchical structure, allowing you to group assets logically. For example:
Car Parts/Wheels/SportCar Parts/Wheels/ClassicCar Parts/Interiors/Seats/LeatherCar Parts/Interiors/Dashboards/ModernMaterials/Paint/MetallicMaterials/Fabric/AlcantaraThis tree-like structure lets you quickly navigate to specific categories. If a client requests a sporty car interior, you can instantly browse your “Interiors/Seats/Sport” catalog for suitable options.
Tags offer a more flexible, non-hierarchical way to categorize assets. An asset can have multiple tags. For a 3D car model, tags could include:
Combining catalogs and tags dramatically speeds up asset retrieval. Imagine you need an “electric SUV” wheel with a “matte black” finish. You could navigate to Car Parts/Wheels/SUV and then filter by the tags `electric` and `matte black`. This level of granular control empowers artists to quickly experiment with different configurations, present multiple design options to clients, and iterate on concepts with unprecedented agility, shaving significant time off the design phase.
The choice between linking and appending assets from your Asset Browser is a fundamental decision that impacts project management, file size, and flexibility. Understanding when to use each is crucial for an optimized workflow.
Appending (File > Append… or drag-and-drop an asset to make it local):
When you append an asset, Blender creates a full, independent copy of that data block within your current .blend file.
Linking (File > Link… or drag-and-drop an asset to make it linked):
When you link an asset, your current .blend file creates a reference to the data block in the source asset library .blend file. The asset itself resides only in the source file.
Best Practice: Use linking for assets that are meant to be universal and updated centrally (e.g., standard materials, generic props, base car models). Use appending for assets that will undergo project-specific modifications or when you need complete independence from the library source. For complex 3D car models, a hybrid approach often works best: link the main car body and chassis, but append and customize specific details like decals or interior accessories.
While the core functionality of Blender’s Asset Browser excels at individual asset management, its true potential unfolds when integrated into more complex workflows. This includes facilitating collaborative environments, streamlining exports to various game engines, and optimizing assets for specialized platforms like AR/VR and 3D printing. By adopting advanced strategies, artists and studios can leverage their meticulously organized 3D car model libraries to meet diverse production demands, ensuring high quality and efficiency across the board. These advanced techniques transform the Asset Browser from a personal tool into a cornerstone of professional 3D content creation.
In a team setting, consistency and shared access to resources are paramount. Blender’s Asset Browser, while designed for individual use, can be effectively adapted for collaborative workflows, making it a powerful tool for studios working on automotive projects. The key lies in centralizing your asset libraries on a shared network drive or cloud storage solution.
By centralizing shared asset libraries, every team member has instant access to the latest, approved versions of all 3D car components, materials, and environments. This drastically reduces redundant work, promotes consistency across projects, and accelerates the entire production pipeline, allowing teams to quickly assemble and customize complex car models for various visualizations or game projects.
Well-organized assets within Blender’s Asset Browser naturally streamline the export process to game engines like Unity and Unreal Engine, as well as for real-time visualization platforms. The effort put into cleaning topology, efficient UV mapping, and correct PBR material setup directly translates to better performance and visual fidelity in real-time environments.
This integration significantly accelerates the pipeline from 3D modeling to interactive experiences, making your high-quality 3D car models ready for virtual showrooms, driving simulators, or virtual reality applications.
The consistent quality enforced by a well-managed Asset Browser directly benefits the preparation of assets for specialized applications like Augmented Reality (AR), Virtual Reality (VR), and 3D printing. Each of these platforms has unique technical requirements that are easier to meet with organized, clean source assets.
By systematically preparing and categorizing assets using the Asset Browser, you create a versatile library that can be quickly adapted for a multitude of advanced applications, maximizing the value and reusability of your 3D car models.
In the complex and demanding realm of 3D modeling, particularly when crafting intricate 3D car models for diverse applications, efficiency and organization are no longer luxuries but absolute necessities. Blender’s Asset Browser emerges as an indispensable tool, transforming what was once a chaotic mess of scattered files into a meticulously organized, easily accessible, and highly productive 3D asset library. We’ve explored how setting up your asset libraries, meticulously preparing your models with clean topology, efficient UVs, and PBR materials, and then intelligently marking and cataloging them, can revolutionize your workflow.
From streamlining individual projects by rapidly swapping out car components using smart catalogs and tags, to facilitating seamless collaboration in a studio environment through shared asset repositories, the Asset Browser proves its worth. Furthermore, the foundational quality ensured by proper asset management makes the subsequent steps of optimizing for game engines, AR/VR experiences, or preparing for 3D printing significantly more straightforward and less error-prone. By choosing wisely between linking and appending, you gain ultimate control over file sizes and version consistency, ensuring your projects remain lean, agile, and up-to-date.
Embracing the strategies outlined in this guide will empower you to spend less time searching for assets and more time on creative endeavors, ultimately enhancing the quality and consistency of your 3D car models. Dive into Blender’s Asset Browser today, start organizing your digital components, and experience a new level of productivity. When sourcing high-quality, production-ready 3D car models, platforms like 88cars3d.com provide an excellent foundation that can be seamlessly integrated into your newly structured asset library, ready for immediate use and customization. Your journey towards a more organized and efficient 3D production pipeline begins now.
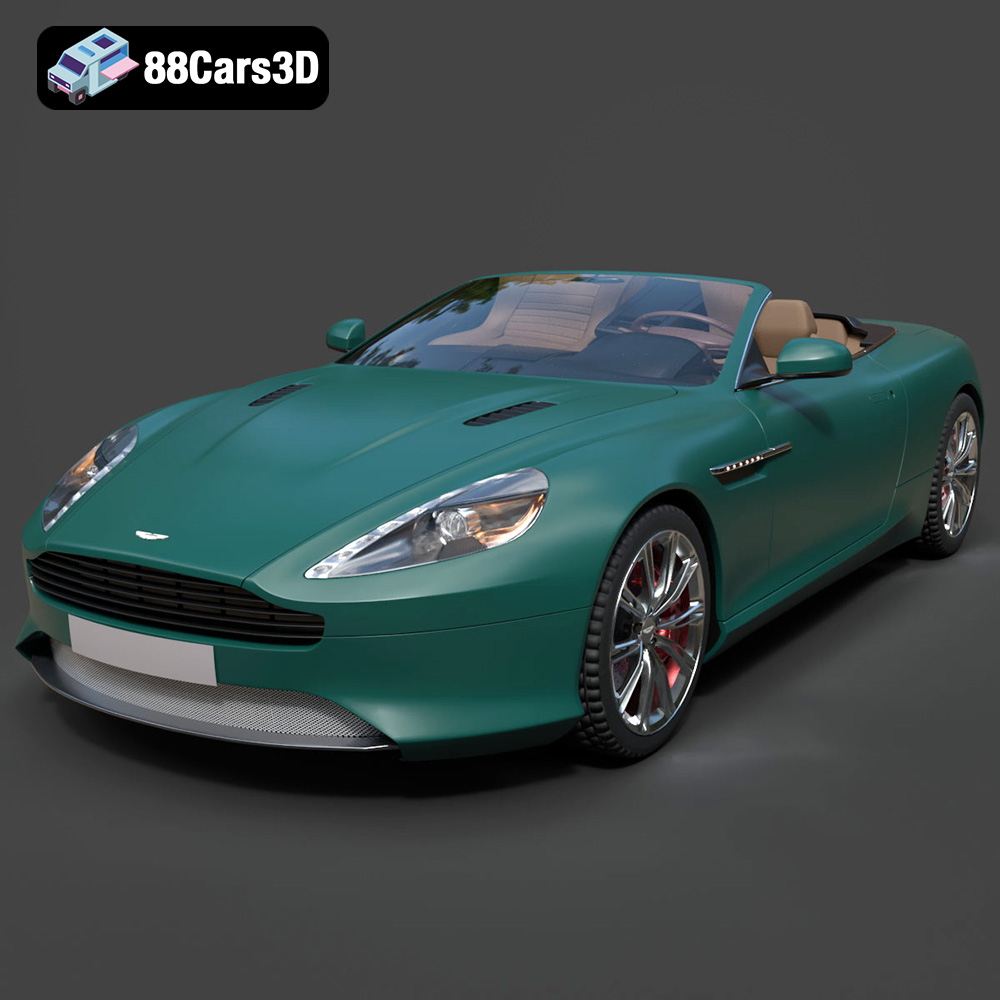
Texture: Yes | Material: Yes
Download the highly detailed, game-ready Aston Martin Virage Volante 2012 3D Model. Features sleek open-top GT design, iconic front grille, and detailed luxury interior trim. Includes .blend, .fbx, .obj, .glb, .stl, .ply, .unreal, and .max formats for game development, AR/VR, and rendering.
Price: $157.00
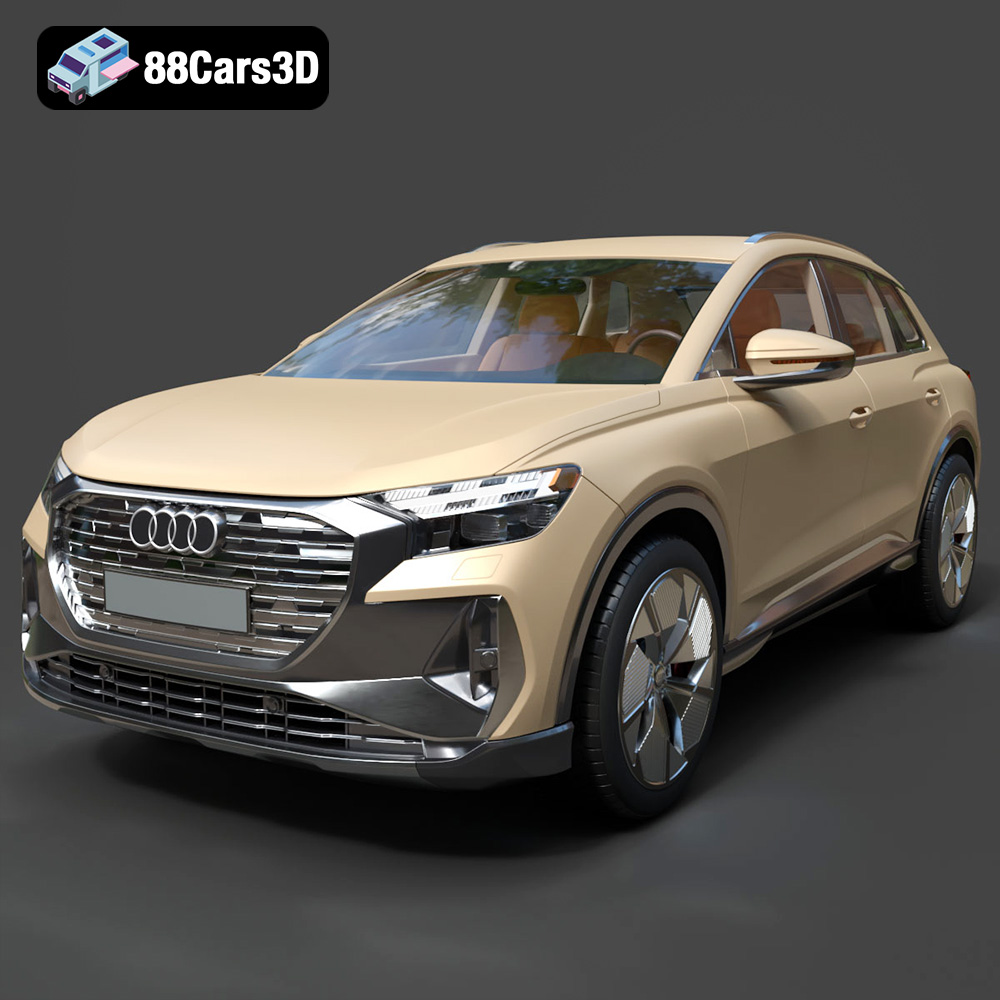
Texture: Yes | Material: Yes
Download the highly detailed, game-ready Audi Q4 e-tron 2021 3D Model. Features sleek electric SUV styling, signature Singleframe grille, and detailed Matrix LED lighting. Includes .blend, .fbx, .obj, .glb, .stl, .ply, .unreal, and .max formats for game development, AR/VR, and rendering.
Price: $299.50
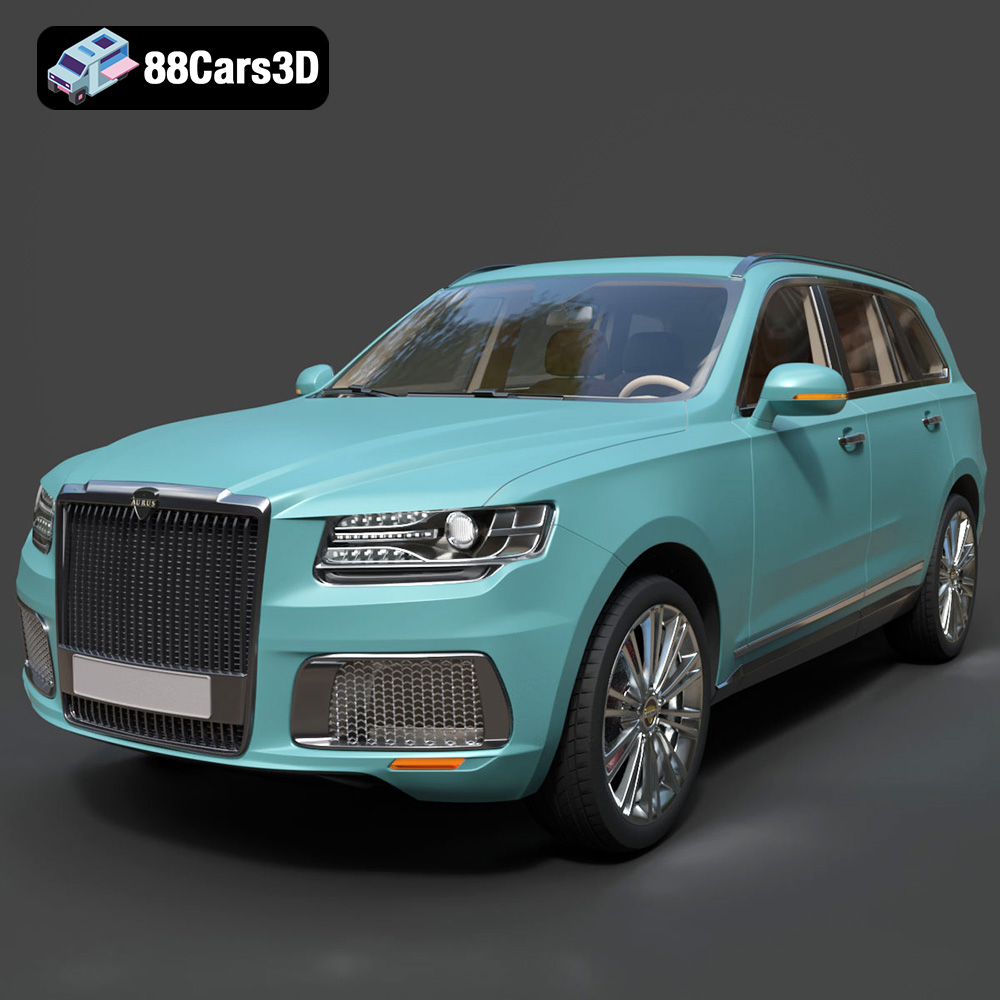
Texture: Yes | Material: Yes
Download the highly detailed, game-ready Aurus Komendant 2020 3D Model. Features an imposing front grille, executive full-size SUV silhouette, and detailed luxury interior. Includes .blend, .fbx, .obj, .glb, .stl, .ply, .unreal, and .max formats for game development, AR/VR, and rendering.
Price: $232.99
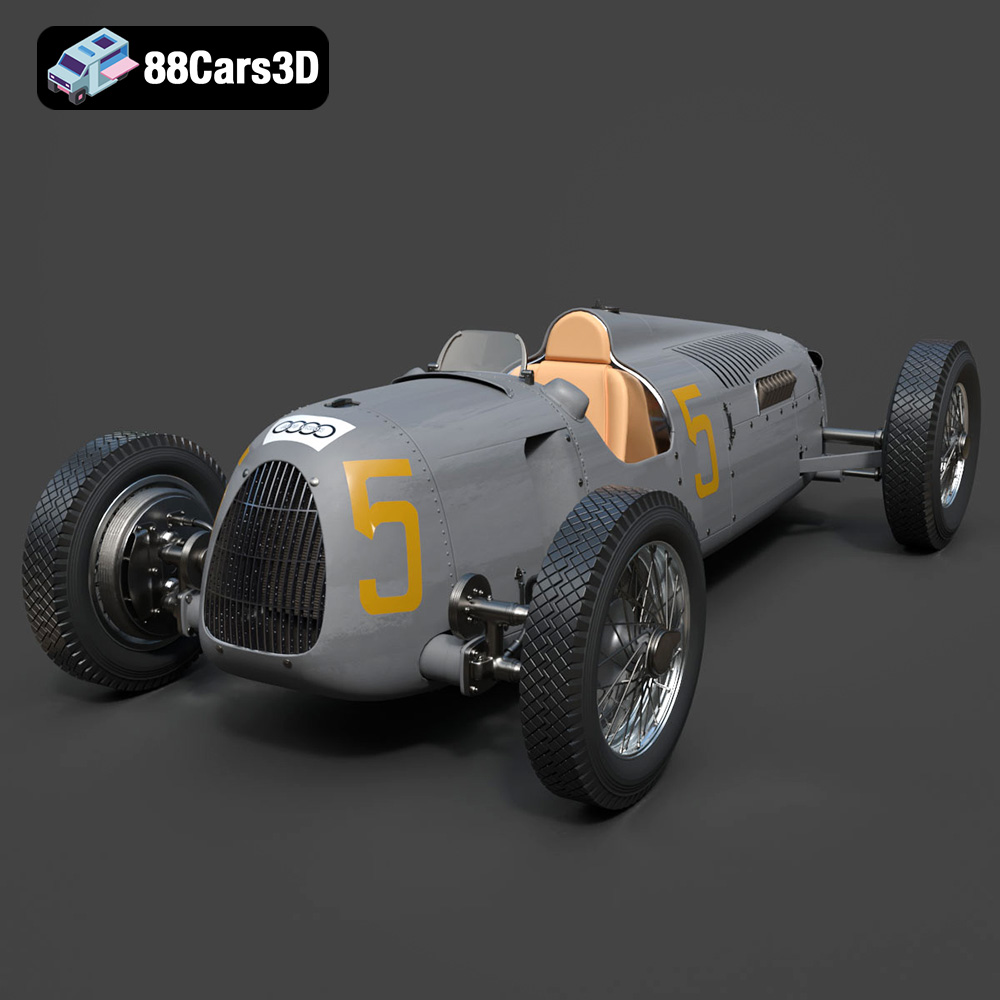
Texture: Yes | Material: Yes
Download the highly detailed, game-ready Auto Union Type C 1936 3D Model. Features iconic V16 engine detailing, classic Silver Arrows bodywork, and detailed open cockpit layout. Includes .blend, .fbx, .obj, .glb, .stl, .ply, .unreal, and .max formats for game development, AR/VR, and rendering.
Price: $152.00
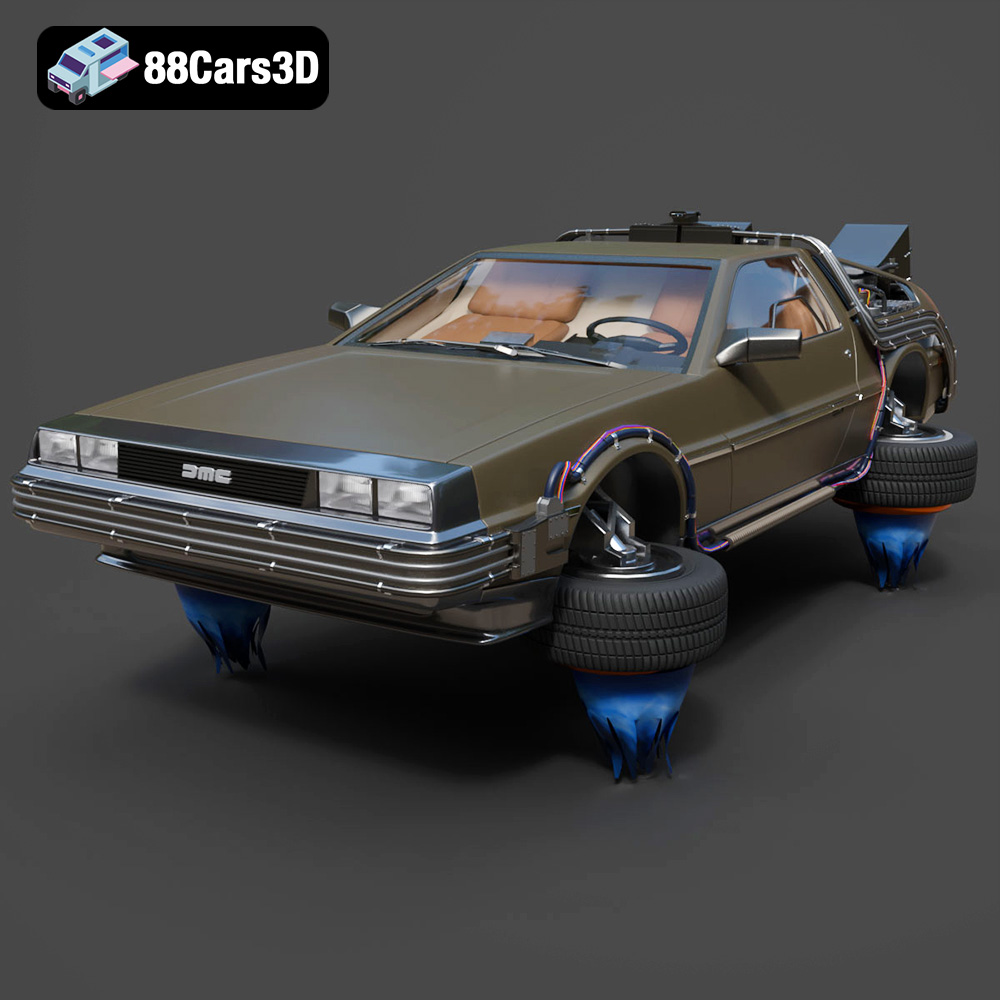
Texture: Yes | Material: Yes
Download the highly detailed, game-ready Back To The Future 2 DeLorean 3D Model. Features Mr. Fusion reactor, hover conversion wheels, and full flux capacitor interior. Includes .blend, .fbx, .obj, .glb, .stl, .ply, .unreal, and .max formats for game development, AR/VR, and rendering.
Price: $211.50
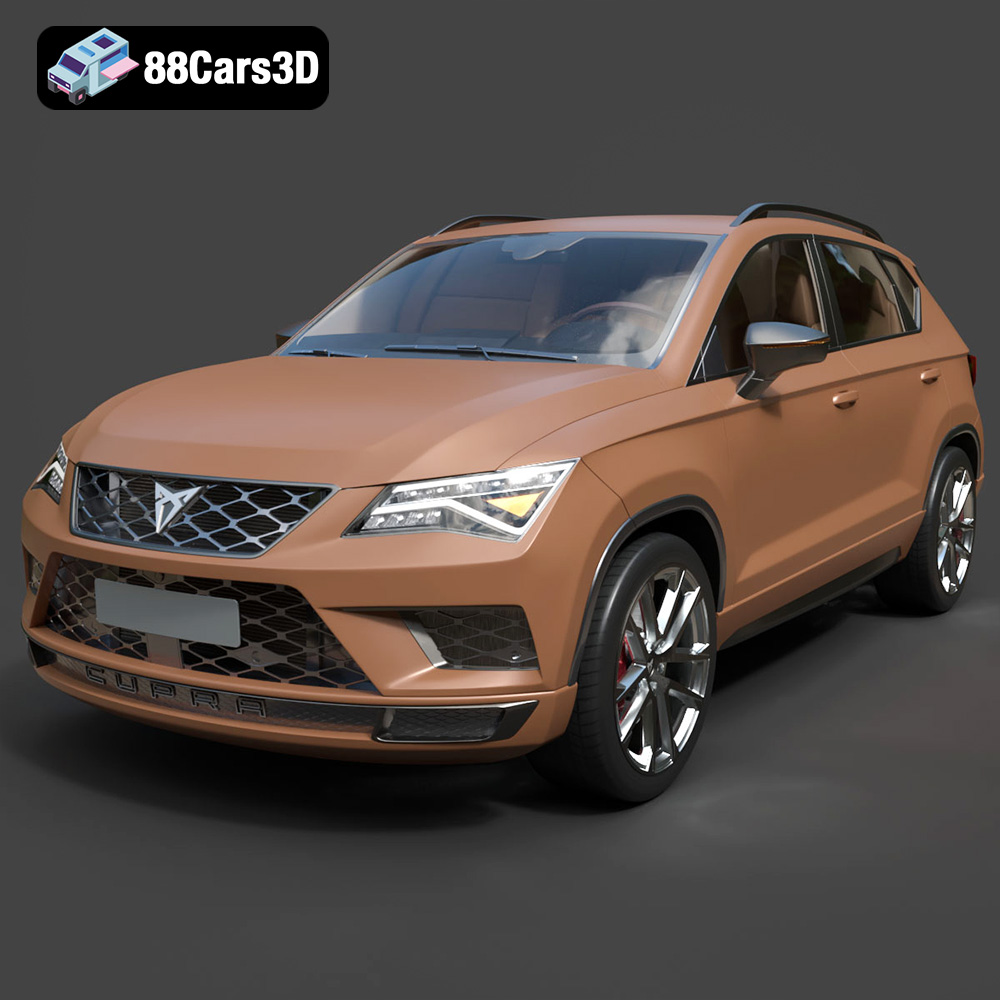
Texture: Yes | Material: Yes
Download the highly detailed, game-ready Seat Ateca Cupra 2019 3D Model. Features aggressive sporty styling, quad exhaust outlets, and high-detail interior. Includes .blend, .fbx, .obj, .glb, .stl, .ply, .unreal, and .max formats for game development, AR/VR, and rendering.
Price: $203.50
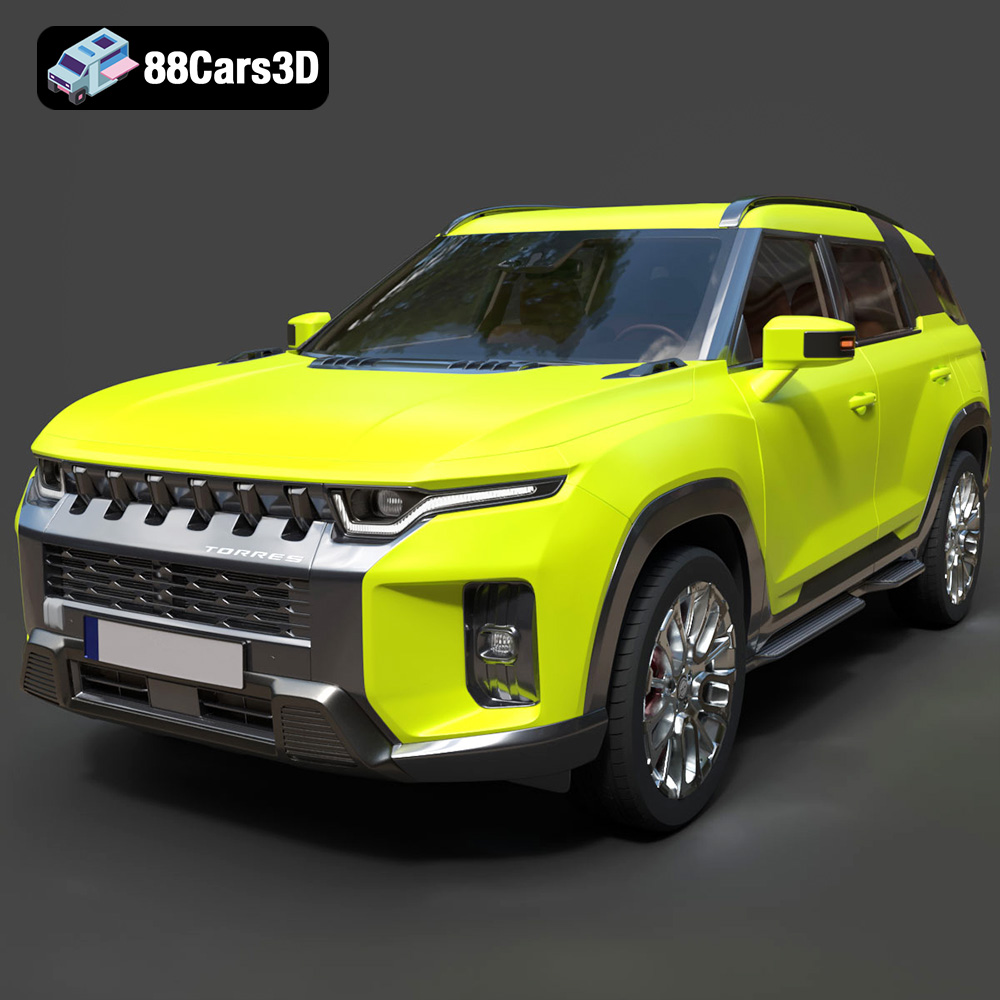
Texture: Yes | Material: Yes
Download the highly detailed, game-ready SsangYong Torres 2023 3D Model. Features rugged SUV styling, signature front grille, and precise body geometry. Includes .blend, .fbx, .obj, .glb, .stl, .ply, .unreal, and .max formats for game development, AR/VR, and rendering.
Price: $279.50

Texture: Yes | Material: Yes
Download the highly detailed, game-ready Chevrolet Corvette Stingray 3D Model. Features sculpted bodywork, detailed aggressive front grille, and iconic sport exhaust. Includes .blend, .fbx, .obj, .glb, .stl, .ply, .unreal, and .max formats for game development, AR/VR, and rendering.
Price: $122.99
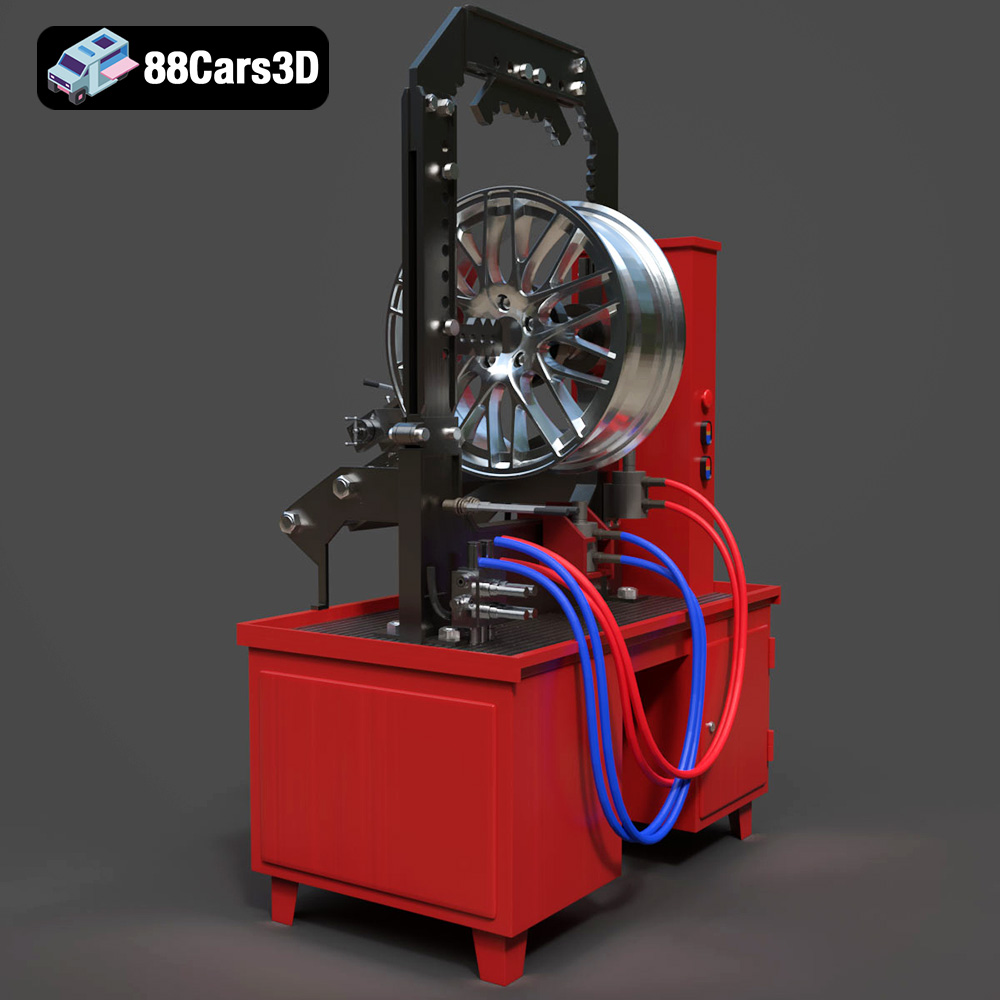
Texture: Yes | Material: Yes
Download the highly detailed, game-ready Stand for Straightening Alloy Wheels 3D Model. Features heavy-duty hydraulic press components, integrated lathe system, and realistic workshop controls. Includes .blend, .fbx, .obj, .glb, .stl, .ply, .unreal, and .max formats for game development, AR/VR, and rendering.
Price: $147.99
Texture: Yes | Material: Yes
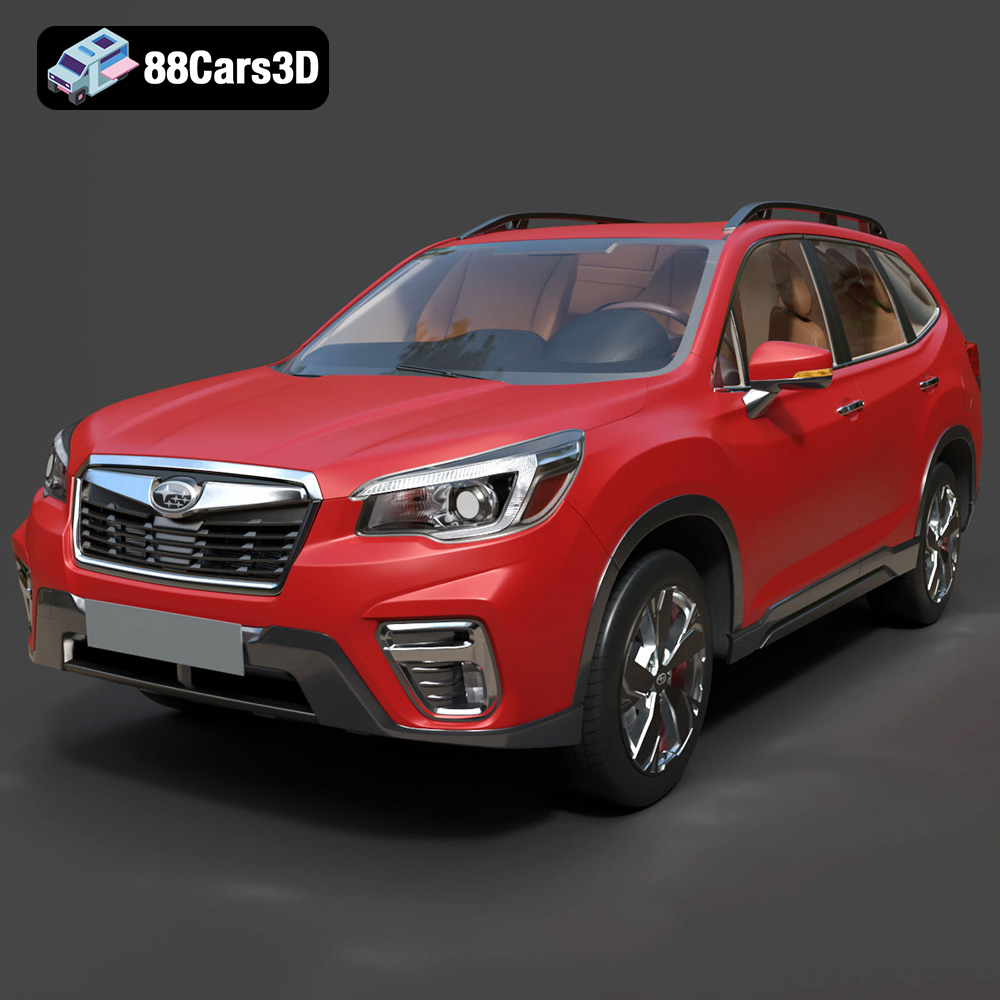
Download the highly detailed, game-ready Subaru Forester 2019 3D Model. Features authentic crossover styling, detailed interior, and accurate exterior geometry. Includes .blend, .fbx, .obj, .glb, .stl, .ply, .unreal, and .max formats for game development, AR/VR, and rendering.
Price: $245.50
