

Automotive visualization in real-time engines represents one of the most demanding disciplines in digital content creation. A single production-ready vehicle can contain thousands of individual sub-assemblies, hundreds of unique material slots, and gigabytes of high-resolution texture maps. When multiplying this complexity across real-time configurators, cinematic shots in Sequencer, virtual production sets, or interactive game levels, unorganized project files quickly lead to ballooning repository sizes, broken asset references, memory leaks, and severe GPU bottlenecks.
Establishing a robust, production-proven asset management framework is not merely a housekeeping preference—it is an absolute necessity for professional Unreal Engine workflows. In this comprehensive guide, we will explore industry-standard practices for project organization, naming conventions, import pipelines, PBR material architecture, virtualized geometry management, and source control integration. Whether you are developing interactive automotive showrooms or high-fidelity game environments, mastering these technical workflows will ensure your real-time projects remain performant, scalable, and easy to maintain across large creative teams.
—
A well-structured Content Browser serves as the blueprint for your entire team’s workflow. Without clear boundaries between core project assets, temporary sandbox files, and marketplace packages, projects inevitably become chaotic, making asset iteration inefficient and error-prone.
In high-end real-time production, top-level directories should always remain clean and segmented by domain rather than project phase. Never place raw assets directly in the root Content/ folder. Instead, establish a hierarchical architecture that categorizes assets by their operational functional type:
Meshes/, Materials/, Textures/, Animations/, and Blueprints/.To maximize search efficiency using Unreal Engine’s Content Browser filters and Python automation scripts, every asset must adhere to standardized prefix protocols. Consistent naming prevents duplicate asset creation and ensures instant clarity regarding an asset’s class.
SM_ : Static Mesh (e.g., SM_Rim_19inch_01)SK_ : Skeletal Mesh (e.g., SK_Chassis_Rigged)M_ : Master Material (e.g., M_CarPaint_Advanced)MI_ : Material Instance (e.g., MI_CarPaint_RedMetallic)MF_ : Material Function (e.g., MF_ClearCoat_Flakes)T_ : Texture Map (e.g., T_Tire_Sidewall_Normal)BP_ : Blueprint Class (e.g., BP_VehicleConfigurator)LS_ : Level Sequence (e.g., LS_Turntable_Cinematic)When sourcing pre-rigged and cleanly grouped vehicles from specialized marketplaces like 88cars3d.com, integrating these assets into your main folder tree requires careful attention. Avoid dropping external asset packs into random subfolders. Instead, migrate imported vehicles directly into your standardized Content/Automotive/Vehicles/ hierarchy, renaming materials and textures to match your internal naming conventions prior to widespread team deployment.
—
Automotive 3D data usually originates from high-precision CAD software (such as Alias, CATIA, or Rhino) or high-polygon DCC packages (like 3ds Max, Maya, or Blender). Converting raw CAD data or raw 3D assets into real-time Unreal Engine assets requires a disciplined ingestion pipeline.
Choosing the correct asset import pipeline determines how much manual optimization and cleanup will be necessary down the road:
Real-time performance depends heavily on scene organization and geometric scale. In Unreal Engine, 1 unit equals 1 centimeter. Importing models created in inches or millimeters without proper unit conversion causes lighting anomalies, physics breakdown, and depth of field errors in camera systems.
Professional assets, such as those available on 88cars3d.com, come prepared with clean UV sets, logical pivot points, and real-world dimensions out of the box. However, when handling custom geometry, ensure that:
(0,0,0).1.0, 1.0, 1.0 with all visual transforms baked/frozen prior to export.To eliminate manual configuration errors across multiple team members, leverage Unreal Engine’s Import Presets. You can configure standardized settings for static mesh collision generation, lightmap resolution algorithms, skin weights, and tangent space computations. To learn more about setting up custom Python automated pipelines and asset import scripts, explore the extensive guides available on the Unreal Engine Developer Learning Hub.
—
Creating individual standalone materials for every sub-part of a vehicle (calipers, glass, carbon fiber, leather, metallic paint) dramatically increases shader compile times, inflates project file sizes, and severely impacts GPU rendering performance due to unnecessary draw calls and shader state changes.
Instead of generating dozens of independent materials, build a consolidated system of flexible Master Materials utilizing Material Functions and static parameter switches. A world-class automotive visualization template generally relies on four core Master Materials:
M_CarPaint_Master: Utilizes Unreal Engine’s Clear Coat shading model. Features customizable base color, metallic flake intensity, flake scale, coat opacity, roughness maps, and multi-layer orange peel normal distortion.M_Glass_Master: Utilizes Thin Translucent or Translucent shading models with Ray Tracing/Lumen refraction options, inner/outer reflection controls, tinting gradients, and dirt mask overlays.M_Interior_Master: Handles standard PBR inputs (Default Lit) with dynamic material switches for leather pore normal tiling, stitching overlays, micro-fiber sheen, and dynamic ambient occlusion masks.M_Emissive_Master: Handles exterior dynamic LED lighting, turn signals, dashboard clusters, and light pipes with physical light intensity controls (measured in Nits or Candelas).// Example: Concept logic inside M_CarPaint_Master for Multi-Layer Flake Blending
Base_Color = Lerp(Primary_Color, Secondary_Color, Fresnel_Effect);
Flake_Normal = Texture2D_Sample(T_Flake_Normal, UV_Scale * Flake_Tiling);
Clear_Coat_Bottom_Normal = Transform_Tangent_To_World(Flake_Normal * Flake_Strength);
Clear_Coat_Roughness = Lerp(Base_Roughness, Flake_Roughness, Flake_Mask);
To maximize VRAM efficiency, implement strict texture packing protocols. Combine monochromatic grayscale maps into single RGBA texture files (often referred to as ORM maps):
Texture resolution should strictly match asset importance and visibility. For exterior vehicle bodies, 4K (4096×4096) maps are standard for primary detail textures. Secondary components (lug nuts, brake discs, interior buttons) should be constrained to 1K (1024×1024) or 2K (2048×2048). Use BC7 texture compression for high-quality DirectX 11/12 and Vulkan rendering to avoid color banding on smooth paint surfaces.
Always create lightweight Material Instances (MI_) from your Master Materials rather than duplicate shaders. Material Instances allow artists to tweak parameters—such as paint color, roughness multipliers, or clear coat thickness—in real time without triggering costly shader recompilations.
Furthermore, use Material Parameter Collections (MPCs) to control dynamic, scene-wide visual updates simultaneously. For example, an MPC can instantly toggle vehicle headlights on or off across multiple car variations with a single dynamic parameter update.
—
High-fidelity automotive models often exceed millions of polygons. Left unoptimized, high-density meshes consume excessive VRAM and degrade real-time frame rates. Implementing virtualized geometry and effective Level of Detail (LOD) strategies ensures steady 60+ FPS performance even in demanding interactive applications.
Unreal Engine’s Nanite virtualized geometry technology revolutionizes how high-poly automotive assets are handled in real-time rendering. Nanite intelligently streams and renders only the pixel-level detail visible to the camera, eliminating traditional polygon budget constraints while preserving fine CAD detail.
When applying Nanite to automotive assets:
If your project targets platforms where Nanite is not applicable (such as mobile AR/VR devices or specific game engines), you must implement a structured manual or semi-automated Level of Detail (LOD) pipeline:
| LOD Level | Distance Range | Triangle Budget Target | Material Slots / Details |
|---|---|---|---|
| LOD 0 | 0 – 10 meters | 300,000 – 800,000 tris | Full detailed mesh, high-poly interior, sub-assemblies active |
| LOD 1 | 10 – 25 meters | 150,000 – 300,000 tris | Merged minor sub-parts, internal engine components culled |
| LOD 2 | 25 – 50 meters | 50,000 – 150,000 tris | Simplified interior geometry, aggregated material channels |
| LOD 3 | 50+ meters | 10,000 – 50,000 tris | Silhouette preservation, single material mesh, baked detail textures |
High-resolution automotive scenes can quickly exhaust GPU video memory. Utilize Virtual Texturing (SVTs and RVTs) to dynamically stream large textures in smaller tile pages based on camera proximity.
Always verify that Mipmapping is enabled on every imported texture map (using the TextureGroup_Vehicle or TextureGroup_World presets). Mipmaps automatically step down texture resolution as the camera retreats from the vehicle, drastically reducing texture bandwidth overhead and shimmering artifacts.
—
Large automotive projects require tight version control systems capable of handling massive binary files, deep folder trees, and concurrent multi-user production environments.
Managing large binary project files requires choosing an appropriate source control system:
As production progresses, orphaned textures, prototype materials, and unused geometry accumulate within the Content Browser. Unreal Engine provides built-in analytical tools to locate and eliminate waste:
ObjectRedirector files. Periodically right-click your top-level Content/ folder and select “Fix Up Redirectors in Folder” to clean these references and prevent broken paths in version control.To create a clean, distribution-ready project build, avoid copying folders through Windows File Explorer. Instead, use Unreal Engine’s internal Migrate Tool:
Content/ folder of a fresh, blank project destination.—
Modern automotive visualization extends beyond static renders into interactive real-time experiences, dynamic configurators, and virtual production sets.
Avoid constructing monolithic, unorganized Blueprint graphs containing thousands of connected nodes. Instead, organize interactive vehicle logic into modular component workflows:
When building an interactive showroom using models from 88cars3d.com, adopting a modular Blueprint architecture allows you to easily plug new vehicle models into pre-built configurator logic, dynamic camera sequences, and lighting setups in minutes.
Unreal Engine’s native Variant Manager provides a streamlined workflow for creating dynamic asset configurations without writing complex Blueprint code from scratch. Within a Variant Set, you can manage:
Variant Sets can be easily triggered via Blueprint events, dynamic UI buttons, or executed automatically within Sequencer tracks during cinematic linear renders.
To ensure your automotive project runs smoothly at stable framerates, use Unreal Engine’s built-in profiling diagnostics:
stat FPS: Displays active framerate and frame delta times.stat Unit: Breaks down frame latency into Frame, Game, Draw (CPU thread), and GPU render times.Ctrl + Shift + Comma): Captures a real-time GPU frame snapshot, detailing exact millisecond rendering costs for Lumen reflections, Nanite geometry rasterization, shadow passes, and post-processing steps.—
Mastering Unreal Engine asset management and project organization is an investment that pays immediate dividends throughout the lifecycle of any automotive visualization or game development project. By enforcing strict naming conventions, modular material architectures, optimized geometry ingestion pipelines, and clean folder structures, you prevent technical debt, minimize performance bottlenecks, and empower creative teams to focus on delivering high-fidelity visuals.
Prefix_AssetNaming rules before starting a project.By implementing these technical best practices, your real-time automotive projects will achieve the optimal balance between high visual fidelity and maximum rendering performance.

Texture: Yes | Material: Yes
Download the highly detailed, game-ready Skoda Scala 2019 3D Model. Features signature crystalline styling, fully modeled interior, and realistic textures. Includes .blend, .fbx, .obj, .glb, .stl, .ply, .unreal, and .max formats for game development, AR/VR, and rendering.
Price: $233.50

Texture: Yes | Material: Yes
Download the highly detailed, game-ready Seat Ateca Cupra 2019 3D Model. Features aggressive sporty styling, quad exhaust outlets, and high-detail interior. Includes .blend, .fbx, .obj, .glb, .stl, .ply, .unreal, and .max formats for game development, AR/VR, and rendering.
Price: $203.50
Texture: Yes | Material: Yes
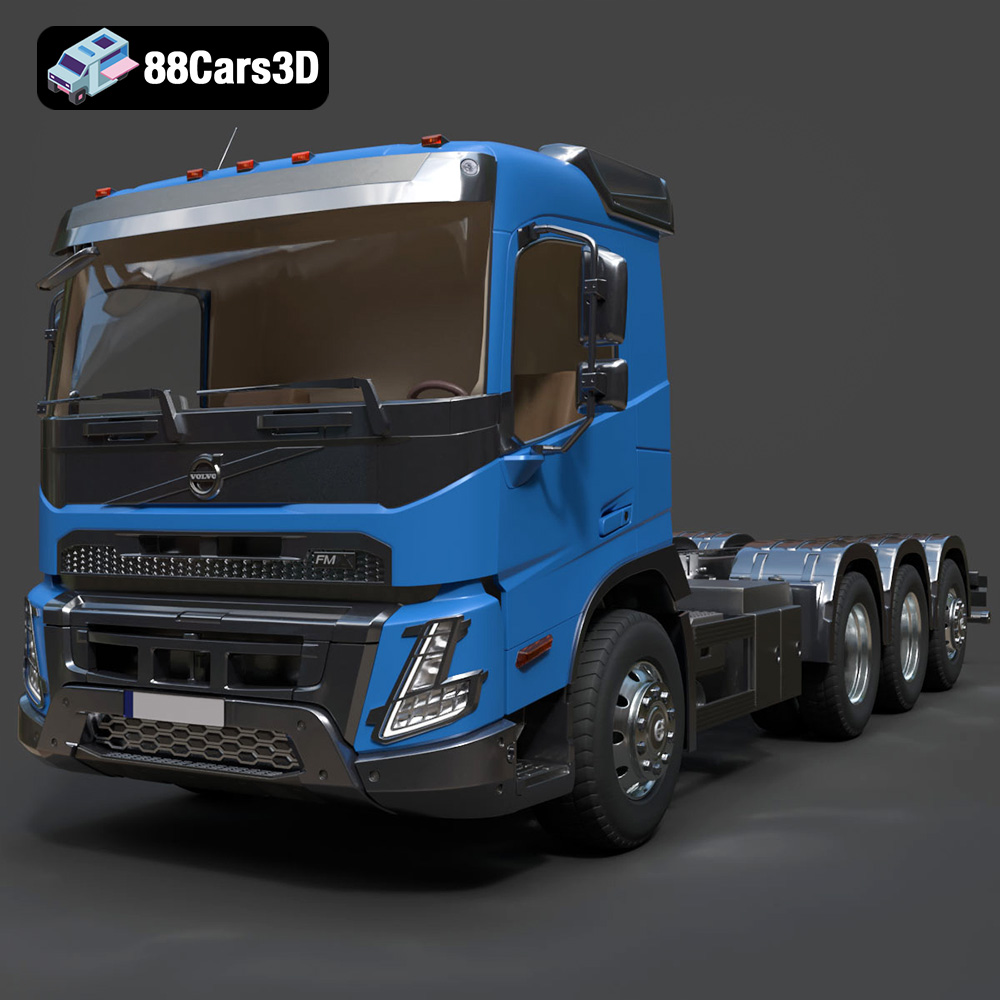
Download the highly detailed, game-ready Volvo FMX Day Cab Chassis Truck 4-axle 2022 3D Model. Features rugged construction-grade day cab, detailed 4-axle heavy-duty chassis, and realistic suspension mechanics. Includes .blend, .fbx, .obj, .glb, .stl, .ply, .unreal, and .max formats for game development, AR/VR, and rendering.
Price: $294.99
Texture: Yes | Material: Yes
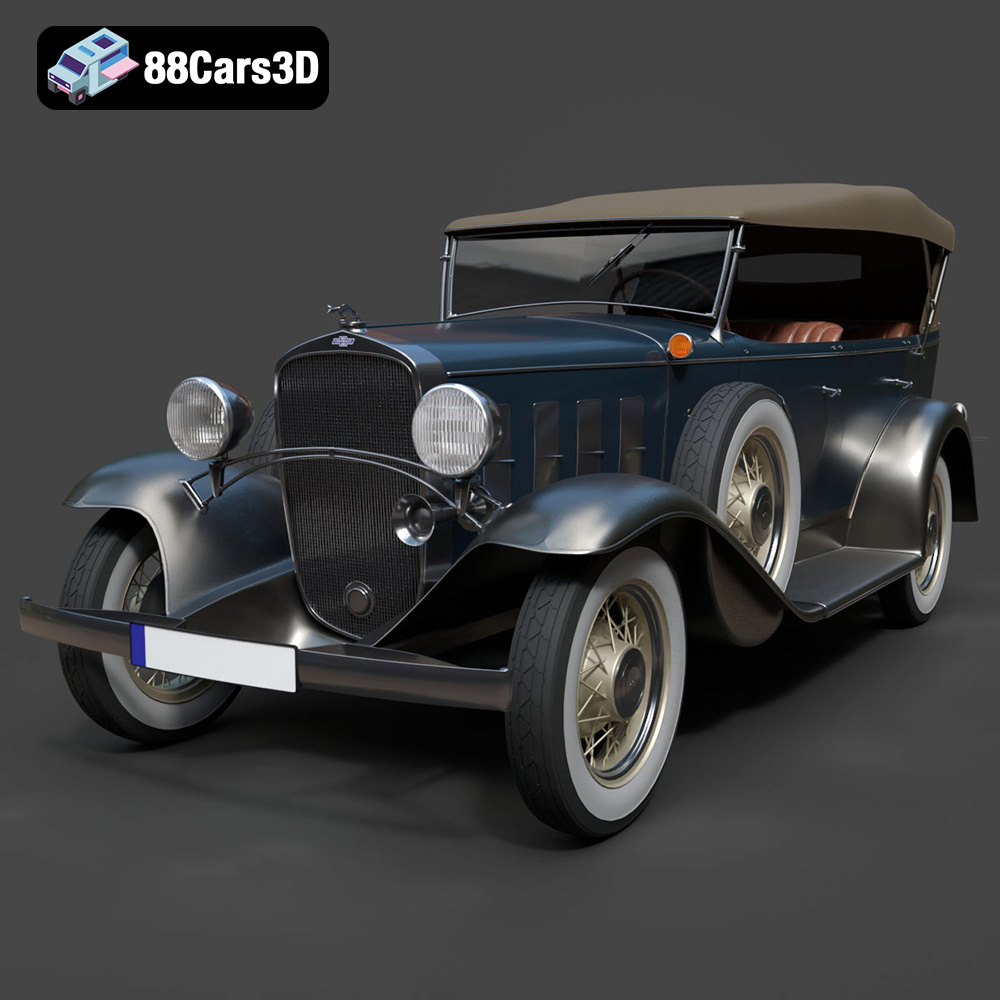
Download the highly detailed, game-ready Chevrolet Confederate 4-door Phaeton 1932 3D Model. Features sweeping vintage fenders with dual side-mount spares, authentic open-air phaeton coachwork, and detailed art-deco cockpit. Includes .blend, .fbx, .obj, .glb, .stl, .ply, .unreal, and .max formats for game development, AR/VR, and rendering.
Price: $238.00
Texture: Yes | Material: Yes
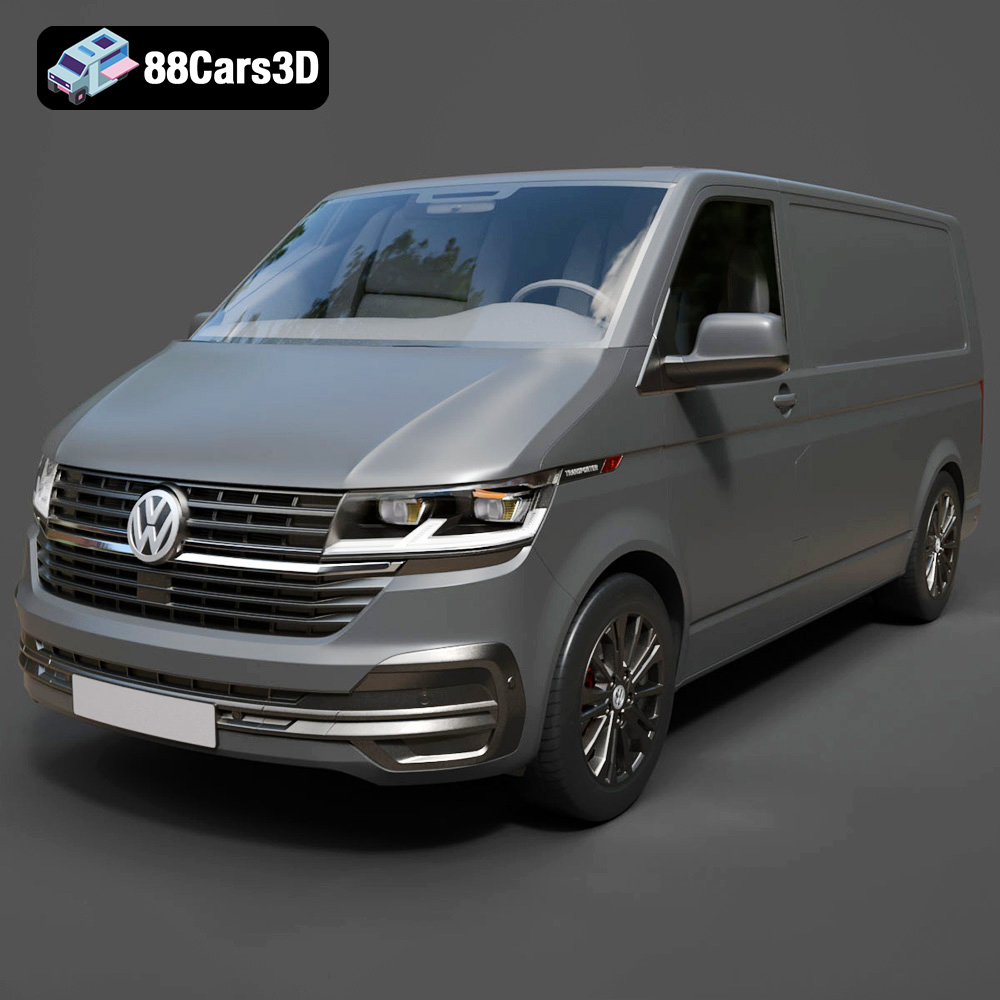
Download the highly detailed, game-ready Volkswagen Transporter T6.1 Panelvan 2020 3D Model. Features authentic front grille styling, commercial panelvan body contours, and an accurately modeled cabin interior. Includes .blend, .fbx, .obj, .glb, .stl, .ply, .unreal, and .max formats for game development, AR/VR, and rendering.
Price: $264.50

Texture: Yes | Material: Yes
Download the highly detailed, game-ready Maserati GranTurismo 3D Model. Features iconic Trident grille styling, sweeping aerodynamic coupe contours, and a fully modeled luxury cockpit. Includes .blend, .fbx, .obj, .glb, .stl, .ply, .unreal, and .max formats for game development, AR/VR, and rendering.
Price: $193.00
Texture: Yes | Material: Yes
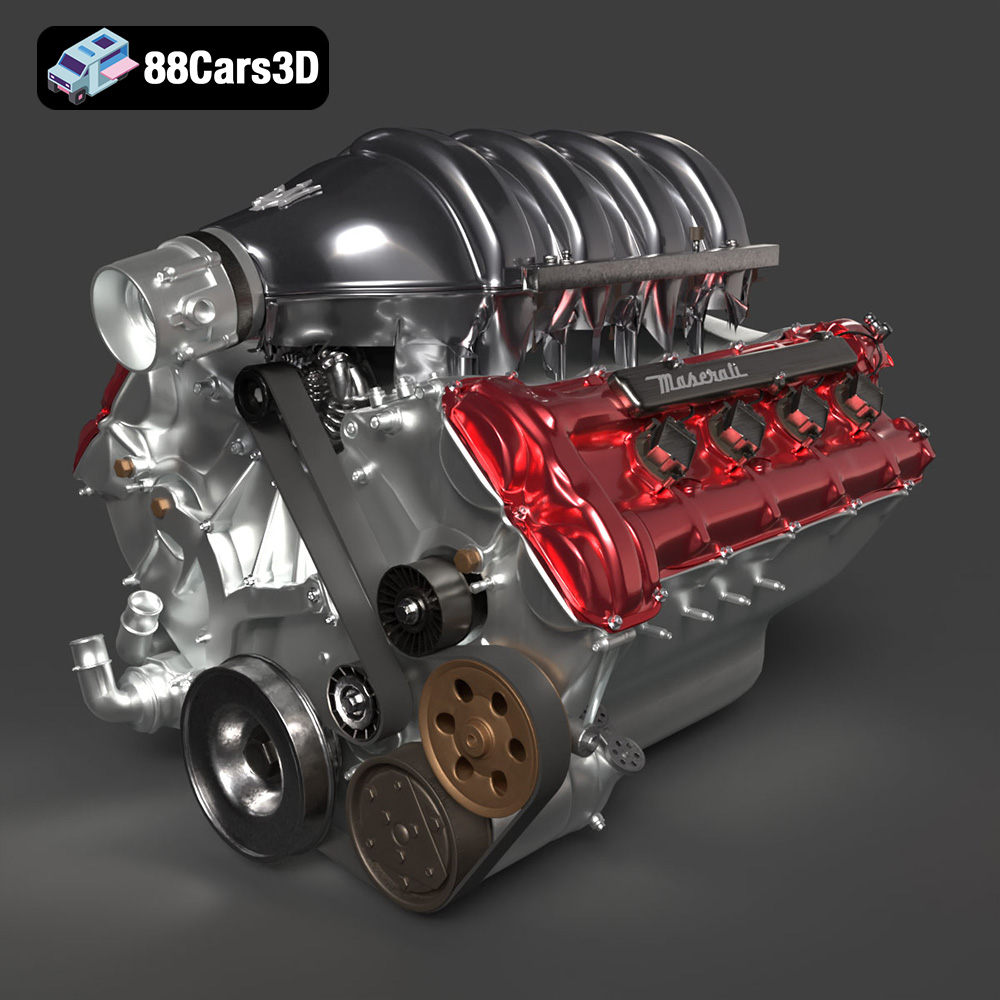
Download the highly detailed, game-ready Maserati Engine 3D Model. Features intricate cylinder heads, realistic intake manifold, and precision mechanical detailing. Includes .blend, .fbx, .obj, .glb, .stl, .ply, .unreal, and .max formats for game development, AR/VR, and rendering.
Price: $141.50

Texture: Yes | Material: Yes
Download the highly detailed, game-ready Land Rover Evoque 2020 3D Model. Features sleek coupe-like silhouette, flush deployable door handles, and signature matrix LED lighting. Includes .blend, .fbx, .obj, .glb, .stl, .ply, .unreal, and .max formats for game development, AR/VR, and rendering.
Price: $237.99
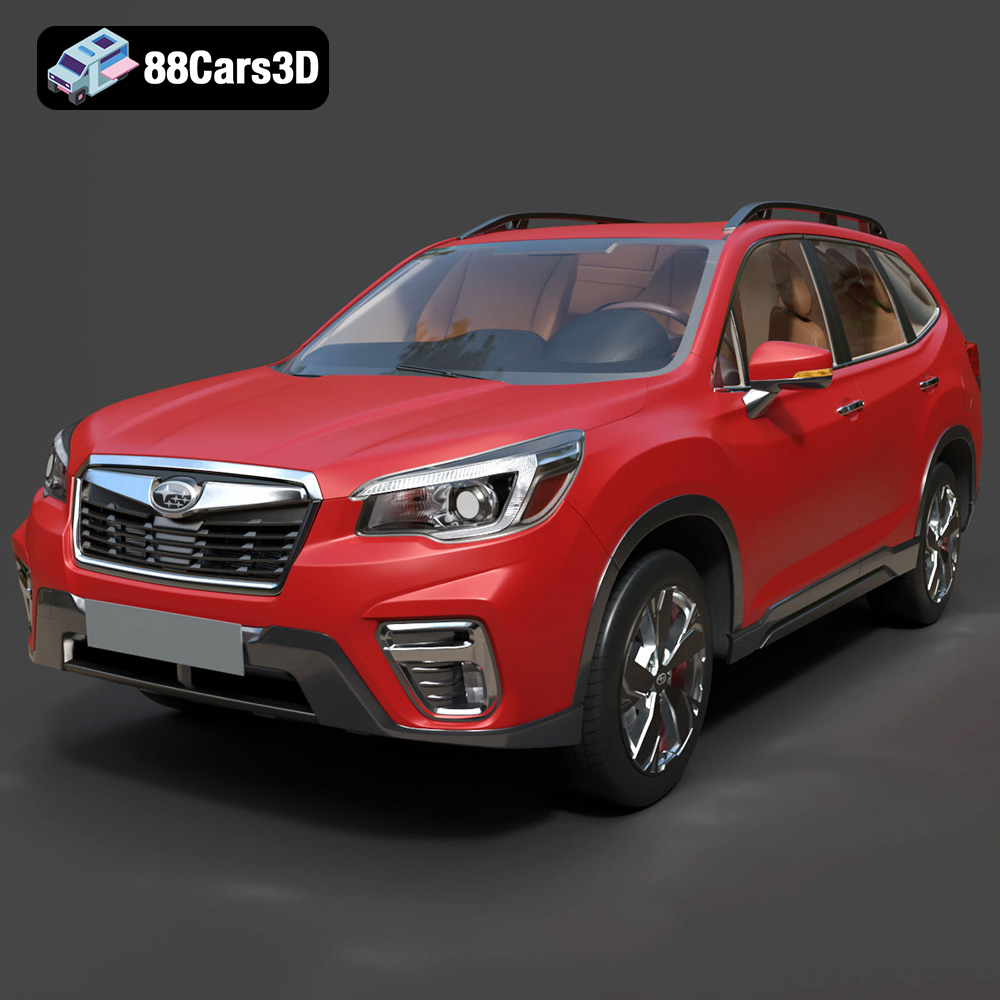
Texture: Yes | Material: Yes
Download the highly detailed, game-ready Subaru Forester 2019 3D Model. Features authentic crossover styling, detailed interior, and accurate exterior geometry. Includes .blend, .fbx, .obj, .glb, .stl, .ply, .unreal, and .max formats for game development, AR/VR, and rendering.
Price: $245.50

Texture: Yes | Material: Yes
Download the highly detailed, game-ready Volkswagen Arteon Shooting Brake Hybrid 2021 3D Model. Features sleek shooting brake silhouette, illuminated dynamic front grille, and full digital cockpit interior. Includes .blend, .fbx, .obj, .glb, .stl, .ply, .unreal, and .max formats for game development, AR/VR, and rendering.
Price: $217.50
