Getting Started with Blender: A Complete Beginner’s Tutorial for Mastering 3D Car Models and Automotive Visualization
In the expansive realm of 3D design and digital art, few tools offer the unparalleled combination of power, flexibility, and accessibility as Blender. For aspiring 3D artists, game developers, and automotive designers looking to create breathtaking realistic visualizations, Blender stands out as a versatile and robust platform. It’s an open-source 3D creation suite that empowers you to model, sculpt, animate, render, and even edit video, all within a single application. Whether you dream of crafting detailed 3D car models for the next big racing game, producing high-fidelity automotive renderings for marketing, or preparing optimized assets for immersive AR/VR experiences, mastering Blender is a crucial first step.
This comprehensive guide is designed to take complete beginners through the foundational aspects of Blender, specifically tailored to the interests of the automotive and visualization industries. We’ll demystify the interface, explore essential modeling techniques, delve into realistic material creation, optimize assets for various platforms, and even touch upon advanced rendering workflows. By the end of this tutorial, you’ll possess a solid understanding of Blender’s core functionalities and be well-equipped to embark on your journey of creating stunning 3D car models and intricate automotive designs. Platforms like 88cars3d.com showcase the high standard of 3D car models achievable, and with the knowledge gained here, you’ll be on your way to producing assets of comparable quality.
Navigating the Blender Interface and Basic Controls
Blender’s interface might seem daunting at first glance, but it’s logically structured and highly customizable. Familiarity with its layout and essential controls is paramount before diving into complex projects like 3D car models. Think of it as learning the cockpit of a high-performance vehicle – once you understand the controls, the road ahead becomes much clearer. The default Blender scene usually presents a cube, a camera, and a light source, providing a perfect sandbox to practice navigation.
Understanding the Workspace
Blender’s interface is composed of various "Editors" that can be arranged to suit your workflow. The primary workspace for 3D modeling is the "3D Viewport," where you interact with your models. Other crucial editors include the "Outliner" for managing scene elements, the "Properties" editor for adjusting settings of selected objects and tools, and the "Shader Editor" for material creation. Each editor has its own header with menus and tools relevant to its function. You can split and merge areas by dragging from the corners of any editor to create a personalized layout. This modularity allows for an efficient workflow, letting you focus on specific tasks such as modeling a car body or detailing its interior. For a more in-depth look at Blender’s interface, refer to the official Blender 4.4 documentation on the User Interface.
Essential Viewport Controls
Efficient navigation within the 3D Viewport is the cornerstone of effective 3D modeling. You’ll spend most of your time here, orbiting around your model, zooming in for detail, and panning to adjust your perspective. Here are the core controls:
- Orbit: Hold down the Middle Mouse Button (MMB) and drag to rotate your view around the center of the scene or selected object.
- Pan: Hold Shift + MMB and drag to move your view sideways or up and down.
- Zoom: Use the Mouse Wheel to zoom in and out. Alternatively, hold Ctrl + MMB and drag, or use the zoom buttons in the N-panel (View tab).
- Perspective/Orthographic Toggle: Press Numpad 5 to switch between perspective and orthographic views. Orthographic views are invaluable for precise modeling as they eliminate distortion.
- Standard Views: Use Numpad 1 (Front), Numpad 3 (Right), Numpad 7 (Top) for standard orthogonal views. Ctrl + Numpad reverses the view (e.g., Ctrl + Numpad 1 for Back view).
- Frame Selected: Press Numpad . (period) to focus the view on the currently selected object. This is incredibly useful when working on small details of a complex car model.
Object Interaction Fundamentals
Once you can navigate, the next step is to interact with objects in your scene. The basic transformations are:
- Select: Left-Click on an object.
- Move (Grab): Press G, then move your mouse. Press X, Y, or Z to constrain movement to a specific axis.
- Rotate: Press R, then move your mouse. Press X, Y, or Z to constrain rotation.
- Scale: Press S, then move your mouse. Press X, Y, or Z to constrain scaling.
These fundamental interactions will become second nature as you spend more time in Blender. Remember, precision is key in automotive design, so utilize axis constraints and numeric input (e.g., G X 2 to move 2 units along the X-axis) for accurate transformations.
Mastering Basic Modeling Techniques for Automotive Shapes
The foundation of any stunning 3D car model lies in its geometry. Blender provides a powerful suite of modeling tools that, when understood and applied correctly, can transform simple primitives into complex, elegant automotive forms. The key to realistic car models is often in maintaining clean topology and precise edge flow, ensuring smooth surfaces and proper deformation if the model is to be animated or used in a game engine.
Every complex 3D model, including a detailed car, begins with basic primitive shapes. In Blender, you can add primitives by pressing Shift+A and navigating to ‘Mesh’. Common primitives include cubes, spheres, cylinders, and planes. For automotive modeling, a cube can be sculpted into a car body, while cylinders are ideal for wheels, and spheres can form the basis of headlights or mirrors. Once added, these primitives can be scaled, rotated, and moved using the S, R, and G hotkeys, respectively. Experiment with these basic shapes to understand how they can be manipulated to rough out the primary forms of a vehicle. Precision in these initial steps, often guided by reference images, is crucial for achieving accurate proportions.
Edit Mode Essentials: Vertices, Edges, Faces
The real magic of modeling happens in "Edit Mode" (accessed by pressing Tab). Here, you interact with the fundamental components of your mesh:
- Vertices (V): Individual points in space that define the mesh structure. Select by pressing 1.
- Edges (E): Lines connecting two vertices. Select by pressing 2.
- Faces (F): Planar surfaces enclosed by three or more edges (ideally four, forming quads). Select by pressing 3.
You can switch between these selection modes using the numbers 1, 2, and 3 above your QWERTY keyboard. Manipulating these elements directly with the G (Grab), R (Rotate), and S (Scale) tools, and understanding their hierarchical relationship, is fundamental to shaping your model. Always strive for a clean mesh, primarily composed of quads (four-sided faces). N-gons (faces with more than four sides) and triangles should be minimized, especially on curved surfaces, as they can lead to shading artifacts and issues with subdivision surface modifiers. This principle is particularly important for the smooth, reflective surfaces of a car body.
Blender offers a powerful array of tools to refine your mesh. Here are some indispensable ones for automotive modeling:
- Extrude (E): Creates new geometry by extending selected vertices, edges, or faces along their normals. This is vital for building up the form of a car, such as creating wheel arches or door panels from existing surfaces.
- Inset Faces (I): Insets selected faces, creating new faces within the original selection. Perfect for creating panel gaps or defining details like window frames and door outlines.
- Loop Cut and Slide (Ctrl+R): Adds new edge loops to divide faces, allowing you to add detail where needed or control the flow of geometry. This is critical for maintaining smooth curves on a car body and for adding support loops for subdivision surfaces.
- Bevel (Ctrl+B): Chamfers or rounds off edges and vertices. Essential for adding subtle rounded edges to a car’s body panels, headlights, and other hard-surface details, which significantly enhances realism in rendering. The Bevel tool in Blender 4.4 offers extensive control over segment count and profile shape.
- Subdivision Surface Modifier: While not a direct modeling tool, this modifier (accessed in the Modifiers tab) is crucial for automotive modeling. It smooths out your low-polygon mesh, creating a high-detail surface without manually adding millions of polygons. It’s often used with clean quad topology to produce the sleek, continuous curves characteristic of car bodies. Always apply support loops (edge loops close to hard edges) to control the smoothing effect and maintain crisp details.
By combining these tools with a focus on clean topology and proper edge flow, you can meticulously sculpt the complex surfaces of a car, from its aerodynamic chassis to its intricate interior components. Always remember to save frequently and experiment with different approaches to find what works best for your specific design.
Crafting Realistic Materials and UV Unwrapping
Once your 3D car model’s geometry is refined, the next critical step is to give it a lifelike appearance through realistic materials and proper UV unwrapping. This is where your model transitions from a mere wireframe to a convincing automotive masterpiece, ready for rendering or game integration.
Introduction to PBR Workflows
Physically Based Rendering (PBR) is the industry standard for achieving realistic materials in 3D. PBR shaders simulate how light interacts with surfaces in the real world, resulting in more accurate and believable results. The core maps you’ll work with in a PBR workflow typically include:
- Albedo (Base Color): This map defines the fundamental color of the surface without any lighting information. For a car, this would be the paint color, tire rubber color, or window tint.
- Roughness: Controls how rough or smooth a surface is, influencing how light scatters off it. A low roughness value makes a surface shiny (like polished metal), while a high value makes it dull (like matte plastic). Automotive paint typically has very low roughness, while tire sidewalls have high roughness.
- Metallic: Determines if a surface is a metal or a dielectric (non-metal). Metals reflect light differently from non-metals. For a car, the metallic map would distinguish between chrome trim, painted body, and rubber. Pure metals have a Metallic value of 1, while non-metals have 0.
- Normal Map: Adds fine surface details without increasing polygon count by simulating bumps and dents through manipulating surface normals. This is invaluable for adding intricate details like subtle panel lines, tire treads, or dashboard textures to your 3D car model without making the mesh excessively heavy.
- Height Map (Displacement Map): Similar to normal maps, but actually displaces the geometry. While more resource-intensive, it offers true geometric detail and can be used for very fine patterns or subtle surface irregularities.
Understanding the interplay of these maps is crucial for creating materials that react realistically to light, making your renders truly pop.
Node-Based Shading in Blender
Blender’s Shader Editor utilizes a powerful node-based system for material creation, offering immense control and flexibility. The primary shader you’ll use for most PBR materials is the Principled BSDF (Bidirectional Scattering Distribution Function) shader. This all-in-one shader node has inputs for all the essential PBR maps (Base Color, Metallic, Roughness, Normal, etc.), simplifying the material creation process.
To create a new material:
- Select your object in the 3D Viewport.
- Go to the Material Properties tab in the Properties editor.
- Click New to create a new material.
- Switch your workspace to the Shading tab (or open a new Shader Editor).
- You’ll see a Principled BSDF node connected to a Material Output node.
- Drag and drop your texture maps (Albedo, Roughness, Metallic, Normal) into the Shader Editor.
- Connect the corresponding color outputs of your image texture nodes to the inputs of the Principled BSDF. For Normal maps, you’ll typically need a Normal Map node between the image texture and the Principled BSDF’s Normal input. Ensure the image texture node for normal maps is set to "Non-Color" data.
This node-based approach allows for complex material layering and effects, crucial for detailed automotive surfaces such as multi-coat paint with metallic flakes, realistic glass, or worn tire rubber.
UV Unwrapping for Complex Car Surfaces
UV unwrapping is the process of flattening your 3D model’s surfaces into 2D space so that 2D textures can be applied accurately. For complex shapes like cars, efficient and clean UV mapping is essential to avoid distortion and maximize texture resolution.
- Seam Placement: Strategic placement of "seams" (marked edges in Edit Mode, Ctrl+E > Mark Seam) is key. Imagine unfolding a cardboard box – seams are where you cut. For a car body, common areas for seams include sharp edges, hidden areas (like the underside), and natural breaks between panels. The goal is to create UV islands that are as flat and undistorted as possible.
- Unwrapping Methods: After marking seams, select all faces (A) and press U to bring up the Unwrap menu.
- Unwrap: Uses marked seams to unwrap the mesh, offering the most control.
- Smart UV Project: A quick automatic unwrap, good for organic shapes or initial layouts, but may not be optimal for hard surfaces like a car.
- Cube Projection, Cylinder Projection: Useful for specific parts of the car that align with these shapes (e.g., tires on a cylinder projection).
- UV Editor: After unwrapping, switch to the UV Editor to arrange and scale your UV islands. The goal is to fill the 0-1 UV space efficiently without overlapping islands (unless intentional for tiling textures). Large, prominent areas of the car (like the hood or doors) should receive more UV space for higher texture detail.
Technical Specifications: For high-quality automotive renders, aim for texture resolutions of 2K (2048×2048) or 4K (4096×4096) for major components. For game assets, you might use smaller textures or combine multiple components into a single texture atlas to reduce draw calls and improve performance. Consistent texel density across your model is also crucial, meaning that the amount of texture information per unit of surface area should be roughly equal, preventing some parts from looking blurry while others are sharp.
Lighting, Rendering, and Scene Composition
The best 3D car models require exceptional lighting and rendering to truly shine. Blender offers two powerful built-in render engines: Cycles and Eevee, each with distinct advantages. Understanding how to set up your lighting and compose your scene is crucial for producing professional-grade automotive renders, whether for photorealistic visualization or real-time applications.
Setting Up a Studio Lighting Environment
Effective lighting can make or break your automotive render. A typical studio lighting setup for cars often involves a three-point lighting system, complemented by environment lighting.
Remember to place your camera thoughtfully (Shift+A > Camera, then Ctrl+Alt+Numpad 0 to snap to view) to capture dynamic angles of your 3D car model.
Understanding Blender’s Render Engines
Blender offers two primary rendering engines, each with its strengths:
- Cycles: This is Blender’s physically based path tracer, renowned for its photorealistic results. Cycles simulates light incredibly accurately, making it ideal for high-quality automotive rendering where realism is paramount. It excels at complex lighting scenarios, accurate reflections, and subsurface scattering. However, its accuracy comes at the cost of render time, which can be significant for detailed scenes. Cycles supports GPU rendering (CUDA, OptiX, HIP, Metal) for faster processing, which is highly recommended for complex scenes and for improving render times.
- Eevee: Blender’s real-time render engine, Eevee provides instant feedback in the viewport. It uses rasterization, similar to game engines, to achieve fast renders. While not as physically accurate as Cycles, Eevee is excellent for quickly previewing materials, lighting setups, and animations. It’s also perfect for game asset development, AR/VR visualization, and animations where speed is more critical than ultimate photorealism. Many Eevee settings can be adjusted to push its visual fidelity surprisingly close to Cycles for many automotive visualization tasks.
The choice between Cycles and Eevee depends on your project’s needs. For hero shots and marketing materials, Cycles is usually preferred for its superior realism. For interactive presentations or game assets, Eevee (or a similar real-time workflow) is the way to go.
Render Settings and Optimization
Optimizing your render settings is crucial for balancing visual quality and render times. In the Render Properties tab, you’ll find settings for your chosen engine.
- Samples (Cycles): This controls the number of light paths traced. More samples mean less noise but longer render times. Use the built-in Denoising options (like OptiX or OpenImageDenoise) to achieve clean results with fewer samples, significantly speeding up Cycles renders.
- Bounces (Cycles): Determines how many times light rays bounce off surfaces. Higher values create more realistic global illumination but increase render time. For automotive rendering, enough bounces for reflections and transparency are often sufficient.
- Resolution: Set your output resolution (e.g., 1920×1080 for Full HD, 3840×2160 for 4K). Higher resolutions dramatically increase render times.
- Output Format: Choose an appropriate file format. PNG is excellent for images with transparency. For animations, FFmpeg Video with H.264 is a common choice. For image sequences, EXR or PNG sequences offer flexibility for compositing.
- Post-Processing: Blender’s Compositor (accessed in the Compositing workspace) allows you to perform post-processing effects like color grading, adding glare, lens distortion, and depth of field without re-rendering the entire scene. This is a powerful tool to enhance your automotive renders and achieve a polished, professional look.
Careful adjustment of these settings will allow you to achieve stunning results efficiently, showcasing your 3D car models in their best light.
Optimizing 3D Car Models for Diverse Applications
Creating a beautiful 3D car model is only half the battle; preparing it for its intended destination—be it a real-time game engine, an AR/VR experience, or a physical 3D print—requires specific optimization strategies. A model perfect for high-resolution rendering might be far too heavy for a game, and one for AR/VR has even stricter limitations. Understanding these nuances is key to delivering versatile and performant assets.
Game Engine Readiness: LODs and Draw Calls
When preparing 3D car models for game engines like Unity or Unreal Engine, performance is paramount. Heavy models can significantly impact frame rates, leading to a poor user experience.
- Levels of Detail (LODs): This is a crucial optimization technique. You create multiple versions of the same model, each with a different polygon count. The highest detail model is displayed when the car is close to the camera, while progressively lower detail versions are swapped in as the car moves further away. For example, a hero car model might have 100,000+ polygons, while its lowest LOD might be under 5,000. Blender’s Decimate Modifier can help automate the creation of lower LODs, though manual cleanup is often required for optimal results.
- Polygon Counts: Aim for target polygon counts based on the platform and specific game requirements. A car in a mobile game will have a much lower polygon budget (e.g., 10,000-30,000 triangles for the main car body) than one in a high-end PC title (which could be in the hundreds of thousands or millions with LODs).
- Draw Calls: Every material and separate mesh object in a scene typically generates a "draw call," which instructs the GPU to render that object. Too many draw calls can be a performance bottleneck. To minimize them:
- Texture Atlasing: Combine multiple smaller textures (e.g., for different car parts like windows, interior, wheels) into a single, larger texture map. This allows different parts to share one material, reducing draw calls.
- Combine Meshes: Group logical parts of your car (e.g., all body panels, all interior parts) into single mesh objects where possible, as long as they share a material.
These techniques ensure that your beautifully crafted 3D car models perform smoothly within the constraints of real-time environments.
AR/VR Optimization Techniques
Augmented Reality (AR) and Virtual Reality (VR) experiences demand even more stringent optimization than traditional games due to the need for high, stable frame rates across two eyes.
- Extreme Polygon Reduction: Target polygon counts are typically much lower than for desktop games. Mobile AR/VR applications often require models to be in the low thousands or even hundreds of polygons per asset. Aggressive decimation and careful manual retopology are often necessary.
- Single Material Approach: Wherever feasible, try to use a single material for the entire car or large sections of it, again leveraging texture atlases to combine various surface details. This minimizes draw calls, which are particularly impactful in AR/VR.
- Efficient UV Mapping: UV maps must be clean and organized to allow for effective texture baking and efficient asset packaging. Overlapping UV islands are generally acceptable if the texture is not uniquely baked (e.g., tiling textures), but for unique textures, non-overlapping UVs are essential.
- File Formats: For AR/VR, formats like GLB (a binary version of glTF) and USDZ (Apple’s format for AR applications) are preferred. These formats efficiently package geometry, materials, and textures into a single, easily deployable file. Blender has excellent built-in support for exporting to glTF 2.0 (which includes GLB).
By adhering to these principles, your automotive models can power truly immersive and performant AR/VR experiences, from interactive car configurators to virtual showrooms.
3D Printing Preparation and Mesh Repair
Preparing a 3D car model for physical 3D printing introduces a different set of requirements than digital visualization. The model needs to be a solid, watertight object without any internal geometry or non-manifold issues.
- Manifold Meshes: A 3D printable model must be “manifold,” meaning it has no holes, internal faces, or intersecting geometry. Every edge must be connected to exactly two faces, ensuring a clear inside and outside.
- Wall Thickness: Ensure all parts of your car model have a sufficient wall thickness to be physically printable. Thin walls can break easily. The minimum thickness varies depending on the 3D printer and material, but a general safe minimum is 1-2mm.
- Scale: Make sure your model is scaled correctly to real-world units within Blender (e.g., meters or millimeters) to ensure accurate print size. Blender’s Scene Properties (N-panel, Item tab) allow you to define units.
- Mesh Repair: Blender’s built-in 3D Print Toolbox Add-on (enable in Preferences > Add-ons) is invaluable for checking and repairing meshes for 3D printing. It can analyze your mesh for manifold errors, intersections, and thin walls, and even attempt to fix some of these issues automatically. Tools like “Make Manifold” or “Intersect (Boolean)” can also help in resolving complex geometry issues.
- File Formats: The most common file formats for 3D printing are STL (Stereolithography) and OBJ. Ensure you export with appropriate scaling and unit settings.
These meticulous preparation steps are vital to ensure your digital automotive creation translates successfully into a tangible object. Remember, attention to detail at this stage prevents costly re-prints and frustration. When sourcing existing models for such purposes, remember that platforms like 88cars3d.com prioritize models with clean topology and multiple file formats, which simplifies the preparation process for various applications.
Working with 3D assets often involves moving them between different software packages and platforms. Understanding common 3D file formats and their specific applications is crucial for smooth workflows, especially when dealing with high-quality 3D car models. Blender’s robust import and export capabilities make it a central hub for many professional pipelines.
The 3D world uses a variety of file formats, each with its own advantages and limitations. For automotive models, you’ll most frequently encounter these:
- FBX (.fbx): Developed by Autodesk, FBX is an industry-standard format for exchanging 3D data, including geometry, materials, textures, animations, and rigs, between different 3D software (like 3ds Max, Maya, Unity, Unreal Engine). It’s highly versatile and often preferred for complex animated or rigged car models, ensuring that all components and their relationships are preserved. When exporting from Blender, ensure correct scale and orientation settings are applied to maintain compatibility with other applications.
- OBJ (.obj): Wavefront OBJ is a widely supported, simpler format primarily used for geometry and basic material information. It’s an excellent choice for static 3D car models without animation or complex shading. Most 3D software can import and export OBJ files reliably. However, it separates material data into a companion MTL file, which needs to be kept alongside the OBJ.
- GLTF/GLB (.gltf, .glb): GL Transmission Format (glTF) is an open-standard, royalty-free format designed for efficient transmission and loading of 3D scenes and models by applications. It’s often referred to as the "JPEG of 3D" due to its efficiency. GLB is the binary version, packing all assets (geometry, textures, materials, animations) into a single file, making it ideal for web-based 3D, AR/VR, and game engines due to its small file size and quick loading times. Blender has native glTF 2.0 export, making it easy to prepare models for modern platforms.
- USDZ (.usdz): Developed by Apple and Pixar, USDZ is an augmented reality (AR) file format primarily used for viewing 3D content on Apple devices. It’s based on Pixar’s Universal Scene Description (USD) and is optimized for AR experiences, bundling textures, animations, and audio into a single file. While Blender doesn’t have native USDZ export, you can often convert glTF/GLB files to USDZ using external tools or Apple’s developer tools.
Importing and Exporting Workflows
Seamless data exchange is vital. Here’s a general workflow for importing and exporting in Blender:
- Import: Go to File > Import and select the desired format (e.g., FBX, OBJ). Pay attention to import options, such as scaling, up-axis, and geometry settings, as these can affect how your model appears in Blender.
- Export: Go to File > Export and choose your target format. Export settings are critical:
- Scale: Ensure your model maintains its real-world scale when moving between software. Exporting at the correct scale (e.g., 0.01 for meters to centimeters) is often necessary.
- Apply Modifiers: For game engines or 3D printing, it’s often essential to "Apply" modifiers (like Subdivision Surface) during export to bake the final geometry.
- Limit To: You can choose to export only selected objects.
- Embed Textures (for GLB): For GLB, ensure textures are embedded for a self-contained file.
- Triangulate Faces: Game engines typically work with triangles, so enabling "Triangulate Faces" on export (especially for FBX) ensures consistent geometry.
To maximize compatibility, always consider the following:
- Unit Systems: Maintain a consistent unit system across all your software. Blender defaults to meters, but game engines or CAD software might use centimeters or inches.
- Origin Point: Ensure your model’s origin point (the pivot around which it transforms) is logically placed (e.g., at the center of the car on the ground plane) for easy manipulation in other programs.
- Naming Conventions: Use clear and consistent naming conventions for objects, materials, and textures. This makes managing complex automotive assets much easier for other artists or developers in the pipeline.
- Test Exports: Always perform test exports to your target platform early in the development cycle. This helps identify and resolve any compatibility issues with geometry, materials, or textures before they become major problems.
By understanding and applying these principles of file formats and compatibility, you’ll streamline your 3D workflow, making your automotive creations readily usable across a wide range of platforms and applications, whether you’re building models from scratch or enhancing high-quality 3D car models acquired from marketplaces like 88cars3d.com.
Advanced Lighting and Post-Processing for Automotive Renders
While basic lighting and rendering lay the groundwork, achieving truly stunning and captivating automotive renders often involves delving into more advanced lighting techniques and refining your images through post-processing. These steps elevate your 3D car models from good to exceptional, making them indistinguishable from studio photography.
Lighting with Multiple Light Sources and GoBos
Beyond the fundamental three-point lighting, strategic use of multiple light sources and Gobos (Go Between Objects) can add depth, drama, and visual interest to your automotive renders.
- Defining Highlights and Shadows: Use small, intense light sources (e.g., Spot Lights or smaller Area Lights) to create sharp, deliberate highlights along the car’s body lines. These highlights emphasize the vehicle’s form and curvature. Conversely, carefully placed lights can deepen shadows, creating a sense of volume and drama. Think about how professional car photographers use large softboxes and reflectors to sculpt light.
- Gobos and Custom Light Shapes: Gobos are essentially stencils placed in front of a light source to project patterns of light and shadow. In Blender, you can achieve a similar effect by using an Image Texture node connected to the Color input of an Area Light’s Emission shader. This allows you to project custom shapes, like window blinds, garage elements, or even abstract patterns, onto your car model or the environment, adding realism and environmental context. This is particularly effective for creating compelling automotive visualization scenarios.
- Emissive Materials: Don’t forget about emissive materials. The car’s headlights and taillights should have Emission shaders in their materials to realistically glow and cast light, enhancing the overall realism and narrative of your scene. Adjust their strength and color to match real-world vehicle lighting.
Experiment with the intensity, size, and color of your lights to create mood and focus attention on specific features of your 3D car model. Every light should serve a purpose in telling the visual story.
Environment and Background Setup
The environment surrounding your car model is just as important as the car itself. It provides reflections, indirect light, and context.
- Ground Plane/Studio Setup: For studio renders, a simple curved backdrop (a plane with one edge extruded and beveled) creates a seamless background. For a more realistic look, use a ground plane with an appropriate material (e.g., polished concrete, asphalt). Ensure the ground material accurately reflects the car, creating a sense of presence.
- Backplate Integration: For integrating your 3D car model into a real photograph (backplate), match your Blender camera’s focal length and position to the backplate’s camera. Use the backplate as an Image Editor background and align your 3D model. Critically, use the same backplate as an Environment Texture in your World shader to ensure the lighting and reflections on your car perfectly match the environment. Create a "shadow catcher" plane in Blender that receives shadows but is invisible in the render, making it appear as if the car is casting shadows on the backplate.
- Depth of Field (DoF): Adding a subtle depth of field effect can make your renders look more photographic. In your camera settings (Object Data Properties), enable Depth of Field and select an empty object as the Focus Object, placing it at your desired focal point on the car. Adjust the F-stop value to control the amount of blur. Low F-stop values (e.g., f/2.8) create a strong, shallow DoF, drawing the eye to the car, while higher values keep more of the scene in focus.
A well-thought-out environment and background elevate the overall quality and believability of your automotive renders.
Post-Processing and Compositing for Final Polish
No render is truly finished until it has gone through post-processing and compositing. Blender’s built-in Compositor allows for non-destructive enhancements without the need for external software.
- Render Passes: To gain maximum control in compositing, enable various render passes (or AOVs – Arbitrary Output Variables) in the View Layer Properties > Passes tab. Useful passes include:
- Diffuse Color, Glossy Color, Transmission Color: For adjusting the color components of different material types.
- Direct/Indirect Diffuse, Glossy: For separate control over direct and indirect lighting.
- Z-Depth: For creating custom depth of field effects or fog.
- Normal, Object Index, Material Index: For creating masks for selective adjustments.
- Compositing Nodes: In the Compositor, use nodes to combine and adjust these passes:
- Mix Node: For blending different passes or adding effects.
- Color Balance Node: For fine-tuning colors and tones.
- Glare Node: To add bloom or lens flare effects to bright areas, like reflections on car paint or headlights.
- Denoise Node: Essential for cleaning up noise from Cycles renders.
- Sharpen/Blur Nodes: For adding selective sharpness or softening.
- Lens Distortion Node: To simulate real camera lens effects.
- Color Grading: The final step often involves overall color grading to establish the mood and visual style of your render. This can be done using RGB Curves or Color Balance nodes. Aim for a cohesive look that enhances your 3D car model.
By harnessing the power of render passes and Blender’s Compositor, you can achieve a level of polish and visual impact that transforms your raw renders into professional-grade automotive visualizations, ready for any client or portfolio.
Real-World Applications and Next Steps
Having covered the fundamental and advanced aspects of 3D car modeling, texturing, rendering, and optimization in Blender, it’s time to consider how these skills translate into real-world applications and what your next steps should be to continue your growth as a 3D artist specializing in automotive design.
Automotive Design and Visualization
For automotive designers and visualization professionals, Blender is an invaluable tool for conceptualizing and presenting vehicles.
- Rapid Prototyping and Concept Art: Blender’s flexible modeling tools allow for rapid iteration on car designs. You can quickly block out shapes, refine them with subdivision surfaces, and apply basic materials to visualize new concepts. This is crucial in the early stages of design, providing fast feedback loops.
- Marketing and Advertising: High-quality renders of 3D car models are essential for marketing. Blender, particularly with Cycles, can produce photorealistic images and animations that rival traditional photography. From product configurators to CGI commercials, the ability to create stunning visuals without physical prototypes saves significant time and cost. The detailed material work, especially PBR paint shaders with metallic flakes and clear coats, becomes critical here to capture the intricate beauty of a vehicle’s finish.
- Interactive Showrooms: Optimized Blender models can be exported to game engines to create interactive 3D showrooms. Customers can explore a car from any angle, customize colors and features, and even view it in AR, enhancing the buying experience. This requires a deep understanding of game engine optimization techniques covered earlier.
The skills you develop in Blender directly feed into these high-demand professional applications, allowing you to contribute significantly to the automotive industry.
Game Asset Development
The game industry constantly seeks high-quality, optimized 3D car models. Your Blender expertise can be a direct pathway into this exciting field.
- Creating Production-Ready Assets: From hero vehicles to background traffic, games require diverse car models. Mastering efficient topology, UV mapping, and PBR texturing in Blender ensures your assets are game-engine friendly. Understanding polygon budget constraints (e.g., 50,000-150,000 triangles for a detailed racing car, down to 5,000-10,000 for mobile) and LOD generation is crucial for creating optimized, performant assets.
- Vehicle Rigging and Animation: Beyond static models, cars in games often need to be rigged for suspension, steering, and damage. While beyond a beginner tutorial, Blender’s animation and rigging tools provide the foundation for preparing vehicles for dynamic gameplay.
- Shader Optimization: Creating efficient shader networks in Blender that translate well to game engines is another key skill. Utilizing baked textures (ambient occlusion, normal maps, curvature maps) further enhances realism while keeping real-time rendering overhead low.
Game asset development demands a balance between visual fidelity and performance, a balance you can achieve through proficient use of Blender’s tools.
Furthering Your Blender Journey
This tutorial provides a robust starting point, but the world of Blender is vast. To continue your development:
- Practice Consistently: The most important step is regular practice. Start with simple models and gradually increase complexity. Try to model different car components like wheels, interiors, or engines.
- Explore Advanced Topics: Delve deeper into topics like sculpting for organic car shapes, procedural texturing with nodes, advanced rigging for vehicle dynamics, and complex animation techniques. Experiment with Blender’s Geometry Nodes for generative design, which can be particularly interesting for futuristic car concepts.
- Study Reference Material: Analyze real-world car designs, blueprints, and photography. Pay attention to subtle surface details, light reflections, and material properties.
- Engage with the Community: Join online Blender communities, forums, and tutorials. Learning from others and sharing your work is a fantastic way to grow.
- Leverage Resources like 88cars3d.com: As you build your skills, consider platforms like 88cars3d.com. While this tutorial focuses on building from the ground up, you can also learn immensely by studying high-quality 3D car models available for purchase on such marketplaces. Examining their topology, UV layouts, and material setups can provide invaluable insights and serve as professional benchmarks for your own work.
The journey of mastering 3D art is continuous. With Blender as your tool and a passion for automotive design, the possibilities are limitless. Keep learning, keep experimenting, and most importantly, keep creating.
Conclusion
Embarking on the journey of 3D modeling with Blender, particularly for specialized applications like automotive design and visualization, is an exciting and rewarding endeavor. This comprehensive guide has walked you through the essential steps, from navigating Blender’s powerful interface to mastering fundamental modeling techniques, crafting realistic PBR materials, and preparing your 3D car models for diverse applications such as game development, AR/VR experiences, and even 3D printing.
We’ve emphasized the importance of clean topology, strategic UV mapping, and the nuanced application of PBR workflows to achieve photorealistic results. You’ve learned about Blender’s Cycles and Eevee render engines, understanding when to leverage each for optimal visual fidelity or real-time performance. Furthermore, we delved into critical optimization strategies, including LODs and draw call reduction, which are indispensable for creating performant game and AR/VR assets. The discussions on file format compatibility, including FBX, OBJ, GLB, and USDZ, equip you with the knowledge to seamlessly integrate your Blender creations into various professional pipelines.
The skills you’ve begun to develop are not merely theoretical; they are directly applicable in high-demand fields, transforming digital concepts into stunning visualizations or interactive experiences. The world of 3D automotive design is dynamic and continually evolving, and Blender provides a robust foundation for you to thrive within it. As you continue your creative journey, remember the power of consistent practice, the value of continuous learning, and the insights gained from studying industry-standard assets found on platforms like 88cars3d.com. Your next masterpiece is just a few clicks and a lot of dedication away. Happy Blending!
Featured 3D Car Models
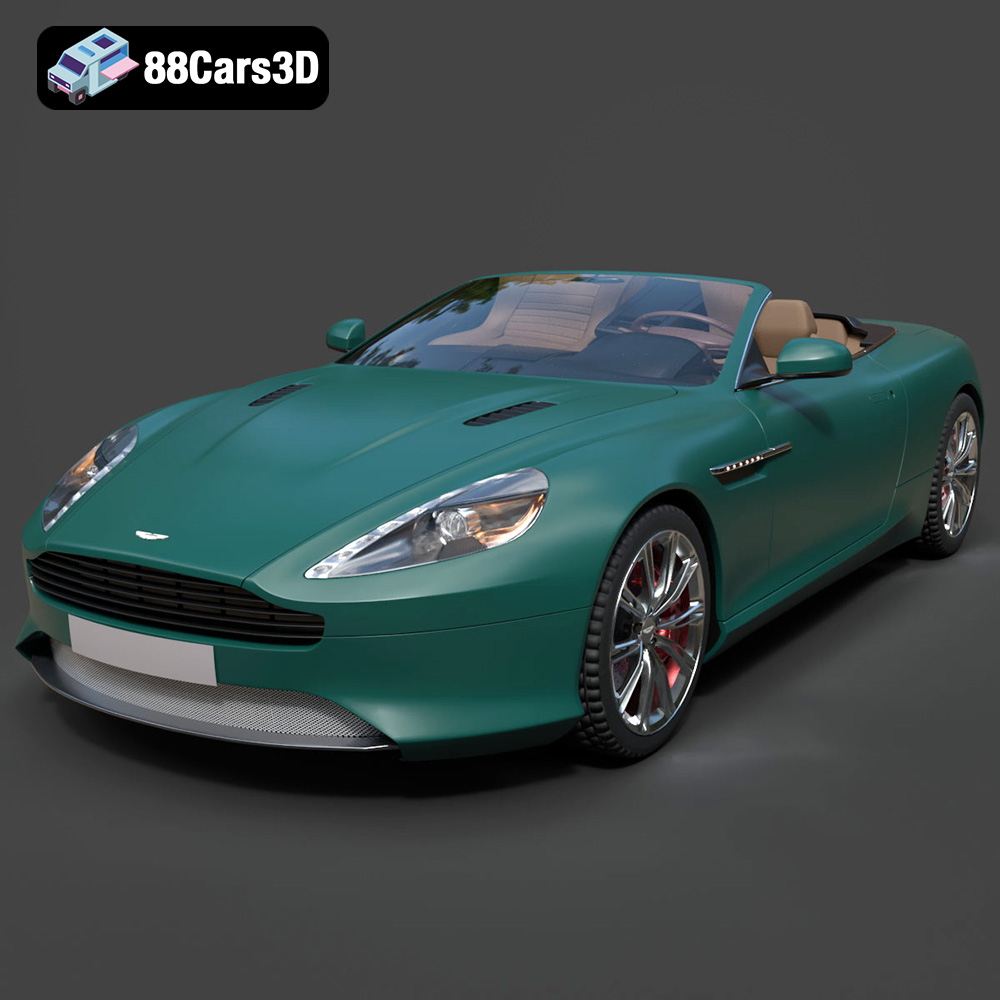
Texture: Yes | Material: Yes
Download the highly detailed, game-ready Aston Martin Virage Volante 2012 3D Model. Features sleek open-top GT design, iconic front grille, and detailed luxury interior trim. Includes .blend, .fbx, .obj, .glb, .stl, .ply, .unreal, and .max formats for game development, AR/VR, and rendering.
Price: $157.00
View Product
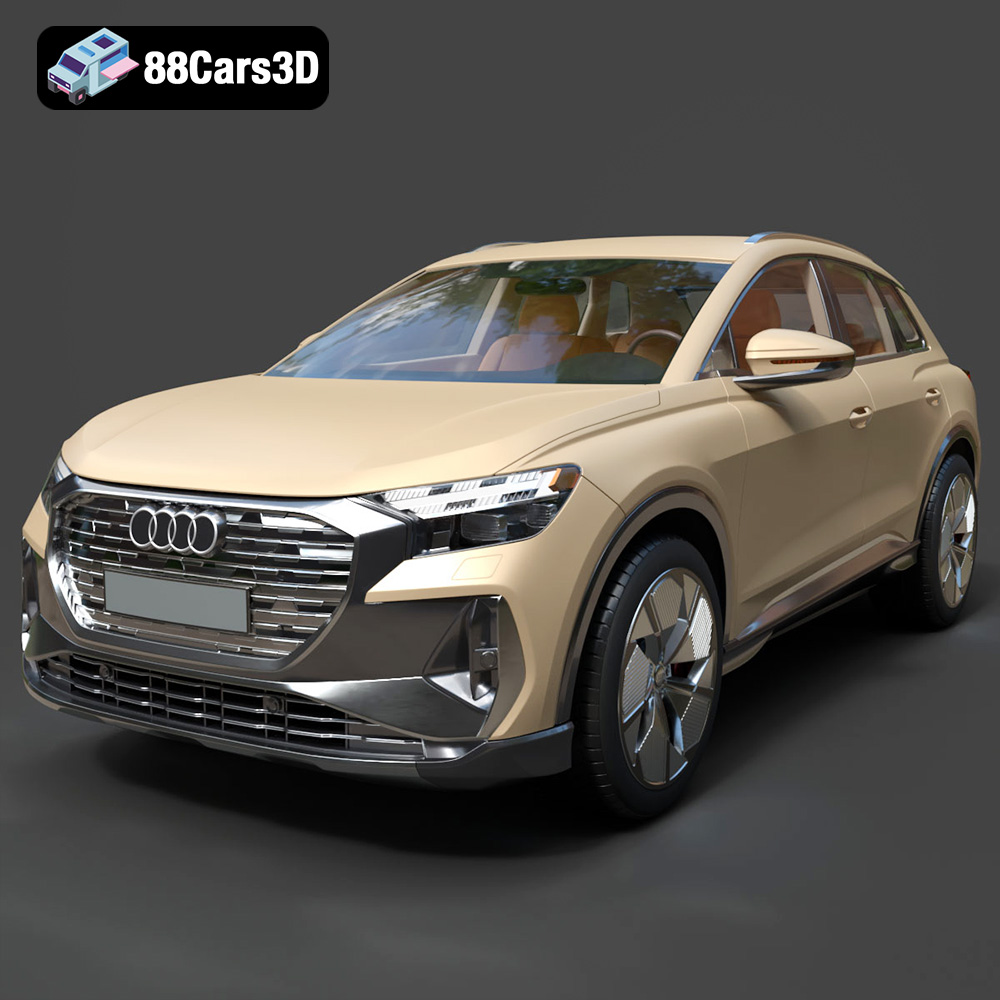
Texture: Yes | Material: Yes
Download the highly detailed, game-ready Audi Q4 e-tron 2021 3D Model. Features sleek electric SUV styling, signature Singleframe grille, and detailed Matrix LED lighting. Includes .blend, .fbx, .obj, .glb, .stl, .ply, .unreal, and .max formats for game development, AR/VR, and rendering.
Price: $299.50
View Product
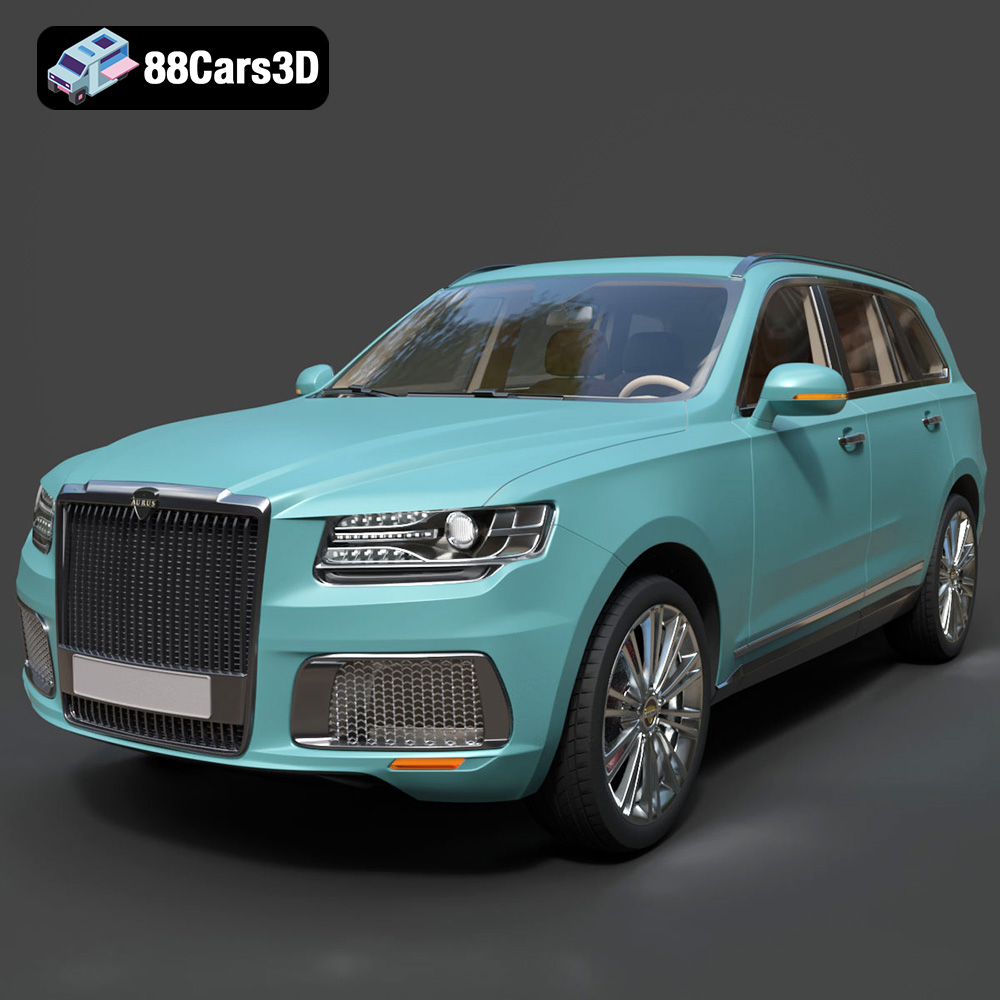
Texture: Yes | Material: Yes
Download the highly detailed, game-ready Aurus Komendant 2020 3D Model. Features an imposing front grille, executive full-size SUV silhouette, and detailed luxury interior. Includes .blend, .fbx, .obj, .glb, .stl, .ply, .unreal, and .max formats for game development, AR/VR, and rendering.
Price: $232.99
View Product
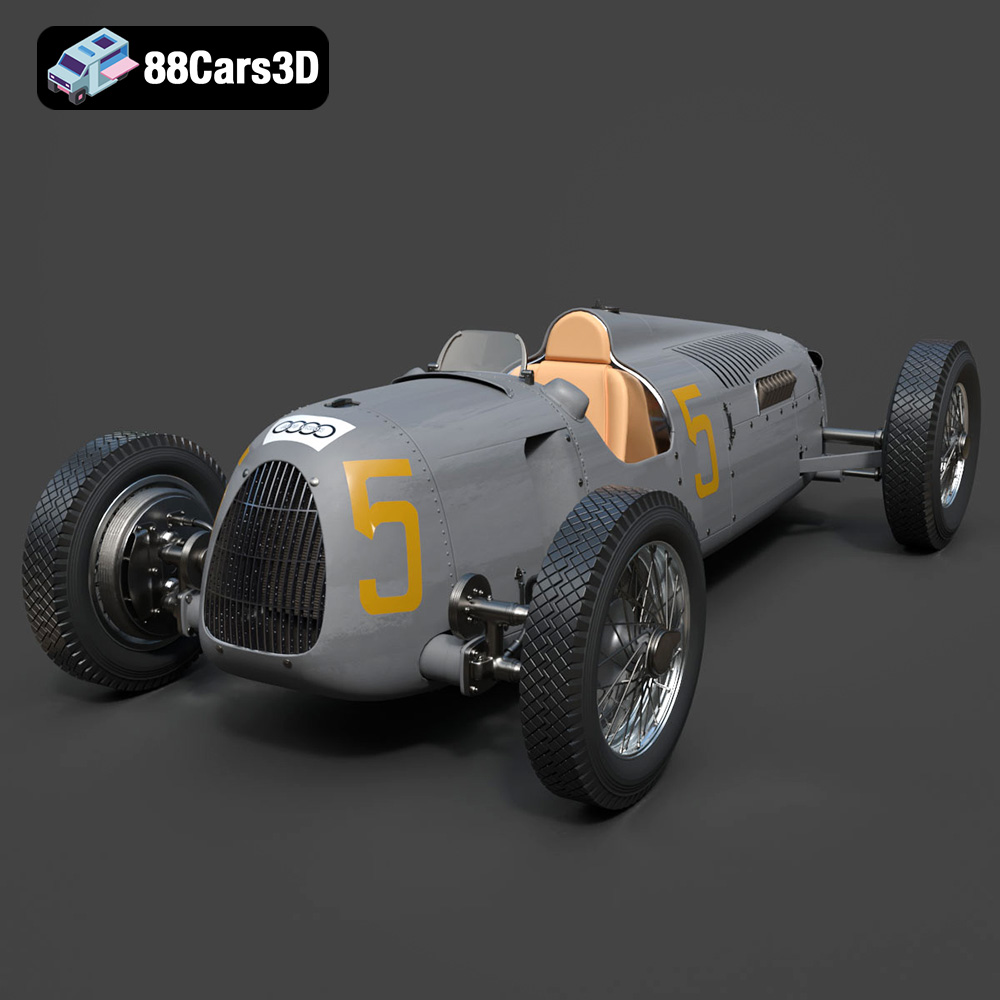
Texture: Yes | Material: Yes
Download the highly detailed, game-ready Auto Union Type C 1936 3D Model. Features iconic V16 engine detailing, classic Silver Arrows bodywork, and detailed open cockpit layout. Includes .blend, .fbx, .obj, .glb, .stl, .ply, .unreal, and .max formats for game development, AR/VR, and rendering.
Price: $152.00
View Product
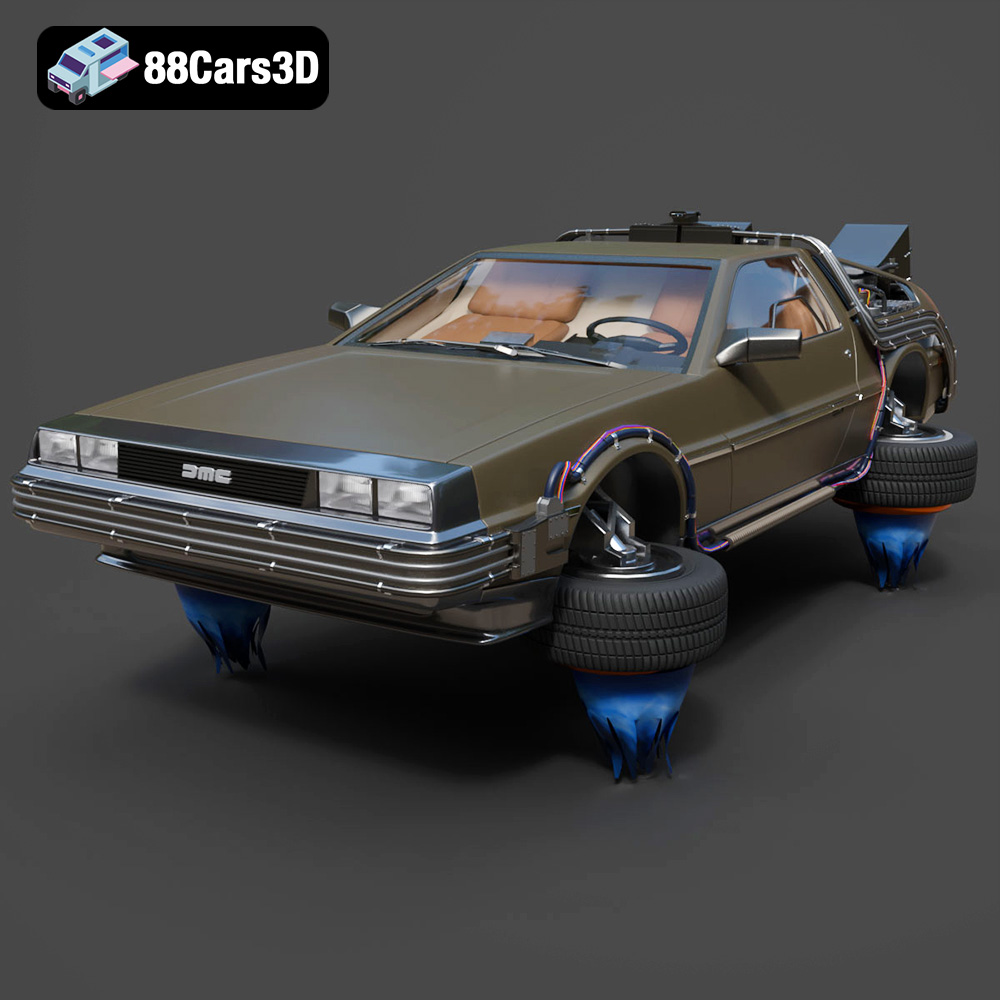
Texture: Yes | Material: Yes
Download the highly detailed, game-ready Back To The Future 2 DeLorean 3D Model. Features Mr. Fusion reactor, hover conversion wheels, and full flux capacitor interior. Includes .blend, .fbx, .obj, .glb, .stl, .ply, .unreal, and .max formats for game development, AR/VR, and rendering.
Price: $211.50
View Product
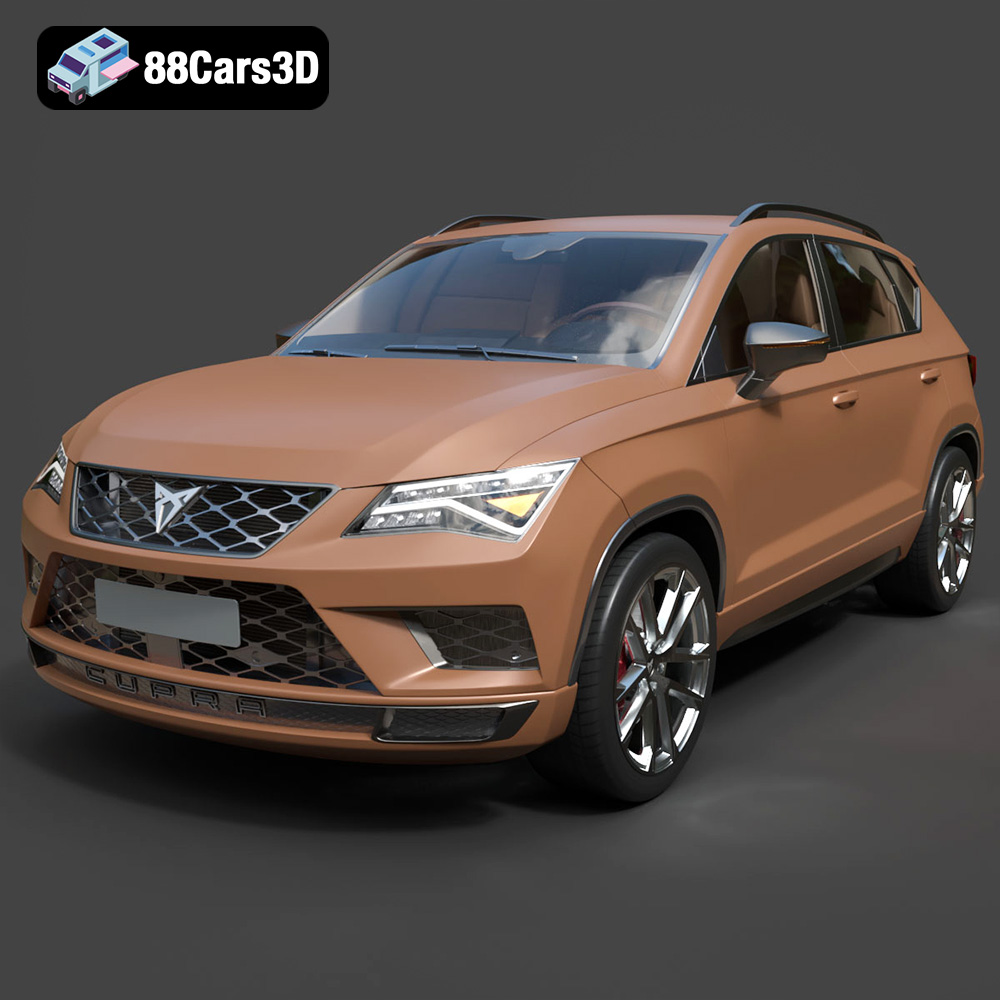
Texture: Yes | Material: Yes
Download the highly detailed, game-ready Seat Ateca Cupra 2019 3D Model. Features aggressive sporty styling, quad exhaust outlets, and high-detail interior. Includes .blend, .fbx, .obj, .glb, .stl, .ply, .unreal, and .max formats for game development, AR/VR, and rendering.
Price: $203.50
View Product
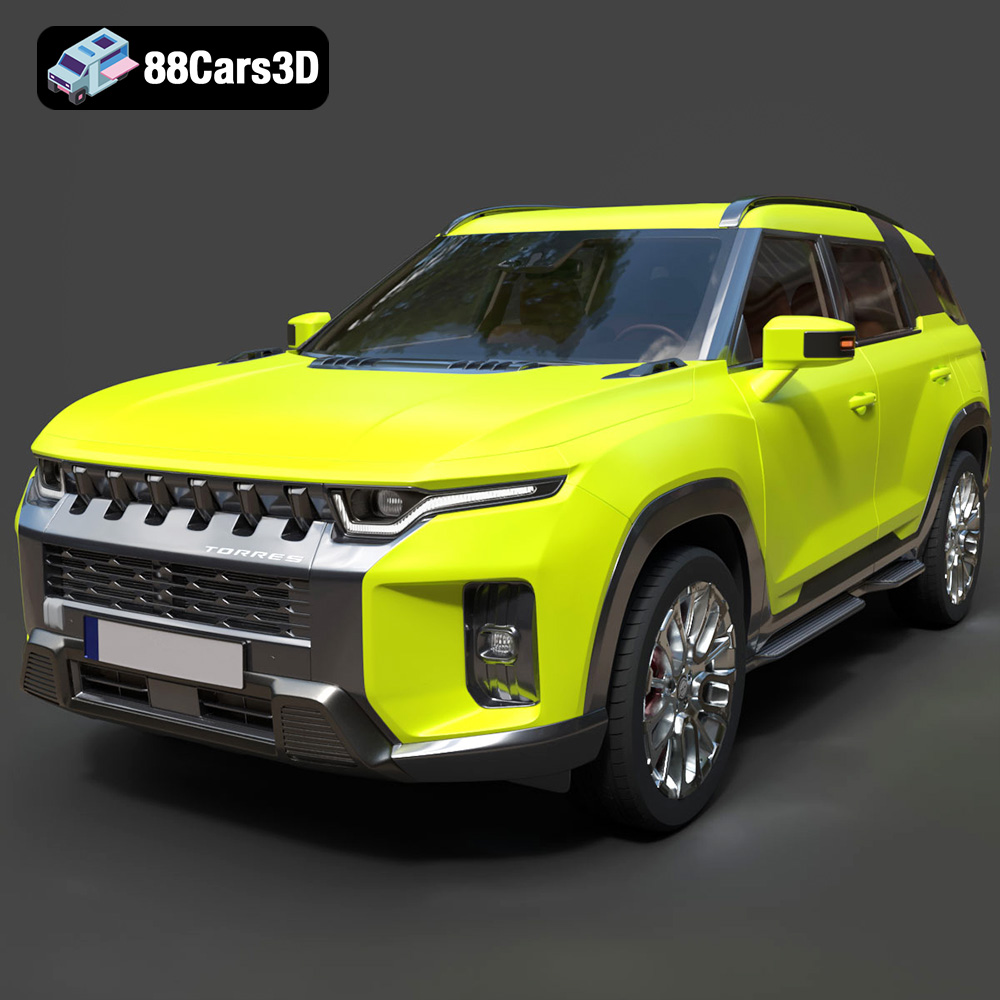
Texture: Yes | Material: Yes
Download the highly detailed, game-ready SsangYong Torres 2023 3D Model. Features rugged SUV styling, signature front grille, and precise body geometry. Includes .blend, .fbx, .obj, .glb, .stl, .ply, .unreal, and .max formats for game development, AR/VR, and rendering.
Price: $279.50
View Product
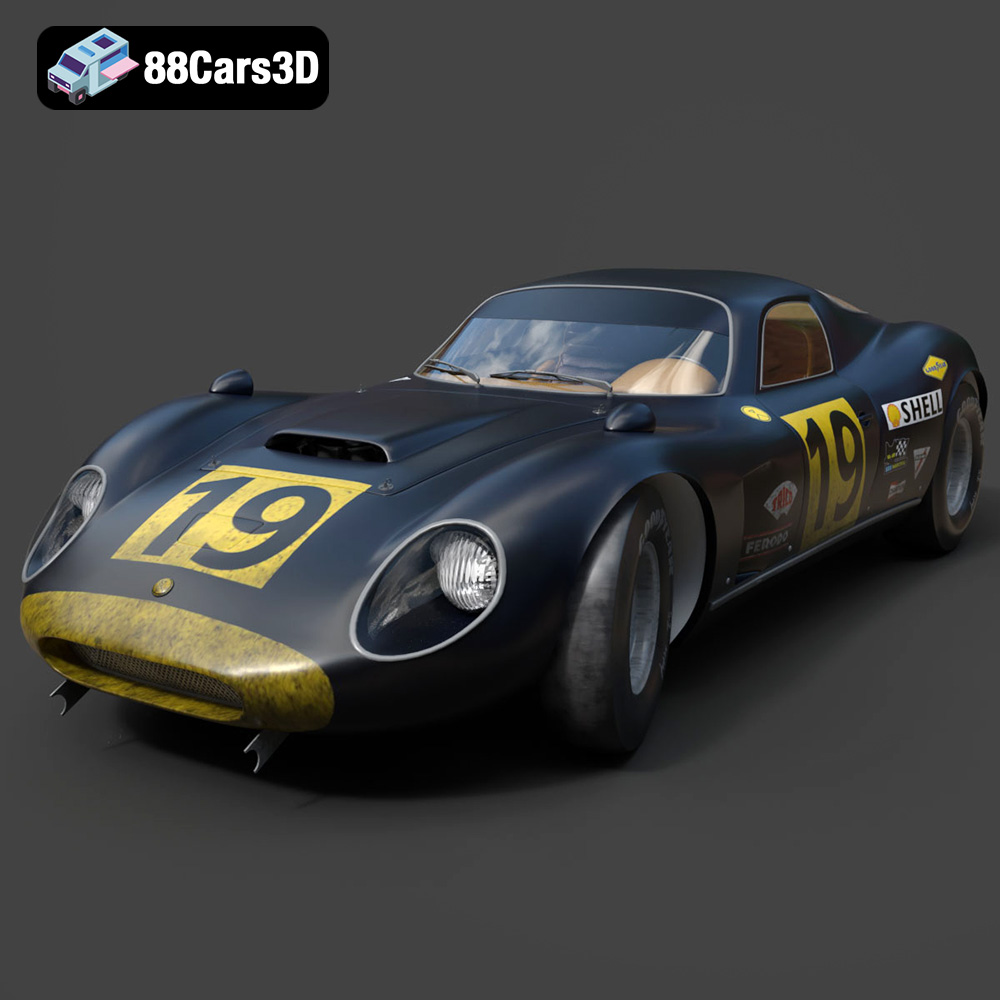
Texture: Yes | Material: Yes
Download the highly detailed, game-ready Chevrolet Corvette Stingray 3D Model. Features sculpted bodywork, detailed aggressive front grille, and iconic sport exhaust. Includes .blend, .fbx, .obj, .glb, .stl, .ply, .unreal, and .max formats for game development, AR/VR, and rendering.
Price: $122.99
View Product
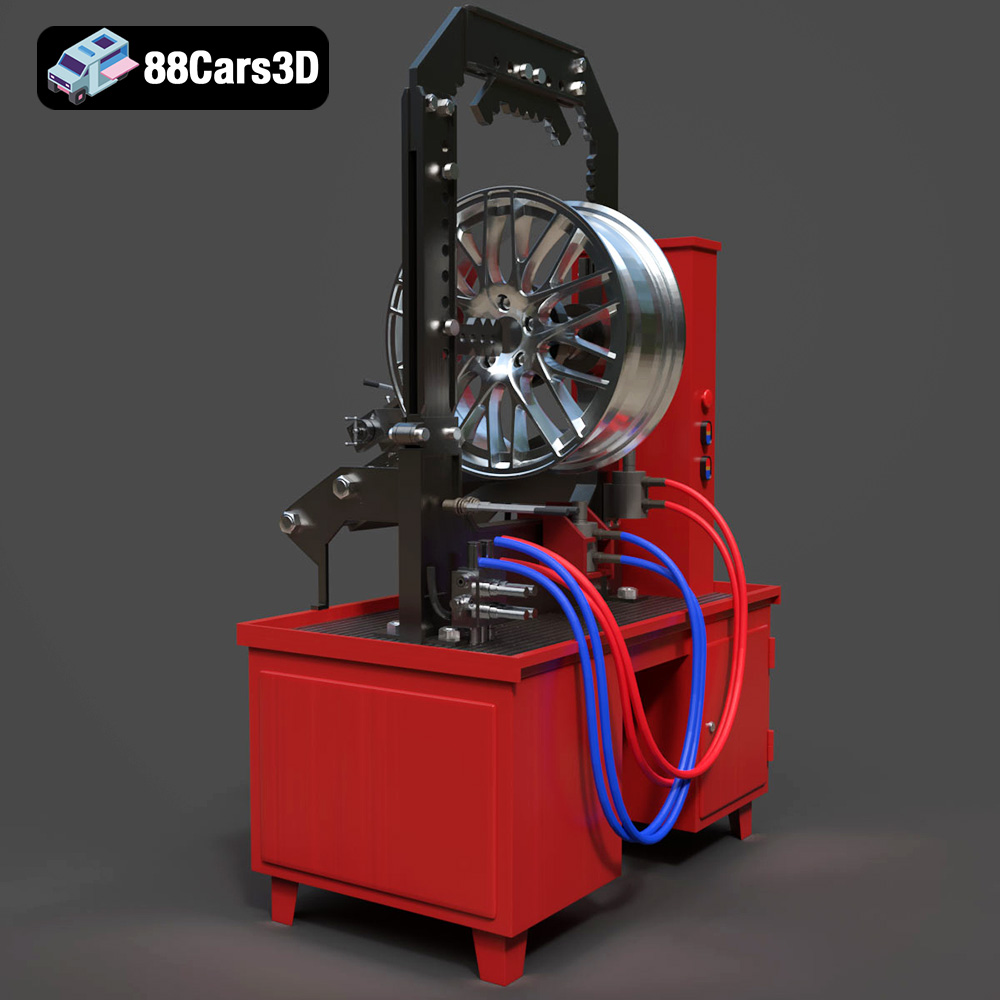
Texture: Yes | Material: Yes
Download the highly detailed, game-ready Stand for Straightening Alloy Wheels 3D Model. Features heavy-duty hydraulic press components, integrated lathe system, and realistic workshop controls. Includes .blend, .fbx, .obj, .glb, .stl, .ply, .unreal, and .max formats for game development, AR/VR, and rendering.
Price: $147.99
View Product
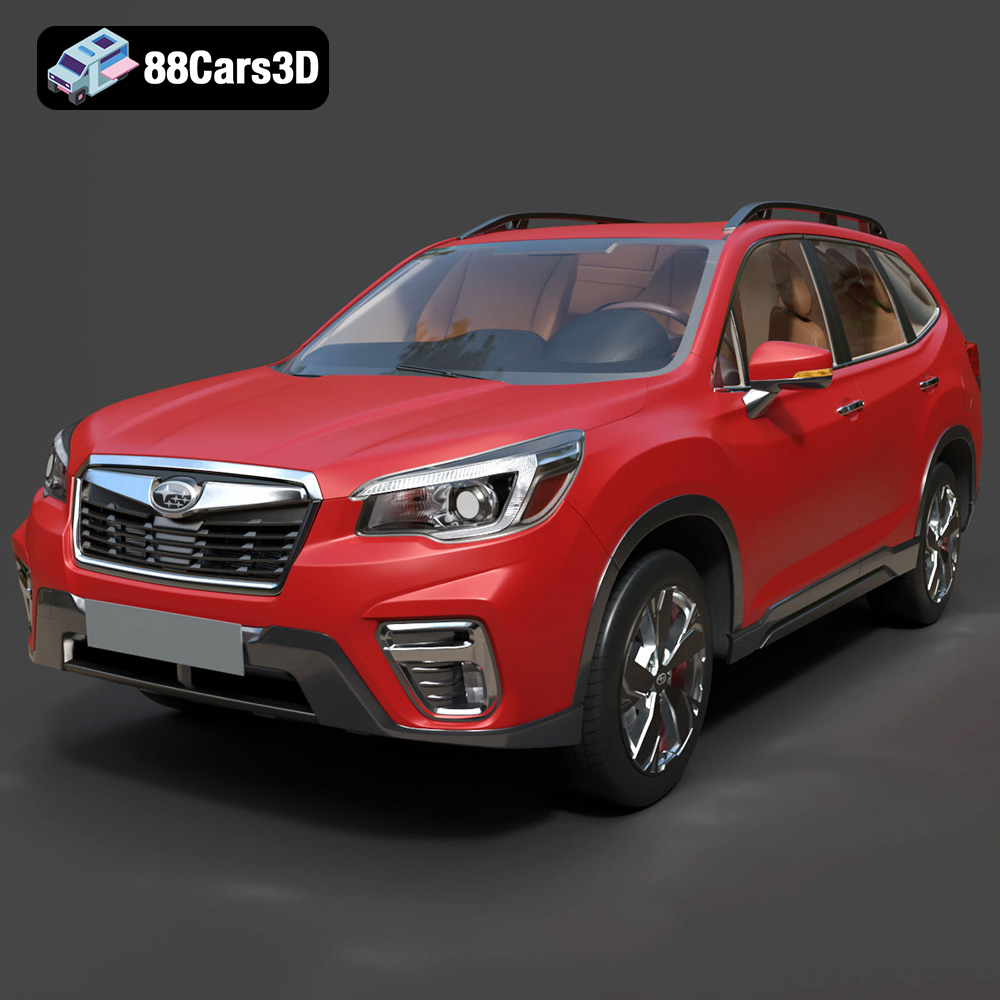
Texture: Yes | Material: Yes
Download the highly detailed, game-ready Subaru Forester 2019 3D Model. Features authentic crossover styling, detailed interior, and accurate exterior geometry. Includes .blend, .fbx, .obj, .glb, .stl, .ply, .unreal, and .max formats for game development, AR/VR, and rendering.
Price: $245.50
View Product


