

The automotive industry is experiencing a massive digital transformation. From original equipment manufacturers (OEMs) and dealership service networks to specialized technical academies, real-time 3D technology is replacing static manuals and video lectures. **Unreal Engine** has emerged as the premier framework for building immersive, interactive automotive training simulations. Whether you are building a virtual assembly line procedure, a mechanical diagnostic simulator, or an interactive VR driver-training module, Unreal Engine provides the graphic fidelity, physics capabilities, and visual scripting tools required to deliver enterprise-grade results.
In this technical guide, we will walk step-by-step through the process of architecting, optimizing, and scripting interactive automotive training applications in Unreal Engine. You will learn how to handle complex CAD assemblies, leverage modern engine features like **Nanite** and **Lumen**, script modular mechanics using **Blueprint visual scripting**, and deploy performant VR/desktop simulations. By following these industry best practices, you can build scalable digital twin simulations that reduce training costs, enhance knowledge retention, and improve operational safety.
—
Before importing thousands of mechanical components or writing your first Blueprint logic, establishing a robust project architecture is critical. Automotive models consist of dense hierarchies, complex materials, and thousands of discrete moving parts. Poor initial architecture leads to severe performance bottlenecks and maintainability issues downstream.
When starting a simulation project in Unreal Engine, launch a project using the **Blank** or **Automotive, Product Design, and Manufacturing** template. Ensure the following core settings are established early:
Enterprise automotive training apps depend on granular mechanical structures. Organize your project folder hierarchy logically to maintain team efficiency:
/Content/Automotive/Vehicles/[Vehicle_Name]/Meshes/ — Separated into sub-assemblies (e.g., Powertrain, Chassis, Brakes, Interior)./Content/Automotive/Vehicles/[Vehicle_Name]/Materials/ — Master materials and material instances./Content/Automotive/Vehicles/[Vehicle_Name]/Blueprints/ — Interactive actors, task managers, and UI controllers.Follow strict prefix conventions such as SM_ for Static Meshes, SK_ for Skeletal Meshes, M_ for Master Materials, MI_ for Material Instances, and BP_ for Blueprints.
High-fidelity simulations require accurate 3D models with proper mesh separation. Sourcing raw CAD files often requires hundreds of hours of manual cleanup, retopology, and re-rigging. Platforms like 88cars3d.com provide enterprise-grade, high-poly and optimized 3D car models engineered specifically for real-time visualization in Unreal Engine. Working with clean assets that feature correct pivot points, modular component breakdown, and PBR-ready UV maps drastically accelerates your development timeline.
—
A typical production vehicle CAD model can contain anywhere from 5 million to over 30 million polygons. To achieve target frame rates (60 FPS for desktop, 90+ FPS for VR), geometry must be optimized without compromising visual clarity during close-up inspection tasks.
Unreal Engine’s **Nanite virtualized geometry** system completely changes how high-polygon automotive assets are rendered. Nanite streams micro-polygon geometry in real time, eliminating traditional manual Level of Detail (LOD) creation for complex static meshes.
In an interactive training simulation, users will select, rotate, translate, and inspect individual parts (such as unbolting a lug nut or removing a spark plug). Proper local pivot points are essential:
UCX_ prefix) to ensure realistic collision boundaries during training exercises.Realistic Visual Materials are vital for immersion and diagnostic training (e.g., distinguishing worn metallic surfaces from new components). Implement standard Physically Based Rendering (PBR) workflows:
—
The core functionality of an automotive maintenance or repair simulator is the interactive task logic. Trainees must be guided through logical procedures: removing fasteners, selecting appropriate tools, detaching components, and replacing worn parts.
Avoid putting all logic inside a single monolithic Blueprint. Instead, use an Object-Oriented Blueprint architecture with dynamic interaction components:
Create a base actor class named BP_InteractivePart containing:
Locked, Unbolted, Detached, Inspected).BPI_Interactable) with functions like OnHoverStart(), OnHoverEnd(), OnPrimaryAction(), and OnToolApplied().// Example Interface Execution Logic in Blueprint
Event OnPrimaryAction (PlayerController Ref)
Branch (CurrentState == EPartState::Unbolted)
True: Perform Part Removal Animation / Attach to Hand Component
False: Play Visual / Audio Error Feedback ("Remove bolts first")
To enforce correct procedural order (for example, taking off the wheel before attempting to remove the brake rotor), construct a central **Training Task Manager** (BP_TrainingTaskManager).
StepID (Integer), TargetPartID (Name), RequiredTool (Enum: SocketWrench, TorqueWrench, DiagnosticScanner), and InstructionText (String).BP_TrainingTaskManager. The manager validates if the action matches the active step. If valid, it increments the index and fires UI updates; if invalid, it logs a training failure metric.Provide clear visual feedback using custom depth post-process materials:
—
Realistic lighting is crucial for building believable automotive visualizers and workshop environments. Unreal Engine’s **Lumen** provides real-time dynamic global illumination and reflections, allowing light to bounce naturally off shiny metal surfaces, chrome accents, and polished shop floors.
To achieve accurate lighting inside vehicle interiors and engine bays without pre-baked lightmaps, configure your Post Process Volume with these parameters:
2.0 and Final Gather Quality to 2.0 for high-fidelity indirect light bounce under the vehicle chassis.To provide instant visual diagnostics (e.g., highlighting worn components, overheating parts, or displaying structural stress visualization), use **Material Parameter Collections (MPC)**.
Create an MPC named MPC_VehicleDiagnostics with scalar parameters such as ThermalStressLevel or HighlightIntensity. Reference these parameters in your master materials. In your Blueprint logic, use Set Scalar Parameter Value to update the visual appearance of all engine components instantly without triggering expensive shader re-compilations at runtime.
In addition to free-roam interactive modes, training applications often require automated cinematic camera movements to demonstrate complex technical operations. Use **Sequencer** to create smooth camera tracks that transition between sub-assemblies. You can trigger these cinematic sequences programmatically via Blueprints using the Level Sequence Player node when a trainee requests a tutorial demonstration.
For more details on setting up advanced cinematic sequences, lighting setups, and real-time visualization features, refer to the official Unreal Engine Learning documentation.
—
For simulations that go beyond static maintenance to include operational driver training or vehicle diagnostics (e.g., testing suspension response, ABS braking systems, or steering dynamics), Unreal Engine’s built-in **Chaos Vehicles** framework provides robust physics simulation capabilities.
To configure a fully driveable, physics-enabled vehicle asset in Unreal Engine:
Wheel_FL, Wheel_FR, Wheel_RL, Wheel_RR) is parented directly to a root chassis bone.ChaosVehicleWheel Blueprint classes for front and rear wheels. Configure attributes such as Wheel Radius, Wheel Width, Friction Force Multiplier, Suspension Max Raise/Drop, and Spring Rate.WheeledVehiclePawn Blueprint, assign the skeletal mesh and configure engine power curves, gear ratios, differential types (e.g., Rear-Wheel Drive, All-Wheel Drive), and steering response curves.Dynamic physics adjustments can simulate real-world mechanical defects during training scenarios:
Professional enterprise simulators must track performance metrics for trainee assessment and compliance certification. Implement a dedicated Analytics Manager Actor to capture and output telemetry data:
—
Virtual Reality (VR) provides an unparalleled level of spatial immersion, muscle-memory training, and scale perception for automotive technical tasks. However, rendering twin 4K displays at a steady 90 FPS requires strict optimization techniques.
Utilize Unreal Engine’s native **OpenXR** framework to build cross-platform immersive experiences compatible with enterprise VR headsets (such as Meta Quest Pro, HTC Vive Focus 3, and Varjo XR series).
MotionControllerComponent instances to the VR Player Pawn for hand tracking. Map controller inputs using the **Enhanced Input System** for spatial grab, pinch, and tool trigger actions.To hit demanding real-time performance targets, systematically profile and optimize your simulation scene using Unreal Engine’s built-in diagnostic tools:
stat unit to identify whether your bottleneck is CPU Frame time, GPU Frame time, or Render Thread time. Utilize stat rhi to track total draw calls and triangle counts, and leverage **Unreal Insights** for deep trace profiling of Blueprints and execution threads.For collaborative classroom instruction, implement Unreal Engine’s **Multi-User Editing** or multiplayer networking framework. By using RPCs (Remote Procedure Calls) and Replicated Variables, an instructor can guide multiple trainees inside the same virtual workshop in real time.
For organizations where end-users lack high-performance workstation GPUs, deploy your application using **Unreal Engine Pixel Streaming**. Running the simulation on centralized cloud servers or local server racks allows trainees to access interactive, high-fidelity 3D content directly within any WebGL/HTML5-compatible web browser on thin clients, tablets, or laptops.
—
Creating interactive automotive training simulations in Unreal Engine bridges the gap between static theoretical instruction and hands-on mechanical experience. By pairing clean geometry setup with performant Blueprints and advanced real-time rendering features, enterprise teams can deploy highly accurate digital twins for assembly, diagnostics, and operational training.
| Development Stage | Key Objective | Recommended Workflow / Tools |
|---|---|---|
| 1. Asset Sourcing | Acquire optimized, component-separated 3D car models | Source enterprise-ready assets from marketplaces such as 88cars3d.com; verify unit scale (cm) and pivot alignment. |
| 2. Scene Prep | Maximize render efficiency without visual loss | Enable Nanite for high-poly rigid meshes; build custom UCX collision; set up PBR Clear Coat shaders. |
| 3. Logic & Scripting | Implement procedural training mechanics | Build modular Blueprint component actors; drive training workflows via Data Tables; use CustomDepth for outlines. |
| 4. Lighting & Visuals | Achieve photo-realistic ambient GI and reflections | Configure Lumen GI & Reflections; utilize Material Parameter Collections for real-time diagnostic visual cues. |
| 5. VR & Deployment | Ensure 90+ FPS performance and multi-user access | Implement OpenXR input maps; profile with stat unit / Unreal Insights; stream via Pixel Streaming or deploy standalone. |
Building high-quality simulation experiences starts with exceptional assets. Sourcing production-ready, cleanly structured models from specialized marketplaces like 88cars3d.com saves hundreds of prep hours, allowing technical teams to focus on creating interactive logic, realistic mechanics, and world-class automotive training applications in Unreal Engine.
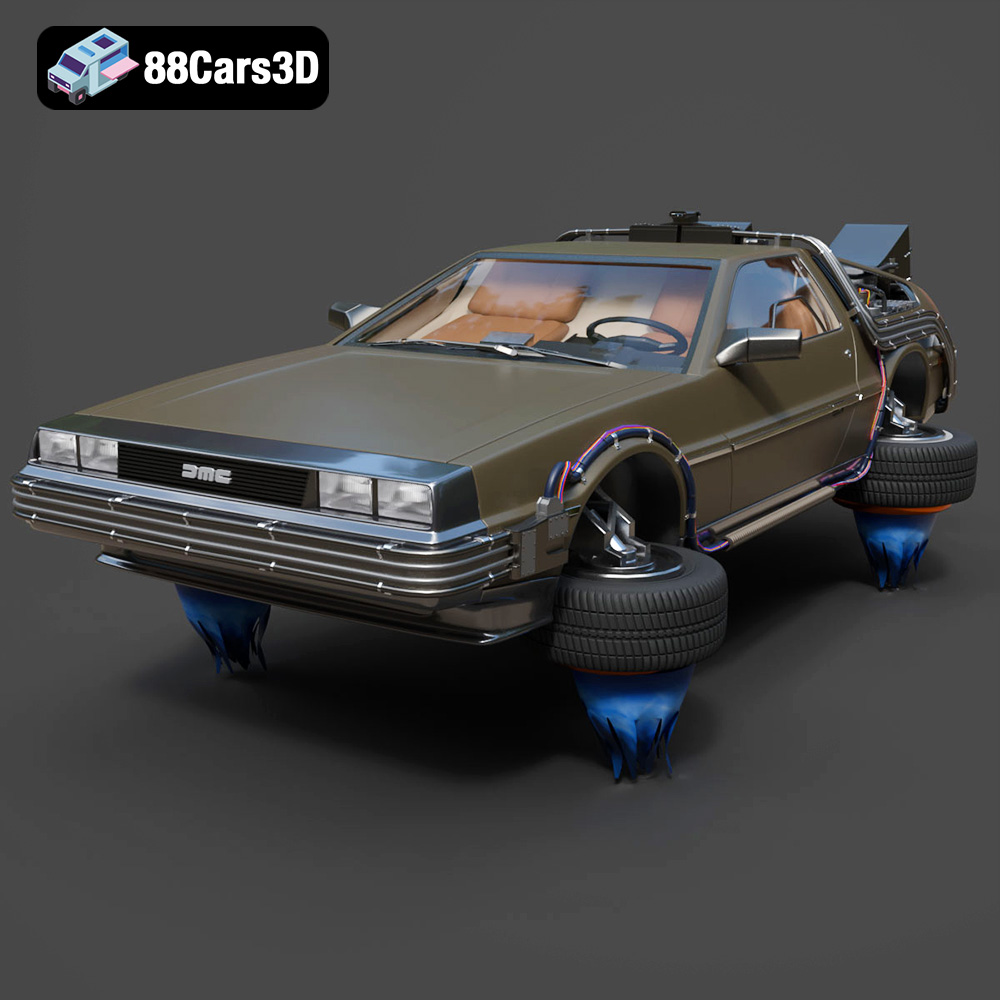
Texture: Yes | Material: Yes
Download the highly detailed, game-ready Back To The Future 2 DeLorean 3D Model. Features Mr. Fusion reactor, hover conversion wheels, and full flux capacitor interior. Includes .blend, .fbx, .obj, .glb, .stl, .ply, .unreal, and .max formats for game development, AR/VR, and rendering.
Price: $211.50
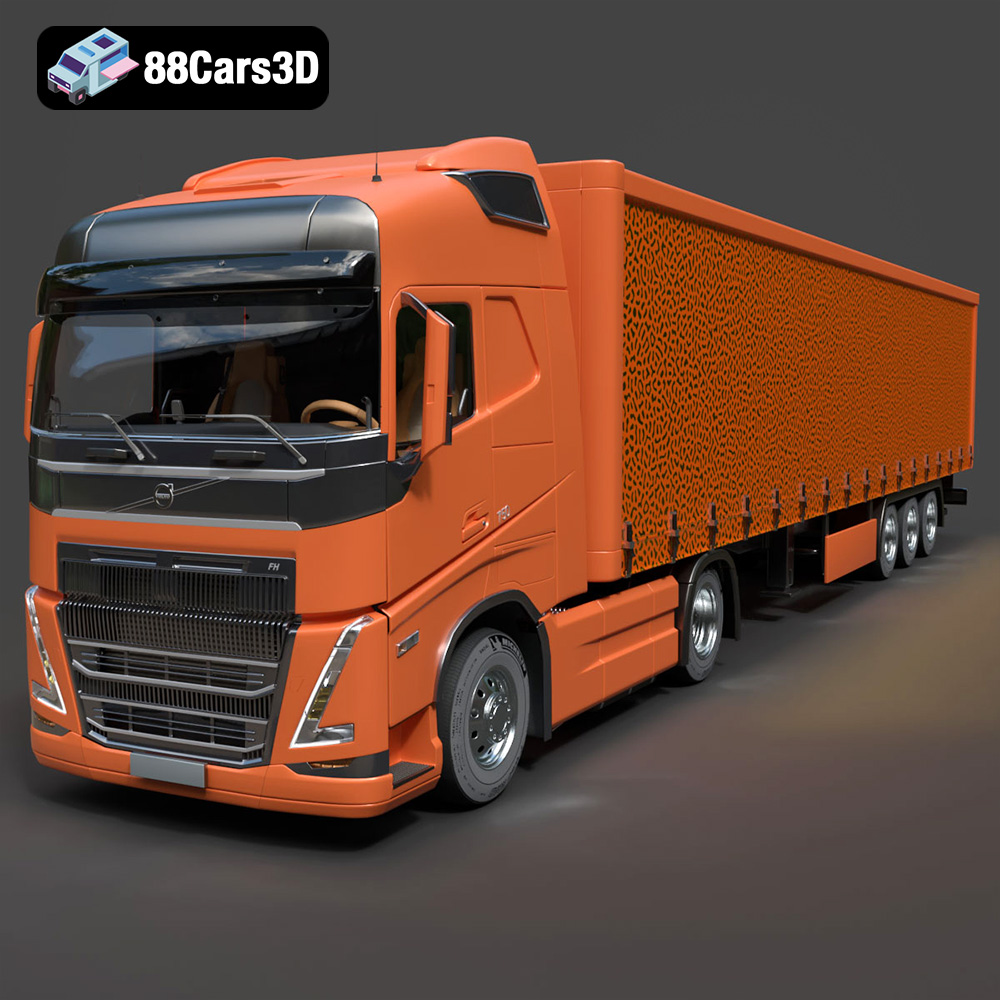
Texture: Yes | Material: Yes
Download the highly detailed, game-ready Volvo FH16 3D Model. Features aerodynamic Globetrotter cab styling, high-detail chassis and drivetrain, and realistic exterior lighting. Includes .blend, .fbx, .obj, .glb, .stl, .ply, .unreal, and .max formats for game development, AR/VR, and rendering.
Price: $299.50
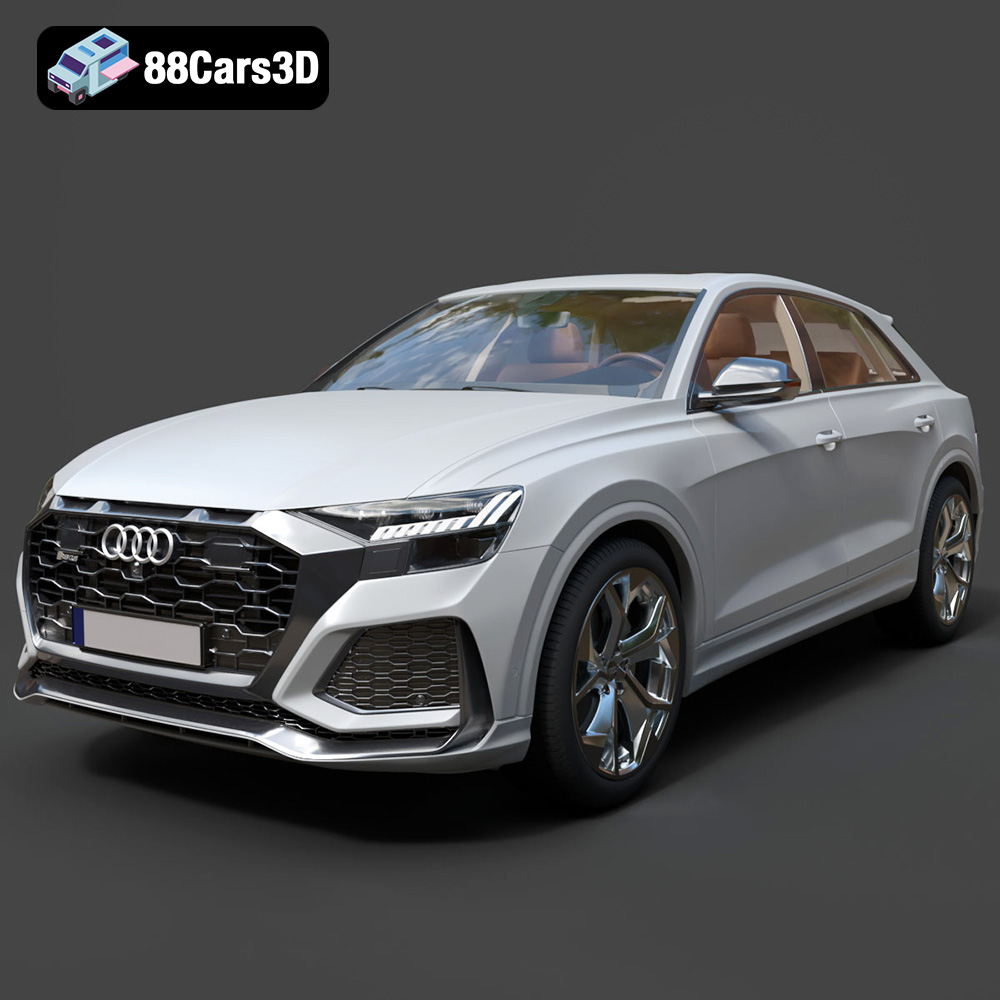
Texture: Yes | Material: Yes
Download the highly detailed, game-ready Audi Q8 RS 2020 3D Model. Features aggressive RS aerodynamic styling, signature honeycomb grille, and detailed sport interior. Includes .blend, .fbx, .obj, .glb, .stl, .ply, .unreal, and .max formats for game development, AR/VR, and rendering.
Price: $265.00
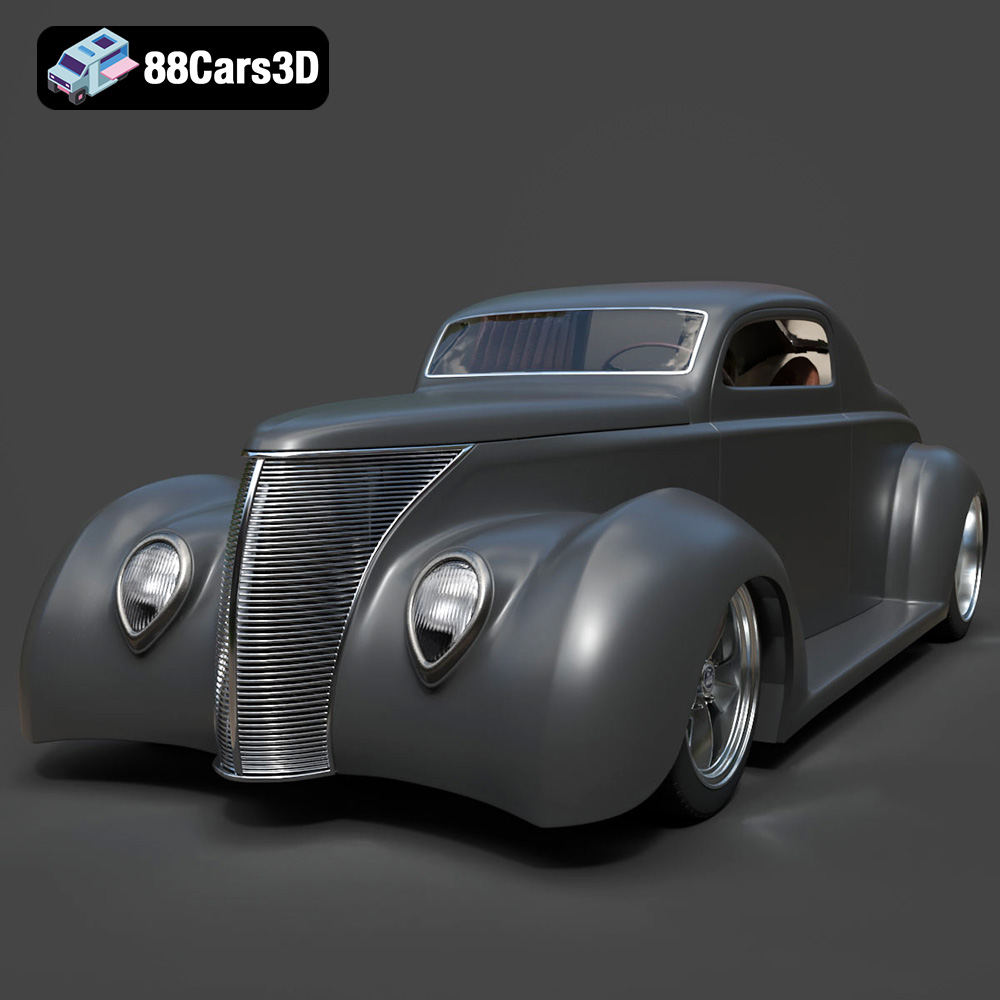
Texture: Yes | Material: Yes
Download the highly detailed, game-ready Ford 1937 Custom Street Rod 3D Model. Features classic teardrop headlights, swept-back fenders, and a custom V8 engine bay. Includes .blend, .fbx, .obj, .glb, .stl, .ply, .unreal, and .max formats for game development, AR/VR, and rendering.
Price: $140.99
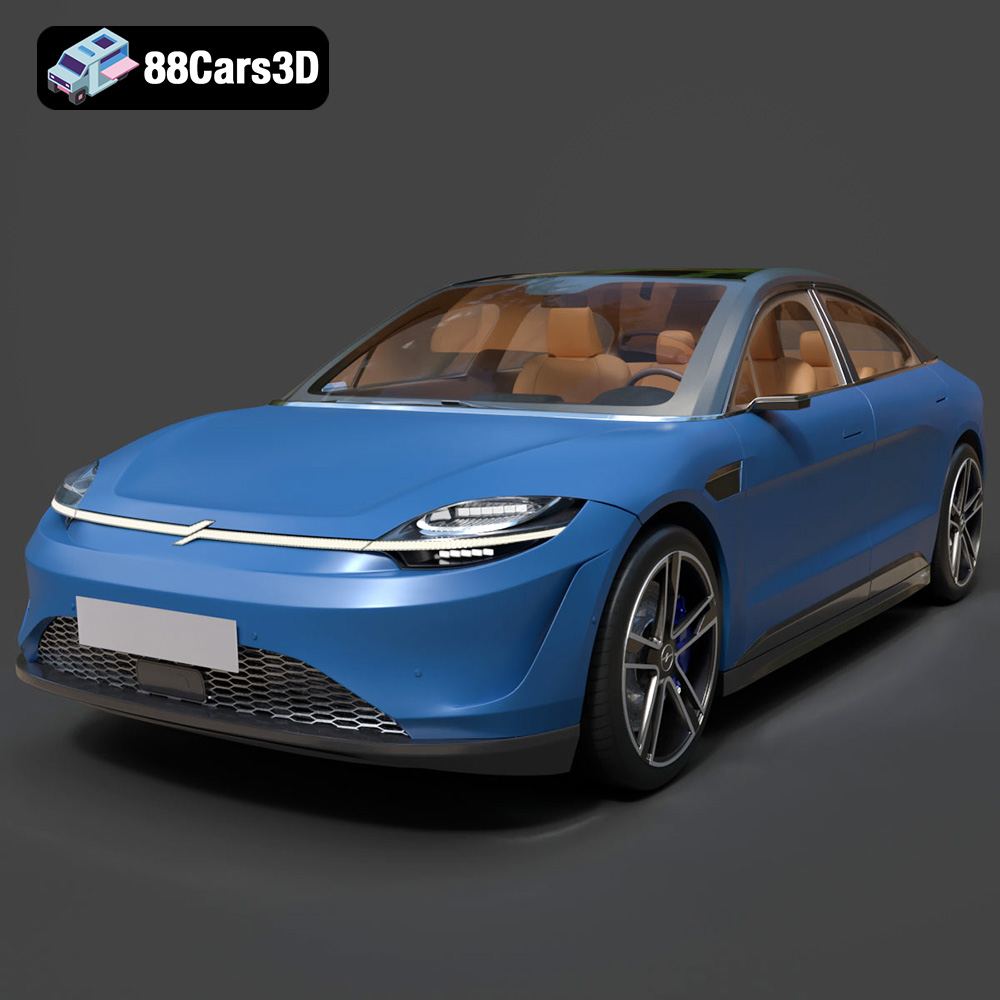
Texture: Yes | Material: Yes
Download the highly detailed, game-ready Sony Vision S 2020 3D Model. Features aerodynamic fastback styling, futuristic panoramic multi-screen cockpit, and advanced sensor integrations. Includes .blend, .fbx, .obj, .glb, .stl, .ply, .unreal, and .max formats for game development, AR/VR, and rendering.
Price: $221.00
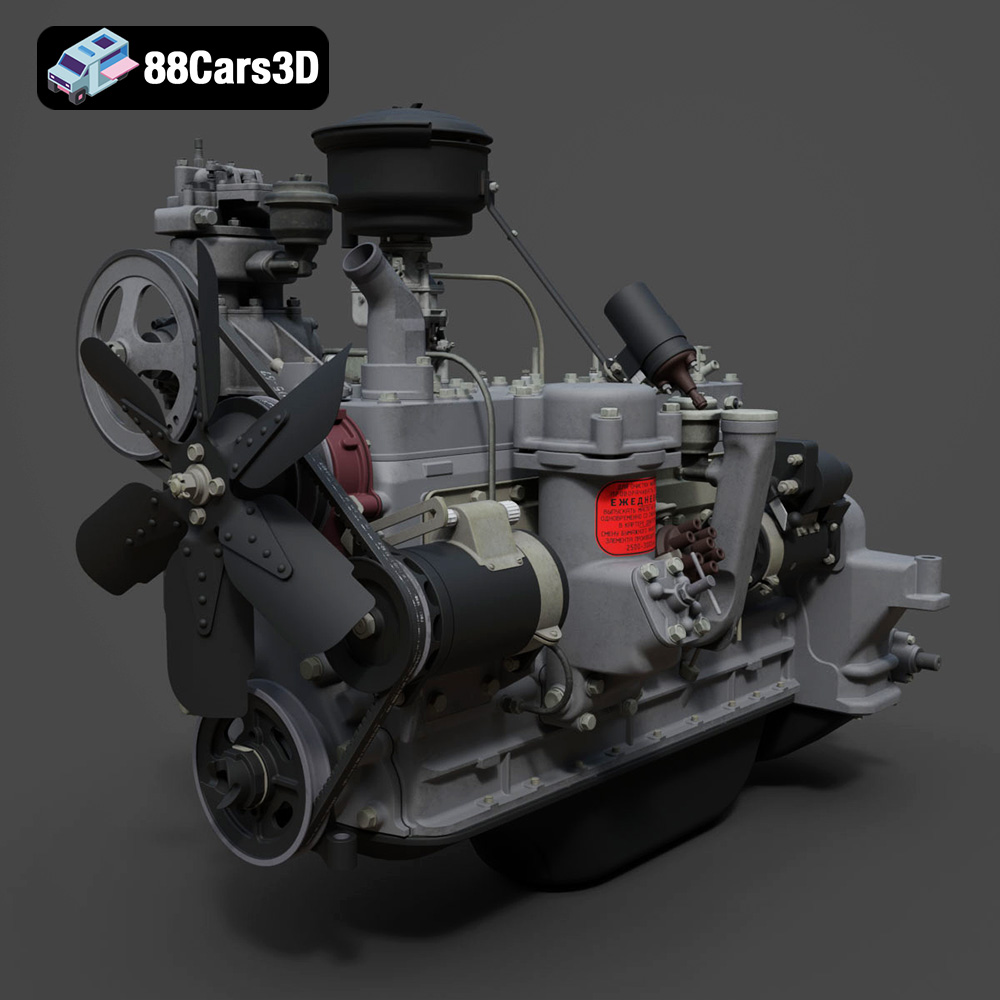
Texture: Yes | Material: Yes
Download the highly detailed, game-ready ZIL-157 Engine 3D Model. Features authentic inline-6 block geometry, intake and exhaust manifolds, and detailed carburetor assembly. Includes .blend, .fbx, .obj, .glb, .stl, .ply, .unreal, and .max formats for game development, AR/VR, and rendering.
Price: $203.50
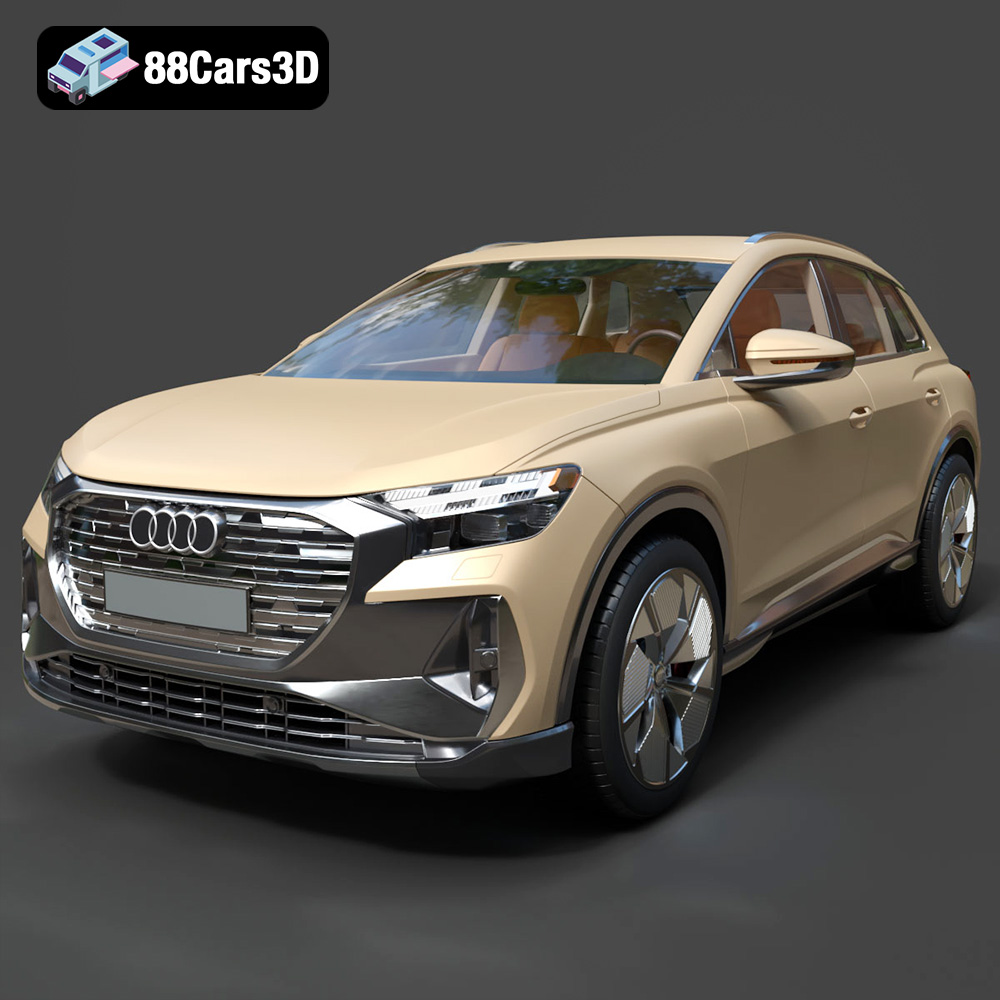
Texture: Yes | Material: Yes
Download the highly detailed, game-ready Audi Q4 e-tron 2021 3D Model. Features sleek electric SUV styling, signature Singleframe grille, and detailed Matrix LED lighting. Includes .blend, .fbx, .obj, .glb, .stl, .ply, .unreal, and .max formats for game development, AR/VR, and rendering.
Price: $299.50
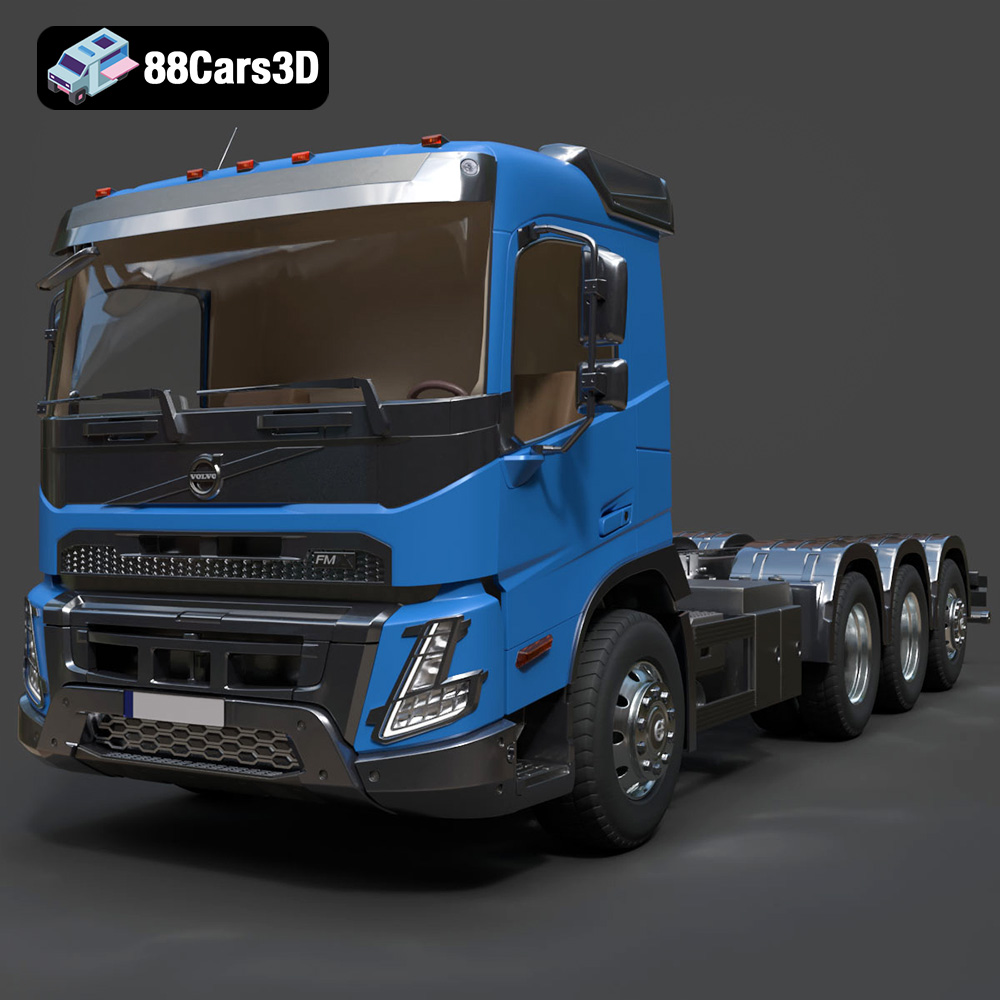
Texture: Yes | Material: Yes
Download the highly detailed, game-ready Volvo FMX Day Cab Chassis Truck 4-axle 2022 3D Model. Features rugged construction-grade day cab, detailed 4-axle heavy-duty chassis, and realistic suspension mechanics. Includes .blend, .fbx, .obj, .glb, .stl, .ply, .unreal, and .max formats for game development, AR/VR, and rendering.
Price: $294.99
Texture: Yes | Material: Yes
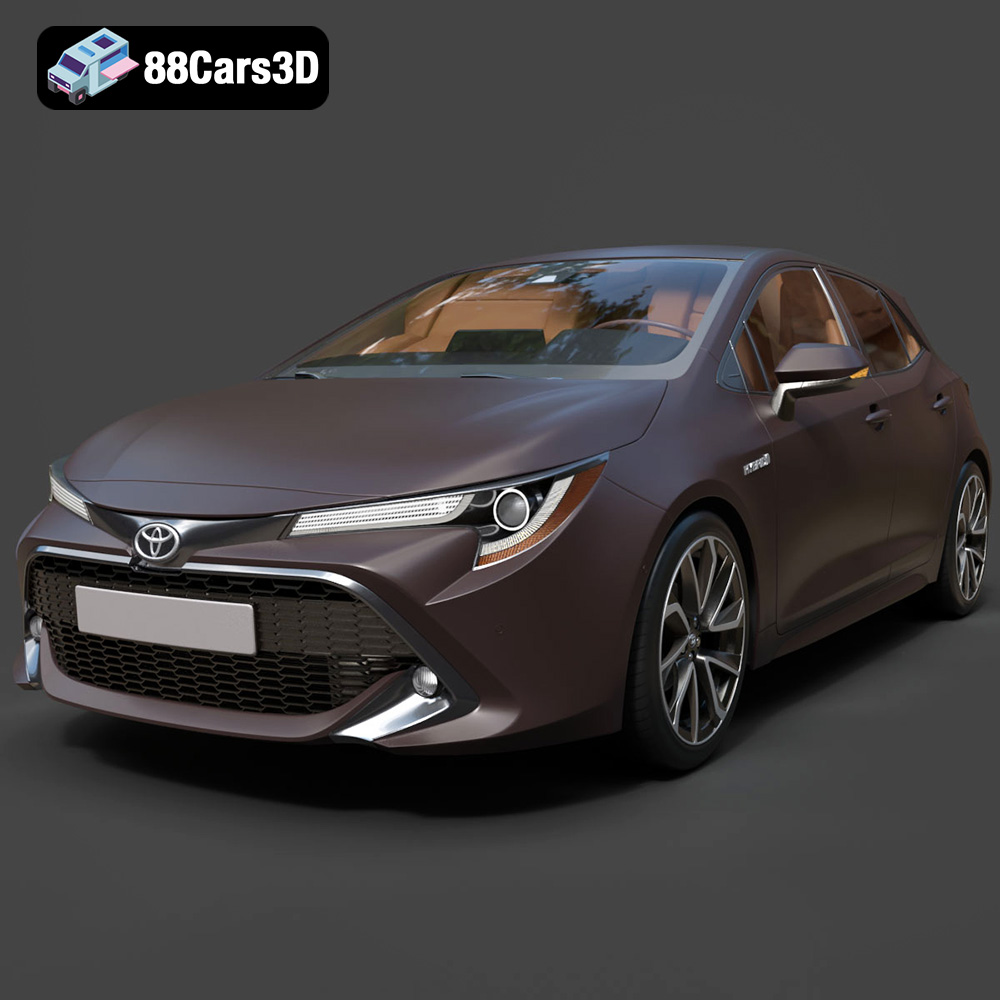
Download the highly detailed, game-ready Toyota Auris 2019 3D Model. Features aerodynamic hatchback contours, detailed LED lighting, and authentic interior styling. Includes .blend, .fbx, .obj, .glb, .stl, .ply, .unreal, and .max formats for game development, AR/VR, and rendering.
Price: $195.00
Texture: Yes | Material: Yes
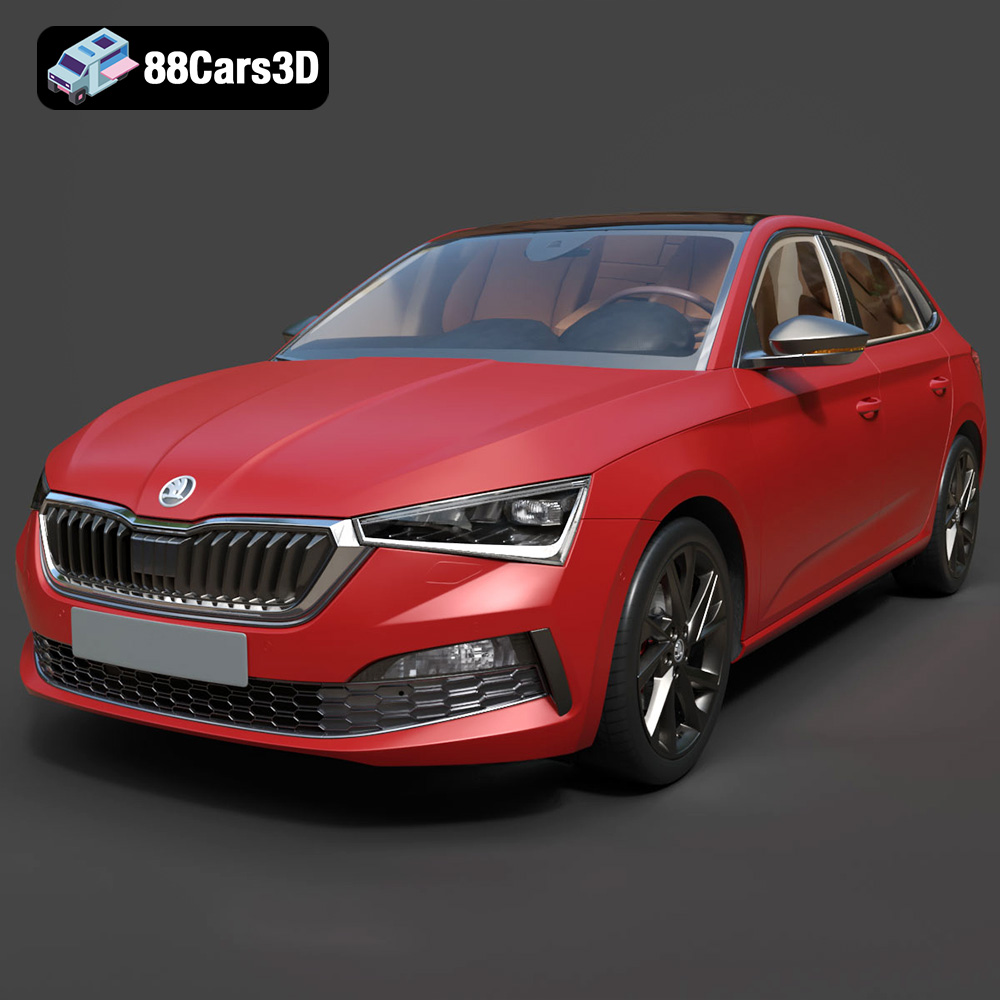
Download the highly detailed, game-ready Skoda Scala 2019 3D Model. Features signature crystalline styling, fully modeled interior, and realistic textures. Includes .blend, .fbx, .obj, .glb, .stl, .ply, .unreal, and .max formats for game development, AR/VR, and rendering.
Price: $233.50
