

In the demanding world of 3D modeling, where precision and efficiency are paramount, mastering your software’s interface is not just a convenience—it’s a necessity. For artists working with complex 3D car models, game assets, or intricate visualizations, every second saved translates into increased productivity and a smoother creative flow. Blender, with its open-source nature and powerful capabilities, has become a go-to tool for countless professionals in automotive design, rendering, and game asset development. However, to truly unlock its potential and navigate its vast feature set with agility, understanding and utilizing Blender’s extensive array of keyboard shortcuts is absolutely crucial.
This comprehensive guide is designed to equip both aspiring and seasoned 3D artists with the essential Blender 4.4 keyboard shortcuts that will dramatically accelerate their workflow. We’ll delve into everything from fundamental navigation to advanced modeling and rendering techniques, providing you with actionable tips and best practices. By integrating these shortcuts into your daily routine, you’ll find yourself manipulating objects, sculpting details, and setting up complex scenes with unprecedented speed, ultimately allowing you to focus more on the artistic vision and less on the mechanics of the software. Whether you’re creating stunning automotive renders for clients or optimizing game assets for real-time applications, these shortcuts will be your fastest route to success. Platforms like 88cars3d.com thrive on high-quality, efficiently produced models, and mastering Blender’s shortcuts is a direct path to achieving that standard.
Efficient navigation within Blender’s 3D Viewport is the bedrock of any productive workflow. Without fluid control over your perspective, you’ll constantly struggle to position and inspect your 3D car models. Blender offers a robust set of shortcuts that allow for quick camera movements and object isolation, essential for detailing intricate surfaces or examining topology. These controls are universal across different Blender workspaces, from modeling to sculpting and rendering.
Moving around your scene quickly is vital. The most fundamental navigation shortcuts involve panning, zooming, and rotating the view.
Selecting objects and managing their visibility is a constant task. Streamlining this process prevents frustration and keeps your focus on the design.
These navigation and selection shortcuts are the first step towards becoming a truly efficient Blender artist, especially when dealing with the high-fidelity 3D car models that require meticulous attention to detail.
Once you’ve mastered navigating the viewport, the next essential skill is efficiently transforming objects. Whether you’re assembling components of a 3D car model or arranging elements for a detailed scene, fast and precise manipulation of objects is paramount. Blender’s transform shortcuts are designed to be intuitive and highly customizable, allowing for quick adjustments or exact numerical inputs.
The triumvirate of transform tools forms the backbone of object manipulation.
These basic transformations are incredibly powerful, especially when combined with numerical input for precise adjustments. Imagine needing to scale a wheel on your automotive render precisely by 1.05 along the Y-axis; simply select the wheel, press S, then Y, then type ‘1.05’ and hit Enter.
Beyond basic moves, Blender offers more nuanced ways to control transformations.
These shortcuts allow for a level of control and speed that’s impossible to achieve relying solely on the GUI icons. Incorporating them into your muscle memory will significantly boost your productivity, particularly when refining detailed assets for rendering or game development.
While object mode handles the scene’s overall composition, Edit Mode is where the true magic of modeling happens. It’s here that you sculpt the intricate forms and refine the topology of your 3D car models. Navigating and manipulating individual vertices, edges, and faces with speed is essential for creating clean, optimized meshes, which are critical for high-quality automotive rendering and efficient game assets.
Switching between selection modes quickly is fundamental.
These modes are fundamental for managing polygon counts and ensuring a clean topology, which directly impacts the visual quality and performance of your 3D car models.
Blender provides a wealth of tools for modifying your mesh, and their associated shortcuts are indispensable.
Mastering these Edit Mode shortcuts will transform your modeling speed and precision, allowing you to craft detailed, production-ready 3D car models with a clean and efficient topology.
Beyond basic transformations, truly efficient 3D artistry, especially with demanding tasks like detailed 3D car models, relies heavily on rapid and intelligent selection. Blender offers a powerful suite of selection tools and workflow accelerators that, when mastered, can drastically cut down on repetitive tasks and allow for more fluid adjustments during modeling, UV mapping, and texturing phases.
Accurate selection is often half the battle in modeling.
These advanced selection techniques are crucial for maintaining clean topology and executing precise modifications on complex meshes, ensuring your game assets are optimized and your renders look flawless.
Blender’s contextual menus are packed with power, often hiding commonly used operations just a shortcut away.
By internalizing these selection and contextual menu shortcuts, you streamline your entire modeling process, allowing you to rapidly iterate on designs and perform intricate operations on your 3D car models with surgical precision. This efficiency is directly transferable to creating high-quality, production-ready assets for any purpose, from high-end visualization to real-time game development.
For those diving deeper into intricate details, such as complex automotive components or highly detailed character elements, Blender’s advanced modeling and sculpting shortcuts become invaluable. These shortcuts help manage mesh density, apply non-destructive modifications, and sculpt organic forms with fluidity, ensuring your 3D car models possess the realism and fidelity required for top-tier visualization and game asset development.
Modifiers are a cornerstone of non-destructive modeling in Blender, allowing you to apply effects without permanently altering your base mesh. Quick access to these modifiers significantly speeds up iteration.
Efficiently using modifiers, like the Mirror Modifier for symmetrical car parts or the Solidify Modifier for adding thickness to panels, is key to creating robust and editable 3D car models. The ability to apply or adjust them quickly ensures a flexible workflow.
When it comes to adding organic details or refining high-polygon sculpts, like subtle dents or aerodynamic curves on a concept car, sculpting mode shortcuts are critical.
These sculpting shortcuts allow artists to rapidly block out shapes, add fine details, and achieve the desired aesthetic for their projects. For creating high-fidelity models for automotive rendering or capturing nuanced organic shapes, an intuitive sculpting workflow is a huge asset. These techniques directly translate into efficient creation of high-quality models seen on platforms like 88cars3d.com.
Creating compelling 3D car models isn’t just about static perfection; it’s often about dynamic presentations and realistic visual storytelling. Whether you’re animating a car door opening, a wheel spinning, or setting up a complex studio lighting rig for automotive rendering, Blender’s animation and rendering shortcuts can significantly streamline your workflow, enabling you to iterate faster and achieve breathtaking results.
Animation in Blender revolves around keyframes, marking specific values (location, rotation, scale) at particular moments in time. Efficiently creating and manipulating these is fundamental.
These shortcuts are invaluable for reviewing animations and making precise adjustments without dragging the timeline cursor manually.
For complex animations, such as a car driving through a scene or a detailed engine assembly sequence, the ability to quickly insert and navigate keyframes becomes a major time-saver, enhancing the overall production speed for visualization professionals.
Preparing your scene for rendering and managing the output can involve several steps. These shortcuts make the process more direct.
Beyond these, remember that the F3 Search menu can be used to find any rendering-related operator by typing keywords like “render image” or “set output path.” Efficiently utilizing these shortcuts will dramatically accelerate the process of bringing your 3D car models to life, from preliminary animation tests to final high-resolution renders.
While Blender’s default keymap is robust, every artist develops unique habits and needs. The ability to customize shortcuts and leverage powerful add-ons allows you to tailor Blender to your exact workflow, making it even more efficient, especially when dealing with the specialized requirements of 3D car models, game assets, or intricate architectural visualization.
Blender is highly customizable, and its keymap is no exception. This means you aren’t stuck with the defaults if they don’t suit you.
By investing a small amount of time in personalizing your keymap, you can optimize frequently used operations for maximum speed, reducing mouse travel and menu diving, which is particularly beneficial when managing complex projects or tight deadlines for clients who need high-quality 3D models.
Blender’s add-on ecosystem is a treasure trove of tools that extend functionality, and many come with their own shortcuts or enhance existing ones.
Node Wrangler dramatically speeds up the creation of realistic textures and shading for any project.
When sourcing models from marketplaces such as 88cars3d.com, you often receive well-structured meshes. However, if you need to modify or optimize these models, these add-ons and custom shortcuts will provide the tools to do so efficiently. Leveraging these tools to their fullest allows artists to produce the high-quality assets demanded by modern rendering engines and real-time environments, pushing the boundaries of what’s possible in automotive design and interactive experiences like AR/VR.
Beyond modeling and rendering, a crucial aspect of any professional 3D workflow is efficient file management and seamless data exchange. Whether you’re collaborating with a team, archiving your work, or preparing your 3D car models for different platforms, knowing the right Blender shortcuts for importing, exporting, and managing files can save significant time and prevent costly errors. This is particularly relevant for diverse applications, from high-fidelity automotive rendering to optimized game asset development and even 3D printing preparation.
Blender supports a wide array of file formats, and quick access to import/export options is essential.
When preparing models for external use, always remember to check export options such as “Apply Modifiers,” “Apply Transforms,” and “Include only selected objects” to ensure clean and correctly scaled exports. This is particularly important for game assets, where strict polygon count and transform requirements are common.
Managing internal data and external files is vital for project organization and portability.
Proper file management and smart use of these shortcuts ensure that your 3D car models are not only well-crafted but also well-organized and ready for any stage of the production pipeline. This meticulous approach is what separates amateur work from the professional-grade assets found on platforms like 88cars3d.com, suitable for everything from intricate automotive design showcases to real-time AR/VR experiences.
Mastering Blender’s keyboard shortcuts is not merely about memorizing key combinations; it’s about transforming your interaction with the software into a seamless extension of your creative thought. From the initial blocking out of a 3D car model to the final tweaks of PBR materials and the precise camera angles for an automotive rendering, every shortcut you integrate into your workflow shaves off precious seconds, reduces mental friction, and allows for a more fluid, intuitive artistic process. We’ve explored foundational navigation, crucial object transformations, essential edit mode tools, advanced selection techniques, sculpting efficiency, and critical file management shortcuts—each a stepping stone to greater productivity.
The journey to becoming proficient with Blender’s keymap is an ongoing one, requiring consistent practice and a willingness to explore. Start by integrating a few new shortcuts each day, using the F3 search menu as your guide when you’re unsure. Over time, these individual keystrokes will weave together into a powerful rhythm, allowing you to manipulate complex game assets, craft intricate visualization scenes, and prepare models for cutting-edge applications like AR/VR and 3D printing with unmatched speed and precision. Remember, the goal is not just speed, but also accuracy and consistency in your output, leading to higher quality 3D car models that meet professional standards.
For those seeking to further enhance their projects with high-quality, pre-made assets, exploring marketplaces like 88cars3d.com can provide an excellent foundation. And by combining those resources with your newfound shortcut mastery, you’ll be unstoppable. Keep practicing, keep learning, and watch your Blender workflow become a truly powerful engine for your 3D artistic endeavors.
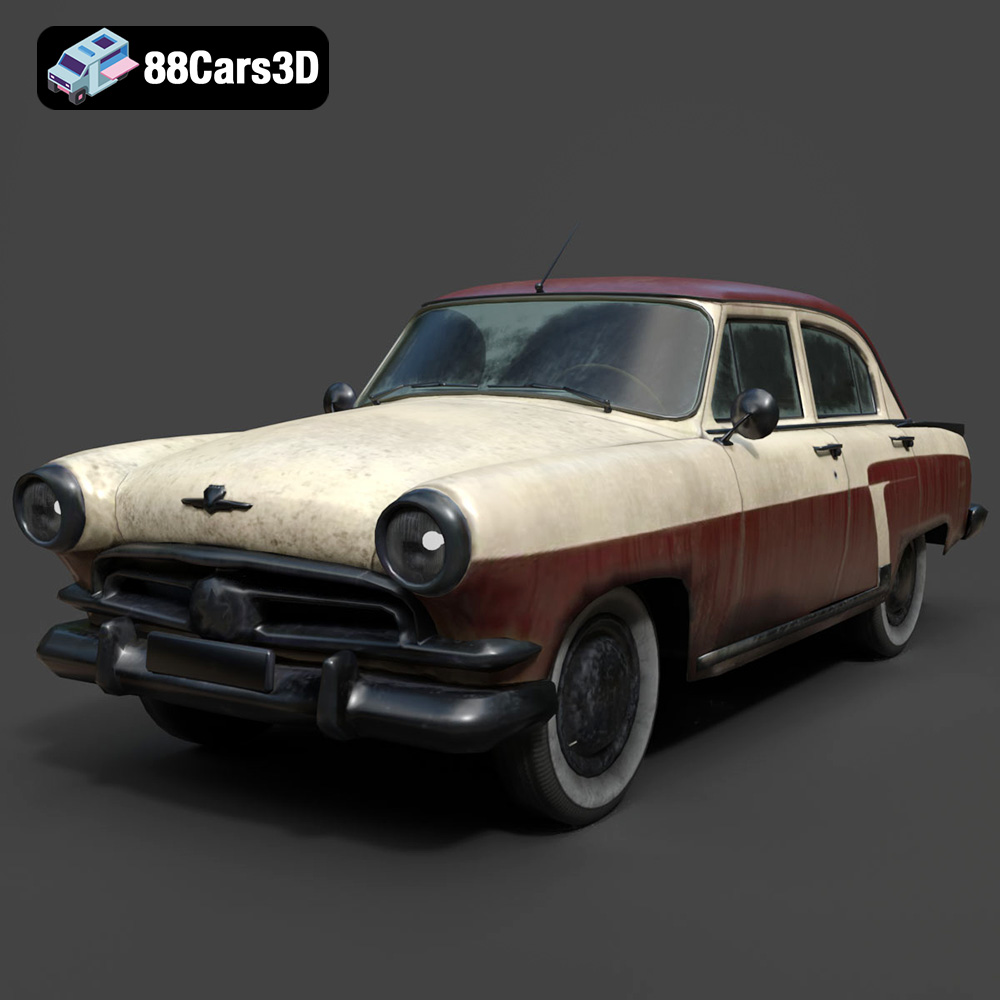
Texture: Yes | Material: Yes
Download the highly detailed, game-ready GAZ-21 Volga 3D Model. Features classic Soviet body geometry, iconic front grille, and detailed exterior chrome accents. Includes .blend, .fbx, .obj, .glb, .stl, .ply, .unreal, and .max formats for game development, AR/VR, and rendering.
Price: $99.99
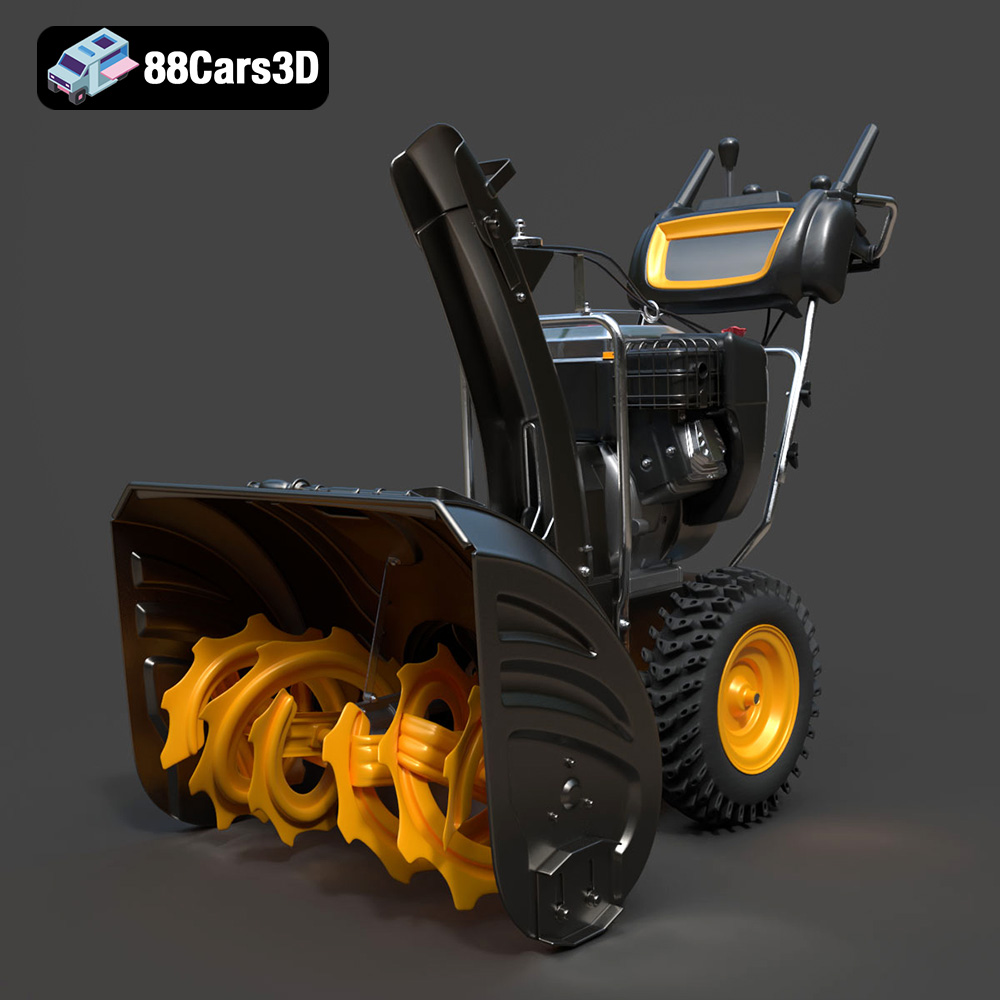
Texture: Yes | Material: Yes
Download the highly detailed, game-ready Husqvarna Snow Plow 3D Model. Features heavy-duty front plow blade, robust chassis, and realistic mechanical controls. Includes .blend, .fbx, .obj, .glb, .stl, .ply, .unreal, and .max formats for game development, AR/VR, and rendering.
Price: $145.50
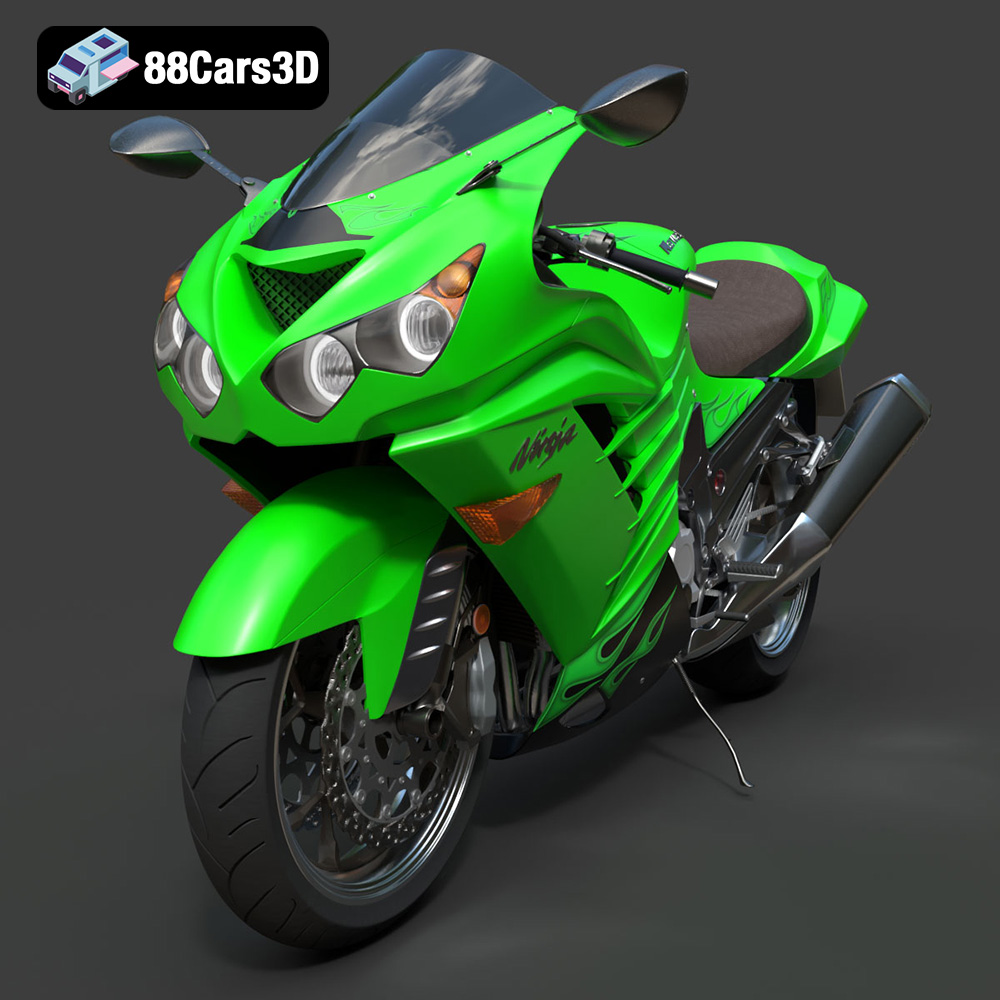
Texture: Yes | Material: Yes
Download the highly detailed, game-ready Kawasaki ZX14R 2012 3D Model. Features aggressive hyper-sport fairings, detailed inline-four engine, and iconic dual exhausts. Includes .blend, .fbx, .obj, .glb, .stl, .ply, .unreal, and .max formats for game development, AR/VR, and rendering.
Price: $170.00
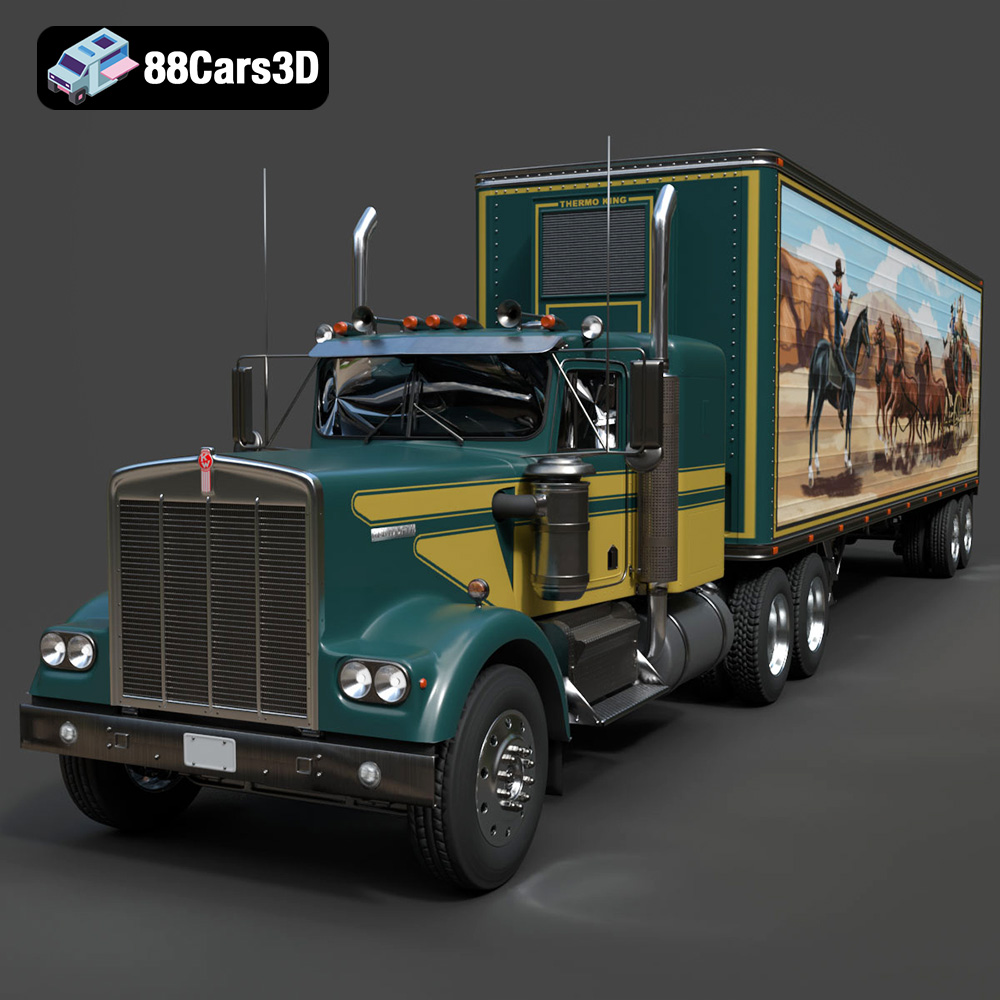
Texture: Yes | Material: Yes
Download the highly detailed, game-ready Kenworth W900 1974 3D Model. Features classic long-nose hood styling, detailed chrome exhaust stacks, and realistic dual tandem axles. Includes .blend, .fbx, .obj, .glb, .stl, .ply, .unreal, and .max formats for game development, AR/VR, and rendering.
Price: $299.50
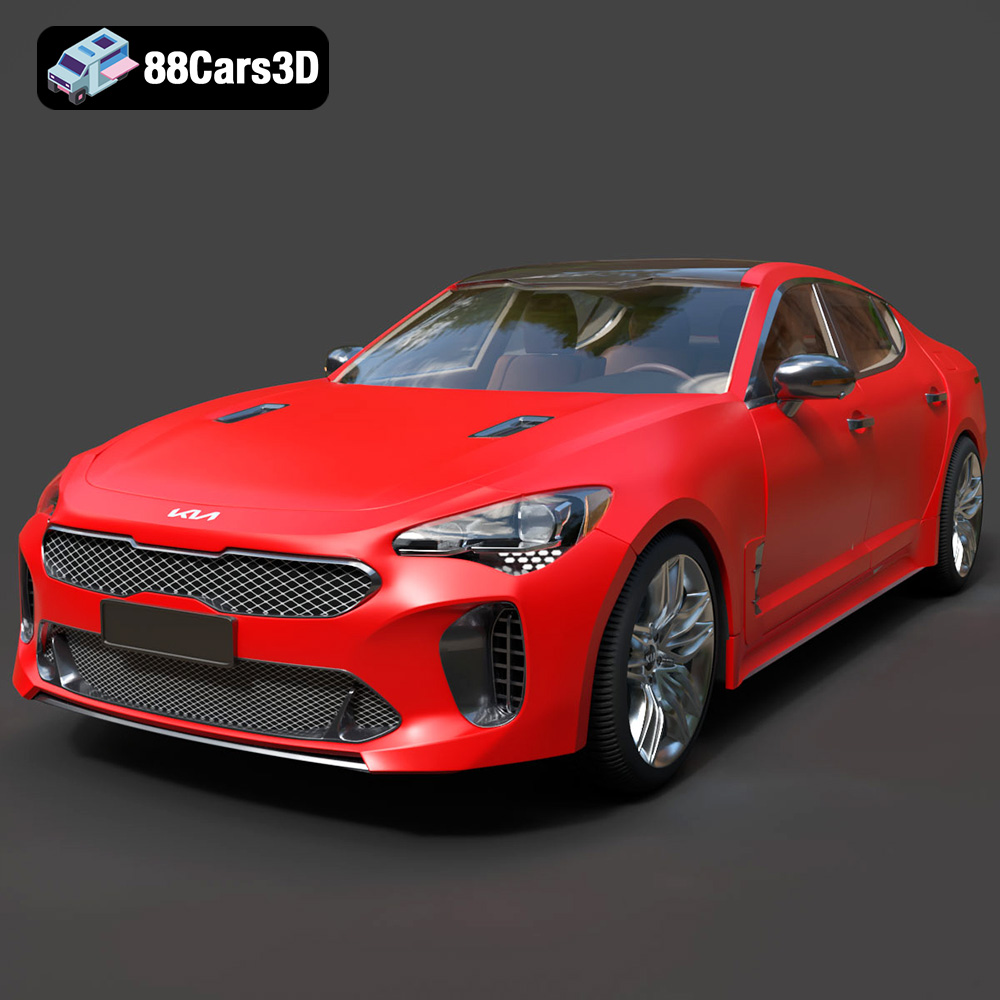
Texture: Yes | Material: Yes
Download the highly detailed, game-ready Kia Stinger 2021 3D Model. Features tiger-nose grille styling, quad exhaust tips, and high-fidelity interior details. Includes .blend, .fbx, .obj, .glb, .stl, .ply, .unreal, and .max formats for game development, AR/VR, and rendering.
Price: $299.50
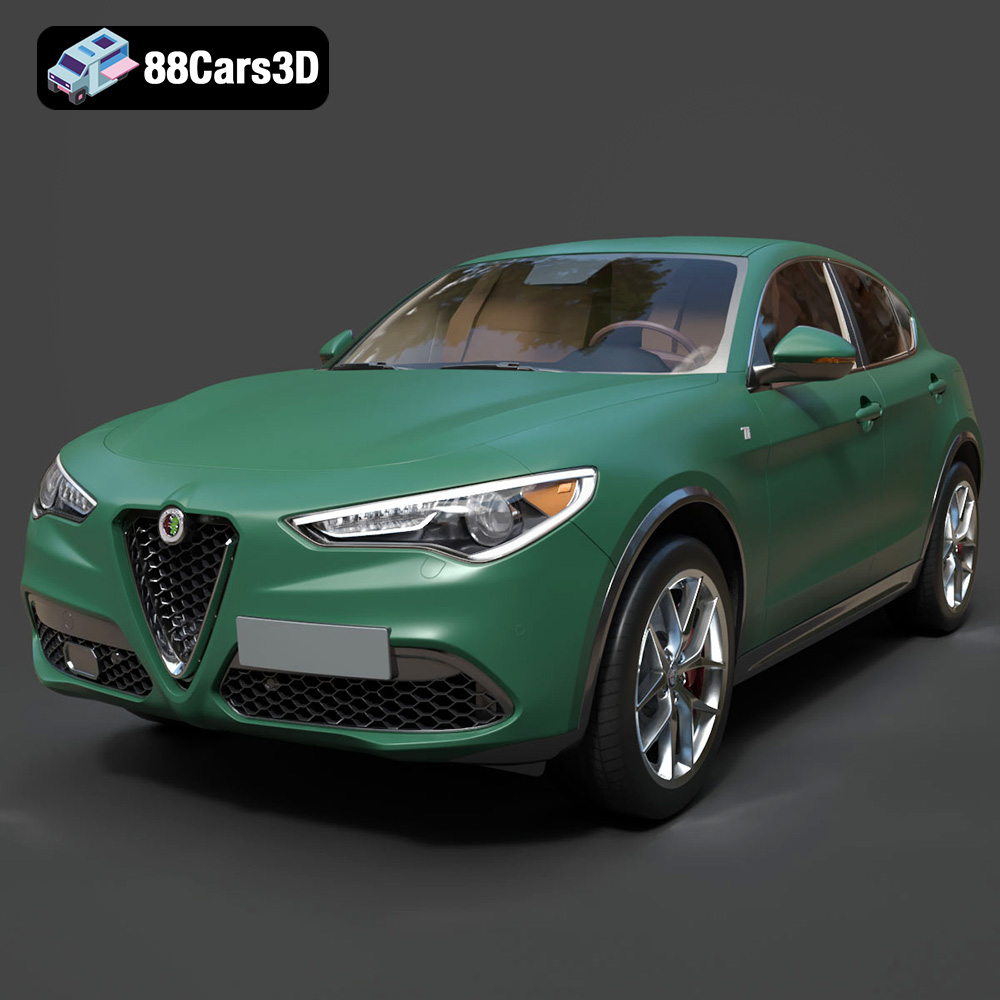
Texture: Yes | Material: Yes
Download the highly detailed, game-ready Alfa Romeo Stelvio Ti 2020 3D Model. Features signature Italian luxury SUV styling, detailed interior, and accurate chassis geometry. Includes .blend, .fbx, .obj, .glb, .stl, .ply, .unreal, and .max formats for game development, AR/VR, and rendering.
Price: $237.99
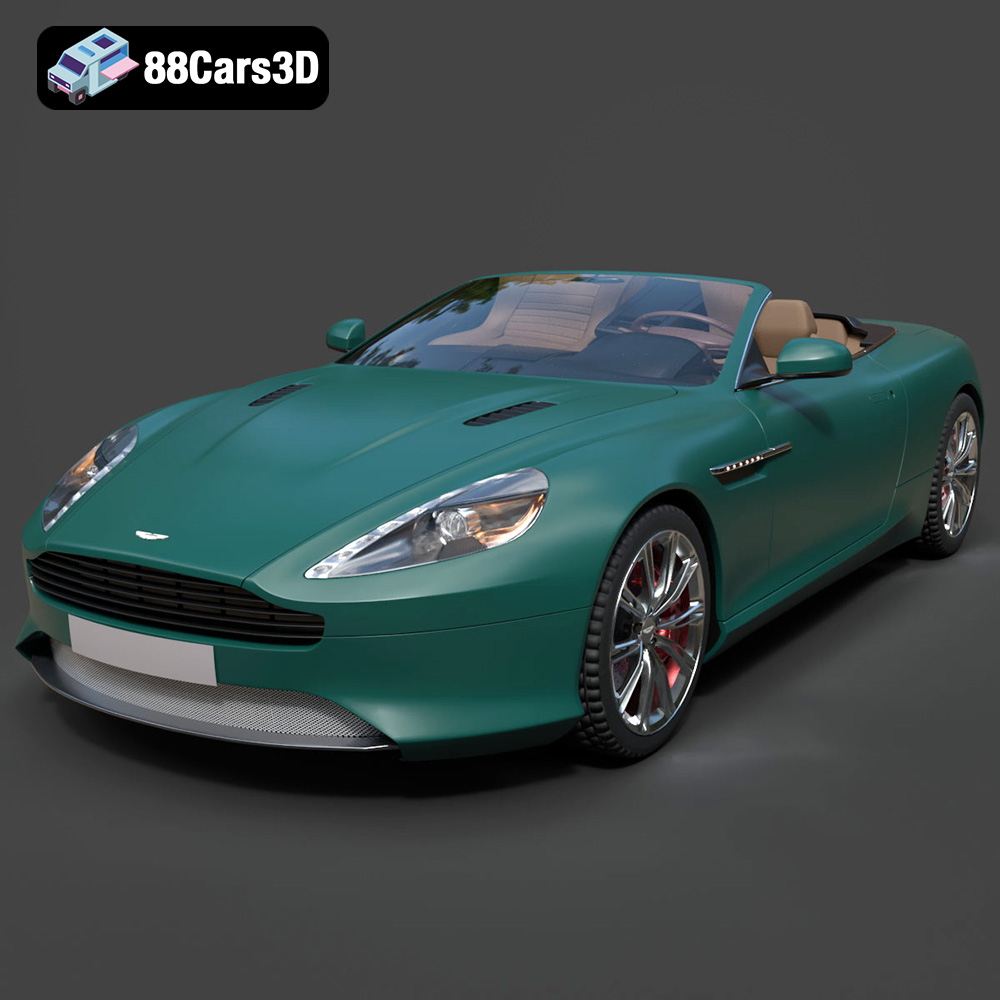
Texture: Yes | Material: Yes
Download the highly detailed, game-ready Aston Martin Virage Volante 2012 3D Model. Features sleek open-top GT design, iconic front grille, and detailed luxury interior trim. Includes .blend, .fbx, .obj, .glb, .stl, .ply, .unreal, and .max formats for game development, AR/VR, and rendering.
Price: $157.00
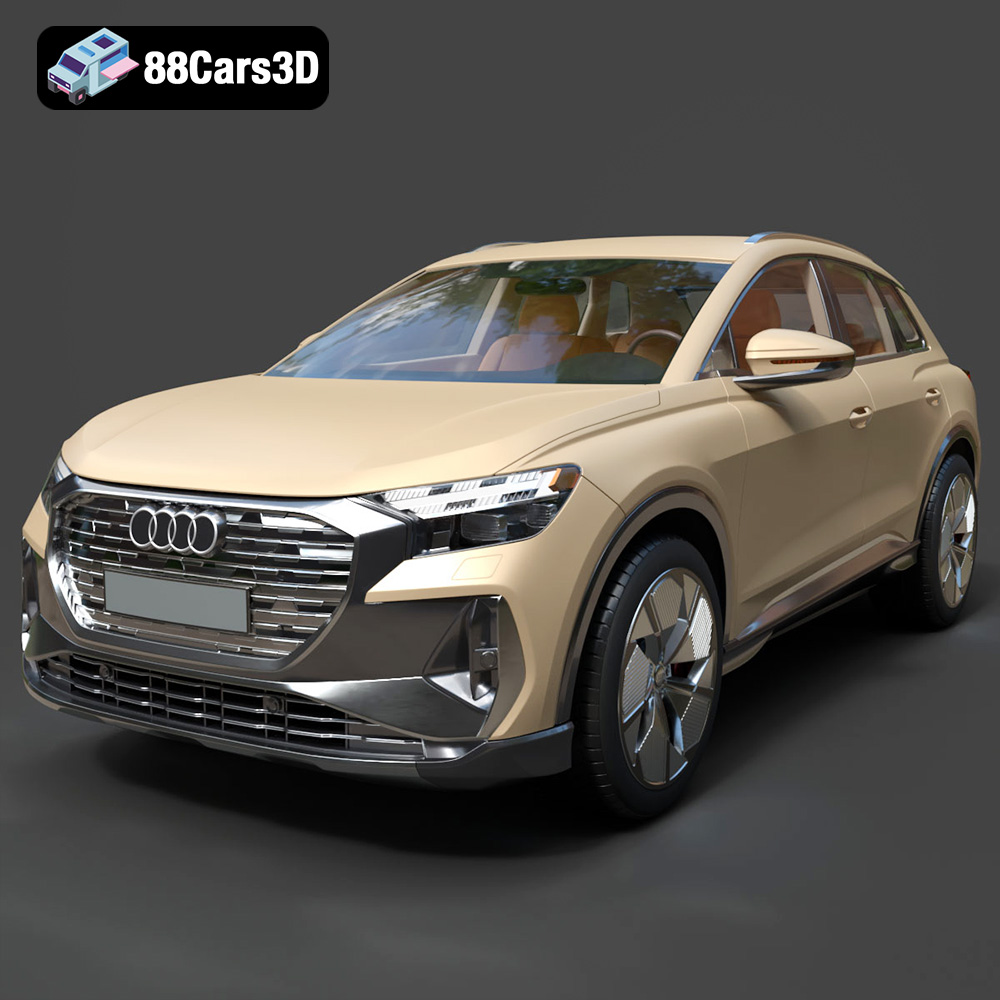
Texture: Yes | Material: Yes
Download the highly detailed, game-ready Audi Q4 e-tron 2021 3D Model. Features sleek electric SUV styling, signature Singleframe grille, and detailed Matrix LED lighting. Includes .blend, .fbx, .obj, .glb, .stl, .ply, .unreal, and .max formats for game development, AR/VR, and rendering.
Price: $299.50
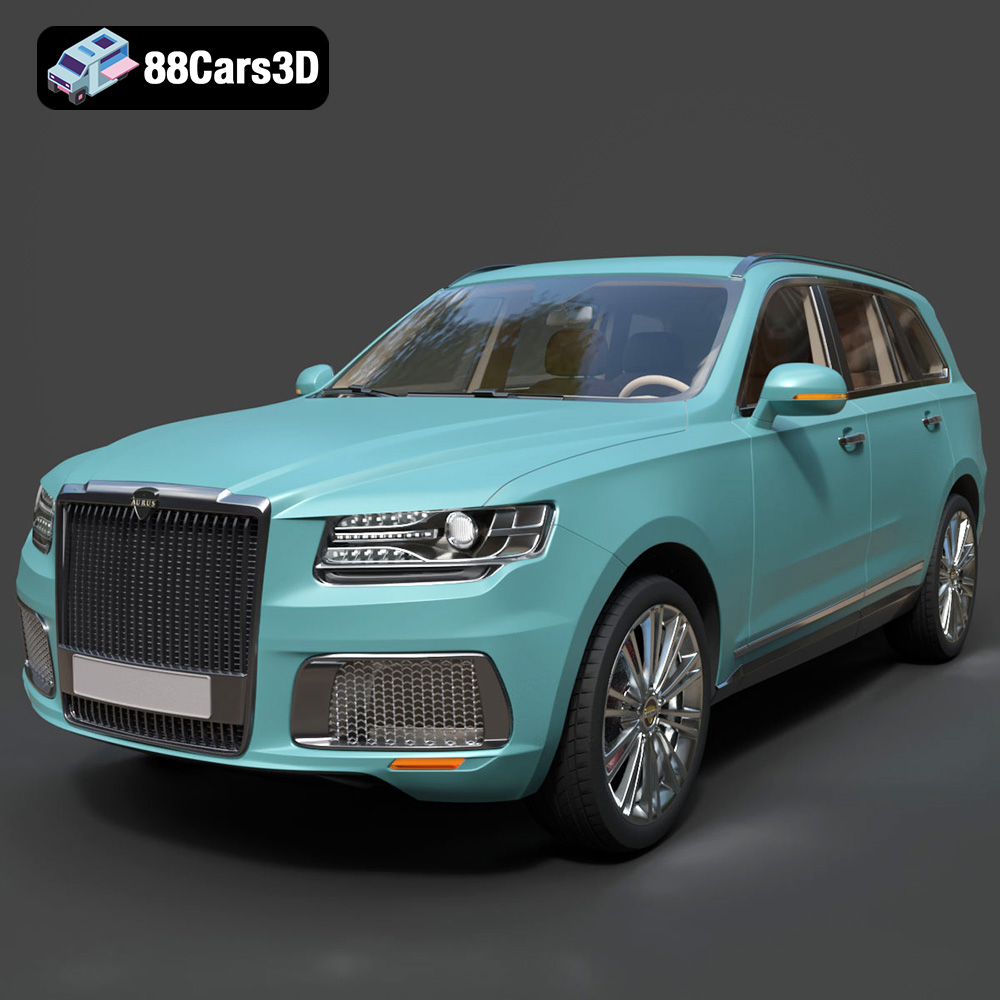
Texture: Yes | Material: Yes
Download the highly detailed, game-ready Aurus Komendant 2020 3D Model. Features an imposing front grille, executive full-size SUV silhouette, and detailed luxury interior. Includes .blend, .fbx, .obj, .glb, .stl, .ply, .unreal, and .max formats for game development, AR/VR, and rendering.
Price: $232.99
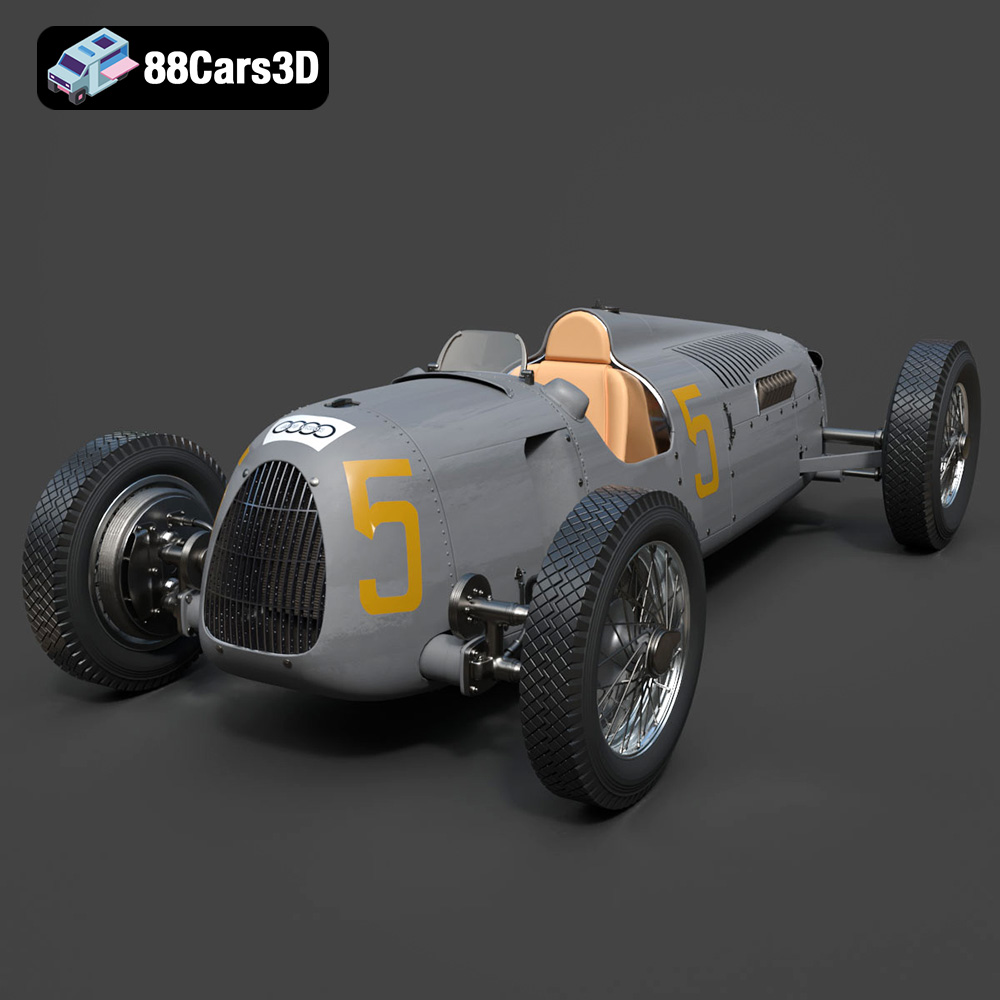
Texture: Yes | Material: Yes
Download the highly detailed, game-ready Auto Union Type C 1936 3D Model. Features iconic V16 engine detailing, classic Silver Arrows bodywork, and detailed open cockpit layout. Includes .blend, .fbx, .obj, .glb, .stl, .ply, .unreal, and .max formats for game development, AR/VR, and rendering.
Price: $152.00
