

In the demanding world of 3D modeling, where precision meets creativity, efficiency is paramount. For 3D artists specializing in automotive design, realistic rendering, and game asset development, every second saved translates directly into more polished work and faster project delivery. Blender, with its robust toolset and open-source flexibility, has become an indispensable software for countless professionals. However, its true power is unlocked not just by knowing the tools, but by mastering its extensive library of keyboard shortcuts – or “hotkeys.”
This comprehensive guide delves deep into the essential Blender hotkeys that can dramatically accelerate your workflow. We’ll explore shortcuts that streamline navigation, revolutionize modeling, simplify selection, empower transformations, and optimize your overall production pipeline. Whether you’re meticulously crafting a high-fidelity 3D car model for a cinematic render, optimizing vehicle assets for a real-time game engine, or preparing models for AR/VR experiences, understanding and integrating these shortcuts will transform your creative process. Prepare to elevate your speed, enhance your precision, and unlock a new level of productivity in Blender.
Efficient navigation is the bedrock of any productive 3D workflow. Before you can model, sculpt, or texture, you need to effortlessly move around your scene, inspect your models from every angle, and quickly focus on areas of interest. Blender’s viewport navigation hotkeys are designed to make this fluid and intuitive, allowing you to spend less time fumbling with controls and more time immersed in your creative process. Mastering these foundational shortcuts is the first step towards becoming a Blender power user, especially when dealing with complex 3D car models that demand close inspection of intricate details like body panels, interiors, and undercarriage components.
Whether you’re examining the curvature of a fender, adjusting the lighting for an automotive rendering, or ensuring the topology of a game asset is clean, seamless navigation is key. These shortcuts, often used in combination with mouse actions, provide a powerful way to interact with your scene. They are the backbone of rapid scene traversal, ensuring you can jump between macro and micro views of your project without interruption. Without a solid grasp of these, even the most advanced modeling techniques will feel cumbersome, hindering your ability to maintain a consistent creative flow.
* Middle Mouse Button (MMB) – Orbit View: The most fundamental navigation tool. Holding down the MMB and dragging rotates your view around the current point of interest. This is crucial for inspecting your 3D car model from all sides, checking for clean topology, or assessing how light interacts with surfaces for automotive rendering.
* Shift + MMB – Pan View: Holding Shift while dragging the MMB allows you to “pan” or “strafe” your view horizontally and vertically. This is perfect for moving across larger scenes or sliding your view to a different part of your model without changing its orientation, such as moving from the front bumper to the rear spoiler of a car.
* Scroll Wheel Up/Down – Zoom In/Out: The simplest way to zoom. Rapidly zoom in to examine fine details like bolt heads on an engine or zoom out to get a broader perspective of your entire scene. For more granular control, use Ctrl + MMB and drag. This progressive zoom is excellent for precise framing.
* Numpad 1, 3, 7 – Standard Orthographic Views: These hotkeys snap your view to the front (1), right (3), and top (7) orthographic projections. Adding Ctrl (e.g., Ctrl + Numpad 1) reverses these to back, left, and bottom views. Orthographic views are indispensable for precise modeling, ensuring alignment, and making accurate measurements, especially when replicating real-world vehicle blueprints.
* Numpad 5 – Toggle Orthographic/Perspective: Switch between perspective view (which mimics how the human eye sees) and orthographic view (where all lines are parallel, useful for technical accuracy). For automotive modeling and design, often you’ll switch to orthographic for construction and back to perspective for aesthetic evaluation.
* Numpad . (Period) – Focus on Selection: This powerful shortcut centers your view on the currently selected object or components (vertices, edges, faces). When working on a complex car interior, for example, selecting a steering wheel and hitting Numpad . immediately brings it into focus, allowing for detailed work without getting lost in the broader scene. This dramatically improves efficiency when dealing with high-polygon 3D car models.
* Home – View All: Zooms out to show all objects in your scene. Useful for getting a full overview or if you’ve lost your bearings within a large environment.
* Shift + C – Center Cursor and View All: Resets the 3D cursor to the world origin (0,0,0) and zooms out to display all objects in your scene. This is a quick way to re-establish your orientation.
* Alt + MMB – Rotate View Around Current Selection: Similar to MMB orbit, but it specifically rotates the view around your active selection. This is invaluable when you need to constantly inspect a specific part of your car model from various angles while keeping it centered.
* Numpad 0 – Camera View: Switches your view to the active camera. Essential for setting up your shots for automotive rendering or checking how your game assets appear from a specific camera angle. Toggle back and forth to refine your camera composition.
* **Gizmos and Fly/Walk Navigation:** While hotkeys are often faster, Blender also offers visual gizmos for transformations and a powerful “Walk/Fly Navigation” mode. You can activate Fly/Walk Navigation by pressing **Shift + F** (or going to View > Navigation > Walk Navigation). This turns your viewport into a first-person exploration mode, using WASD keys for movement, MMB to look around, and Q/E for vertical movement. This can be particularly useful for quickly exploring large environments or checking the scale of your 3D car model within a scene. For more details on navigation, consult the official Blender 4.4 manual on [Navigation](https://docs.blender.org/manual/en/4.4/editors/3dview/navigate/index.html?utm_source=blender-4.4.0).
By internalizing these navigation shortcuts, you’ll find yourself moving through Blender’s 3D environment with unparalleled speed and confidence, a crucial skill when working on intricate designs like those found on 88cars3d.com.
The heart of 3D artistry lies in the ability to manipulate geometric forms. In Blender, this is primarily achieved through a combination of selection, transformation, and direct modeling tools, each made immensely more powerful by dedicated hotkeys. For artists creating high-quality 3D car models or game assets, the speed at which you can select vertices, edges, or faces, and then move, rotate, or scale them, directly impacts the fluidity and precision of your work. These shortcuts are not merely faster ways to click a button; they fundamentally change how you interact with your mesh, allowing for a more intuitive and tactile modeling experience.
Effective use of these hotkeys is vital for maintaining clean topology, achieving smooth curves on vehicle bodies, and optimizing mesh density for various applications, from real-time game engines to high-fidelity visualization. When you’re striving for the subtle reflections and pristine surfaces characteristic of professional automotive rendering, every vertex matters. These shortcuts empower you to make precise adjustments without breaking your creative flow, enabling intricate detailing that separates amateur work from professional-grade models.
* G – Grab (Move): The ‘G’ key initiates the Grab transformation, allowing you to move selected elements (objects, vertices, edges, faces) freely in 3D space.
* Constraint to Axis: After pressing ‘G’, you can immediately press ‘X’, ‘Y’, or ‘Z’ to constrain the movement along that specific global axis. For instance, `G + Z` moves only vertically. Pressing the same axis key again will switch to local axis constraint, and a third press will switch to view-based constraint, offering incredible flexibility. This is indispensable for aligning components, ensuring car parts fit perfectly, or maintaining symmetry.
* Numeric Input: After initiating ‘G’ and optionally constraining an axis, you can type a numerical value to move the selection by an exact distance. E.g., `G + X + 2.5` moves 2.5 units along the X-axis. Precision is paramount in automotive design.
* R – Rotate: The ‘R’ key begins a rotation transformation.
* Constraint to Axis: Similar to ‘G’, ‘R’ can be followed by ‘X’, ‘Y’, or ‘Z’ to rotate around a specific global axis. Pressing the axis key twice rotates around the local axis. `R + Z + 45` rotates 45 degrees around the Z-axis. This is crucial for posing elements, adjusting wheel angles, or fine-tuning the tilt of an aerodynamic component.
* Trackball Rotation: Pressing ‘R’ twice quickly (`R + R`) initiates a “trackball” rotation, allowing for free rotation relative to your view, which can be intuitive for organic adjustments.
* S – Scale: The ‘S’ key initiates a scaling transformation.
* Constraint to Axis: As with ‘G’ and ‘R’, ‘S’ followed by ‘X’, ‘Y’, or ‘Z’ scales along a single axis. `S + X + 0.5` scales an object to 50% of its size along the X-axis. This is vital for resizing individual components, adjusting proportions, or refining the overall dimensions of your car model.
* Even Scaling: Pressing ‘S’ without an axis constraint scales uniformly in all directions. Holding **Shift** while pressing an axis key (e.g., `S + Shift + Z`) scales uniformly on *all axes except* the constrained one. This is powerful for non-uniform scaling without distorting a specific dimension, often used in subtle shape refinement.
* Tab – Toggle Edit Mode: The gateway to mesh manipulation. Quickly switch between Object Mode (for general scene management) and Edit Mode (for detailed vertex, edge, and face editing). For more information on Edit Mode, refer to the official Blender 4.4 documentation on [Edit Mode](https://docs.blender.org/manual/en/4.4/modeling/meshes/editing.html?utm_source=blender-4.4.0).
* 1, 2, 3 (in Edit Mode) – Vertex, Edge, Face Selection: These keys quickly switch between selection modes, allowing you to target individual vertices (1), edges (2), or faces (3) for editing. This rapid switching is fundamental when performing tasks like extruding a car panel, adjusting edge flow, or selecting polygons for UV mapping.
* A – Select/Deselect All: A quick toggle to select everything in your current mode or deselect everything. Pressing `A` twice can sometimes be needed depending on the context.
* B – Box Select: Draw a rectangular box to select multiple elements. This is incredibly fast for selecting groups of vertices, edges, or faces on larger areas of your model.
* C – Circle Select: Activate a brush-like selection tool. Drag your mouse to select, scroll the mouse wheel to adjust the brush size, and MMB to deselect. Press `Esc` or `RMB` to exit. Ideal for selecting irregular shapes or small clusters of components, like the individual mesh elements of a tire tread.
* Ctrl + Click (or Shift + Ctrl + Click) – Select Shortest Path: In Edit Mode, select two vertices, and Blender will select the shortest path of edges between them. Holding `Shift + Alt + Click` on an edge will select an entire edge loop. This is invaluable for quickly selecting complex edge flows on a car body or around a wheel well, essential for maintaining clean topology.
* L – Select Linked: Selects all geometry linked to the currently selected element under the cursor. This is a lifesaver for quickly selecting an entire detached mesh (like a single car wheel if it’s a separate mesh within the same object) or all parts of a connected component.
* Ctrl + I – Invert Selection: Selects everything *not* currently selected. Extremely useful when you want to isolate a specific area by selecting everything else and then inverting.
Mastering these transformation and selection hotkeys makes the process of detailing and refining 3D car models significantly more efficient, allowing artists to focus on the artistic vision rather than wrestling with the interface.
Once you’ve mastered navigation and fundamental transformations, the next level of efficiency in Blender comes from specialized modeling hotkeys that directly manipulate the mesh structure. These shortcuts are the workhorses for creating complex forms, adding detail, refining topology, and preparing your 3D car models for various applications like rendering, game development, and even 3D printing. For artists aiming for photorealistic automotive rendering or optimized game assets, these tools are indispensable for achieving clean edge flow, precise panel gaps, and efficient polygon distribution.
The judicious use of these advanced modeling hotkeys allows artists to build intricate shapes with control, maintaining good quad topology which is crucial for deformation, subdivision surface modeling, and proper UV mapping. Each shortcut represents a powerful operation that, when combined, can sculpt virtually any form, from the smooth curves of a supercar’s body to the intricate mechanics of an engine block. Understanding their function and context is key to unlocking high-speed, high-quality modeling.
* E – Extrude: One of the most fundamental modeling operations. Pressing ‘E’ on a selected vertex, edge, or face pulls out new geometry, connected to the original.
* Extrude Region: In face mode, ‘E’ extrudes the selected face(s) along their normal. Essential for pulling out car doors, creating dashboards, or forming tire sidewalls.
* Extrude Individual: Pressing `Alt + E` brings up a menu with options like “Extrude Individual Faces,” which extrudes each selected face independently. This is useful for creating details like vents or grilles.
* I – Inset Faces: Pressing ‘I’ on selected faces creates new faces *within* the original ones, offset by a specified amount. This is perfect for creating panel lines, door gaps, or defining areas for further extrusion, like windows or headlights on a car body. You can adjust the thickness and depth of the inset.
* Ctrl + B – Bevel: This operation chamfers edges or vertices, turning sharp corners into rounded or angled ones.
* Edge Bevel: Select edges and press `Ctrl + B`. Drag the mouse to control the width, and use the scroll wheel to add more segments, creating a smoother bevel. This is vital for softening hard edges on car models to catch reflections realistically and add visual weight.
* Vertex Bevel: Select vertices and press `Ctrl + Shift + B`. This allows you to bevel individual vertices.
* Ctrl + R – Loop Cut and Slide: An incredibly powerful tool for adding geometry strategically. Press `Ctrl + R` on an edge loop, and a purple line will appear. Click to confirm, then slide the new loop along the existing geometry. Use the scroll wheel to add multiple loops simultaneously. This is essential for:
* **Adding detail:** Creating extra geometry where it’s needed for finer curves or to support subdivision surfaces.
* **Controlling deformation:** Adding edge loops around joints or areas that need to deform cleanly.
* **Topology refinement:** Ensuring even polygon distribution across your car model’s surfaces, which is critical for clean UV mapping and realistic shading.
* K – Knife Tool: Activate the Knife tool to manually cut new edges into your mesh. Click to start a cut, drag to draw, then click again to add vertices. Press `Enter` to confirm, or `Esc` to cancel. Hold `C` to constrain cuts to an angle, and `Z` to cut through all geometry (useful for making holes). This is excellent for creating precise, custom edge loops or detailing intricate areas like emblems or vents on a vehicle.
* Ctrl + V (Vertex Menu), Ctrl + E (Edge Menu), Ctrl + F (Face Menu): These context-sensitive menus provide a wealth of operations specific to the selected component type.
* `Ctrl + V` offers options like merge vertices, rip, separate, or smooth vertices.
* `Ctrl + E` contains bridge edge loops (to connect two loops), mark sharp/seam (for hard edges and UVs), and subdivide.
* `Ctrl + F` has options like triangulate faces, poke faces, or beautify faces. Knowing these menus exist allows you to quickly access advanced functionality without searching through the interface.
* Alt + Click (on an edge) – Select Edge Loop: Rapidly select an entire loop of edges. This is fundamental for operations like `Ctrl + R` (Loop Cut), `Ctrl + B` (Bevel), or extruding a band around a wheel well.
* **Shift + Alt + Click (on an edge) – Select Edge Ring:** Selects parallel edge loops. This is useful for selecting a series of edges across a flat surface that are not part of the same loop.
* X or Delete – Delete Menu: When in Edit Mode, pressing ‘X’ or ‘Delete’ brings up a menu to delete vertices, edges, or faces. Be careful with this, as deleting a component can affect surrounding geometry. “Dissolve Vertices/Edges/Faces” (also in the menu) often provides a cleaner removal without creating holes.
* **Shift + R – Repeat Last Action:** A deceptively simple but incredibly powerful shortcut. If you’ve just performed an operation (like extruding, scaling, or moving), `Shift + R` will repeat it exactly. This is a massive time-saver for repetitive tasks, such as adding multiple identical details or creating patterned geometry across a car surface.
By integrating these advanced modeling hotkeys into your daily routine, you’ll find that sculpting, refining, and optimizing complex 3D car models becomes a far more fluid, enjoyable, and ultimately, a more productive experience. These shortcuts empower you to maintain high technical standards for your game assets and achieve stunning realism in your automotive renderings.
UV mapping and texturing are critical stages in the 3D pipeline, transforming raw geometry into visually rich and believable assets. For 3D car models, meticulous UV unwrapping is essential to ensure that realistic PBR (Physically Based Rendering) materials and intricate decals wrap correctly around complex curvatures without distortion. Efficient texturing, often involving multiple material layers and detailed maps, breathes life into your models, whether for photorealistic automotive renders or optimized game environments. Blender’s hotkeys significantly accelerate these processes, allowing artists to focus on artistic quality rather than cumbersome menu navigation.
A clean UV map is the foundation for high-quality textures. Without proper unwrapping, textures will stretch, warp, or display seams incorrectly, severely diminishing the realism of your model. Mastering UV-related shortcuts helps artists create organized and efficient UV layouts, which are crucial for optimal texture memory usage in game engines and for delivering pristine results in ray-traced renders. Similarly, quick access to material properties and shading tools ensures that the visual fidelity of your 3D car models meets professional standards.
* U – UV Map Menu (in Edit Mode): With faces selected in Edit Mode, pressing ‘U’ brings up the UV Map menu. This is your primary gateway to unwrapping operations.
* **Unwrap:** The default and most common option, attempting a basic projection.
* **Smart UV Project:** An automatic unwrapping method that attempts to create a balanced UV map with minimal stretching, often a good starting point for complex objects like car bodies.
* **Cube/Cylinder/Sphere Projection:** Useful for specific shapes, such as projecting a texture onto car wheels or cylindrical exhaust pipes.
* **Follow Active Quads:** Excellent for unwrapping long strips of quads (like a car’s side panel) into a straightened layout, making texturing much easier.
* Mark/Clear Seam (Ctrl + E -> Mark Seam / Clear Seam): In Edit Mode, select edges and press `Ctrl + E` to open the Edge menu, then choose “Mark Seam.” Seams define where the 3D mesh is “cut” open to flatten onto the 2D UV map. Strategically placing seams along natural breaks or hidden areas of your car model (e.g., along door frames, under bumpers) is crucial for minimizing visible texture stretching and maintaining a clean look. Once marked, these seams will guide the ‘Unwrap’ operation.
* L – Select Linked (in UV Editor): In the UV Editor, with a UV island selected, pressing ‘L’ will select all connected UVs, effectively selecting the entire UV island. This is powerful for quickly moving, scaling, or rotating individual islands without affecting others.
* G, R, S (in UV Editor) – Transform UVs: Just like in the 3D Viewport, ‘G’ moves, ‘R’ rotates, and ‘S’ scales UV islands or selected UV components (vertices, edges). These are essential for arranging UV islands efficiently within the 0-1 UV space, maximizing texture resolution, and preventing overlap. For instance, you might scale down smaller, less visible car parts and scale up larger, more prominent ones to give them more texture space.
* **Pin (P) / Unpin (Alt + P) UVs:** In the UV Editor, select UV vertices and press ‘P’ to “pin” them. Pinned UVs will stay fixed in place when you perform a new unwrap operation. This is invaluable for refining specific areas of a UV map without re-unwrapping the entire model. For example, pin the UVs of a car’s emblem, then re-unwrap the surrounding area.
* **Average Island Scale (Ctrl + A in UV Editor):** A useful tool for normalizing the scale of all UV islands relative to their 3D surface area. This helps ensure consistent texture density across your entire model, preventing some parts from appearing blurry and others overly sharp.
* Shift + A (in Shader Editor) – Add Node Menu: In the Shader Editor, `Shift + A` brings up the Add Node menu, allowing you to quickly add various shader nodes, textures, converters, and more. This is the fastest way to build complex PBR material networks for your automotive renders, incorporating Albedo, Normal, Roughness, Metallic, and other maps.
* Ctrl + T (Node Wrangler Add-on) – Quick Texture Setup: With the Node Wrangler add-on (usually enabled by default), select a Principled BSDF shader and press `Ctrl + T`. This automatically adds an Image Texture node, a Mapping node, and a Texture Coordinate node, pre-connected. A massive time-saver for quickly loading textures onto your car models.
* N (in Shader Editor) – Toggle N-Panel: Opens/closes the N-panel in the Shader Editor, providing access to node properties, modifier stacks, and other settings without cluttering the main workspace.
* F3 – Search Menu: While not specific to UVs, `F3` (or `Spacebar` in some setups) opens a general search menu. Type in “unwrap,” “mark seam,” or “assign material” to quickly find and execute commands without remembering their exact hotkey or menu location. This is incredibly useful for less frequent operations or when learning new tools.
* **Shift + D (in Shader Editor) – Duplicate Node:** Select a node and press `Shift + D` to duplicate it. This is faster than adding a new node from the menu, especially for repeatedly adding similar nodes like multiple texture image inputs.
By mastering these UV mapping and texturing hotkeys, artists can significantly reduce the time spent on preparing their 3D car models for texturing, allowing for a more fluid and iterative creative process. This ensures that the aesthetic appeal and technical quality of materials and finishes are consistently high, whether for a visually stunning automotive render or a meticulously optimized game asset.
Beyond modeling and texturing, a complete 3D pipeline involves preparing assets for their final destination: be it a high-fidelity render, a real-time game engine, or an interactive AR/VR experience. Each of these applications has unique requirements and optimization strategies. Blender hotkeys extend into these crucial post-modeling stages, streamlining tasks like rendering setup, exporting, and preparing assets for performance-critical environments. For automotive designers, game developers, and visualization professionals, an efficient workflow in these areas directly translates to faster iteration, higher performance, and superior final output quality.
Whether you’re setting up the perfect studio lighting for a photorealistic car advertisement, ensuring your vehicle models meet polycount budgets and draw call limits for a game, or preparing a GLB/USDZ file for augmented reality, quick access to the right tools is essential. These hotkeys help you bridge the gap between creation and delivery, ensuring your 3D car models are not only visually stunning but also technically robust and performant across various platforms.
* F12 – Render Still Image: The ultimate hotkey for seeing your final output. Pressing `F12` initiates a render of your current frame using the active render engine (Cycles, Eevee, Workbench). For automotive rendering, this is a frequently used shortcut to quickly check lighting, materials, and camera angles.
* Ctrl + F12 – Render Animation: If you’re creating an animated turntable of your 3D car model or a cinematic sequence, `Ctrl + F12` will render out the entire animation sequence based on your output settings.
* Shift + Z – Toggle Rendered View: In the 3D Viewport, `Shift + Z` toggles between Solid view and Rendered view (or Material Preview if you have Eevee active). This provides a real-time (or near real-time) preview of your scene with lighting, materials, and textures, crucial for quick adjustments to your automotive rendering setup.
* Shift + A (in 3D Viewport) – Add Menu: While not strictly a rendering hotkey, `Shift + A` is used constantly to add lights, cameras, and environment probes, all fundamental components of a successful render setup. For instance, quickly add an Area Light for a studio setup or a Sun light for outdoor automotive scenes.
* Numpad 0 – Camera View: As mentioned in navigation, `Numpad 0` quickly switches to your active camera’s view. This is crucial for framing your shots and assessing composition before rendering.
* J – Swap Render Slot (in Image Editor): After rendering, in the Image Editor, you can press ‘J’ to cycle through render slots. This allows for quick A/B comparisons between different render settings, lighting setups, or material variations for your car models.
* Ctrl + J – Join Objects: Select multiple objects and press `Ctrl + J` to combine them into a single mesh. This is extremely important for game assets and AR/VR, as it reduces draw calls (each object requires a draw call), improving real-time performance. For instance, joining all individual car parts (body, wheels, interior) into one object (or a few logical objects) dramatically optimizes performance.
* Ctrl + P – Set Parent: With a child object selected, then the parent object, `Ctrl + P` brings up the Set Parent menu. This is vital for rigging and animation, allowing parts of your car model (like wheels, doors) to move relative to the main body, or for hierarchical organization for export to game engines.
* **F3 – Search (Export/Import):** While not a direct hotkey for the operation, `F3` (or `Spacebar`) followed by typing “export” or “import” quickly brings up options to export your models to formats like FBX, OBJ, GLB, or USDZ. These formats are standard for game engines (Unity, Unreal Engine) and AR/VR platforms. Efficient export is critical for asset integration. When exporting 3D car models from marketplaces like 88cars3d.com, ensuring clean export settings helps with their integration into your engine of choice.
* **Ctrl + S – Save File:** The most important hotkey! Regularly saving your work (with iterative saves, e.g., `car_v01.blend`, `car_v02.blend`) is non-negotiable. Blender often supports auto-save, but manual saves prevent data loss.
* **Alt + G, Alt + R, Alt + S – Clear Transformations:** Select an object and use these to reset its location, rotation, or scale to their default values. `Alt + G` clears location, `Alt + R` clears rotation, `Alt + S` clears scale. This is vital before exporting game assets to ensure their transform data is clean and accurate in the game engine.
* **Ctrl + A – Apply Transformations:** After scaling, rotating, or moving an object in Object Mode, its “scale” or “rotation” values might not be 1.0 or 0.0 in the N-panel (Transform tab). `Ctrl + A` brings up the Apply menu, allowing you to “Apply All Transforms” or apply specific ones (like “Scale”). This resets the object’s transform values without changing its visual appearance, which is crucial for correct deformation, parenting, and export to game engines and other software. Many issues with game assets (e.g., incorrect scaling in Unity) stem from unapplied transforms.
By strategically employing these hotkeys, artists can ensure their 3D car models are not only visually compelling but also technically optimized for the diverse requirements of modern rendering, game development, and immersive AR/VR experiences. This level of efficiency allows for seamless integration and deployment of assets across various production pipelines.
Mastering Blender’s keyboard shortcuts is not merely about saving a few clicks; it’s about fundamentally transforming your interaction with the 3D environment. For 3D artists dedicated to automotive design, realistic rendering, and game asset development, the journey from novice to expert is paved with a deep understanding of these powerful hotkeys. They eliminate cognitive load, allowing your brain to stay focused on the creative challenges of form, texture, and light, rather than navigating menus. This fluid, uninterrupted workflow is critical when striving for the intricate details and high fidelity demanded by professional projects.
The efficiency gained through hotkey mastery directly translates to higher productivity and better quality outputs. Whether you’re meticulously sculpting the contours of a high-performance vehicle, optimizing polygon counts for a real-time game, or preparing a detailed 3D car model for a visually stunning architectural visualization, these shortcuts empower you to execute complex operations with speed and precision. They are the backbone of a streamlined pipeline, ensuring that every hour spent in Blender is maximized for creative output. Platforms like 88cars3d.com thrive on the quality of their 3D car models, and the ability to efficiently create or modify such assets is a hallmark of a professional artist.
To truly integrate these shortcuts into muscle memory, consistent practice is key. Start by focusing on a few essential hotkeys each day, using them until they become second nature. Over time, you’ll find your speed and confidence skyrocket, allowing you to tackle increasingly complex projects with ease. The investment in learning these shortcuts pays dividends across your entire career, enhancing your ability to deliver professional-grade 3D car models, game assets, and visualizations. Embrace the power of Blender’s hotkeys, and unlock a new realm of efficiency and creativity in your 3D artistic journey.
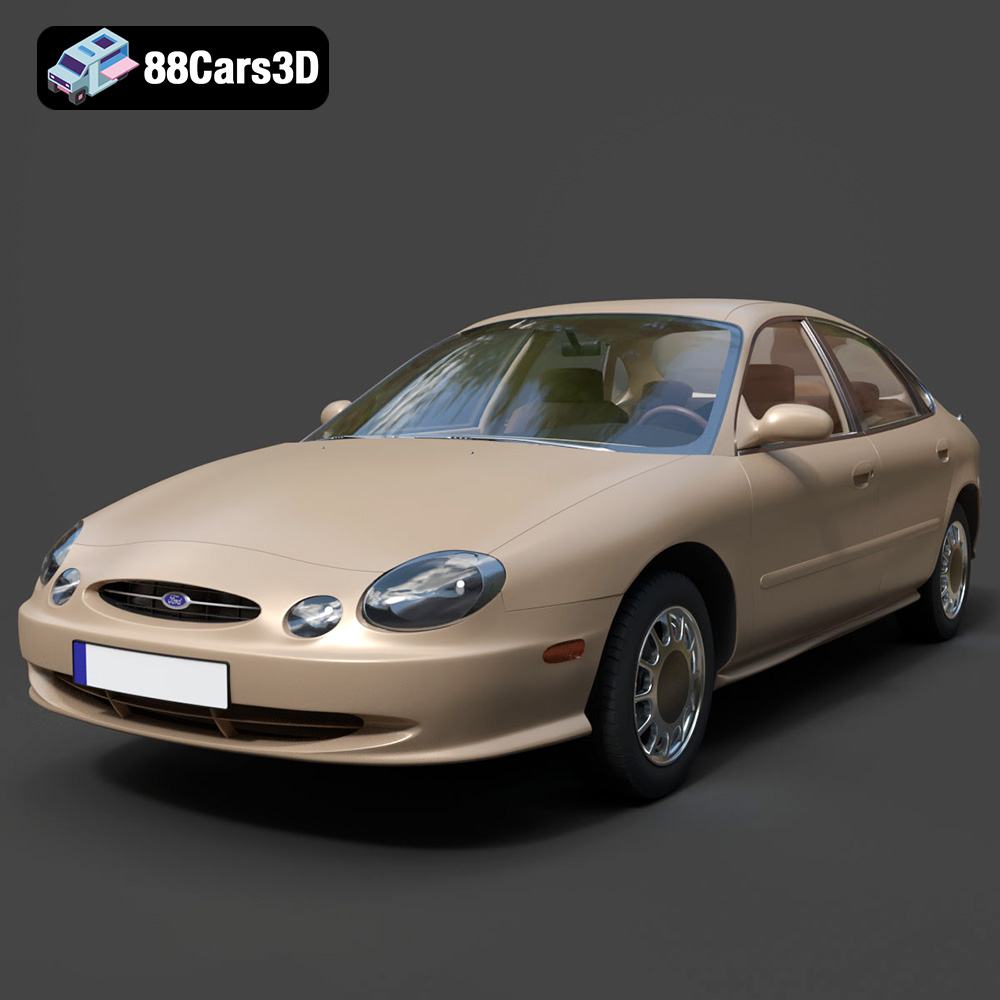
Texture: Yes | Material: Yes
Download the highly detailed, game-ready Ford Taurus 1996 3D Model. Features revolutionary oval exterior styling, detailed interior, and accurate chassis geometry. Includes .blend, .fbx, .obj, .glb, .stl, .ply, .unreal, and .max formats for game development, AR/VR, and rendering.
Price: $161.00
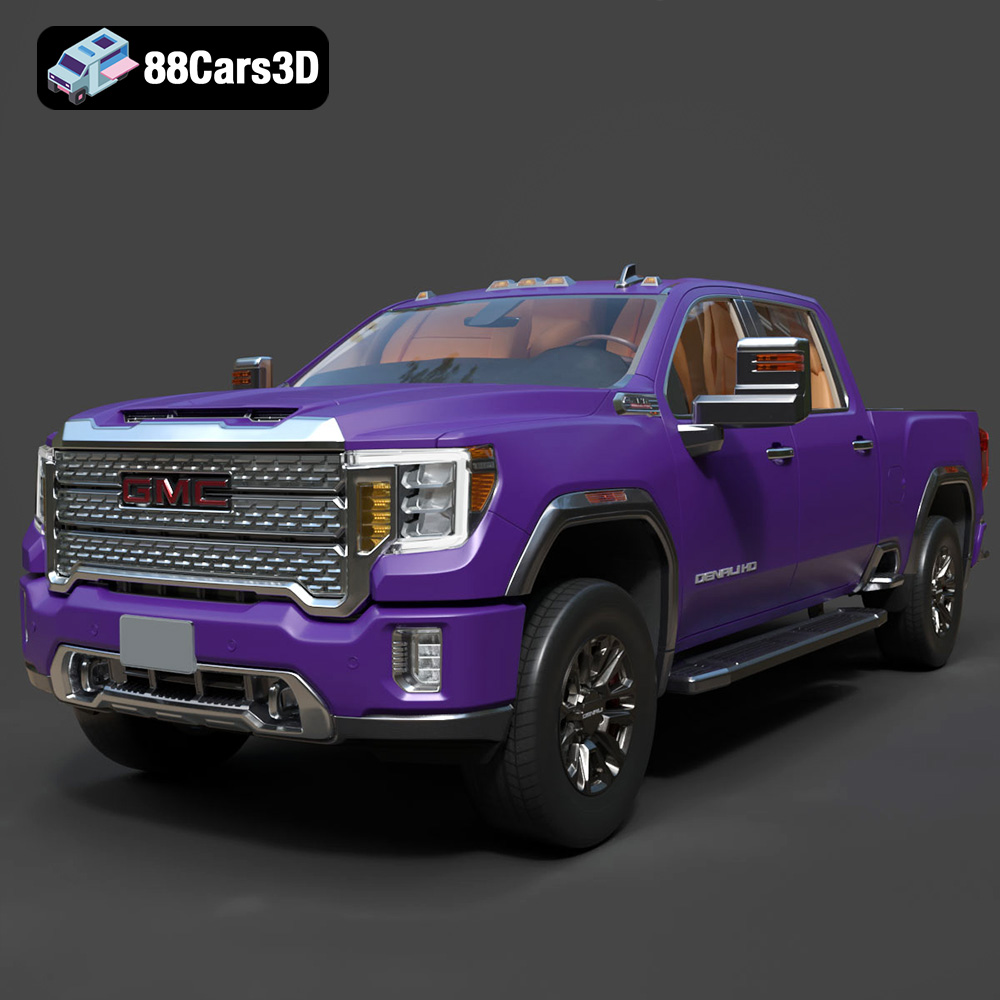
Texture: Yes | Material: Yes
Download the highly detailed, game-ready GMC Sierra HD Denali 2020 3D Model. Features iconic chrome Denali grille, detailed MultiPro tailgate, and heavy-duty chassis styling. Includes .blend, .fbx, .obj, .glb, .stl, .ply, .unreal, and .max formats for game development, AR/VR, and rendering.
Price: $274.50
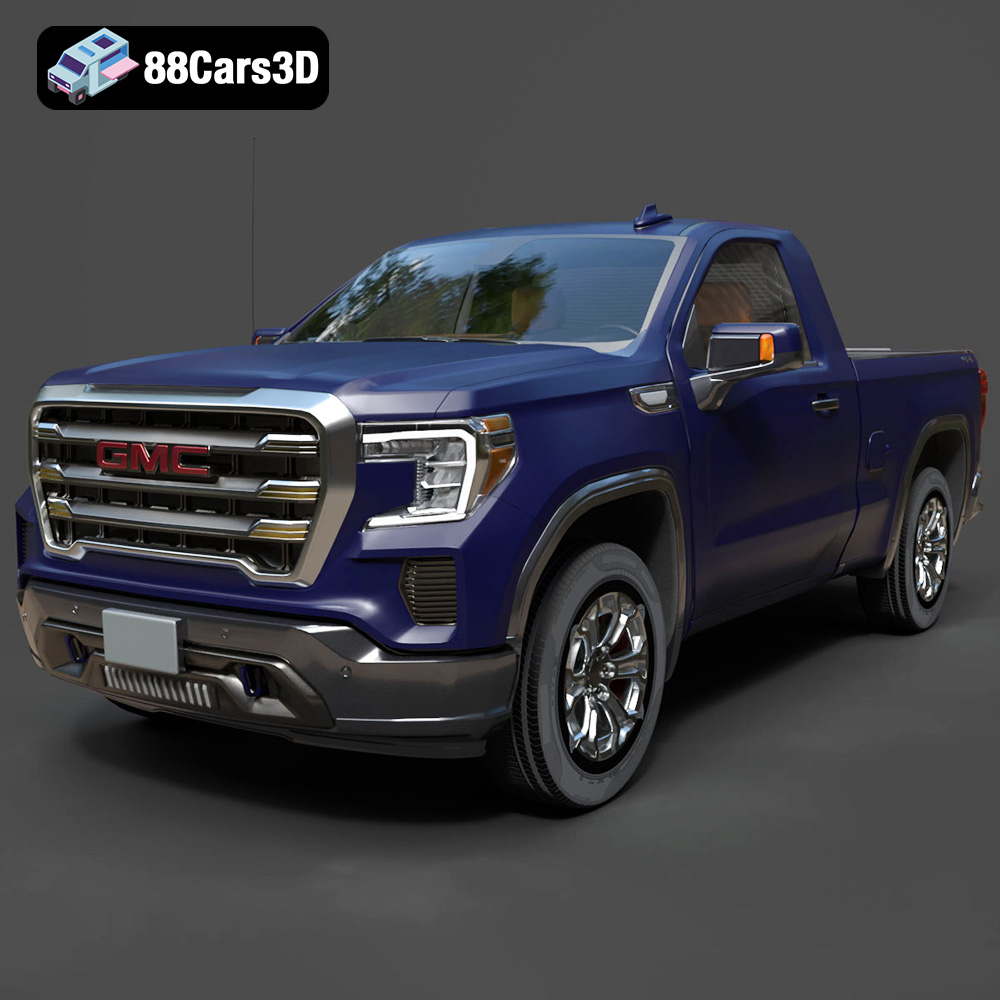
Texture: Yes | Material: Yes
Download the highly detailed, game-ready GMC Sierra Reg SLE 1500 2020 3D Model. Features bold pickup styling, detailed exterior trim, accurate undercarriage, and realistic cabin. Includes .blend, .fbx, .obj, .glb, .stl, .ply, .unreal, and .max formats for game development, AR/VR, and rendering.
Price: $133.50
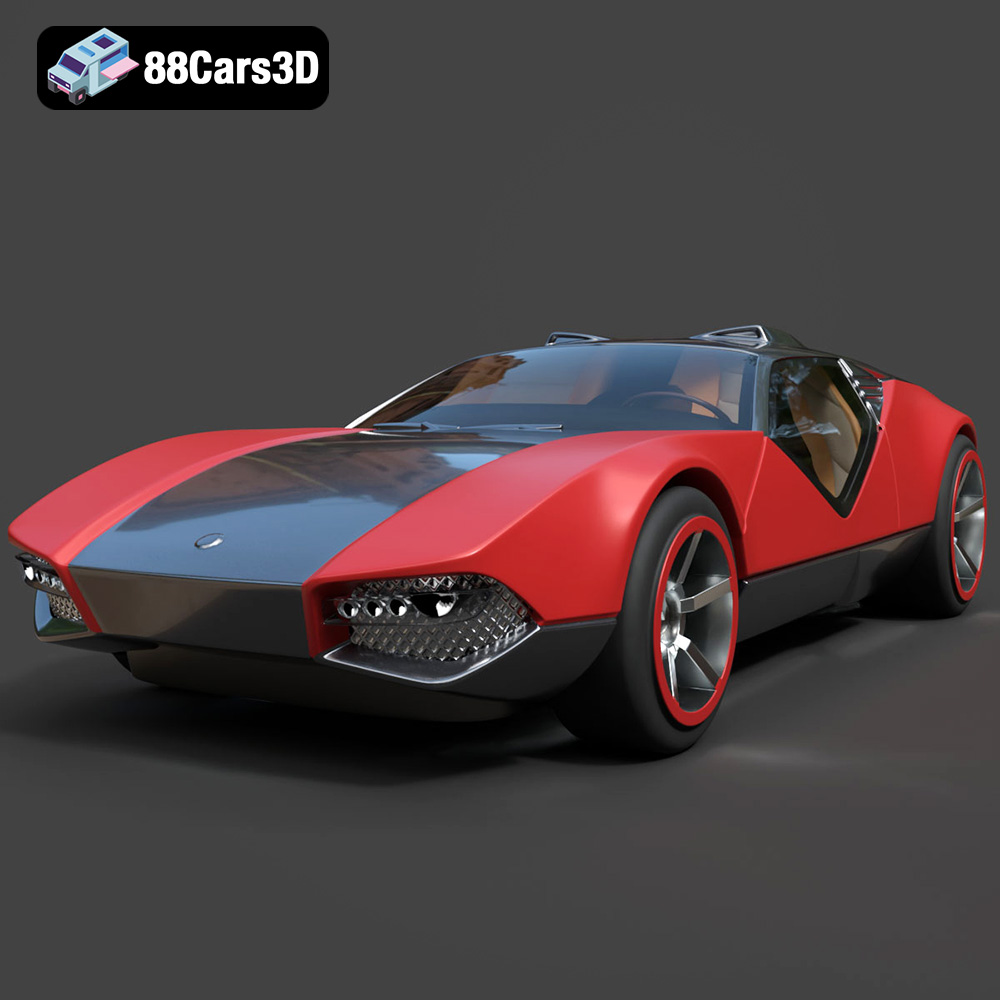
Texture: Yes | Material: Yes
Download the highly detailed, game-ready Hot Wheels La Fasta 3D Model. Features aggressive aerodynamic bodywork, custom racing wheels, and futuristic interior details. Includes .blend, .fbx, .obj, .glb, .stl, .ply, .unreal, and .max formats for game development, AR/VR, and rendering.
Price: $133.00
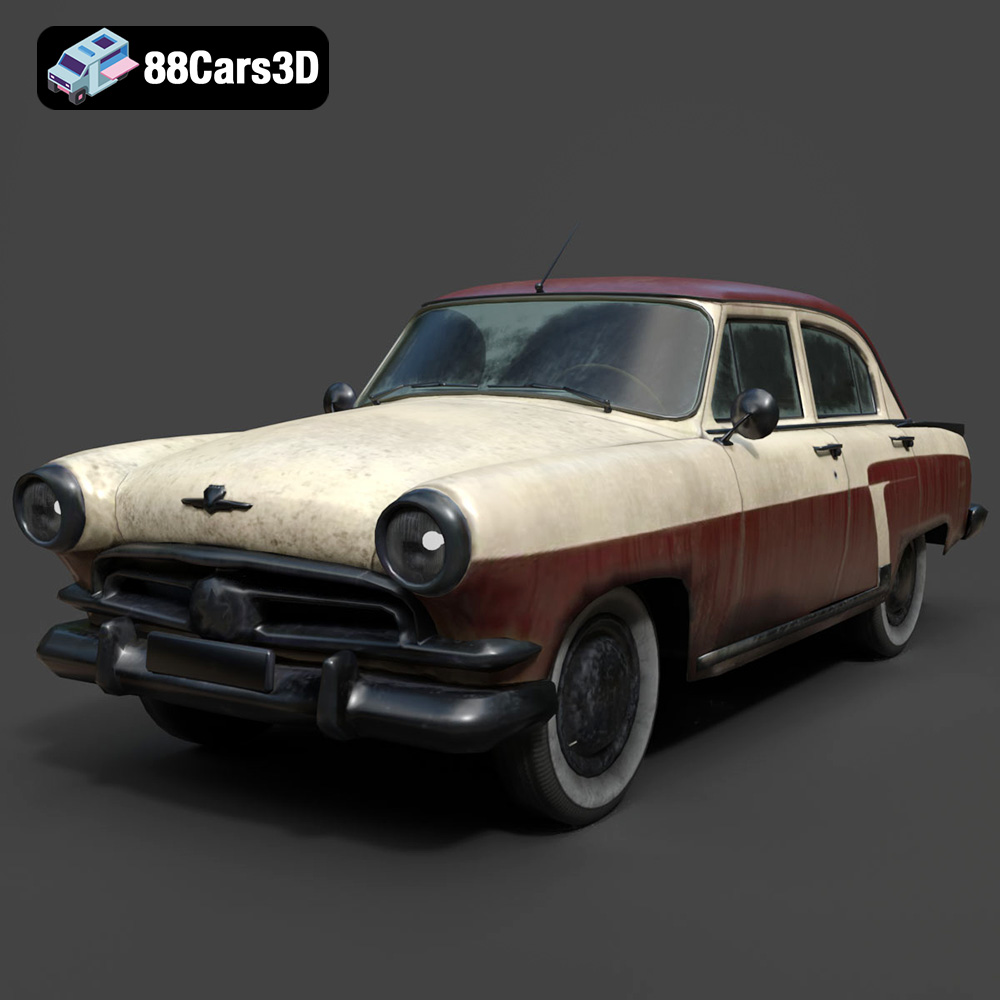
Texture: Yes | Material: Yes
Download the highly detailed, game-ready GAZ-21 Volga 3D Model. Features classic Soviet body geometry, iconic front grille, and detailed exterior chrome accents. Includes .blend, .fbx, .obj, .glb, .stl, .ply, .unreal, and .max formats for game development, AR/VR, and rendering.
Price: $99.99
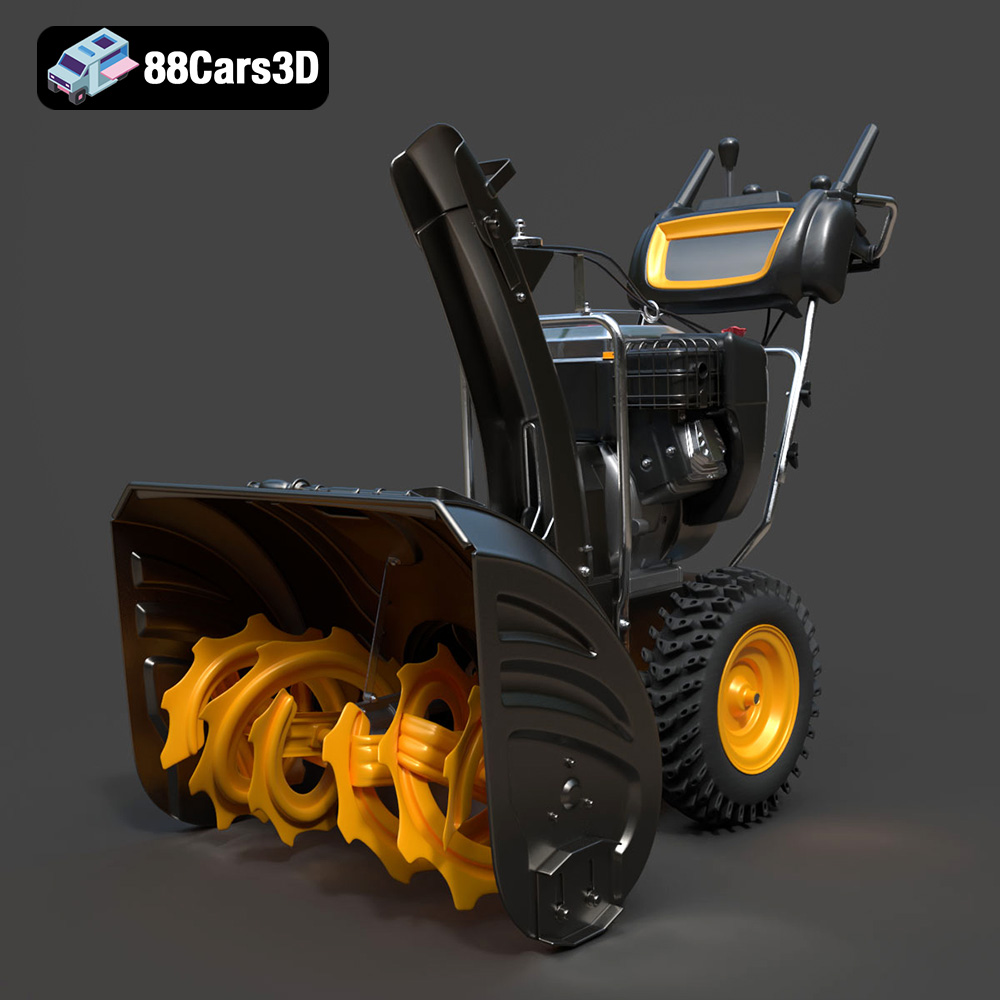
Texture: Yes | Material: Yes
Download the highly detailed, game-ready Husqvarna Snow Plow 3D Model. Features heavy-duty front plow blade, robust chassis, and realistic mechanical controls. Includes .blend, .fbx, .obj, .glb, .stl, .ply, .unreal, and .max formats for game development, AR/VR, and rendering.
Price: $145.50
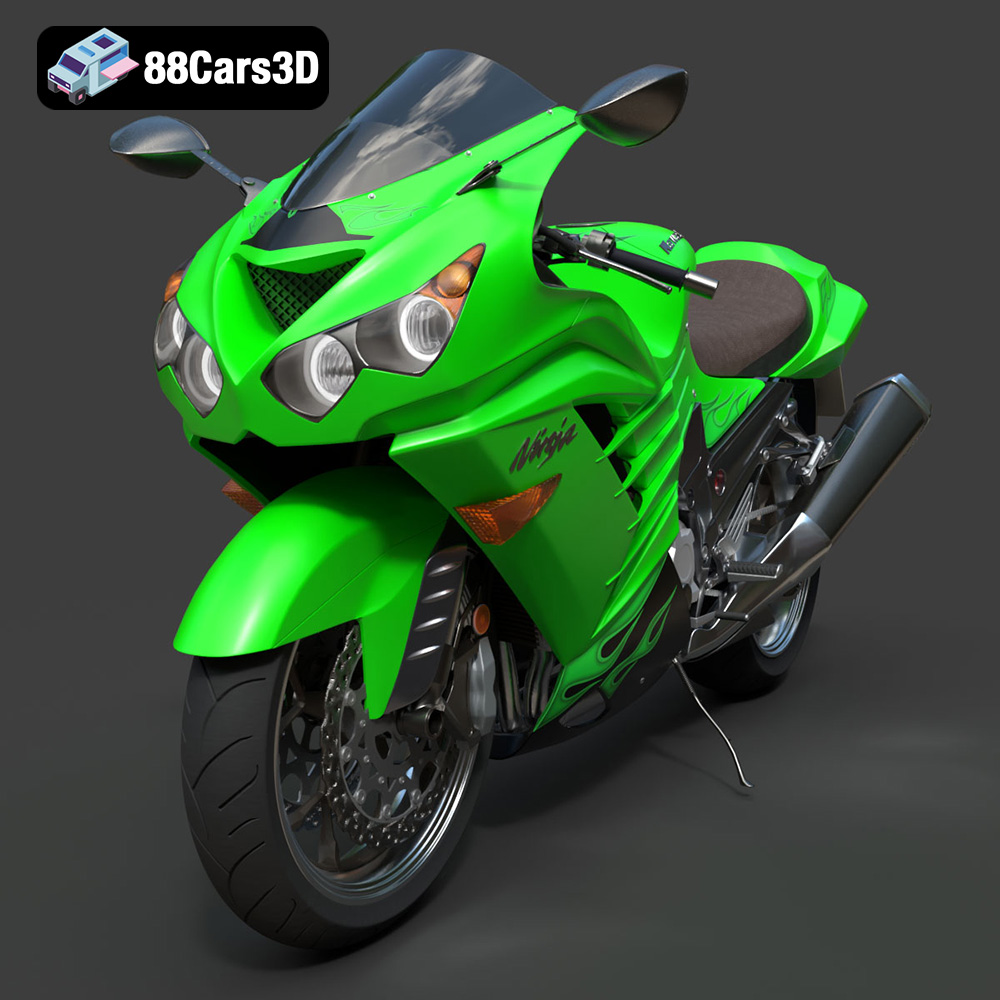
Texture: Yes | Material: Yes
Download the highly detailed, game-ready Kawasaki ZX14R 2012 3D Model. Features aggressive hyper-sport fairings, detailed inline-four engine, and iconic dual exhausts. Includes .blend, .fbx, .obj, .glb, .stl, .ply, .unreal, and .max formats for game development, AR/VR, and rendering.
Price: $170.00
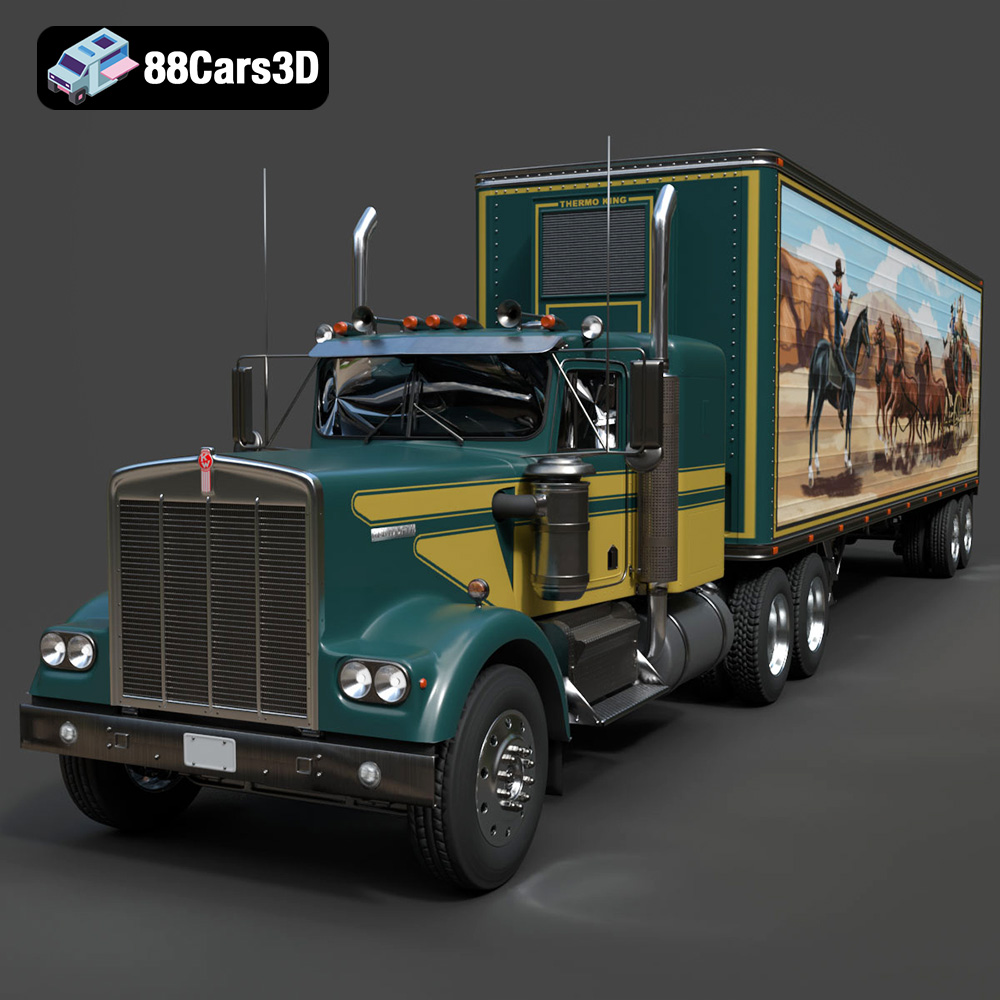
Texture: Yes | Material: Yes
Download the highly detailed, game-ready Kenworth W900 1974 3D Model. Features classic long-nose hood styling, detailed chrome exhaust stacks, and realistic dual tandem axles. Includes .blend, .fbx, .obj, .glb, .stl, .ply, .unreal, and .max formats for game development, AR/VR, and rendering.
Price: $299.50
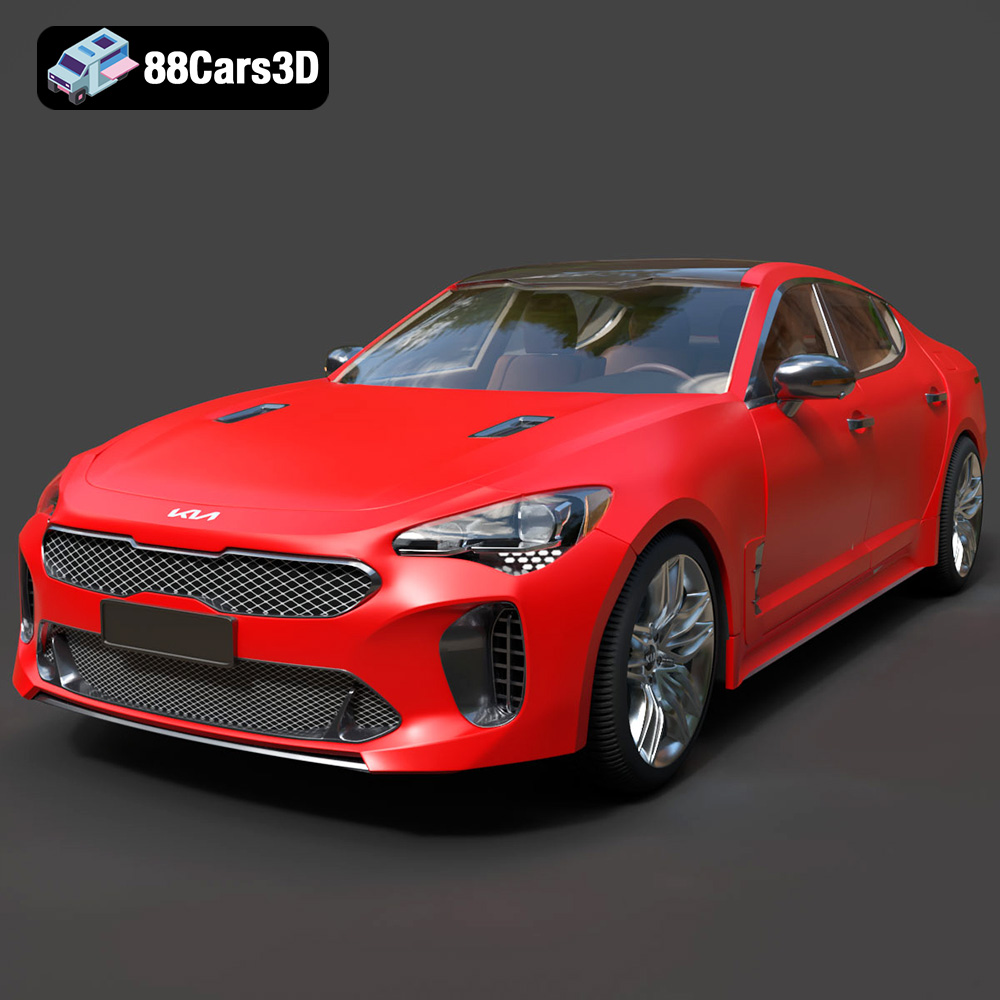
Texture: Yes | Material: Yes
Download the highly detailed, game-ready Kia Stinger 2021 3D Model. Features tiger-nose grille styling, quad exhaust tips, and high-fidelity interior details. Includes .blend, .fbx, .obj, .glb, .stl, .ply, .unreal, and .max formats for game development, AR/VR, and rendering.
Price: $299.50
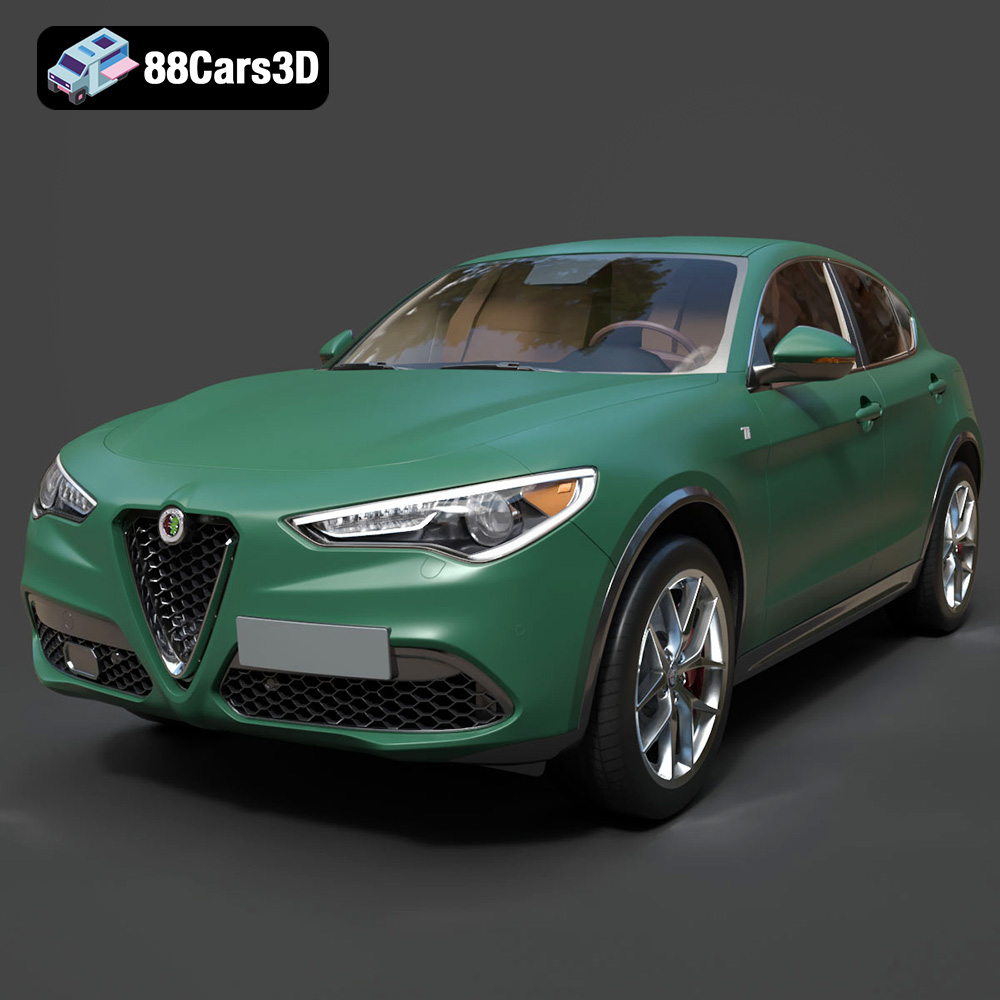
Texture: Yes | Material: Yes
Download the highly detailed, game-ready Alfa Romeo Stelvio Ti 2020 3D Model. Features signature Italian luxury SUV styling, detailed interior, and accurate chassis geometry. Includes .blend, .fbx, .obj, .glb, .stl, .ply, .unreal, and .max formats for game development, AR/VR, and rendering.
Price: $237.99
