

In modern real-time rendering, visual effects (VFX) serve as the vital bridge between static geometric accuracy and cinematic immersion. Whether you are developing a AAA racing title, crafting an interactive virtual showroom, or producing high-end automotive commercials, static 3D car models only tell half the story. The true realism emerges when high-fidelity vehicle assets interact dynamically with their environment—through glowing brake rotors, dynamic tire smoke, backfiring exhaust flames, atmospheric dust motes, and surface-bound rain splashes.
At the heart of Unreal Engine 5’s visual effects capability is the Niagara VFX System. Built from the ground up to replace the legacy Cascade system, Niagara offers unprecedented control, node-based flexibility, massively parallel GPU performance, and deep integration with Unreal Engine’s core rendering features like Lumen, Nanite, and Blueprint visual scripting. In this technical tutorial, we will break down the Niagara VFX architecture and walk step-by-step through creating production-ready automotive effects, optimizing particle pipelines, and integrating dynamic effects into your vehicle visualization workflow.
—
To master Niagara in Unreal Engine 5, developers must understand its modular, hierarchical architecture. Unlike older particle systems that forced artists into rigid, predefined behavior channels, Niagara is built on a flexible stack model powered by programmable modules and customizable data interfaces.
The Niagara framework operates on a clear functional hierarchy composed of Systems, Emitters, and Modules:
Choosing between CPU and GPU execution modes is critical when optimizing real-time rendering projects:
CPU Simulation: Ideal for complex logic, low particle counts (under 1,000 particles), and scenarios requiring direct interaction with game logic, precise collision triggers, or physical feedback to Blueprints. CPU emitters offer exact per-particle evaluation but hit bottlenecks quickly under high density.
GPU Compute Simulation: Harnesses the massive parallel processing of modern graphics cards to drive millions of particles concurrently. GPU emitters are essential for dense environmental dust, heavy tire smoke, high-velocity sparks, and rain spray. To achieve smooth frame rates, GPU particles utilize Vector Fields and Distance Fields for realistic environmental collision without tanking the frame budget.
Niagara’s power lies in its ability to read data from external sources using Data Interfaces. These interfaces allow Niagara emitters to sample data directly from 3D car models, Skeletal Meshes, Landscape heightmaps, Audio sub-mixes, and spatial grid simulations. Custom particle payloads can store variables such as age, velocity, custom vectors, and surface normals, enabling complex physical interactions across the entire vehicle dynamic lifecycle.
—
Real-time automotive rendering demands high precision. Vehicle visual effects must synchronize perfectly with wheel speeds, throttle inputs, and lighting environments to ensure photorealism.
An authentic vehicle exhaust effect consists of three distinct layers: high-temperature gas displacement (heat haze), instantaneous combustion flames, and residual carbon smoke.
High-friction tire smoke and metallic sparks are crucial for drift mechanics and high-speed cornering visualization. To create a realistic drift sequence:
Set up a GPU Emitter with particle lifetime linked to wheel slip ratios derived from your vehicle physics dynamic script. Combine a Sprite Renderer for dense volume with a Ribbon Renderer for bright friction sparks. Sparks should utilize high linear velocity, gravity acceleration, and a dynamic Scene Depth Collision module so they bounce off asphalt surfaces and car body panels convincingly.
High-fidelity VFX require meticulous geometry setup. When sourcing high-quality assets from marketplaces such as 88cars3d.com, models arrive with clean topology, dedicated material IDs, precise UV mapping, and proper pivot alignments. This clean structure allows developers to easily attach Niagara Emitters to specific socket locations—such as exhaust tips, brake calipers, and tire contact patches—without tedious manual offset adjustments in Unreal Engine.
—
Adding environmental interaction—such as rain drops colliding with glossy car paint or mud spraying off-road— elevates automotive renders from simple asset previews to cinematic masterpieces.
To simulate rainwater running down high-gloss paintwork, Niagara can sample the surface geometry of your vehicle directly using the Skeletal/Static Mesh Location module.
By assigning your imported vehicle mesh (such as high-detail models available on 88cars3d.com) as the source data interface, Niagara can spawn splash particles directly across the hood, windshield, and roof panels. Use the Sample Mesh Surface Normal feature to align splash sprite vectors perpendicularly to the car body panels. This ensures water droplets splatter naturally outward upon impact rather than clipping through the geometry.
For off-road or rallying simulations, vehicle wheels must kick up dirt, gravel particles, and localized dust clouds. This requires a dual-stage Niagara system:
With Unreal Engine 5’s Lumen global illumination, particle emitters can act as dynamic real-time light sources. By enabling the Emissive Light properties inside the Niagara Material stack, backfire flames, sparks, and electrical FX automatically cast dynamic color reflections onto high-gloss PBR materials, metallic car paints, wet asphalt, and carbon fiber trim.
For detailed guides on configuring PBR materials for automotive visualization, consult the official Unreal Engine Learning Hub, which covers material pipeline setup and rendering parameters.
—
While default Niagara modules cover standard particle behaviors, production-level visual effects often require custom mathematical logic. The Niagara Scratch Pad allows artists and graphics engineers to construct custom modules using visual node graphs or direct HLSL code snippets without compiling custom engine code.
Inside the Scratch Pad editor, you can access underlying HLSL shader code directly. This allows you to write custom algorithms for complex particle forces, vector manipulations, or dynamic color math.
For instance, to build a custom heat distortion falloff module based on particle distance from the exhaust nozzle, you can implement a short HLSL snippet in a custom module script node:
// Example HLSL snippet inside Niagara Scratch Pad
float3 PipeOrigin = User.ExhaustSocketPosition;
float DistanceToOrigin = distance(Particle.Position, PipeOrigin);
float NormalizedDistance = saturate(DistanceToOrigin / User.MaxEffectDistance);

// Attenuate dynamic opacity and thermal refraction over distance
Particle.Opacity = lerp(1.0, 0.0, pow(NormalizedDistance, 2.0));
Particle.Scale = lerp(User.InitialScale, User.MaxScale, NormalizedDistance);
To connect vehicle gameplay physics with visual particle output, you must expose Niagara User Parameters to Blueprint visual scripting. This enables dynamic control over particle properties based on vehicle telemetry.
| Vehicle Telemetry Variable | Target Niagara Parameter | VFX Output Response |
|---|---|---|
| Engine RPM / Throttle Input | User.ExhaustSpawnRate |
Increases exhaust smoke volume and triggers backfire bursts. |
| Vehicle Linear Velocity (Speed) | User.AirDragVelocity |
Stretches particle sprites and forces smoke back along the car body. |
| Brake Temperature Array | User.BrakeGlowIntensity |
Drives red/orange emissive intensity inside the wheel assembly. |
| Tire Lateral Slip Angle | User.TireSmokeParticleDensity |
Scales tire friction smoke generation proportionally to drift intensity. |
Using the Set Niagara Variable by Name Blueprint nodes (e.g., Set Float Variable, Set Vector Variable), developers can feed real-time physics data into Niagara every frame (`Event Tick` or custom dynamic timers), creating responsive effects during gameplay or interactive showroom experiences.
—
Beyond interactive real-time applications, Unreal Engine 5 is widely used for virtual production, film, and high-end cinematic commercials. The Niagara VFX system offers specialized tools for deterministic offline rendering and dynamic camera interaction.
When producing cinematic car trailers in Unreal Engine’s Sequencer, particle timing must be frame-accurate. By adding a Niagara Component Track inside Sequencer, directors can explicitly trigger particle system execution, control user parameters along keyframed curves, and precisely synchronize exhaust backfires or camera-lens dust flashes to match audio cues or cut points.
Standard real-time viewport particle renders often introduce temporal jitter or anti-aliasing artifacts during motion blur evaluation. When outputting final renders using the Movie Render Queue (MRQ), follow these optimization guidelines:
When assembling virtual studio sets or LED wall stages for automotive filming, selecting optimized 3D assets from platforms like 88cars3d.com ensures that vehicle geometry maintains high geometric fidelity without rendering errors, allowing Niagara light emissions and ambient effects to integrate seamlessly with real-world camera tracks.
—
High particle counts, complex pixel shaders, and unoptimized transparency overdraw can quickly compromise real-time frame rates. Maintaining target performance (e.g., 60 FPS in games, 90 FPS in VR, or steady rates in virtual production) requires systematic optimization.
Particle overdraw—where multiple layers of semi-transparent sprites stack on top of one another—is one of the most common GPU bottlenecks in real-time visualization. Implement these strategies to minimize rendering overhead:
Unreal Engine 5 includes robust built-in profiling tools specifically for particle evaluation. Use the following console commands and visual tools during profiling runs:
// Useful Niagara Console Commands for Performance Debugging
fx.Niagara.Debug.Enabled 1
stat Niagara
stat GPU
The stat Niagara overlay displays real-time statistics, including active Emitter counts, particle counts, CPU tick execution time (ms), and GPU simulation time (ms). If your GPU execution time exceeds 2.0 ms per frame for particle effects, optimize your particle lifespan, lower initial spawn rates, or downsample translucent particle rendering resolutions.
—
The Niagara VFX System in Unreal Engine 5 gives 3D artists, game developers, and automotive visualization experts complete creative and technical control over particle effects. By combining CPU-driven logic with GPU-accelerated computing, custom HLSL Scratch Pad scripting, and dynamic Blueprint integration, developers can transform static renders into photorealistic, interactive environments.
To start creating your own high-impact automotive scenes, explore the expertly modeled, production-ready assets available at 88cars3d.com. Pair these high-detail vehicle models with the Niagara VFX workflows outlined in this tutorial to build high-end real-time automotive visualization projects in Unreal Engine 5 today.
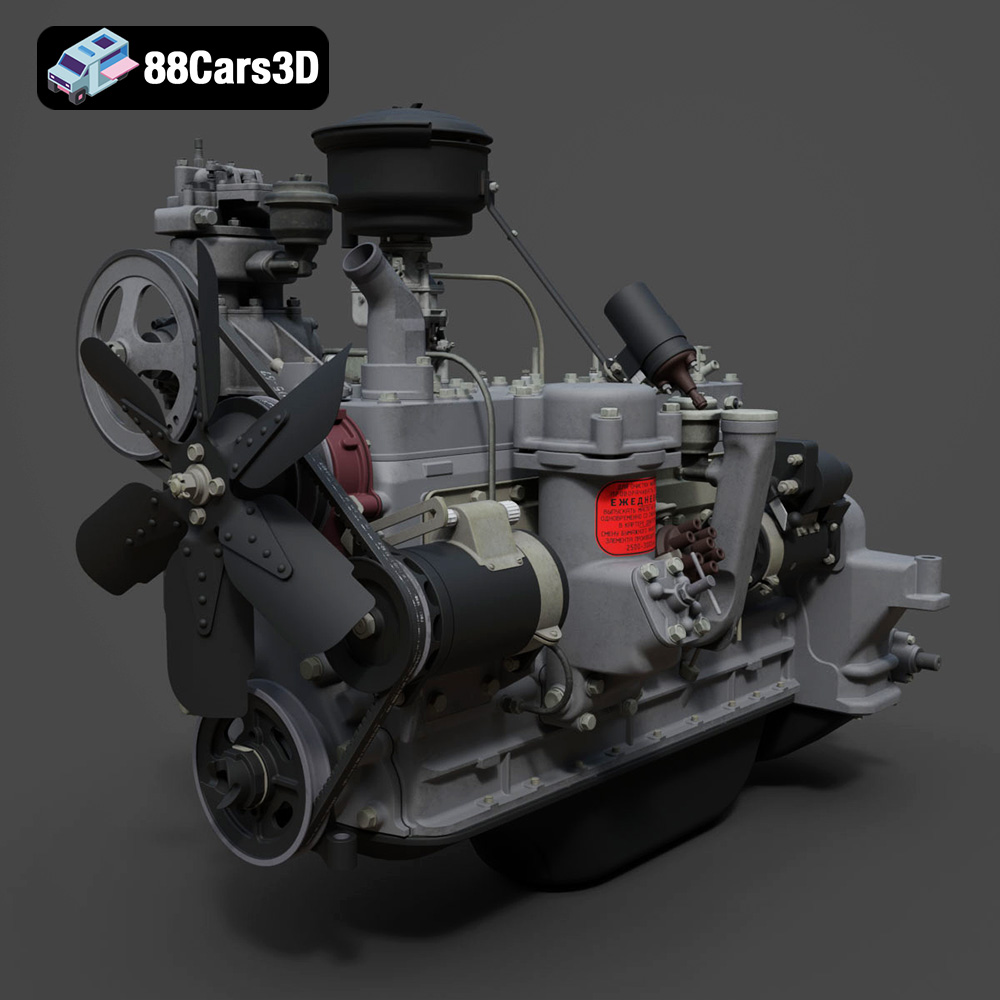
Texture: Yes | Material: Yes
Download the highly detailed, game-ready ZIL-157 Engine 3D Model. Features authentic inline-6 block geometry, intake and exhaust manifolds, and detailed carburetor assembly. Includes .blend, .fbx, .obj, .glb, .stl, .ply, .unreal, and .max formats for game development, AR/VR, and rendering.
Price: $203.50
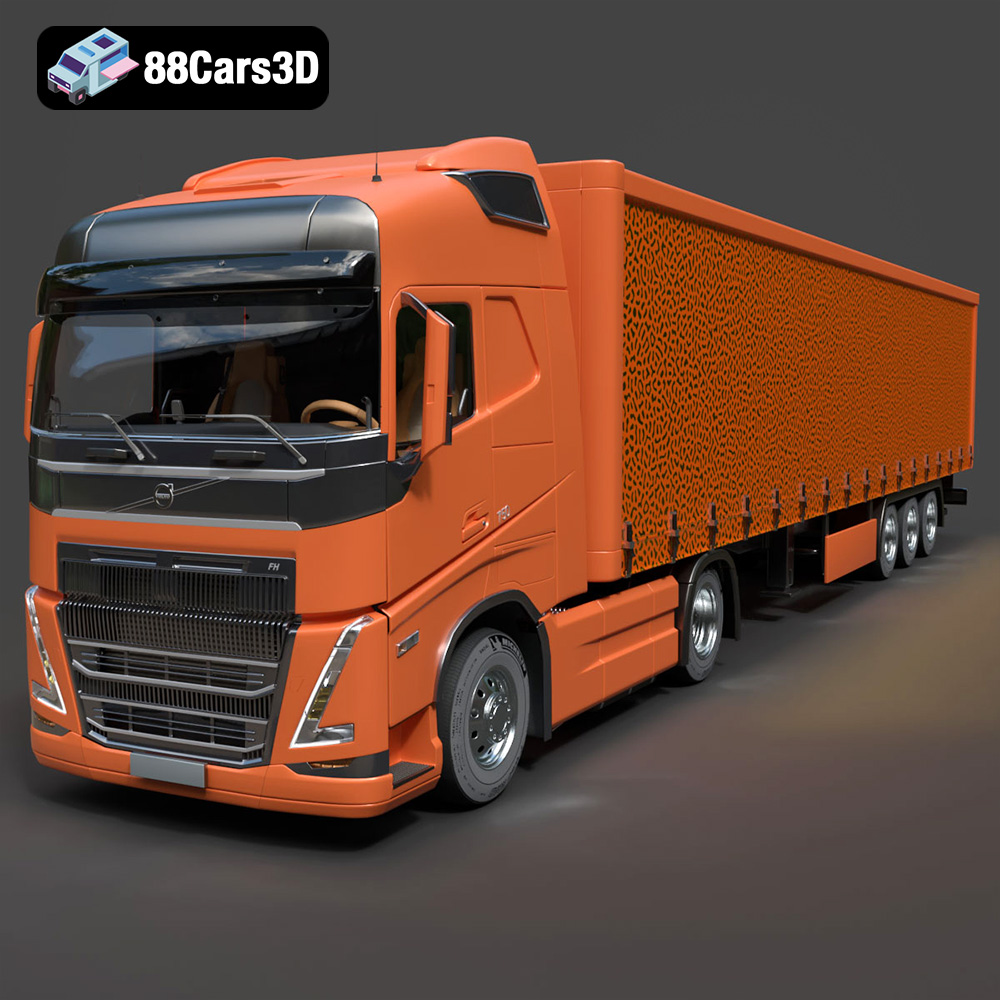
Texture: Yes | Material: Yes
Download the highly detailed, game-ready Volvo FH16 3D Model. Features aerodynamic Globetrotter cab styling, high-detail chassis and drivetrain, and realistic exterior lighting. Includes .blend, .fbx, .obj, .glb, .stl, .ply, .unreal, and .max formats for game development, AR/VR, and rendering.
Price: $299.50
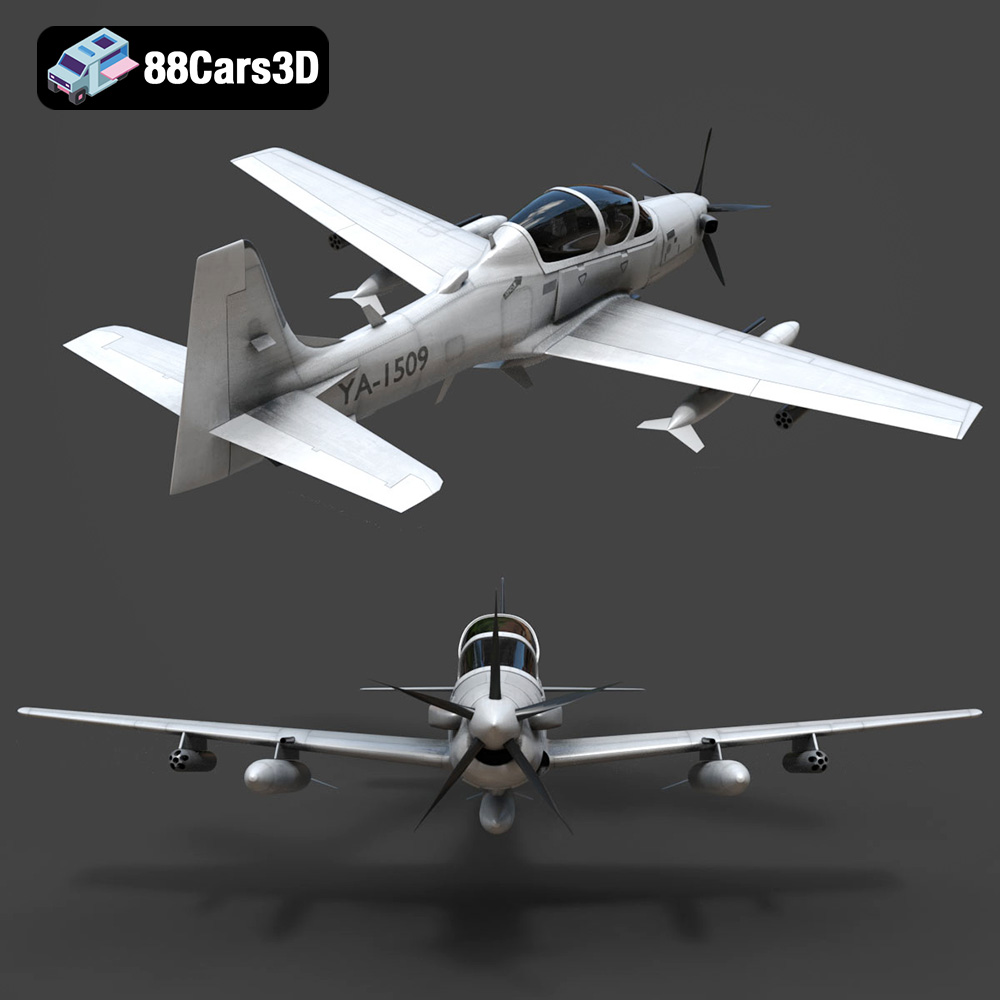
Texture: Yes | Material: Yes
Download the highly detailed, game-ready Embraer A-29 Super Tucano 3D Model. Features authentic military turboprop airframe, detailed glass cockpit, and precision armament hardpoints. Includes .blend, .fbx, .obj, .glb, .stl, .ply, .unreal, and .max formats for game development, AR/VR, and rendering.
Price: $99.99
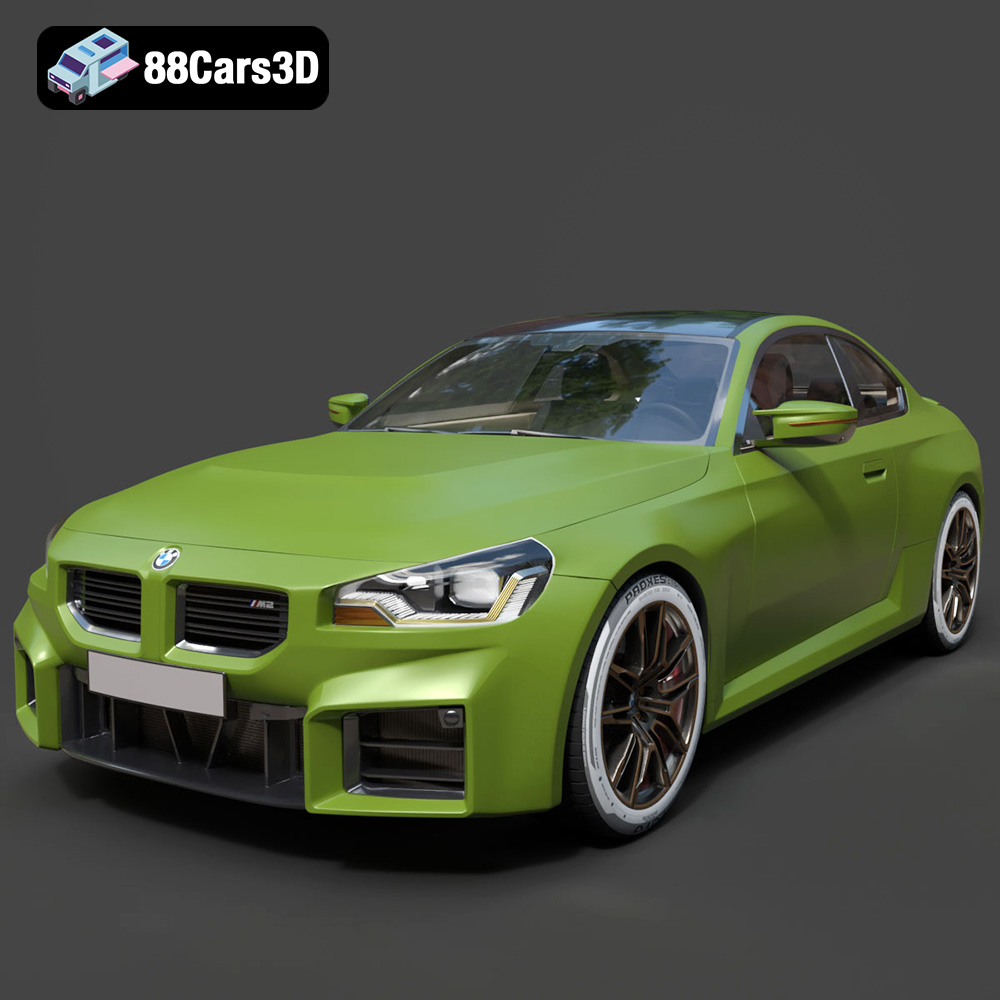
Texture: Yes | Material: Yes
Download the highly detailed, game-ready BMW M2 3D Model. Features aggressive widebody styling, quad exhaust diffuser, and a fully rendered cockpit interior. Includes .blend, .fbx, .obj, .glb, .stl, .ply, .unreal, and .max formats for game development, AR/VR, and rendering.
Price: $283.00
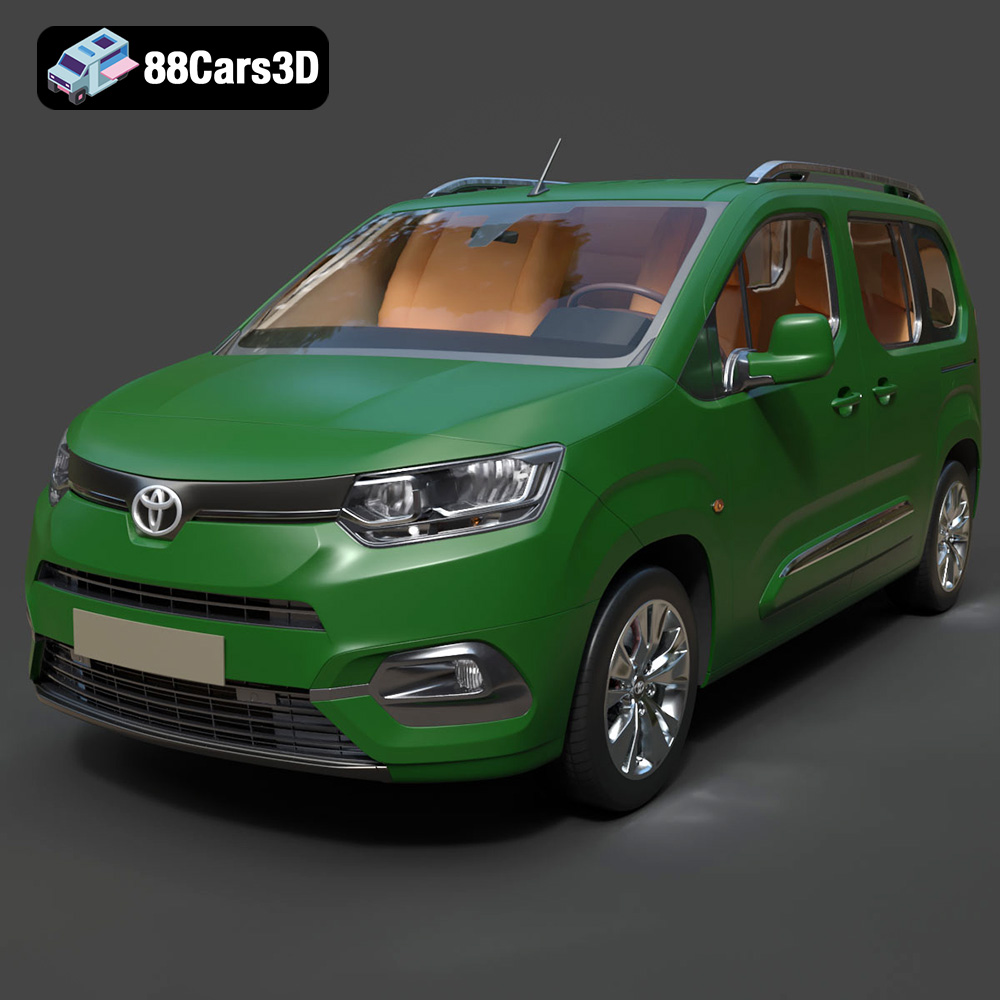
Texture: Yes | Material: Yes
Download the highly detailed, game-ready Toyota ProAce City 2020 3D Model. Features accurate exterior paneling, detailed interior cockpit, and authentic lighting units. Includes .blend, .fbx, .obj, .glb, .stl, .ply, .unreal, and .max formats for game development, AR/VR, and rendering.
Price: $266.50
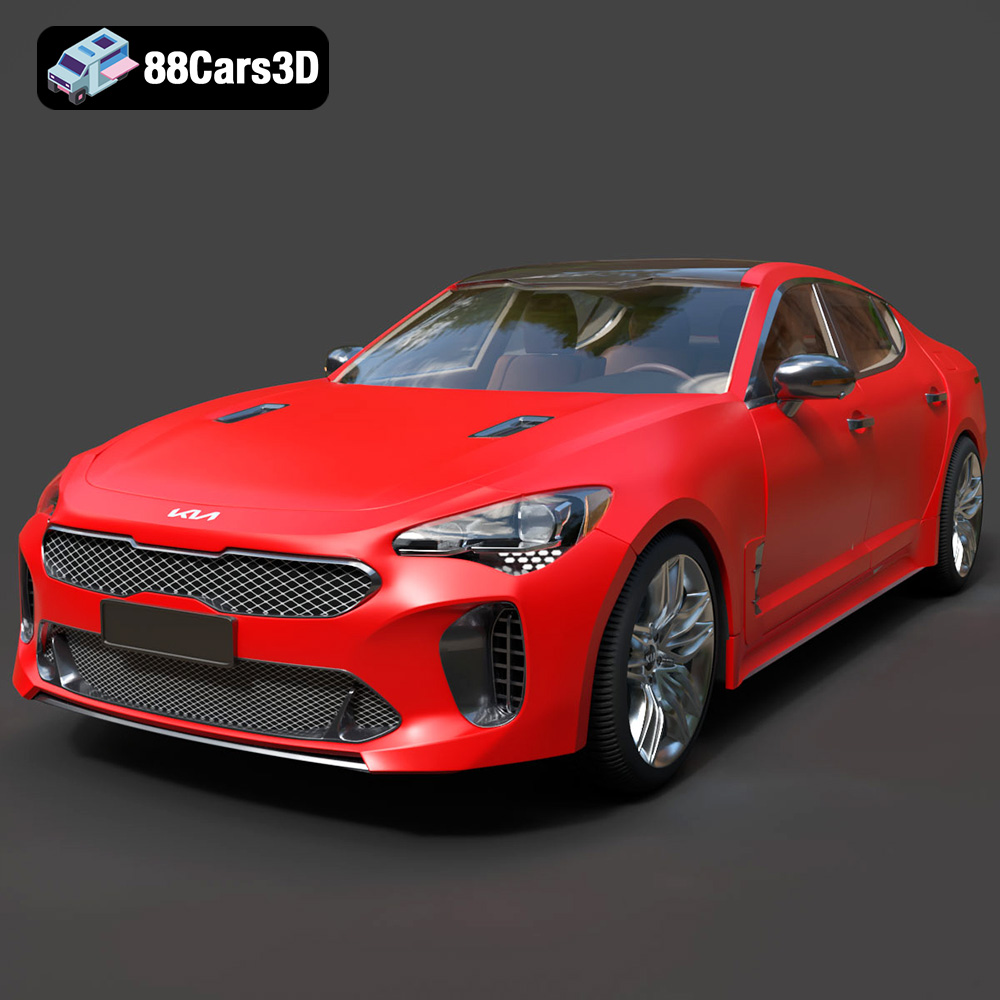
Texture: Yes | Material: Yes
Download the highly detailed, game-ready Kia Stinger 2021 3D Model. Features tiger-nose grille styling, quad exhaust tips, and high-fidelity interior details. Includes .blend, .fbx, .obj, .glb, .stl, .ply, .unreal, and .max formats for game development, AR/VR, and rendering.
Price: $299.50
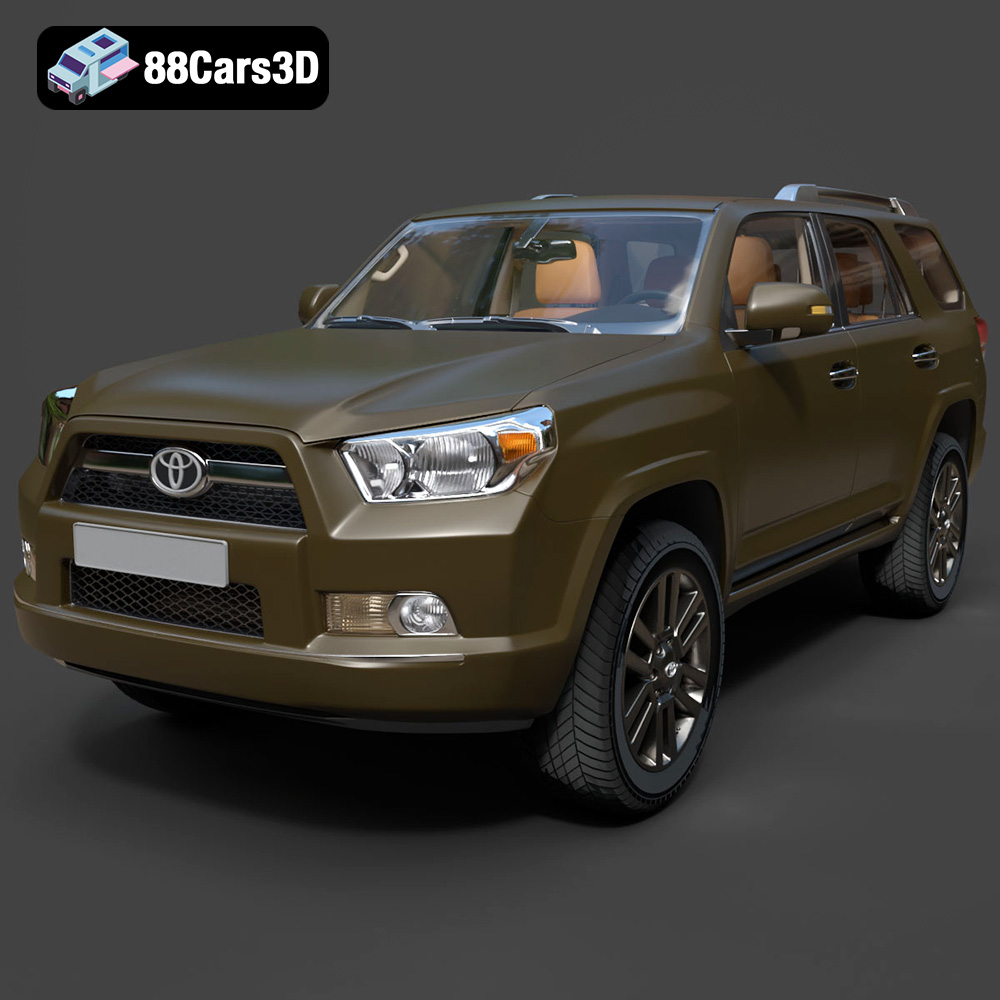
Texture: Yes | Material: Yes
Download the highly detailed, game-ready Toyota 4Runner 2009 3D Model. Features rugged SUV body styling, detailed multi-spoke alloy wheels, and a fully rendered interior. Includes .blend, .fbx, .obj, .glb, .stl, .ply, .unreal, and .max formats for game development, AR/VR, and rendering.
Price: $299.50
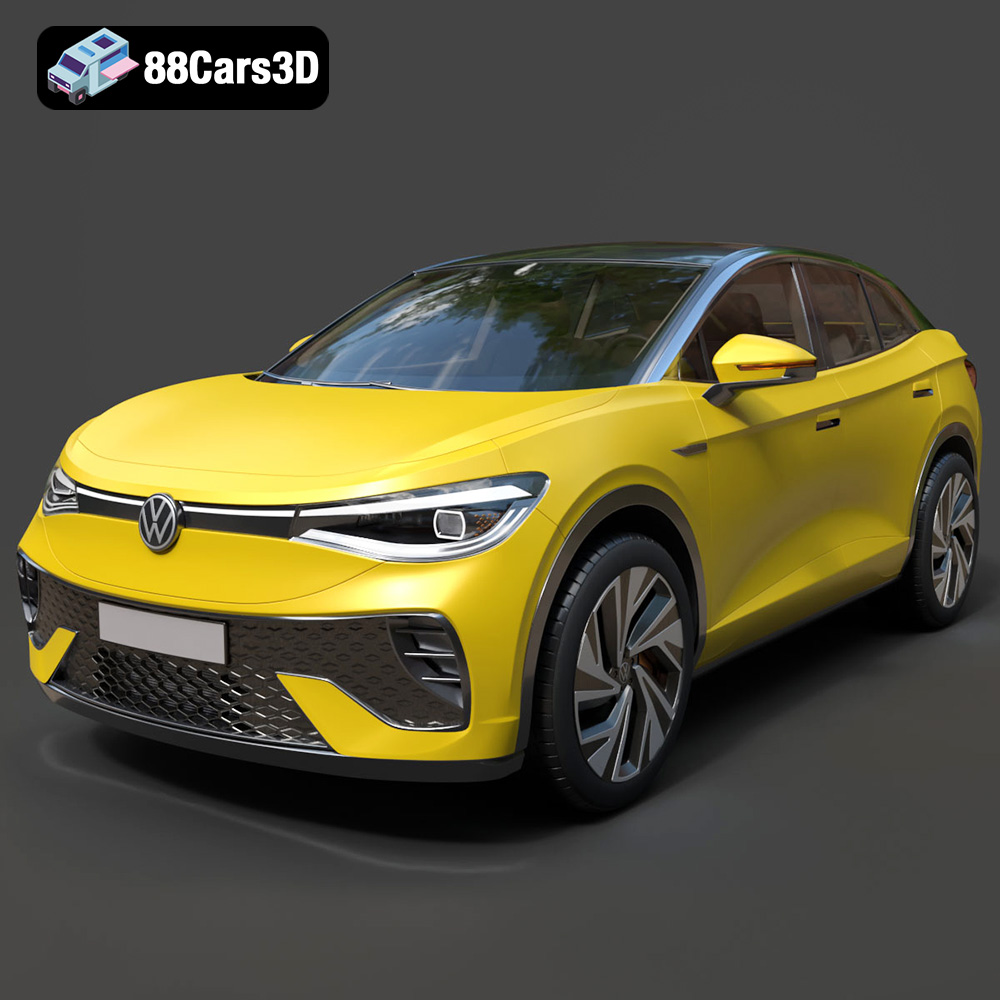
Texture: Yes | Material: Yes
Download the highly detailed, game-ready Volkswagen ID5 2022 3D Model. Features an aerodynamic SUV coupe body, signature IQ.Light matrix LED illumination, and a modern digital interior. Includes .blend, .fbx, .obj, .glb, .stl, .ply, .unreal, and .max formats for game development, AR/VR, and rendering.
Price: $299.50
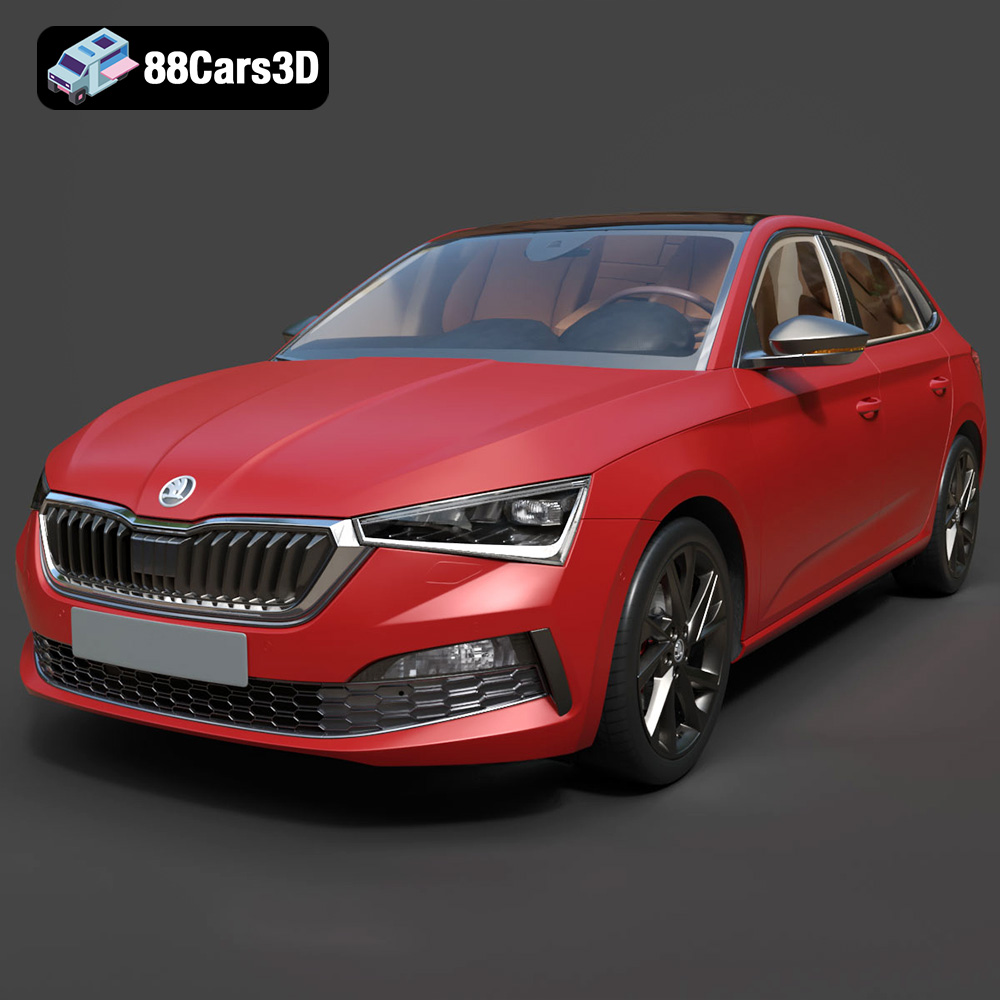
Texture: Yes | Material: Yes
Download the highly detailed, game-ready Skoda Scala 2019 3D Model. Features signature crystalline styling, fully modeled interior, and realistic textures. Includes .blend, .fbx, .obj, .glb, .stl, .ply, .unreal, and .max formats for game development, AR/VR, and rendering.
Price: $233.50
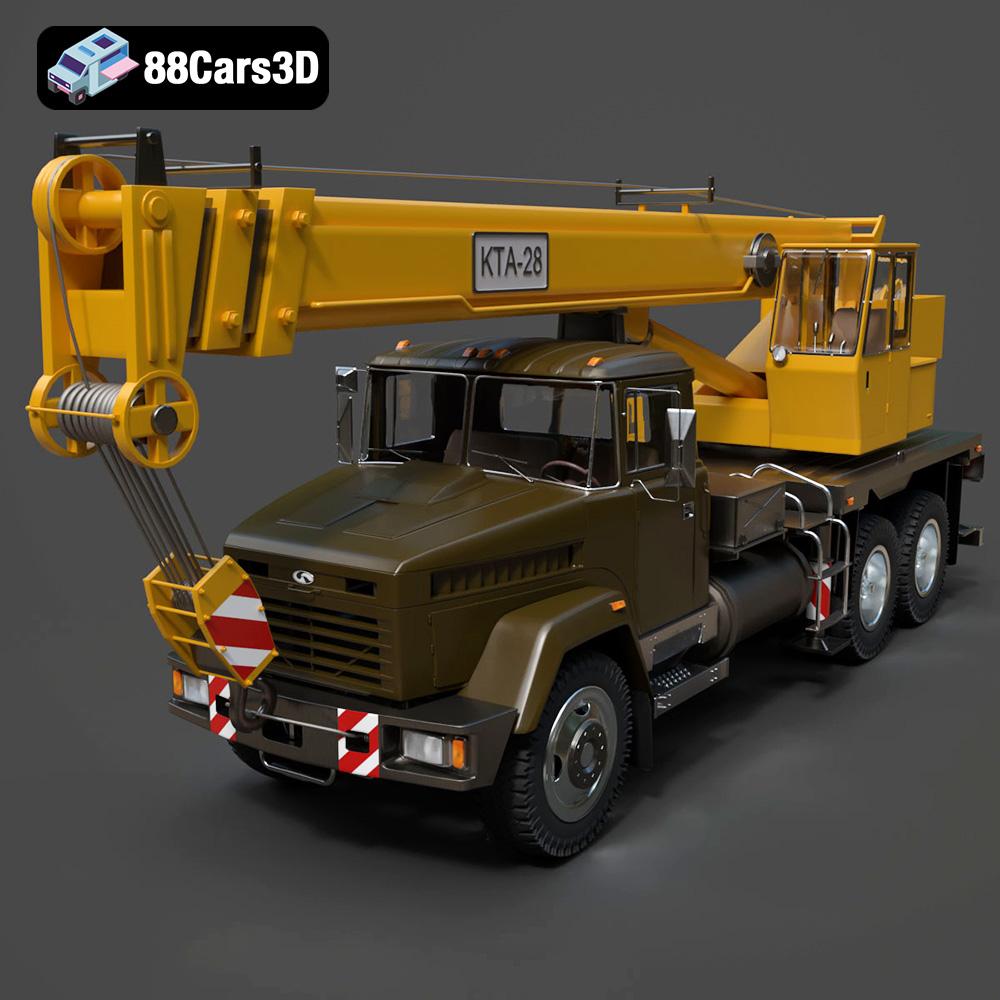
Texture: Yes | Material: Yes
Download the highly detailed, game-ready KrAZ 65053 KTA-28 2008 3D Model. Features fully articulated telescoping crane boom, rugged 6×4 heavy-duty chassis, and highly detailed operator cabins. Includes .blend, .fbx, .obj, .glb, .stl, .ply, .unreal, and .max formats for game development, AR/VR, and rendering.
Price: $299.50
