

In the vibrant world of 3D visualization, where every detail can elevate a model from good to breathtaking, mastering realistic materials is paramount. For automotive design, game development, and high-fidelity rendering, the interplay of light and surface on materials like glass and chrome can define the perceived quality of an entire scene. These elements, often overlooked in their complexity, are critical for conveying luxury, speed, and precision in 3D car models. This comprehensive guide will delve deep into the art and science of creating impeccable glass and chrome materials in Blender, a powerful open-source 3D software.
We’ll explore the underlying principles of Physically Based Rendering (PBR), walk through step-by-step workflows for crafting both materials, discuss the vital role of lighting and environment, and touch upon advanced rendering and optimization techniques. Whether you’re an aspiring 3D artist, a seasoned game developer, or a visualization professional seeking to push the boundaries of realism, understanding these core material properties is essential. By the end of this journey, you’ll possess the knowledge to transform your automotive renders from merely presentable to truly captivating, equipping you with the skills to bring your automotive rendering projects to life with unparalleled authenticity.
At the heart of creating realistic materials in modern 3D rendering lies the concept of Physically Based Rendering (PBR). PBR aims to simulate how light interacts with surfaces in a physically accurate way, resulting in materials that look correct under any lighting condition. This approach significantly simplifies the artist’s workflow compared to traditional, empirical material creation, as it relies on real-world properties. For both glass and chrome, understanding PBR is non-negotiable.
PBR workflows generally adhere to two main principles: energy conservation and using real-world values for material properties. Energy conservation dictates that a surface cannot reflect more light than it receives. If a surface reflects a lot of light (like chrome), it transmits or absorbs less. Conversely, if it transmits a lot of light (like glass), it reflects and absorbs less. The two most common PBR workflows are Metallic/Roughness and Specular/Glossiness. Blender’s default Principled BSDF shader predominantly uses the Metallic/Roughness workflow, making it incredibly versatile for a wide range of materials, including the highly reflective and transmissive surfaces found on 3D car models.
Blender’s Principled BSDF shader is an all-in-one solution designed to approximate a wide range of real-world materials using a minimal set of intuitive parameters. For PBR, the key parameters we focus on are Base Color, Metallic, Roughness, and for transparent materials, Transmission and Index of Refraction (IOR). The ‘Metallic’ slider is a binary switch for metals (set to 1.0) and non-metals (set to 0.0), while ‘Roughness’ dictates the microscopic surface imperfections that scatter light, influencing how sharp or blurry reflections and refractions appear. A low roughness value results in mirror-like reflections, while a high value diffuses them. The beauty of the Principled BSDF is that it handles much of the underlying complexity, allowing artists to focus on artistic intent rather than intricate shader graph setups.
While Blender’s Principled BSDF primarily uses the Metallic/Roughness workflow, it’s beneficial to understand the distinction. In the Metallic workflow, materials are either metallic (e.g., chrome, painted car body) or dielectric (e.g., glass, plastic, rubber). Metals have no diffuse color; their color comes entirely from their reflections, and they have very high reflectivity. Dielectrics, on the other hand, have a diffuse color and a separate specular reflection component. The Specular workflow, conversely, treats all materials as dielectrics, requiring a separate specular texture map to define reflectivity. For modern automotive rendering, the Metallic workflow generally leads to more consistent and physically accurate results, especially for the intricate blend of materials found on vehicles. It streamlines the creation of surfaces like chrome trim, painted panels, and matte finishes by directly controlling metallic properties and surface roughness.
Chrome is a material synonymous with luxury, speed, and meticulous design in the automotive world. Its mirror-like reflectivity can make or break the realism of a 3D car model. Creating convincing chrome in Blender is surprisingly straightforward, thanks to the Principled BSDF shader, but achieving true perfection requires attention to detail regarding its PBR properties and interaction with the environment.
The core of a chrome material lies in its extreme reflectivity and metallic nature. In the Principled BSDF shader, you’ll set the Metallic value to its maximum of 1.0. This tells the renderer that the material is a pure metal. The Roughness parameter is equally crucial; for polished chrome, this value should be very low, typically between 0.02 and 0.05. A value of 0.0 would result in a mathematically perfect mirror, which rarely exists in the real world due to microscopic imperfections. The ‘Base Color’ for chrome is usually a mid-grey or pure white, as the color of a metal largely comes from its reflections rather than a distinct diffuse color. The true magic of chrome, however, comes alive with proper environmental lighting, specifically High Dynamic Range Images (HDRIs), which provide rich and varied reflections that define the material’s appearance. Without a detailed environment to reflect, chrome will appear dull and lifeless.
While a perfectly smooth chrome material is a good starting point, real-world surfaces are rarely pristine. Adding subtle imperfections like scratches, smudges, and variations in roughness significantly enhances realism. This is achieved by using texture maps. A Roughness Map, typically a grayscale image, can introduce areas of slightly higher or lower roughness, simulating subtle wear or fingerprints. Darker areas on the map will make the chrome more reflective, while lighter areas will make it duller. Similarly, Normal Maps can add microscopic bumps and scratches without increasing polygon count, scattering light in a way that suggests fine details on the surface. For a truly professional look, blend these maps subtly to avoid an overly uniform or artificial appearance.
Another advanced technique for specific types of metallic finishes, like brushed aluminum or some chrome alloys, is anisotropy. Anisotropic reflections occur when the surface has microscopic grooves or a directional texture, causing highlights to stretch in a particular direction (e.g., the radial brushed look on wheel hubs). The Principled BSDF shader includes an Anisotropic parameter and an Anisotropic Rotation parameter, which, when used with an appropriate Tangent map or generated texture coordinates, can simulate these directional reflections. This level of detail is particularly impactful for high-quality game assets or close-up renders for automotive visualization.
When creating chrome for interactive applications like game development or AR/VR, performance is key. Highly reflective materials can be computationally expensive. One common optimization strategy involves baking reflections. Instead of real-time reflection calculations, game engines can use pre-rendered cube maps or sphere maps, capturing the environment’s reflections from specific points in the scene. This sacrifices some dynamic accuracy for significant performance gains. For 3D car models that will be used as game assets, creating multiple Levels of Detail (LODs) is also crucial. Lower LODs for distant objects can use simpler chrome shaders, perhaps with baked reflections or even a slightly higher roughness to reduce visual fidelity requirements without a noticeable impact on the user experience. Texture atlasing for roughness and normal maps can also help reduce draw calls.
Glass is another challenging yet essential material for realistic automotive rendering. From windshields to headlights and taillight covers, glass needs to transmit light, refract it accurately, and reflect its environment convincingly. A poorly made glass material can instantly degrade the realism of an otherwise perfect 3D car model.
To create a basic glass material in Blender using the Principled BSDF, the primary parameter to adjust is Transmission, which should be set to its maximum value of 1.0. This tells the shader that the material allows light to pass through it completely. Just like chrome, the Roughness value should be very low (typically 0.0 – 0.05) for clean, clear glass. The Index of Refraction (IOR) is critical for accurate light bending. For standard window glass or automotive glass, an IOR of 1.5 is a widely accepted value, though it can range from 1.45 to 1.55 depending on the specific type of glass. You can find precise IOR values for various materials online. Ensure that your glass object has proper thickness and geometry; a single-sided plane will not refract light correctly and will appear flat. Always model glass as a solid object with thickness for physically accurate refraction and reflections.
Real-world automotive glass is rarely perfectly clean or untinted. To add tint, simply adjust the Base Color of your Principled BSDF to a subtle shade (e.g., a very dark blue or green). The Volume Absorption node, when connected to the material output’s volume socket, can also be used to simulate depth-dependent tinting, where thicker parts of the glass absorb more light and appear darker, a common effect in thick windshields. For imperfections like dirt, dust, or water streaks on a windshield, you can blend a secondary shader or use texture maps to influence parameters like roughness and even the normal map. A grayscale texture fed into the roughness input, for instance, can create smudges where the glass appears less reflective and more diffuse. Combining these textures with appropriate mapping coordinates (e.g., using UVs or object coordinates) allows for precise control over where these imperfections appear. Accurate IOR values for specific glass types, such as safety glass or specialized optical glass in headlights, further enhance realism. For instance, polycarbonate plastics (often used for modern headlight covers) might have an IOR closer to 1.58.
Glass materials, due to their complex light calculations (transmission, refraction, reflection, absorption), are among the most computationally intensive materials to render. In Blender’s Cycles engine, increasing the number of Transmission Bounces in the Light Paths settings (found in the Render Properties tab) is crucial for accurate refraction through multiple layers of glass or thick objects. Too few bounces will result in black artifacts or incorrect transparency. However, increasing bounces also increases render times significantly. For real-time applications like game engines, complex glass materials are often simplified. This might involve using simpler shaders, fewer refraction calculations, or even faking refraction with screen-space reflections and distorting the background. Transparency sorting can also be an issue in game engines, where objects might render in the wrong order, leading to visual glitches. Careful modeling and material setup are essential here. When working with AR/VR, the performance budget is even tighter, necessitating aggressive optimizations such as using highly simplified glass shaders or even texture-based transparency with a subtle normal map for surface detail, foregoing true refraction entirely for distant elements.
No matter how meticulously crafted your glass and chrome materials are, their realism is profoundly dictated by the lighting and environment in your scene. Materials do not exist in isolation; they derive their appearance from the light they reflect, refract, and absorb. For automotive rendering, setting up a compelling lighting environment is arguably as important as the materials themselves.
Chrome, being almost purely reflective, will mirror its surroundings. If your environment is bland or uniform, your chrome will look bland. Glass, too, relies on the environment for its reflections and for the light it refracts and transmits. A detailed High Dynamic Range Image (HDRI) is the single most effective tool for illuminating automotive scenes and giving your materials life. HDRIs capture real-world lighting information, including intensity and color, from a full 360-degree panorama. When used as an environment map in Blender, they provide incredibly realistic global illumination and, crucially, nuanced reflections that bring out the true character of chrome and the subtle transparency of glass.
Implementing HDRIs in Blender is straightforward. In the Shading workspace, switch your viewport to ‘World’. Add an ‘Environment Texture’ node, connect its ‘Color’ output to the ‘Background’ node’s ‘Color’ input, and then load your desired HDRI. Connect the ‘Background’ node’s ‘Color’ to the ‘World Output’ ‘Surface’ input. For more control, you can add a ‘Mapping’ node and a ‘Texture Coordinate’ node (set to ‘Generated’ or ‘Window’) to rotate or scale your HDRI, fine-tuning the reflections on your 3D car models. The strength of the HDRI can be adjusted in the ‘Background’ node. High-quality HDRIs, especially studio-based ones for product photography or outdoor environments with interesting skylines, will yield the best results. Platforms like 88cars3d.com offer beautifully modeled vehicles, and pairing them with high-quality HDRIs can instantly elevate your scene.
While HDRIs provide excellent global illumination and reflections, supplementing them with artificial lights offers precise control over highlights and shadows, crucial for showcasing the form and lines of a car. A classic three-point lighting setup (key light, fill light, back light) is an excellent starting point for any automotive visualization. The key light defines the primary illumination, creating strong highlights on the chrome and illuminating the car’s paintwork. The fill light, positioned opposite the key, softens shadows. The back light (or rim light) outlines the car, separating it from the background and adding crucial highlights to edges, making chrome trim pop. Using area lights with a low spread and soft edges can create beautiful, elongated reflections on the car’s body and chrome, mimicking professional studio photography setups. For glass, strategically placed lights can highlight reflections and refractions, emphasizing its transparent quality without washing out the interior.
After meticulously crafting your materials and setting up your lighting, the rendering process is where all your efforts culminate. Blender offers two primary rendering engines: Cycles and Eevee. Understanding their strengths and weaknesses, along with optimizing render settings and employing post-processing, is vital for producing stunning automotive rendering.
Cycles is Blender’s physically based path tracer, renowned for its realism and accuracy. It excels at complex light interactions, especially with refractive materials like glass, producing highly realistic global illumination, caustics (though often subtle), and nuanced reflections. However, this accuracy comes at a computational cost, leading to longer render times. Eevee, on the other hand, is a real-time rasterization engine, prioritizing speed and interactivity. It’s fantastic for quick previews, animations, and real-time interactive experiences, but it uses approximations for light, reflections, and refractions, meaning it might not achieve the same level of physical accuracy as Cycles for highly detailed glass and chrome. For high-end visualization and portfolio-quality still images, Cycles is generally the preferred choice, especially when demanding extreme realism from materials. For animations or interactive presentations, Eevee can be an excellent option if its approximations are acceptable for the desired aesthetic.
When rendering glass and chrome in Cycles, increasing the render samples in the Render Properties panel will reduce noise and improve quality. For glass, ensure adequate Transmission Bounces are set in the Light Paths section to prevent dark artifacts and ensure light correctly passes through multiple layers. For chrome, the accuracy of reflections is paramount, and Cycles handles this exceptionally well, accurately tracing rays to reflect the environment. With Eevee, achieving realistic glass requires careful setup. You’ll need to enable ‘Screen Space Reflections’ and ‘Screen Space Refractions’ in the Render Properties, and adjust their respective settings for quality. Transparent objects in Eevee also benefit from enabling ‘Refraction’ in the Material Settings under ‘Screen Space Refractions’. For chrome, Eevee’s screen space reflections provide a good approximation, but they are limited to what’s visible on screen and cannot capture off-screen reflections or true global illumination as accurately as Cycles. For quick game asset previews or animation, Eevee is incredibly efficient, but for the highest fidelity, Cycles remains the gold standard for realistic 3D car models.
The rendering process doesn’t end when the image is computed. Post-processing and compositing are crucial steps to elevate raw renders to professional-grade images. Blender’s built-in compositor is a powerful tool for this. Common post-processing techniques include:
These adjustments, often subtle, collectively enhance the visual impact of your automotive rendering. For instance, a touch of glare on chrome highlights can make it appear more specular and physically present, while subtle color grading can match your render to a specific photographic style or environment. When sourcing high-quality models from marketplaces such as 88cars3d.com, ensure your rendering and post-processing techniques do justice to the model’s inherent quality.
The journey of a 3D car model often extends beyond static renders to interactive experiences in game development, augmented reality (AR), and virtual reality (VR). Translating your beautifully crafted glass and chrome materials from Blender to these real-time environments requires specialized knowledge of optimization and material conversion.
The primary challenge in real-time applications is performance. Game engines like Unity and Unreal Engine need to render scenes at high frame rates, which means complex PBR shaders with multiple texture maps and heavy light calculations (especially for refraction) must be optimized. For glass, true real-time refraction with multiple bounces is often too expensive. Instead, developers often employ screen-space refractions, which only refract based on what’s currently visible on the screen, or simplified shaders that distort the background based on a normal map without true light bending. For chrome, real-time global illumination and ray-traced reflections are becoming more common in high-end games but are still expensive. Baked reflection probes (cube maps or sphere maps generated within the engine) are a standard method for providing realistic reflections on metallic surfaces without the computational cost of real-time ray tracing. This involves capturing the environment’s reflections from specific points and applying them to objects.
When exporting 3D car models from Blender to game engines, the material translation is crucial. The Principled BSDF shader does not directly transfer. Instead, game engines use their own PBR shader systems (e.g., Unity’s Standard or HDRP/URP shaders, Unreal’s PBR workflow). You’ll typically export your model as an FBX or GLB file, then manually recreate the materials in the target engine, assigning your PBR texture maps (Base Color/Albedo, Metallic, Roughness, Normal, Ambient Occlusion) to the corresponding slots in the engine’s shader. For chrome, ensure the Metallic map is pure white (1.0) and the Roughness map is very dark for polished surfaces. For glass, you’ll generally use a transparent material with specific settings for refraction (often a separate shader type or a translucent blend mode). Issues like double-sided glass (where the back face is visible) can arise, requiring careful material setup or even model adjustments within the engine.
AR/VR environments impose even stricter performance budgets. For 3D car models destined for AR/VR, polygon counts must be minimized, and material complexity needs to be significantly reduced. This often means using simpler shaders for glass and chrome. For glass, a simple transparent shader with a very slight distortion effect might be sufficient, or even a texture-based approach. True refraction is usually avoided for performance. For chrome, baked reflection maps (from Blender or within the engine) are essential, and the material might use a more simplified metallic shader. File formats are also critical:
When preparing models for these platforms, the focus is always on lightweight assets, efficient UV mapping, and materials that look good with minimal computational cost. This might involve creating custom, highly optimized PBR textures (e.g., lower resolution roughness maps for less critical areas) and baking complex lighting into textures rather than relying on real-time calculations, ensuring your game assets deliver an immersive experience without performance bottlenecks.
The journey to mastering realistic glass and chrome materials in Blender is a blend of technical understanding, artistic vision, and a keen eye for detail. We’ve traversed the foundational principles of PBR, meticulously crafted chrome with its mirror-like reflections, and demystified the complexities of glass with its intricate refractions and transmissions. We’ve explored the indispensable role of lighting and environment, particularly HDRIs, in breathing life into these surfaces, and delved into advanced rendering techniques in Cycles and Eevee, along with crucial post-processing steps to elevate your final automotive rendering.
Furthermore, we’ve touched upon the critical considerations for integrating these high-fidelity materials into real-time applications like game development and AR/VR, emphasizing optimization strategies and file format choices that ensure seamless performance. The pursuit of realism in 3D car models is an ongoing endeavor, but by diligently applying the techniques discussed – from precise metallic and roughness values to accurate IORs and thoughtful lighting – you can achieve stunning results that truly captivate your audience.
Remember, practice is key. Experiment with different HDRIs, push the boundaries of your material imperfections, and always analyze how light interacts with your surfaces. The high-quality 3D car models available on platforms like 88cars3d.com provide an excellent foundation for applying these advanced material techniques. Take these detailed insights, apply them to your projects, and watch as your automotive visualizations transform into compelling, lifelike masterpieces. The world of 3D artistry is always evolving, and with a solid grasp of these fundamental material properties, you’re well-equipped to drive innovation and create truly unforgettable visual experiences.
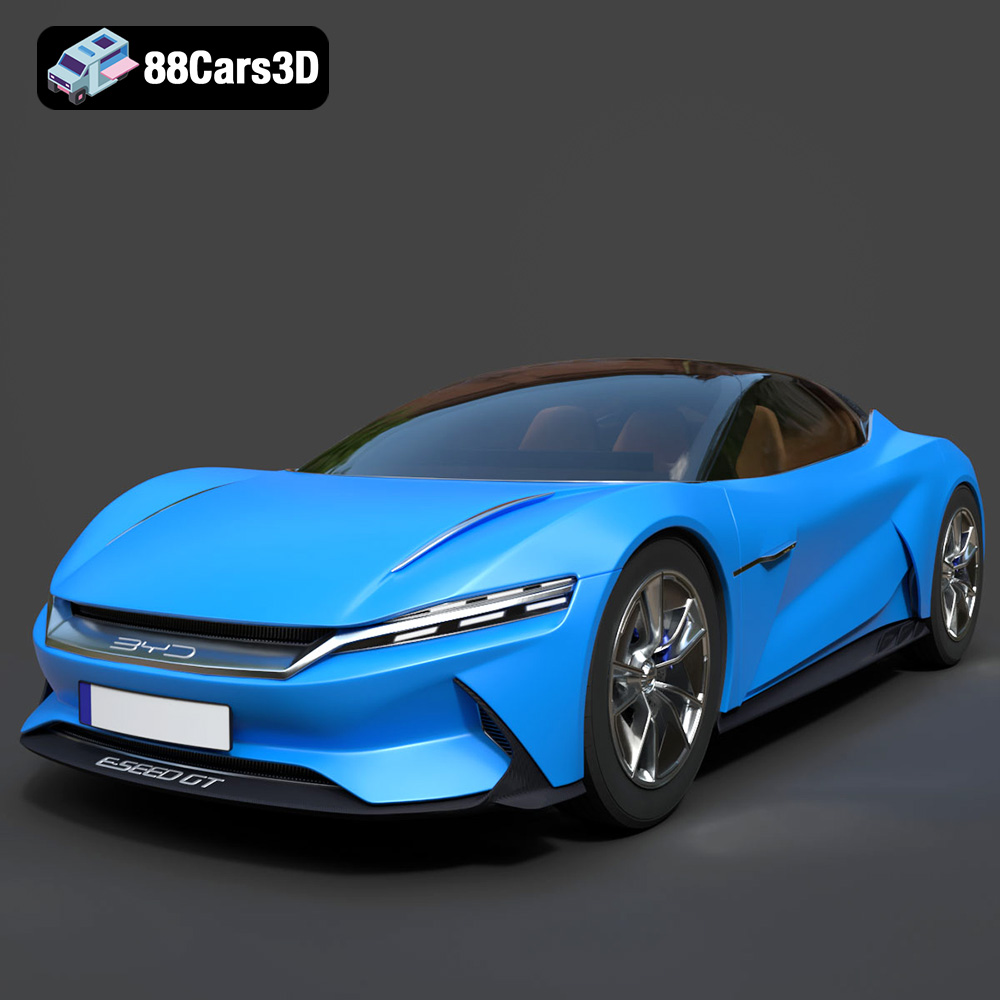
Texture: Yes | Material: Yes
Download the highly detailed, game-ready BYD e-SEED GT 2019 3D Model. Features futuristic gull-wing doors, sleek aerodynamic electric supercar silhouette, and detailed LED light strips. Includes .blend, .fbx, .obj, .glb, .stl, .ply, .unreal, and .max formats for game development, AR/VR, and rendering.
Price: $194.50
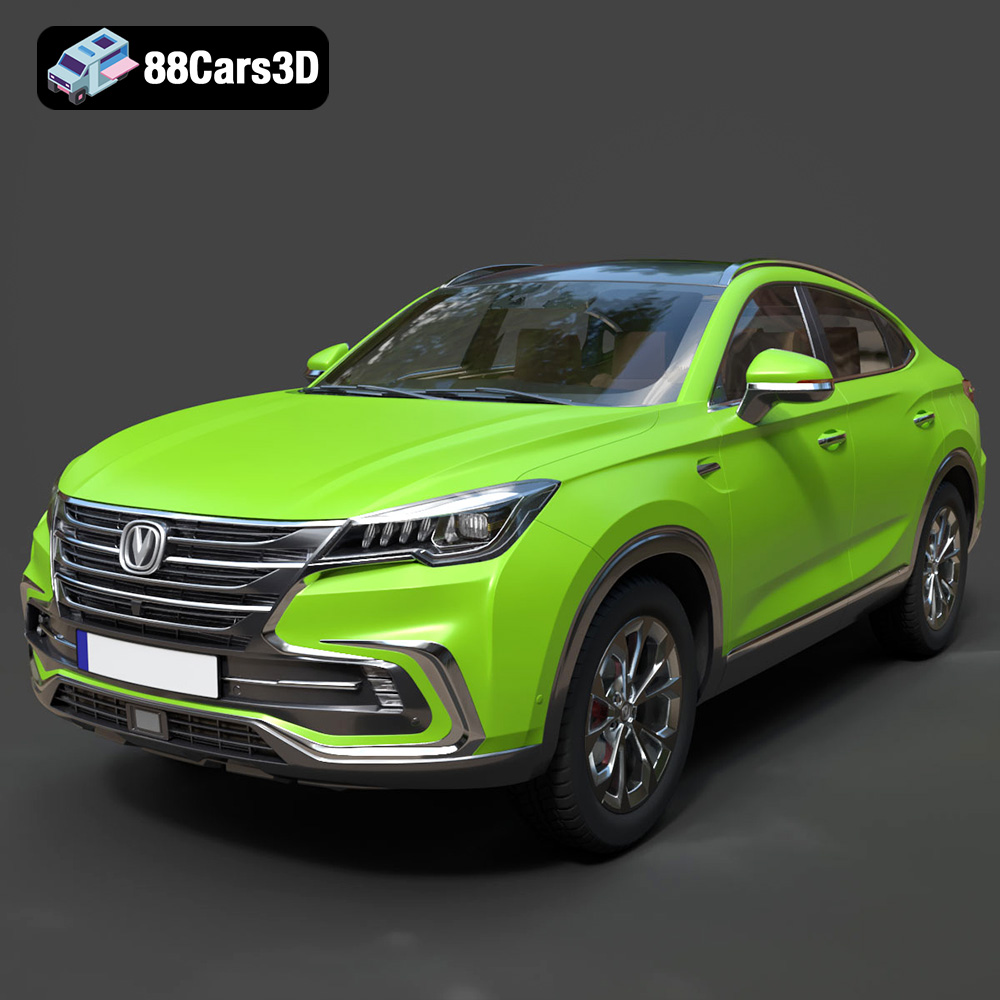
Texture: Yes | Material: Yes
Download the highly detailed, game-ready Changan CS85 Coupe 2019 3D Model. Features sleek fastback SUV styling, detailed front grille, and realistic lighting. Includes .blend, .fbx, .obj, .glb, .stl, .ply, .unreal, and .max formats for game development, AR/VR, and rendering.
Price: $275.00
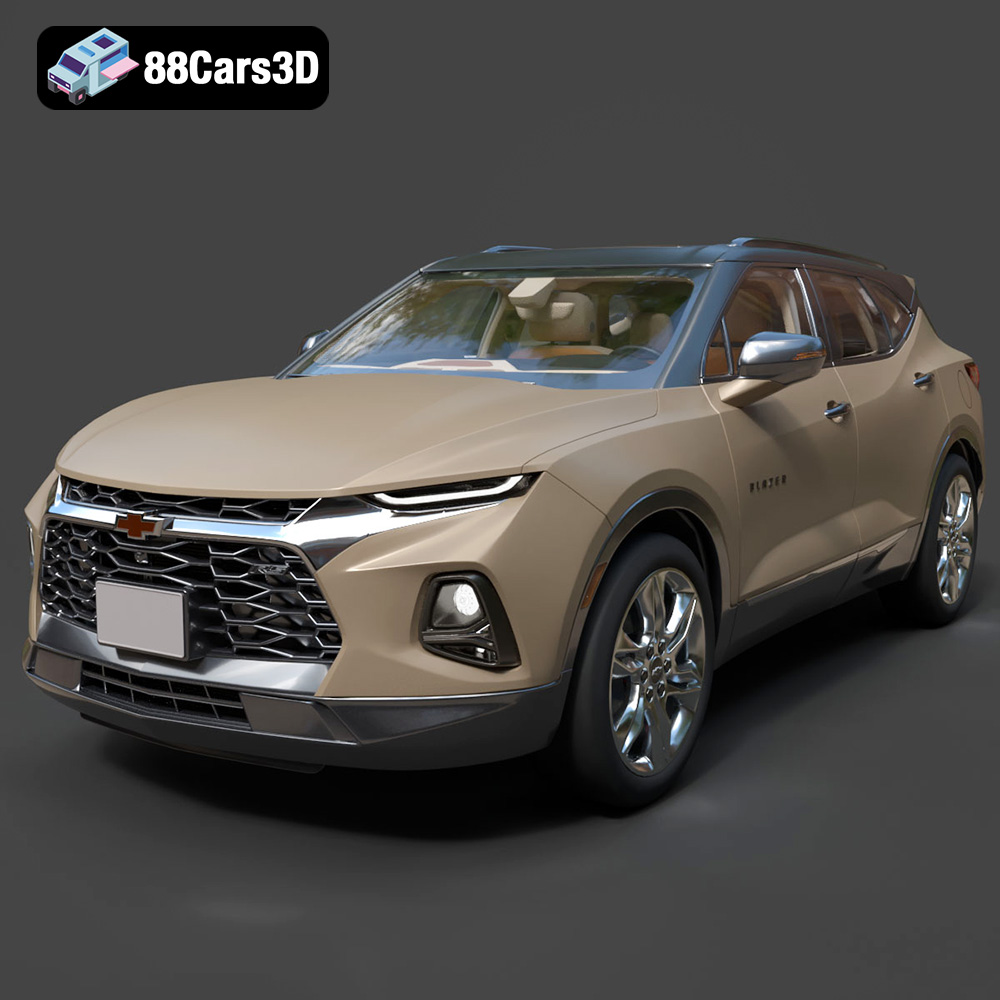
Texture: Yes | Material: Yes
Download the highly detailed, game-ready Chevrolet Blazer RS 2019 3D Model. Features bold blacked-out RS trim styling, sharp LED lighting signatures, and detailed interior geometry. Includes .blend, .fbx, .obj, .glb, .stl, .ply, .unreal, and .max formats for game development, AR/VR, and rendering.
Price: $132.50
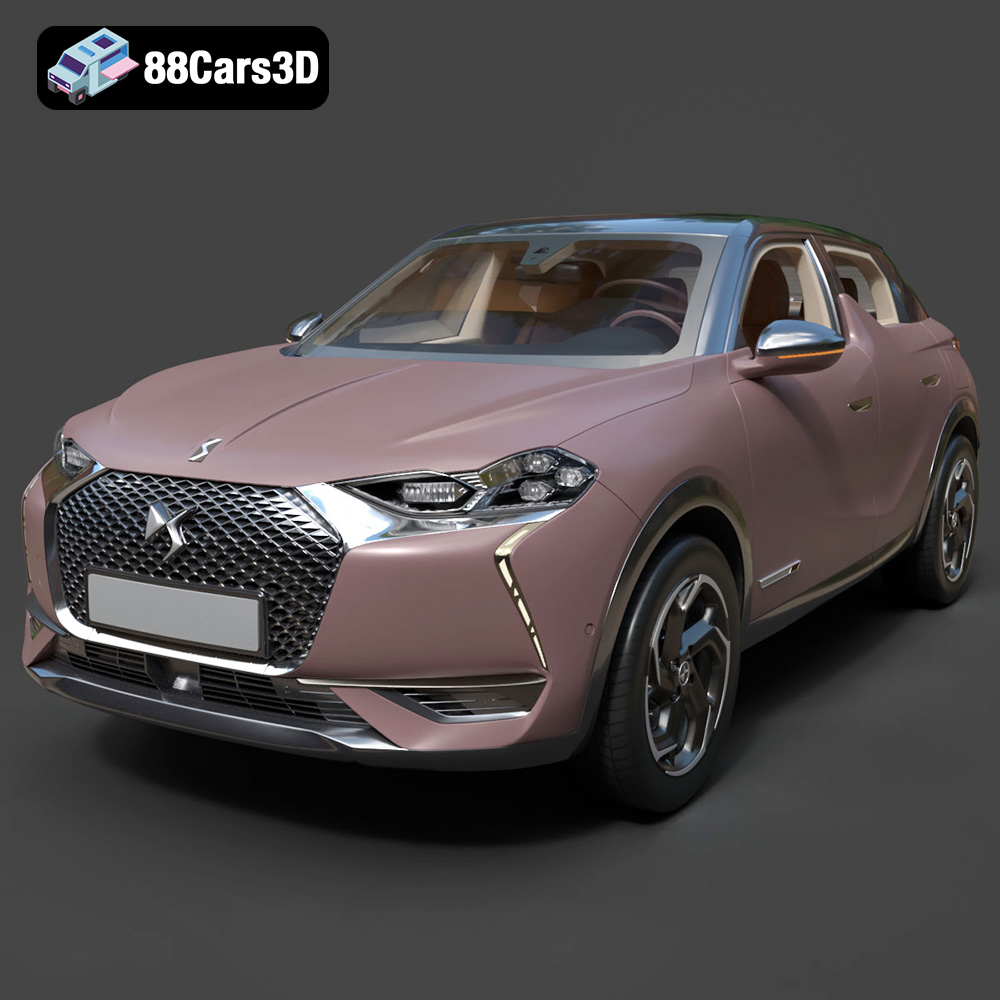
Texture: Yes | Material: Yes
Download the highly detailed, game-ready Citroen DS3 Crossback 2018 3D Model. Features signature diamond grid grille, flush door handles, and distinctive shark-fin B-pillars. Includes .blend, .fbx, .obj, .glb, .stl, .ply, .unreal, and .max formats for game development, AR/VR, and rendering.
Price: $276.00
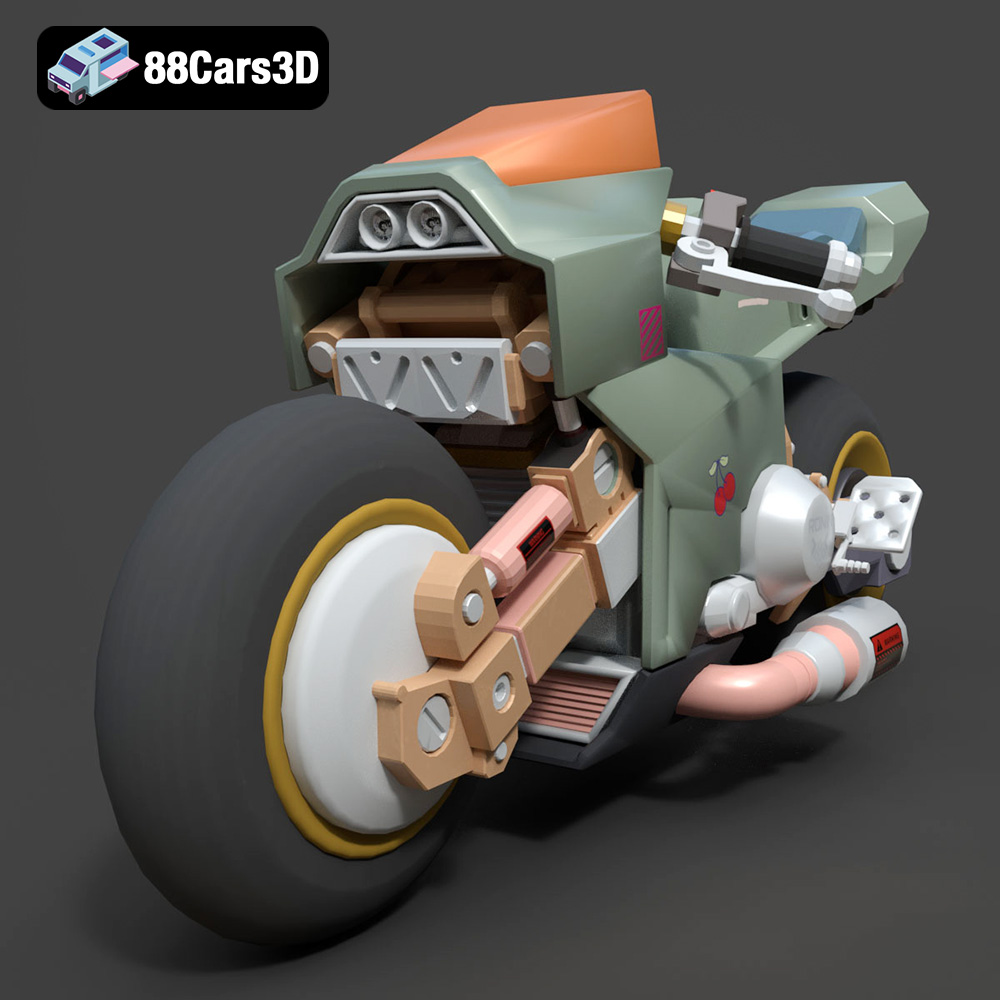
Texture: Yes | Material: Yes
Download the highly detailed, game-ready Cyber Bike 02 3D Model. Features futuristic sci-fi aesthetic, glowing LED lighting elements, and sleek aerodynamic paneling. Includes .blend, .fbx, .obj, .glb, .stl, .ply, .unreal, and .max formats for game development, AR/VR, and rendering.
Price: $99.99
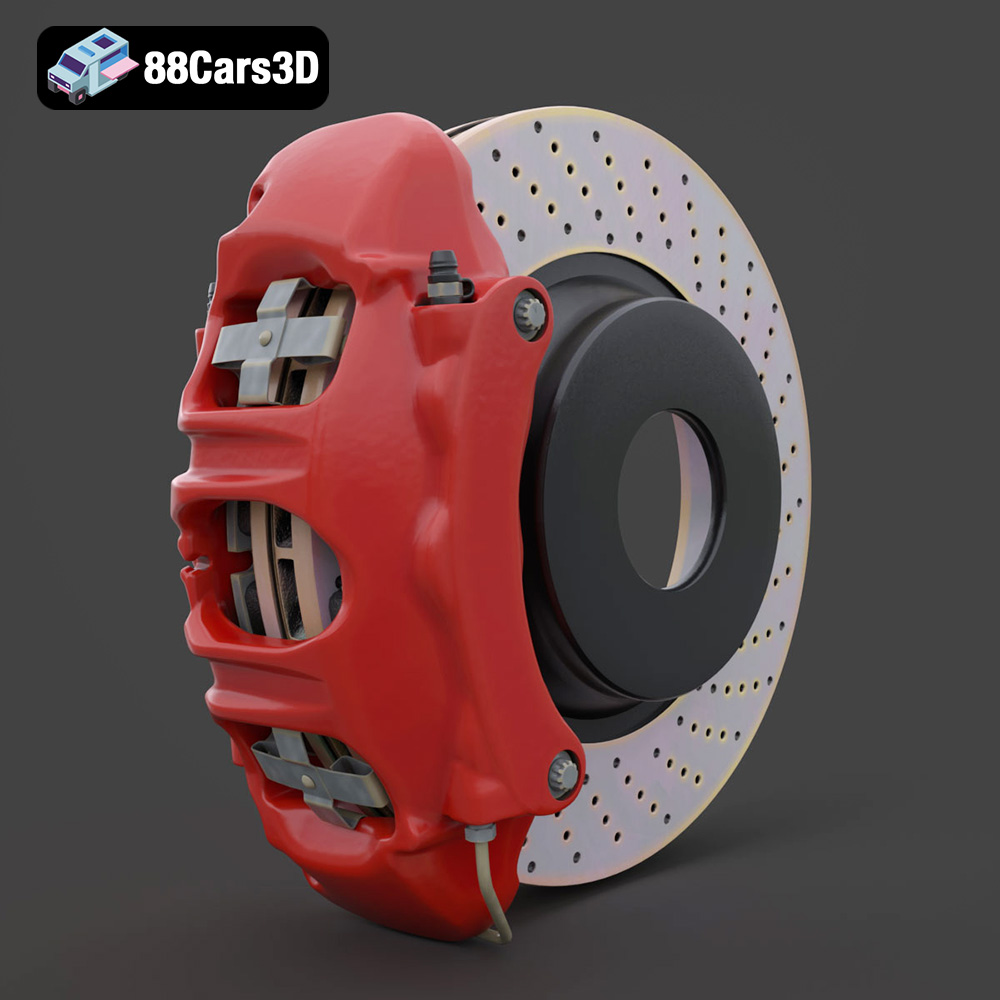
Texture: Yes | Material: Yes
Download the highly detailed, game-ready Brake Assembly 3D Model. Features a ventilated brake rotor, multi-piston caliper, and precision mounting hardware. Includes .blend, .fbx, .obj, .glb, .stl, .ply, .unreal, and .max formats for game development, AR/VR, and rendering.
Price: $104.99
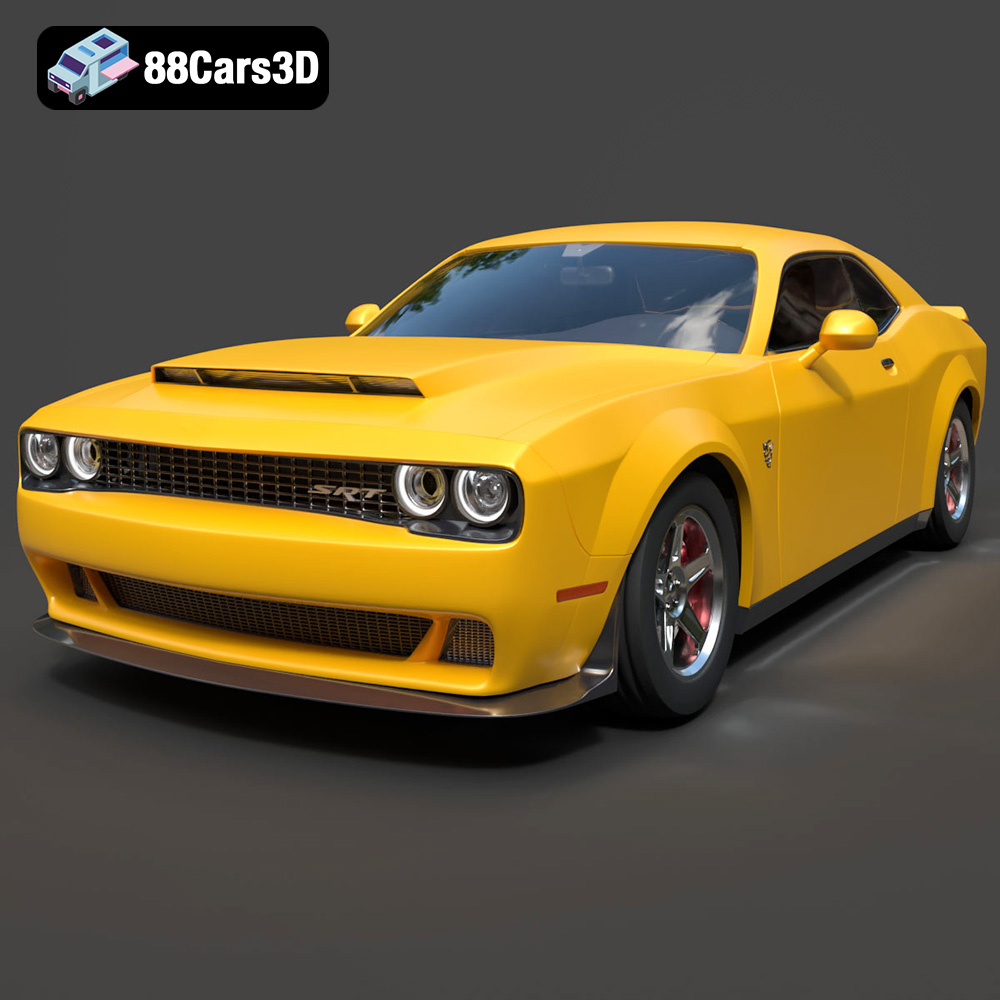
Texture: Yes | Material: Yes
Download the highly detailed, game-ready Dodge Demon SRT 3D Model. Features aggressive widebody styling, supercharged HEMI V8 details, and high-fidelity exterior details. Includes .blend, .fbx, .obj, .glb, .stl, .ply, .unreal, and .max formats for game development, AR/VR, and rendering.
Price: $279.99
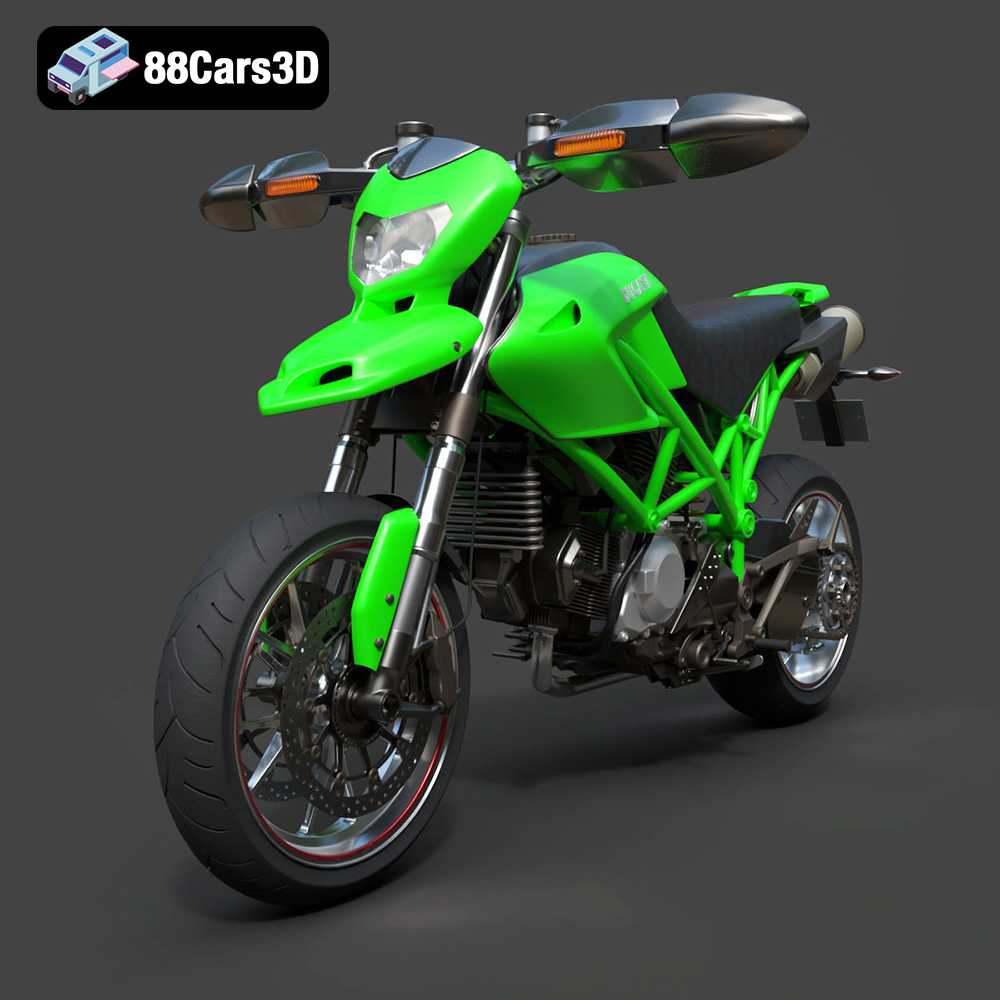
Texture: Yes | Material: Yes
Download the highly detailed, game-ready Ducati Hypermotard 1100 EVO 2011 3D Model. Features an iconic Desmodromic L-twin engine, trellis frame, and signature under-seat exhaust design. Includes .blend, .fbx, .obj, .glb, .stl, .ply, .unreal, and .max formats for game development, AR/VR, and rendering.
Price: $197.99
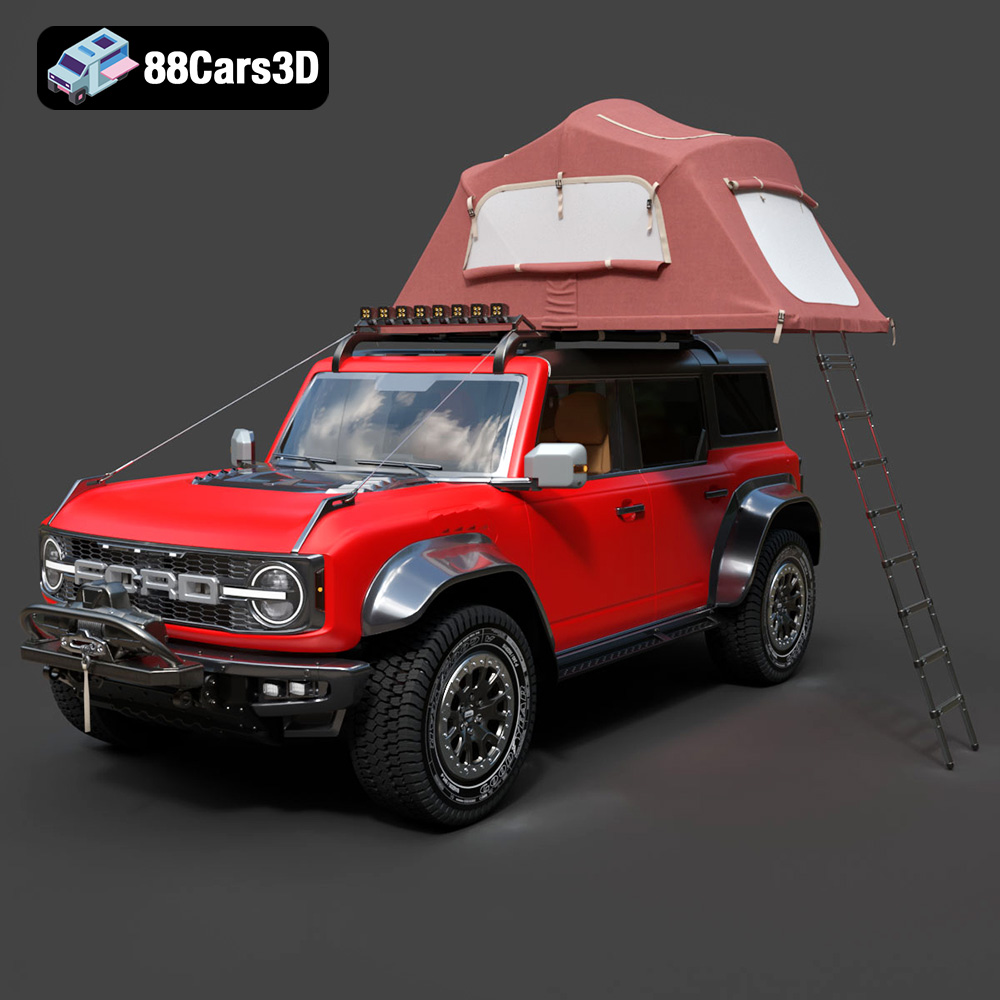
Texture: Yes | Material: Yes
Download the highly detailed, game-ready Ford Bronco Raptor Rooftop Tent 3D Model. Features aggressive widebody styling, detailed off-road suspension, and a fully modelled overland rooftop tent. Includes .blend, .fbx, .obj, .glb, .stl, .ply, .unreal, and .max formats for game development, AR/VR, and rendering.
Price: $299.50
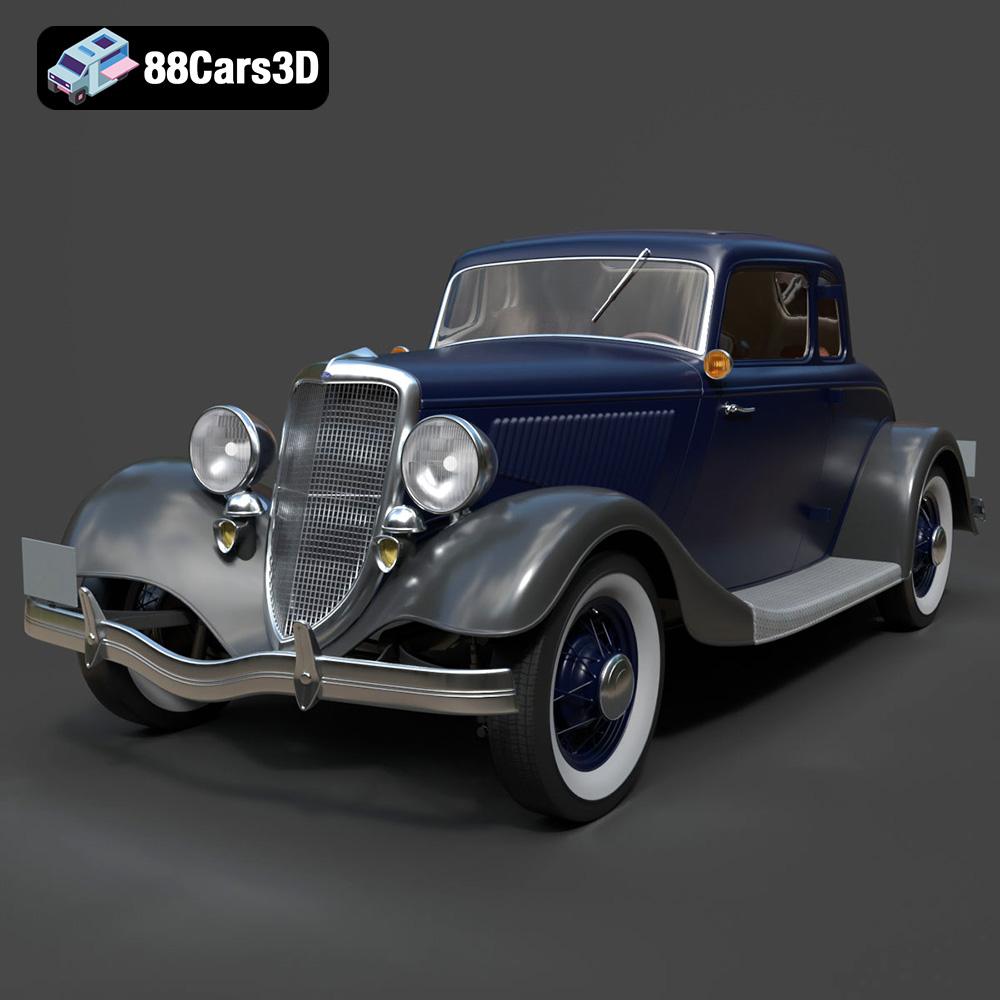
Texture: Yes | Material: Yes
Download the highly detailed, game-ready Ford Coupe 1934 3D Model. Features sweeping fenders, iconic 1930s grille design, and authentic vintage proportions. Includes .blend, .fbx, .obj, .glb, .stl, .ply, .unreal, and .max formats for game development, AR/VR, and rendering.
Price: $203.00
