

In the vibrant realm of 3D automotive rendering, achieving photorealism is the ultimate goal. Every curve, reflection, and material surface must sing with authenticity to truly captivate the viewer. While meticulously crafted 3D car models, like those available on 88cars3d.com, provide an impeccable foundation, the secret sauce to making them truly shine often lies in the environment’s lighting. This is where High Dynamic Range Imaging (HDRI) comes into play, a revolutionary technique that captures the full spectrum of light and color from real-world locations and projects it into your 3D scene. For Blender artists, leveraging HDRIs effectively is not just a technique; it’s an art form that transforms static models into dynamic, living automotive visualizations.
This comprehensive guide will take you on a deep dive into HDRI lighting and World Settings in Blender, focusing on how these elements can dramatically elevate your 3D car renders. We’ll explore the underlying principles of HDRIs, walk through the technical setup in Blender, delve into advanced customization options, and discuss strategies for optimizing your workflow for both stunning visual quality and efficient rendering. Whether you’re an aspiring 3D artist, a seasoned game developer, or an automotive designer seeking unparalleled realism, mastering HDRI lighting is a crucial step towards creating breathtaking imagery that stands out in the competitive world of 3D visualization.
At its core, High Dynamic Range Imaging (HDRI) is a photographic technique that captures a much wider range of light intensities than traditional digital photography. Imagine a sunny day where the sky is brilliant and the shadows are deep. A standard photo might capture detail in either the sky or the shadows, but rarely both without significant loss of information. An HDRI, however, merges multiple exposures to create a single image file that contains an extraordinary amount of luminosity data, from the brightest highlights of the sun to the darkest crevices in a shadow.
When used in 3D rendering software like Blender, this HDRI acts as both a light source and a background. Instead of relying on a handful of artificial light sources, the 3D scene is bathed in light derived directly from a real-world environment. This means that the colors, intensities, and directions of light hitting your 3D car model are precisely replicated from the captured location, resulting in incredibly accurate reflections, global illumination, and overall ambiance. It’s the most effective way to integrate a virtual object seamlessly into a photographic background or to create a convincing standalone render with natural lighting. The subtlety and complexity of real-world lighting, often difficult to reproduce with conventional 3D lights, are effortlessly transferred through an HDRI.
An HDRI file, typically in a .hdr or .exr format, stores pixel values that can exceed the normal 0-1 range of standard image formats (like JPG or PNG). This ‘high dynamic range’ allows it to represent the extreme differences between the brightest light sources (e.g., the sun in the sky) and the darkest areas of a scene with remarkable fidelity. When Blender’s rendering engine processes this data, it understands not just the color of each pixel but also its luminosity. This enables the HDRI to act as a physical light source, casting realistic shadows and contributing to global illumination, rather than merely serving as a flat background image. The angular data embedded within the spherical projection of an HDRI also dictates the directionality of the light, ensuring that reflections on your automotive paintwork accurately mirror the environment.
For automotive rendering, the advantages of using HDRIs are profound. Firstly, they deliver unparalleled realism. Car paint, chrome, and glass are highly reflective surfaces, and their appearance is heavily dependent on their surroundings. An HDRI accurately captures complex environmental reflections, making a car appear genuinely situated within its scene. This eliminates the tell-tale signs of artificial lighting and flat backgrounds. Secondly, they drastically simplify the lighting setup. Instead of spending hours meticulously positioning area lights, spotlights, and fill lights, a single HDRI can provide a complete, coherent lighting solution. Thirdly, HDRIs offer immense creative flexibility. You can quickly swap between different environments – a sunny desert, a cloudy urban street, a studio setup – to see how your 3D car model reacts under various lighting conditions. This allows for rapid iteration and experimentation, crucial for automotive designers and visualization professionals.
Integrating an HDRI into your Blender scene is a straightforward yet powerful process that fundamentally alters how your 3D car models are illuminated. The primary control center for this is the World Properties panel, coupled with Blender’s Shader Editor. For detailed official documentation on Blender’s World Settings and Shader Editor, you can refer to the Blender 4.4 Manual online at https://docs.blender.org/manual/en/4.4/. Here, we’ll walk through the essential steps to get your automotive scene basking in realistic environmental light.
First, ensure your scene is set up for a physically accurate render. This typically means using the Cycles render engine, which excels at photorealistic results due to its unbiased rendering capabilities, though Eevee can also leverage HDRIs for real-time visualization with certain limitations. Navigate to the ‘Render Properties’ tab in the Properties Editor and select ‘Cycles’ (or ‘Eevee’ for real-time viewport feedback). The next crucial step is to enable GPU rendering if you have a compatible graphics card, as this will significantly speed up your previews and final renders, especially with complex 3D car models.
Your journey begins in the World Properties tab, represented by a globe icon in the Properties Editor. By default, the world background might be a simple gray color. To introduce your HDRI, you’ll need to use the Shader Editor. In the Shader Editor, change the shader type from ‘Object’ to ‘World’ in the dropdown menu at the top. This will reveal the default ‘Background’ node connected to the ‘World Output’ node.
To load your HDRI:
Immediately, you should see your scene illuminated by the HDRI. The ‘Strength’ parameter on the ‘Background’ node controls the overall intensity of the environmental light. A value of 1.0 is generally a good starting point, but you might adjust this based on the specific HDRI and your desired exposure. For instance, a very bright exterior HDRI might need a lower strength value, while an indoor studio HDRI could benefit from a slight increase.
The Environment Texture node is the heart of your HDRI setup. It’s responsible for reading the high dynamic range data from your chosen image. Beyond just loading the file, it also allows you to control how the image is projected and mapped onto your 3D world. Key settings include ‘Projection’ (usually ‘Equirectangular’ for standard HDRIs) and ‘Vector’ input, which is crucial for manipulating the HDRI’s orientation.
The Background node takes the color information from the Environment Texture and applies it to your scene’s world background. It also has a ‘Strength’ control, which effectively acts as a multiplier for the HDRI’s luminance. This is vital for matching your scene’s exposure to the HDRI’s captured lighting. For a physically accurate workflow, avoid increasing the ‘Strength’ too much to compensate for a dim HDRI; instead, opt for a brighter HDRI or adjust your camera’s exposure settings (Film > Exposure in Render Properties) for more realistic results. Additionally, you can connect a ‘Mix Shader’ node between the ‘Background’ and ‘World Output’ to blend your HDRI with a simple color or another texture, offering more creative control over the sky and ambient light.
While a basic HDRI setup in Blender provides a solid foundation, truly exceptional automotive rendering demands a more nuanced approach. Mastering advanced HDRI techniques allows you to not only replicate real-world lighting but also to manipulate it creatively to emphasize the sleek lines and intricate details of your 3D car models. This involves fine-tuning rotations, integrating additional light sources, and carefully adjusting exposure and color management.
Consider the delicate interplay between light and reflection on a car’s body. The smallest shift in an HDRI’s orientation can dramatically alter how light catches a specific panel or the gleam of chrome trim. This level of precision is paramount for professionals who rely on platforms like 88cars3d.com for high-fidelity assets, demanding equally high-fidelity rendering environments.
The orientation of your HDRI is arguably the most critical aspect after its selection. It dictates where the primary light source (like the sun) is located, and how reflections play across your automotive model. To precisely control this, you’ll use a ‘Mapping’ node and a ‘Texture Coordinate’ node in the World Shader Editor:
Now, by adjusting the ‘Rotation’ values (particularly the Z-axis) on the ‘Mapping’ node, you can rotate the entire HDRI environment around your car. Observe how the reflections and shadows shift dynamically in your viewport (in Rendered preview mode). Experiment with subtle rotations to find angles that best highlight the car’s design, emphasize body lines, and create appealing reflections. For precise lighting, you can often match the HDRI’s light source to a specific direction based on reference images or design intent. Avoid abrupt rotations; aim for gradual adjustments that create a natural flow of light across the vehicle’s surfaces. While there isn’t a direct “scaling” parameter for the HDRI’s physical size, altering the focal length of your camera can create the illusion of bringing the environment closer or pushing it further away, impacting the scale of reflections.
Sometimes, an HDRI might offer excellent ambient light and reflections, but its primary light source (the sun) isn’t strong enough or precisely positioned for your needs. Blender allows you to augment your HDRI with a physically accurate sun lamp or a procedural sky texture for enhanced control. This is particularly useful when you need sharp, defined shadows that an HDRI alone might not provide if it was captured on an overcast day.
To add a sun lamp:
Alternatively, a ‘Sky Texture’ node (Shift+A > Texture > Sky Texture) can generate a physically accurate sky and sun directly within Blender. This can be mixed with your HDRI or used as a standalone background. Connect the ‘Color’ output of the ‘Sky Texture’ to a ‘Background’ node, and then use a ‘Mix Shader’ to blend it with your HDRI-driven background. You can adjust the sun’s position, size, and turbidity within the Sky Texture node itself, offering precise control over atmospheric effects and sun strength. This combination offers unparalleled flexibility, especially when aiming for specific time-of-day renderings.
Achieving the right photographic look for your automotive renders goes beyond just lighting; it involves careful color management. Exposure and gamma settings are crucial for ensuring your HDRI’s dynamic range is correctly interpreted and displayed, preventing blown-out highlights or crushed shadows.
Blender’s Color Management settings (located in Render Properties > Color Management) are vital here.
Beyond global settings, you can also manipulate the HDRI’s colors and values directly in the Shader Editor using nodes like ‘RGB Curves’, ‘Hue/Saturation Value’, or ‘Color Balance’. For instance, adding an ‘RGB Curves’ node between the ‘Environment Texture’ and ‘Background’ nodes allows you to precisely adjust the tonal range and color of the environmental lighting, giving you artistic control over the mood and feel of your render. This non-destructive approach means you can always revert or adjust your changes without altering the original HDRI file.
While HDRIs are incredibly powerful for establishing realistic global illumination and reflections, they often benefit from the strategic addition of physical lights. This hybrid approach allows artists to sculpt light, emphasize specific features of their 3D car models, and create dramatic, dynamic scenes that might not be achievable with an HDRI alone. This blend of ambient environmental light and targeted artificial illumination is a cornerstone of professional automotive rendering.
For example, imagine a pristine car model from 88cars3d.com. An HDRI might provide beautiful ambient light on a sunny afternoon, but a subtle area light positioned to catch the gleam on a fender or a spotlight highlighting a badge can inject that extra layer of visual interest and realism. This integration is not about replacing the HDRI but augmenting it, using its strengths while compensating for its limitations in specific scenarios.
The goal of complementary lighting is to enhance, not overpower, the HDRI. These lights are used to add specific effects or to direct the viewer’s eye to important details:
When adding these lights, always consider their impact on the overall scene. Ensure their color temperature matches the HDRI’s environment. For example, warm-toned area lights might complement a sunset HDRI, while cool-toned lights might suit a cloudy day. Use the ‘Light Linking’ feature in Blender (found in the Object Properties panel for lights) to control which objects a light affects, preventing unwanted illumination or reflections on specific parts of your scene.
Shadows and specular highlights are critical for defining form and material properties. HDRIs naturally generate soft, accurate shadows and reflections, but additional lights can refine them:
The key is balance. Your physical lights should complement the HDRI, not compete with it. By carefully integrating these light sources, you can create automotive renders that possess both the natural realism of an HDRI environment and the artistic precision of studio lighting.
While HDRI lighting brings incredible realism to your 3D car models, it can also be demanding on system resources, especially with high-resolution HDRIs and complex scenes. Optimizing your HDRI workflow in Blender is crucial for maintaining efficient render times without sacrificing visual quality. This involves smart choices regarding asset management, render engine settings, and post-processing techniques. A streamlined workflow ensures that artists can rapidly iterate and produce high-quality results, whether for commercial visualization or game asset development.
When working with detailed 3D car models purchased from platforms like 88cars3d.com, it’s important to understand how to efficiently integrate these assets into your rendering pipeline. A well-optimized HDRI setup contributes directly to faster feedback during development and quicker final renders, allowing you more time for creative refinements rather than waiting for your computer to catch up.
The quality of your HDRI is paramount, but higher quality often means larger file sizes and increased memory consumption. It’s about finding the sweet spot:
When sourcing HDRIs, always consider your project’s technical specifications and target platform. For game development, highly optimized HDRIs or even baked lighting solutions derived from HDRIs might be necessary to meet performance budgets.
Each Blender render engine handles HDRIs differently, and optimizing their settings is key:
Cycles: Cycles is Blender’s physically based path tracer, offering the highest quality and realism for HDRIs.
Eevee: Eevee is Blender’s real-time render engine, ideal for quick previews and real-time visualization.
Even with optimized settings, complex renders can still exhibit noise. Blender offers powerful denoising and compositing tools:
By implementing these optimization strategies, you can achieve stunning automotive renders with HDRIs in Blender, ensuring both visual excellence and a smooth, efficient production pipeline.
High Dynamic Range Imaging is more than just a technical feature in Blender; it’s a versatile tool that underpins a multitude of real-world applications in automotive design, visualization, and game asset development. For artists creating or utilizing 3D car models from marketplaces like 88cars3d.com, understanding how to apply HDRIs to different scenarios is key to producing compelling and market-ready visuals. From presenting a concept vehicle in a realistic environment to crafting a sleek studio shot, HDRIs provide the essential lighting foundation.
The goal is always to make the 3D car model feel physically present in its environment, whether that environment is a real-world location or a simulated studio setup. This requires not only technical proficiency but also an artistic eye for how light interacts with complex surfaces like automotive paint, glass, and chrome. Best practices involve careful consideration of your HDRI source, its integration, and how it complements the narrative or purpose of your render.
One of the most common and impactful uses of HDRIs is seamlessly integrating a 3D car model into a 2D photographic backplate. This technique is widely employed in advertising and automotive marketing to create renders that are indistinguishable from real photographs. The process involves:
This meticulous matching creates the illusion that your 3D car was physically present when the backplate photograph was taken, a testament to the power of HDRI technology.
Beyond outdoor environments, HDRIs are also indispensable for creating professional studio renders of 3D car models. Studio HDRIs, often captured in controlled lighting environments, provide soft, even illumination and aesthetically pleasing reflections that highlight a car’s form without the distractions of a complex outdoor scene. These are perfect for showcasing details, material fidelity, and design elegance.
The simplicity of a studio HDRI allows for precise control over the visual narrative, directing the viewer’s attention to the design and craftsmanship of the automotive model.
The quality of your final render is directly tied to the quality of your HDRI. Sourcing high-quality HDRIs is paramount. Several reputable online platforms offer extensive libraries of HDRIs, catering to various environments and lighting conditions. For premium 3D assets, including exceptionally detailed 3D car models, and accompanying high-quality HDRIs, platforms like 88cars3d.com are an invaluable resource. They often provide curated collections that include everything you need for professional-grade renders.
When selecting HDRIs, look for:
By adhering to these best practices, 3D artists can consistently produce stunning automotive renders that not only look incredible but also effectively communicate the design and aesthetic intent of their 3D car models.
The journey through HDRI lighting and World Settings in Blender reveals a powerful workflow for creating incredibly realistic and dynamic automotive renders. We’ve explored how High Dynamic Range Images capture the essence of real-world illumination, offering a robust foundation for your 3D car models. From the initial setup in the World Properties and Shader Editor, to the critical role of ‘Environment Texture’ and ‘Background’ nodes, the path to natural lighting is clear.
We delved into advanced techniques, understanding how precise rotation of the HDRI, coupled with the strategic integration of additional physical lights like ‘Area Lights’ and ‘Sun’ lamps, can sculpt light and define the intricate surfaces of your vehicles. The importance of fine-tuning exposure and color management through Blender’s ‘Color Management’ settings was highlighted as a key to achieving photographic fidelity. Furthermore, we covered crucial optimization strategies, emphasizing the balance between HDRI resolution, bit depth, and render engine settings (Cycles and Eevee) to ensure efficient production without compromising on visual quality. The role of denoisers and post-processing in the Compositor was presented as the final touch for a polished, professional output.
Ultimately, mastering HDRI lighting in Blender empowers you to elevate your 3D automotive visualization projects to a professional standard. Whether you’re integrating a 3D car model into a photographic backplate or crafting a bespoke studio scene, the principles and techniques discussed here provide a solid framework. Remember to source high-quality 3D car models, such as those found on 88cars3d.com, and complement them with equally high-fidelity HDRIs. Experiment, iterate, and observe how light truly defines form and material. With these insights, you’re well-equipped to create captivating automotive renders that truly come to life.
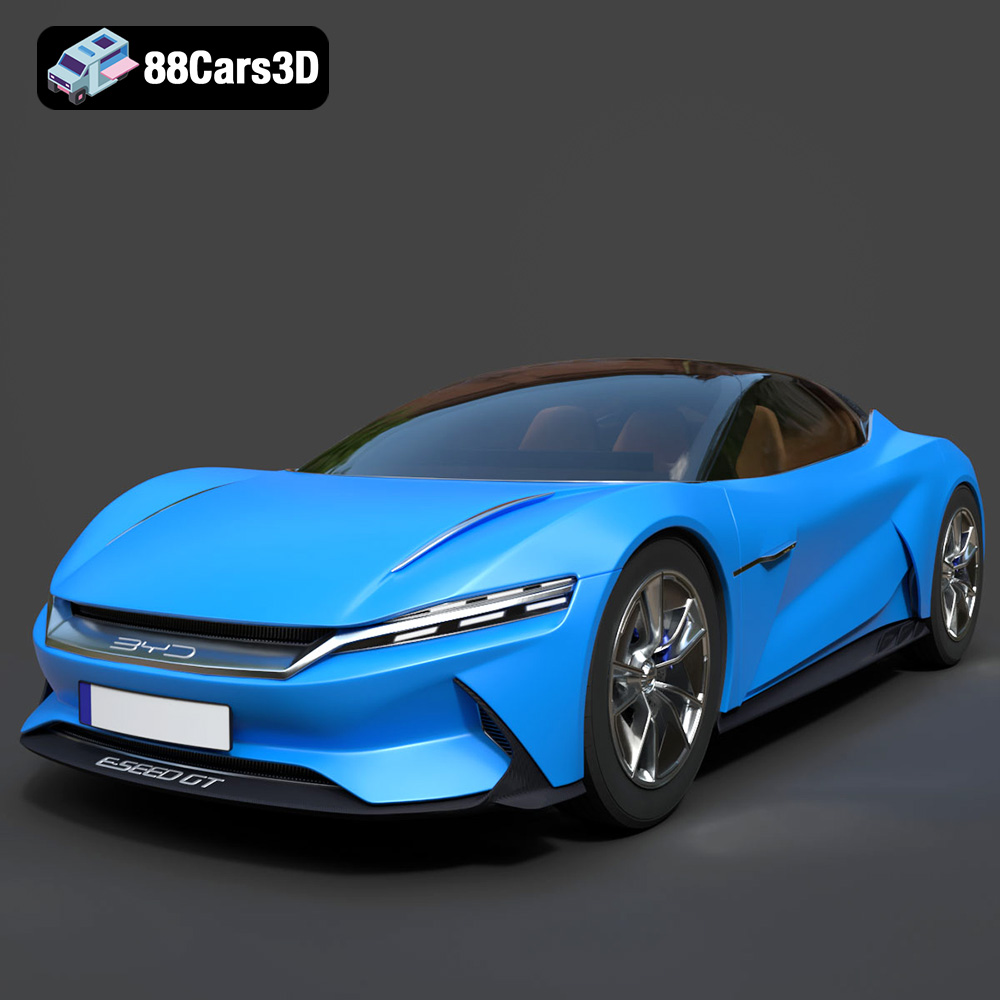
Texture: Yes | Material: Yes
Download the highly detailed, game-ready BYD e-SEED GT 2019 3D Model. Features futuristic gull-wing doors, sleek aerodynamic electric supercar silhouette, and detailed LED light strips. Includes .blend, .fbx, .obj, .glb, .stl, .ply, .unreal, and .max formats for game development, AR/VR, and rendering.
Price: $194.50
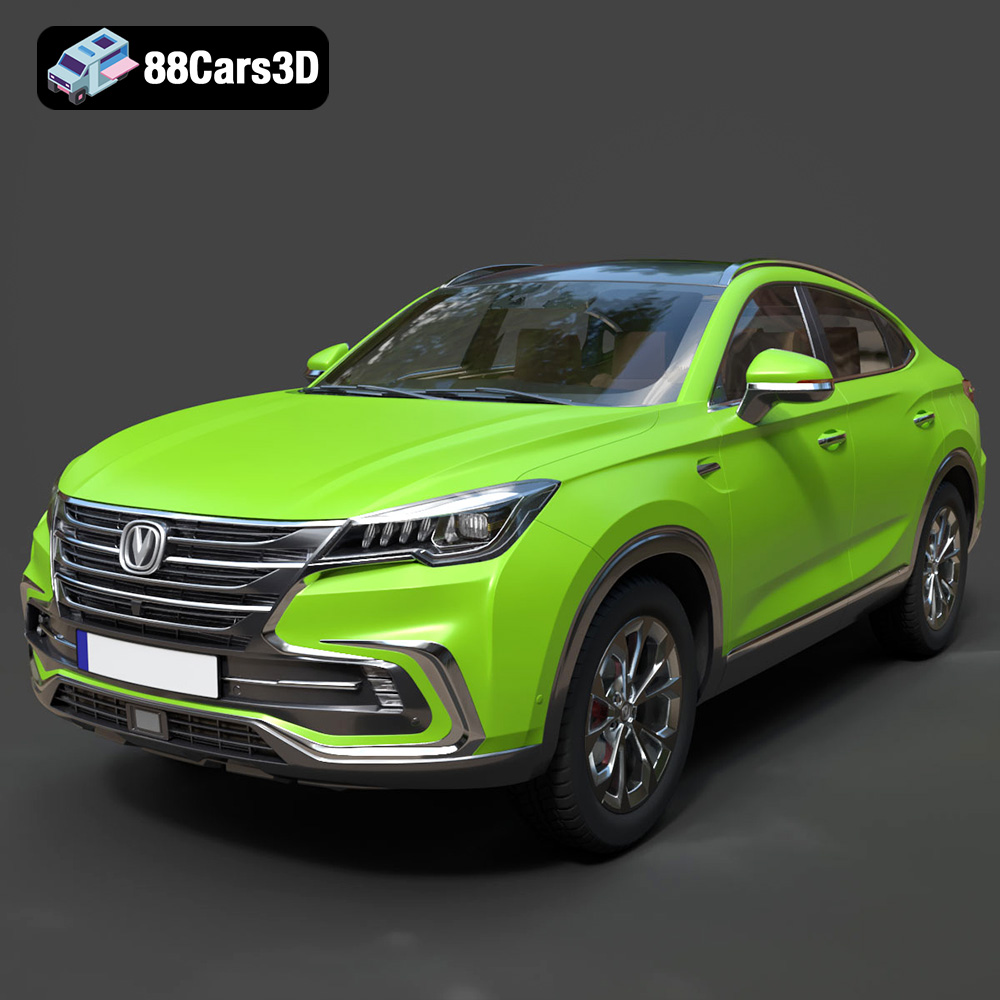
Texture: Yes | Material: Yes
Download the highly detailed, game-ready Changan CS85 Coupe 2019 3D Model. Features sleek fastback SUV styling, detailed front grille, and realistic lighting. Includes .blend, .fbx, .obj, .glb, .stl, .ply, .unreal, and .max formats for game development, AR/VR, and rendering.
Price: $275.00
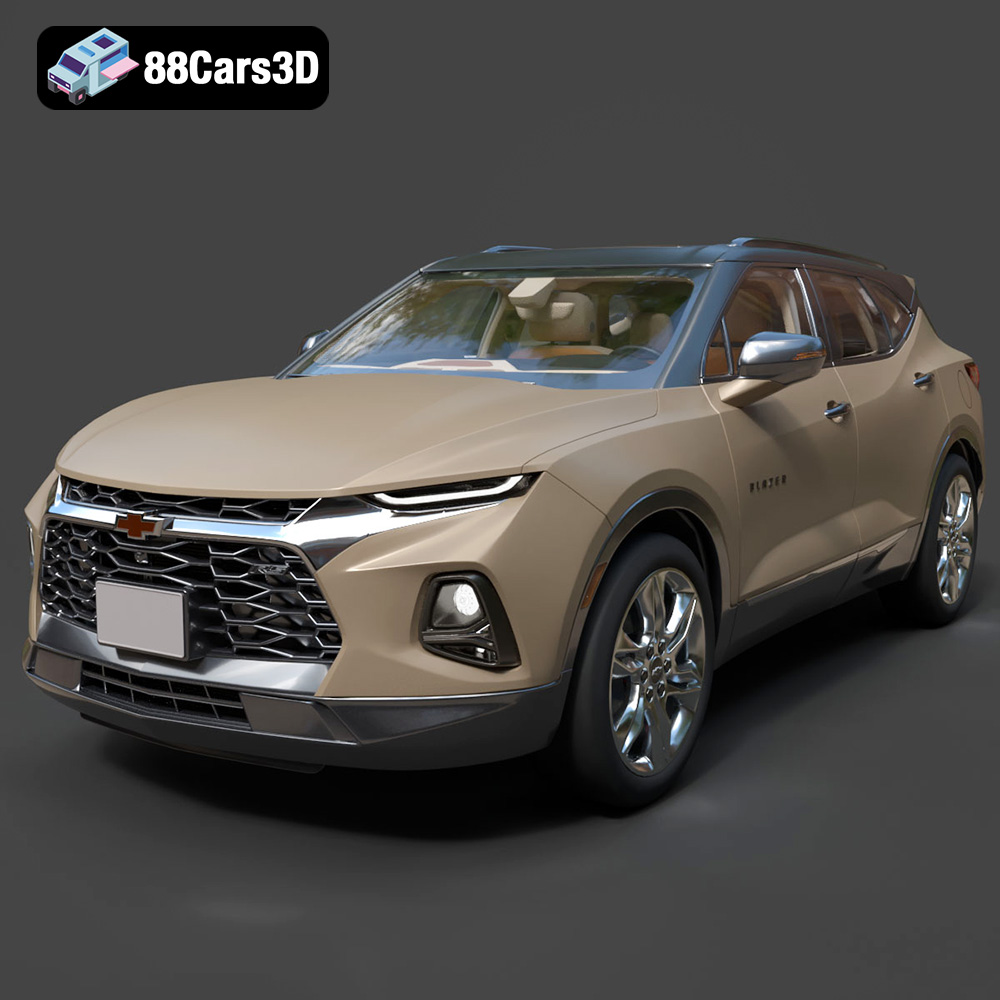
Texture: Yes | Material: Yes
Download the highly detailed, game-ready Chevrolet Blazer RS 2019 3D Model. Features bold blacked-out RS trim styling, sharp LED lighting signatures, and detailed interior geometry. Includes .blend, .fbx, .obj, .glb, .stl, .ply, .unreal, and .max formats for game development, AR/VR, and rendering.
Price: $132.50
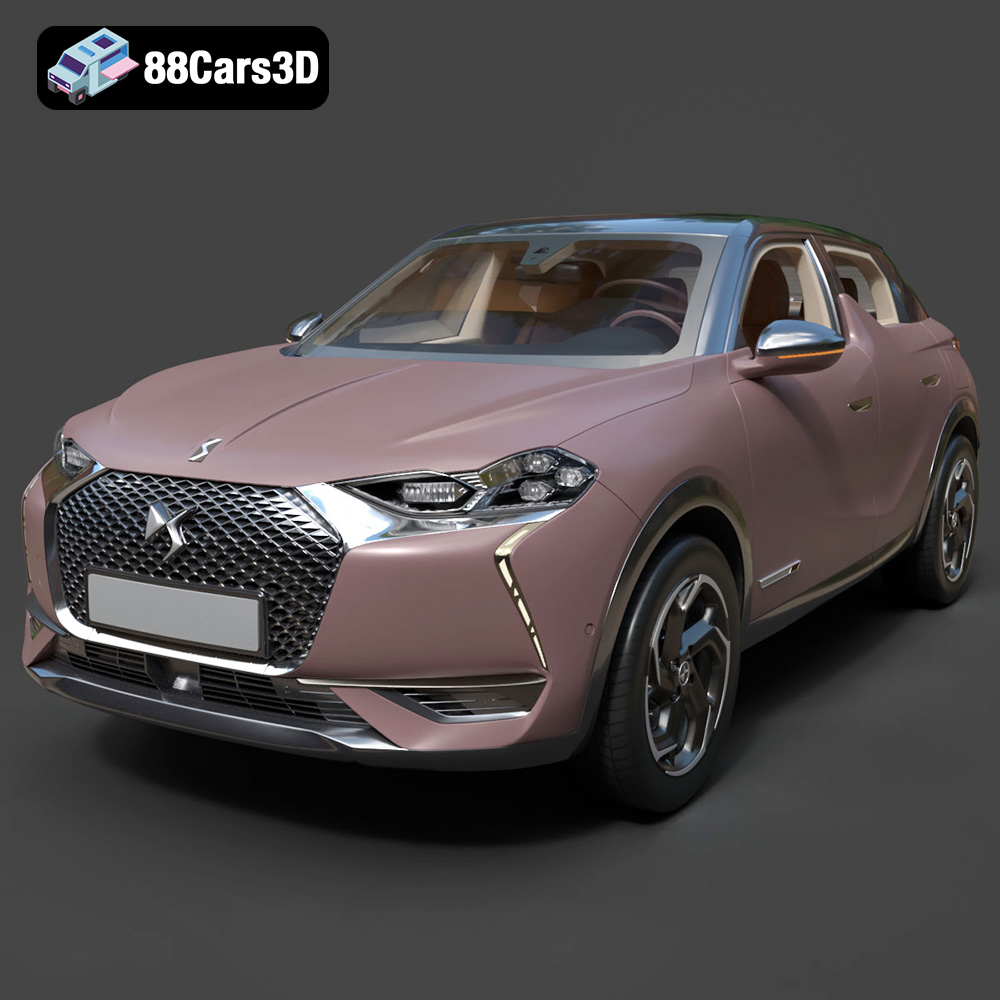
Texture: Yes | Material: Yes
Download the highly detailed, game-ready Citroen DS3 Crossback 2018 3D Model. Features signature diamond grid grille, flush door handles, and distinctive shark-fin B-pillars. Includes .blend, .fbx, .obj, .glb, .stl, .ply, .unreal, and .max formats for game development, AR/VR, and rendering.
Price: $276.00
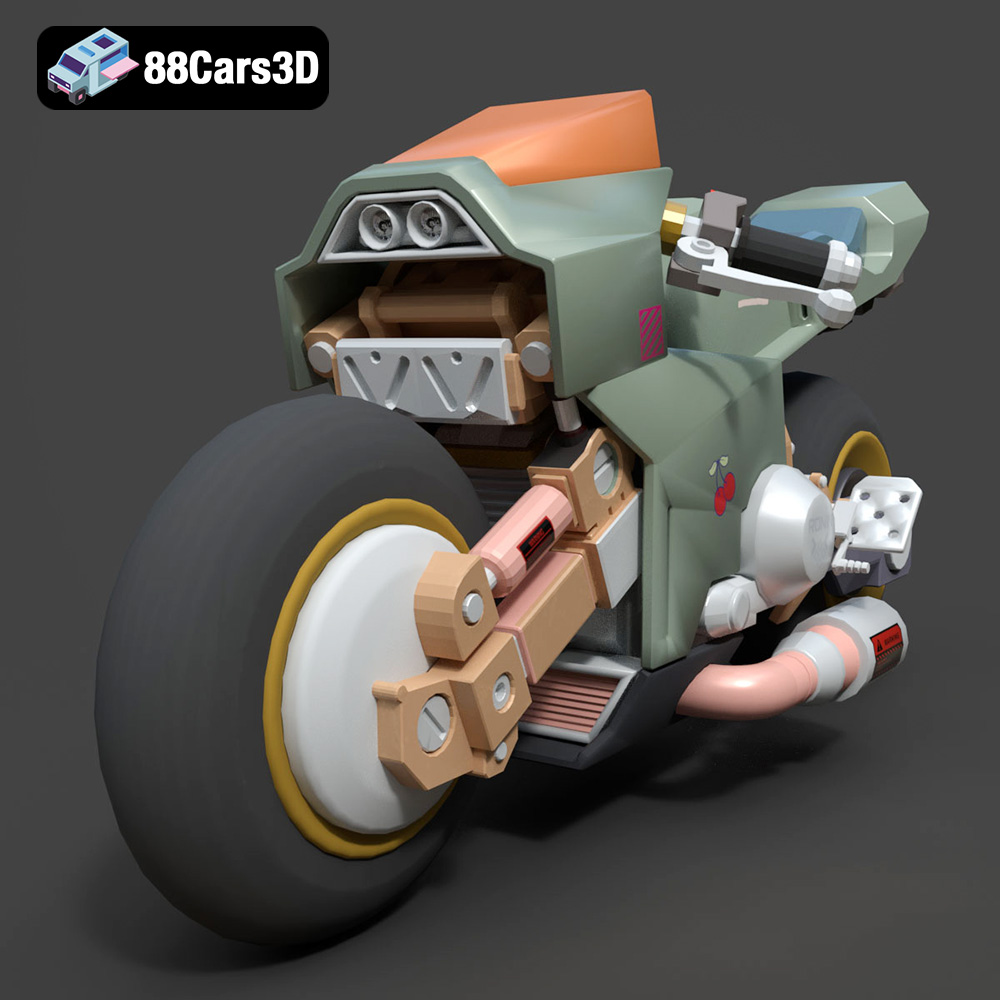
Texture: Yes | Material: Yes
Download the highly detailed, game-ready Cyber Bike 02 3D Model. Features futuristic sci-fi aesthetic, glowing LED lighting elements, and sleek aerodynamic paneling. Includes .blend, .fbx, .obj, .glb, .stl, .ply, .unreal, and .max formats for game development, AR/VR, and rendering.
Price: $99.99
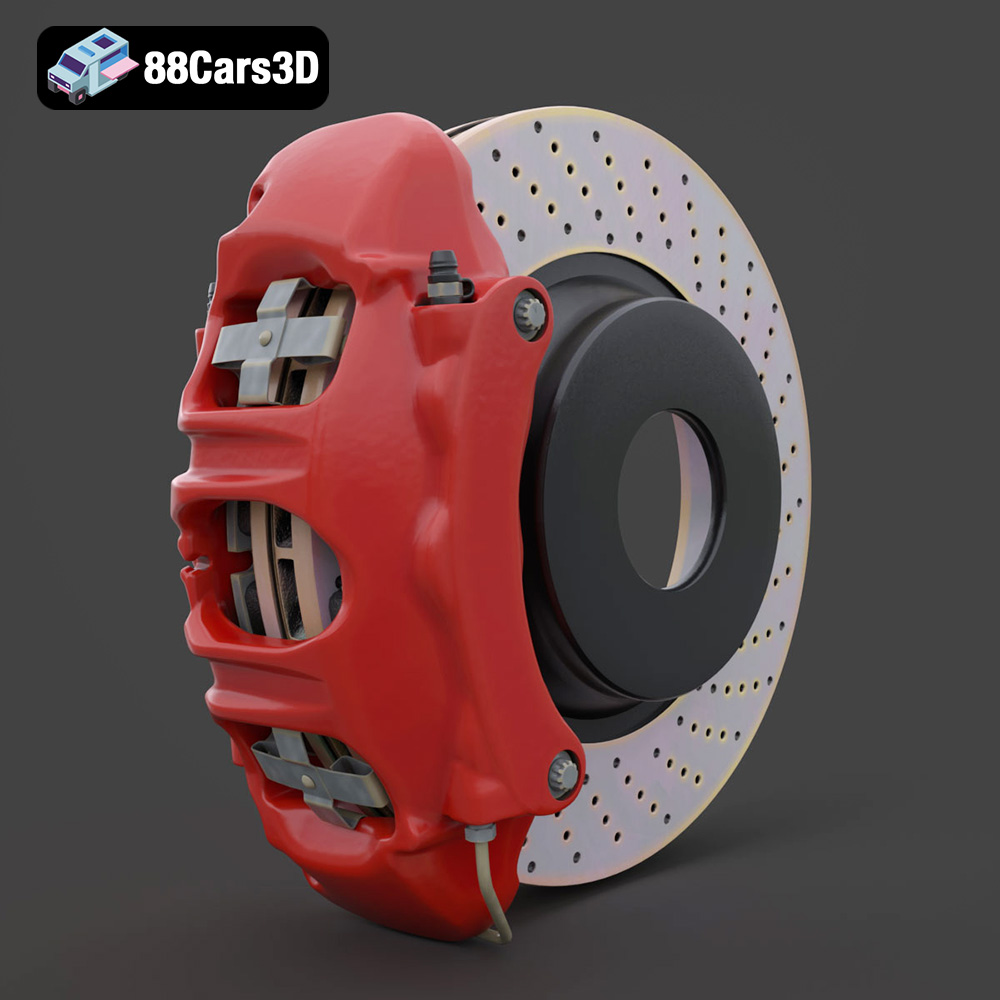
Texture: Yes | Material: Yes
Download the highly detailed, game-ready Brake Assembly 3D Model. Features a ventilated brake rotor, multi-piston caliper, and precision mounting hardware. Includes .blend, .fbx, .obj, .glb, .stl, .ply, .unreal, and .max formats for game development, AR/VR, and rendering.
Price: $104.99
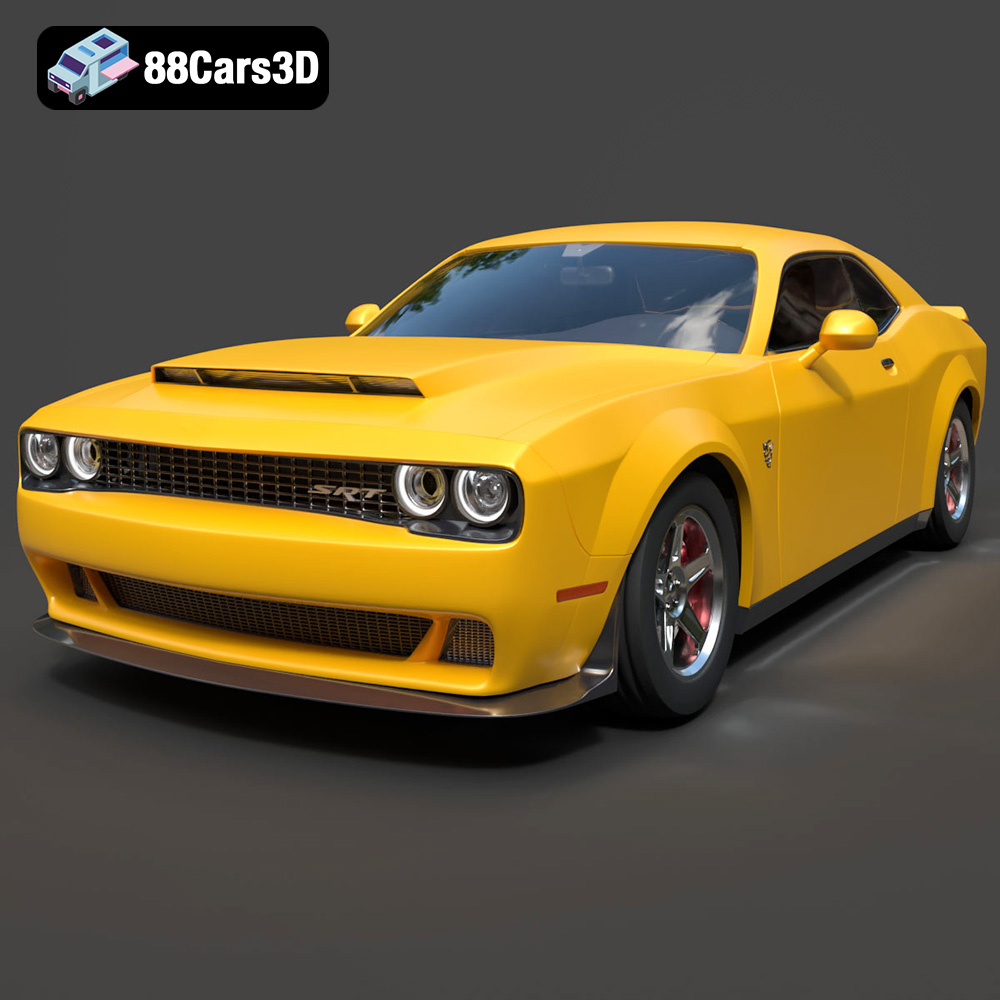
Texture: Yes | Material: Yes
Download the highly detailed, game-ready Dodge Demon SRT 3D Model. Features aggressive widebody styling, supercharged HEMI V8 details, and high-fidelity exterior details. Includes .blend, .fbx, .obj, .glb, .stl, .ply, .unreal, and .max formats for game development, AR/VR, and rendering.
Price: $279.99
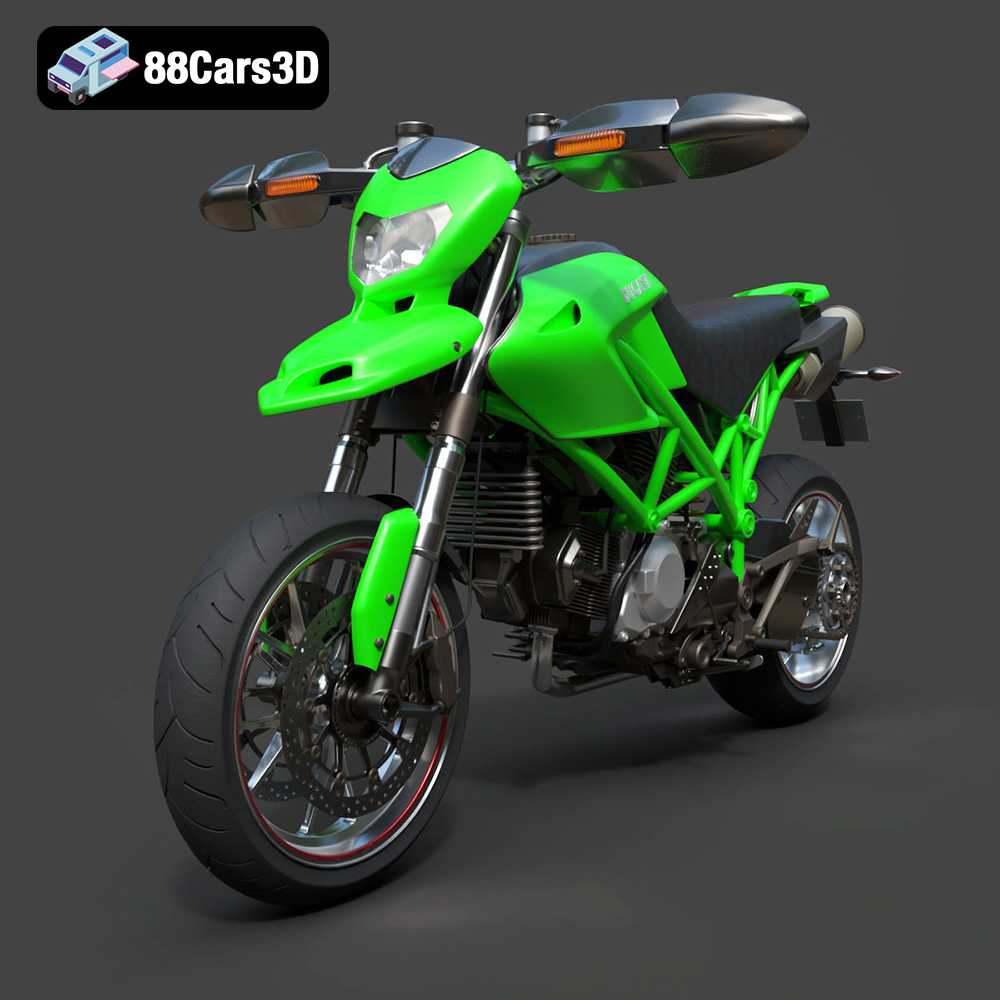
Texture: Yes | Material: Yes
Download the highly detailed, game-ready Ducati Hypermotard 1100 EVO 2011 3D Model. Features an iconic Desmodromic L-twin engine, trellis frame, and signature under-seat exhaust design. Includes .blend, .fbx, .obj, .glb, .stl, .ply, .unreal, and .max formats for game development, AR/VR, and rendering.
Price: $197.99
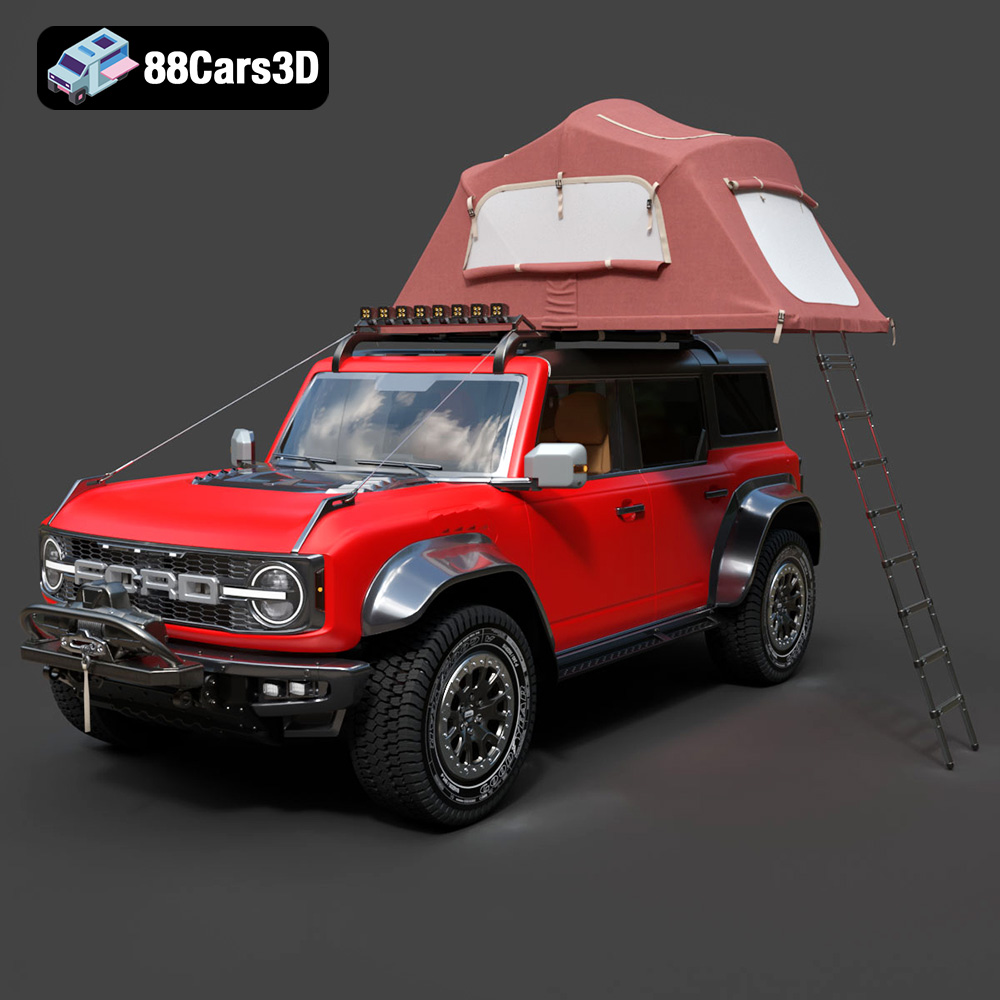
Texture: Yes | Material: Yes
Download the highly detailed, game-ready Ford Bronco Raptor Rooftop Tent 3D Model. Features aggressive widebody styling, detailed off-road suspension, and a fully modelled overland rooftop tent. Includes .blend, .fbx, .obj, .glb, .stl, .ply, .unreal, and .max formats for game development, AR/VR, and rendering.
Price: $299.50
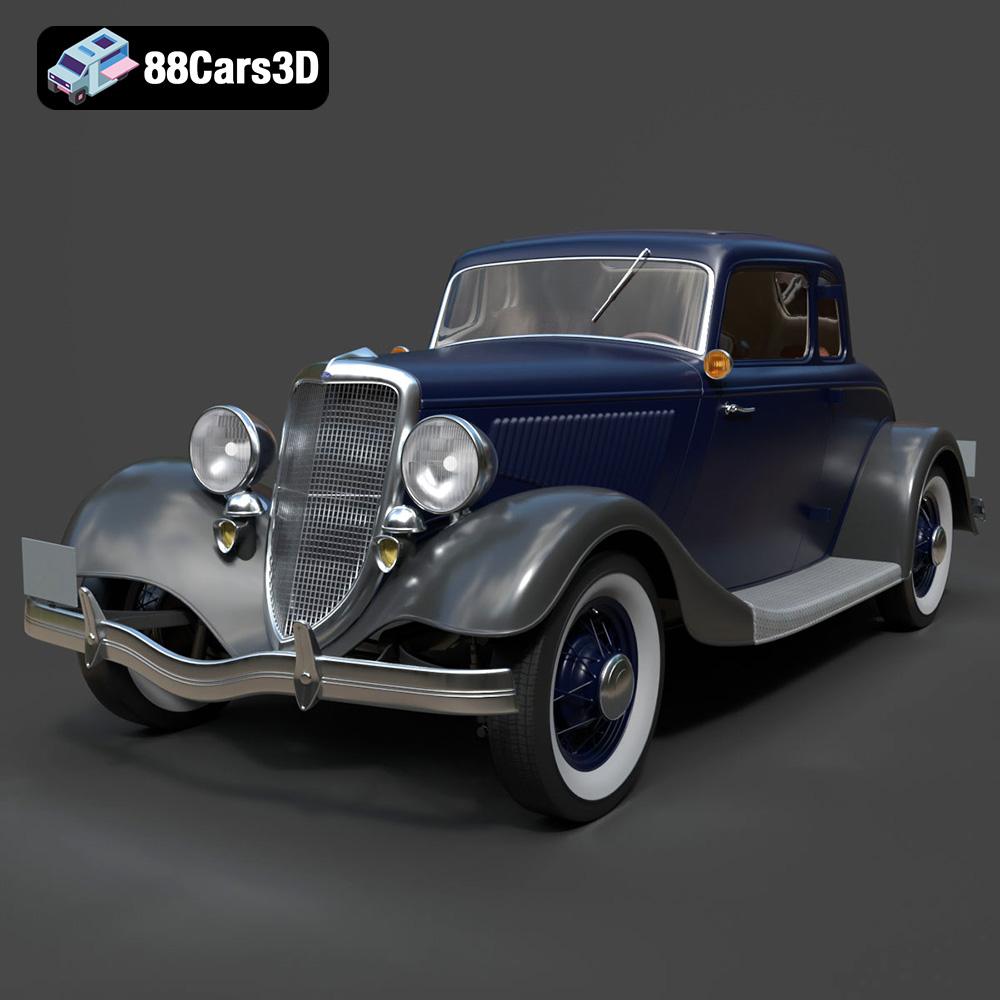
Texture: Yes | Material: Yes
Download the highly detailed, game-ready Ford Coupe 1934 3D Model. Features sweeping fenders, iconic 1930s grille design, and authentic vintage proportions. Includes .blend, .fbx, .obj, .glb, .stl, .ply, .unreal, and .max formats for game development, AR/VR, and rendering.
Price: $203.00
