

In the dynamic world of 3D modeling, particularly within the demanding realm of automotive design and game asset creation, efficiency, iteration, and precision are paramount. Traditional modeling techniques, while foundational, can often become bottlenecks when dealing with complex, highly detailed, and often iterative designs like those found in high-quality 3D car models. This is where Blender Geometry Nodes emerge as a transformative force, offering a powerful procedural toolkit that can revolutionize how artists and designers approach challenging projects.
Geometry Nodes, introduced in Blender, represent a paradigm shift towards non-destructive, parameter-driven creation. Instead of manually manipulating individual vertices and edges, you construct node-based networks that define how geometry is generated, modified, and arranged. This allows for unparalleled flexibility, enabling quick adjustments to entire models or specific components with just a few slider tweaks. For industries like automotive rendering and game development, where variations, LODs (Levels of Detail), and rapid prototyping are critical, Geometry Nodes provide a competitive edge. From dynamically generating complex wheel patterns and intricate grilles to optimizing entire scenes with instancing, the possibilities are vast.
This comprehensive guide will delve deep into the essentials of procedural modeling with Blender Geometry Nodes, specifically tailored for creating stunning 3D car models. We’ll explore fundamental concepts, build practical automotive components, discuss advanced topology control, and cover vital aspects like UV mapping, PBR material assignment, and crucial optimization strategies for game assets and AR/VR applications. By the end of this post, you’ll have a robust understanding of how to leverage Geometry Nodes to create more flexible, detailed, and production-ready automotive assets, enhancing your workflow and the quality of your designs, whether you’re sourcing base models from platforms like 88cars3d.com or building from scratch.
At its core, Blender Geometry Nodes provide a visual scripting environment that allows artists to manipulate and generate geometry using a system of interconnected nodes. This procedural approach means that instead of direct mesh manipulation, you are defining a set of rules and operations that are applied to input geometry, resulting in an output mesh. This methodology offers immense power, particularly when aiming for highly detailed, customizable, and easily modifiable 3D car models.
The Geometry Nodes editor presents a canvas where you connect various nodes, each performing a specific function, to create a logical flow for your geometry. Imagine it like a recipe: you start with base ingredients (input geometry), apply processing steps (nodes like extrude, subdivide, transform), and combine them to produce a final dish (output geometry). This visual logic makes complex operations more manageable and understandable. For instance, to create a series of bolts along a car rim, you wouldn’t manually place each one; instead, you’d use a Mesh Circle node for the rim, a Points on Vertices node to generate points along its edge, and then an Instance on Points node to place a bolt model at each point. The beauty is that by changing a single parameter, like the bolt count or the rim radius, your entire setup updates instantly. This non-destructive workflow is invaluable for automotive design, where design iterations are frequent and precision is crucial. For a foundational understanding of the Geometry Nodes editor and its interface, consulting the official Blender 4.4 documentation is highly recommended.
To master Geometry Nodes, understanding the concepts of fields and attributes is essential. An attribute is a piece of data associated with geometric components – vertices, edges, faces, or splines. Common attributes include position, normal, UV coordinates, and custom attributes like material IDs or selection masks. When geometry passes through a node network, these attributes can be read, modified, or created. For example, the Set Position node can modify the ‘position’ attribute of vertices, while a Store Named Attribute node can create a custom attribute. A field, on the other hand, is a way of defining values that vary across the geometry, often based on these attributes. Instead of providing a single value to a node, a field allows you to specify a different value for each element (vertex, edge, face). This is incredibly powerful for adding variations, masks, or dynamic effects. For example, to scale instances differently based on their distance from a central point, you’d use a Vector Math node to calculate distance (a field) and feed that into the Scale input of an Instance on Points node. Understanding how data flows from one node to the next, how attributes are processed, and how fields enable dynamic control is fundamental to unlocking the full potential of procedural modeling for intricate automotive models.
One of the most compelling applications of Blender Geometry Nodes in automotive design is the ability to generate complex, repetitive, or parametric components procedurally. This significantly reduces manual effort, ensures consistency, and allows for rapid design iteration, which is critical for projects involving detailed 3D car models for automotive rendering or game assets.
Car wheels are a prime example of components that benefit immensely from a procedural approach. A wheel consists of multiple intricate parts: the tire with its tread pattern, the rim with its spokes and bolt holes, and the individual bolts. Using Geometry Nodes, you can create a single, adaptable setup that generates an entire wheel assembly. Start with a basic mesh circle for the rim profile, then use Extrude Mesh and Subdivide Mesh nodes to build out the rim’s structure. For spokes, you could use a Curve Circle to define their path and then Curve to Mesh to give them thickness, instancing them around the rim’s center. The tire tread is a perfect candidate for procedural generation. You can design a single tread block and then use Instance on Points along a curve that defines the tire’s circumference, ensuring perfect tiling and distribution. Parameters for tire width, rim diameter, spoke count, and bolt size can be exposed as custom group inputs, allowing you to create countless variations from a single node tree. This parametric control is a massive time-saver, especially when creating multiple car variations or different wheel options for a vehicle lineup, ensuring high-quality details without tedious manual adjustments.
Car grilles, air intakes, and side vents often feature complex, repetitive patterns that would be extremely time-consuming and prone to inconsistencies if modeled manually. Geometry Nodes excel at creating these intricate designs. A common workflow involves starting with a simple base mesh representing the overall shape of the grille. You can then use a Mesh Grid or Points in Volume node to generate a dense array of points within that volume. These points can then be used to Instance on Points small primitive shapes (cubes, cylinders) that form the individual elements of the grille. By adding noise textures to displace the points or vary the instance scales, you can introduce organic irregularities or complex patterns. Boolean operations (using the Boolean Mesh node) can then be applied to cut these instanced shapes from a main mesh, creating clean, precise perforations. This method not only speeds up the modeling process dramatically but also allows for effortless experimentation with different grille patterns by simply adjusting parameters in the node network. You could expose parameters for element size, spacing, randomness, and even the type of pattern, making it easy to generate variations suited for different car models or aesthetic preferences while maintaining clean topology.
While procedural modeling offers incredible speed and flexibility, maintaining clean and optimized topology remains a critical concern, especially for high-quality 3D car models destined for automotive rendering, game assets, or 3D printing. Geometry Nodes provide powerful tools to manage and even enhance topology in a non-destructive manner, addressing challenges inherent in complex surfacing.
The greatest strength of Geometry Nodes lies in their non-destructive nature. Every operation, from generating a basic mesh to complex boolean cuts, is a step in a node tree that can be modified, reordered, or completely replaced without affecting prior steps. This iterative freedom is invaluable in automotive design, where modifications based on aesthetic changes, aerodynamic considerations, or technical requirements are common. For instance, if you’ve procedurally generated a car body panel and later decide to change its curvature, you don’t need to redo hours of work. Instead, you simply adjust the curve or mesh input that defines the initial shape, and the entire node network recalculates, instantly updating the panel with all its intricate details, bevels, and cutouts. This dramatically accelerates the design process, allowing artists to experiment freely without the fear of irreversible changes. This approach is particularly beneficial when preparing models for AR/VR, where constant adjustments might be needed to optimize for specific hardware or experiences. Moreover, the ability to store and reuse entire node groups allows you to build a library of intelligent, parametric tools, accelerating future projects and ensuring consistent quality across your vehicle fleet.
One common challenge with procedural generation, especially when using operations like booleans, is the potential for messy or overly dense topology. However, Geometry Nodes offer various strategies to combat this and maintain a clean, animation-friendly mesh. When generating complex forms, prioritize nodes that naturally produce good topology, such as Subdivide Mesh for uniform face distribution or Remesh (though this can sometimes be too destructive for specific edge flow). For operations that might introduce n-gons or excessive triangles, such as boolean cuts for windows or panel gaps, consider using the Merge by Distance node to clean up overlapping vertices after the operation. More advanced techniques involve using attribute transfer to project clean UVs or normal data onto a modified mesh, helping to preserve shading even if the underlying topology isn’t perfectly clean. For highly detailed surfaces that require specific edge flow for subdivision surface modifiers, you might start with a simpler Geometry Nodes setup for the base form, then convert it to a mesh (Apply Modifier) and manually refine critical areas. Alternatively, you can use Geometry Nodes to generate guide curves and then use traditional modeling techniques to build clean quads along those guides. This hybrid approach allows you to leverage the speed of procedural generation for initial concepts and intricate details while retaining full control over the final topology, ensuring models are suitable for high-end automotive rendering and smooth deformation for animations. Understanding the balance between procedural generation and careful topological refinement is key to producing professional-grade 3D car models.
Beyond shaping geometry, Blender Geometry Nodes also offer robust capabilities for managing and assigning materials and UV maps. This is crucial for creating realistic PBR materials and ensuring proper texturing for 3D car models, whether for high-fidelity automotive rendering or optimized game assets.
UV mapping can be one of the most tedious tasks in 3D modeling, especially for the intricate and often organic surfaces of a car. Geometry Nodes simplify this by enabling dynamic UV generation and manipulation. The Store Named Attribute node is your gateway to creating and manipulating UV maps. You can generate basic UVs for procedurally created geometry using straightforward projection techniques. For example, if you’re creating a tire tread, you can easily map a texture along its length using a simple UV generation setup within your node tree, where the U coordinate is derived from the curve parameter and V from the profile’s extent. For more complex components, you might project UVs based on a specific axis (using Position and Vector Math nodes to derive coordinates) or even transfer UVs from a simpler proxy mesh to a more complex procedurally generated one using the Sample Nearest Surface or Sample Index nodes. This allows for intelligent UV assignment, ensuring that textures wrap correctly and consistently across varied surfaces. For example, when generating multiple instances of a car badge or a series of bolts, you can ensure each instance has its own unique, correctly scaled UV coordinates, or that they all share a section of a larger texture atlas. This capability is paramount for efficient texture usage and reducing draw calls in game engines, contributing to well-optimized game assets.
Assigning materials procedurally with Geometry Nodes adds another layer of control and flexibility. The Set Material node is the primary tool here, allowing you to assign specific materials to different parts of your generated geometry. The real power comes from combining this with attributes and fields. You can use an attribute generated earlier in your node tree (e.g., a “part_ID” attribute for different sections of a car interior or exterior) to drive which material is assigned. For example, you could have a node network that generates a car seat, and within that network, you could procedurally assign a “Leather” material to the main cushions and a “Fabric” material to the piping, all based on selection masks or vertex groups created earlier in the node tree. Furthermore, you can use fields to dynamically blend materials or alter material properties based on geometric features. Imagine a dirt effect that becomes more pronounced in crevices or along edges – this can be driven by ambient occlusion or curvature attributes generated directly within the Geometry Nodes network and then used in your shader graph. This enables truly dynamic PBR material creation, where the appearance of your materials can intelligently respond to the shape and context of the geometry. This advanced control over material assignment and blending directly within the procedural workflow ensures that your 3D car models not only look stunning in automotive rendering but are also built with a robust and adaptable material system, streamlining the texturing pipeline and allowing for creative material variations without manual intervention.
Creating highly detailed 3D car models is only half the battle; ensuring they perform optimally, especially for real-time applications like game development, AR/VR experiences, or interactive visualizations, is equally critical. Blender Geometry Nodes offer powerful tools to streamline optimization directly within the procedural workflow, leading to efficient game assets and smoother real-time experiences.
Levels of Detail (LODs) are essential for maintaining performance in real-time environments. Instead of creating multiple versions of a model at different detail levels manually, Geometry Nodes can automate this process. You can design a node network that generates your high-detail car model and then, within the same network, create lower-polygon versions using conditional logic. For example, you might use a Subdivide Mesh node for the highest LOD and then a Decimate Geometry node with varying ratios for medium and low LODs. The selection of which LOD to output can be controlled by a simple integer input, allowing you to easily switch between detail levels. More advanced setups can even automate LOD switching based on distance from the camera within the game engine, though the Geometry Nodes part primarily focuses on creating the distinct LOD meshes. When exporting to game engines like Unity or Unreal Engine, these separate LODs can be configured to swap dynamically. This procedural approach ensures consistency across all LODs and allows for rapid adjustments to detail levels without having to remodel, saving immense time and reducing potential errors in the asset pipeline. This is particularly vital for marketplaces like 88cars3d.com, where well-optimized models with clean LODs are highly valued for their versatility.
Instancing is one of the most powerful performance optimization techniques, especially for repetitive elements like tire treads, bolts, lights, or even small environmental details around a car. Instead of having unique mesh data for every single bolt on a wheel, instancing tells the rendering engine to draw the same geometry multiple times at different locations, rotations, and scales. Geometry Nodes naturally leverage instancing through nodes like Instance on Points. When you use this node, the input geometry (e.g., a single bolt model) is not duplicated as actual mesh data but rather as references. This drastically reduces memory usage and draw calls, which are critical factors for performance in game development and AR/VR. Consider a complex car interior with dozens of buttons, switches, and small details. If each of these is an instance of a smaller base mesh generated by Geometry Nodes, the performance impact will be minimal compared to having unique mesh data for every element. Furthermore, Geometry Nodes allow you to procedurally control the scale, rotation, and even material attributes of these instances, adding variation without sacrificing performance. This means you can create a rich, detailed environment or vehicle without bogging down your scene, making your 3D car models highly suitable for real-time applications and ensuring a smooth user experience.
While Geometry Nodes offer a powerful procedural workflow, they are not meant to replace traditional modeling entirely. Instead, their strength lies in their ability to integrate seamlessly into existing automotive design and production pipelines, creating a hybrid approach that leverages the best of both worlds for 3D car models.
For many complex 3D car models, a purely procedural approach might be too challenging or impractical for certain organic surfaces that require very specific manual refinement. This is where a hybrid workflow truly shines. You might start with traditional polygonal modeling to establish the primary forms and overall silhouette of a car, ensuring the base mesh has clean topology and appropriate edge flow for subdivision. Once the core shape is established, Geometry Nodes can be used to add intricate details non-destructively. This could include generating complex grilles, adding panel gaps, creating functional vents, scattering bolts, designing tire treads, or even adding surface imperfections like subtle dents or scratches using noise textures. After the procedural details are complete, you can “apply” the Geometry Nodes modifier to convert the procedural geometry into a standard mesh, allowing for further manual refinement, sculpting, or retopology if necessary. This iterative process allows designers to quickly block out designs, iterate on details with procedural tools, and then finalize specific areas with precision, leading to highly detailed and optimized automotive models that meet the demanding standards for high-end automotive rendering and visualization. This flexibility ensures that Geometry Nodes augment, rather than replace, established artistic workflows.
Once your procedural 3D car model is complete, the next crucial step is preparing it for export to other software, whether it’s a game engine (Unity, Unreal Engine), a rendering package (3ds Max, Maya), or a platform for AR/VR or 3D printing. Since Geometry Nodes are a Blender-specific feature, the procedural network itself cannot be directly exported. Therefore, before exporting, it is essential to “apply” the Geometry Nodes modifier. This converts the dynamic, procedural geometry into a static mesh, making it compatible with standard file formats. The most common and versatile export formats for 3D car models include FBX, OBJ, GLB, and USDZ. FBX is widely used for game development due to its support for meshes, materials, animations, and armature data. OBJ is a simpler format, good for raw geometry and basic UVs. GLB is excellent for web-based AR/VR and ensures all textures are embedded. USDZ is Apple’s format for AR applications. When exporting, pay close attention to scaling, coordinate systems (Blender uses Z-up, some engines use Y-up), and material assignments. Ensure your PBR materials are baked or properly set up with texture maps (albedo, normal, roughness, metallic) that will transfer correctly. For 3D printing, ensure the final mesh is manifold (watertight) and free of non-manifold edges or inverted normals, potentially using the Mesh to Volume and Volume to Mesh nodes as a remeshing and repair step if necessary. Thorough testing of exported models in the target software is always recommended to ensure fidelity and performance, especially for critical game assets and professional visualization projects.
Blender Geometry Nodes represent a monumental leap forward in 3D modeling, particularly for the intricate and demanding field of automotive design and asset creation. Throughout this comprehensive guide, we’ve explored how these powerful procedural tools can redefine workflows, enabling artists and designers to create incredibly detailed, flexible, and optimized 3D car models with unprecedented efficiency. From understanding the core concepts of fields and attributes to building parametric components like wheels and grilles, and from managing clean topology non-destructively to dynamically generating UV mapping and assigning PBR materials, Geometry Nodes offer solutions to some of the most persistent challenges in 3D production.
We’ve also highlighted crucial optimization strategies, such as creating intelligent LODs and leveraging instancing, which are vital for delivering high-performance game assets and immersive AR/VR experiences. By integrating Geometry Nodes into a hybrid workflow, combining the speed of procedural generation with the precision of traditional modeling, you can achieve results that were once incredibly time-consuming or even impossible. The ability to iterate rapidly, experiment with design variations effortlessly, and maintain absolute control over every parameter empowers artists to push creative boundaries and respond quickly to evolving project demands, whether for high-end automotive rendering, realistic simulations, or interactive visualizations.
Embracing Blender Geometry Nodes is not just about learning new tools; it’s about adopting a more intelligent, adaptable, and efficient approach to 3D content creation. For professionals in game development, automotive design, and visualization, this technology offers a clear path to higher quality, faster turnaround times, and greater creative freedom. We encourage you to start experimenting with these powerful nodes, exploring the vast possibilities they unlock for your next automotive project. And remember, when you need a head start or a source of meticulously crafted base models, platforms like 88cars3d.com offer an extensive collection of high-quality 3D car models that can serve as excellent foundations for your procedural experiments.
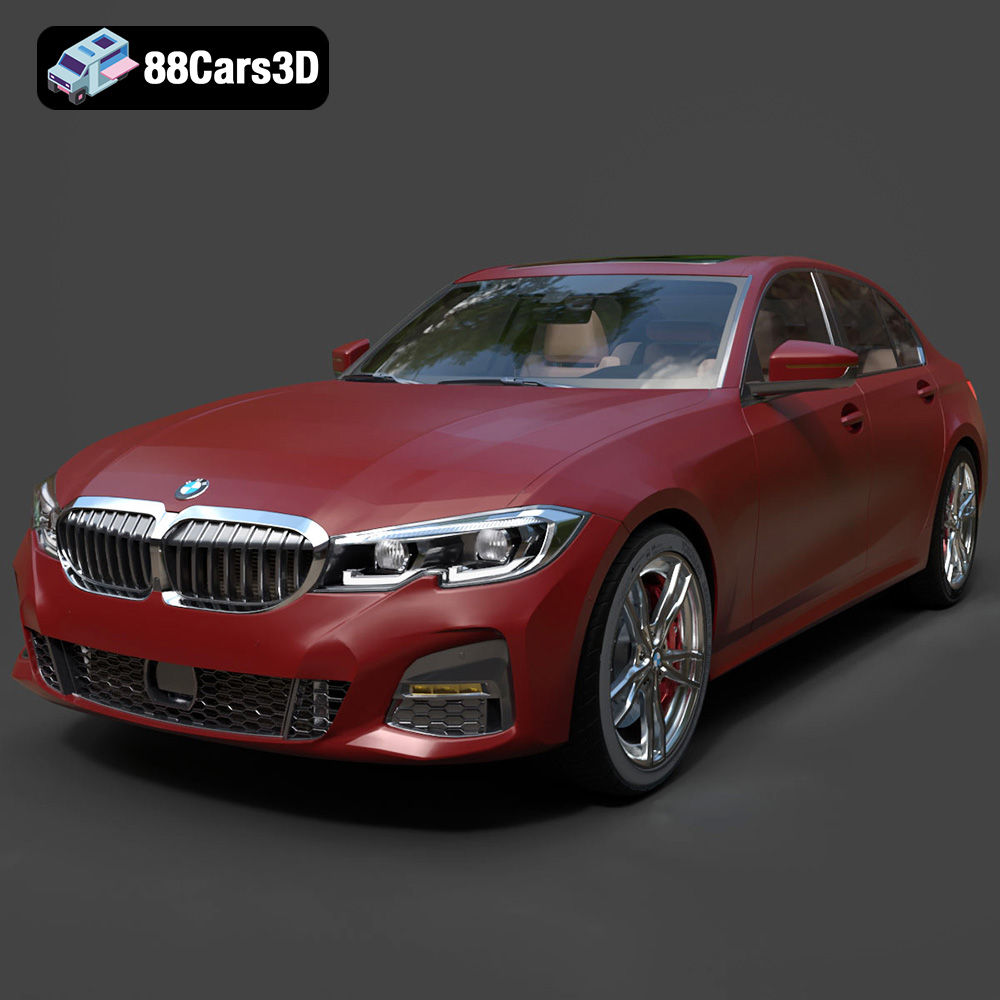
Texture: Yes | Material: Yes
Download the highly detailed, game-ready BMW 3er VII (G2x) 3D Model. Features iconic kidney grille geometry, detailed LED lighting, and precise interior cockpits. Includes .blend, .fbx, .obj, .glb, .stl, .ply, .unreal, and .max formats for game development, AR/VR, and rendering.
Price: $299.50

Texture: Yes | Material: Yes
Download the highly detailed, game-ready BMW i8 Roadster 2019 3D Model. Features iconic butterfly doors, futuristic aerodynamic styling, and detailed hybrid sports car aesthetics. Includes .blend, .fbx, .obj, .glb, .stl, .ply, .unreal, and .max formats for game development, AR/VR, and rendering.
Price: $171.00
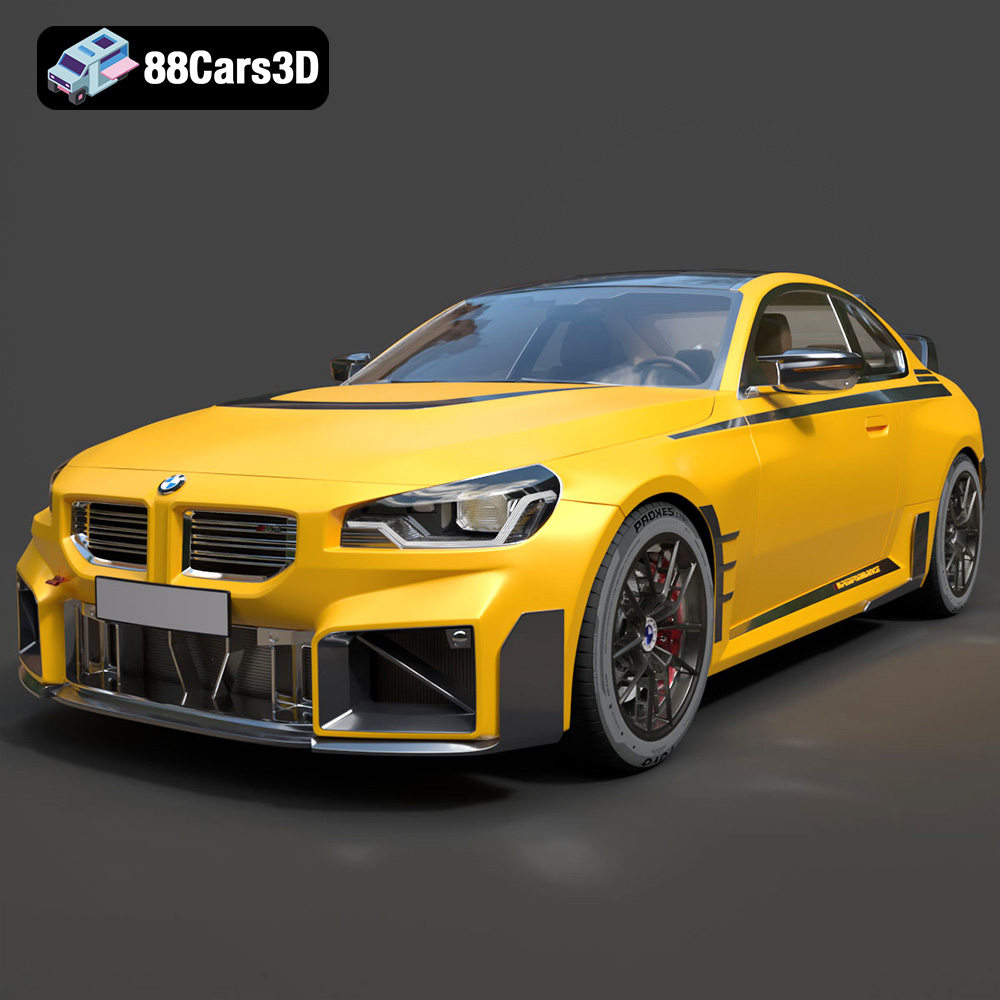
Texture: Yes | Material: Yes
Download the highly detailed, game-ready BMW M2 M Performance 3D Model. Features aggressive M Performance aero parts, detailed interior, and signature front grille. Includes .blend, .fbx, .obj, .glb, .stl, .ply, .unreal, and .max formats for game development, AR/VR, and rendering.
Price: $299.50
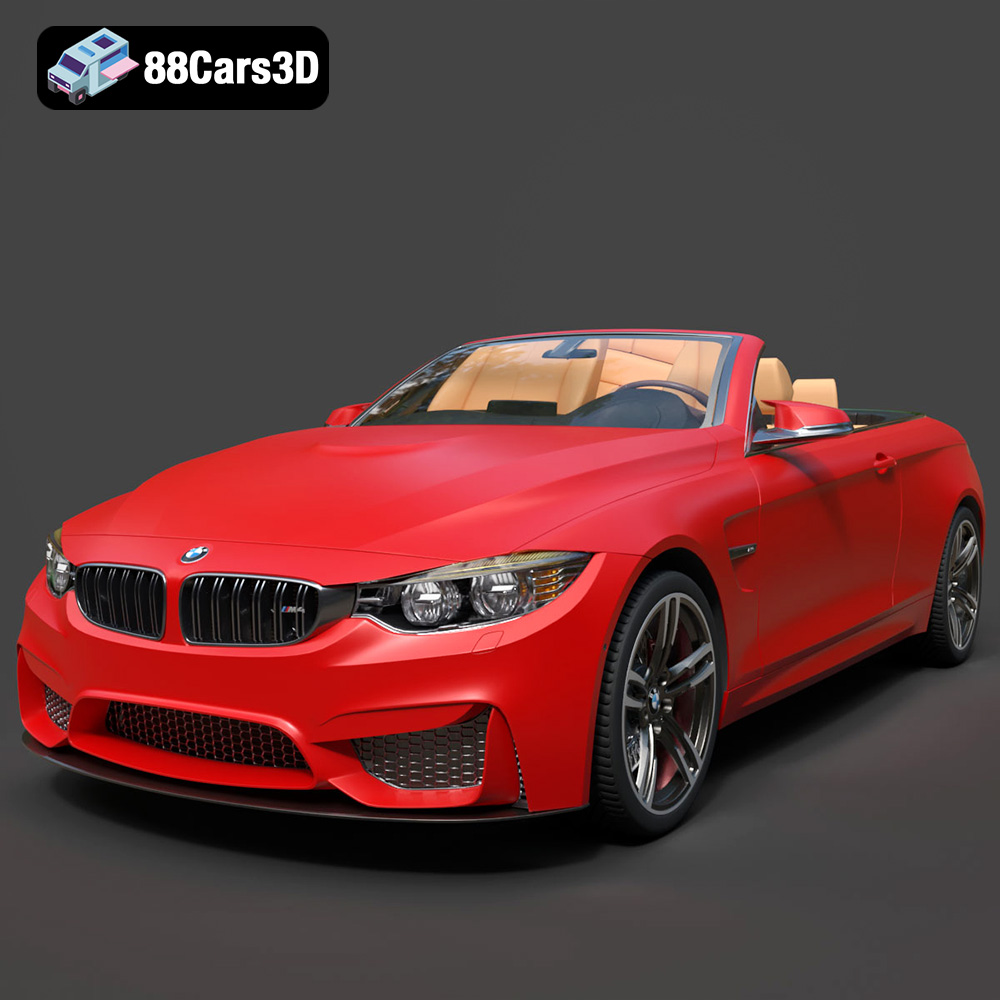
Texture: Yes | Material: Yes
Download the highly detailed, game-ready BMW M4 F33 Convertible 2015 3D Model. Features aggressive M body styling, quad exhaust setup, and detailed M sport interior. Includes .blend, .fbx, .obj, .glb, .stl, .ply, .unreal, and .max formats for game development, AR/VR, and rendering.
Price: $225.99
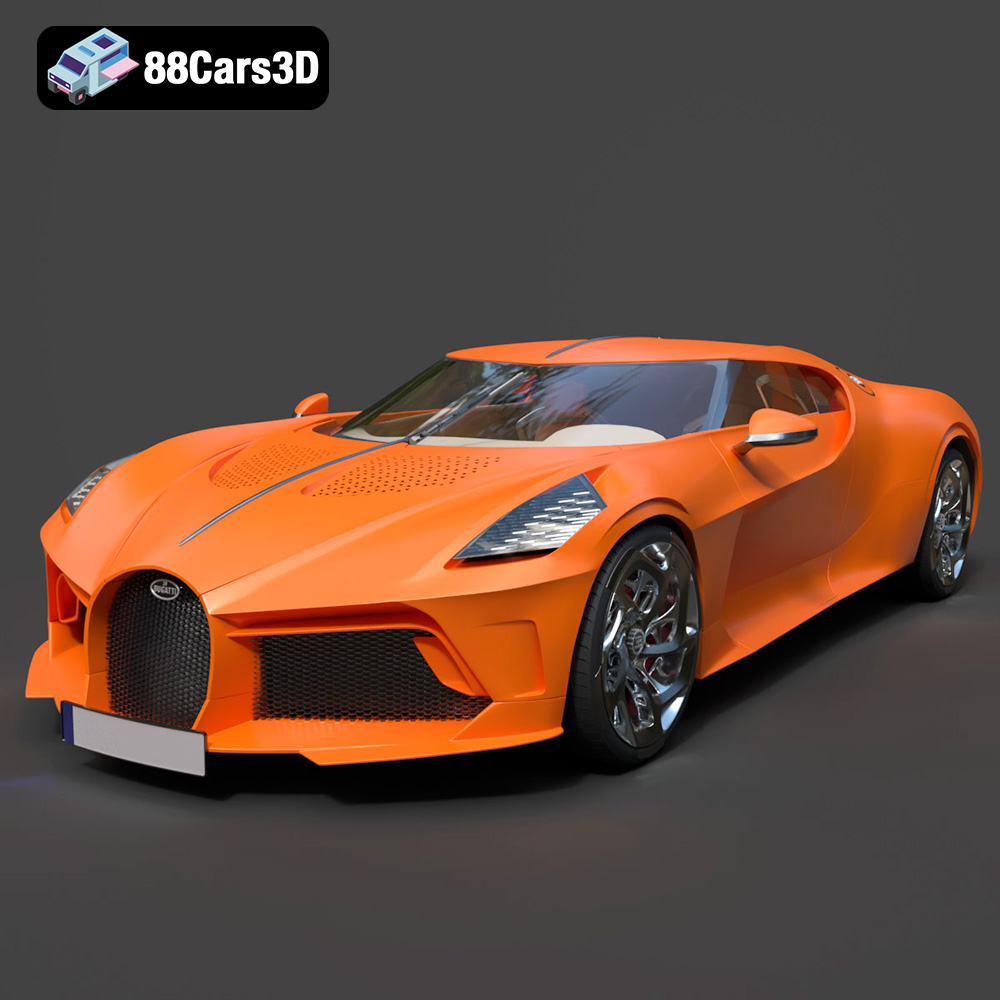
Texture: Yes | Material: Yes
Download the highly detailed, game-ready Bugatti La Voiture Noire 2019 3D Model. Features seamless jet-black carbon bodywork, distinctive six-tailpipe exhaust, and continuous LED light strip. Includes .blend, .fbx, .obj, .glb, .stl, .ply, .unreal, and .max formats for game development, AR/VR, and rendering.
Price: $269.00
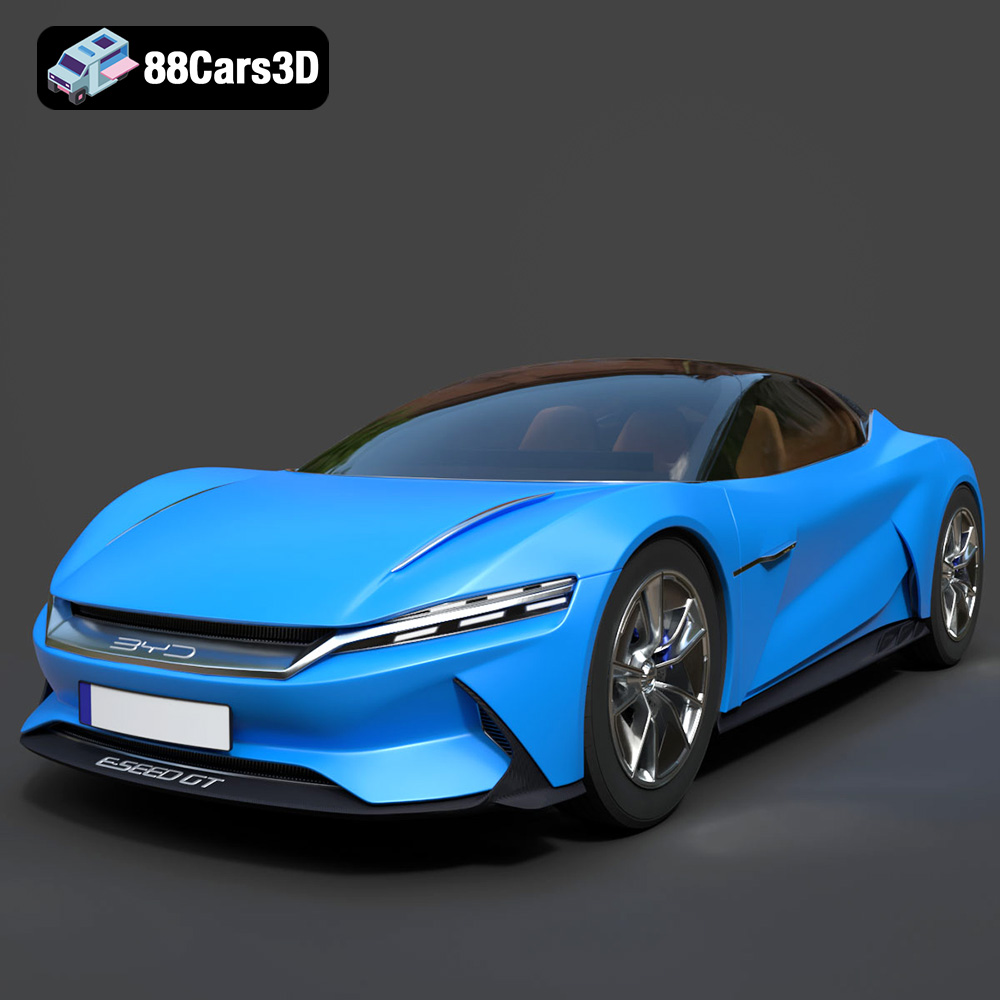
Texture: Yes | Material: Yes
Download the highly detailed, game-ready BYD e-SEED GT 2019 3D Model. Features futuristic gull-wing doors, sleek aerodynamic electric supercar silhouette, and detailed LED light strips. Includes .blend, .fbx, .obj, .glb, .stl, .ply, .unreal, and .max formats for game development, AR/VR, and rendering.
Price: $40

Texture: Yes | Material: Yes
Download the highly detailed, game-ready Changan CS85 Coupe 2019 3D Model. Features sleek fastback SUV styling, detailed front grille, and realistic lighting. Includes .blend, .fbx, .obj, .glb, .stl, .ply, .unreal, and .max formats for game development, AR/VR, and rendering.
Price: $40
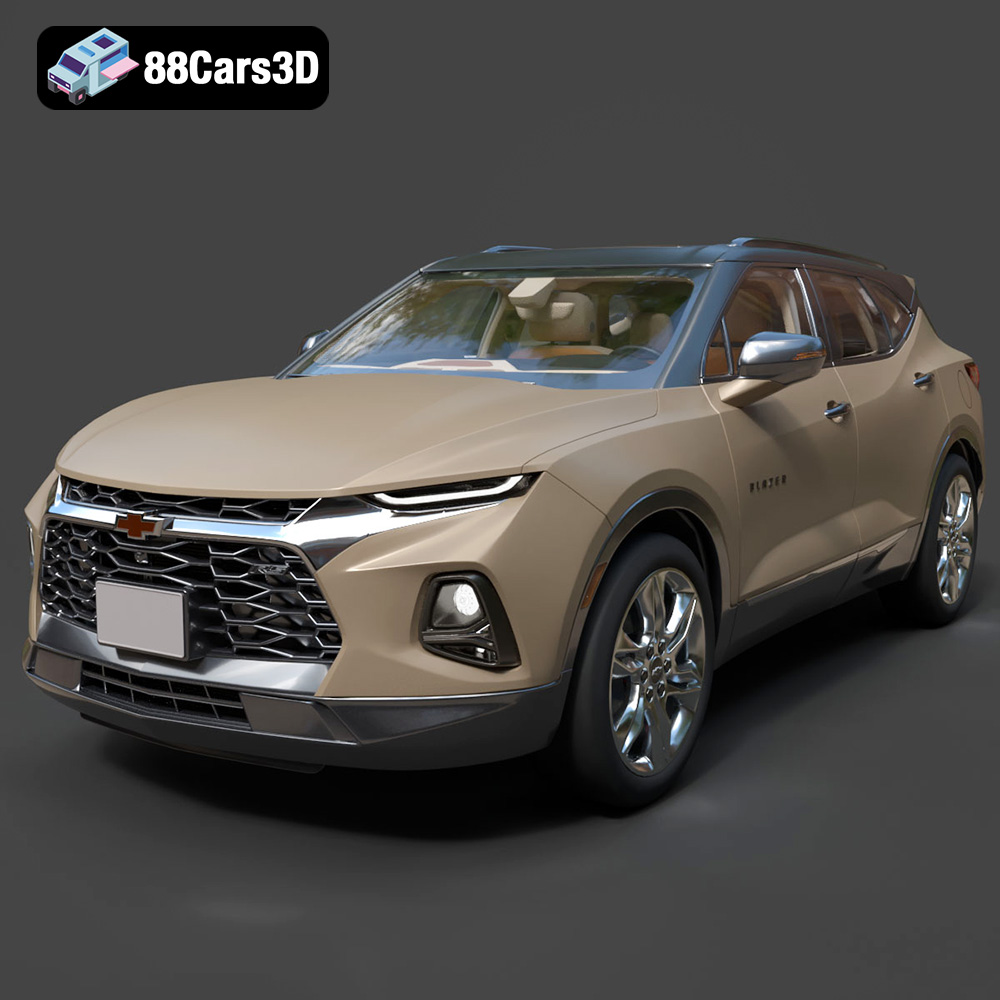
Texture: Yes | Material: Yes
Download the highly detailed, game-ready Chevrolet Blazer RS 2019 3D Model. Features bold blacked-out RS trim styling, sharp LED lighting signatures, and detailed interior geometry. Includes .blend, .fbx, .obj, .glb, .stl, .ply, .unreal, and .max formats for game development, AR/VR, and rendering.
Price: $40

Texture: Yes | Material: Yes
Download the highly detailed, game-ready Citroen DS3 Crossback 2018 3D Model. Features signature diamond grid grille, flush door handles, and distinctive shark-fin B-pillars. Includes .blend, .fbx, .obj, .glb, .stl, .ply, .unreal, and .max formats for game development, AR/VR, and rendering.
Price: $40
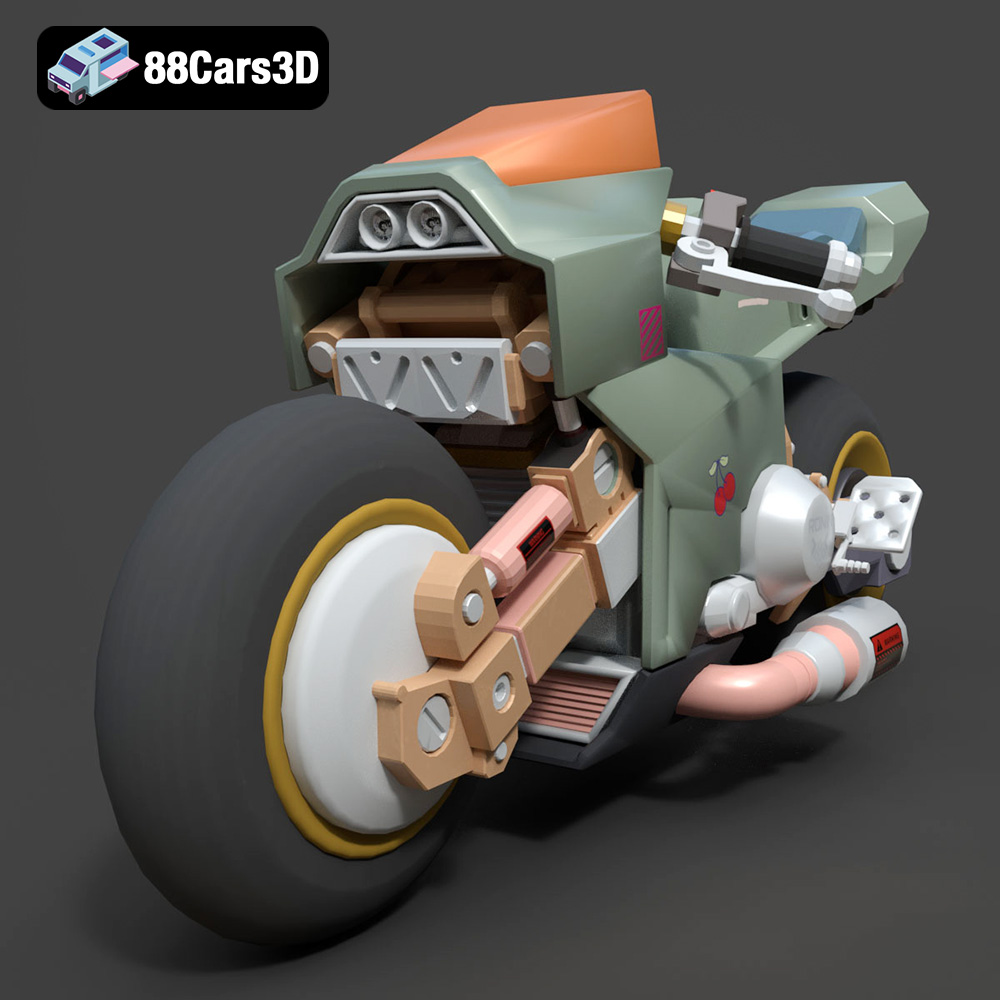
Texture: Yes | Material: Yes
Download the highly detailed, game-ready Cyber Bike 02 3D Model. Features futuristic sci-fi aesthetic, glowing LED lighting elements, and sleek aerodynamic paneling. Includes .blend, .fbx, .obj, .glb, .stl, .ply, .unreal, and .max formats for game development, AR/VR, and rendering.
Price: $40
