

The allure of hyper-realistic vehicles cruising through vibrant virtual worlds is undeniable. From the meticulous reflections on a polished fender to the subtle nuances of tire tread, high-fidelity 3D car models are central to immersive gaming experiences. However, achieving this visual grandeur while maintaining smooth gameplay is a tightrope walk. Unoptimized 3D car models, with their intricate details and high polygon counts, can quickly bring even the most powerful gaming rigs to their knees, leading to frame rate drops and a frustrating user experience. This is where the art and science of optimization come into play.
This comprehensive guide will demystify the process of preparing and optimizing 3D car models in Blender specifically for deployment in game engines like Unity and Unreal Engine. We’ll delve deep into foundational modeling principles, advanced texturing workflows, and crucial game engine integration strategies. Whether you’re a 3D artist aiming for peak performance, a game developer seeking to enhance visual fidelity, or simply looking to understand the technical intricacies behind game-ready assets, this article will equip you with the knowledge and actionable techniques to transform your high-poly masterpieces into efficient, stunning in-game assets. Platforms like 88cars3d.com offer excellent starting points with high-quality base meshes, but even these require careful optimization for game engine deployment.
The bedrock of any performant 3D asset is its underlying topology. For automotive models, this is even more critical due to their complex curves, hard surfaces, and often reflective materials. Good topology not only ensures smooth deformation and clean shading but also directly impacts polygon count, which is a primary determinant of game performance. In game development, the goal isn’t always the absolute lowest polygon count, but rather the most efficient distribution of polygons to convey detail without unnecessary overhead.
Modern game engines can handle a decent number of polygons, but it’s crucial to be mindful of the cumulative effect of many detailed assets in a scene. For a primary vehicle asset that will be frequently viewed up close, a target polygon count might range from 50,000 to 150,000 triangles (for LOD0 – the highest detail level), excluding wheels. Secondary vehicles or background cars would demand significantly lower counts, perhaps 10,000-30,000 triangles. The key is to allocate polygons judiciously, focusing detail where the eye expects it most, such as around headlights, grilles, and prominent body lines, while simplifying flatter, less critical areas.
Effective polygon budgeting begins with understanding the hierarchy of detail. The car body, often the largest and most complex part, requires careful attention to edge flow. Ideally, a game-ready mesh should primarily consist of quads (four-sided polygons), as these deform predictably and are easier to manage. Triangles should be used sparingly and only where they won’t cause shading artifacts or deformation issues, typically on flat, non-deforming surfaces. Good edge flow means that the edges follow the natural contours and creases of the car, allowing for crisp detail where needed and smoother surfaces elsewhere.
For curved surfaces like wheel arches, windshields, or the roofline, sufficient edge loops are necessary to prevent a faceted appearance. However, resist the urge to add excessive loops where a normal map can effectively simulate fine details. For instance, small panel gaps or subtle indentations can often be baked into the normal map rather than modeled with actual geometry. When modeling in Blender, consider using the Subdivide tool with care to refine areas, or the Loop Cut and Slide tool for precise edge placement. Always strive for an even distribution of polygons; areas with dense geometry next to sparse geometry can lead to shading issues.
Blender’s modifier stack is an invaluable tool for maintaining a non-destructive workflow, allowing for flexibility during the modeling process. Modifiers like Subdivision Surface are excellent for creating smooth, high-detail meshes that can then be baked onto a lower-polygon game mesh. The Bevel modifier can add crucial edge definition without manual edge loops, while Solidify is perfect for adding thickness to thin panels. The key for game-ready assets is to use these modifiers in a controlled manner.
Before exporting to a game engine, most modifiers will need to be applied to solidify the mesh. It’s crucial to ensure that once applied, the resulting mesh maintains clean topology and a manageable poly count. For instance, when using Subdivision Surface for baking, you’d keep the subdiv mesh for baking and then create a separate, lower-poly version for the actual game asset. The Decimate modifier (docs.blender.org/manual/en/4.4/modeling/modifiers/generate/decimate.html) can be a useful tool for quickly reducing polygon counts for LODs, but it requires careful attention to avoid destroying important surface details or creating undesirable triangulation. Always inspect the mesh thoroughly after applying modifiers or using decimation to ensure structural integrity and visual fidelity are maintained.
Once your car model’s topology is solid, the next critical step for optimization and visual quality is UV mapping. UV maps are essentially 2D representations of your 3D model’s surface, acting as a canvas for textures. A well-executed UV map minimizes texture distortion, maximizes texture resolution usage, and is crucial for efficient rendering in game engines. Poor UVs can lead to blurry textures, noticeable seams, and wasted texture space, all of which detract from realism and performance.
For complex assets like cars, creating clean and efficient UVs can be challenging. The goal is to lay out the 3D model’s surfaces flat in a 0-1 UV space (the UV atlas) in a way that is logical, minimizes stretching, and allows for consistent texel density. Texel density refers to the number of texture pixels per unit of 3D space. Maintaining a consistent texel density across the entire model ensures that textures appear equally sharp, regardless of the size of the UV island. For a car, this often means that smaller, intricate parts might need more UV space relative to their actual size to maintain detail, while large, flat panels can be more efficiently packed.
Unwrapping a car effectively involves strategic seam placement. The general rule is to place seams in areas that are naturally hidden or along sharp creases where they will be less noticeable. For the main body panels, consider following the natural panel lines, door edges, and fender flares. This helps to conceal seams and also makes it easier to texture different parts of the car.
Blender offers robust UV editing tools (docs.blender.org/manual/en/4.4/modeling/meshes/uv/index.html). The Smart UV Project can be a quick starting point, but manual unwrapping with Unwrap and careful seam marking (Mark Seam) is often necessary for optimal results on a car. For spherical elements like tires or headlights, cylindrical or spherical projections can be very effective. After unwrapping, utilize the UV Editor’s tools to scale and pack islands efficiently. Ensure there’s a small margin (padding) between islands to prevent texture bleeding, especially important when using mipmaps in game engines. Aim for straight UV islands where possible to simplify texture painting and reduce distortion.
One of the most significant optimization techniques for game-ready assets is UV atlasing, which involves combining the UVs of multiple mesh components onto a single texture map. The primary benefit of UV atlasing is the reduction of draw calls. In a game engine, each material applied to a mesh typically results in at least one draw call. By consolidating multiple materials and textures into a single atlas, you drastically reduce the number of draw calls required to render your car, leading to a substantial performance boost.
Imagine a car with separate materials for its body, windows, tires, interior, and lights. Each material might require its own set of textures (Albedo, Normal, Roughness, etc.). This could easily lead to 10-15 or more draw calls per car. By creating a single UV atlas that incorporates all these elements and then using a single master material in the game engine, you can reduce this to just one or two draw calls. This is especially crucial when you have multiple cars on screen. To achieve this in Blender, you would unwrap all the different parts of the car and then arrange their UV islands within a single 0-1 UV space. Tools like Blender’s Pack Islands can assist in arranging them efficiently, but manual refinement is almost always necessary to maximize space usage and ensure no important details are compressed too much. Think about separating dynamic parts (like wheels) or parts with unique texture requirements (like transparent glass) into their own atlases if necessary, to maintain flexibility while still consolidating as much as possible.
Achieving photorealism in modern game engines hinges on the proper implementation of Physically Based Rendering (PBR) materials. PBR workflows simulate how light interacts with surfaces in the real world, providing a consistent and believable appearance under various lighting conditions. For car models, PBR is indispensable for accurately representing metallic paints, glossy clear coats, rubber tires, and reflective glass. Understanding and correctly creating PBR textures is vital for both visual quality and engine performance, as poorly authored textures can lead to unnecessary resource consumption.
The Metal/Roughness workflow is the most common PBR standard for game engines. It relies on a set of texture maps that describe the surface properties:
Texture resolutions are also a critical consideration. For a primary hero car, 4K (4096×4096) or even 8K textures might be used for the main body atlas, while secondary atlases for interiors or wheels could be 2K. LODs will often use lower resolution textures to save memory. Balancing visual fidelity with memory footprint is key.
Creating high-quality PBR textures often involves dedicated software like Substance Painter, Marmoset Toolbag, or even directly in Blender’s texture painting mode. These tools allow artists to paint directly onto the 3D model, generating all the necessary PBR maps simultaneously. When painting, pay close attention to real-world material properties. For instance, car paint is a complex material, often requiring multiple layers: a base color, a metallic flake layer, and a clear coat layer. While game engines typically use simplified PBR shaders, you can simulate this complexity by carefully crafting your Metallic and Roughness maps. For instance, a slightly rougher metallic map can give the impression of a deeper clear coat.
When working with Blender, you can set up a basic PBR material in the Shader Editor (docs.blender.org/manual/en/4.4/render/shader_nodes/shaders/principled.html) using the Principled BSDF shader to preview how your textures will look. This helps ensure your maps are behaving as expected before exporting. For texture resolution, consider the typical viewing distance. If a car will primarily be seen from a distance, 1K or 2K textures might suffice, but for close-up shots or driving simulators, 4K is often preferred for the main body. Always optimize texture sizes by cropping and resizing them to the smallest possible power-of-two dimensions (e.g., 512×512, 1024×1024, 2048×2048) without sacrificing noticeable detail.
In game engines, PBR textures are fed into sophisticated shader networks (material graphs) that define how the material responds to light. Unity’s Shader Graph or Unreal Engine’s Material Editor provides powerful visual programming interfaces to create these complex materials. While you define textures externally, the shader network in the engine determines how they are interpreted and blended. For instance, a car paint shader might include parameters for metallic flake intensity, clear coat thickness, and even procedural dirt or scratches.
A crucial optimization technique related to materials is **material instancing**. Instead of creating a unique material for every variant of your car (e.g., different paint colors), you create a single master material. Then, you create instances of that master material, overriding specific parameters like the base color, roughness, or metallic values, without duplicating the entire shader code. This significantly reduces memory usage and compile times, especially when you have multiple cars or color options. When sourcing models from marketplaces such as 88cars3d.com, look for models that are structured to facilitate material instancing, often indicated by clean material assignments and logical UV layouts.
Even with pristine topology and efficient UVs, a 3D car model can still be a performance hog if not optimized specifically for game engine environments. Game engines have their own set of constraints and capabilities that demand tailored optimization strategies. The goal is to deliver the highest possible visual quality while maintaining a consistent and high frame rate across various target platforms.
A major focus here is reducing the workload on the GPU (Graphics Processing Unit). This involves strategies to minimize the number of polygons the GPU has to process, the number of textures it has to sample, and the number of draw calls it has to execute. Efficiently managing these aspects can make the difference between a smooth, immersive driving experience and a stuttering nightmare. Considerations like dynamic vs. static objects, visibility culling, and the complexity of real-time lighting also play a significant role.
Level of Detail (LOD) is a fundamental optimization technique for game assets. It involves creating multiple versions of the same 3D model, each with progressively lower polygon counts and often lower-resolution textures. As the car moves further away from the camera, the game engine automatically switches to a lower LOD version, significantly reducing the rendering burden without a noticeable drop in visual quality. For a car model, you might typically create 3-4 LOD levels.
In Blender, you can create LODs manually by strategically deleting edge loops and faces, or by using the Decimate modifier with caution. For manual decimation, prioritize areas that contribute less to the overall silhouette or critical details. When exporting to game engines, ensure your LODs are properly grouped and named according to the engine’s conventions so they can be assigned correctly.
As mentioned earlier, draw calls are a major performance bottleneck. Every time the CPU tells the GPU to render something, it’s a draw call. Reducing these is paramount. Beyond UV atlasing and material instancing, several other strategies can help:
The goal is to provide the game engine with as few, yet as comprehensive, instructions as possible to render the car. This means consolidating meshes, materials, and textures wherever feasible without compromising flexibility or visual quality.
Beyond the visual mesh, game engines require collision meshes to detect physical interactions. It’s inefficient and unnecessary to use the high-detail visual mesh for collision detection. Instead, create a simplified, invisible collision mesh. This can range from a series of primitive shapes (boxes, spheres) that roughly enclose the car to a specially crafted low-polygon mesh that accurately reflects the car’s physical boundaries but without any visual detail. For example, a car’s main body might use a few convex hull shapes, while the wheels might use capsules. In Blender, you can model these simplified meshes and then name them according to your game engine’s conventions (e.g., “UCX_” prefix for Unreal Engine).
For cars that require animation (e.g., spinning wheels, opening doors, suspension movement), basic rigging is necessary. This involves creating a skeleton (armature) in Blender and parenting the relevant mesh parts to the bones. For wheels, this typically means a bone for each wheel that rotates around its axle. For doors, a simple hinge bone. Keep the armature simple and clean to minimize processing overhead. The less complex the rigging, the faster the engine can calculate transformations, ensuring smooth animations without impacting performance. Ensure the pivot points for rotating parts (like wheels) are correctly set in Blender before rigging or exporting.
The final stage in making your optimized 3D car model game-ready is the export process from Blender and subsequent import into your chosen game engine. This step is crucial for ensuring that all your hard work on topology, UVs, and materials translates correctly into the game environment. Incorrect export settings or overlooked details can lead to scaling issues, flipped normals, missing textures, or broken animations, requiring frustrating backtracking.
Each game engine has its preferred file formats and import pipelines, but there are common best practices that apply broadly. Understanding these details will streamline your workflow and prevent common headaches. Always double-check your model in the game engine’s preview window after import to catch any issues early on.
For exporting 3D assets from Blender to game engines, the following formats are standard:
Before exporting, ensure all transforms (Location, Rotation, Scale) are applied in Blender (Ctrl+A -> All Transforms), and that your mesh normals are consistent (Shift+N to recalculate outside). Also, remove any unnecessary data like cameras, lights, or extra scenes.
Once exported, the next step is to import your car model into your target game engine. Both Unity and Unreal Engine have robust import pipelines, but they require careful attention to detail.
Drag your FBX/GLB file into the Project window. Unity will automatically process it. In the Inspector, adjust import settings:
Use the “Import” button in the Content Browser. When importing FBX:
After import, always place your car model in a test scene. Check its scale relative to other objects, verify all materials are correctly assigned and look as expected under various lighting conditions, and test any animations or interactive elements. Watch for flipped normals (surfaces appearing black), texture stretching, or incorrect pivot points. Debugging these issues often means going back to Blender to adjust and re-export.
Beyond the fundamental techniques, there are several advanced strategies and workflow considerations that can push your 3D car model’s performance and visual quality even further. These involve leveraging Blender’s capabilities for baking intricate details and adopting an iterative approach to performance tuning. True optimization is rarely a one-shot process; it often involves cycles of refinement and testing.
As artists and developers, our goal is to achieve the best possible visual fidelity within the given performance budget. This means making smart compromises and utilizing every tool at our disposal. Understanding these advanced techniques can save significant time and resources in the long run, ensuring your car models not only look stunning but also run smoothly in the most demanding game environments.
One of the most powerful optimization techniques is baking high-polygon detail onto low-polygon meshes. This workflow allows you to model incredibly intricate details on a high-poly source mesh (which is never used in the game engine) and then transfer those details onto the game-ready low-poly target mesh via texture maps. The most common map baked is the Normal Map, which simulates surface bumps, grooves, and creases without adding actual geometry. For example, a detailed grille or complex headlight array can be modeled with thousands of polygons, but its visual impact can be transferred to a low-poly version using a normal map.
The baking process in Blender typically involves:
For detailed instructions on baking in Blender, refer to the official Blender 4.4 documentation on baking workflows. Pay close attention to cage settings and ray distance to prevent common baking artifacts. A clean low-poly mesh with good UVs is paramount for a successful bake. This technique is indispensable for achieving photorealistic results in game engines without crushing performance.
Optimization is an ongoing process that doesn’t end after export. Once your car model is integrated into the game engine, it’s crucial to perform thorough performance profiling. Game engines provide sophisticated profiling tools (e.g., Unity Profiler, Unreal Engine Stat commands) that allow you to monitor CPU and GPU usage, draw calls, memory consumption, and frame rates in real-time. This data is invaluable for identifying bottlenecks and understanding where your car model might be impacting performance the most.
Common issues identified during profiling include:
Based on profiling results, you’ll enter an iterative refinement phase: analyze, optimize, test, repeat. This might involve going back to Blender to further decimate a mesh, refine UVs for better atlasing, simplify material assignments, or adjust LOD thresholds in the engine. For instance, a common pitfall is over-detailing the car’s interior, which is often only visible from a limited perspective. A simpler interior for most LODs, with high detail only for the closest LOD, is a more efficient approach. Similarly, glass materials, especially those with refraction or complex reflections, can be performance-heavy; consider simpler alternatives for distant LODs. The balance between visual quality and performance is a dynamic one, constantly refined through testing and iteration.
Optimizing 3D car models for game engines is a meticulous journey that demands a blend of artistic skill and technical understanding. From the foundational principles of topology and efficient UV mapping to the intricacies of PBR material creation, game engine-specific optimizations like LODs and draw call reduction, and the final stages of export and validation, every step plays a pivotal role in creating high-performance, visually stunning automotive assets. The goal is to achieve photorealistic immersion without sacrificing the smooth, responsive gameplay that players expect.
By mastering clean quad-based topology, strategically unwrapping and atlasing UVs, expertly authoring PBR textures, and diligently implementing LODs, you empower your 3D car models to shine in any virtual environment. Remember to leverage Blender’s powerful tools for non-destructive workflows and baking, and always validate your assets through rigorous profiling in your target game engine. This iterative approach ensures that your creations are not only beautiful but also performant. Whether you’re building a hyper-realistic racing simulator or populating an open world, these techniques will be invaluable.
The journey to game-ready assets is continuous, evolving with new technologies and engine capabilities. By applying the comprehensive strategies outlined in this guide, you’ll be well-equipped to tackle the challenges of modern game development. For those looking for a head start, platforms like 88cars3d.com offer a wide selection of high-quality 3D car models that can serve as an excellent foundation for your optimization efforts. Dive in, experiment, and enjoy the process of bringing your automotive visions to life with unparalleled realism and efficiency.
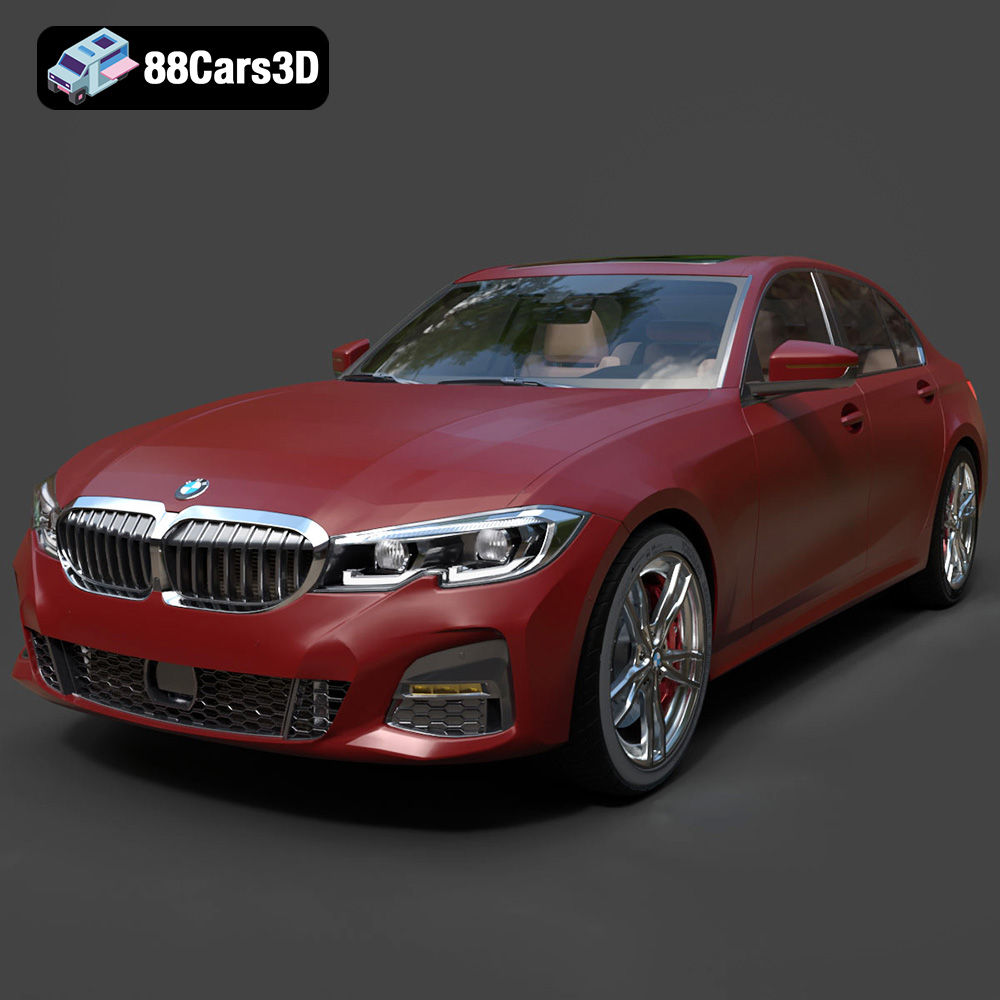
Texture: Yes | Material: Yes
Download the highly detailed, game-ready BMW 3er VII (G2x) 3D Model. Features iconic kidney grille geometry, detailed LED lighting, and precise interior cockpits. Includes .blend, .fbx, .obj, .glb, .stl, .ply, .unreal, and .max formats for game development, AR/VR, and rendering.
Price: $299.50
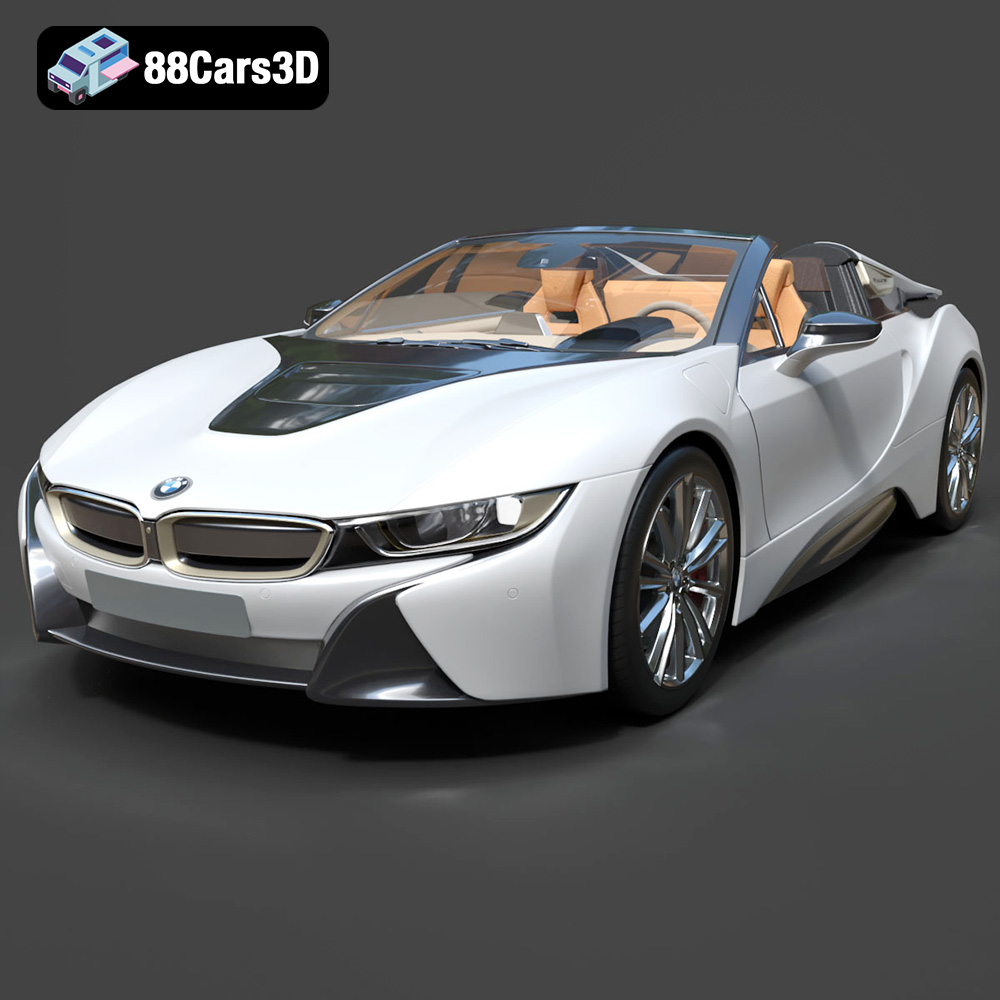
Texture: Yes | Material: Yes
Download the highly detailed, game-ready BMW i8 Roadster 2019 3D Model. Features iconic butterfly doors, futuristic aerodynamic styling, and detailed hybrid sports car aesthetics. Includes .blend, .fbx, .obj, .glb, .stl, .ply, .unreal, and .max formats for game development, AR/VR, and rendering.
Price: $171.00
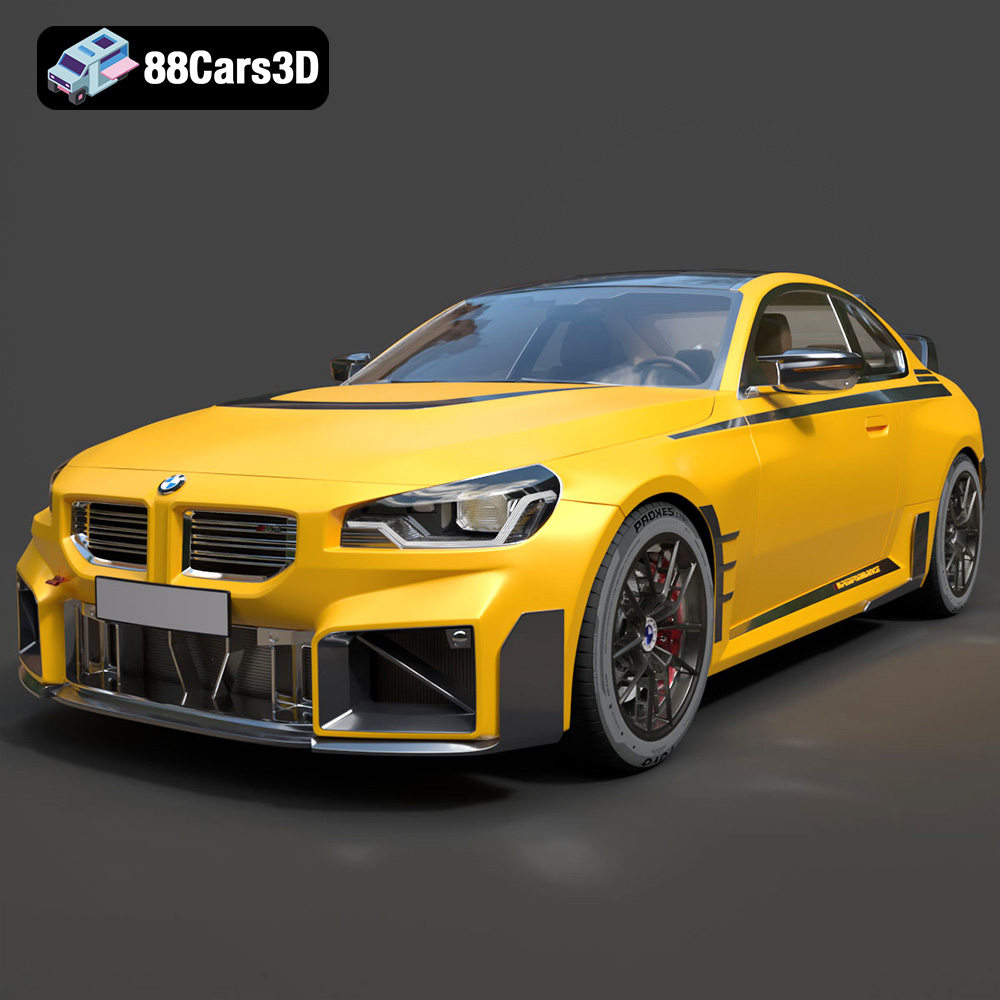
Texture: Yes | Material: Yes
Download the highly detailed, game-ready BMW M2 M Performance 3D Model. Features aggressive M Performance aero parts, detailed interior, and signature front grille. Includes .blend, .fbx, .obj, .glb, .stl, .ply, .unreal, and .max formats for game development, AR/VR, and rendering.
Price: $299.50
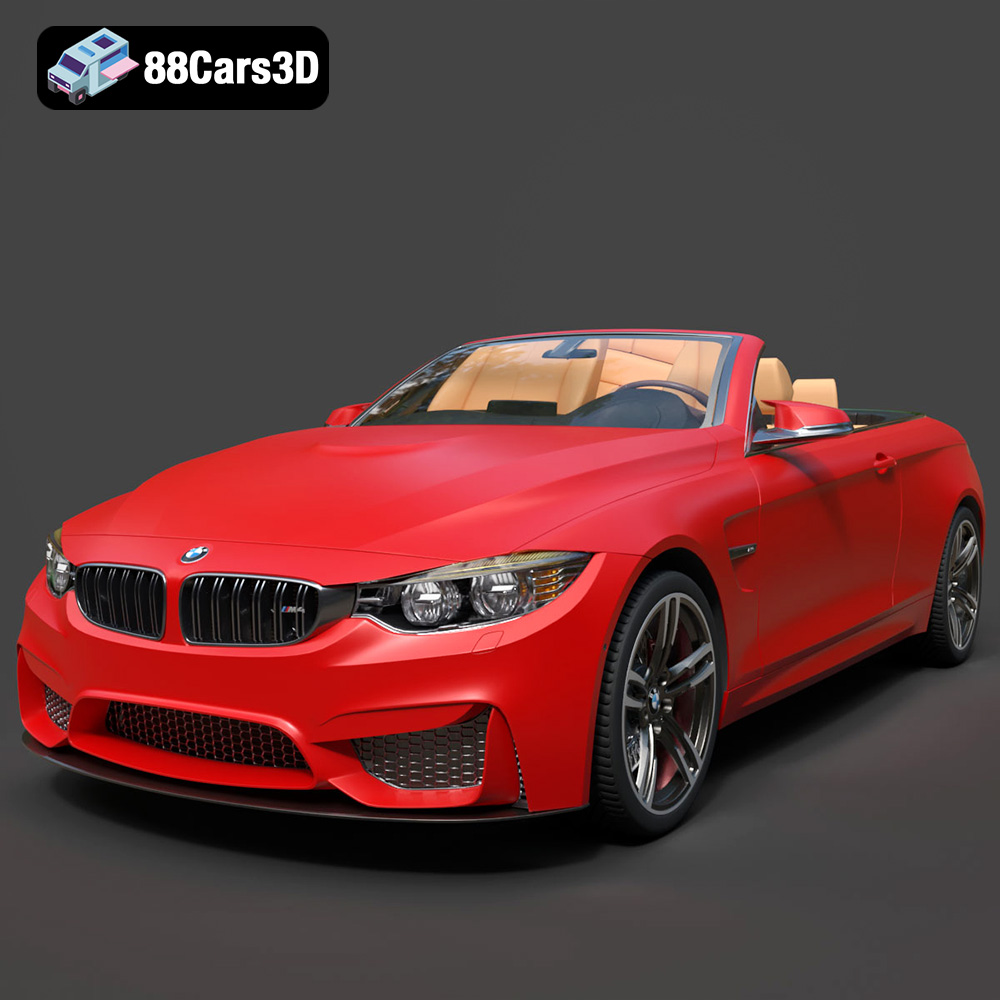
Texture: Yes | Material: Yes
Download the highly detailed, game-ready BMW M4 F33 Convertible 2015 3D Model. Features aggressive M body styling, quad exhaust setup, and detailed M sport interior. Includes .blend, .fbx, .obj, .glb, .stl, .ply, .unreal, and .max formats for game development, AR/VR, and rendering.
Price: $225.99
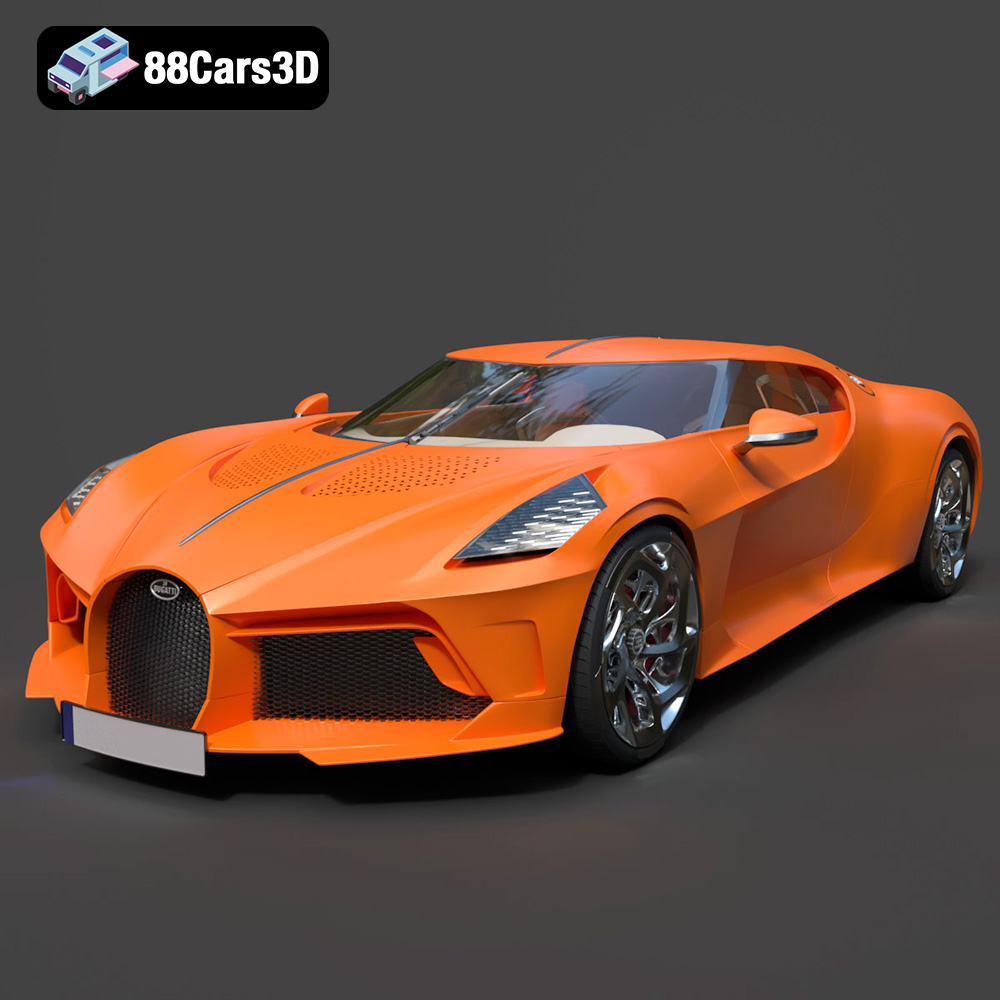
Texture: Yes | Material: Yes
Download the highly detailed, game-ready Bugatti La Voiture Noire 2019 3D Model. Features seamless jet-black carbon bodywork, distinctive six-tailpipe exhaust, and continuous LED light strip. Includes .blend, .fbx, .obj, .glb, .stl, .ply, .unreal, and .max formats for game development, AR/VR, and rendering.
Price: $269.00
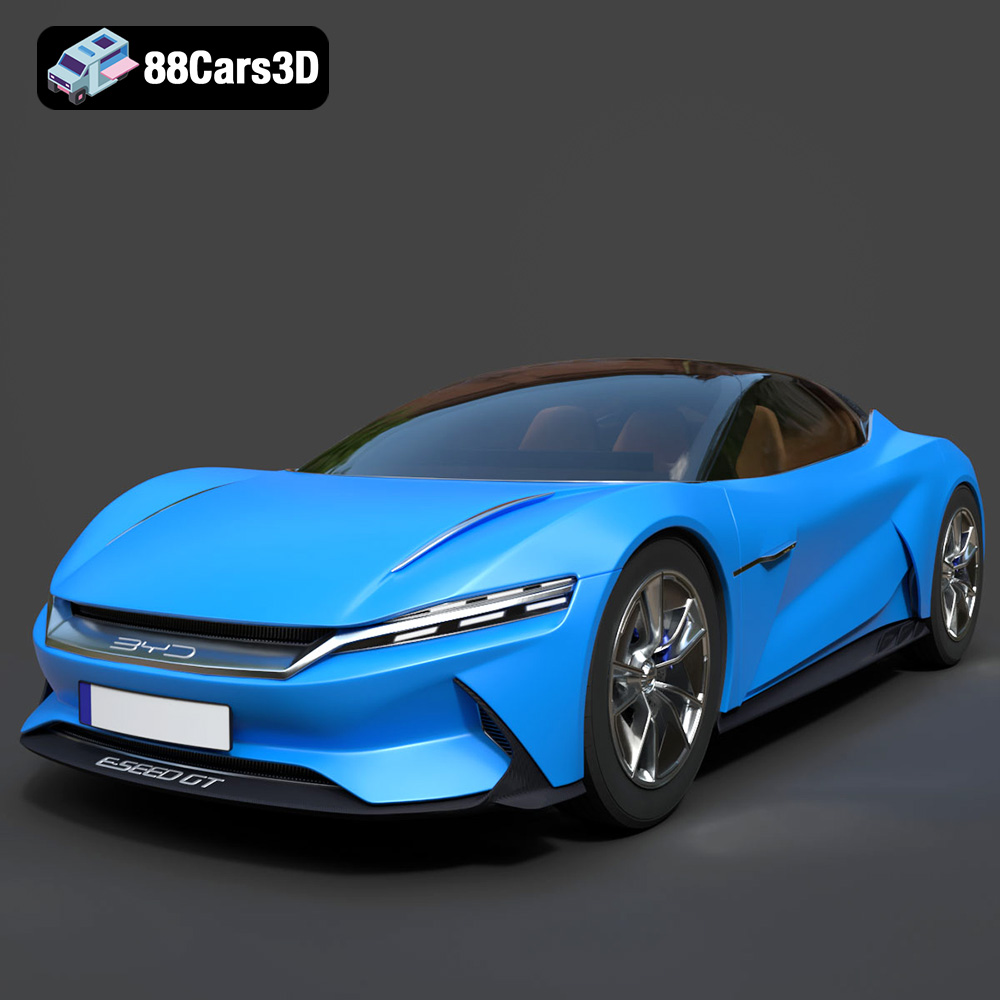
Texture: Yes | Material: Yes
Download the highly detailed, game-ready BYD e-SEED GT 2019 3D Model. Features futuristic gull-wing doors, sleek aerodynamic electric supercar silhouette, and detailed LED light strips. Includes .blend, .fbx, .obj, .glb, .stl, .ply, .unreal, and .max formats for game development, AR/VR, and rendering.
Price: $40
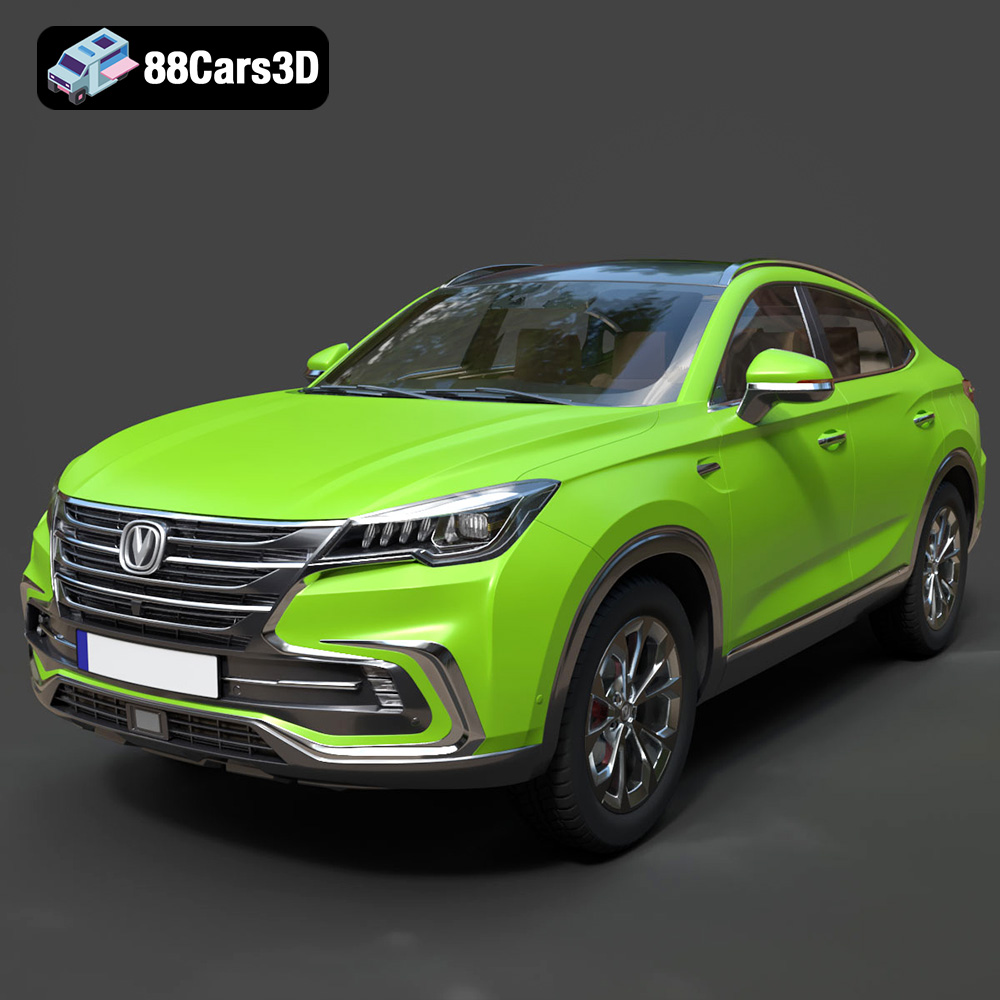
Texture: Yes | Material: Yes
Download the highly detailed, game-ready Changan CS85 Coupe 2019 3D Model. Features sleek fastback SUV styling, detailed front grille, and realistic lighting. Includes .blend, .fbx, .obj, .glb, .stl, .ply, .unreal, and .max formats for game development, AR/VR, and rendering.
Price: $40
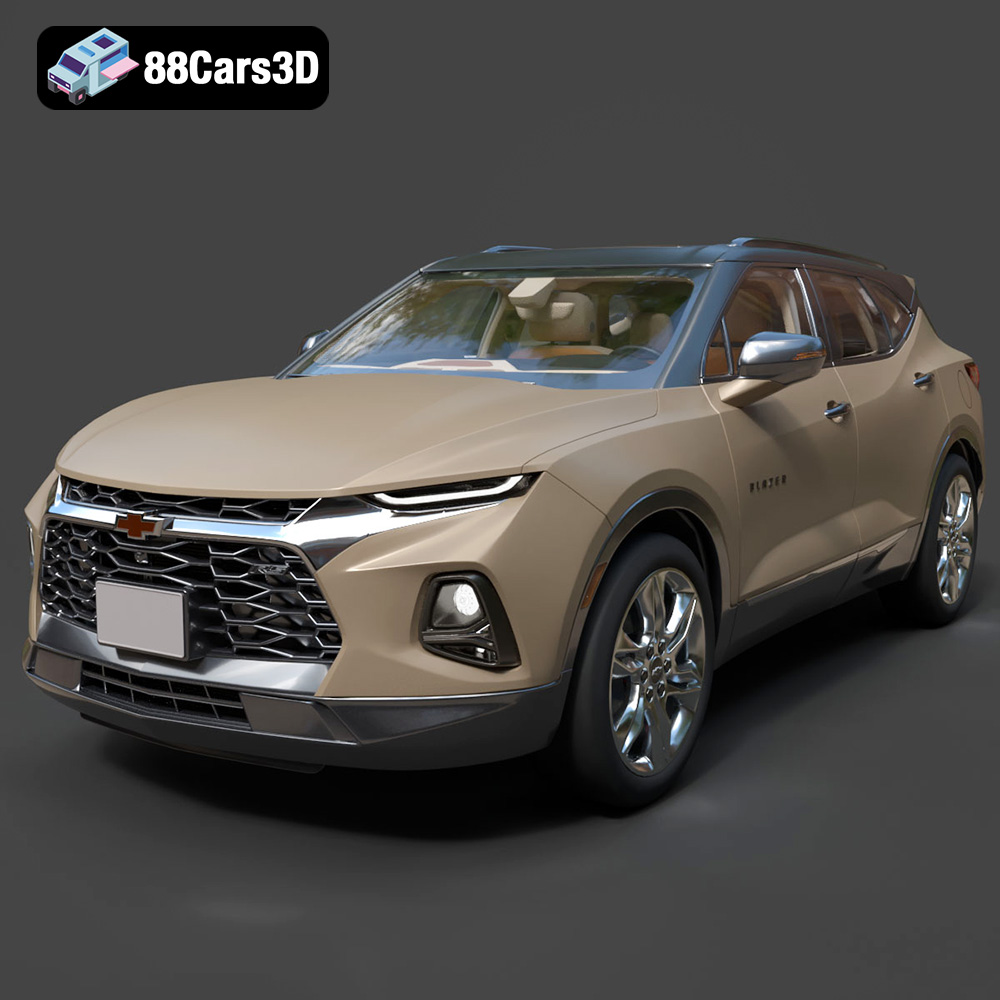
Texture: Yes | Material: Yes
Download the highly detailed, game-ready Chevrolet Blazer RS 2019 3D Model. Features bold blacked-out RS trim styling, sharp LED lighting signatures, and detailed interior geometry. Includes .blend, .fbx, .obj, .glb, .stl, .ply, .unreal, and .max formats for game development, AR/VR, and rendering.
Price: $40
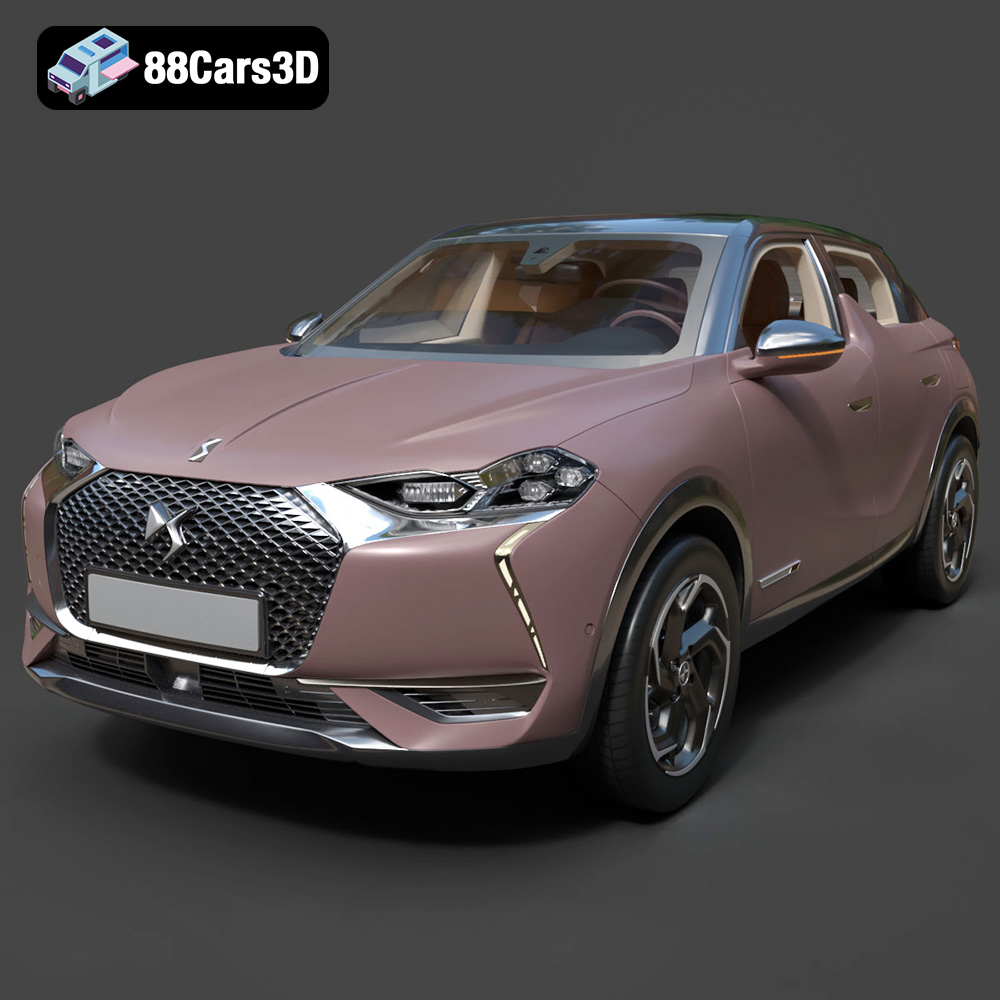
Texture: Yes | Material: Yes
Download the highly detailed, game-ready Citroen DS3 Crossback 2018 3D Model. Features signature diamond grid grille, flush door handles, and distinctive shark-fin B-pillars. Includes .blend, .fbx, .obj, .glb, .stl, .ply, .unreal, and .max formats for game development, AR/VR, and rendering.
Price: $40
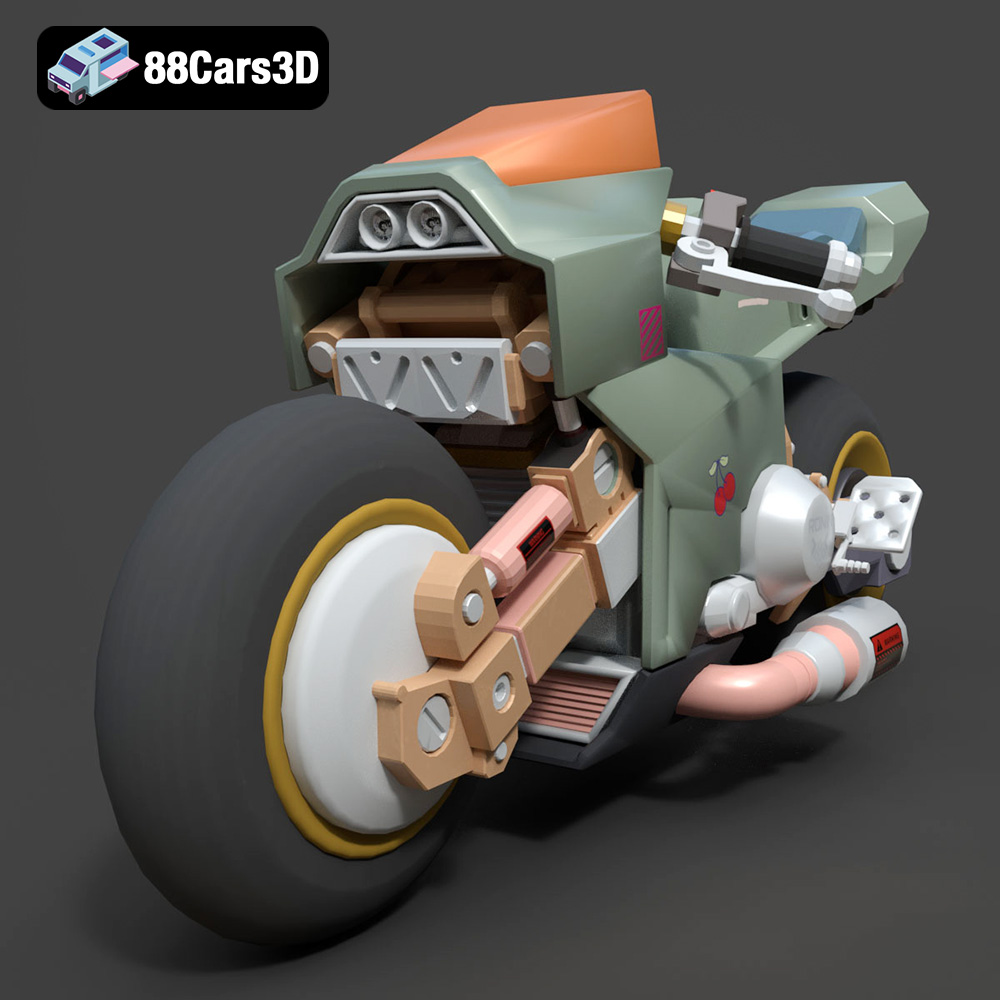
Texture: Yes | Material: Yes
Download the highly detailed, game-ready Cyber Bike 02 3D Model. Features futuristic sci-fi aesthetic, glowing LED lighting elements, and sleek aerodynamic paneling. Includes .blend, .fbx, .obj, .glb, .stl, .ply, .unreal, and .max formats for game development, AR/VR, and rendering.
Price: $40
