

In the intricate world of 3D modeling, where every polygon and texture pixel contributes to the final masterpiece, one often-overlooked yet critically important process is UV unwrapping. For automotive models, with their complex curves, sharp edges, and detailed surfaces, mastering UVs is not just a best practice—it’s an absolute necessity. Whether you’re crafting a photorealistic car for an advertising campaign, optimizing a high-performance vehicle for a cutting-edge game engine, or preparing a detailed visualization, the quality of your UV layout directly impacts the fidelity of your textures, the efficiency of your renders, and the overall performance of your asset. Without a meticulously unwrapped model, even the most stunning PBR textures will appear stretched, blurry, or distorted, breaking the illusion of realism.
This comprehensive guide delves deep into the art and science of UV unwrapping within Blender, focusing on advanced techniques to achieve clean, optimized layouts specifically tailored for automotive models. We’ll explore foundational concepts, master Blender’s powerful unwrapping tools, develop strategies for consistent texel density, and learn how to prepare your UVs for sophisticated PBR texturing, game engine integration, and high-fidelity rendering. By the end of this article, you’ll possess the knowledge and practical skills to transform your complex automotive meshes into perfectly unwrapped canvases, ready to receive breathtaking textures and perform flawlessly across various 3D applications.
At its core, UV mapping is the process of translating the three-dimensional surface of a 3D model into a two-dimensional plane. Think of it like taking a gift box and carefully cutting along its edges so you can lay it flat. The ‘U’ and ‘V’ coordinates represent the horizontal and vertical axes of this 2D texture space, much like X and Y coordinates in a 3D environment. This flattened version, known as the UV layout or UV map, dictates how a 2D image (your texture) will be applied to the 3D surface. For automotive models, with their sleek body panels, intricate grilles, and detailed interiors, accurate UVs are paramount. They ensure that your meticulously crafted 3D car models can properly display realistic materials such as metallic paint, reflective glass, subtle imperfections, and detailed decals, bringing them to life in renders and game engines.
The impact of clean UVs extends directly to PBR (Physically Based Rendering) materials. PBR workflows rely on multiple texture maps—albedo (base color), normal, roughness, metallic, ambient occlusion, and sometimes others—to simulate how light interacts with a surface in a physically accurate way. If your UVs are stretched, overlapped, or poorly organized, these texture maps will not align correctly. This leads to visible seams, pixelation, and inaccurate material responses, severely compromising realism. For game assets, improper UVs can cause texture bleeding, where colors from one part of the texture inadvertently appear on another, especially noticeable with mipmaps at a distance. Furthermore, optimized UVs are crucial for efficient lightmap baking, a technique used in many game engines and architectural visualizations to pre-calculate and store lighting information, drastically improving performance and visual consistency. Clean UVs facilitate precise control over where texture details are applied, making the difference between a generic-looking vehicle and a convincing, high-fidelity automotive rendering.
Before you even begin unwrapping, the quality of your model’s topology and edge flow plays a monumental role in the success of your UV layout. Good topology, characterized by clean quad faces and logical edge loops, creates a predictable surface that is much easier to unwrap without distortion. For automotive models, this means ensuring that curves are smooth, panel gaps are defined by precise edge loops, and areas of high detail have adequate polygon density. Poor topology, such as triangles in areas that need to deform or non-manifold geometry, will inevitably lead to headaches during unwrapping, making it difficult to mark seams cleanly and produce a layout free of stretching. Proper edge flow, where edges follow the natural contours and deformations of the model, allows you to place UV seams along these natural breaks, making them less visible and easier to manage. For instance, placing a seam along a sharp crease or the natural separation of a car door from its frame is far more effective than trying to cut across a smooth, continuous surface.
Automotive models present a unique set of UV unwrapping challenges due to their inherent complexity. The smooth, continuous surfaces of car body panels, for example, are prone to stretching if not unwrapped carefully. Areas with complex curvature, like a car’s hood or roof, require strategic seam placement to minimize distortion. Sharp angles and intricate details, such as those found on grilles, spoilers, or wheel spokes, often demand more seams and a greater focus on maintaining consistent texel density. A significant challenge is ensuring uniform texel density across all parts of the vehicle. If the resolution of the textures (texels per unit of surface area) varies too much between different UV islands, some parts will appear highly detailed while others look blurry, ruining the overall visual harmony. Moreover, dealing with the symmetry inherent in most car designs while managing unique details on different sides adds another layer of complexity. Overcoming these challenges requires a methodical approach, a deep understanding of Blender’s tools, and a keen eye for detail.
Blender provides a robust suite of tools within its UV Editor to tackle even the most challenging unwrapping tasks. Accessible by splitting your workspace and changing one editor type to ‘UV Editor’, this dedicated window displays your model’s 2D UV layout. The most straightforward unwrapping methods, found under the ‘UV’ menu in the 3D Viewport in Edit Mode, include options like Smart UV Project, which attempts to unwrap the mesh based on angle limits; Cube, Cylinder, and Sphere Projection, ideal for quickly unwrapping objects that resemble these primitive shapes; and Follow Active Quads, a powerful tool for unwrapping strips of quads with minimal distortion, perfect for long, narrow surfaces on a car model. While these automated methods can provide a good starting point, especially for simpler components, the true power of Blender’s UV system lies in manual seam placement and the ‘Unwrap’ operator.
The most precise and artist-driven approach involves using Mark Seam. In Edit Mode, select the edges where you want to cut your model, then navigate to Edge > Mark Seam (or use the context menu with right-click). These marked edges act as the “cuts” that define your UV islands. Once seams are marked, select all faces of your model (or specific islands) and choose UV > Unwrap. Blender will then flatten the selected faces based on your marked seams. For a dynamic preview of your unwrapping progress, enable ‘Live Unwrap’ in the UV Editor’s UV menu. This allows you to see the changes to your UV layout in real-time as you add or remove seams, making it an invaluable tool for precise control over complex car surfaces. For detailed instructions on these methods, refer to the official Blender 4.4 documentation on UV Unwrap Methods.
Strategic seam placement is a critical skill for achieving invisible and efficient UV layouts on automotive models. The primary goal is to hide seams where they will be least noticeable to the viewer. For a car, this often means placing seams along panel gaps, under trim pieces, inside wheel wells, or along sharp creases where the geometry naturally breaks. For example, when unwrapping a car door, place seams along the bottom edge where it meets the rocker panel, along the top where it meets the window frame, and along the front and back edges where it connects to the body. This approach leverages the natural visual breaks in the car’s design to mask the seams, preventing distracting lines in your final textures. Minimize the number of seams as much as possible while still allowing the geometry to flatten without excessive stretching. Fewer seams mean larger UV islands, which are generally easier to manage and lead to more continuous texture application. For symmetrical parts like fenders or side skirts, consider unwrapping one half and then mirroring it, ensuring that your seams are consistently placed on both sides.
While Blender’s native tools are powerful, the community and third-party developers offer add-ons that can significantly enhance and accelerate the UV unwrapping workflow, especially for demanding projects like game assets. Tools like ‘UV Packmaster’ are renowned for their highly efficient packing algorithms, capable of arranging UV islands with minimal wasted space, often outperforming Blender’s default packing options. Another useful type of add-on is a ‘Texel Density Checker’, which helps maintain consistent texture resolution across different parts of your model, a critical factor for visual quality. These add-ons often provide visual feedback and automated functions that streamline repetitive tasks, allowing artists to focus more on creative decisions. While not strictly necessary for every project, they can be invaluable for professionals working on tight deadlines or requiring the absolute highest level of UV optimization for complex automotive models.
A “clean” UV layout is more than just unwrapped; it’s organized, efficient, and optimized for texturing. It implies minimal wasted space within the 0-1 UV coordinate square, no overlapping UV islands (unless intentionally done for mirroring), and islands that are as straight and rectangular as possible where the geometry allows. Such a layout simplifies texture painting, reduces texture bleeding, and makes it easier to understand and edit your textures later. Achieving this often involves a combination of careful seam placement, intelligent packing, and manual adjustment within the UV Editor. Rectifying wavy or distorted UV islands using Blender’s ‘Relax’ or ‘Average Island Scale’ tools can also contribute significantly to a cleaner layout. The ultimate goal is to provide a seamless and logical canvas for your textures, ensuring that every detail of your car model is represented accurately and efficiently.
One of the most critical aspects of a professional UV layout is maintaining consistent texel density. Texel density refers to the number of texture pixels (texels) per unit of real-world surface area on your 3D model. If different parts of your car model have vastly different texel densities, some areas will appear sharp and detailed, while others will look blurry and pixelated. For example, a car’s main body panels should have a similar texel density to its tires or interior, preventing jarring visual inconsistencies. In Blender, you can calculate and apply consistent texel density by selecting an island, noting its dimensions and corresponding texture resolution, and then scaling other islands to match. Blender’s UV Editor also offers tools to display and unify texel density across selected islands, found under the UV menu. When packing islands, aim to fill as much of the 0-1 UV space as possible without significant distortion, which is essential for maximizing texture resolution and reducing memory footprint, particularly for game assets. For more information on packing, refer to the Blender 4.4 documentation on ‘Pack Islands’.
UV stretching and distortion are common problems that can severely degrade texture quality, making surfaces appear warped or pixelated. Blender’s UV Editor provides visual feedback to help you identify these issues. By enabling the ‘Stretching’ display in the UV Overlays menu (located in the UV Editor header), you can see areas of your UV islands highlighted in blue (compressed) or red (stretched). The goal is to have a predominantly green display, indicating minimal distortion. To fix stretched areas, you often need to adjust your seam placement, adding more seams to allow the geometry to flatten more naturally. Alternatively, tools like ‘Relax’ (found in the UV menu) can iteratively smooth out UVs, reducing stretching without moving the seams. Sometimes, simply adjusting the scale of an island can help. For complex car surfaces, a combination of careful seam placement and selective relaxation is often the most effective strategy.
Most automotive models exhibit strong symmetry, and leveraging this in your UV workflow can save significant time and ensure consistency. The common approach is to unwrap only one half of the symmetrical components (e.g., one fender, one side of the hood). Once you’re satisfied with the UV layout of that half, you can mirror the geometry in the 3D viewport. When mirroring, you have options for how the UVs are handled. Often, you’ll want to either overlap the UVs of the mirrored half precisely on top of the original (if the texture is symmetrical) or offset them into a different area of the UV space (if unique details are needed on each side). Blender’s Mirror modifier allows for options to ‘Flip U’ and ‘Flip V’ for UVs, and selecting ‘Bisect’ and ‘Flip’ can help achieve seamless mirroring. For example, if you unwrap the left fender, then mirror it to create the right fender, you can ensure that the textures apply identically, saving texture memory and painting effort. This technique is particularly valuable for automotive rendering where perfect symmetry is crucial for realism.
The synergy between clean UVs and PBR (Physically Based Rendering) texturing is fundamental to achieving photorealistic 3D car models. Your meticulously unwrapped UVs act as the canvas upon which all PBR texture maps are painted or baked. This includes essential maps like Albedo (base color), Normal (for surface detail), Roughness (for micro-surface imperfections and shininess), Metallic (for metallic properties), and Ambient Occlusion (for subtle self-shadowing). Without precise, non-overlapping UVs, the texture artists’ work becomes a frustrating battle against seams, distortions, and inaccurate details. When you paint directly onto your 3D model using Blender’s Texture Paint mode or external software like Substance Painter, the software relies entirely on your UVs to project those brush strokes onto the 2D texture maps. Any imperfections in your UVs will be directly translated into flaws in your painted textures, severely compromising the final look of your automotive asset.
Baking various maps is another critical process where UVs are indispensable. Maps like Normal maps, Ambient Occlusion, Curvature, and ID maps are often generated from a high-polygon model and then “baked” onto a lower-polygon model using its UVs. For this process to work flawlessly, the low-poly model must have non-overlapping UVs, as any overlap will cause artifacts or incorrect information to be baked into the overlapping areas. For example, baking a normal map from a sculpted high-poly car fender to a game-ready low-poly version requires pristine UVs on the low-poly mesh to capture all the intricate surface details accurately. Beyond individual maps, clean UVs facilitate the creation of modular materials and texture atlases. A texture atlas combines multiple smaller textures into one larger texture map, which can significantly reduce draw calls in game engines and improve performance. By strategically laying out different car components on a single UV atlas, you can efficiently reuse textures and optimize your scene, a professional practice found in top-tier game assets.
In Blender, once your model is perfectly unwrapped and your PBR texture maps are ready, the final step in creating realistic automotive materials involves setting up a sophisticated shader network within the Shader Editor. Using the Principled BSDF shader as the foundation, you’ll connect your Albedo, Normal, Roughness, and Metallic maps (and others as needed) to their respective inputs. The UV Map node is crucial here, as it tells Blender which UV channel to use for each texture. For instance, a detailed car paint material might involve multiple layers: a base metallic color (using Albedo and Metallic maps), a clear coat (controlled by a separate Roughness map), and subtle normal map details for surface imperfections. Glass materials require transparent shaders and accurate roughness, while rubber tires benefit from highly detailed normal maps derived from clean UVs. Every one of these textures relies on the underlying UV layout to project correctly onto the 3D surface, showcasing the profound impact of diligent unwrapping on the final render quality in both Cycles and Eevee.
After perfecting your UVs and applying your PBR textures in Blender, you’ll often need to export your model and textures for use in other 3D applications, game engines, or renderers. The most common file formats for textured 3D models are FBX, OBJ, GLB, and USDZ, all of which support embedded or linked UV information. When exporting, it’s crucial to ensure that your UV channels are correctly configured and exported. For example, game engines often require specific UV channels for diffuse textures and separate ones for lightmaps. Your texture maps (Albedo, Normal, etc.) are typically exported as standard image files such as PNG (for lossless quality and transparency), TGA (common in games), or EXR (for high-dynamic range information). The resolution of these textures (e.g., 2K, 4K, 8K) should be chosen based on the required detail and target platform, always keeping in mind that higher resolutions demand more memory. Platforms like 88cars3d.com provide models with optimized UVs and textures, ensuring seamless integration into various pipelines, and understanding this export process is key to maximizing compatibility and quality.
For game asset development, UVs are not merely about aesthetics; they are a cornerstone of performance optimization. Game engines like Unity and Unreal Engine heavily rely on efficient UV layouts for rendering and resource management. One critical application is in Level of Detail (LOD) systems. As a car model moves further from the camera, lower-detail LOD versions are swapped in. Each LOD typically has its own optimized mesh and UV set, with reduced texture resolution to save memory and draw calls. Well-organized UVs also facilitate texture atlasing, where multiple smaller textures are combined into one larger texture map. This technique reduces the number of texture lookups and material calls a game engine has to make, leading to significant performance gains. Another essential aspect is lightmap UVs: most game engines require a second, non-overlapping UV channel specifically for baking static lighting information. This ensures that pre-calculated shadows and global illumination are applied correctly to the model, independent of its primary diffuse textures. You can generate a lightmap UV pack in Blender using the Lightmap Pack operator.
The demands of AR/VR environments introduce even stricter performance considerations. High-resolution textures and complex UV layouts can quickly overwhelm mobile devices and standalone VR headsets. Therefore, optimizing texture resolution, ensuring efficient UV packing, and potentially using smaller, more numerous texture atlases become paramount. The goal is to reduce the overall texture memory footprint and minimize overdraw. For high-quality visualization and automotive rendering in offline renderers like Corona, V-Ray, or Arnold, clean UVs might not directly impact render time as much as in real-time engines, but they are absolutely crucial for achieving photorealism. They allow for the precise application of intricate texture details like paint chips, dirt masks, water droplets, and decals, all of which contribute to the compelling realism expected in professional visualization projects. Without well-prepared UVs, achieving such nuanced and believable surface qualities would be an insurmountable challenge, leading to a flat and unconvincing final image.
While 3D printers do not directly use UV maps for fabrication (as they are concerned with mesh geometry, not texture projection), the principles that lead to good UVs often contribute to 3D printing readiness. Models with clean topology, which is a prerequisite for effective UV unwrapping, are typically more robust and manifold (watertight). Non-manifold geometry, such as internal faces or disconnected edges, can cause issues with both UV unwrapping and 3D printing. Therefore, focusing on a clean mesh structure for UVs inherently helps in creating a mesh that is suitable for 3D printing. If your model has issues that prevent clean UVs—like open edges or flipped normals—these same issues are likely to cause problems during the 3D printing slicing process. Ultimately, a disciplined workflow that prioritizes mesh integrity for UVs indirectly supports successful 3D print preparation, ensuring that the physical model accurately reflects the digital design.
Consider a high-performance 3D car model destined for a AAA racing game. Such an asset demands extreme optimization alongside visual fidelity. The body would typically be split into multiple UV islands: one for the main body panels, one for the interior, one for the wheels, and perhaps others for smaller details like lights and emblems. Each of these islands would be meticulously unwrapped with hidden seams and packed efficiently into separate texture atlases (e.g., a 4K atlas for the body, a 2K for the interior). A second UV channel would be created for lightmap baking, ensuring consistent, pre-baked lighting across all environments. LODs would be generated, each with its own optimized UVs and texture resolutions. This comprehensive approach ensures that when sourcing models from marketplaces such as 88cars3d.com, you are acquiring assets that are not only visually stunning but also technically robust and ready for immediate deployment in demanding real-time applications.
UV unwrapping is far more than a technical chore; it is a fundamental pillar of professional 3D asset creation, especially when dealing with the intricate forms of automotive models. By understanding the critical role UVs play in everything from PBR texturing and game engine performance to high-fidelity rendering, artists can unlock the full potential of their 3D creations. Mastering Blender’s unwrapping tools, from strategic seam placement and manual adjustments to leveraging advanced packing algorithms, empowers you to create clean, optimized UV layouts that serve as the perfect canvas for your textures. Consistent texel density, careful handling of stretching, and intelligent approaches to symmetrical parts are not just best practices—they are necessities for producing visually stunning and technically sound 3D car models.
The skills you’ve gained in this guide will allow you to confidently tackle any unwrapping challenge, ensuring your models are ready for the demanding requirements of various industries, be it immersive AR/VR experiences, stunning visualizations, or high-performance game assets. The effort invested in meticulous UV unwrapping pays dividends in visual quality, project efficiency, and versatility across different pipelines. We encourage you to practice these techniques, experiment with Blender’s powerful toolkit, and continue refining your craft. For those seeking a head start, platforms like 88cars3d.com offer a wide selection of high-quality 3D car models that exemplify these professional UV unwrapping standards, providing a solid foundation for your own projects. Remember, clean UVs are the silent heroes of 3D, enabling your textures to shine and your models to perform flawlessly.
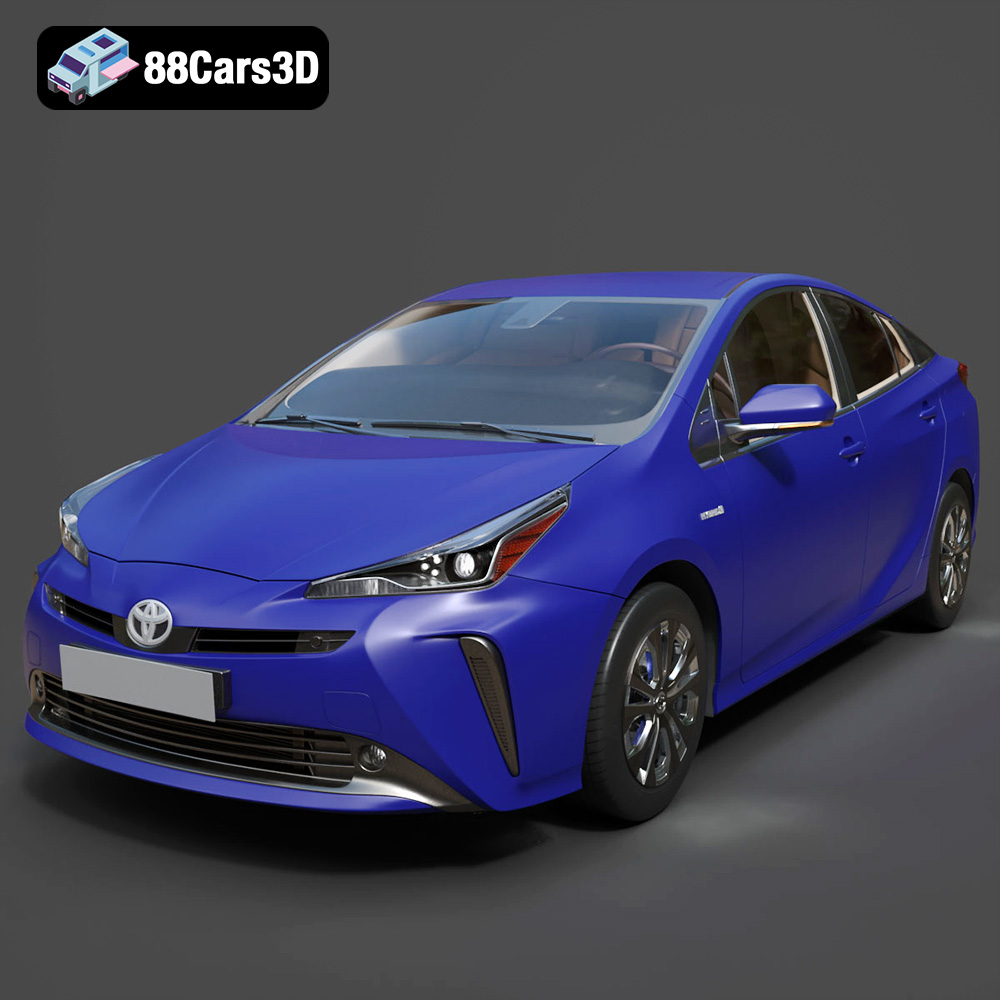
Texture: Yes | Material: Yes
Download the highly detailed, game-ready Toyota Prius 2019 3D Model. Features aerodynamic hybrid styling, precise exterior detailing, and modern interior cockpit. Includes .blend, .fbx, .obj, .glb, .stl, .ply, .unreal, and .max formats for game development, AR/VR, and rendering.
Price: $9
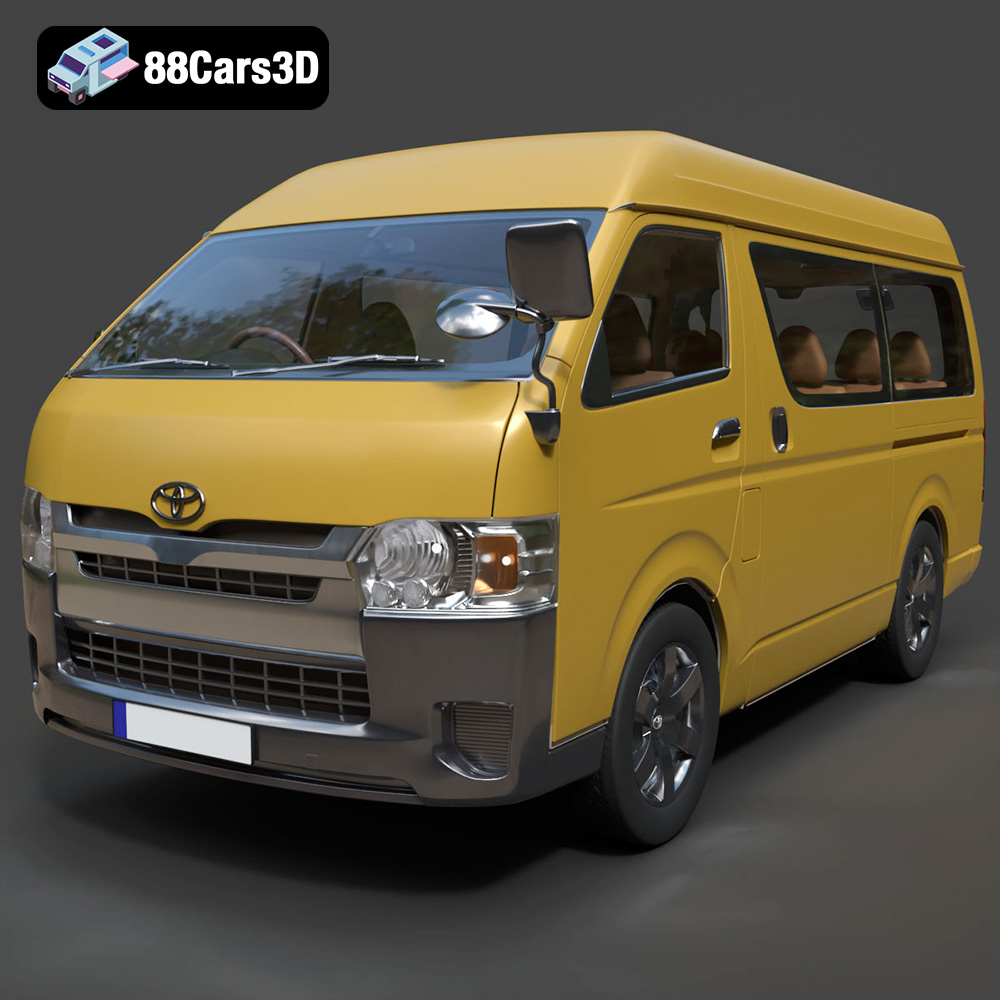
Texture: Yes | Material: Yes
Download the highly detailed, game-ready Toyota Hiace Passenger Van L1H3 DX 2013 3D Model. Features authentic high-roof van body proportions, detailed interior seating layout, and realistic exterior lighting. Includes .blend, .fbx, .obj, .glb, .stl, .ply, .unreal, and .max formats for game development, AR/VR, and rendering.
Price: $9
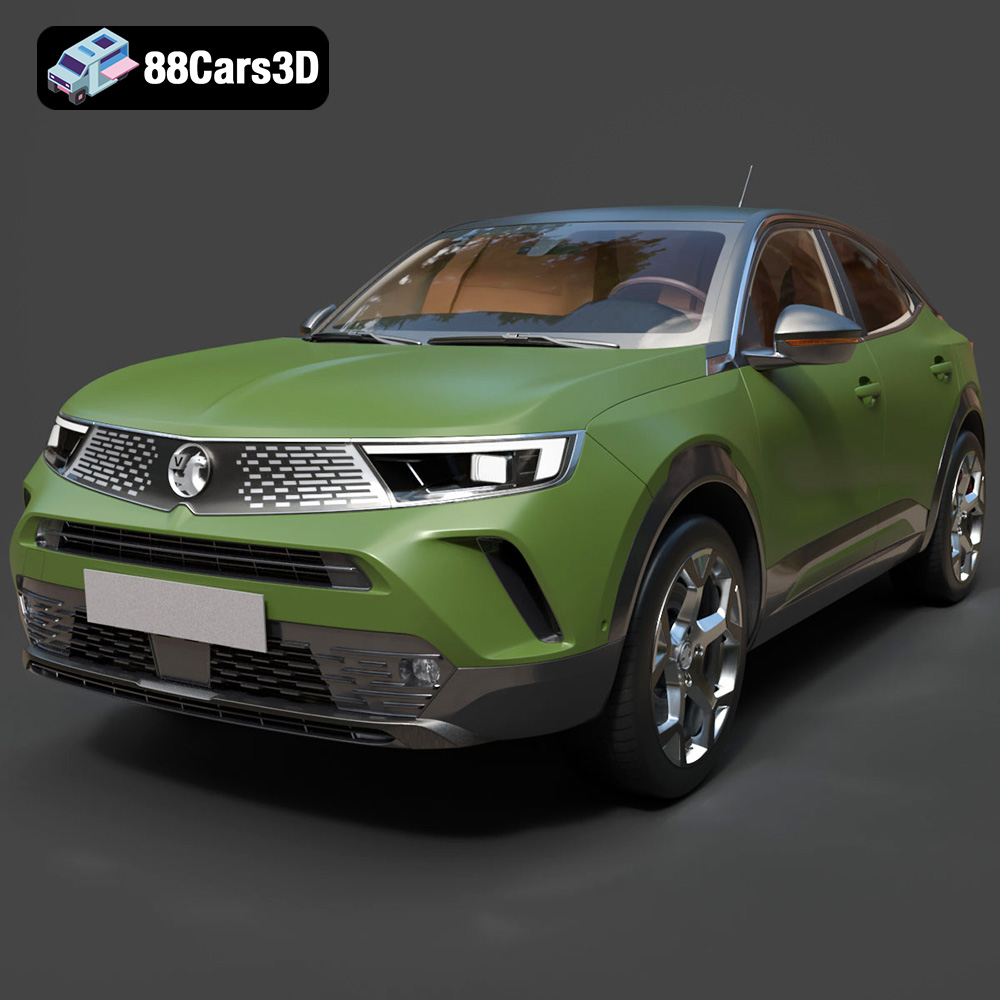
Texture: Yes | Material: Yes
Download the highly detailed, game-ready Vauxhall Mokka 2021 3D Model. Features signature Vizor front grille, sharp LED lighting, and modern digital interior elements. Includes .blend, .fbx, .obj, .glb, .stl, .ply, .unreal, and .max formats for game development, AR/VR, and rendering.
Price: $9
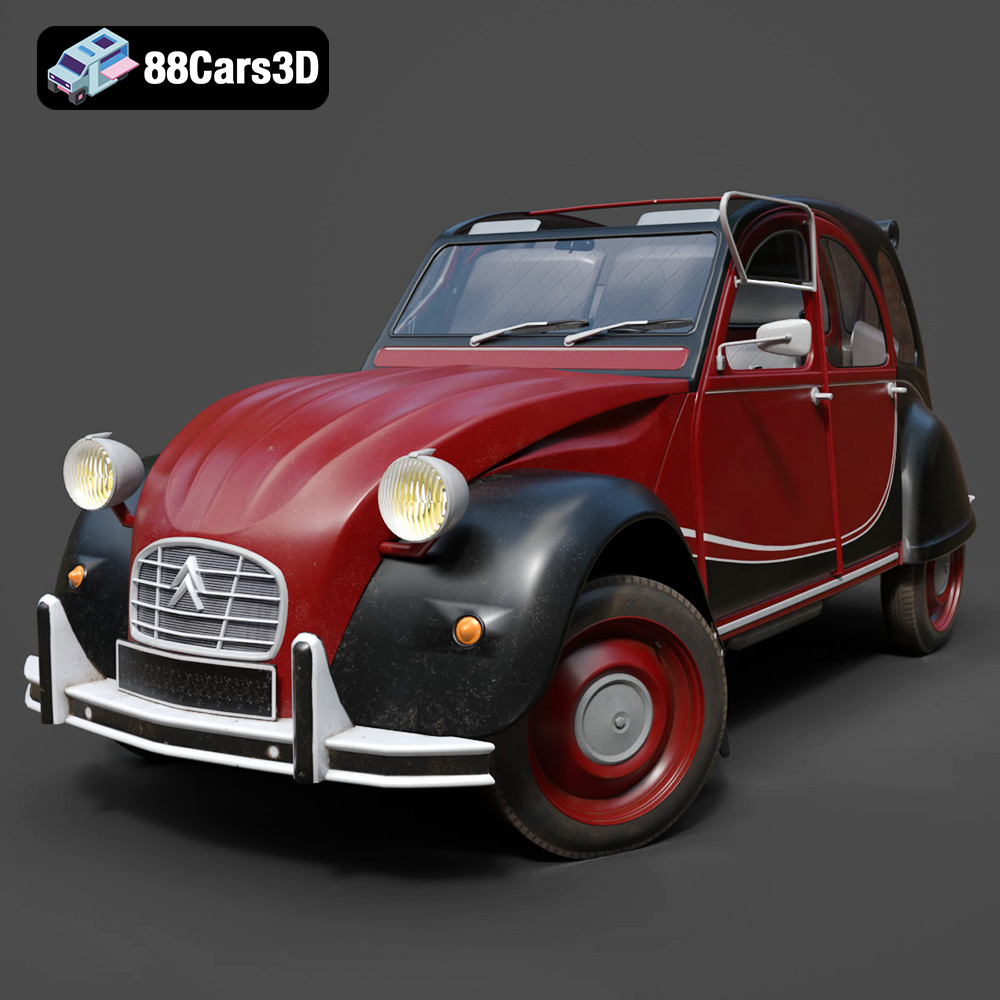
Texture: Yes | Material: Yes
Download the highly detailed, game-ready Citroën 2CV Charleston 1986 3D Model. Features two-tone retro livery, classic rounded wings, and signature canvas soft-top roof. Includes .blend, .fbx, .obj, .glb, .stl, .ply, .unreal, and .max formats for game development, AR/VR, and rendering.
Price: $9
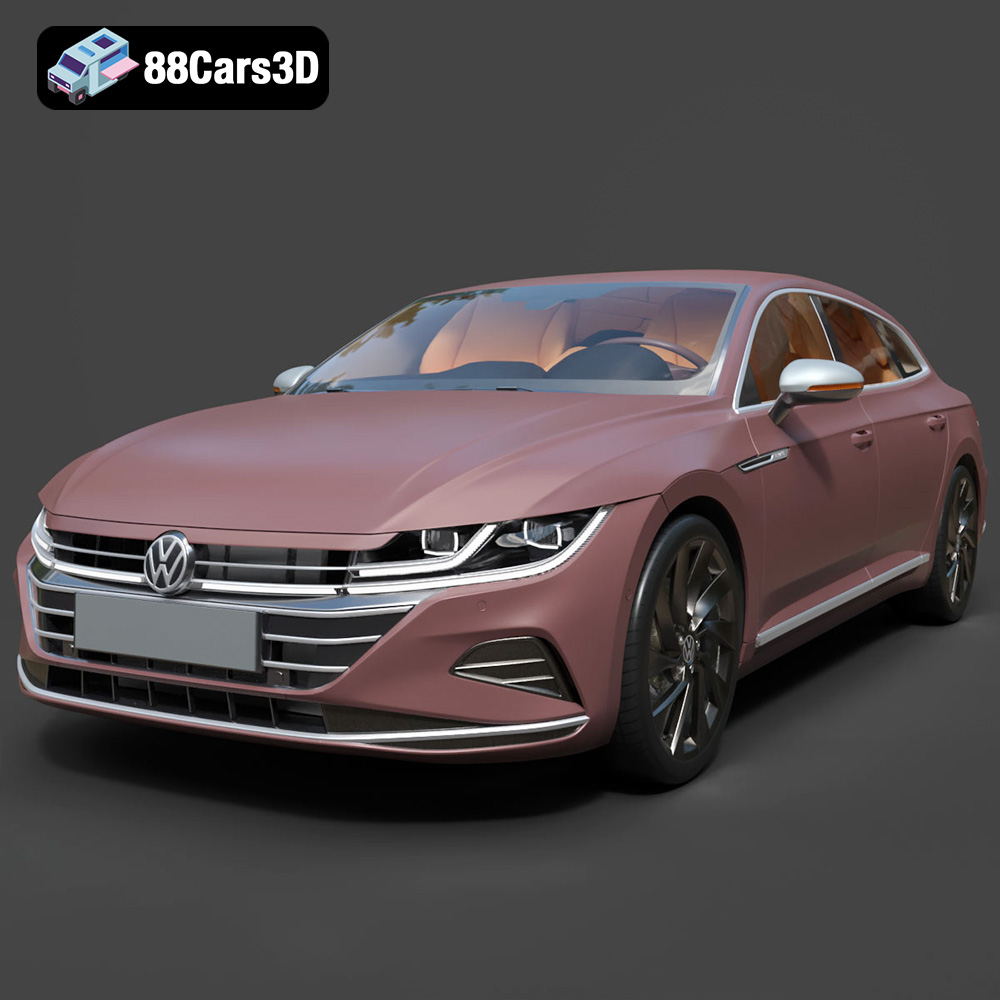
Texture: Yes | Material: Yes
Download the highly detailed, game-ready Volkswagen Arteon Shooting Brake Elegance 2021 3D Model. Features sleek wagon proportions, detailed LED headlights, and modern interior styling. Includes .blend, .fbx, .obj, .glb, .stl, .ply, .unreal, and .max formats for game development, AR/VR, and rendering.
Price: $9
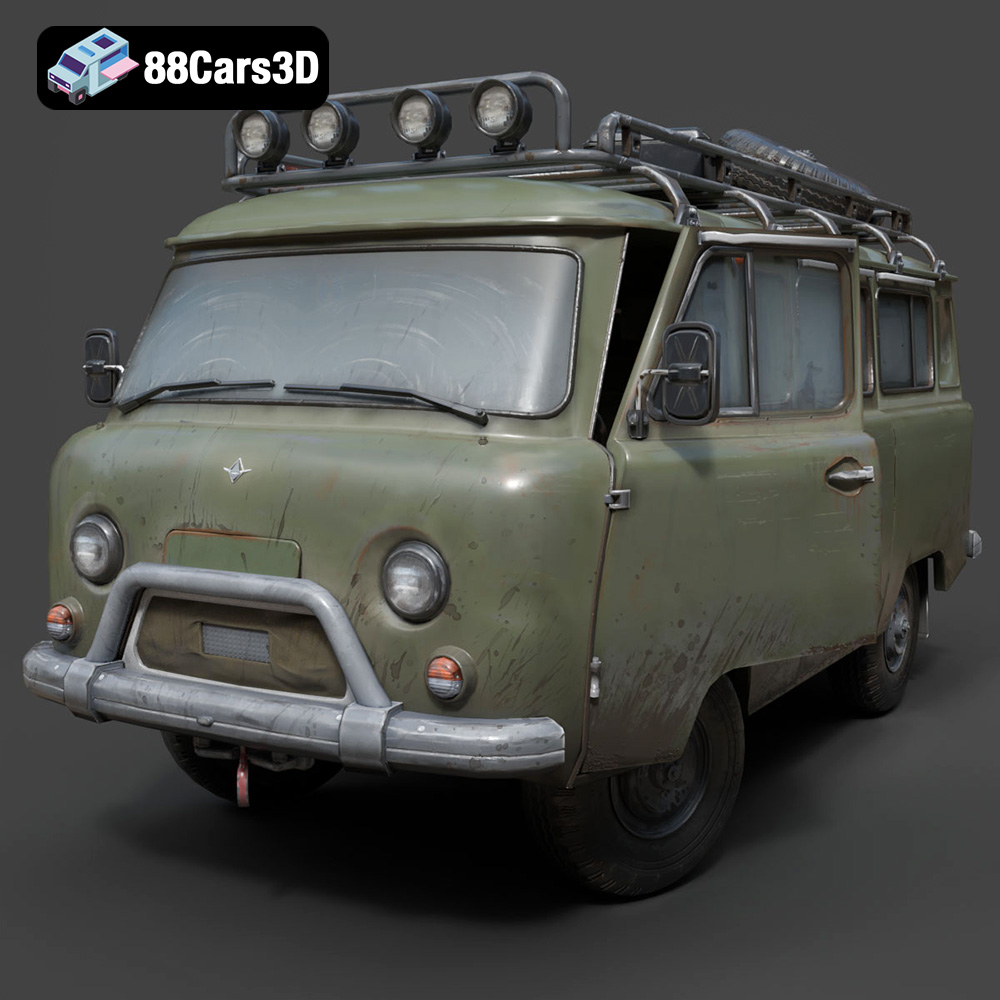
Texture: Yes | Material: Yes
Download the highly detailed, game-ready Soviet Vehicle Bukhanka 3D Model. Features iconic cab-over design, rugged utility styling, and detailed undercarriage. Includes .blend, .fbx, .obj, .glb, .stl, .ply, .unreal, and .max formats for game development, AR/VR, and rendering.
Price: $9
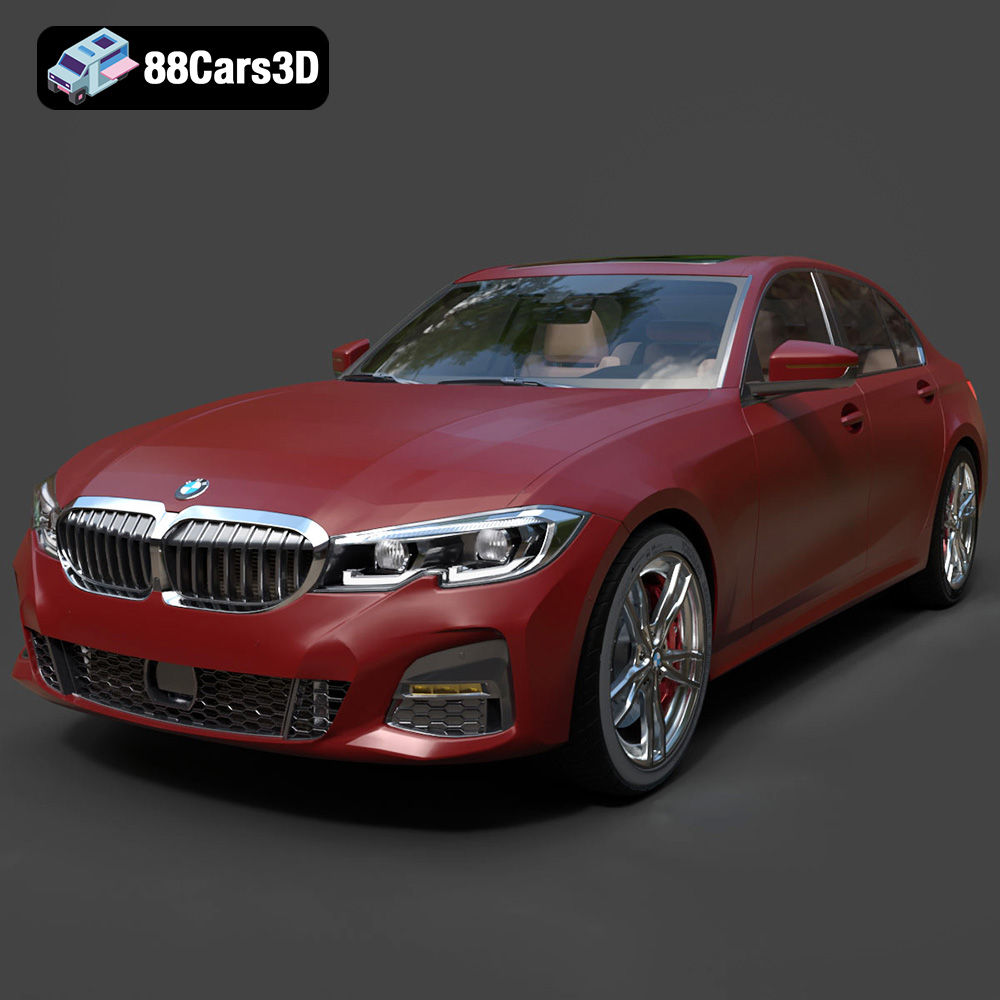
Texture: Yes | Material: Yes
Download the highly detailed, game-ready BMW 3er VII (G2x) 3D Model. Features iconic kidney grille geometry, detailed LED lighting, and precise interior cockpits. Includes .blend, .fbx, .obj, .glb, .stl, .ply, .unreal, and .max formats for game development, AR/VR, and rendering.
Price: $9
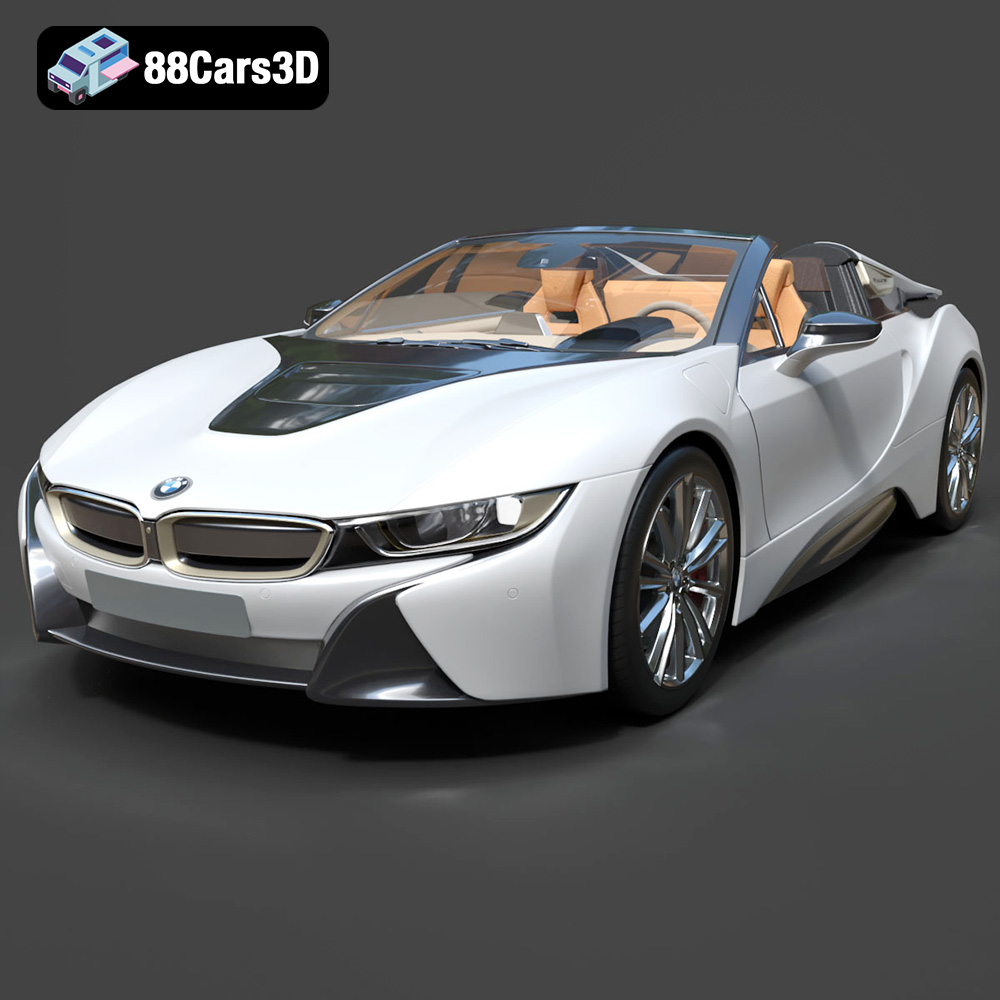
Texture: Yes | Material: Yes
Download the highly detailed, game-ready BMW i8 Roadster 2019 3D Model. Features iconic butterfly doors, futuristic aerodynamic styling, and detailed hybrid sports car aesthetics. Includes .blend, .fbx, .obj, .glb, .stl, .ply, .unreal, and .max formats for game development, AR/VR, and rendering.
Price: $9
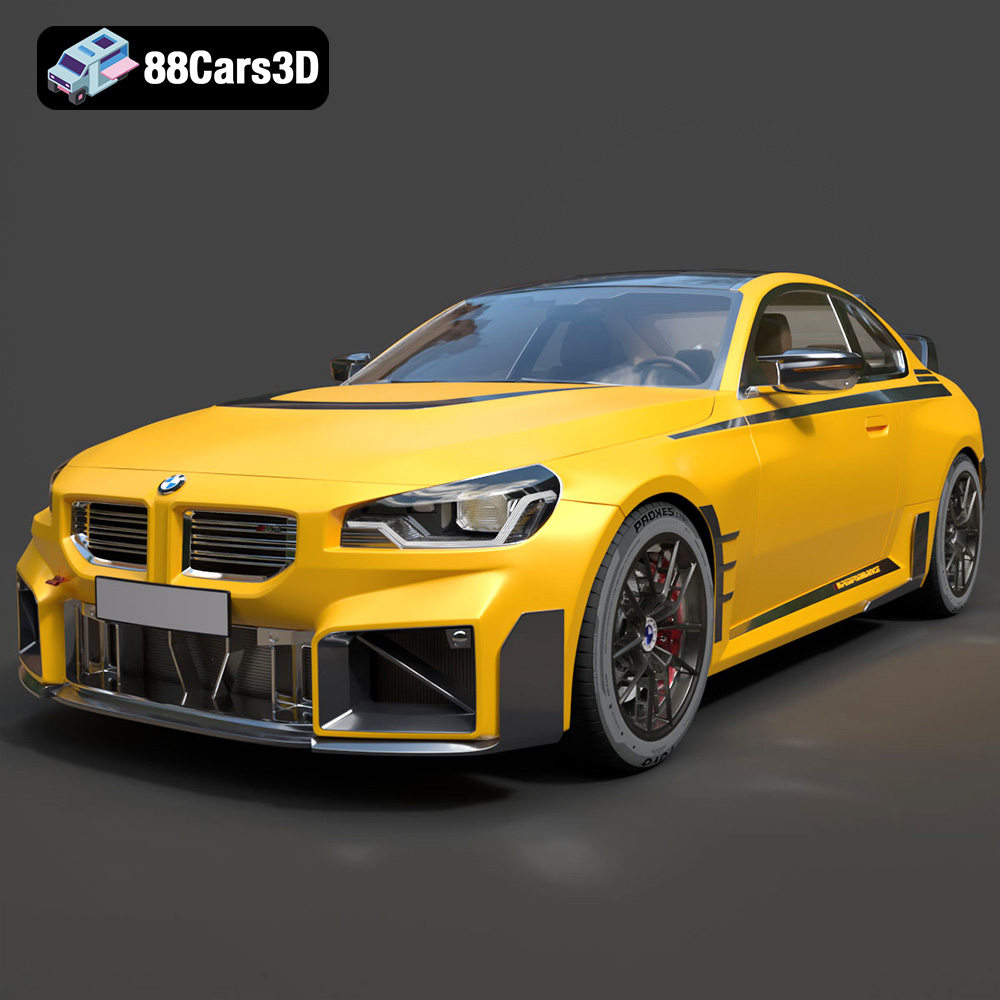
Texture: Yes | Material: Yes
Download the highly detailed, game-ready BMW M2 M Performance 3D Model. Features aggressive M Performance aero parts, detailed interior, and signature front grille. Includes .blend, .fbx, .obj, .glb, .stl, .ply, .unreal, and .max formats for game development, AR/VR, and rendering.
Price: $9
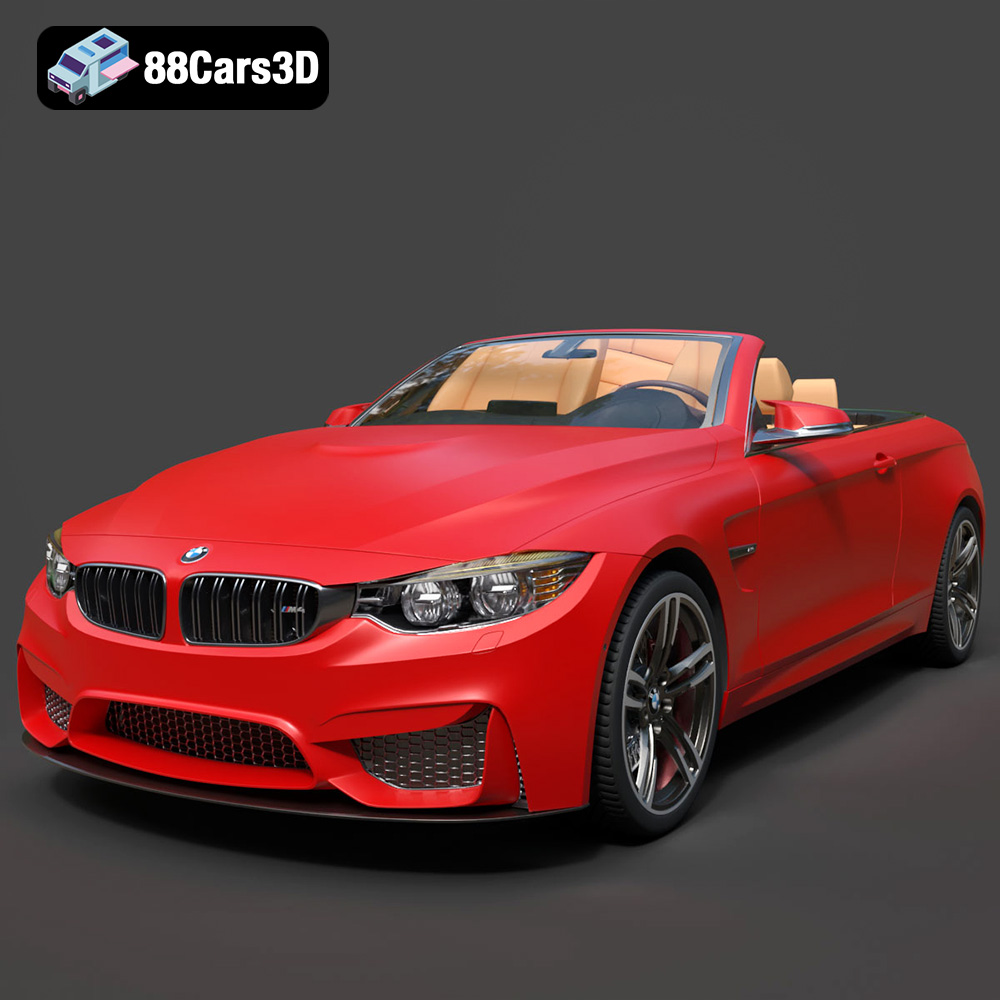
Texture: Yes | Material: Yes
Download the highly detailed, game-ready BMW M4 F33 Convertible 2015 3D Model. Features aggressive M body styling, quad exhaust setup, and detailed M sport interior. Includes .blend, .fbx, .obj, .glb, .stl, .ply, .unreal, and .max formats for game development, AR/VR, and rendering.
Price: $9
