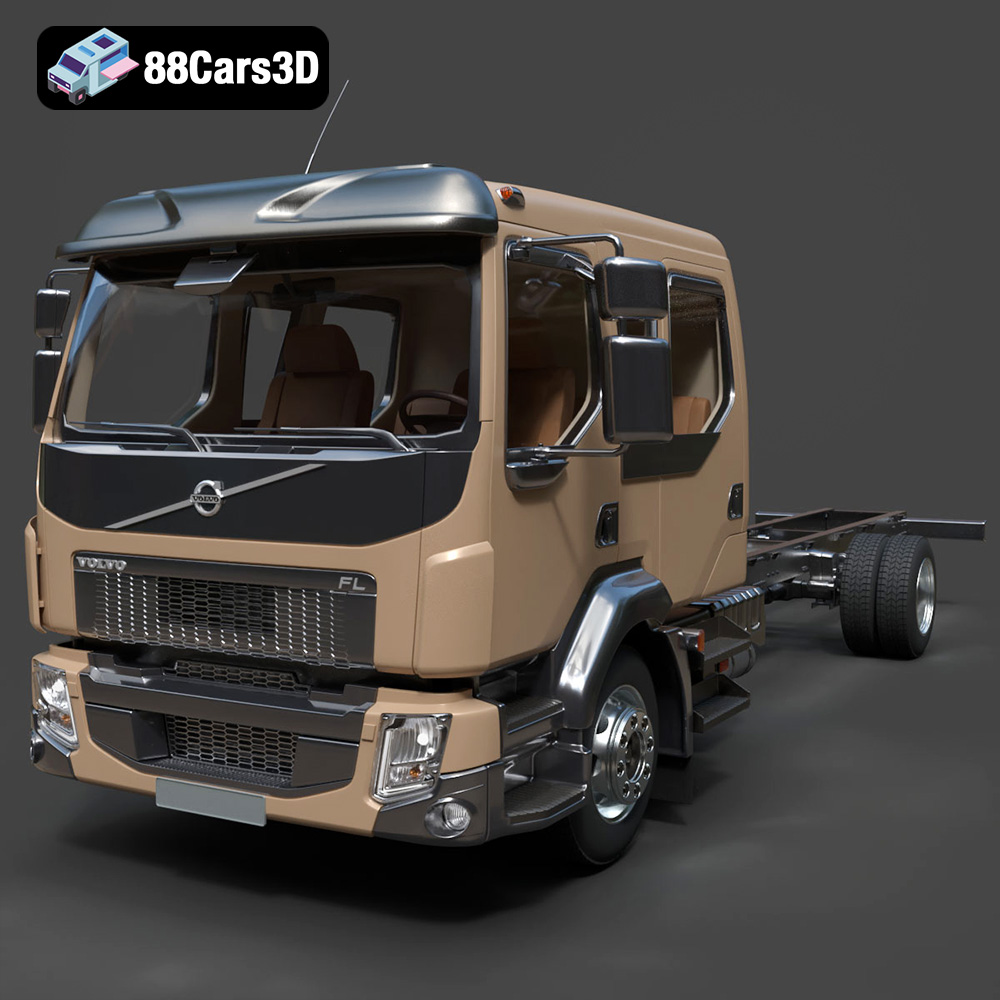
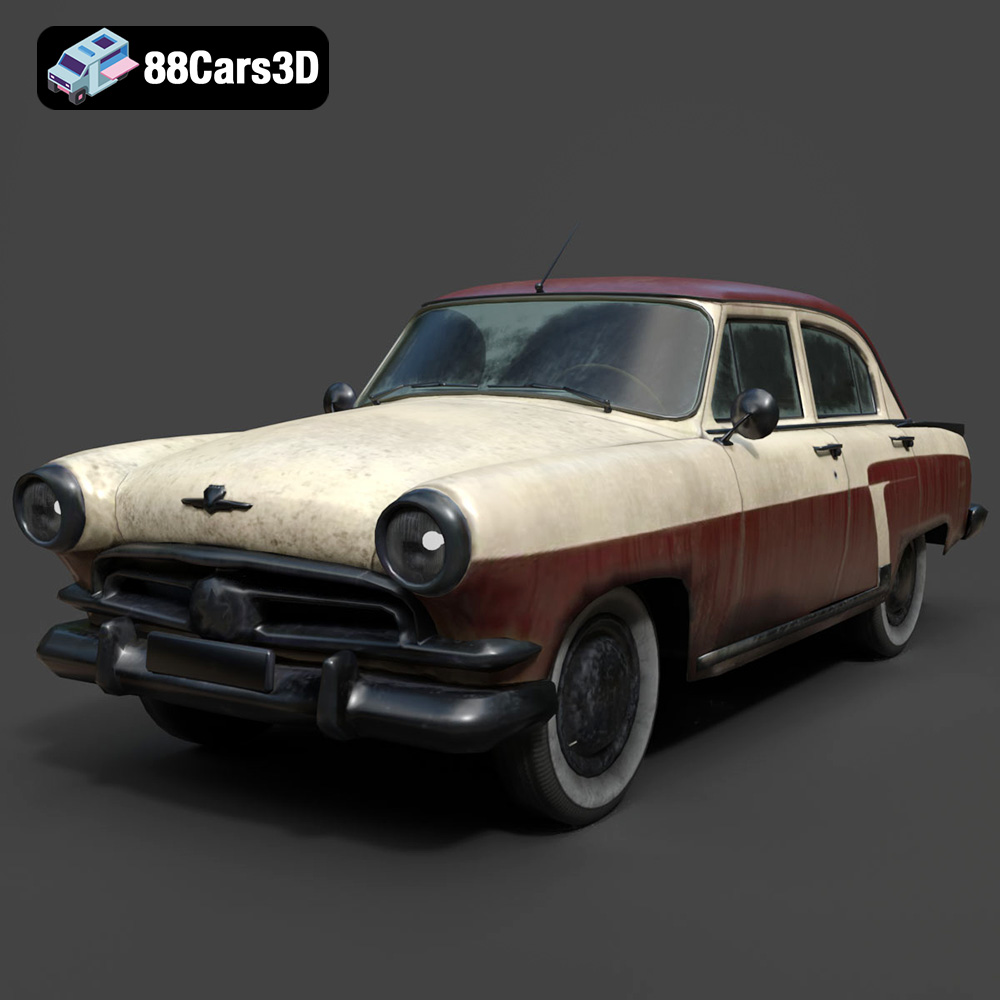
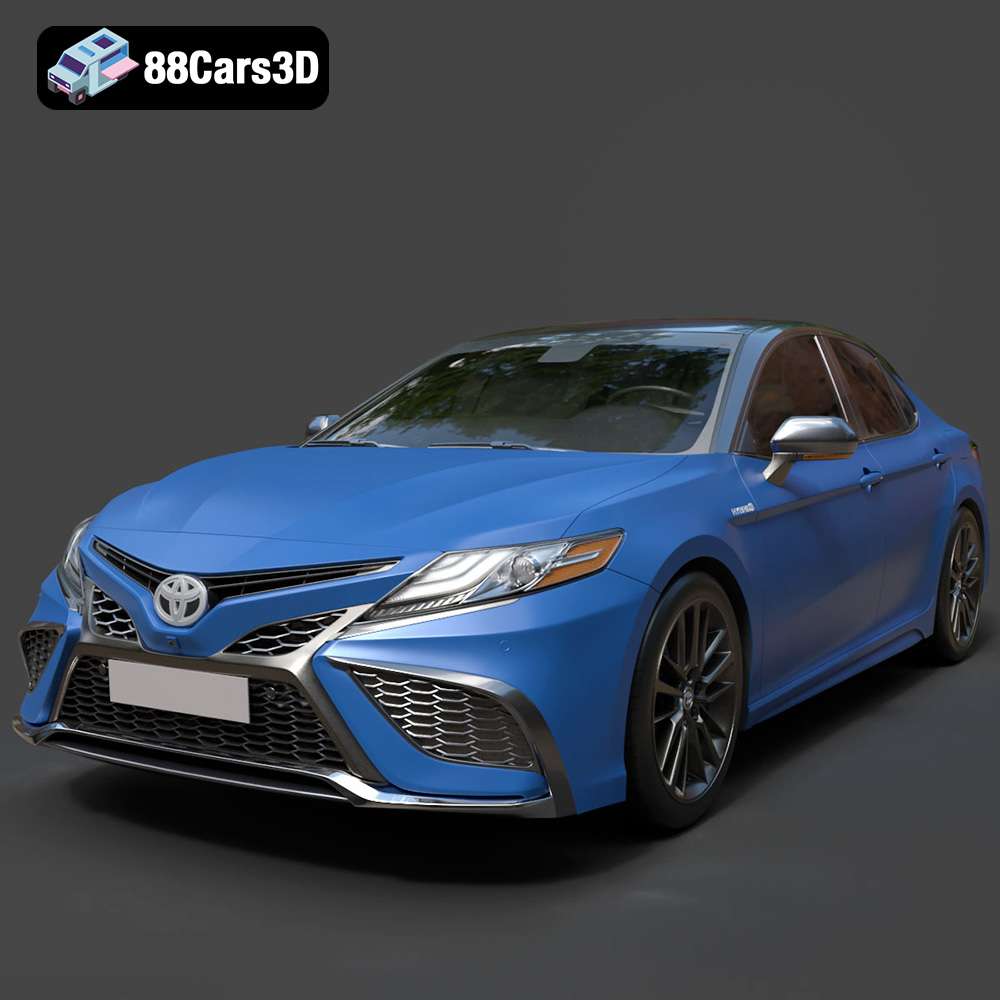
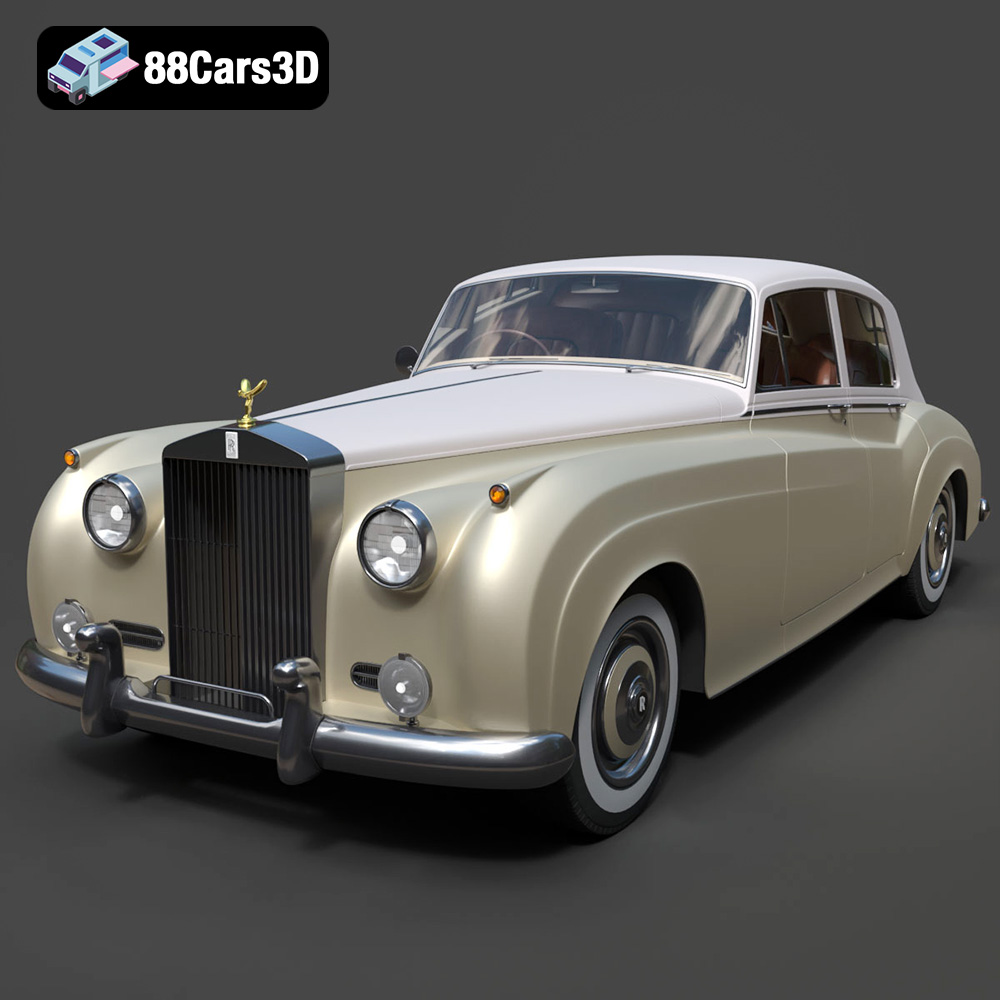
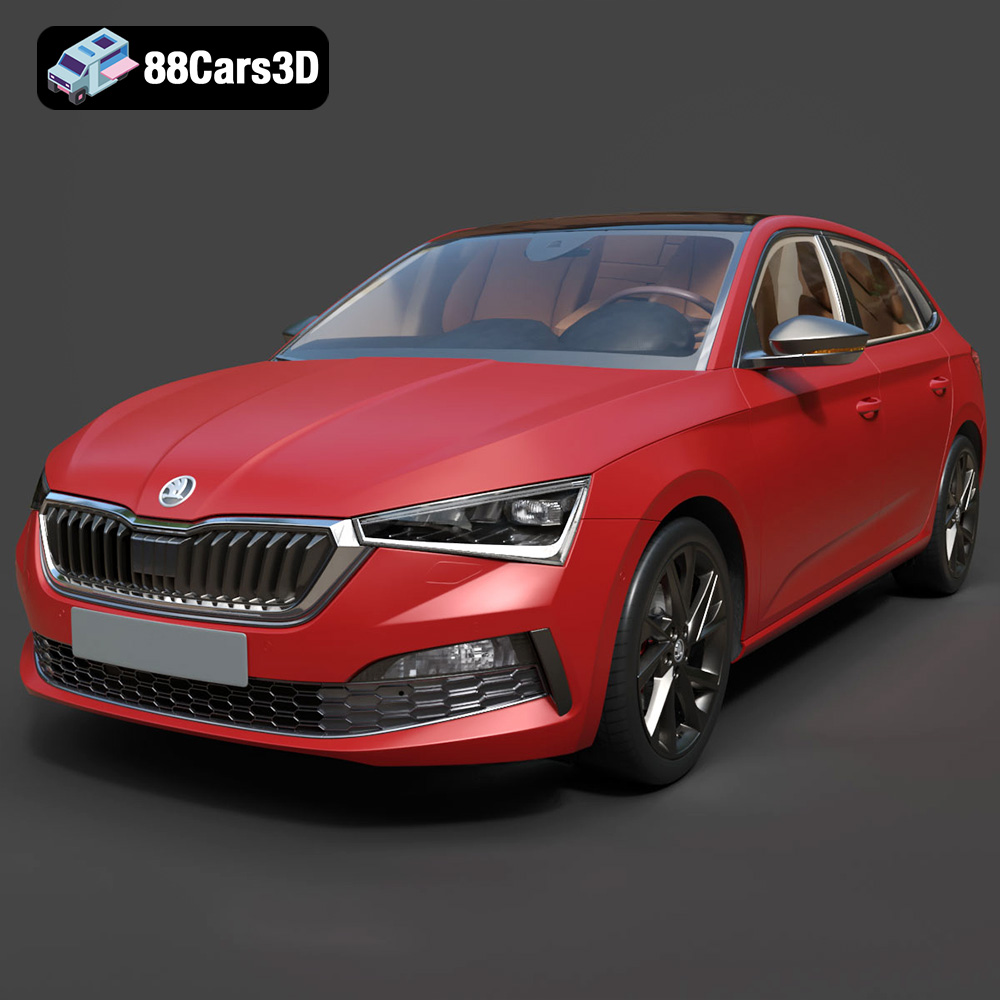
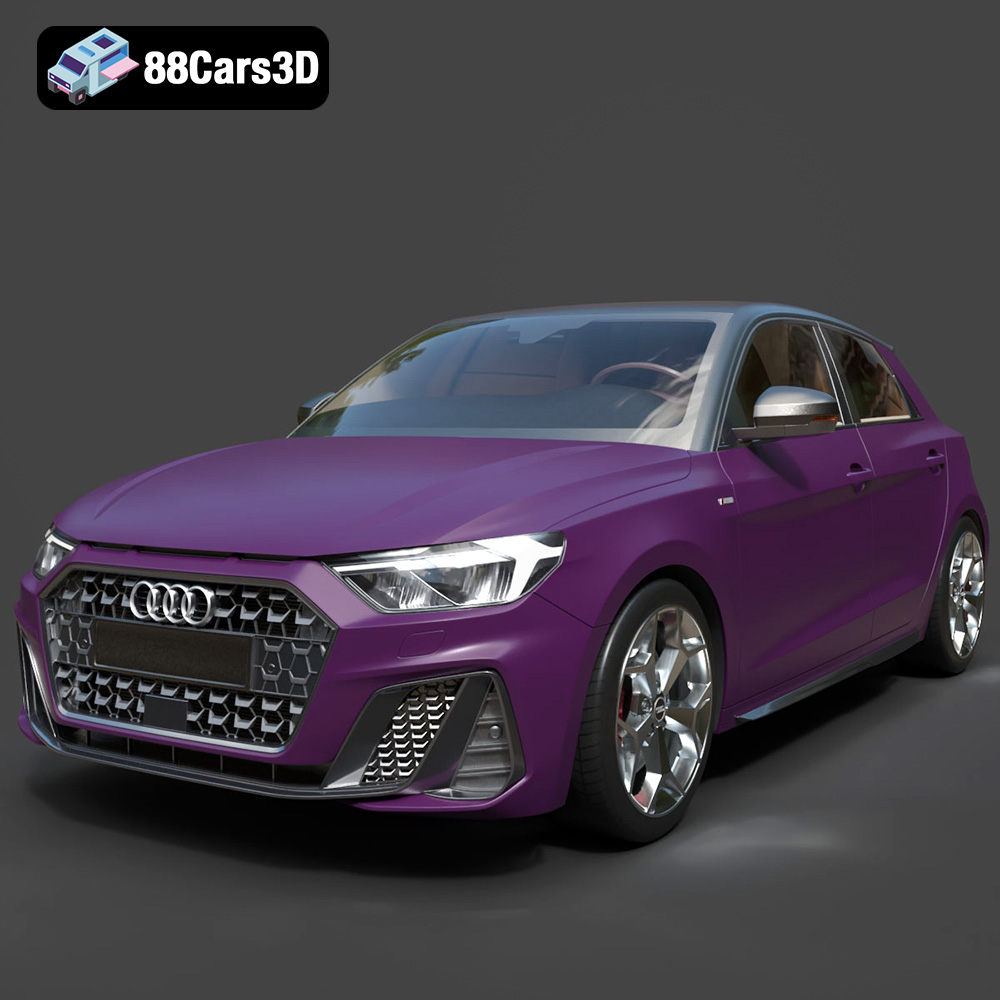
In the relentless pursuit of photorealism within the realm of 3D modeling, pristine surfaces often fall short of conveying true authenticity. A brand-new car model, while impressive, can feel sterile without the subtle imperfections that tell a story of use, age, and environment. This is where the meticulous art of simulating wear and damage comes into play. From the faint swirl marks on a polished clear coat to the chipped paint revealing a primer layer, or even corrosive rust creeping across metal, these details are crucial for breathing life into digital assets.
Blender, with its powerful and flexible shader node system, offers artists an unparalleled toolkit for achieving these complex surface effects procedurally. Instead of laboriously sculpting or painting every scratch and dent, we can leverage mathematical functions and textures to generate organic, non-repeating damage that reacts dynamically to our models. This comprehensive guide will delve deep into using Blender’s shader nodes to simulate advanced wear and damage on 3D car models, covering procedural imperfections with noise textures and masks, layering materials for multi-stage damage (like paint chips revealing primer and bare metal), and finally, the essential process of baking these complex procedural shaders to PBR textures for optimized performance in automotive rendering and game assets. By mastering these techniques, you’ll elevate your 3D car models from mere digital representations to captivating, lived-in creations.
When we observe real-world objects, particularly something as frequently used as a car, we rarely encounter them in a flawless state. Every vehicle carries the marks of its journey – reflections of weather, driving conditions, and general entropy. Ignoring these details in 3D car models can break immersion, leaving an otherwise meticulously modeled vehicle feeling artificial. Embracing imperfection is key to achieving true photorealism.
Adding wear and damage isn’t just about technical accuracy; it’s about storytelling. A faded paint job with minor dings tells a tale of years on the road, perhaps a beloved classic that’s seen many adventures. A vehicle with heavy rust and missing panels might suggest a post-apocalyptic setting or a forgotten wreck. These imperfections provide context, evoke emotion, and make a model instantly more interesting and believable. For high-fidelity automotive rendering, these subtle nuances transform a sterile render into a vibrant scene. They add grit, character, and a sense of history that a perfectly clean model simply cannot convey, engaging the viewer on a deeper level.
The type and extent of wear applied should always be driven by the specific narrative or application. Aesthetic damage might include subtle scratches, dust accumulation, water spots, or minor paint fade – details that don’t impact the car’s structural integrity but enhance its visual realism. This is common for showcasing slightly aged vehicles in a realistic setting. Functional damage, on the other hand, involves more significant alterations: deep dents, shattered glass, torn upholstery, or heavy corrosion that suggests the vehicle is broken, abandoned, or repurposed. This kind of damage is particularly relevant for game assets in action-oriented or post-apocalyptic environments, where the vehicle’s condition might even reflect gameplay mechanics. Understanding this distinction helps in determining the appropriate level of detail and complexity required for your damage simulation.
Choosing the correct 3D model file format is a critical decision that impacts workflow, compatibility, performance, and the ultimate application of your 3D car models. Each format has its strengths, weaknesses, and intended use cases. When sourcing high-quality models, such as those available on 88cars3d.com, understanding these formats ensures you select the optimal file for your project, whether it’s for cinematic rendering, real-time game development, augmented reality, or 3D printing.
The .blend file is Blender’s native format, acting as a complete snapshot of your entire Blender project. This format preserves everything: geometry, materials, textures, lighting, camera settings, animations, rigs, physics simulations, grease pencil data, and even custom UI layouts. It’s the ideal format for continued development within Blender, ensuring that all aspects of your 3D car model, including complex procedural shaders and modifiers, remain fully editable and accessible. While not directly usable by other 3D software or game engines without export, it offers the utmost flexibility for Blender artists.
.fbx (Filmbox) is arguably the most widely adopted proprietary 3D file format for exchanging 3D data between different software applications. Developed by Autodesk, it excels in transferring not only mesh geometry and UVs but also materials, textures, animations, and skeletal rigs. This makes it an invaluable format for pipelines involving Unreal Engine, Unity, 3ds Max, Maya, and MotionBuilder. For 3D car models destined for game development, .fbx is often the go-to, as it efficiently encapsulates complex animated components like suspension or opening doors, alongside PBR material assignments. When exporting, you can choose to embed textures or keep them external, offering flexibility for asset management.
.obj (Wavefront OBJ) is a universal, open, and widely supported format known for its simplicity and broad compatibility. It primarily stores geometric data (vertices, normals, texture coordinates, and faces). While it can reference external material files (.mtl) for basic color and texture information, it does not support complex PBR materials, animation, or skeletal data. This makes .obj excellent for transferring static 3D car models with clean geometry and UVs across virtually any 3D software. It’s a reliable choice when you need a straightforward mesh without intricate rigging or advanced material setups, and its text-based nature can sometimes simplify debugging.
.glb (GL Transmission Format Binary) is the binary version of the glTF (Graphics Language Transmission Format), designed specifically for efficient transmission and loading of 3D scenes and models in web browsers, augmented reality (AR), and virtual reality (VR) applications. A .glb file is a self-contained single file that bundles the mesh, materials (PBR ready), textures, animations, and even skeletal data, making it incredibly compact and easy to deploy. Its focus on runtime efficiency makes it perfect for displaying interactive 3D car models directly on a website or integrating them into lightweight AR/VR experiences without complex external dependencies.
.stl (Stereolithography) is almost exclusively used for 3D printing and rapid prototyping. This format represents a 3D model as a collection of unconnected triangular facets, defining only the surface geometry of an object. It does not carry color, texture, or material information, focusing solely on shape. When preparing 3D car models for physical output, ensuring a watertight (manifold) .stl mesh with appropriate wall thickness is paramount. It serves as the bridge from digital design to tangible manufacturing, transforming virtual models into physical objects.
.ply (Polygon File Format) is often used for storing 3D scan data and exports from CAD software. It supports a wide range of properties for each vertex and face, including color, normal vectors, texture coordinates, transparency, and even confidence values from scanning devices. This makes it a more versatile format than .obj for capturing detailed information from real-world objects or scientific data. While less common for general 3D car model exchange, it’s invaluable when dealing with highly precise geometric data or dense point clouds.
While not a standard file extension in the same way .fbx or .obj are, “.unreal” often refers to assets that have been specifically prepared and optimized for direct import into Unreal Engine. This typically means an .fbx file that has been processed with considerations for Unreal’s material system (PBR), collision geometry, Level of Detail (LOD) setups, and perhaps even specific material instances. These assets are “engine-ready,” minimizing the setup time within Unreal and ensuring optimal performance for real-time applications and game development. The 3D car models found on 88cars3d.com are often meticulously prepared to meet such demanding standards.
The .max file is the native format for Autodesk 3ds Max, similar to Blender’s .blend. It encapsulates all scene data, including geometry, materials (especially those using advanced renderers like V-Ray or Corona), lighting, cameras, animations, and complex rigging setups specific to 3ds Max. This format is crucial for workflows heavily reliant on 3ds Max for high-end architectural visualization, product rendering, and animation. Like .blend, it offers complete editability within its native environment but requires export to other formats for broader compatibility.
Understanding these formats empowers artists and developers to make informed decisions, ensuring their 3D car models are both versatile and optimized for their intended final destination.
At the heart of creating realistic wear and damage in Blender lies its incredibly powerful node-based shader editor. This visual programming environment allows artists to construct complex materials by connecting various nodes, each performing a specific function. Unlike texture painting, which is destructive and resolution-dependent, procedural shaders are infinitely scalable, non-destructive, and offer a level of creative control that is unparalleled.
The basic principle of Blender’s node editor is straightforward: you start with input nodes (like texture coordinates or attribute data), process that information through a series of intermediate nodes (like math operations, color ramps, or other textures), and finally feed the result into an output node, most commonly the Principled BSDF shader. The Principled BSDF is a physically based renderer (PBR) shader that combines multiple layers, allowing you to control aspects like base color, metallicness, roughness, normal mapping, and more. Understanding how to manipulate these inputs to drive the various parameters of the Principled BSDF is fundamental to crafting dynamic and realistic materials.
Noise textures are the workhorses of procedural damage. Blender offers several types, each with unique characteristics that can be leveraged for different effects:
To apply these textures effectively, you’ll almost always use a Texture Coordinate node (typically generating UV or Object coordinates) connected to a Mapping node. The Mapping node allows you to scale, rotate, and move the texture, giving you precise control over how it appears on your 3D car model. By feeding the output of a noise texture into a color ramp or math node, you can convert its continuous gray values into sharp masks or specific value ranges to drive material properties like roughness or metallicness.
The true power of procedural damage comes from using these noise textures as masks to mix between different material states. A mask is essentially a black and white image (or a grayscale procedural texture) where white areas represent one material and black areas represent another, or a gradient between them. Key nodes for creating and utilizing masks include:
By skillfully combining these nodes, you can generate intricate patterns of wear and damage, guiding where dirt accumulates, paint chips, or rust forms on your 3D car models with unparalleled artistic control and flexibility.
Real-world damage often isn’t a single monolithic effect. A deep scratch doesn’t just reveal a different color; it exposes the underlying layers of a vehicle’s finish. A paint chip might reveal a primer layer first, and only deeper damage exposes the bare metal beneath. Simulating this multi-stage damage is crucial for creating truly convincing 3D car models.
Think of a car’s finish like an onion, with multiple layers: clear coat, top coat paint, primer, and finally, the bare metal chassis. When damage occurs, it typically penetrates these layers sequentially. Our goal in Blender’s shader editor is to replicate this progression. We achieve this by building individual shader networks for each layer (e.g., a “clean paint” shader, a “primer” shader, a “bare metal” shader, a “rust” shader) and then mixing them together using a hierarchy of masks. The most superficial damage uses a mask to reveal the layer beneath, and so on. This approach allows for incredibly detailed and believable damage effects.
Paint chips are an excellent example of multi-stage damage. Here’s a common workflow:
Environmental effects add another layer of realism. These often accumulate based on a vehicle’s geometry and exposure:
By combining these layering techniques, your 3D car models will boast a level of detailed wear and damage that tells a compelling visual story, making them far more engaging for automotive rendering, game assets, and visualizations.
Beyond the fundamental procedural layering, several advanced techniques can push the realism of wear and damage on your 3D car models even further, adding intricate surface details and targeted effects.
While procedural textures are excellent for generating masks and influencing material properties, true physical imperfections like dents, scratches with depth, or corrosive pitting often require altering the surface geometry or faking it with normal maps.
While shader nodes excel at surface material effects, sometimes you need to physically alter the mesh itself for deeper, structural damage like significant dents, crumpled fenders, or ripped metal. Blender’s Geometry Nodes provide a powerful procedural modeling environment for this. You could, for example, use a point-scatter method to create an irregular distribution of points, then instance small denting geometries on those points, or use noise fields to procedurally displace large sections of the mesh. This is more advanced but offers a non-destructive way to generate complex mesh deformations that complement the shader-based surface wear, truly pushing the realism of damaged 3D car models. It’s often employed when a base model from a marketplace like 88cars3d.com needs extreme, irreversible damage for a specific scene.
Procedural methods are fantastic, but sometimes you need fine-grained, artistic control over where certain damage appears. This is where Vertex Colors and Weight Maps come in. You can manually paint these attributes directly onto your mesh in Blender’s Weight Paint or Vertex Paint modes. For instance:
These manual masking techniques allow artists to combine the efficiency of procedural generation with the precision of hand-painting, offering unparalleled control over the final look of wear and damage on their 3D car models.
Procedural shaders are incredibly powerful and flexible, but their real-time computation can become performance-intensive, especially when dealing with complex node networks on multiple 3D car models in a scene. For game assets, AR/VR experiences, or any real-time application, this can lead to slow frame rates. The solution lies in a crucial step: baking these procedural shaders into traditional PBR texture maps.
Baking is the process of converting the visual output of your complex procedural shader network into static image files (like PNG or JPG). Instead of recalculating the material properties for every pixel, every frame, the engine simply reads these pre-computed texture maps. This offers several significant advantages:
For high-quality game assets or automotive rendering projects, baking is an indispensable final step after you’ve perfected your procedural wear and damage.
Baking procedural textures in Blender is a straightforward, albeit multi-step, process:
Once your PBR textures are baked and saved, the next step is to prepare your 3D car models for export. This typically involves:
This streamlined workflow ensures that your intricately detailed 3D car models, complete with realistic wear and damage, perform optimally across various real-time applications. Many of the game assets and vehicle models available on 88cars3d.com come pre-baked and optimized, ready for immediate integration into your projects.
The techniques discussed are not just theoretical; they are fundamental to creating compelling 3D car models across various industries. Let’s explore some real-world applications.
Imagine a client wants to visualize a classic muscle car undergoing a “barn find” restoration. They don’t want a pristine render, but a highly realistic depiction of the vehicle as it would appear after decades in storage. This calls for extensive procedural wear.
Workflow:
The result is not just a car, but a story – a weathered relic brimming with personality, perfectly suited for high-end automotive rendering or marketing materials for restoration shops.
In a survival or post-apocalyptic video game, vehicles are often scavenged, damaged, and repurposed. Performance is paramount, so procedural work must be baked down.
Workflow:
This delivers visually rich and performance-optimized game assets, allowing players to interact with believable, battle-hardened vehicles without sacrificing frame rates.
Consider an interactive AR experience where a user can view a virtual car and toggle between “new” and “damaged” states, or even observe specific wear points. Optimization and compact file sizes are key for smooth AR/VR performance.
Workflow:
This approach provides engaging, high-fidelity experiences that run smoothly on mobile AR devices or VR headsets, showcasing the versatility of optimized 3D car models with simulated damage.
The journey to photorealism in 3D car models is a nuanced one, and embracing imperfections through wear and damage is an essential step. Blender’s shader nodes provide an incredibly powerful, flexible, and non-destructive framework for achieving this. By mastering the art of procedural imperfection with noise textures and masks, meticulously layering materials to simulate multi-stage damage like paint chips and rust, and understanding the critical process of baking complex shaders to optimized PBR textures, artists can transform sterile digital assets into compelling, story-rich creations.
These techniques not only elevate the visual fidelity of automotive rendering but also ensure that your 3D car models are robust and performant enough for demanding applications like game development and AR/VR experiences. The attention to detail in replicating the subtle effects of time and environment is what truly sets professional-grade 3D assets apart. For those looking to kickstart their projects with high-quality, base 3D car models ready for these advanced techniques, exploring the extensive collection on 88cars3d.com can provide an excellent foundation.
Ultimately, the pursuit of realism isn’t just about creating a perfect replica; it’s about crafting an immersive experience where every scratch, dent, and faded patch tells a part of the story, making your 3D car models resonate deeply with your audience.