Mastering the Blender Asset Browser: Elevating Your 3D Car Model Library to Professional Standards
In the fast-paced world of 3D production, efficiency is paramount. Whether you’re a seasoned automotive designer, a game developer crafting immersive experiences, or a visualization artist pushing the boundaries of realism, managing a vast collection of 3D assets can quickly become a bottleneck. High-quality 3D car models, with their intricate details, complex materials, and precise engineering, demand meticulous organization. Imagine spending countless hours sifting through unorganized files, recreating materials, or re-exporting models because your asset library is a chaotic mess. This scenario is all too common, eating into valuable production time and stifling creativity.
Enter the Blender Asset Browser – a powerful, often underutilized tool designed to transform your chaotic collection into a streamlined, searchable, and collaborative library. This comprehensive guide will delve deep into leveraging the Blender Asset Browser to its fullest potential, specifically focusing on the unique demands of high-quality 3D car models. We’ll explore not just how to organize, but how to *prepare* your assets – from impeccable topology and PBR material creation to advanced UV mapping and multi-purpose optimization. By the end, you’ll have a clear roadmap to building a robust, professional-grade 3D car model library, ensuring that every asset you create or acquire, such as those found on marketplaces like 88cars3d.com, is ready for immediate deployment across rendering, game development, AR/VR, and even 3D printing workflows.
Understanding the Blender Asset Browser: A Foundation for Efficiency
The Blender Asset Browser is more than just a file explorer; it’s an intelligent system for cataloging and reusing your 3D creations. It allows you to mark any object, material, pose, or world in your .blend files as an “asset,” making it easily discoverable and reusable across multiple projects. For anyone dealing with a substantial volume of detailed 3D car models, its value cannot be overstated. A well-structured asset library significantly reduces repetitive tasks, maintains consistency across projects, and empowers collaborative workflows, making it an indispensable tool for individual artists and large studios alike.
Setting Up Your Asset Libraries
The first step to harnessing the power of the Asset Browser is to define your asset library paths. This is done through Blender’s Preferences: navigate to Edit > Preferences > File Paths > Asset Libraries. Here, you can add multiple directories, each serving as a dedicated library. Consider creating a logical folder structure on your hard drive to house these libraries. For automotive assets, you might have top-level folders such as “88cars3d_Library,” “Custom_Vehicles,” “Props_Accessories,” and “Materials_Shaders.” Within “88cars3d_Library,” for instance, you could further subdivide into categories like “Sports_Cars,” “Sedans,” “Trucks,” and “Vintage_Cars.” This hierarchical approach ensures that as your library grows, navigation remains intuitive and efficient.
When structuring your asset folders, think about how you’ll search for items. A centralized approach, where all team members access a shared network drive, promotes consistency and ensures everyone is working with the latest versions of approved assets. Alternatively, project-specific libraries can be beneficial for client work, keeping all relevant assets contained within a dedicated project directory. The key is to establish a system that aligns with your workflow and team dynamics from the outset.
Asset Types and Their Role
The Blender Asset Browser supports various types of assets, each playing a crucial role in constructing complex scenes. The primary asset types relevant to 3D car models are:
- Objects: This includes the actual 3D car models themselves, individual components (wheels, engines, interiors), or even smaller props like emblems or wipers. When marking an object as an asset, ensure it’s properly scaled, positioned at the world origin (0,0,0) for easy placement, and has clean transformations (scale applied, rotation reset).
- Materials: Physically Based Rendering (PBR) materials are the backbone of realistic car visuals. Marking your meticulously crafted car paint, tire rubber, glass, or chrome shaders as assets allows you to instantly apply them to new models without recreating complex node setups.
- Worlds: If you have specific lighting setups or HDRI environments that you frequently use for rendering car scenes, marking them as World assets can streamline your rendering workflow.
- Node Groups: For advanced users, complex shader components or geometry node setups can be marked as assets, accelerating the creation of intricate effects or procedural elements.
Designating an asset is straightforward: right-click on the item in the Outliner (for objects), the Material Properties panel (for materials), or the World Properties panel (for worlds) and select “Mark as Asset.” This action makes the item visible in your Asset Browser. Clear, descriptive naming conventions are vital at this stage. Instead of “Cube.001,” name your car model “Audi_R8_2023_Sport,” your material “CarPaint_Metallic_Blue,” or your wheel “Wheel_Alloy_5Spoke_Dark.” This foresight will pay dividends when your library contains hundreds, or even thousands, of assets.
Crafting High-Quality Automotive Assets for the Browser
The true value of an asset library lies not just in its organization, but in the quality of the assets it contains. For 3D car models, this means an unwavering commitment to technical excellence. Assets destined for the Asset Browser should be “production-ready”—meaning they meet rigorous standards for topology, materials, UV mapping, and optimization, ensuring they perform flawlessly across diverse applications. This meticulous preparation upfront saves immense time and effort later, preventing issues like render artifacts, broken game meshes, or failed 3D prints.
Topology and Edge Flow for Production-Ready Cars
The underlying mesh structure, or topology, is fundamental to a 3D car model’s quality. For high-fidelity automotive models, clean, all-quad topology is the industry standard. This ensures predictable deformation, smooth subdivision surfacing, and professional rendering results. Poor topology—characterized by triangles, n-gons (faces with more than four vertices), stretched polygons, or messy edge flow—can lead to shading artifacts, difficulty in sculpting, and problems during rigging or animation. When building or refining a car model for your asset library, consider:
- Quad Dominance: Strive for meshes composed almost entirely of four-sided polygons. Triangles should be used sparingly and strategically, typically in areas of high detail or minimal deformation. N-gons should be avoided on deformable surfaces entirely.
- Edge Flow: The way edges flow across your model dictates how light reflects and how subdivision modifiers smooth the surface. For car bodies, edge loops should follow the natural contours and design lines of the vehicle, defining creases, panel gaps, and subtle curves accurately. This is crucial for realistic reflections and highlights. Blender’s modeling tools, extensively documented in the Blender 4.4 manual, offer powerful capabilities for precise control over edge flow.
- Consistent Density: Maintain an appropriate and relatively consistent polygon density across the model. Areas with more intricate detail (e.g., grilles, headlights, interior dashboards) will naturally require higher density, but avoid unnecessary polygon spikes in flat areas.
- Subdivision Readiness: Most high-quality car models are designed to be used with a Subdivision Surface modifier. Ensure your base mesh (low-poly) holds its shape well, and that adding a subdivision modifier produces smooth, clean surfaces without pinching or distortions. Use supporting edge loops (control loops) around hard edges to sharpen them when subdivided.
For game development, consider the baseline polygon count. A high-fidelity render model might exceed millions of polygons (after subdivision), while a game-ready asset for a AAA title could range from 50,000 to 150,000 triangles for a primary vehicle, with multiple Levels of Detail (LODs) further reducing this count for distant views. Understanding these parameters is key to preparing versatile assets for your library.
PBR Material Creation and Shader Networks
Realistic rendering of 3D car models hinges on the quality of their Physically Based Rendering (PBR) materials. PBR workflows simulate how light interacts with surfaces in the real world, producing highly convincing results. When preparing materials for your asset browser, focus on accuracy and reusability:
- Principled BSDF Shader: Blender’s Principled BSDF shader is the cornerstone of PBR. It consolidates many common material properties into a single, intuitive node, allowing you to define characteristics like Base Color (Albedo), Metallic, Specular, Roughness, Clearcoat, and Normal Map intensity.
- Texture Maps: PBR materials rely heavily on high-quality texture maps. For automotive models, this includes:
- Albedo/Base Color: Defines the pure color of the surface, devoid of lighting information. For car paint, this might be a solid color or a subtle procedural gradient.
- Metallic: A grayscale map (0.0 for dielectric/non-metal, 1.0 for metal) that dictates which parts of the surface are metallic. Car paint often has metallic flakes, which can be simulated with procedural textures or careful layering.
- Roughness: A grayscale map defining the microsurface imperfections. Low roughness (darker values) indicates a shiny, reflective surface (polished chrome, glass), while high roughness (lighter values) indicates a matte, diffused surface (rubber, plastic).
- Normal Map: Provides fine surface detail without adding geometric complexity, crucial for intricate panel lines, tire treads, or subtle surface imperfections.
- Clearcoat & Clearcoat Roughness: Unique to automotive paint, these parameters simulate the clear protective layer over the base paint, contributing significantly to realism.
- Anisotropic: For brushed metals like some rims or interior accents, anisotropy accurately simulates the directional reflections.
- Shader Networks: For advanced effects like multi-layered car paint (base coat, metallic flakes, clearcoat, dirt), you’ll build complex shader networks using a combination of Principled BSDF nodes, mix shaders, and various utility nodes (e.g., Fresnel, Layer Weight, Texture Coordinates). Ensure these networks are well-organized with frames and comments for easy understanding when used as an asset.
- Optimal Texture Resolutions: For hero assets and close-up renders, use 4K (4096×4096) or even 8K textures for critical components. For less prominent parts or game assets, 2K or 1K may suffice. Store textures in efficient formats like PNG (for transparency) or EXR (for HDR data), or JPG (for smaller file sizes where quality loss is acceptable). When sourcing models from marketplaces such as 88cars3d.com, always check their texture specifications.
UV Mapping and Texturing for Complex Car Surfaces
Effective UV mapping is just as critical as good topology for high-quality 3D car models. It’s the bridge between your 3D mesh and your 2D textures, dictating how material details are painted onto the surface. For the intricate and often highly reflective surfaces of a car, strategic UV unwrapping is essential to prevent distortion, maximize texel density, and ensure textures appear crisp and realistic.
Strategic UV Unwrapping Techniques
The goal of UV unwrapping is to lay out the 3D surface of your model onto a 2D plane (the UV map) with minimal distortion, efficient use of space, and logically placed seams. For complex automotive geometry, this requires careful planning:
- Minimizing Distortion: Avoid stretching or compressing UV islands, as this will distort your textures and make surfaces appear unrealistic. Use Blender’s “Live Unwrap” feature in the UV Editor and various unwrapping methods (e.g., Smart UV Project, Cube Projection, Cylinder Projection, Conformal, Angle Based) to achieve the cleanest possible results. The Blender 4.4 manual provides in-depth guidance on these techniques.
- Seam Placement: Strategically place UV seams in areas that are naturally hidden or less visible. For car bodies, common seam locations include along the bottom edges, behind panels, or inside wheel wells. Aim for as few seams as possible while still allowing for a clean unwrap. Good seam placement also simplifies texture painting.
- Texel Density: Maintain a consistent texel density across all parts of your car model. Texel density refers to the number of pixels per unit of 3D space. If parts of your model have drastically different texel densities, textures will appear blurry on some areas and overly sharp on others. Tools within Blender’s UV Editor can help visualize and standardize texel density.
- Overlapping UVs vs. Unique UVs:
- Unique UVs: Each face of your model has a unique position on the UV map. This is ideal for highly detailed, unique elements like the car body, where every scratch or decal needs specific placement.
- Overlapping UVs: Multiple identical or mirrored parts (e.g., four identical wheels, repeated interior buttons) share the same UV space. This is highly efficient for game assets, as it allows a single texture set to be used across multiple objects, saving memory and VRAM.
- Efficient UV Space Use: Pack your UV islands tightly within the 0-1 UV space (the square area of your UV map) to maximize texture resolution. Tools like Blender’s “Pack Islands” function, along with add-ons, can help achieve optimal packing. Leave a small margin between islands to prevent texture bleeding.
Texture Baking and Advanced Shading
Beyond standard texture maps, baking additional maps can greatly enhance the realism and optimization of your automotive assets:
- Normal Map Baking: If you’ve sculpted high-detail features (e.g., intricate grille patterns, subtle panel bumps) on a high-polygon mesh, you can bake these details into a normal map for your lower-polygon game or render mesh. This allows you to retain visual complexity without the performance cost of high poly counts.
- Ambient Occlusion (AO) Baking: AO maps simulate soft shadows caused by ambient light being blocked by nearby geometry, adding depth and realism to crevices and corners. Baking an AO map can drastically improve the perceived detail and grounding of your car model, especially in real-time environments.
- Curvature Maps: These maps highlight convex and concave areas of a mesh and are invaluable for procedural material effects like edge wear, dirt accumulation, or rust.
- Decal Workflows: Modern car models often feature numerous decals (logos, warning labels, racing stripes). Instead of integrating these into the main UV map, utilizing separate decal meshes with their own UVs and alpha-blended materials offers flexibility and efficiency, allowing for easy updates or variations.
- Layered Materials: For highly realistic car paint, advanced shading often involves layering. A base material (metallic flakes), a clear coat (glossy, reflective layer), and perhaps a procedural dirt/dust layer are blended using masks. This creates a rich, complex surface appearance that responds dynamically to light.
Optimizing Assets for Diverse Applications
A truly versatile 3D car model asset isn’t a one-size-fits-all solution. Different applications—from cinematic rendering to real-time game engines or augmented reality—demand varying levels of detail, polygon counts, and material complexities. The Blender Asset Browser becomes incredibly powerful here, allowing you to store and manage multiple optimized versions of the same car model, each tailored for a specific use case.
Game Engine Readiness: LODs and Draw Calls
Game development places a premium on performance. Even with powerful hardware, unoptimized 3D car models can quickly lead to frame rate drops. Preparing your assets for game engines like Unity or Unreal Engine involves several key strategies:
- Levels of Detail (LODs): This is perhaps the most critical optimization technique. LODs involve creating multiple versions of a single asset, each with progressively lower polygon counts and simpler materials.
- LOD0 (High-Poly): Used for close-up views, showcasing all details. May range from 50k-150k triangles for a detailed vehicle.
- LOD1 (Medium-Poly): Used when the car is moderately distant. Geometry is simplified, small details removed. ~50% polygon reduction from LOD0.
- LOD2 (Low-Poly): For distant views. Very simplified geometry, often using baked normal maps to retain detail. ~75% polygon reduction.
- LOD3 (Very Low-Poly/Imposter): For extreme distances or background elements, sometimes just a few hundred triangles or even a billboard (2D image).
Blender’s Decimate modifier can be used to generate lower-poly versions, though manual retopology often yields cleaner results for critical LODs. The Asset Browser can store all these LOD versions, clearly labeled, allowing game developers to quickly grab the appropriate asset.
- Draw Calls: Every time the game engine has to tell the GPU to draw something, it incurs a “draw call.” Minimizing draw calls is crucial for performance.
- Texture Atlasing: Combine multiple smaller textures (e.g., textures for different interior parts, engine components) into one larger “atlas” texture. This allows all parts using that atlas to be rendered with a single material, reducing draw calls.
- Material Merging: Combine meshes that share the same material to reduce the number of individual objects the engine needs to process.
- Export Formats: When exporting for game engines, FBX is the most common format due to its robust support for mesh data, materials, animations, and skeletal information. GLB (GL Transmission Format) is also gaining traction, particularly for web-based 3D and AR/VR applications, as it’s a more compact, self-contained format.
AR/VR and 3D Printing Considerations
Augmented Reality (AR) and Virtual Reality (VR) environments demand extremely high frame rates (typically 90 FPS or higher) to prevent motion sickness. This means even more aggressive optimization than standard game development:
- Strict Polygon Limits: AR/VR models must adhere to very low polygon budgets. A typical AR car model might be under 30,000 triangles total. LODs are even more critical here.
- Efficient Materials: Minimize complex shader networks and rely heavily on baked textures (normal, AO, roughness) rather than real-time calculations.
- File Size: Keep file sizes as small as possible for quick loading on mobile devices (AR) or VR headsets. GLB and USDZ are preferred formats for AR (USDZ being Apple’s proprietary AR format).
For 3D printing, the requirements shift from visual fidelity to physical integrity:
- Watertight Meshes: Your model must be a “manifold” mesh, meaning it has no holes, non-manifold edges, or inverted normals. Every edge must be shared by exactly two faces. Blender’s 3D Print Toolbox add-on (enabled in preferences) provides excellent tools to check for and repair these issues.
- Minimum Wall Thickness: Ensure all parts of your model have sufficient thickness to be printable, considering the capabilities of the target 3D printer and material.
- Mesh Repair: Utilize Blender’s Mesh > Clean Up tools (e.g., Merge by Distance, Delete Loose) and the 3D Print Toolbox to fix common printing problems like intersecting geometry or non-manifold edges.
By organizing these specialized versions within your Asset Browser, you create a truly powerful and adaptable library, capable of meeting the diverse needs of your projects.
Cataloging and Utilizing Your Automotive Asset Library
With your high-quality, optimized 3D car models ready, the next step is effectively cataloging them within the Blender Asset Browser. A well-categorized library isn’t just about finding assets quickly; it’s about fostering creativity by making resources instantly available, reducing friction in your workflow, and ensuring consistent results across projects. This is where the true power of the Asset Browser’s organizational features shines, transforming your collection into a highly functional resource.
Effective Tagging and Categorization
Simply marking an object as an asset is only the beginning. To make your library truly searchable and useful, you need to enrich each asset with metadata:
- Asset Catalogs: Within the Asset Browser, you can create hierarchical catalogs (folders) directly. This is your primary organizational structure. For example, a top-level catalog “Cars” could contain “Sports Cars,” “Sedans,” “Trucks,” and “Vintage.” Under “Sports Cars,” you might have specific brands or models. Similarly, “Materials” could branch into “Car Paint,” “Glass,” “Rubber,” “Chrome.” This visual tree structure is intuitive and efficient for browsing.
- Keywords/Tags: For finer-grain searching, assign descriptive keywords to each asset. Think about common terms you’d use to find it. For a “Mercedes_AMG_GT” model, tags might include: “Mercedes,” “AMG,” “Sports Car,” “Luxury,” “Coupe,” “2023,” “High-Poly,” “Render Ready.” For a “CarPaint_Metallic_Blue” material, tags could be: “Blue,” “Metallic,” “Paint,” “Glossy,” “PBR,” “Automotive.” These tags allow you to quickly filter and locate assets even if you’re not sure of their exact catalog location.
- Custom Previews: A clear, informative thumbnail is invaluable. Blender automatically generates a preview, but for complex assets like car models, it’s often best to render a custom preview. Position your car model in a studio lighting setup, maybe with a clean backdrop, and capture a compelling render. Save this image (Blender usually handles this automatically when you render the preview) as it will appear in the Asset Browser, giving you an immediate visual cue of the asset’s quality and appearance.
- Descriptions: Add a brief, concise description to each asset detailing its features, polygon count, texture resolution, intended use (e.g., “High-poly render model for cinematic shots”), or any special setup requirements. This extra layer of information is especially helpful when sharing assets or revisiting them after a long period.
The more effort you put into tagging and cataloging your assets, the more time you’ll save in the long run. This process transforms a raw collection of files into an intelligent, searchable database.
Seamless Integration into Your Workflow
Once your assets are beautifully organized, the Asset Browser makes their integration into new scenes remarkably easy:
Advanced Asset Management and Maintenance
An asset library, much like a physical library, requires ongoing maintenance to remain effective. New versions of Blender introduce features, client requirements evolve, and your own skills improve. Therefore, a dynamic approach to asset management, including versioning strategies and understanding file format compatibility, is essential to keep your 3D car model library up-to-date, efficient, and future-proof.
Versioning and Updating Assets
Even the most meticulously crafted 3D car model will likely undergo revisions. Whether it’s a minor texture tweak, a topology refinement, or a complete overhaul for a new generation, managing these updates is critical:
- Iterative Saving: Always save new iterations of your master asset files with clear version numbers (e.g., `CarModel_v01.blend`, `CarModel_v02.blend`). This creates a safety net, allowing you to revert to previous versions if issues arise with newer ones.
- Updating Linked Assets: If you’ve linked assets into multiple scenes, updating the master asset file will automatically update all instances when those scenes are re-opened. This is a huge advantage of the linking workflow, ensuring consistency. However, ensure that any changes made to the master asset don’t inadvertently break dependencies or introduce unexpected issues in existing scenes. Thorough testing is key.
- Managing Broken Links: If an asset’s source .blend file is moved, renamed, or deleted, Blender will report “Missing Files” or broken links. To fix this, you can use File > External Data > Find Missing Files and point Blender to the new location. Alternatively, you can use the Outliner to find and relink individual broken asset links manually. Establishing a stable, unchanging folder structure for your asset libraries significantly reduces the chances of encountering broken links.
- Asset Tags for Versioning: While Blender doesn’t have built-in formal version control for assets themselves, you can use asset tags to denote versions (e.g., “v1.0,” “v1.1,” “LOD0,” “LOD1”). When updating an asset, you can either replace the existing one in the library (if it’s a minor update) or mark the new version as a separate asset, perhaps archiving the older one if it’s no longer needed.
File Format Conversions and Compatibility
The 3D industry uses a variety of file formats, each with its strengths and weaknesses. Your 3D car models will often need to travel between different software packages and platforms, making format compatibility a core aspect of asset management:
- Blender (.blend): Blender’s native format. Ideal for storing your master assets, as it preserves all Blender-specific data (modifiers, shader nodes, collections). However, it’s not universally compatible with other software.
- FBX (.fbx): The industry-standard interchange format. Excellent for transferring mesh geometry, UVs, basic materials (with embedded textures), skeletal animation, and camera data between software like 3ds Max, Maya, Unity, and Unreal Engine. When exporting FBX from Blender, pay close attention to export settings for scale, axis conversion, and embedding media.
- OBJ (.obj): A widely supported, simpler format for geometry and UVs. It doesn’t typically handle advanced materials or animation. Useful for basic mesh transfer but less robust than FBX for complex assets.
- GLB/glTF (.glb, .gltf): An open standard for 3D models and scenes, especially popular for web-based 3D, AR/VR, and real-time applications. GLB is a self-contained binary file, while glTF typically comes with external texture files. It’s an excellent choice for highly optimized assets.
- USD/USDZ (.usd, .usdz): Universal Scene Description, developed by Pixar, is gaining significant traction as a powerful scene description format. It’s designed for scalability, collaboration, and non-destructive workflows. USDZ is Apple’s specific variant for AR experiences. Converting complex car models to USD requires a careful approach to ensure material fidelity and hierarchy are maintained.
- Alembic (.abc): Primarily used for caching complex animated geometry, simulations, and particle systems. Less common for static 3D car models but useful if you’re transferring animated vehicle components or destruction effects.
When preparing assets for your library, consider creating optimized versions specifically for export. This might involve applying modifiers, converting instances to real geometry, and simplifying shader networks. A standardized export pipeline, where you consistently use the same settings and checks, will reduce errors and ensure your assets are always ready for diverse applications, whether for high-end rendering or real-time game assets on marketplaces like 88cars3d.com.
Conclusion
The journey from a raw 3D model to a perfectly organized, multi-purpose asset within Blender’s Asset Browser is a testament to the power of structured workflow and meticulous preparation. We’ve explored the foundational steps of setting up your libraries, delved into the critical technicalities of crafting high-quality automotive assets—from impeccable topology and PBR material creation to precise UV mapping—and navigated the complexities of optimizing these assets for diverse applications ranging from game engines to AR/VR and 3D printing.
By embracing these best practices, you’re not just organizing files; you’re building a highly efficient, scalable, and collaborative 3D production pipeline. A well-managed Asset Browser frees you from repetitive tasks, ensures consistency across all your projects, and accelerates your creative process, allowing you to focus on innovation rather than administration. Imagine instantly dropping a fully textured, game-ready car model into your scene, or applying a perfectly calibrated car paint material in seconds—this is the efficiency the Asset Browser delivers.
Take the actionable steps outlined in this guide: define your library paths, enforce strict naming conventions, prioritize clean topology and PBR materials, master UV unwrapping, and generate optimized versions for every use case. Tag your assets intelligently, create descriptive previews, and understand the nuances of linking versus appending. The investment you make today in organizing your 3D car model library will pay dividends in every future project, enhancing your productivity and the quality of your output. Start transforming your 3D library from a collection of scattered files into a powerful, accessible resource. Explore high-quality, pre-optimized 3D car models ready for your projects on platforms like 88cars3d.com, and integrate them seamlessly into your newfound, organized workflow with the Blender Asset Browser.
Featured 3D Car Models
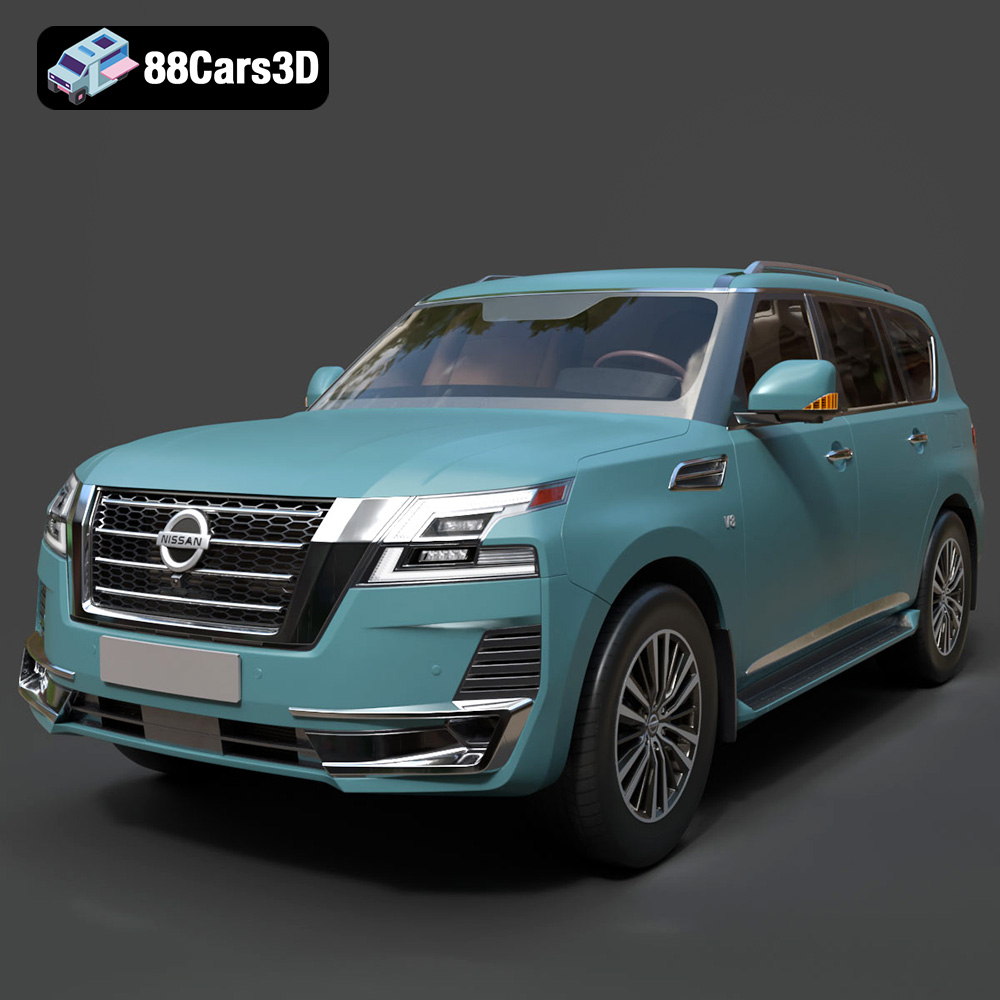
Texture: Yes | Material: Yes
Download the highly detailed, game-ready Nissan Patrol 2021 3D Model. Features signature V-motion grille, realistic exterior detailing, and a fully rendered luxury interior. Includes .blend, .fbx, .obj, .glb, .stl, .ply, .unreal, and .max formats for game development, AR/VR, and rendering.
Price: $297.99
View Product
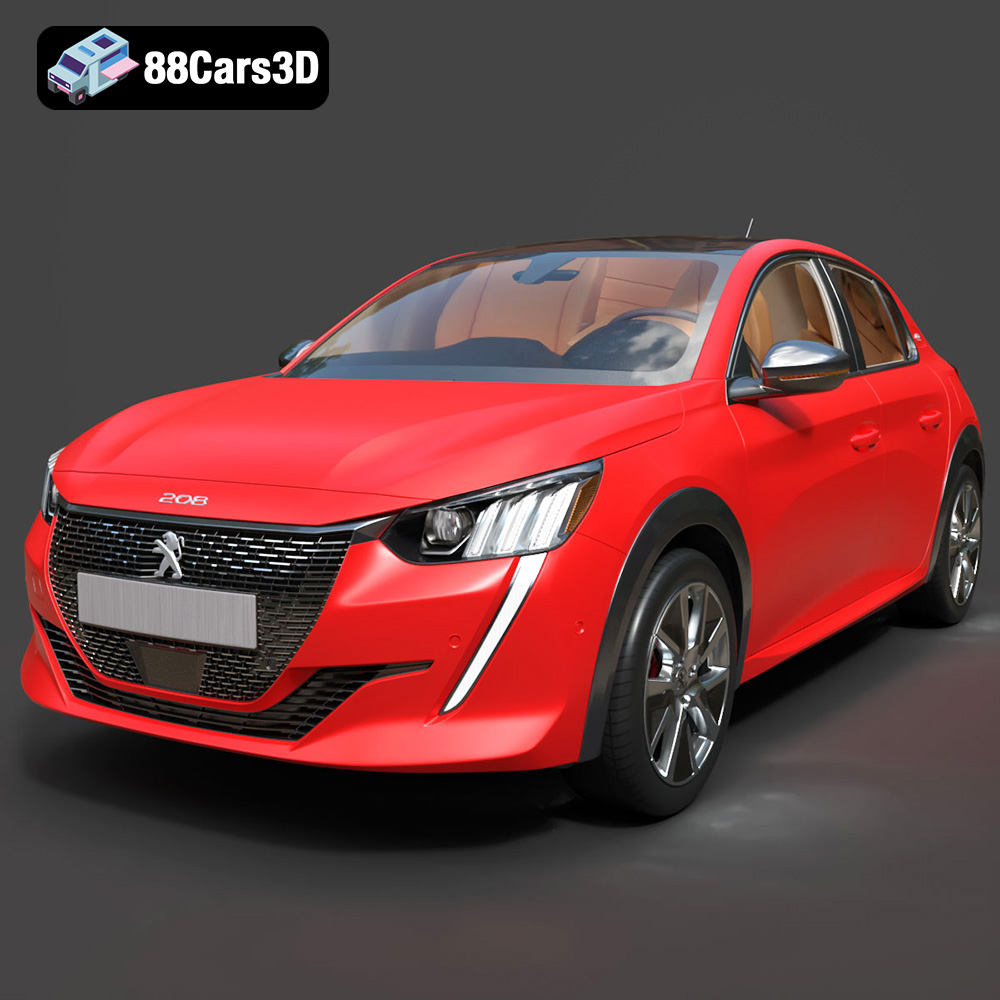
Texture: Yes | Material: Yes
Download the highly detailed, game-ready Peugeot e-208 2020 3D Model. Features 3-claw LED lighting, dynamic body geometry, and a fully detailed i-Cockpit interior. Includes .blend, .fbx, .obj, .glb, .stl, .ply, .unreal, and .max formats for game development, AR/VR, and rendering.
Price: $224.00
View Product
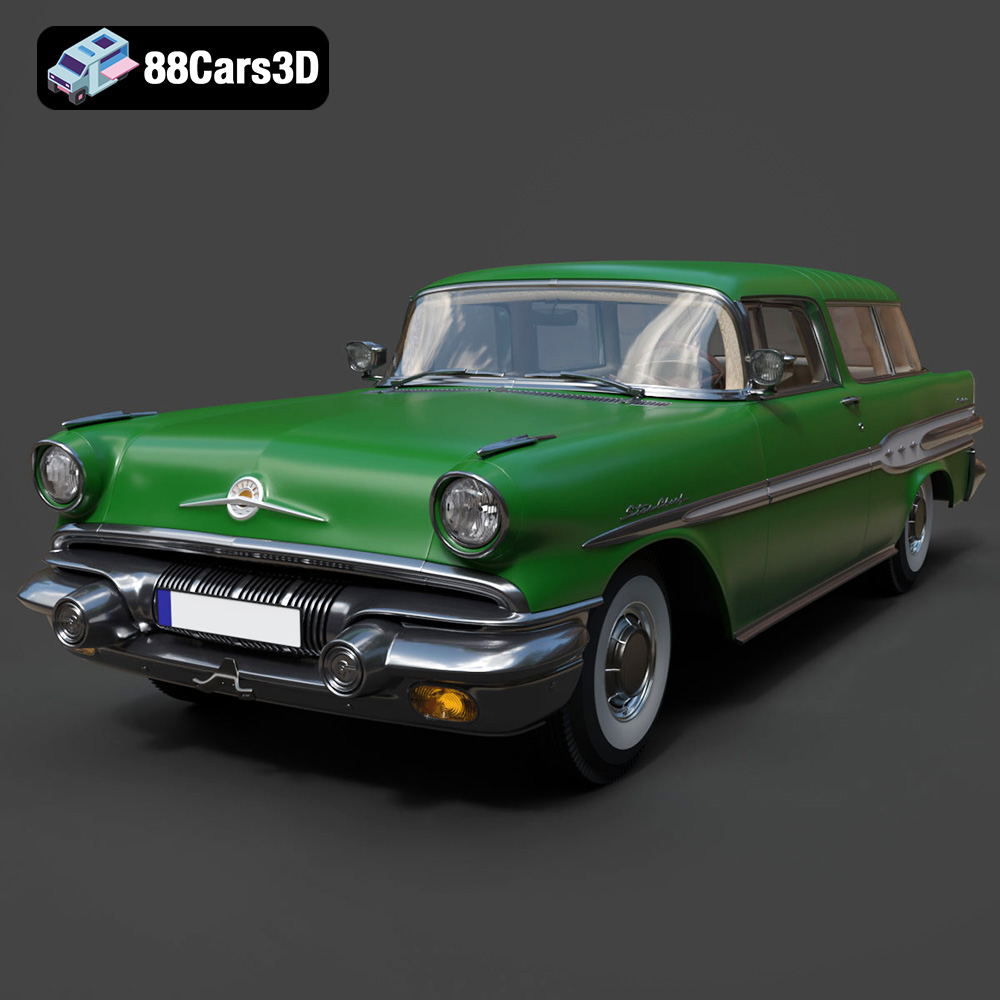
Texture: Yes | Material: Yes
Download the highly detailed, game-ready Pontiac Star Chief Custom Safari 2-door 1957 3D Model. Features classic 1950s two-door wagon bodywork, iconic chrome tail fins, and realistic interior detailing. Includes .blend, .fbx, .obj, .glb, .stl, .ply, .unreal, and .max formats for game development, AR/VR, and rendering.
Price: $203.50
View Product
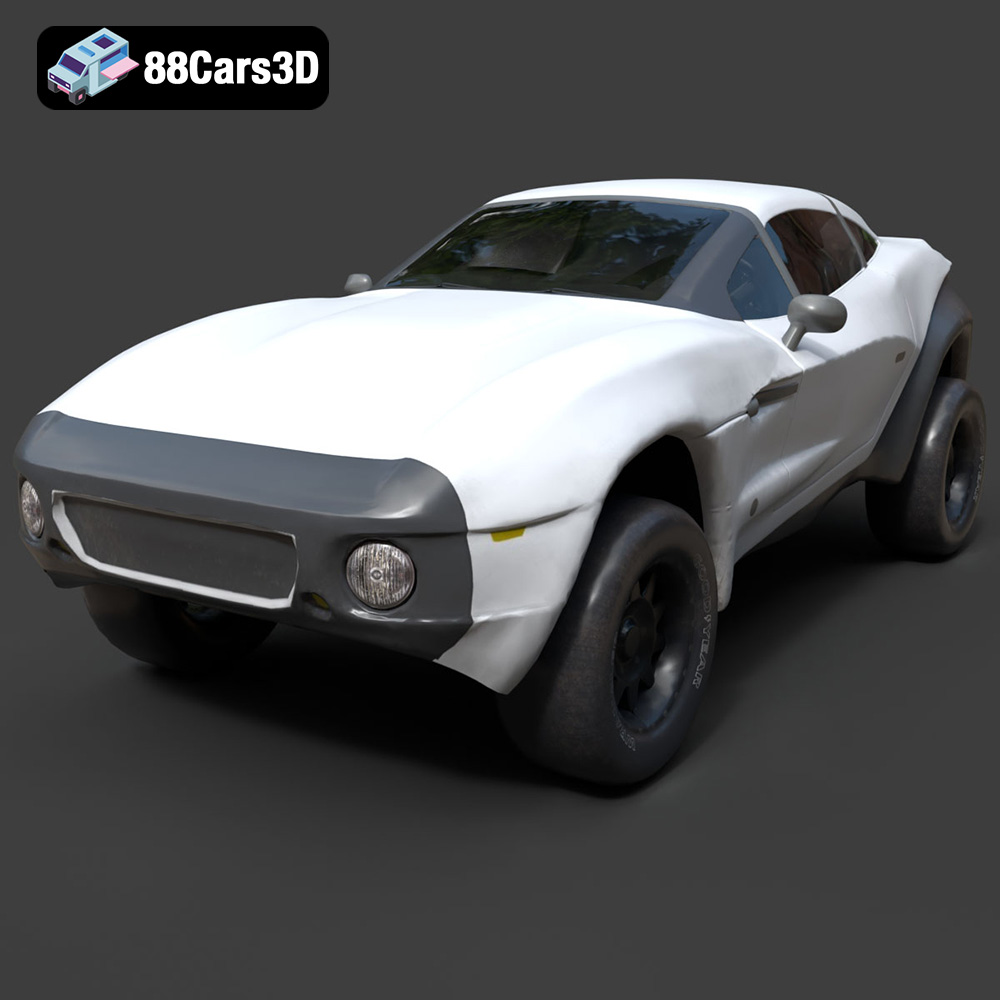
Texture: Yes | Material: Yes
Download the highly detailed, game-ready Local Motors Rally Fighter 3D Model. Features aggressive off-road long-travel suspension, detailed interior cockpit, and high-clearance body styling. Includes .blend, .fbx, .obj, .glb, .stl, .ply, .unreal, and .max formats for game development, AR/VR, and rendering.
Price: $99.99
View Product
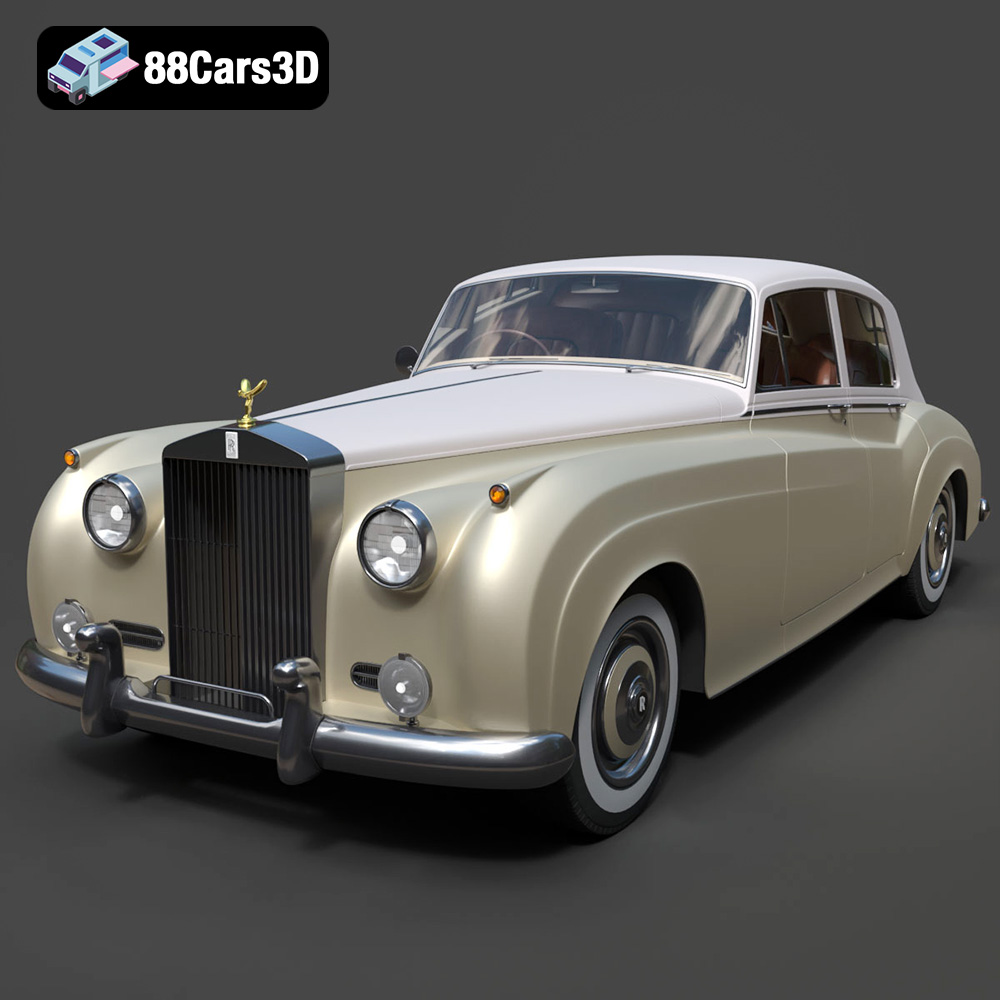
Texture: Yes | Material: Yes
Download the highly detailed, game-ready Rolls-Royce Silver Cloud II 1959 3D Model. Features classic chrome radiator grille, iconic Spirit of Ecstasy ornament, and elegant two-tone bodylines. Includes .blend, .fbx, .obj, .glb, .stl, .ply, .unreal, and .max formats for game development, AR/VR, and rendering.
Price: $201.00
View Product
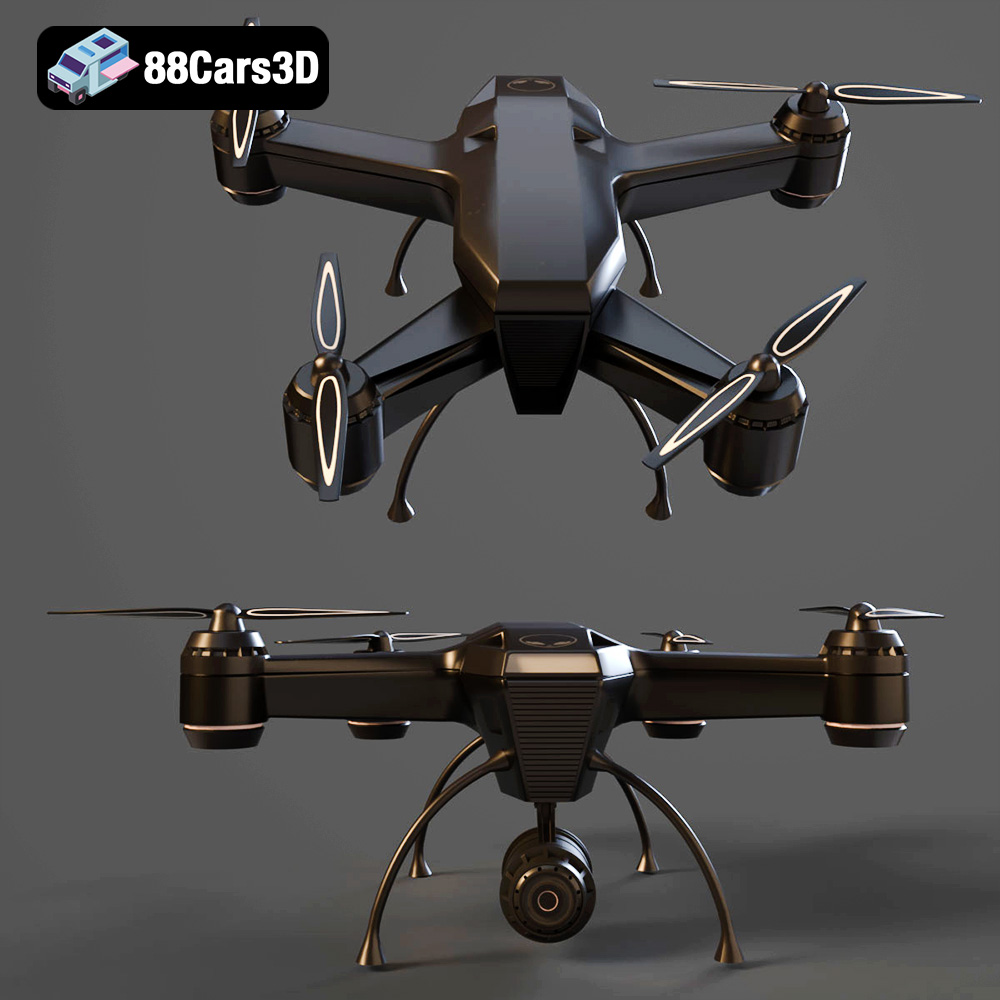
Texture: Yes | Material: Yes
Download the highly detailed, game-ready Tactical Drone 3D Model. Features rugged military chassis, multi-rotor propulsion, and integrated optical sensor array. Includes .blend, .fbx, .obj, .glb, .stl, .ply, .unreal, and .max formats for game development, AR/VR, and rendering.
Price: $99.99
View Product
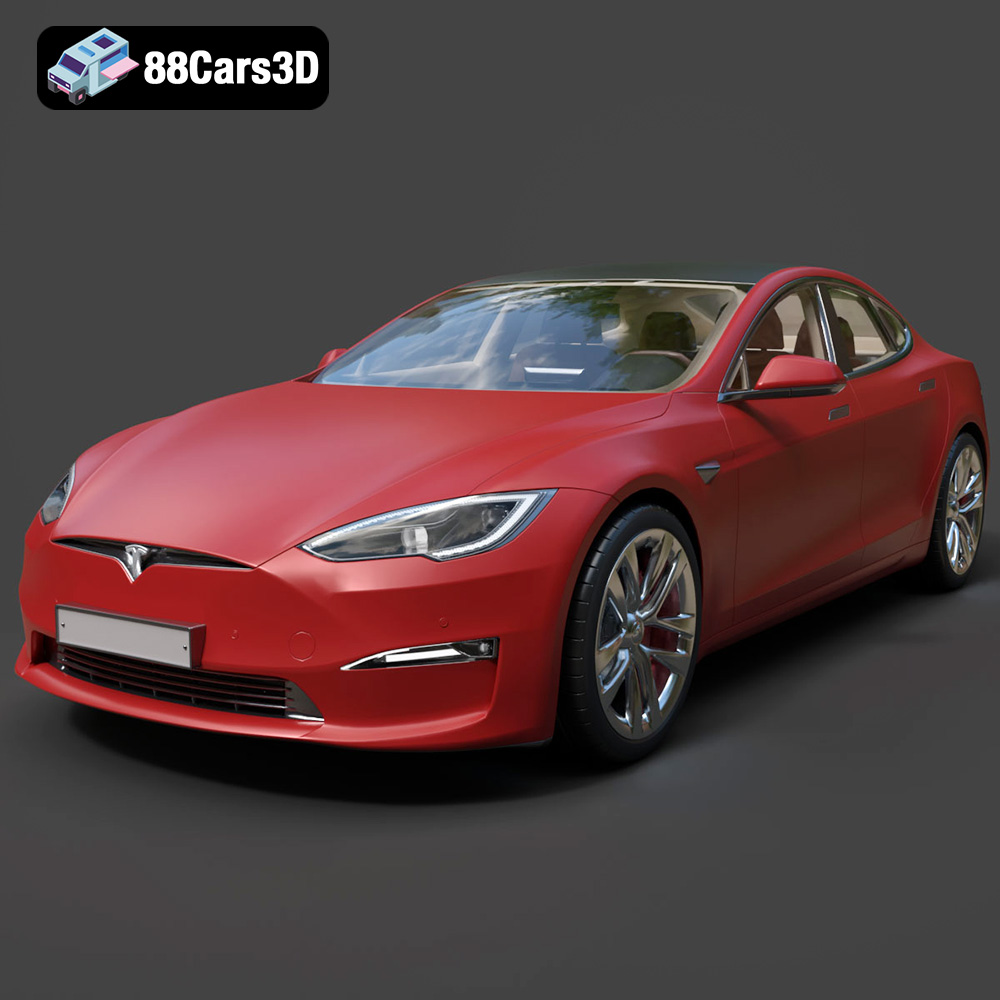
Texture: Yes | Material: Yes
Download the highly detailed, game-ready Tesla Model S Plaid 2023 3D Model. Features ultra-sleek aerodynamic proportions, distinctive Yoke interior layout, and realistic lighting graphics. Includes .blend, .fbx, .obj, .glb, .stl, .ply, .unreal, and .max formats for game development, AR/VR, and rendering.
Price: $120.50
View Product
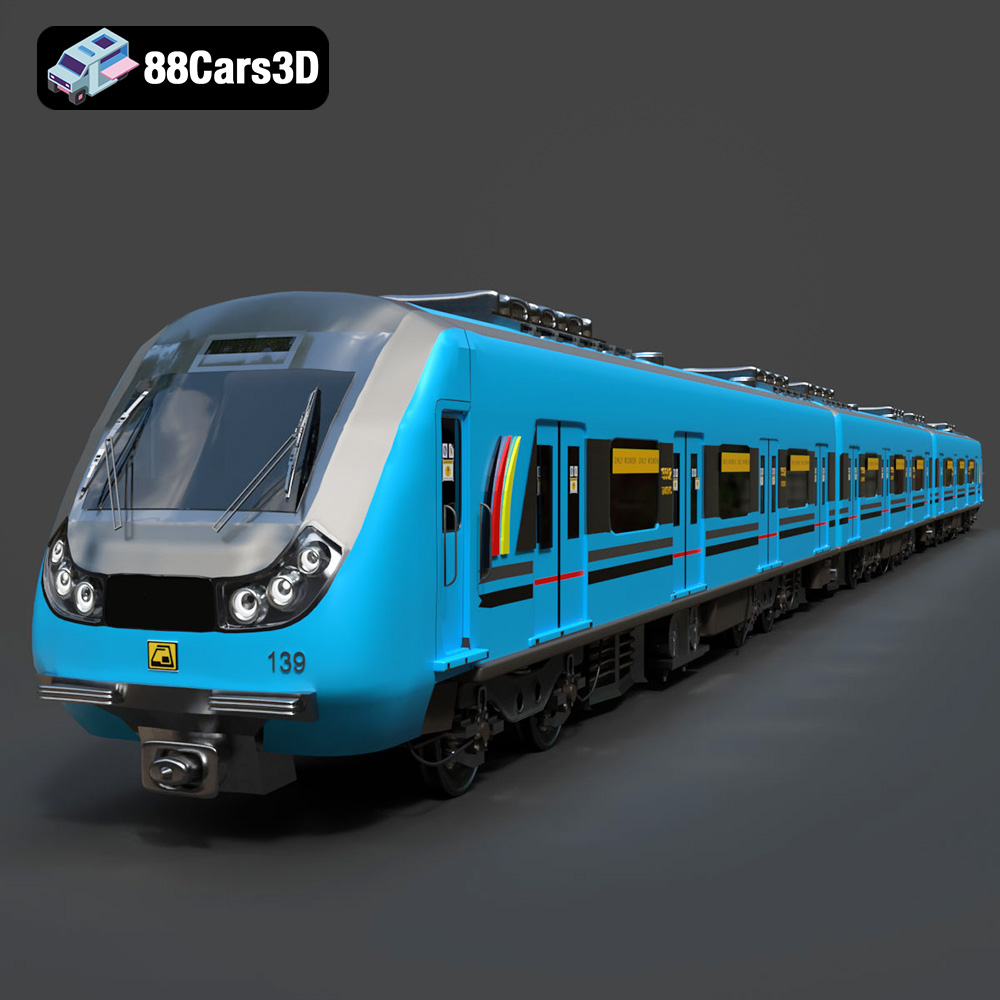
Texture: Yes | Material: Yes
Download the highly detailed, game-ready Metro Tran 2016 3D Model. Features modern aerodynamic bodywork, detailed passenger interior, and realistic bogie assemblies. Includes .blend, .fbx, .obj, .glb, .stl, .ply, .unreal, and .max formats for game development, AR/VR, and rendering.
Price: $203.99
View Product
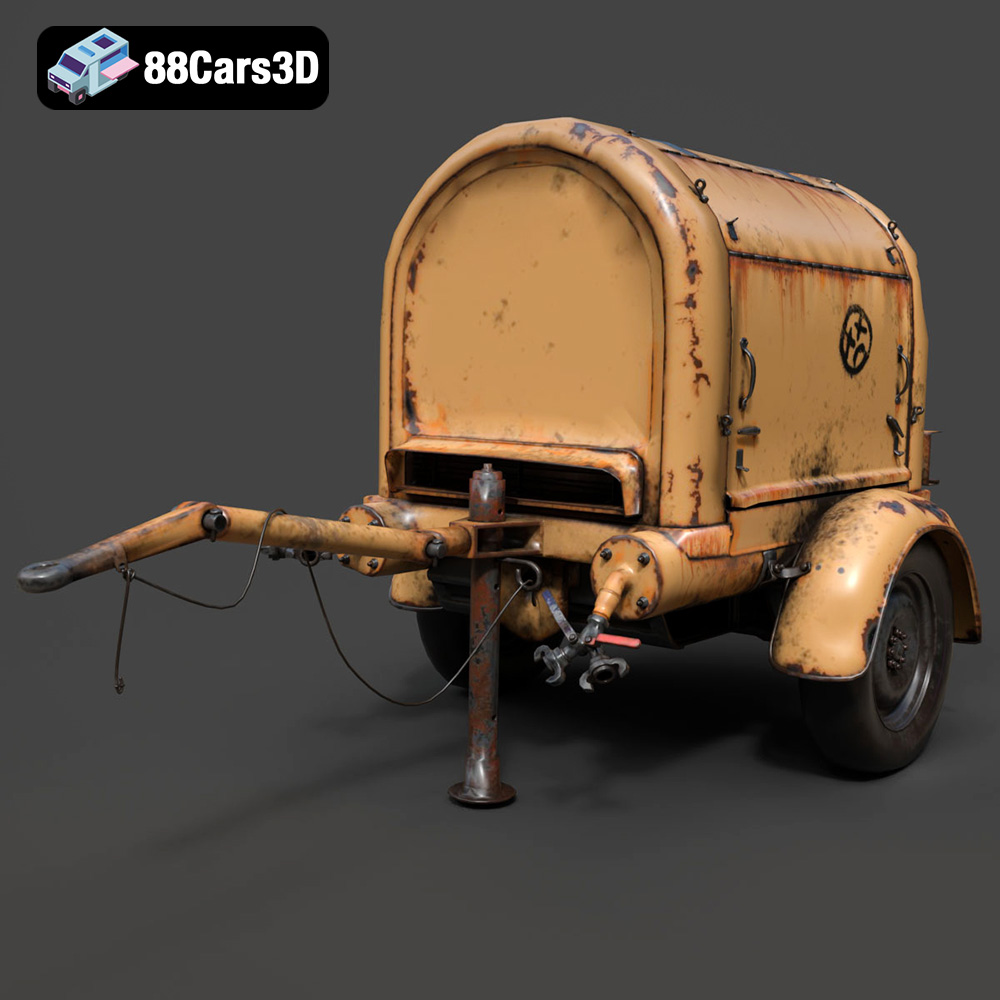
Texture: Yes | Material: Yes
Download the highly detailed, game-ready Diesel Air Compressor 3D Model. Features rugged towable chassis, detailed diesel engine housing, and realistic mechanical components. Includes .blend, .fbx, .obj, .glb, .stl, .ply, .unreal, and .max formats for game development, AR/VR, and rendering.
Price: $99.99
View Product
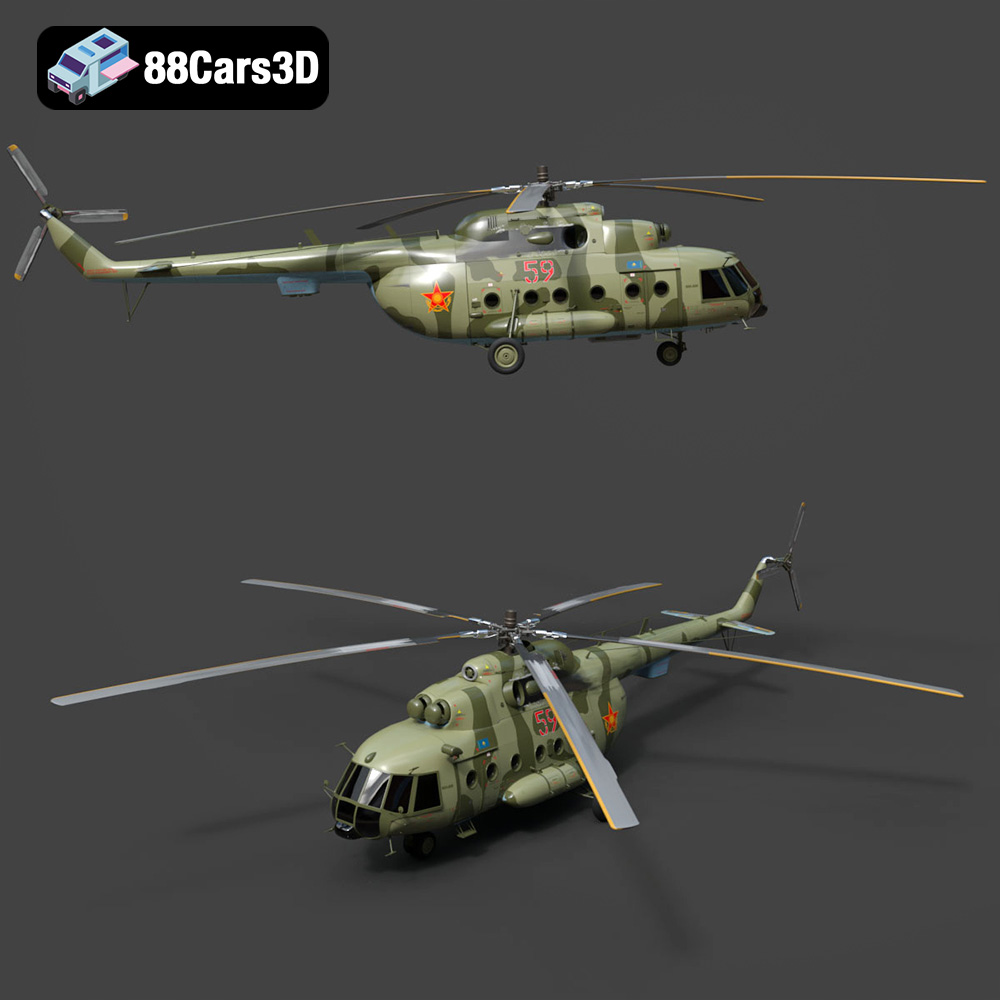
Texture: Yes | Material: Yes
Download the highly detailed, game-ready Mil Mi-8 Military Helicopter 3D Model. Features authentic five-blade main rotor assembly, detailed military camouflage textures, and realistic airframe geometry. Includes .blend, .fbx, .obj, .glb, .stl, .ply, .unreal, and .max formats for game development, AR/VR, and rendering.
Price: $109.99
View Product


