

Welcome, aspiring 3D artists, automotive designers, and game developers! The world of 3D modeling is vast and exciting, offering limitless possibilities to bring your creative visions to life. When it comes to crafting stunning vehicles, Blender stands out as an incredibly powerful, open-source solution that rivals commercial software. Whether you dream of creating photorealistic automotive rendering for marketing campaigns, optimizing game assets for the next big title, or preparing intricate 3D car models for AR/VR experiences, Blender provides the tools you need. This comprehensive guide is designed specifically for beginners, demystifying the initial complexities of Blender and equipping you with the foundational knowledge to embark on your journey in 3D car modeling. We’ll navigate the interface, master essential modeling techniques, delve into PBR materials and UV mapping, explore rendering workflows, and discuss crucial file formats for various applications. By the end of this post, you’ll have a solid understanding of how to transform a concept into a production-ready 3D car model, ready for visualization, game engines, or even 3D printing. Let’s rev up our engines and dive into Blender!
Diving into any new 3D software can feel like stepping onto a spacecraft – full of buttons, panels, and intimidating terminology. Blender is no different, but with a structured approach, its interface quickly becomes an intuitive extension of your creative will. The key to mastering Blender lies in understanding its flexible, customizable workspace and internalizing its efficient hotkey system.
Blender’s interface is built around a concept of "Editors." Each section of the screen, from your main 3D view to the file browser, is an Editor, and you can swap them out as needed. The default screen, often called the "Layout" workspace, typically presents you with several key Editors:
You can customize your workspace by splitting or joining these Editor areas. Hover your mouse over the border between two Editors, right-click, and choose ‘Split Area’ or ‘Join Area.’ This adaptability allows you to create highly personalized layouts optimized for modeling, shading, animation, or rendering workflows. For more in-depth exploration of Blender’s flexible UI, you can consult the official Blender 4.4 documentation on the Window System and Areas.
Blender is renowned for its hotkey-driven workflow, which, once learned, drastically speeds up your creative process. Rather than constantly clicking through menus, hotkeys allow for fluid interaction with your models. Here are some fundamental hotkeys every beginner should master:
While this list isn’t exhaustive, mastering these hotkeys will provide a solid foundation for efficient 3D modeling workflows in Blender, allowing you to focus more on the creative aspect of shaping your vehicle.
At the heart of every impressive 3D car model lies meticulous modeling. Automotive designs demand smooth, flowing surfaces, precise panel gaps, and accurate proportions. Blender provides a robust set of tools for achieving these results, primarily through a technique known as poly-modeling, often combined with subdivision surfaces.
Poly-modeling, or polygonal modeling, is the process of creating a 3D mesh by manipulating its fundamental components: vertices, edges, and faces. This is the bedrock of creating complex shapes like a car body. When beginning your 3D car modeling journey, you’ll frequently rely on a few core tools:
These tools, used in conjunction, allow you to sculpt intricate forms from basic primitives. The iterative process of adding detail, refining shapes, and ensuring clean edge flow is central to producing high-quality 3D car models.
While poly-modeling builds the foundational structure, achieving the incredibly smooth and continuous surfaces characteristic of car bodies often relies on a non-destructive technique: Subdivision Surface modeling. This is implemented in Blender using the Subdivision Surface Modifier.
A Subdivision Surface Modifier takes a relatively low-polygon base mesh (often called a "cage" or "control mesh") and mathematically subdivides it, creating a much smoother, higher-polygon surface. The beauty of this approach is that you only need to model the general shape and major feature lines with your low-poly cage. The modifier then automatically generates the smooth, high-resolution mesh, making it far easier to achieve organic and flowing automotive forms.
Workflow:
This method offers immense flexibility. You can easily adjust the base mesh to make broad changes without having to wrestle with millions of polygons directly. When sourcing professional models from marketplaces such as 88cars3d.com, you’ll often find models built with this methodology, featuring clean base meshes and ready-to-use subdivision modifiers. Mastering subdivision surfaces is paramount for creating visually appealing and technically sound 3D car models for any application, from game assets to cinematic visualization.
A perfectly modeled car is only half the battle; without realistic materials, it will look lifeless. Physically Based Rendering (PBR) has revolutionized the way we create materials, ensuring they react to light in a predictable and physically accurate manner, leading to stunningly realistic results in automotive rendering. Blender’s node-based shader editor and its powerful Principled BSDF shader are at the core of this process.
The Principled BSDF (Bidirectional Scattering Distribution Function) shader is Blender’s all-in-one PBR shader, designed to handle a vast array of material types—from metals to plastics, glass to fabrics—with a single, intuitive interface. Instead of juggling multiple complex shaders, you adjust a set of physically meaningful parameters to define your material’s properties:
By connecting texture maps (like color, roughness, metallic, and normal maps) to these inputs, you can create incredibly detailed and realistic materials. This node-based approach provides immense flexibility, allowing artists to build complex shader networks for unique effects, such as a multi-layered car paint with flakes and a clear coat. The official Blender 4.4 documentation details the Principled BSDF shader’s parameters comprehensively.
While the Principled BSDF defines how light interacts with a surface, texture maps provide the visual detail. To apply these 2D images accurately onto your 3D car model, you need to perform UV mapping.
UV Unwrapping is the process of flattening out the 3D surface of your model into a 2D space, much like unfolding a cardboard box. This 2D layout, called a UV map, dictates how your textures (e.g., paint color, scratches, decals, normal maps for subtle body imperfections) are projected onto the model. Clean and efficient UV maps are paramount for high-quality results, especially for complex objects like cars.
Strategies for UV Mapping Car Surfaces:
Blender’s UV Editor (accessible from the workspace dropdown) offers powerful tools for unwrapping, arranging, and packing UV islands. Good UV mapping is critical for any production pipeline, ensuring your PBR materials look fantastic whether your 3D car model is destined for automotive rendering, game development, or AR/VR experiences.
Once your 3D car model is meticulously crafted and its PBR materials are applied, the next step is to illuminate it and bring it to life through rendering. Lighting is arguably the most critical element in conveying mood, form, and realism in automotive rendering. Blender offers two powerful built-in render engines: Cycles for photorealism and Eevee for real-time speed.
Cycles Render Engine:
Cycles is Blender’s physically-based path tracer, designed for highly realistic and accurate renders. It simulates light behavior in a way that mimics the real world, bouncing light rays around your scene to calculate reflections, refractions, and global illumination. This results in stunningly lifelike images, with complex light interactions, soft shadows, and convincing material responses. However, this accuracy comes at a computational cost, meaning Cycles renders can be significantly slower, especially without a powerful GPU.
Best for: High-quality automotive rendering for marketing, film, architectural visualization, and any scenario where photorealism is paramount. It excels at accurately depicting complex car paint, reflections on chrome, and the subtleties of glass.
Eevee Render Engine:
Eevee is Blender’s real-time render engine, built for speed and interactivity. It uses rasterization and approximates global illumination, reflections, and refractions to achieve fast, game-engine-like performance. While not as physically accurate as Cycles, Eevee can produce incredibly convincing results, particularly for quick previews, animations, and stylistic renders.
Best for: Rapid iteration, quick animations, stylized renders, and scenarios where speed is more critical than absolute physical accuracy. It’s excellent for visualizing your 3D car model in motion or for quick look-dev sessions, and often shares workflows with how game assets are displayed in engines like Unity or Unreal.
You can switch between Cycles and Eevee in the Render Properties tab. Often, artists will use Eevee for rapid scene setup and lighting previews, then switch to Cycles for the final, high-fidelity render of their 3D car models.
Effective lighting is what transforms a model into an artwork. For automotive rendering, two common and powerful approaches are three-point lighting and HDR (High Dynamic Range) image-based lighting.
Three-Point Lighting: A foundational technique consisting of three main lights:
This setup provides excellent control and is versatile for showcasing the form and curves of a car.
HDRI Environments: HDR images capture a full range of light information from a real-world location. When used as an environment texture in Blender (World Properties > Surface > Use Nodes), they provide natural, realistic ambient lighting and reflections for your 3D car model. This is particularly effective for car renders, as the reflections of a real-world environment instantly add realism to shiny car surfaces. Free and commercial HDRI resources are abundant, offering everything from studio environments to outdoor scenes.
Combining a carefully chosen HDRI for overall ambience and reflections with specific area lights or spot lights for targeted highlights and shadows often yields the most compelling automotive rendering results.
Achieving a beautiful render involves balancing quality with render time. Blender offers numerous settings to fine-tune this balance:
By understanding these settings, you can intelligently optimize your Blender scene to achieve professional-grade automotive rendering without excessively long render times, especially important when iterating on designs or creating large sets of images for visualization.
Once your 3D car model is meticulously crafted, textured with PBR materials, and beautifully lit, the next crucial step is to prepare it for its intended destination. Whether it’s for game development, AR/VR, or other 3D applications, proper export and optimization are key to ensuring compatibility and performance.
The 3D world relies on a variety of file formats, each with its strengths and typical use cases. Blender supports many, and knowing which one to use for your 3D car model is essential:
When you acquire professional 3D car models from platforms like 88cars3d.com, they are typically provided in multiple common formats (FBX, OBJ, GLB) to ensure maximum compatibility with your specific pipeline.
Bringing a high-fidelity 3D car model into a game engine requires significant optimization to ensure smooth performance, especially in real-time environments. Game engines have strict polygon budget and draw call limitations.
By diligently applying these optimization techniques, you can transform a high-end automotive rendering asset into a high-performance game asset, ready for interactive experiences.
The versatility of 3D car models extends far beyond static renders and traditional games. With ongoing technological advancements, these assets are becoming integral to Augmented Reality (AR), Virtual Reality (VR), and advanced 3D printing, opening up new frontiers for automotive visualization and interaction.
AR and VR environments demand highly optimized 3D assets due to their real-time, immersive nature. Performance is paramount to avoid motion sickness and deliver a smooth user experience. When preparing your 3D car models for AR/VR, consider the following:
The goal is to provide a visually rich experience without overtaxing the hardware, ensuring your 3D car model looks great and performs flawlessly in virtual or augmented realities.
Transforming a digital 3D car model into a tangible object through 3D printing introduces a unique set of technical considerations. Unlike rendering, which is an optical illusion, 3D printing requires a physically sound, "manifold" mesh.
Proper preparation for 3D printing ensures that your physical output faithfully represents your digital design, whether it’s a prototype for an automotive designer or a collectible scale model.
Beyond the raw render, professional automotive visualization often involves post-processing to elevate the image to commercial quality. This typically happens in image editing software like Photoshop or GIMP, but Blender also offers a powerful Compositor.
These passes give you granular control in compositing, allowing you to fine-tune lighting, reflections, and colors without re-rendering the entire scene.
The synergy between precise 3D rendering and skilled post-processing is what truly defines high-end automotive visualization, making your 3D car models indistinguishable from reality.
Embarking on the journey of 3D car modeling with Blender is a rewarding endeavor that opens doors to a multitude of creative and professional opportunities. From understanding the core interface and mastering fundamental polygonal and subdivision surface modeling techniques to crafting exquisite PBR materials and orchestrating sophisticated automotive rendering setups, you’ve now gained a comprehensive overview of the essential workflows. We’ve explored the critical importance of clean topology and precise UV mapping for realistic results, delved into the intricacies of Blender’s powerful Cycles and Eevee render engines, and discussed the strategic decisions involved in exporting your models for diverse applications, including high-performance game assets, immersive AR/VR experiences, and accurate 3D printing.
Remember, proficiency in Blender, like any skill, comes with practice. Start simple, model components of a car, experiment with different materials, and gradually tackle more complex projects. Leverage the vast community resources, tutorials, and especially the official Blender 4.4 documentation to deepen your knowledge. The principles of good modeling, efficient texturing, and effective lighting are universal, applicable whether you’re building assets from scratch or integrating existing ones.
As you progress, you might find yourself needing a head start or inspiration. For those seeking incredibly detailed and production-ready assets, platforms like 88cars3d.com offer a curated selection of professional 3D car models, complete with clean topology, optimized UVs, and PBR materials, ready for your next project in visualization, game development, or design. Keep exploring, keep creating, and watch your passion for 3D automotive design accelerate into a remarkable skill set.
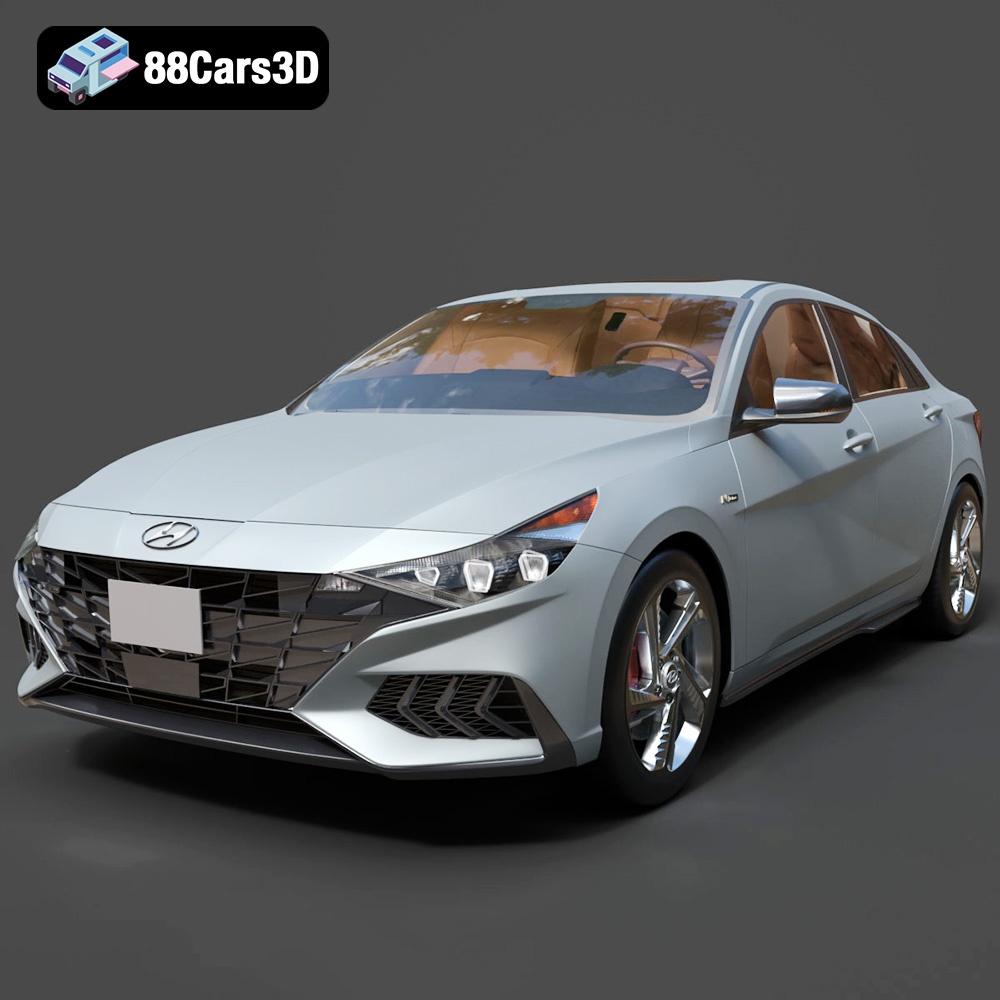
Texture: Yes | Material: Yes
Download the highly detailed, game-ready Hyundai Elantra N Line 2021 3D Model. Features aggressive N Line body styling, parametric jewel grille, and sport interior details. Includes .blend, .fbx, .obj, .glb, .stl, .ply, .unreal, and .max formats for game development, AR/VR, and rendering.
Price: $226.00
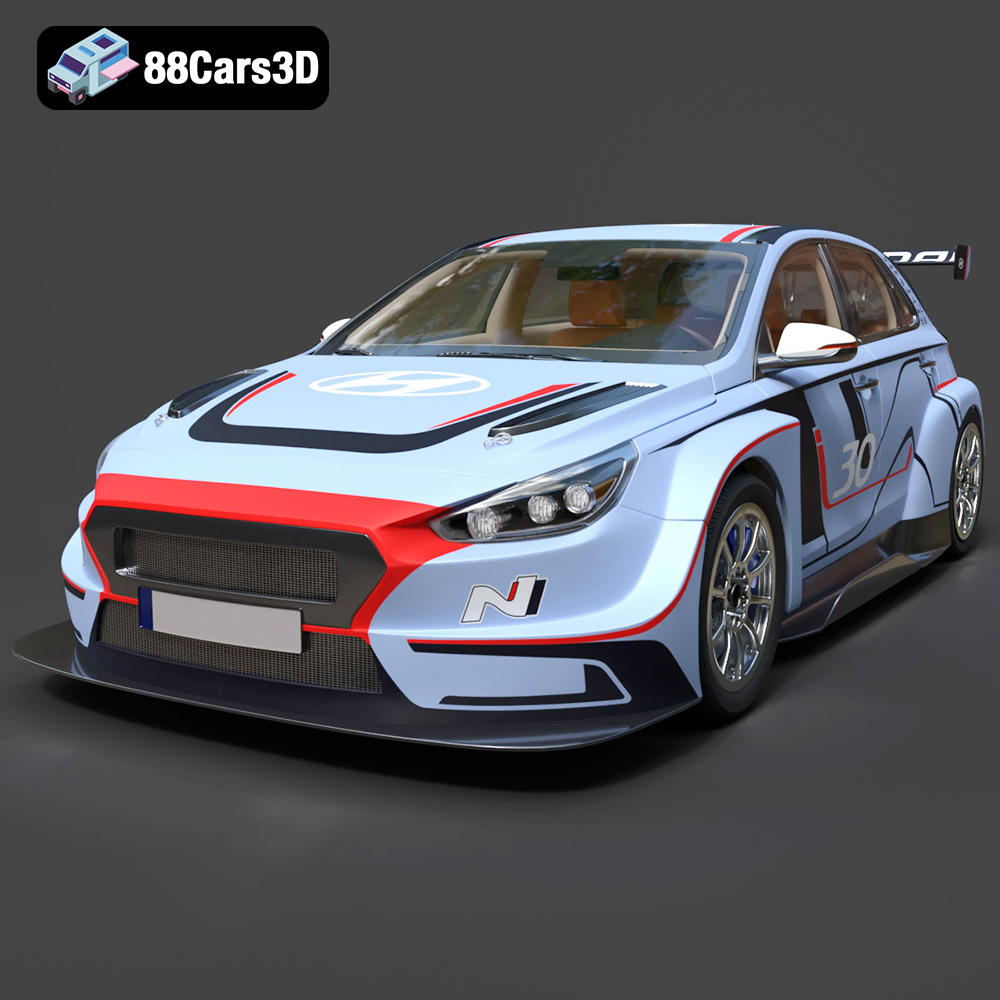
Texture: Yes | Material: Yes
Download the highly detailed, game-ready Hyundai i30 N TCR Hatchback 2020 3D Model. Features aggressive touring car aerodynamics, high-downforce rear wing, and race-spec interior. Includes .blend, .fbx, .obj, .glb, .stl, .ply, .unreal, and .max formats for game development, AR/VR, and rendering.
Price: $204.99
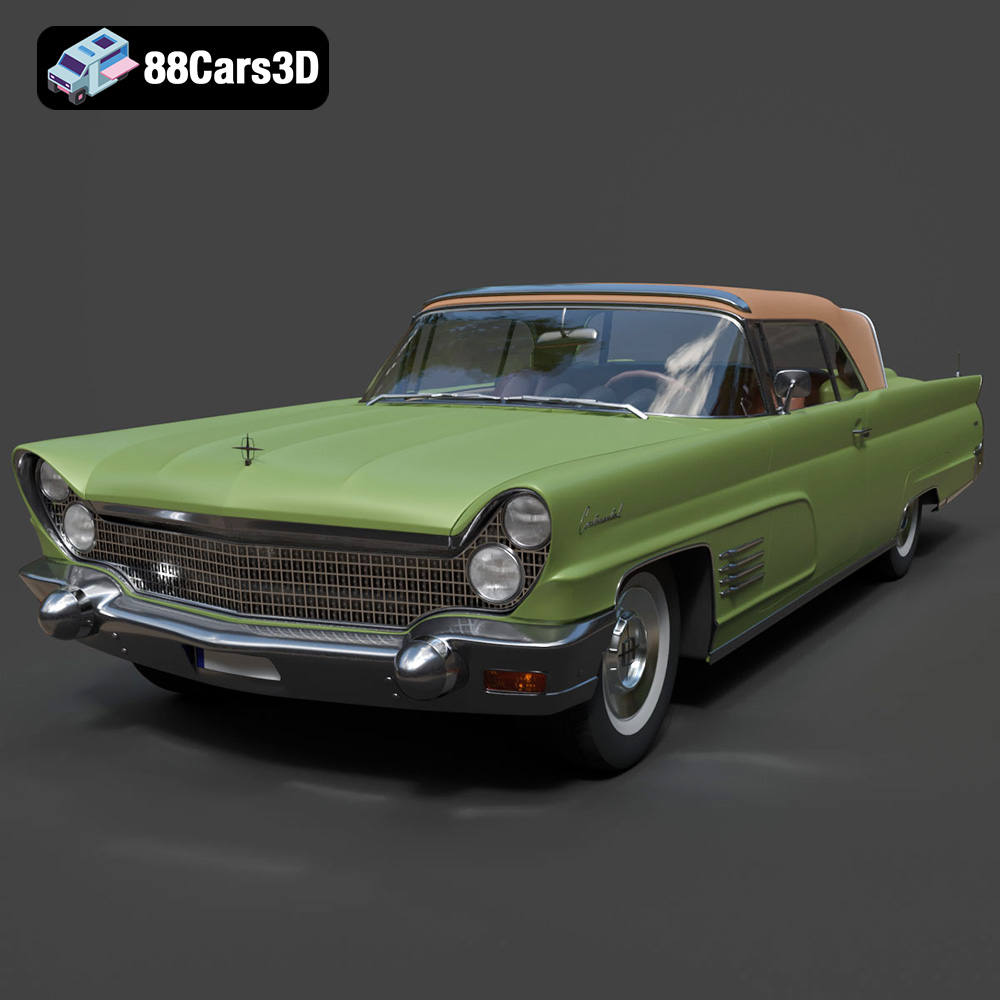
Texture: Yes | Material: Yes
Download the highly detailed, game-ready Lincoln Continental Mark V 1960 3D Model. Features iconic 1960s luxury cruiser styling, massive chrome grille, reverse-slant rear window, and sweeping tail fins. Includes .blend, .fbx, .obj, .glb, .stl, .ply, .unreal, and .max formats for game development, AR/VR, and rendering.
Price: $208.99
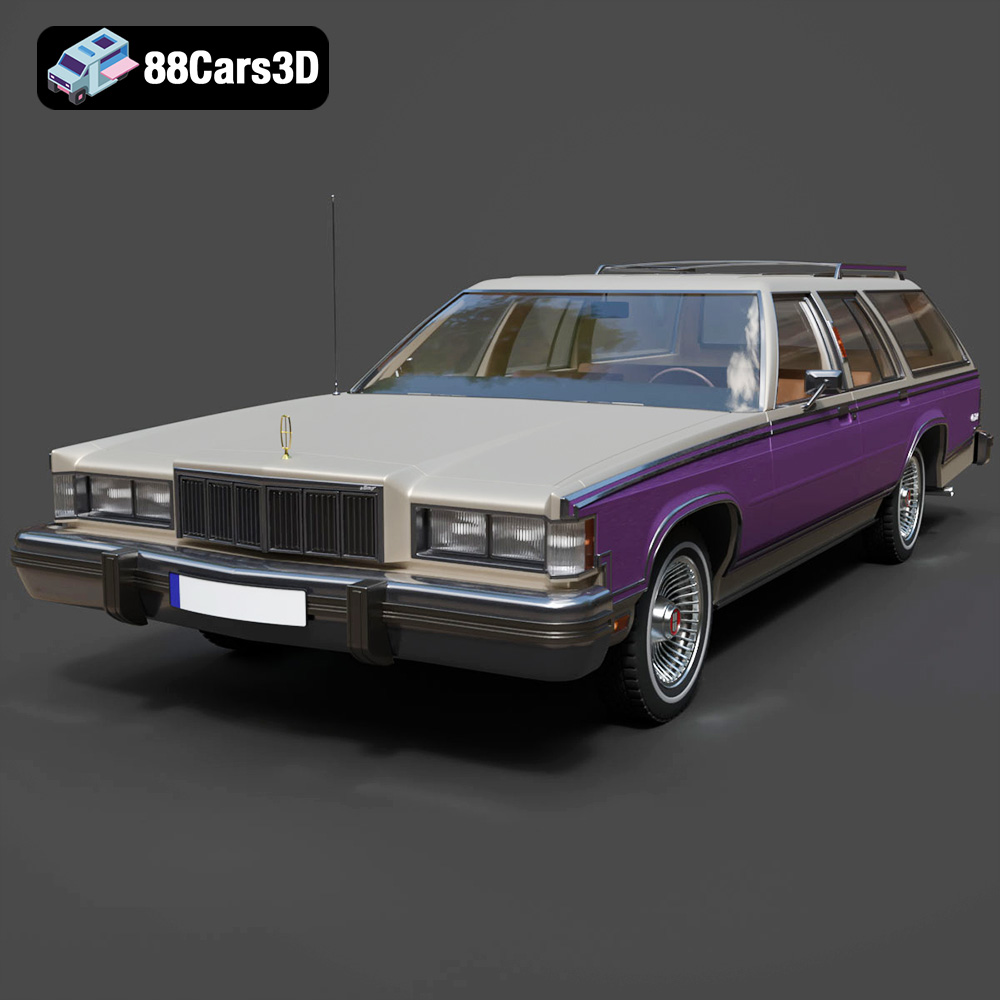
Texture: Yes | Material: Yes
Download the highly detailed, game-ready Mercury Marquis Colony Park 1981 3D Model. Features iconic simulated woodgrain siding, classic full-size wagon proportions, and realistic chrome exterior trim. Includes .blend, .fbx, .obj, .glb, .stl, .ply, .unreal, and .max formats for game development, AR/VR, and rendering.
Price: $262.50
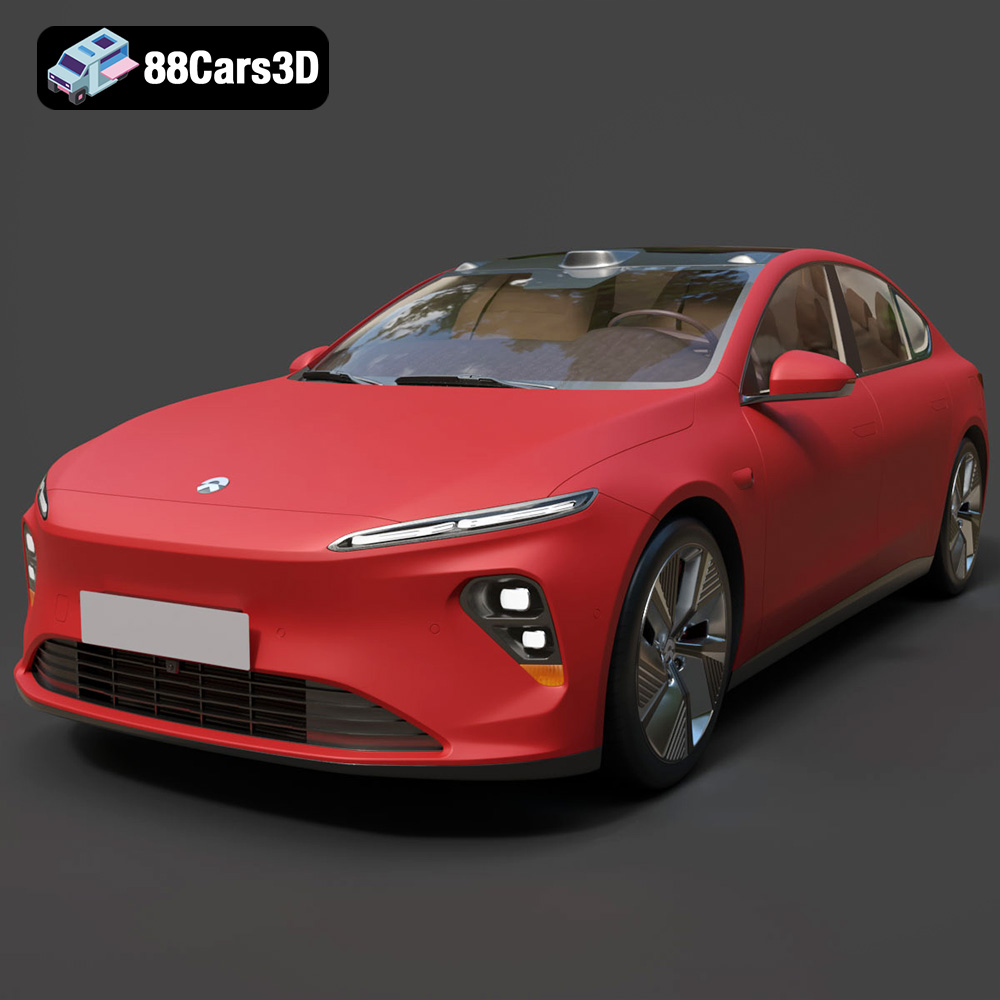
Texture: Yes | Material: Yes
Download the highly detailed, game-ready Nio ET7 2021 3D Model. Features sleek aerodynamic luxury electric sedan styling, integrated LiDAR sensors, and signature Double-Dash LED lights. Includes .blend, .fbx, .obj, .glb, .stl, .ply, .unreal, and .max formats for game development, AR/VR, and rendering.
Price: $207.99
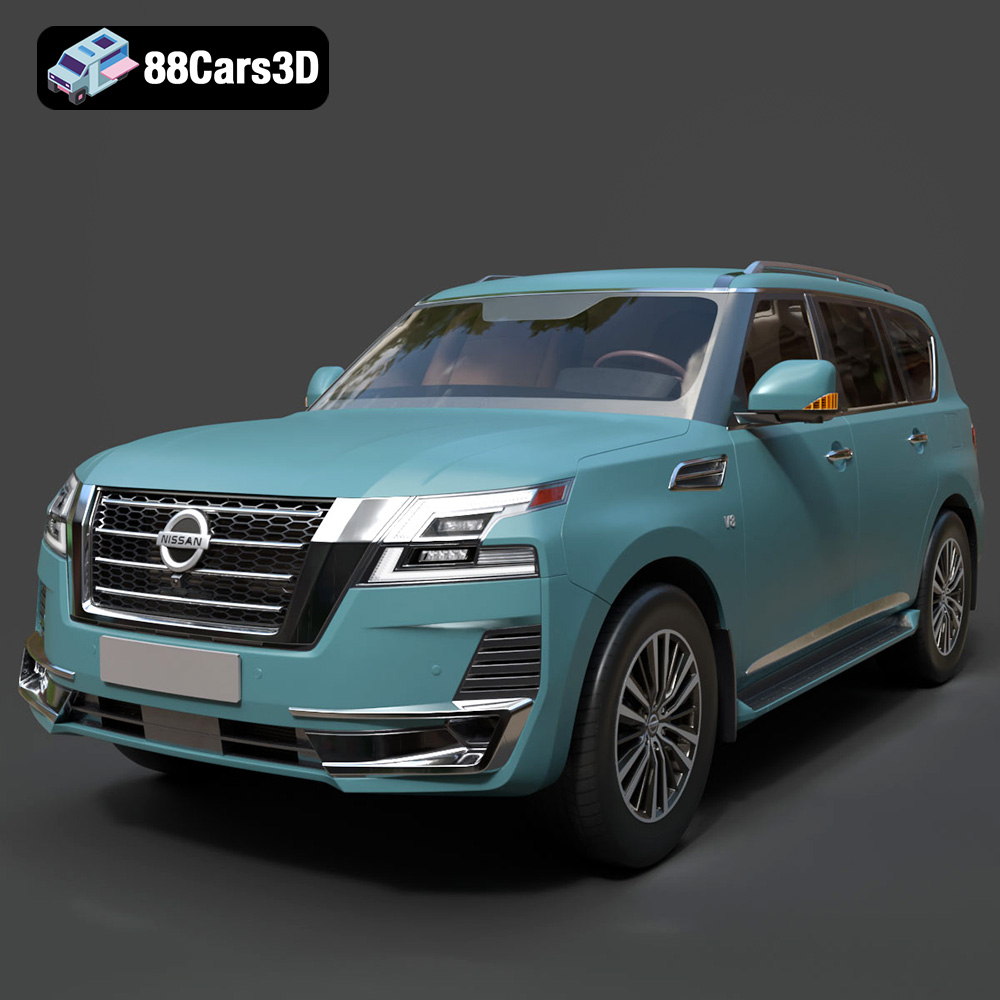
Texture: Yes | Material: Yes
Download the highly detailed, game-ready Nissan Patrol 2021 3D Model. Features signature V-motion grille, realistic exterior detailing, and a fully rendered luxury interior. Includes .blend, .fbx, .obj, .glb, .stl, .ply, .unreal, and .max formats for game development, AR/VR, and rendering.
Price: $297.99
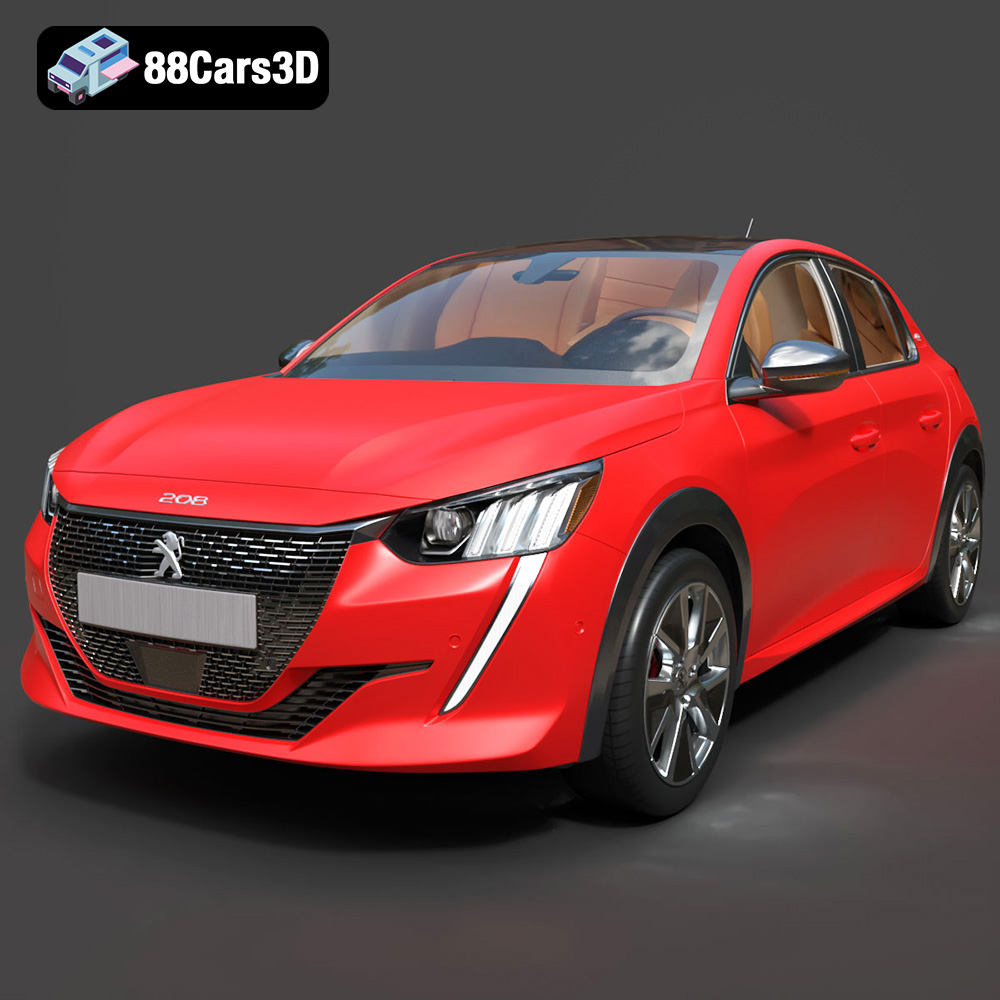
Texture: Yes | Material: Yes
Download the highly detailed, game-ready Peugeot e-208 2020 3D Model. Features 3-claw LED lighting, dynamic body geometry, and a fully detailed i-Cockpit interior. Includes .blend, .fbx, .obj, .glb, .stl, .ply, .unreal, and .max formats for game development, AR/VR, and rendering.
Price: $224.00
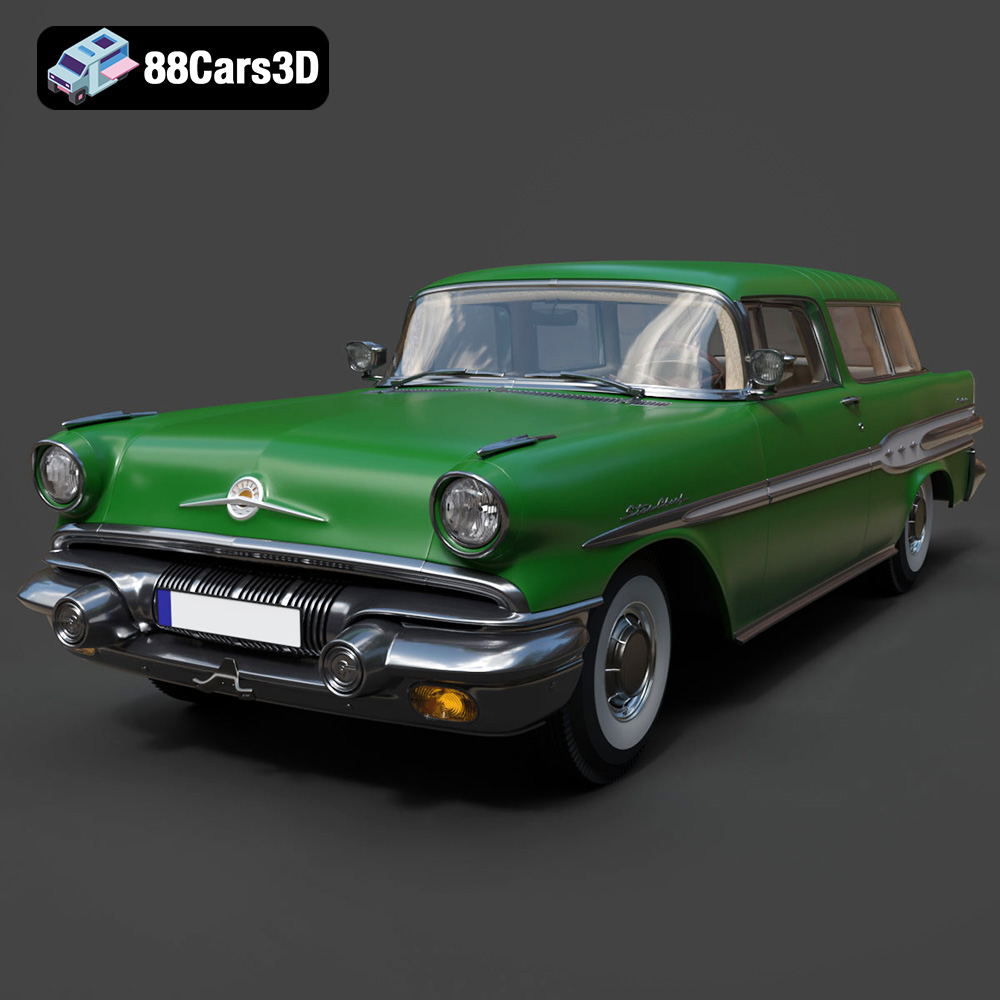
Texture: Yes | Material: Yes
Download the highly detailed, game-ready Pontiac Star Chief Custom Safari 2-door 1957 3D Model. Features classic 1950s two-door wagon bodywork, iconic chrome tail fins, and realistic interior detailing. Includes .blend, .fbx, .obj, .glb, .stl, .ply, .unreal, and .max formats for game development, AR/VR, and rendering.
Price: $203.50
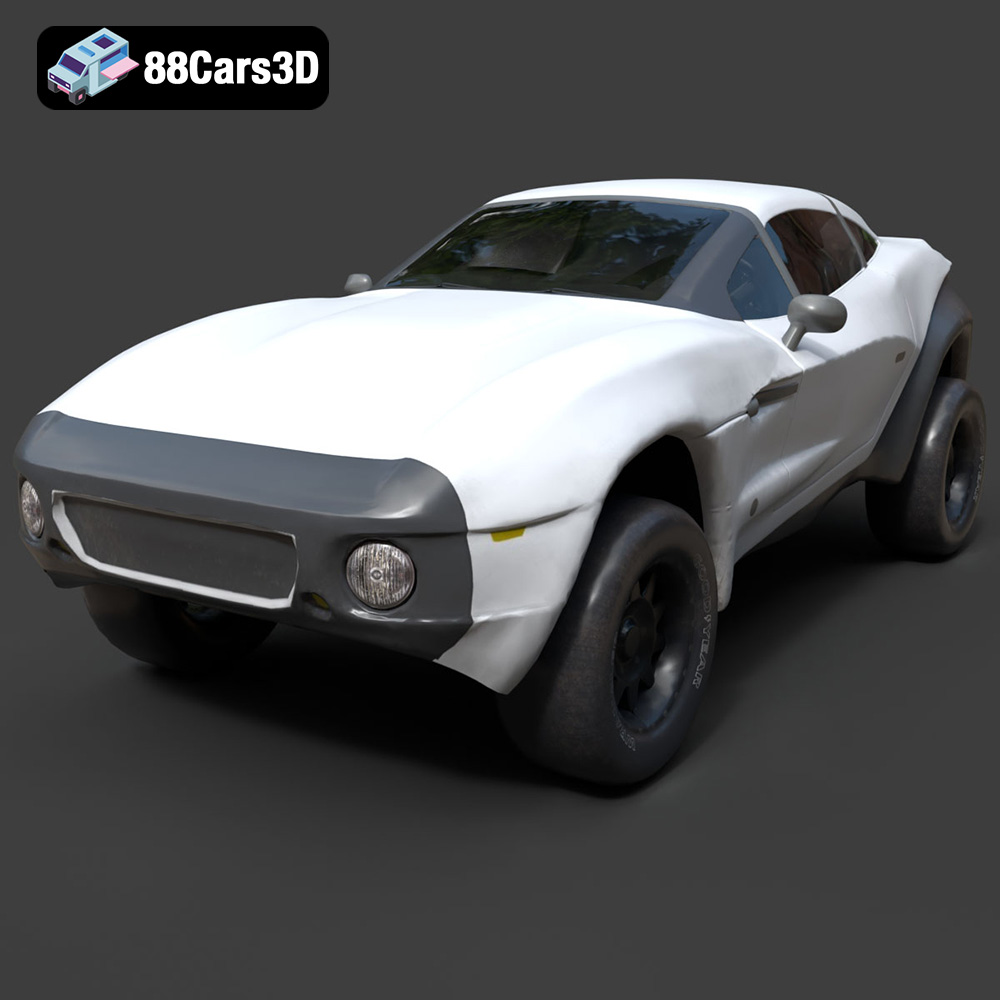
Texture: Yes | Material: Yes
Download the highly detailed, game-ready Local Motors Rally Fighter 3D Model. Features aggressive off-road long-travel suspension, detailed interior cockpit, and high-clearance body styling. Includes .blend, .fbx, .obj, .glb, .stl, .ply, .unreal, and .max formats for game development, AR/VR, and rendering.
Price: $99.99
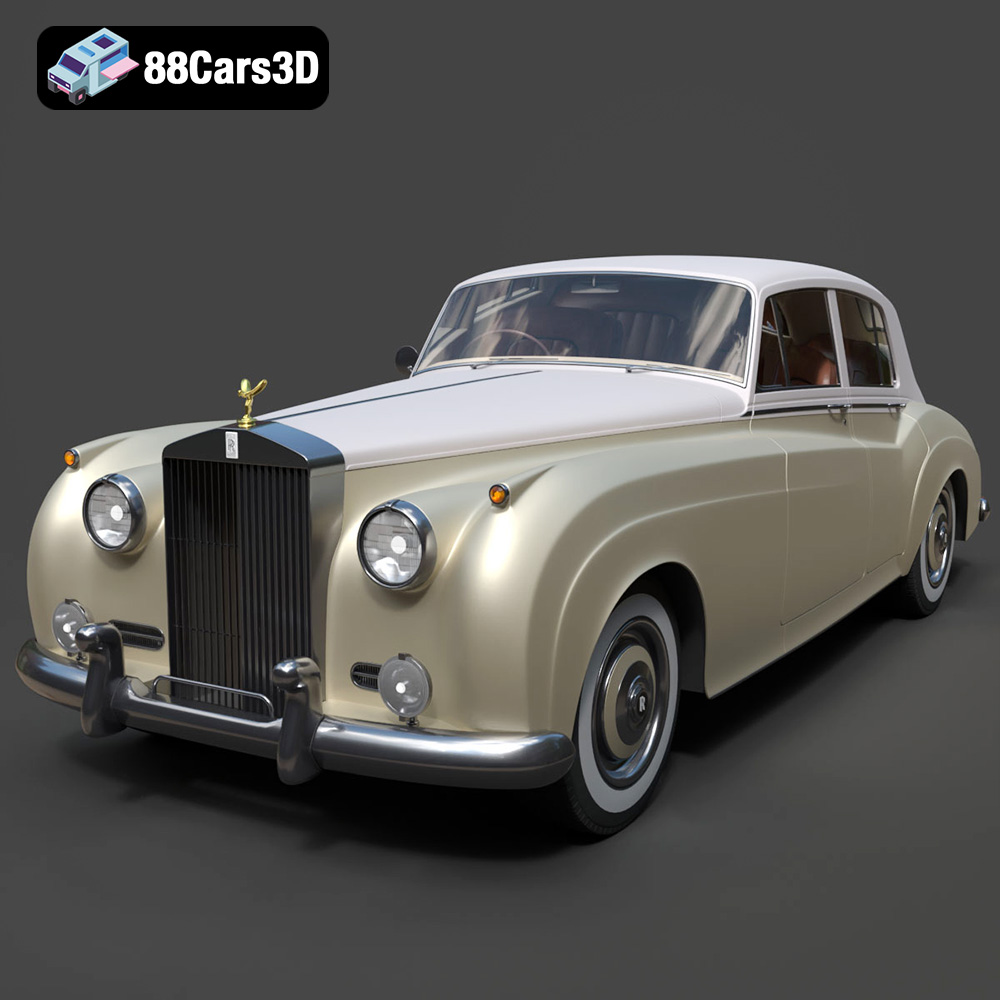
Texture: Yes | Material: Yes
Download the highly detailed, game-ready Rolls-Royce Silver Cloud II 1959 3D Model. Features classic chrome radiator grille, iconic Spirit of Ecstasy ornament, and elegant two-tone bodylines. Includes .blend, .fbx, .obj, .glb, .stl, .ply, .unreal, and .max formats for game development, AR/VR, and rendering.
Price: $201.00
