

For 3D artists and automotive designers striving for unparalleled realism in their vehicle renders, lighting is the ultimate differentiator. It’s the invisible force that breathes life into a static 3D model, defining its form, accentuating its curves, and revealing the intricate details of its surfaces. While traditional three-point lighting setups have their place, the quest for photorealistic automotive visualization increasingly points towards a more immersive and physically accurate solution: High Dynamic Range Imaging (HDRI) lighting. For anyone looking to elevate their 3D car models, whether sourced from platforms like 88cars3d.com or meticulously crafted from scratch, mastering HDRIs in Blender is an indispensable skill.
This comprehensive guide delves deep into the world of HDRI lighting and Blender’s world settings, specifically tailored for achieving breathtaking automotive renders. We’ll explore the fundamental principles behind HDRIs, walk through step-by-step setup processes in Blender’s Cycles and Eevee renderers, and uncover advanced techniques for fine-tuning your environments. From understanding the nuances of physically-based rendering (PBR) materials reacting to HDRI light to optimizing your scenes for both visual fidelity and performance, this article will equip you with the knowledge to transform your automotive visualizations from good to truly exceptional. Prepare to unlock the full potential of your 3D car models and create renders that are indistinguishable from reality.
At its core, an HDRI is more than just a spherical image; it’s a spherical light source containing an immense range of light intensity information, far exceeding what standard images can capture. Unlike a typical JPG or PNG that clamps light values, an HDRI stores actual luminance data, mapping real-world light sources, reflections, and ambient illumination into your 3D scene. For automotive rendering, this is a game-changer. Car bodies, with their complex curvatures and highly reflective surfaces, act like mirrors, meticulously reflecting their surroundings. A realistic environment is therefore paramount to achieving believable reflections and a sense of presence.
When you use an HDRI, you’re not just projecting an image onto your scene’s background; you’re using it as the primary light source. The bright areas of the HDRI, like the sun or a bright window, emit intense light, while darker areas provide subtle ambient illumination and soft reflections. This physically accurate distribution of light results in shadows that fall naturally, reflections that convincingly wrap around the car’s body panels, and a subtle interplay of light and shadow that traditional lighting setups struggle to replicate. The result is a render that feels grounded in reality, with the vehicle seamlessly integrated into its virtual environment. This level of detail is crucial when presenting high-quality 3D car models, whether for portfolio work, marketing, or visualization projects.
The quality of your HDRI directly impacts the realism of your render. Key specifications to consider are resolution and bit depth. HDRI resolutions typically range from 4K to 16K, or even higher. A higher resolution HDRI provides sharper reflections and more detailed environmental lighting, which is especially noticeable on highly reflective surfaces like car paint and chrome. For automotive renders, aiming for at least 8K resolution is recommended to avoid pixelation in reflections.
Bit depth refers to the amount of color information stored per pixel. Standard images are often 8-bit, but HDRIs typically use 16-bit or 32-bit floating-point values. A higher bit depth allows for a much wider dynamic range, preventing banding artifacts in gradients of light and ensuring a smoother transition from the brightest highlights to the deepest shadows. This extensive dynamic range is what allows an HDRI to function as a true light source rather than just a background image. When selecting HDRIs, always prioritize those with high resolution and 32-bit depth for optimal results. Websites like Poly Haven offer a vast collection of free, high-quality HDRIs that are perfect for automotive visualization.
HDRIs leverage the principles of global illumination, where light rays are bounced around the scene to simulate indirect lighting. Instead of simply shining a few spot or area lights, the entire spherical HDRI acts as an emissive surface. In renderers like Blender’s Cycles, light rays originating from the virtual camera or directly from light sources interact with the HDRI, picking up color and intensity information. These rays then bounce off the car model’s surfaces, contributing to diffuse illumination and, critically, forming accurate reflections. The intensity differences captured in the HDRI allow it to correctly illuminate both the direct view and the reflections seen on the car’s paint, glass, and metallic trim.
For example, if an HDRI features a bright sun, that sun will not only cast sharp shadows but also appear as a distinct, intense highlight in the car’s reflections. Conversely, softer, overcast parts of the HDRI will contribute to the ambient fill light, softening shadows and providing subtle color casts across the vehicle. This intricate dance of light and reflection is what makes HDRI lighting so compelling for automotive visualization, enabling artists to achieve a degree of realism that is challenging to match with artificial light setups alone. It truly grounds your 3D car model within a believable environment.
Blender provides an intuitive node-based system for setting up HDRI lighting within its World settings. This approach grants immense control and flexibility, allowing artists to fine-tune every aspect of their environmental illumination. We’ll focus on both Cycles and Eevee, Blender’s primary render engines, noting their differences.
First, open Blender and switch to the “Shading” workspace. In the Shader Editor, change the context from “Object” to “World.” You’ll typically see a “Background” node connected to the “World Output” node. This is where we’ll introduce our HDRI.
Step-by-Step Setup:
Shift + A, go to “Texture,” and select “Environment Texture.” Place it in the node editor..hdr and .exr.For more detailed information on Blender’s World shader nodes and environment textures, consult the official Blender 4.4 documentation: Blender 4.4 Manual.
While the basic setup provides illumination, you often need to adjust the HDRI’s orientation and scale to perfectly match your scene or create specific lighting effects. This is where “Mapping” and “Texture Coordinate” nodes become invaluable.
Shift + A, go to “Input,” and select “Texture Coordinate.” Connect its “Generated” or “UV” output to the “Vector” input of a “Mapping” node. For world textures like HDRIs, “Generated” is usually the correct choice as it’s based on the object’s (or world’s) generated coordinates.Shift + A, go to “Vector,” and select “Mapping.” This node allows you to control the location, rotation, and scale of the texture. Connect the “Vector” output of the Mapping node to the “Vector” input of the Environment Texture node.With these nodes in place, you can now rotate the HDRI around your scene by adjusting the Z-rotation value in the Mapping node. This is crucial for positioning the sun or dominant light source of the HDRI to cast shadows exactly where you want them on your 3D car model. You can also slightly adjust the X and Y rotation for subtle changes, though Z-rotation is most common for environmental rotation. Scaling can be used to make the environment appear closer or further away, which impacts reflections more than overall illumination.
Both Cycles and Eevee can utilize HDRIs, but they handle them differently due to their rendering philosophies:
Understanding these differences allows you to choose the right tool for the job. For final, high-fidelity renders of 3D car models from 88cars3d.com, Cycles is usually preferred for its realism. For rapid ideation or game-ready asset previews, Eevee shines.
Achieving true photorealism with HDRIs goes beyond simply loading a texture. It involves careful adjustments to intensity, rotation, and often, combining HDRIs with supplementary light sources. The goal is to make the virtual environment feel cohesive and the car model truly integrated into it.
One of the most common challenges is aligning the HDRI background with your ground plane or any background geometry. If the HDRI’s horizon doesn’t match your scene’s, the vehicle can look like it’s floating. While manual rotation via the Mapping node’s Z-axis is the primary method, sometimes you need more subtle control or a visible horizon line in your render.
A useful technique for aligning your HDRI and creating a ground plane that reacts to its lighting is to use a “Shadow Catcher.” In Blender 4.4, you can designate an object (e.g., a simple plane) as a “Shadow Catcher” in the Object Properties under “Visibility” > “Mask” for Cycles. This plane will only render shadows and reflections, making the ground appear to be part of the HDRI environment. Then, by carefully rotating your HDRI using the Mapping node, you can align its visual horizon with your shadow catcher’s plane, creating a seamless transition. For scenes where the HDRI itself provides the background, simply ensuring the horizon line appears flat and consistent with your camera angle is key. Sometimes, slightly adjusting the X or Y rotation on the Mapping node can correct subtle tilts, though it’s less common for HDRIs.
While HDRIs provide excellent global illumination and reflections, they sometimes lack a strong, focused key light that truly makes a car model pop. This is especially true for overcast HDRIs or studio environments. Combining HDRIs with discrete light sources (like Area Lights, Spot Lights, or even Emissive Meshes) is a common professional technique.
For example, you might use an outdoor HDRI for overall ambient light and realistic reflections, but then add a large, soft Area Light positioned as a key light to emphasize the car’s contours or create a specific highlight on the paintwork. This allows you to guide the viewer’s eye and add dramatic flair. When adding extra lights:
Often, a large, soft area light can mimic a powerful studio strobe or a strong directional sun, providing that extra punch without undermining the HDRI’s environmental realism. This hybrid approach gives you the best of both worlds: the naturalism of an HDRI and the artistic control of artificial lighting.
Many professional automotive renders utilize a “backplate” – a static 2D photograph used as the background – with a 3D car model composited over it. The challenge here is to make the 3D car’s lighting perfectly match the lighting in the 2D backplate. This is where HDRIs become indispensable.
Ideally, an HDRI captured at the same location and time as the backplate would be used. However, if that’s not available, you can use a similar HDRI and carefully adjust its rotation, intensity, and even color temperature to match the backplate’s lighting. The HDRI will illuminate your 3D car model and generate reflections consistent with the virtual environment, while the backplate provides the visual context. To achieve this in Blender:
The HDRI’s primary role here is to generate the correct lighting and reflections on the car, ensuring it looks like it truly belongs in the photographed scene. This technique is widely used in automotive advertising and visualization to create highly convincing composites.
Moving beyond basic HDRI setup, advanced techniques allow for greater control over how the environment interacts with specific materials and for optimizing render performance. These methods unlock the full potential of HDRIs for creating highly polished automotive visuals.
Sometimes you might want your HDRI to provide general illumination and reflections, but you might want to control how certain materials, like a highly reflective chrome or a specific part of the car paint, receive or reflect the environment. While the overall HDRI provides global illumination, you can refine its influence using more advanced shader setups.
For instance, you could use a “Light Path” node in your World Shader setup. By plugging the “Is Camera Ray” output into a “Mix Shader” factor, you can tell Blender to use one HDRI (or background color) for what the camera sees directly, and a different HDRI (or intensity) for reflections and indirect light bounces. This is useful if you want a clean, stylized background for the camera, but still need the full detail of a realistic HDRI for reflections on the car body. You could also use “Is Reflection Ray” to drive a separate HDRI specifically for reflections, allowing you to fine-tune the reflection map independent of the background seen by the camera. This kind of nuanced control is what distinguishes professional-grade renders, ensuring that every material on your 3D car model from 88cars3d.com reacts perfectly to the environment.
When using high-resolution HDRIs, especially in Cycles, render times can increase. Blender’s Cycles renderer uses a technique called “Importance Sampling” to make HDRI lighting more efficient. Instead of shooting rays randomly across the entire HDRI, it focuses samples on the brighter, more emissive areas, which contribute more significantly to the scene’s lighting. This can dramatically reduce noise and improve render performance.
By default, “Multiple Importance Sample” is enabled for Environment Textures in Blender 4.4, which is generally what you want. You can control the number of samples in the Render Properties under “Sampling” > “Render.” Higher samples generally mean less noise but longer render times. For HDRIs, ensuring Importance Sampling is active helps direct render samples to the most relevant parts of the HDRI, leading to a cleaner image with fewer samples. Always ensure your HDRI is connected to the “Color” input of the “Background” node to properly leverage importance sampling. Incorrect setups might bypass this optimization, leading to longer render times and increased noise.
While an abundance of high-quality stock HDRIs are available, there might be instances where a truly custom environment is required – perhaps matching a specific location for an automotive advertisement or a unique studio setup. Custom HDRIs are typically created by shooting a 360-degree panorama with a camera rig that captures multiple exposures at each angle to achieve the necessary dynamic range. Specialized software then stitches these exposures into a single, high-dynamic-range panoramic image. Understanding this process, even if you don’t create your own, helps in appreciating the quality and complexity of good HDRIs. It also informs what to look for: sharp light sources, no stitching errors, and a wide dynamic range.
High Dynamic Range Imaging forms half of the photorealism equation; the other half is physically-based rendering (PBR) materials. PBR materials are designed to react to light in a physically plausible way, accurately simulating how light interacts with different surfaces. When combined with the realistic light distribution of an HDRI, PBR materials on your 3D car model unlock unprecedented levels of visual fidelity.
PBR workflows rely on several key texture maps to define a material’s properties, including:
Each of these maps plays a critical role in how the HDRI’s light is absorbed, reflected, and scattered by the car’s body, tires, glass, and interior. Without correctly configured PBR materials, even the most perfect HDRI will yield a less-than-convincing result.
Automotive paint is notoriously complex, often featuring a base coat, metallic flakes, and a clear coat. Replicating this in a PBR shader requires careful attention to the Principled BSDF node in Blender, which is designed with PBR principles in mind.
The interplay of the HDRI’s light with these parameters is what brings the paint to life, showcasing its depth and sheen. For pre-made 3D car models from marketplaces like 88cars3d.com, ensuring their materials are properly configured for PBR is a foundational step towards great renders.
Other key materials on a car also demand precise PBR setup to react believably to HDRI lighting:
Every material, from rubber tires (high roughness, low metallic) to plastic trim (low metallic, varying roughness), needs careful PBR calibration to fully harness the realistic lighting provided by an HDRI. This meticulous attention to material properties is what elevates a good 3D model into a truly convincing render.
Even with perfectly lit scenes and impeccable PBR materials, a raw render rarely achieves final photorealism. Post-processing and compositing in Blender’s own Compositor, or external software, are crucial steps to add atmospheric effects, correct colors, and integrate your 3D car model seamlessly into its final context.
The first step in post-processing is often adjusting the overall exposure and color balance. HDRIs provide an accurate light source, but the raw render might still appear too dark, too bright, or have an undesirable color cast depending on your camera and render settings.
The goal is to enhance the existing lighting provided by the HDRI, not to fundamentally change it, ensuring the adjustments feel natural and complementary.
Real-world cameras introduce various optical imperfections that contribute to a photograph’s aesthetic. Replicating these in your render can significantly boost realism.
These subtle touches help to bridge the gap between a perfectly clean computer-generated image and the more organic look of a photograph.
As mentioned earlier, integrating a 3D car model onto a 2D backplate is a common workflow. The Compositor is where this seamless integration happens. After rendering your car with a transparent background (Film > Transparent enabled), you’ll typically use a node setup like this:
Crucially, shadows generated by the HDRI on your car should also appear on the backplate. This is where a “Shadow Catcher” object in your 3D scene (a simple plane set to “Shadow Catcher” in Object Properties > Visibility > Mask for Cycles) comes into play. The Compositor will then automatically integrate these shadows from the Render Layers node, making it appear as though the car is casting shadows directly onto your 2D backplate. Fine-tuning the shadow catcher’s position and the HDRI’s rotation to align perfectly with the backplate’s perspective is key for a believable composite. This detailed process ensures that the high-quality 3D car models from 88cars3d.com can be flawlessly integrated into any photographic context.
Mastering HDRI lighting in Blender’s world settings is a transformative skill for any 3D artist specializing in automotive visualization. From understanding the expansive dynamic range of an HDRI to meticulously adjusting its rotation and intensity, every step contributes to the photorealistic quality of your 3D car models. We’ve explored the fundamental setup, delved into advanced techniques for selective lighting, and emphasized the crucial synergy between HDRIs and physically-based rendering materials. We’ve also touched upon the essential post-processing steps that add the final layer of polish, transforming raw renders into captivating images that truly stand out.
The journey to photorealistic automotive renders is an iterative one, demanding patience, an eye for detail, and a deep understanding of how light interacts with surfaces. By applying the principles and techniques outlined in this guide, you’ll be well-equipped to leverage the power of HDRI lighting in Blender. Experiment with different HDRIs, combine them with subtle artificial lights, and pay close attention to how your PBR materials react. Whether you’re working on a personal project, a professional visualization, or showcasing high-quality 3D car models from marketplaces like 88cars3d.com, the ability to craft compelling and believable lighting environments will undoubtedly elevate your work to a professional standard. Continue to practice, observe the real world, and refine your techniques, and you’ll soon be creating automotive renders that are indistinguishable from reality.
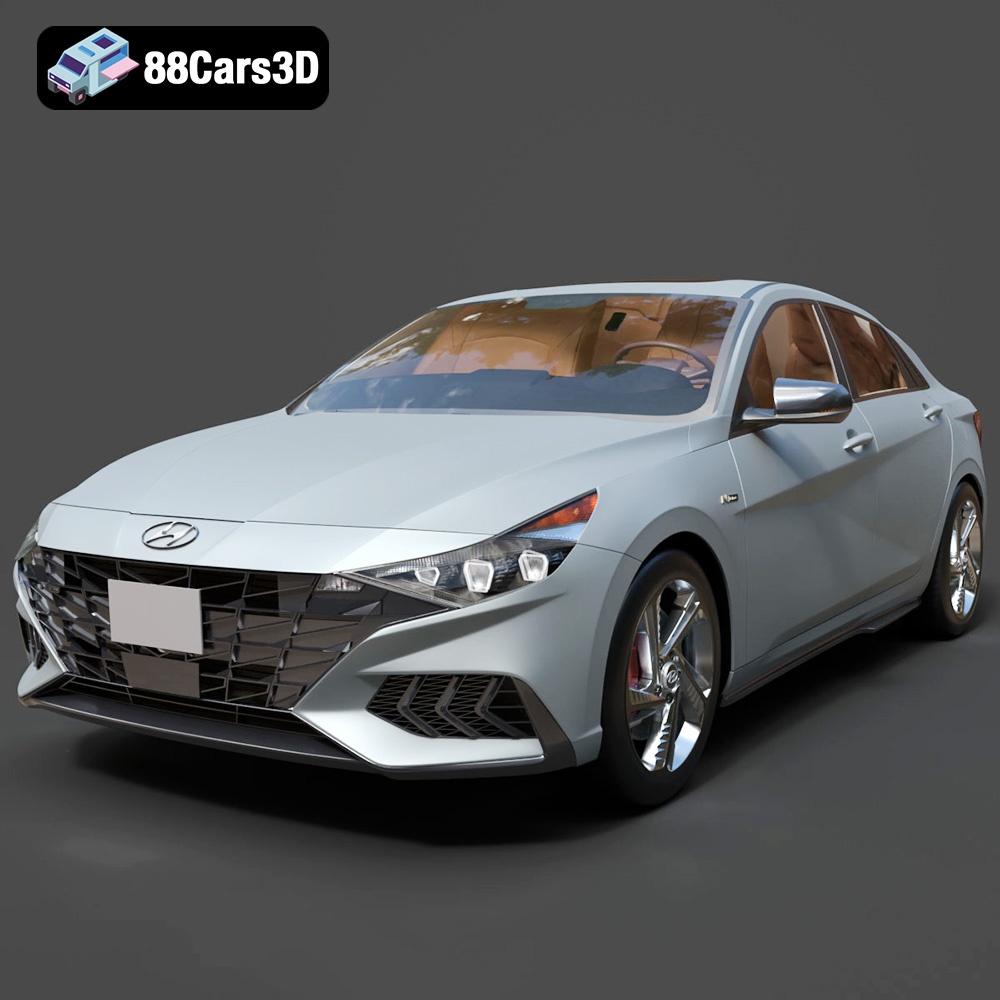
Texture: Yes | Material: Yes
Download the highly detailed, game-ready Hyundai Elantra N Line 2021 3D Model. Features aggressive N Line body styling, parametric jewel grille, and sport interior details. Includes .blend, .fbx, .obj, .glb, .stl, .ply, .unreal, and .max formats for game development, AR/VR, and rendering.
Price: $226.00
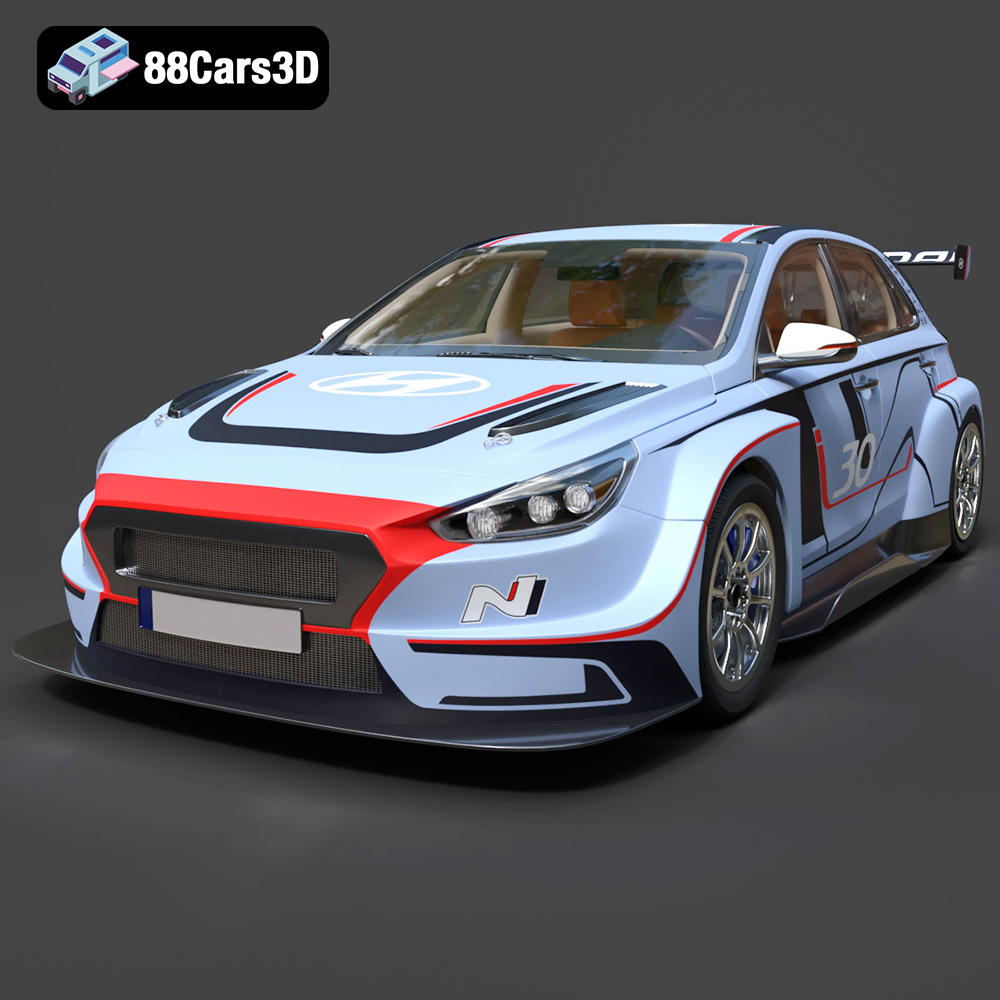
Texture: Yes | Material: Yes
Download the highly detailed, game-ready Hyundai i30 N TCR Hatchback 2020 3D Model. Features aggressive touring car aerodynamics, high-downforce rear wing, and race-spec interior. Includes .blend, .fbx, .obj, .glb, .stl, .ply, .unreal, and .max formats for game development, AR/VR, and rendering.
Price: $204.99
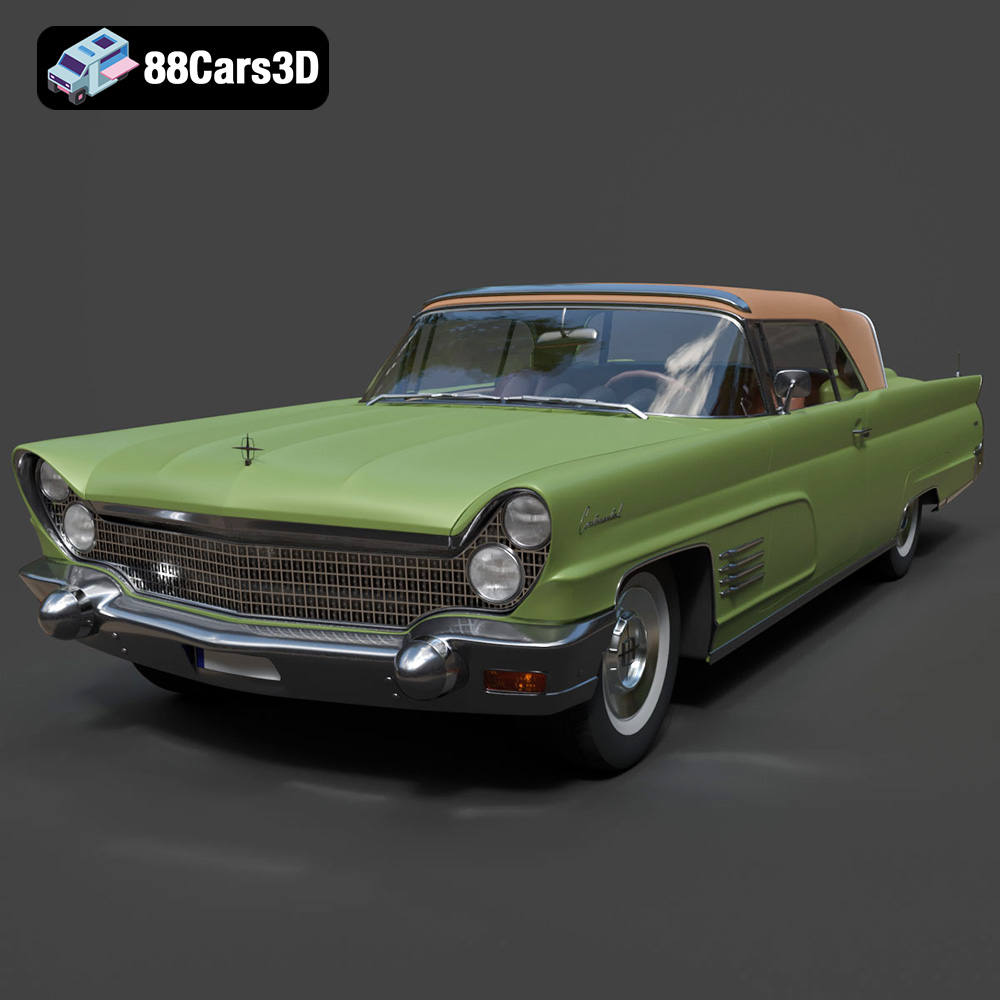
Texture: Yes | Material: Yes
Download the highly detailed, game-ready Lincoln Continental Mark V 1960 3D Model. Features iconic 1960s luxury cruiser styling, massive chrome grille, reverse-slant rear window, and sweeping tail fins. Includes .blend, .fbx, .obj, .glb, .stl, .ply, .unreal, and .max formats for game development, AR/VR, and rendering.
Price: $208.99
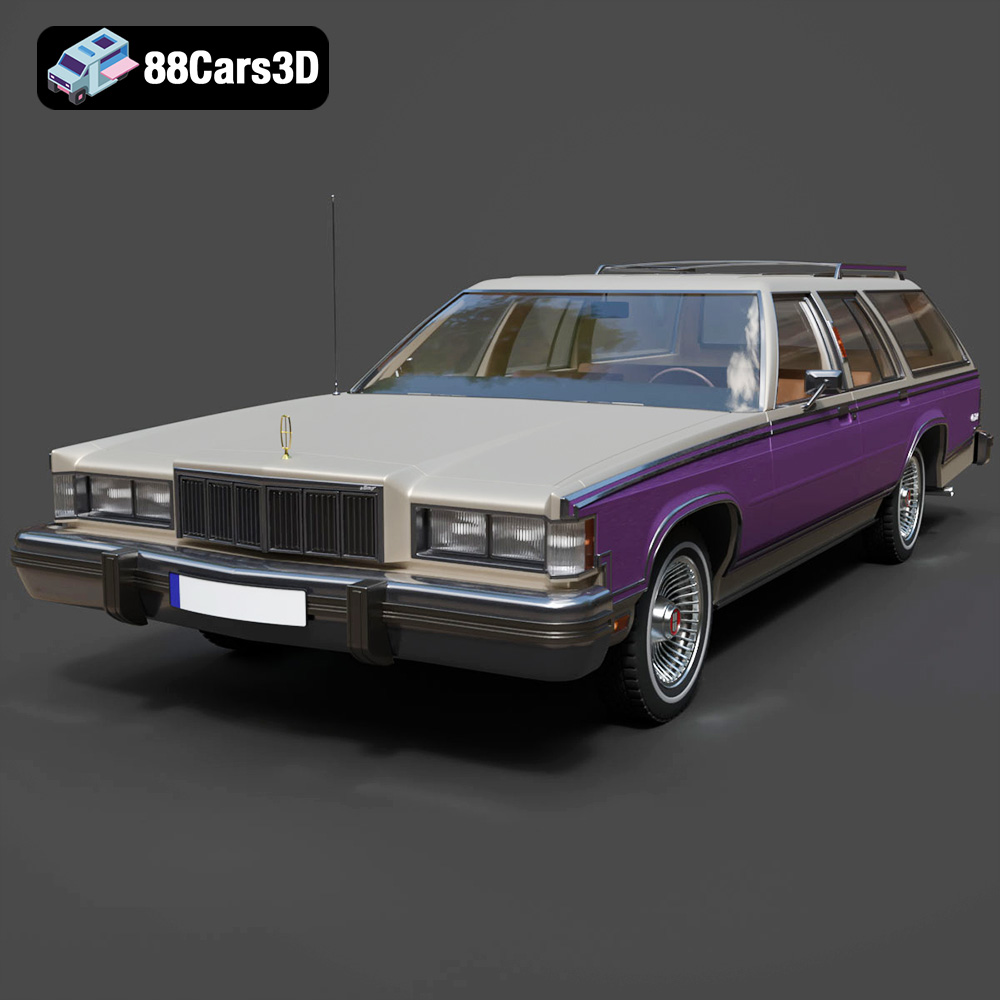
Texture: Yes | Material: Yes
Download the highly detailed, game-ready Mercury Marquis Colony Park 1981 3D Model. Features iconic simulated woodgrain siding, classic full-size wagon proportions, and realistic chrome exterior trim. Includes .blend, .fbx, .obj, .glb, .stl, .ply, .unreal, and .max formats for game development, AR/VR, and rendering.
Price: $262.50
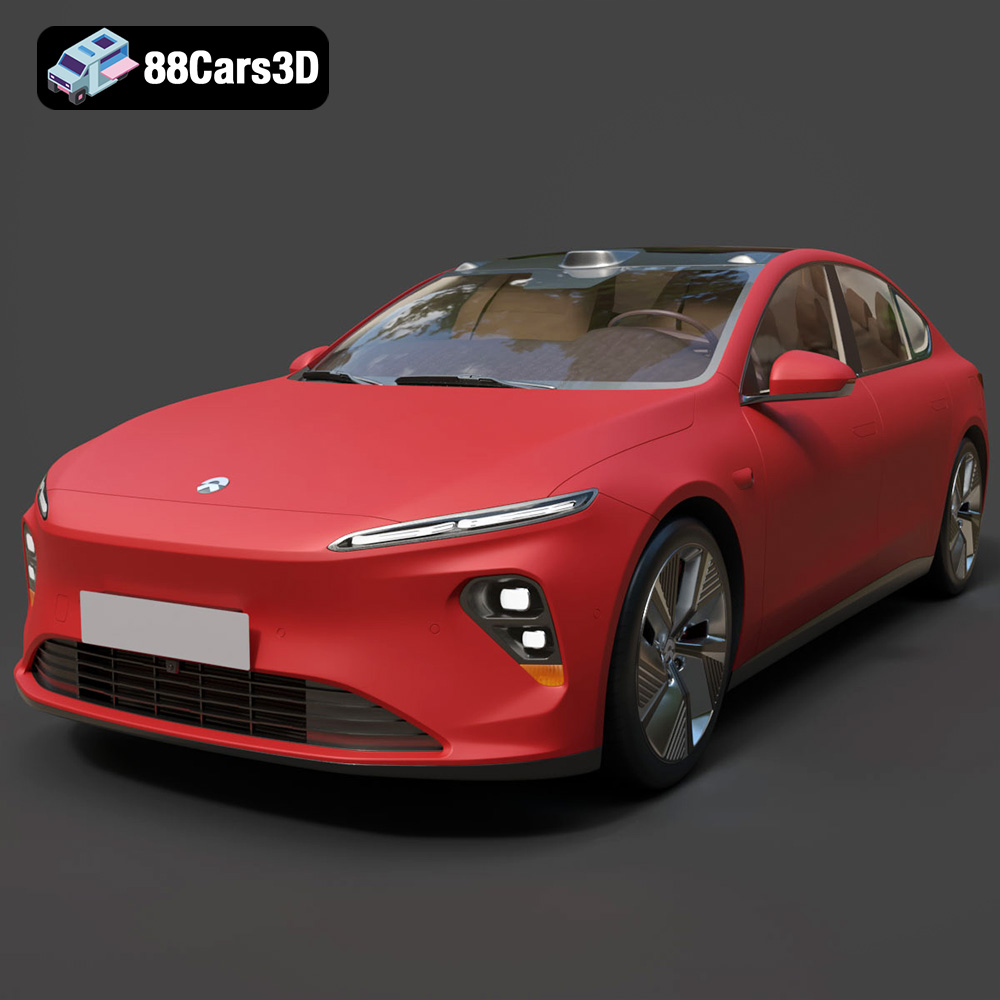
Texture: Yes | Material: Yes
Download the highly detailed, game-ready Nio ET7 2021 3D Model. Features sleek aerodynamic luxury electric sedan styling, integrated LiDAR sensors, and signature Double-Dash LED lights. Includes .blend, .fbx, .obj, .glb, .stl, .ply, .unreal, and .max formats for game development, AR/VR, and rendering.
Price: $207.99
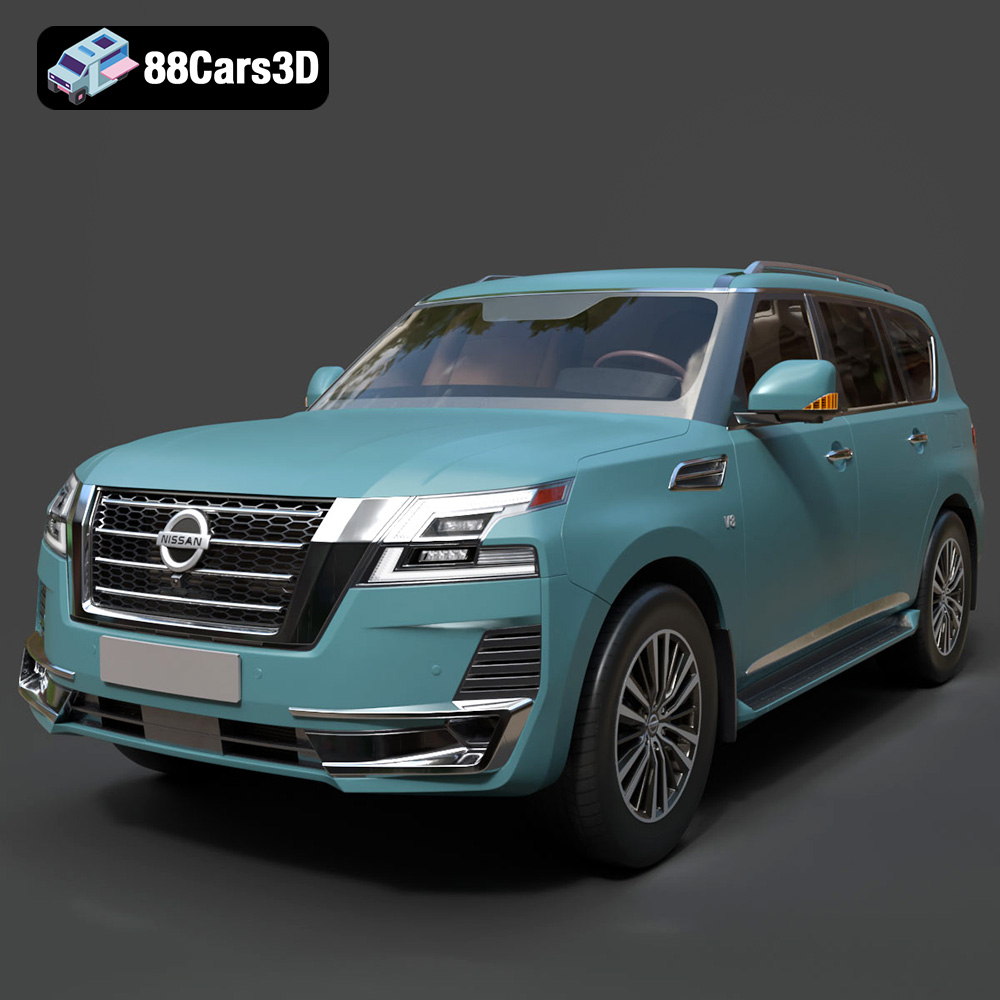
Texture: Yes | Material: Yes
Download the highly detailed, game-ready Nissan Patrol 2021 3D Model. Features signature V-motion grille, realistic exterior detailing, and a fully rendered luxury interior. Includes .blend, .fbx, .obj, .glb, .stl, .ply, .unreal, and .max formats for game development, AR/VR, and rendering.
Price: $297.99
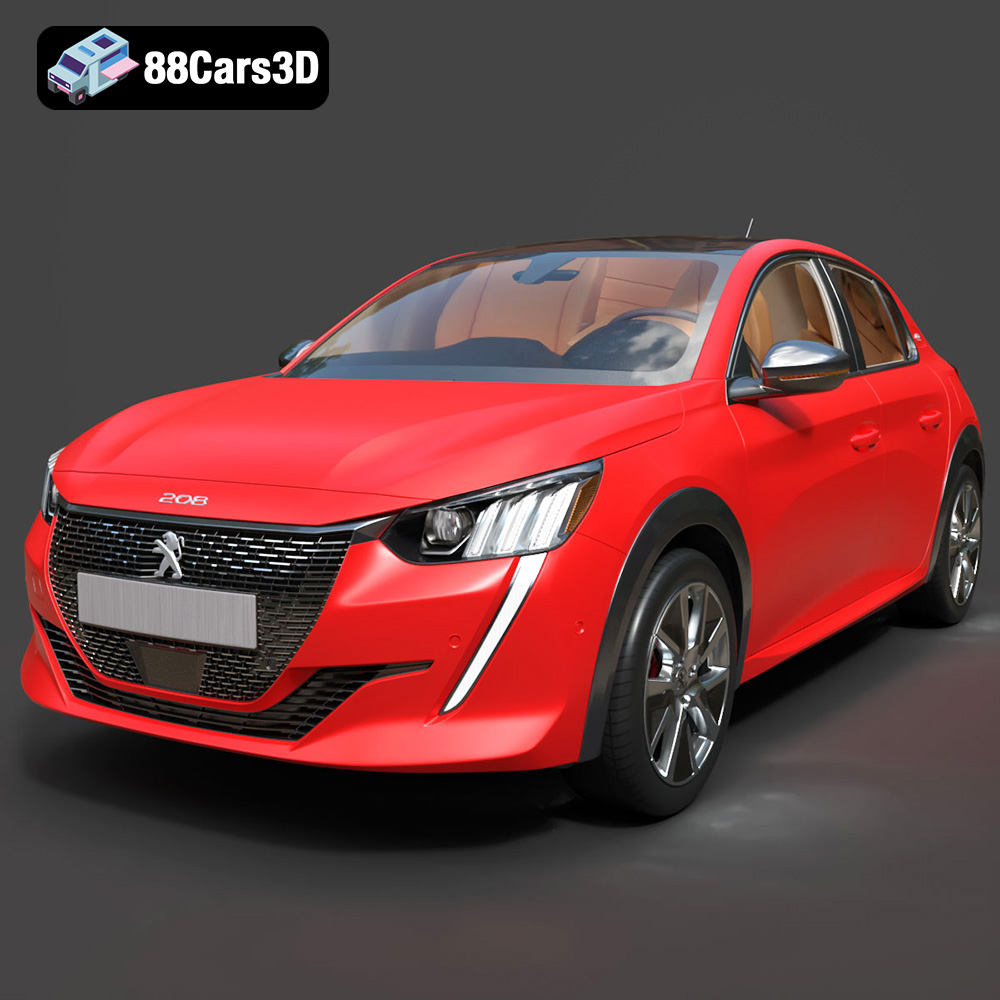
Texture: Yes | Material: Yes
Download the highly detailed, game-ready Peugeot e-208 2020 3D Model. Features 3-claw LED lighting, dynamic body geometry, and a fully detailed i-Cockpit interior. Includes .blend, .fbx, .obj, .glb, .stl, .ply, .unreal, and .max formats for game development, AR/VR, and rendering.
Price: $224.00
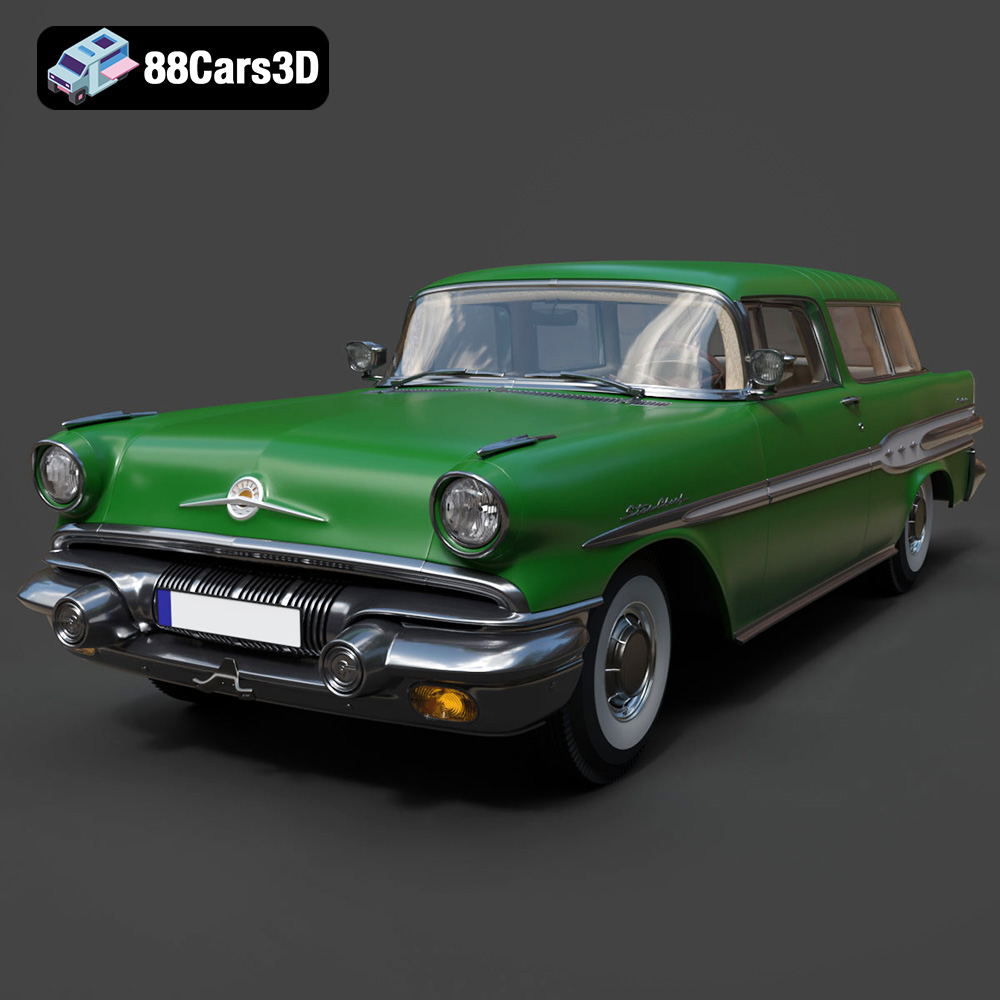
Texture: Yes | Material: Yes
Download the highly detailed, game-ready Pontiac Star Chief Custom Safari 2-door 1957 3D Model. Features classic 1950s two-door wagon bodywork, iconic chrome tail fins, and realistic interior detailing. Includes .blend, .fbx, .obj, .glb, .stl, .ply, .unreal, and .max formats for game development, AR/VR, and rendering.
Price: $203.50
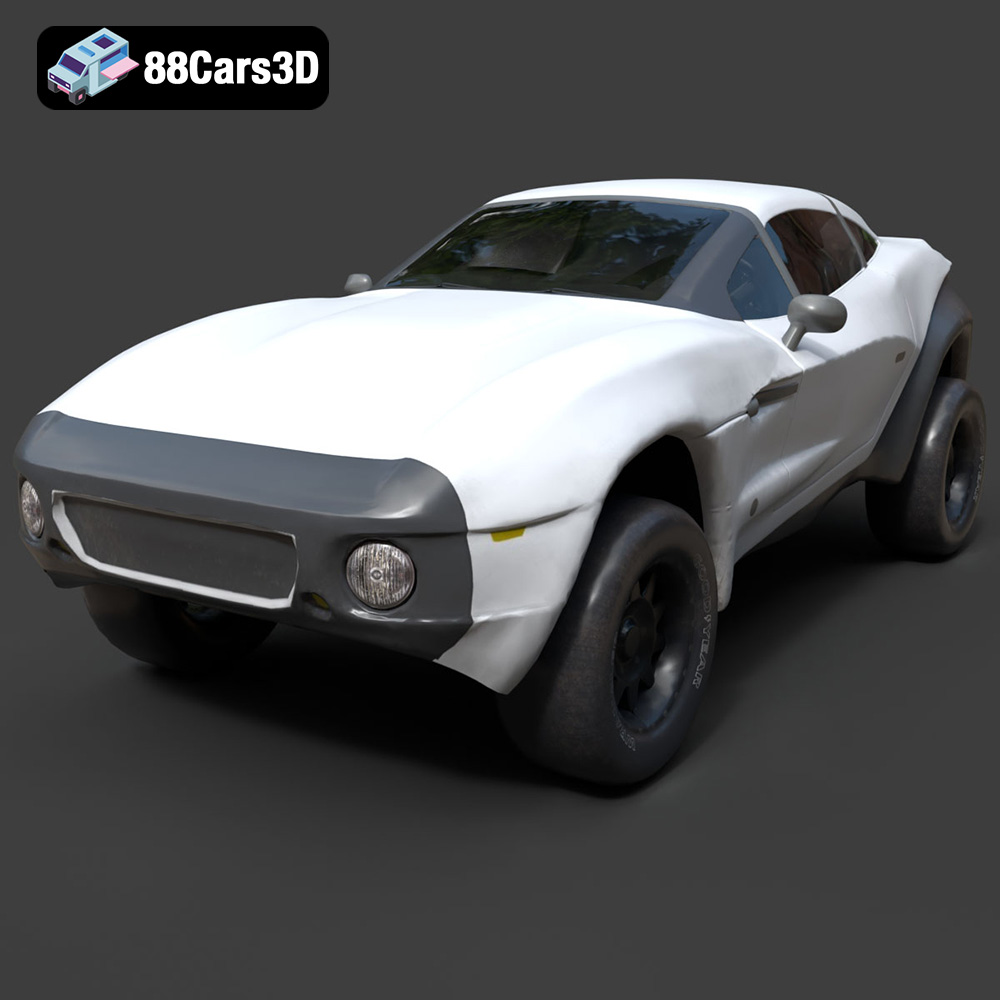
Texture: Yes | Material: Yes
Download the highly detailed, game-ready Local Motors Rally Fighter 3D Model. Features aggressive off-road long-travel suspension, detailed interior cockpit, and high-clearance body styling. Includes .blend, .fbx, .obj, .glb, .stl, .ply, .unreal, and .max formats for game development, AR/VR, and rendering.
Price: $99.99
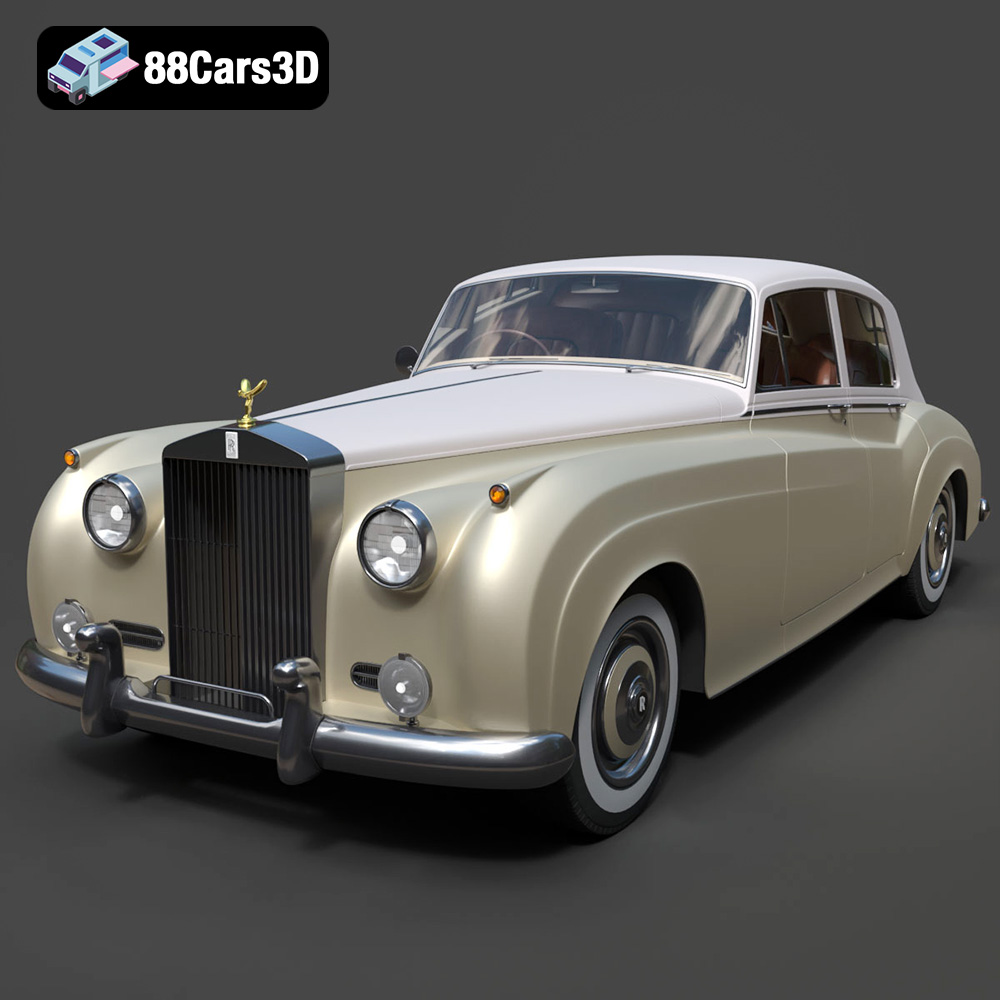
Texture: Yes | Material: Yes
Download the highly detailed, game-ready Rolls-Royce Silver Cloud II 1959 3D Model. Features classic chrome radiator grille, iconic Spirit of Ecstasy ornament, and elegant two-tone bodylines. Includes .blend, .fbx, .obj, .glb, .stl, .ply, .unreal, and .max formats for game development, AR/VR, and rendering.
Price: $201.00
