

In the competitive world of automotive design and marketing, compelling visuals are paramount. Static images and generic renders no longer suffice; what’s needed are dynamic, photorealistic visualizations that capture every curve and gleam of a vehicle. This is where the power of 3D software like Blender, combined with high-quality 3D assets, truly shines. For artists and designers looking to elevate their automotive presentations, understanding the intricate process of creating product visualization scenes is a game-changer. From meticulous model preparation to sophisticated lighting and rendering, each step contributes to a final image that can excite, inform, and ultimately sell.
This comprehensive guide will walk you through the entire workflow of crafting breathtaking automotive product visualization scenes using Blender. We’ll delve into acquiring premium 3D car models, like those available on 88cars3d.com, and transform them into digital masterpieces. You’ll learn about advanced material creation, professional lighting techniques, optimal camera composition, and crucial post-processing steps. Whether you’re a seasoned 3D artist, a game developer, an automotive designer, or a student aspiring to create industry-standard visuals, this article will equip you with the knowledge and actionable insights to produce stunning renders that captivate your audience and showcase automotive excellence.
The foundation of any exceptional product visualization is a high-quality 3D model. Starting with a poorly constructed or low-detail asset can severely limit your final render’s potential, regardless of your lighting and material prowess. Investing in a meticulously crafted model saves countless hours in cleanup and ensures accurate representation. Platforms like 88cars3d.com specialize in providing professional-grade 3D car models, designed with clean topology, realistic materials, and proper UV mapping—essential ingredients for top-tier visualization.
When selecting a 3D car model, prioritize several key attributes. First, look for **clean topology**. This refers to the arrangement of polygons and edge loops. Ideal automotive models feature smooth, flowing edge loops that follow the natural curvature of the vehicle, minimizing triangles and avoiding Ngons (polygons with more than four vertices). Good topology is crucial for smooth subdivisions (if you need to add detail) and distortion-free deformation if you plan any animations. Second, ensure the model comes with **realistic PBR (Physically Based Rendering) materials** and **proper UV mapping**. PBR materials ensure that light interacts with surfaces realistically, crucial for accurate reflections and refractions on car paint, glass, and chrome. UV mapping dictates how textures are applied to the model; well-done UVs prevent stretching and allow for precise texture painting.
Models from marketplaces such as 88cars3d.com are typically optimized for various uses, including high-resolution rendering, game development, and even AR/VR applications. They often come with pre-configured PBR textures and organized scene files, streamlining your workflow significantly. Always check the model’s specifications, including polygon count (a good high-poly render model might range from 200,000 to several million polygons for extreme detail), texture resolutions (often 4K or 8K), and included file formats.
Once you’ve acquired your 3D car model, importing it into Blender is the next step. Blender supports a wide array of file formats, with **FBX**, **OBJ**, and **GLB** being the most common for automotive models. To import, go to `File > Import` and select the appropriate format. For example, `File > Import > FBX (.fbx)`. During import, pay attention to scaling options; some models might import at an incorrect scale, appearing too large or too small. It’s good practice to set your Blender scene units to match real-world measurements (e.g., Meters for a car). You can adjust this under `Scene Properties > Units`.
After importing, visually inspect the model. Check its **origin point**—the point around which an object rotates and scales. For a car, the origin is ideally at the bottom center of the vehicle, or at the center of the world origin (0,0,0) for ease of placement. If the origin is off, select the object, right-click, `Set Origin > Origin to Geometry` or `Origin to 3D Cursor` (if your 3D cursor is correctly placed). Ensure all parts of the car are present and correctly oriented. Sometimes, components might import with flipped normals, which can be identified by darker shading in Cycles or Eevee. To fix this, select the mesh in Edit Mode, press `Shift+N` to recalculate normals outside, or `Alt+N` for more options.
Even high-quality models can sometimes benefit from a quick inspection and minor cleanup, especially if they’ve been converted between different software. In Blender, a crucial step is checking for geometric issues. Use `Edit Mode` and the `Overlay` options to visualize mesh problems. Look for **Ngons** (faces with more than 4 vertices), which can cause shading artifacts, and **non-manifold geometry** (geometry that cannot exist in the real world, like faces with no thickness), which can cause issues with modifiers and 3D printing. Blender’s `Merge by Distance` (accessed by selecting all vertices in Edit Mode, then `M > By Distance`) is excellent for removing overlapping vertices, which often result from import or modeling errors.
For models intended for high-fidelity rendering, polygon count is less of a concern than for real-time applications, but judicious optimization is still beneficial. Use the `Limited Dissolve` tool (`X > Limited Dissolve` in Edit Mode) to reduce polygons in flat areas without affecting curvature. This can streamline the mesh and improve performance in the viewport. For further exploration of mesh editing and cleanup, refer to the official Blender 4.4 documentation on mesh cleanup operations. Remember, a clean, well-optimized mesh is easier to work with, renders faster, and produces more predictable results.
The magic of photorealistic automotive visualization lies significantly in the materials. Car paint, glass, chrome, rubber—each has unique optical properties that must be accurately simulated to convince the viewer. Physically Based Rendering (PBR) workflows are the industry standard for achieving this realism, providing a scientific basis for how light interacts with surfaces. Blender’s node-based material system, especially with the Principled BSDF shader, offers immense control over these properties.
PBR operates on the principle that materials respond to light in a predictable and physically plausible way. Key PBR maps include:
For automotive surfaces, these maps are crucial. Car paint is a complex material, often requiring a layered approach to simulate the clear coat over a metallic base. Glass needs accurate transmission and refraction. Chrome demands high metallic values and low roughness. Understanding these individual components is key to building compelling shaders.
Blender’s Shader Editor is where you construct your materials using a node-based system. The **Principled BSDF** shader (introduced in Blender 2.79) is a universal, energy-conserving shader that handles most PBR material types. It simplifies the process by consolidating many parameters into one node. For car paint, you’ll often start with the Principled BSDF:
Glass materials require high **Transmission** (typically 1.0) and a realistic **IOR (Index of Refraction)**, which is about 1.52 for typical window glass. Ensure the material properties like `Screen Space Refraction` and `Alpha Hashed` are enabled in Eevee for accurate glass representation. For rubber, low metallic, higher roughness, and a dark base color are typical. Chrome uses high metallic (1.0) and very low roughness (0.05-0.1) to achieve its mirror-like finish. Consult the Blender 4.4 documentation on the Principled BSDF shader for a detailed breakdown of each parameter.
Effective UV mapping is indispensable for applying textures accurately, especially normal maps, decals, and any custom paint schemes. For automotive models, which feature many curved and intricate surfaces, smart UV unwrapping is crucial. While premium models from 88cars3d.com often come pre-unwrapped, understanding the process helps with modifications or if you’re dealing with custom parts.
Blender offers several UV unwrapping methods:
Ensure your UV islands are not overlapping (unless using UDIMs or specific texture techniques) and are scaled appropriately. For very high-resolution details across large surfaces, **UDIMs** (UV Dimension) can be utilized, where different parts of the model use separate UV tiles, each with its own high-resolution texture set. This is a more advanced technique but invaluable for cinematic quality where a single 4K texture might not suffice for an entire car body.
Lighting is the single most critical factor in achieving photorealistic renders. It defines mood, highlights form, and interacts with your carefully crafted materials to bring your 3D car model to life. A masterful lighting setup can transform a good model into a stunning visual, while poor lighting can make even the best model look flat and unconvincing. In Blender, a combination of HDRI (High Dynamic Range Image) lighting and targeted area lights is often used to achieve professional results.
High Dynamic Range Images (HDRIs) are panoramic images that contain a vast range of light information, from the brightest highlights to the deepest shadows. When used as environment lighting in Blender (either in Cycles or Eevee), they can simulate real-world lighting conditions with remarkable accuracy. This means your 3D car model will naturally reflect and be illuminated by the nuances of a real outdoor scene, a studio, or an urban environment.
To set up an HDRI in Blender:
For automotive renders, HDRIs of studios, outdoor environments (e.g., sunny fields, overcast skies), or industrial settings work exceptionally well, providing realistic reflections on the car body.
While HDRIs provide global illumination, specific lighting details often need refinement with individual light sources. The classic **three-point lighting setup** is a fundamental technique for highlighting your subject:
For studio setups, combine these lights with large **Area Lights** acting as softboxes. These produce soft, even illumination with gentle falloffs, ideal for showcasing automotive curves without harsh shadows. You can also use long, narrow area lights to create appealing reflections (strip lights) on the car’s body panels. Consider adding a simple studio backdrop—an infinite plane or cyclorama—to provide a clean, seamless background that doesn’t distract from the car itself. Placing a large, dim area light above the car can simulate a studio ceiling, providing gentle top-down illumination.
Beyond the basics, several advanced techniques can push your automotive lighting further:
Experimentation is key here. Every car model and scene benefits from a unique lighting approach. Spend time observing how light interacts with real cars in different environments to inform your digital setups.
With your meticulously modeled car, realistic materials, and sophisticated lighting in place, the final step before post-processing is to capture your scene through the lens of a virtual camera. Just like in real-world photography, thoughtful camera composition and effective rendering settings are paramount to showcasing your automotive masterpiece in the best possible light.
Good composition draws the viewer’s eye and tells a story. When photographing cars, several principles from real-world automotive photography apply directly to your Blender scene:
Experiment with different angles and distances. A single car can tell many stories depending on how it’s framed.
Blender provides robust camera controls that mimic real-world camera functionality. Select your camera in the viewport and navigate to the `Object Data Properties` panel (green camera icon) to adjust key settings:
For showcasing the car from multiple angles or for a dynamic presentation, consider simple animations. A basic **turntable animation** is an excellent way to present your model. Select your car, add an `Empty` object at its origin, parent the car to the empty (`Ctrl+P`), then keyframe the empty’s Z-rotation over a few seconds (e.g., 360 degrees over 250 frames for a 10-second animation at 25fps). For more on camera settings and animation, refer to the Blender 4.4 documentation on cameras and the animation system overview.
Blender offers two powerful render engines: **Cycles** and **Eevee**. Your choice depends on your priorities:
For automotive product visualization, Cycles is generally preferred for final, high-quality stills due to its superior realism. Eevee is excellent for quick previews and potentially for animations where render time is a major constraint. In the `Render Properties` tab, set your `Render Engine`, `Resolution` (e.g., 1920×1080 for HD, 3840×2160 for 4K), and `Output` format (PNG for stills with alpha, JPEG for web, OpenEXR for multi-layer compositing). Make sure to set a proper `Output Directory` for your rendered images.
The journey to a perfect automotive visualization doesn’t end when the render engine finishes its work. Post-processing is a crucial final stage, akin to a photographer’s darkroom, where you can enhance colors, adjust contrast, add atmospheric effects, and fine-tune your image to achieve a polished, professional look. This step can transform a good render into an exceptional one, adding that final layer of artistry and impact.
Blender’s built-in Compositor offers a powerful node-based environment for post-processing your renders without needing external software. This is particularly useful for quick adjustments and for adding effects directly within your 3D workflow. To access it, switch your workspace to `Compositing`. Ensure `Use Nodes` is checked, and you’ll see `Render Layers` connected to `Composite` and `Viewer` nodes.
Key compositing nodes for automotive renders include:
By chaining these nodes, you can iteratively refine the visual impact of your render. Always view your changes in real-time using the `Viewer` node (connected to your final output) to ensure desired results.
For ultimate control and professional-grade finishing, exporting your render passes and compositing them in external software like Adobe Photoshop, Affinity Photo, or GIMP is highly recommended. Blender’s `OpenEXR` multi-layer output format is ideal for this, as it allows you to export various render passes (e.g., Diffuse Color, Glossy Direct, Glossy Indirect, Transmission, Normal, Z-Depth) within a single file. This gives you unparalleled flexibility to adjust each component of your image independently.
The typical workflow involves:
This granular control allows you to correct errors, emphasize features, and infuse your unique artistic vision into the final image, pushing the photorealism and emotional impact to its peak.
The final destination of your automotive visualization dictates specific optimization strategies:
Understanding these output requirements from the outset will save you time and effort in the long run, ensuring your stunning automotive render looks its best no matter where it’s displayed.
Creating professional-grade automotive product visualizations in Blender is a deeply rewarding journey, blending technical expertise with artistic vision. We’ve traversed the entire landscape, from the critical first step of selecting a high-quality 3D car model from platforms like 88cars3d.com, to meticulously preparing its geometry and crafting physically accurate PBR materials. We then explored the art and science of lighting, harnessing the power of HDRIs and strategic light placement to define form and mood. Finally, we delved into effective camera composition, rendering workflows with Cycles and Eevee, and the essential post-processing techniques that add the final polish and emotional impact to your automotive masterpieces.
Each stage—asset acquisition, material development, lighting design, camera work, rendering, and compositing—is interconnected, and mastery in one area often elevates the others. The process is iterative, encouraging experimentation and continuous refinement. By applying the detailed technical insights and best practices outlined in this guide, you are now equipped to transform raw 3D data into captivating visual narratives that resonate with your audience, whether for marketing, design review, or personal artistic expression. Keep practicing, keep experimenting, and keep pushing the boundaries of what’s possible in 3D visualization. To kickstart your next project with premium assets, explore the exceptional range of 3D car models available at 88cars3d.com and begin crafting your own stunning automotive scenes.
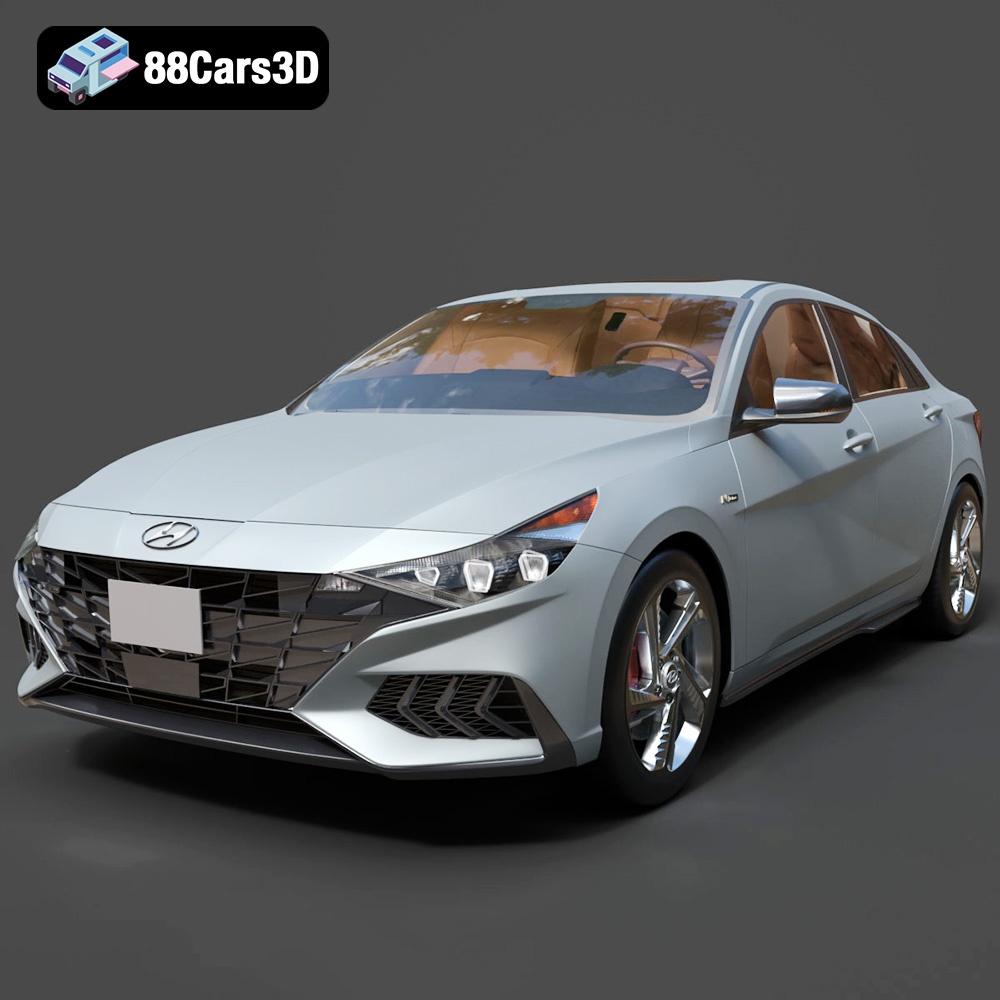
Texture: Yes | Material: Yes
Download the highly detailed, game-ready Hyundai Elantra N Line 2021 3D Model. Features aggressive N Line body styling, parametric jewel grille, and sport interior details. Includes .blend, .fbx, .obj, .glb, .stl, .ply, .unreal, and .max formats for game development, AR/VR, and rendering.
Price: $226.00
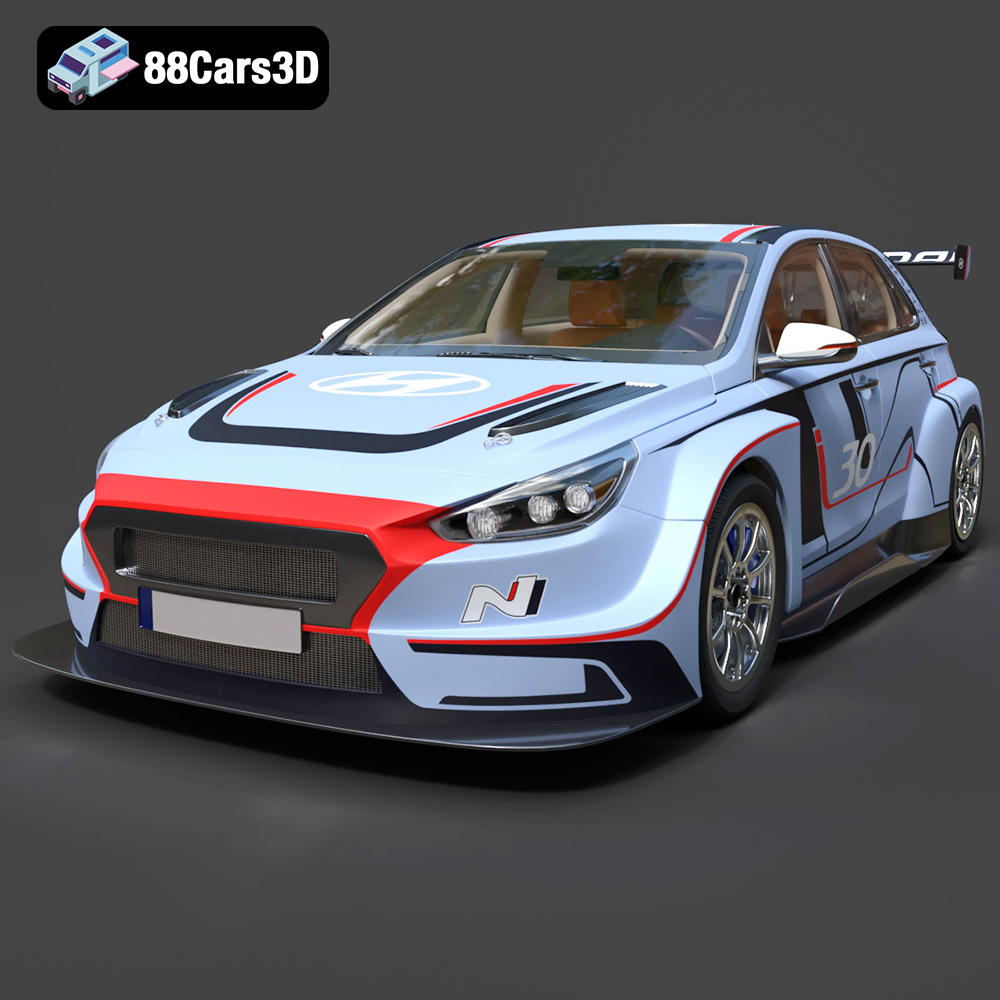
Texture: Yes | Material: Yes
Download the highly detailed, game-ready Hyundai i30 N TCR Hatchback 2020 3D Model. Features aggressive touring car aerodynamics, high-downforce rear wing, and race-spec interior. Includes .blend, .fbx, .obj, .glb, .stl, .ply, .unreal, and .max formats for game development, AR/VR, and rendering.
Price: $204.99
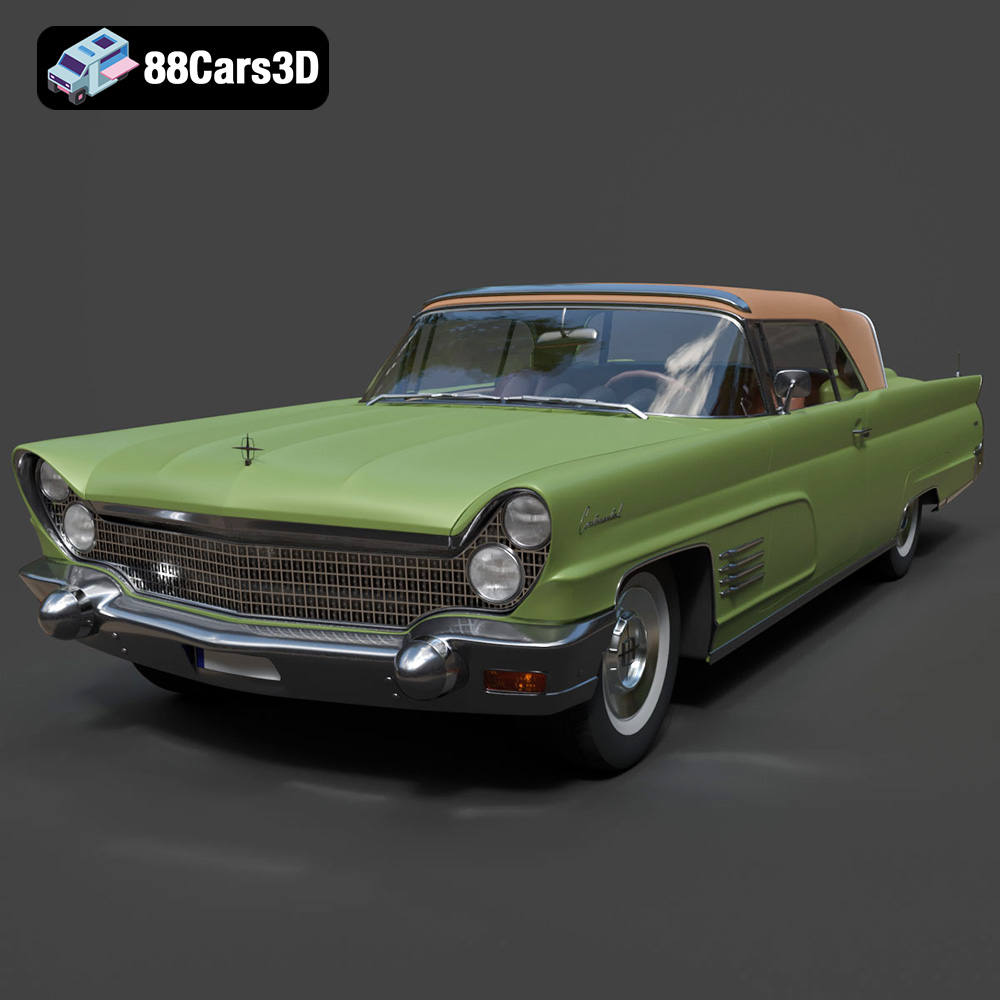
Texture: Yes | Material: Yes
Download the highly detailed, game-ready Lincoln Continental Mark V 1960 3D Model. Features iconic 1960s luxury cruiser styling, massive chrome grille, reverse-slant rear window, and sweeping tail fins. Includes .blend, .fbx, .obj, .glb, .stl, .ply, .unreal, and .max formats for game development, AR/VR, and rendering.
Price: $208.99
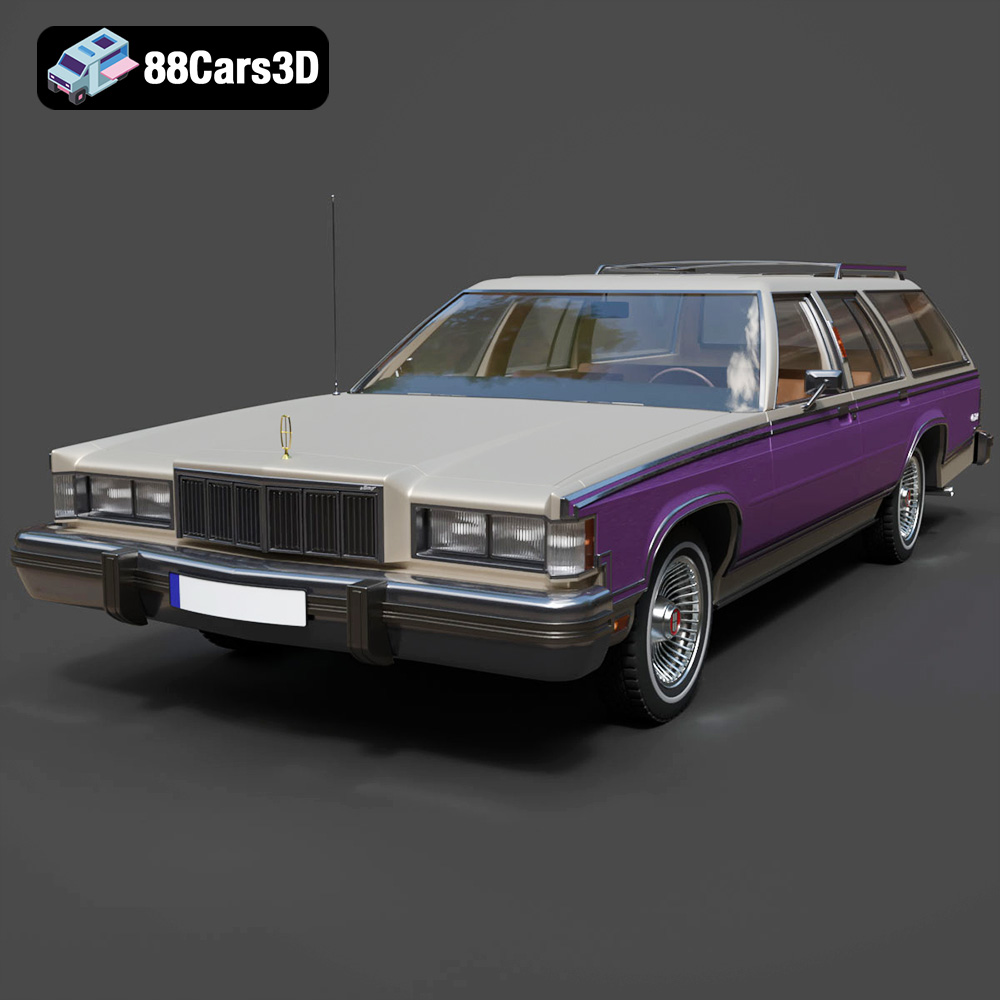
Texture: Yes | Material: Yes
Download the highly detailed, game-ready Mercury Marquis Colony Park 1981 3D Model. Features iconic simulated woodgrain siding, classic full-size wagon proportions, and realistic chrome exterior trim. Includes .blend, .fbx, .obj, .glb, .stl, .ply, .unreal, and .max formats for game development, AR/VR, and rendering.
Price: $262.50
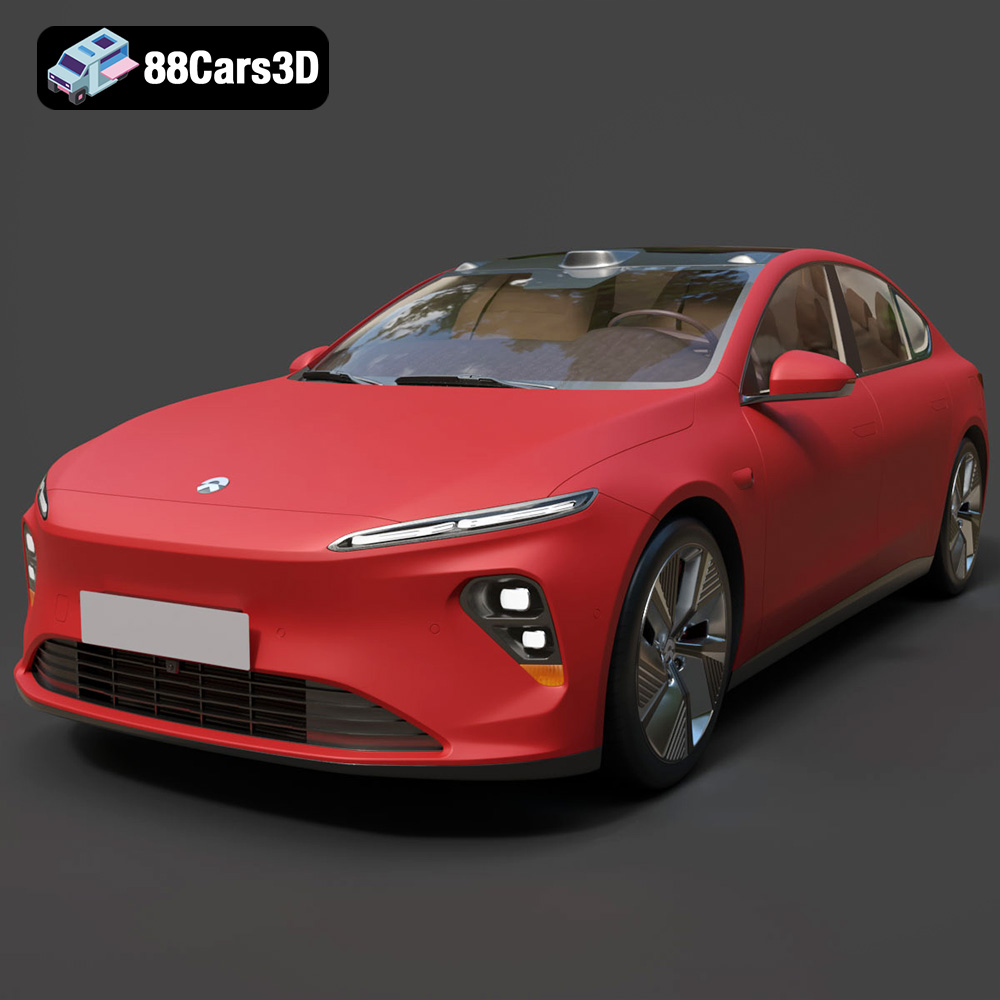
Texture: Yes | Material: Yes
Download the highly detailed, game-ready Nio ET7 2021 3D Model. Features sleek aerodynamic luxury electric sedan styling, integrated LiDAR sensors, and signature Double-Dash LED lights. Includes .blend, .fbx, .obj, .glb, .stl, .ply, .unreal, and .max formats for game development, AR/VR, and rendering.
Price: $207.99
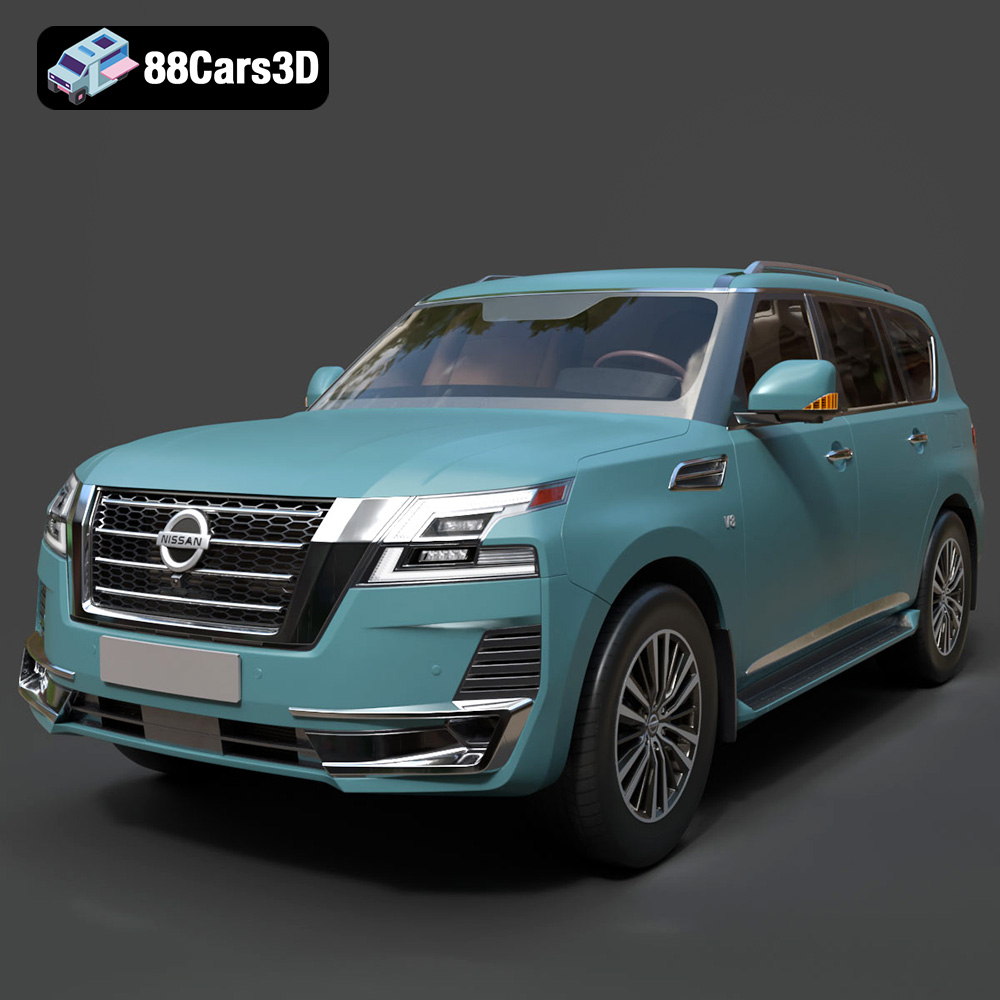
Texture: Yes | Material: Yes
Download the highly detailed, game-ready Nissan Patrol 2021 3D Model. Features signature V-motion grille, realistic exterior detailing, and a fully rendered luxury interior. Includes .blend, .fbx, .obj, .glb, .stl, .ply, .unreal, and .max formats for game development, AR/VR, and rendering.
Price: $297.99
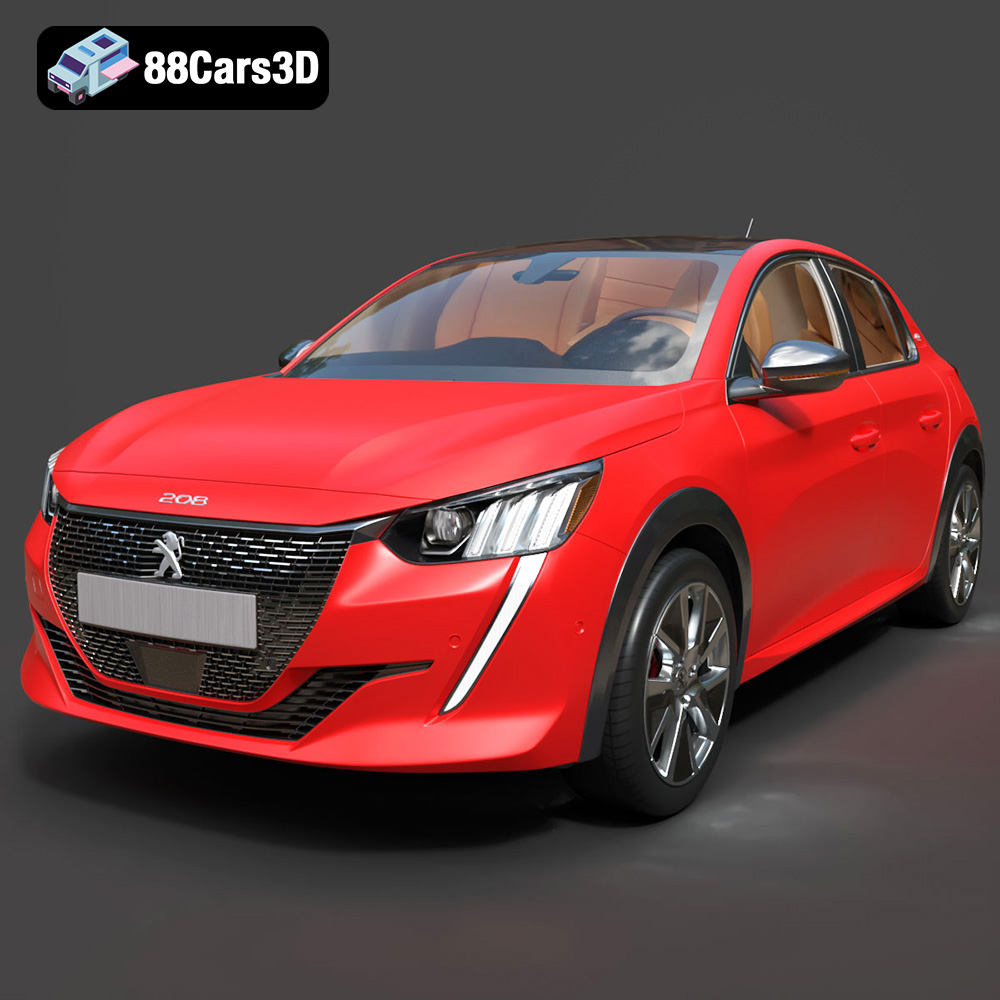
Texture: Yes | Material: Yes
Download the highly detailed, game-ready Peugeot e-208 2020 3D Model. Features 3-claw LED lighting, dynamic body geometry, and a fully detailed i-Cockpit interior. Includes .blend, .fbx, .obj, .glb, .stl, .ply, .unreal, and .max formats for game development, AR/VR, and rendering.
Price: $224.00
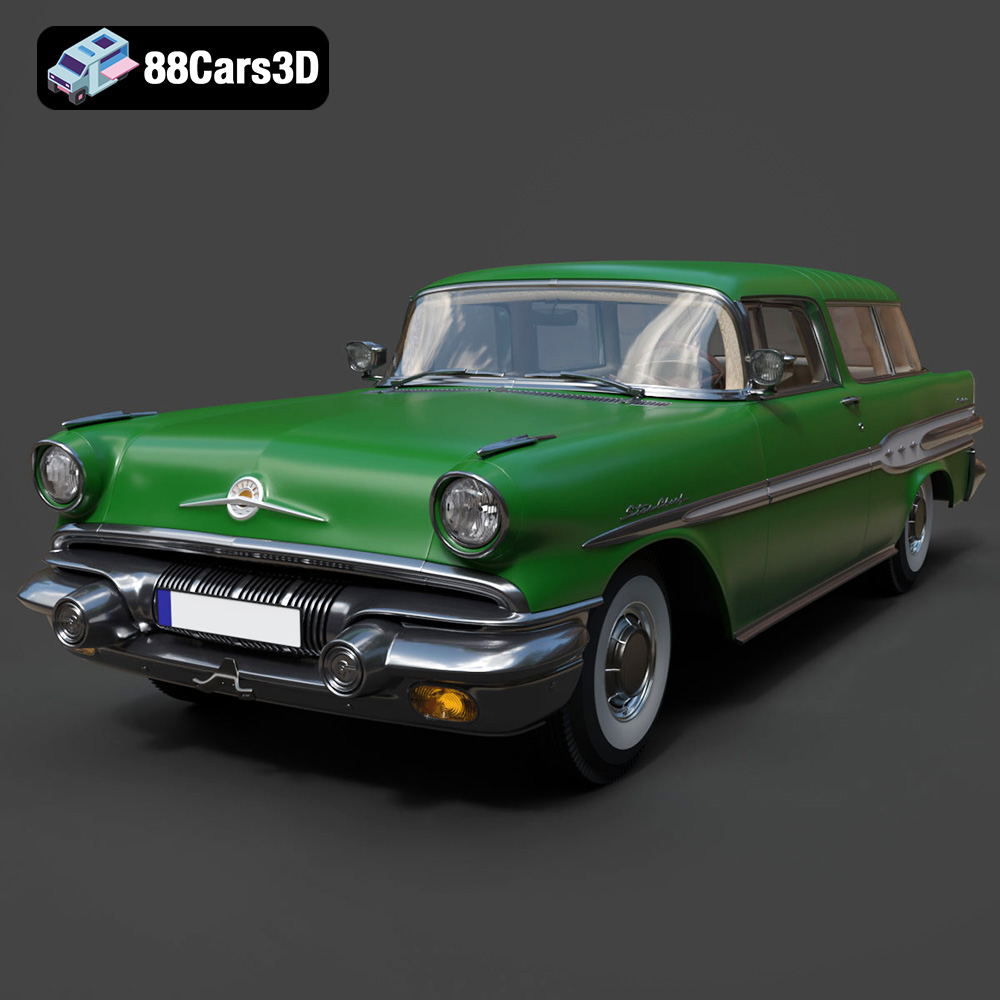
Texture: Yes | Material: Yes
Download the highly detailed, game-ready Pontiac Star Chief Custom Safari 2-door 1957 3D Model. Features classic 1950s two-door wagon bodywork, iconic chrome tail fins, and realistic interior detailing. Includes .blend, .fbx, .obj, .glb, .stl, .ply, .unreal, and .max formats for game development, AR/VR, and rendering.
Price: $203.50
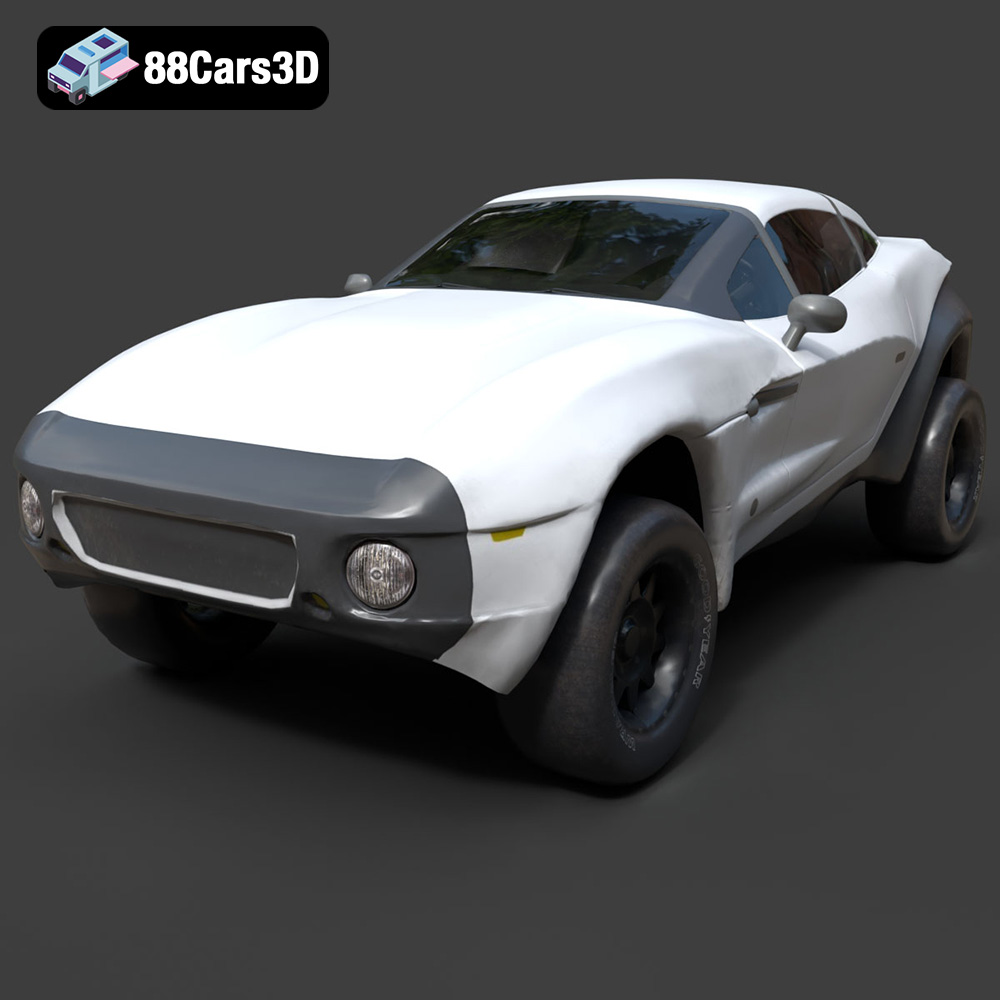
Texture: Yes | Material: Yes
Download the highly detailed, game-ready Local Motors Rally Fighter 3D Model. Features aggressive off-road long-travel suspension, detailed interior cockpit, and high-clearance body styling. Includes .blend, .fbx, .obj, .glb, .stl, .ply, .unreal, and .max formats for game development, AR/VR, and rendering.
Price: $99.99
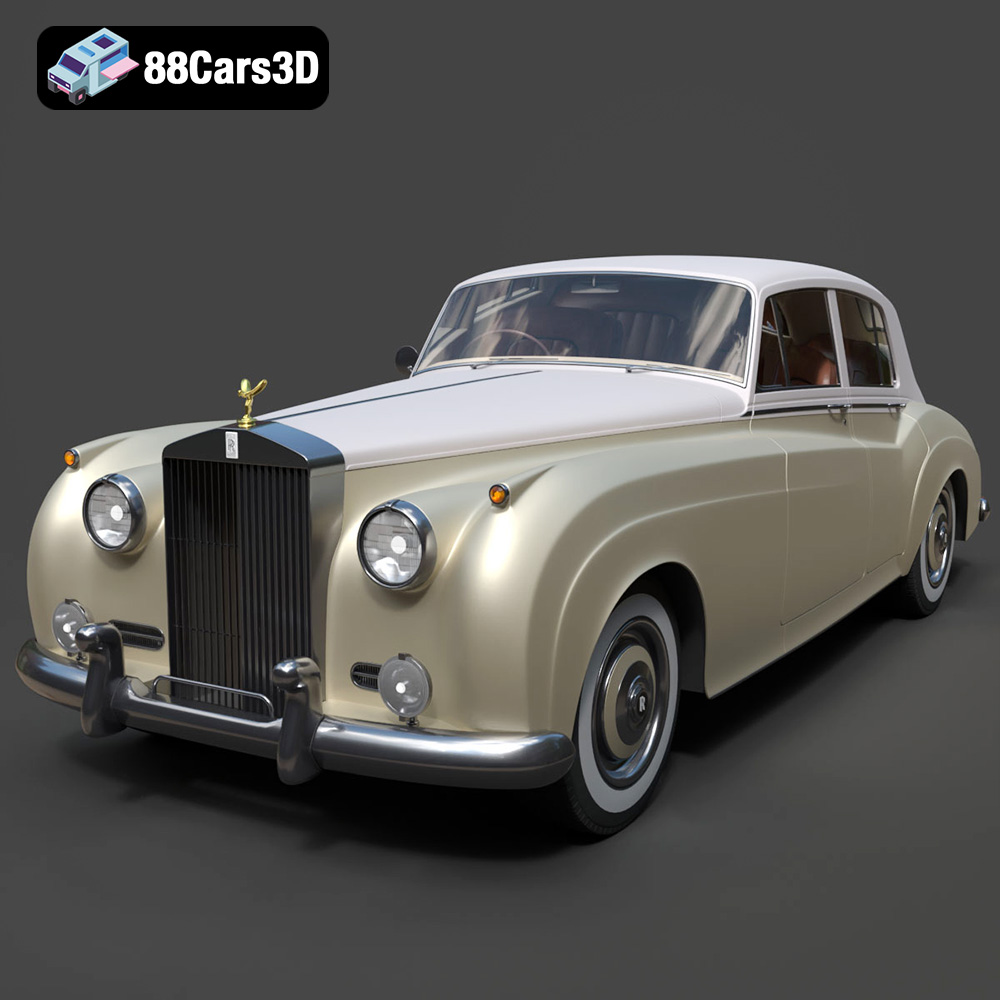
Texture: Yes | Material: Yes
Download the highly detailed, game-ready Rolls-Royce Silver Cloud II 1959 3D Model. Features classic chrome radiator grille, iconic Spirit of Ecstasy ornament, and elegant two-tone bodylines. Includes .blend, .fbx, .obj, .glb, .stl, .ply, .unreal, and .max formats for game development, AR/VR, and rendering.
Price: $201.00
