

In the demanding world of 3D automotive design, game development, and high-fidelity visualization, the devil is truly in the details. While the car body often commands the initial attention, it’s the wheels—the tires and rims—that often define a vehicle’s character, performance, and overall realism. A meticulously crafted set of wheels can elevate a 3D car model from good to breathtaking, conveying a sense of authenticity and precision that resonates with viewers and users alike. Whether you’re developing assets for an AAA game, creating stunning marketing renders, or designing for cutting-edge AR/VR experiences, the quality of your wheel models directly impacts the final impression.
This comprehensive guide dives deep into the art and science of creating hyper-realistic tire and rim models using Blender, the powerful open-source 3D suite. We’ll explore the intricate workflows, technical considerations, and industry best practices required to produce assets that stand up to the closest scrutiny. From optimizing topology and mastering UV unwrapping to crafting advanced PBR materials and preparing models for diverse applications like game engines and 3D printing, you’ll gain actionable insights to enhance your automotive modeling skills. We’ll leverage Blender’s robust toolset, discussing techniques relevant to professionals and enthusiasts aiming for photorealistic results. Prepare to transform your understanding of automotive 3D modeling and learn how to build wheels that truly drive realism home.
The foundation of any realistic 3D model, especially complex automotive components like tires and rims, lies in its topology. Clean, efficient, and well-managed polygon distribution is paramount for achieving smooth surfaces, facilitating accurate deformations, and ensuring optimal performance across various platforms. Poor topology leads to shading artifacts, complicates UV mapping, and makes subsequent sculpting or texturing a nightmare. For automotive models, maintaining perfect curvature and crisp edges while minimizing polygon count is a constant balancing act. The goal is to distribute polygons intelligently, concentrating detail where it’s needed most, such as around bolt patterns, tire treads, and sharp rim edges, while keeping flatter surfaces as clean as possible.
When modeling tires, a common approach involves starting with a simple cylinder and extruding the profile. The challenge then becomes accurately replicating the complex tread patterns and sidewall details. For rims, a combination of curve modeling, extrusion, and boolean operations can be effective, followed by meticulous retopology. Regardless of the initial technique, the final mesh must exhibit excellent edge flow. This means edges should follow the natural contours of the object, directing the flow of light and shadow smoothly. For instance, around a tire’s sidewall lettering, edge loops should tightly define the raised elements, allowing for crisp details without excessive polygons across the entire surface. Similarly, on a rim, edge loops should clearly delineate spokes, recesses, and mounting points. Achieving this often involves careful manual adjustment, loop cuts, and dissolving unnecessary edges.
One of the most powerful techniques for creating smooth, high-fidelity surfaces for both tires and rims is subdivisional modeling. In Blender, this is primarily achieved using the Subdivision Surface modifier. This non-destructive modifier allows you to work with a low-polygon base mesh (the control cage) and then automatically generates a much smoother, higher-resolution mesh at render time. This workflow is incredibly efficient because you can make broad changes to the low-poly mesh, and the subdivision surface seamlessly refines the shape. For tires, you might model the general shape of the tread block and sidewall lettering with fewer polygons, then apply subdivision to get the smooth, rounded edges characteristic of rubber. Rims, with their intricate curves and sharp edges, also benefit immensely from this approach, allowing artists to define intricate spoke designs with a relatively simple underlying geometry.
When using the Subdivision Surface modifier, it’s crucial to manage your edge creasing and support loops. Support loops are additional edge loops placed close to existing edges to “tighten” the subdivision, creating sharp corners or defining hard edges. Without them, a subdivided mesh would appear entirely soft and rounded. For a tire’s tread, multiple support loops define the crisp edges of the blocks, while on a rim, they ensure that the spokes maintain their defined forms rather than melting into the overall shape. For detailed information on using the Subdivision Surface modifier in Blender, you can refer to the official Blender 4.4 documentation on Subdivision Surface, which explains its various settings and applications.
Optimal edge flow is about guiding the path of polygons in a way that best describes the object’s form. For a tire, this means edge loops should环绕 tire’s circumference, following the contours of the sidewall and the edges of the tread blocks. On a rim, edge loops should radiate outwards from the hub, outlining the spokes and intersecting smoothly with the rim barrel. Good edge flow not only provides a clean aesthetic but is also essential for animation, deformation, and baking normal maps without artifacts. Polygon density refers to how many polygons are concentrated in a given area. While aiming for efficiency, critical areas like tire treads or intricate rim designs will naturally require higher polygon density to capture their complexity. However, flat surfaces or areas with minimal curvature should have a sparse polygon count.
A common pitfall is to have excessive polygon density in areas that don’t contribute to the visual fidelity, or conversely, too few polygons in areas requiring fine detail. An effective strategy is to use a “clean-up” phase after initial modeling, where you dissolve redundant edge loops and merge vertices to reduce face count without sacrificing shape. Tools like Blender’s ‘Dissolve Edges’ and ‘Merge Vertices’ are invaluable here. The goal is to strike a balance where the model looks smooth and detailed even at close inspection, but remains optimized for its intended use—a game asset might target 50,000-100,000 polygons for an entire vehicle, meaning wheels need to be a judicious portion of that, perhaps 10,000-20,000 triangles per wheel for a high-detail LOD. For high-fidelity rendering, however, polygon counts can be much higher, often exceeding 100,000 triangles per wheel, leveraging subdivision surfaces to their fullest extent.
Once the topology of your tire and rim models is solid, the next critical step is UV mapping. UV mapping is the process of flattening the 3D surface of your model into a 2D space, allowing you to apply 2D textures (like color, roughness, and normal maps) accurately. For complex curved objects like wheels, sloppy UVs can lead to stretched textures, visible seams, and a significant reduction in realism. The challenge with wheels lies in their cylindrical and often intricate nature; unwrapping them effectively requires careful planning and execution to minimize distortion and maximize texture resolution.
The primary goal of UV mapping for automotive parts is to create a clean, organized UV layout where texture islands are packed efficiently, and individual pixels on your texture map correspond to an even surface area on your 3D model. This prevents stretching and ensures that details, such as tire lettering or brushed metal patterns on a rim, appear consistent and natural. Furthermore, strategic seam placement is vital to hide them from direct view in renders or game environments, enhancing the visual integrity of the asset. A well-executed UV map is indispensable for producing high-quality PBR materials, which rely heavily on precise texture application.
Defining where your UV seams will be cut is perhaps the most crucial decision in the unwrapping process. For a tire, common practice dictates placing a seam along the inner circumference of the tire, where it meets the rim, and another along the very bottom of the tread or sidewall, away from prominent viewing angles. This allows the main sidewall and tread to unwrap as relatively flat strips. For the rim, seams are often placed along the interior surfaces of spokes, along the inside of the barrel, or wherever the geometry naturally creates a hard edge or a less visible area. The aim is to create as few, and as hidden, seams as possible, allowing for contiguous texture flow across large surfaces.
Blender provides powerful tools for defining seams and unwrapping. The ‘Mark Seam’ tool (accessible in Edit Mode) allows you to select edges and designate them as UV seams. Once seams are marked, you can use the ‘Unwrap’ function to project the selected faces onto the UV Editor. Experimenting with different projection methods like ‘Cylinder Projection’ for the tire barrel or ‘Smart UV Project’ for complex rim geometry can yield good starting points. However, manual refinement in the UV Editor, using tools to scale, rotate, and align UV islands, is almost always necessary to achieve an optimal layout. For more details on Blender’s UV editing capabilities, the official Blender 4.4 documentation provides a comprehensive guide on Unwrapping Meshes.
Texture distortion occurs when the aspect ratio or scaling of a texture on the 3D model deviates from its original 2D representation in the UV map. This often manifests as stretched or squashed texture details. To combat this, aim for relatively uniform texel (texture pixel) density across all your UV islands. Blender’s UV Editor has an ‘Average Island Scale’ and ‘Pack Islands’ function that can help distribute texels more evenly and maximize the use of the UV space. It’s also beneficial to maintain consistent orientations for similar elements; for example, all tire lettering should be oriented in the same direction on the UV map to simplify texturing.
Regarding texture resolution, for high-fidelity automotive models, resolutions of 2K (2048×2048) to 4K (4096×4096) are common for individual wheel components (tire, rim, brake caliper). For an entire wheel assembly on a platform like 88cars3d.com, you might even see 8K textures for extreme close-ups in rendering. Game assets, on the other hand, require a more optimized approach, often utilizing 1K or 2K textures, potentially with shared atlases for multiple parts to reduce draw calls. Understanding the target platform and its texture budget is crucial. Always test your UVs with a checkerboard texture to visually identify any stretching or areas with significantly different texel density before committing to final texture painting. This proactive step saves immense time and effort in the long run.
Achieving photorealistic tire and rim models transcends geometry and UVs; it heavily relies on physically based rendering (PBR) materials. PBR materials simulate how light interacts with surfaces in a physically accurate manner, resulting in consistent and realistic lighting responses across various environments. In Blender, this is primarily done using the Principled BSDF shader, which incorporates parameters like Base Color, Metallic, Roughness, Specular, and Normal to define a material’s properties. Building compelling PBR materials for wheels involves a deep understanding of these parameters and how to combine image textures and procedural nodes within a robust shader network.
The interplay of light and surface properties is what sells the realism. A tire, for instance, isn’t just black; it has varying degrees of reflectivity, roughness, and subtle color variations due to dirt, wear, and rubber composition. Rims can range from highly reflective chrome to matte painted finishes, brushed metals, or even carbon fiber, each requiring a precise calibration of PBR values. A single ‘diffuse’ texture is no longer sufficient; instead, you’ll work with multiple texture maps (albedo/base color, metallic, roughness, normal, displacement, ambient occlusion) to feed into the Principled BSDF shader, creating a rich and believable surface appearance.
A realistic tire material in Blender’s Cycles or Eevee render engines starts with a nuanced understanding of rubber. The Base Color isn’t pure black but a very dark grey, perhaps with a subtle brownish or bluish tint to reflect environmental dust or rubber compounds. The Roughness map is critical; new rubber is relatively smooth but becomes rougher with wear and tear. Tread blocks will have varying roughness values where they contact the road versus the untouched sidewalls. A detailed Normal Map is essential for conveying the micro-surface details of the rubber, such as subtle pores and manufacturing textures, as well as the bold details of the tread pattern and sidewall lettering, all baked down from a high-poly sculpt or generated from height maps.
Beyond the basics, you can enhance a tire material with additional nodes. A slight Anisotropic shader component can simulate the very subtle directional reflections sometimes seen on worn rubber. Incorporating a subtle layer of dust or grime through a mix shader with a Gradient Texture or Vertex Colors can add an extra layer of realism. For even more detailed tire tread, a Displacement Map can provide actual geometric displacement, especially useful for close-up renders where normal maps might not suffice. However, displacement adds significantly to render time and memory, so it should be used judiciously. The Blender 4.4 documentation on Principled BSDF Shader is an excellent resource for understanding all its parameters.
Rim materials offer a wider range of complexity, often combining multiple material types on a single asset. A typical rim might feature painted metal, polished chrome, brushed aluminum, and even carbon fiber inserts. Each of these requires its own PBR treatment. For painted metals, the metallic value will be 1 (full metal), with the base color defining the paint hue. The roughness map will dictate the glossiness of the paint, with clear coats having very low roughness and matte finishes having high roughness. A subtle normal map can add orange peel texture for painted surfaces. Polished chrome is characterized by a metallic value of 1, an almost pure white base color (or very light grey), and extremely low roughness. Brushed aluminum, conversely, also has a metallic value of 1, but its roughness map features fine anisotropic streaks, often generated from a procedural texture or a specialized image texture.
Procedural textures within Blender’s shader editor (like Noise Texture, Voronoi Texture, or Musgrave Texture) are incredibly useful for adding subtle surface imperfections, scratches, or even generating complex patterns for unique rim finishes without relying solely on image textures. These can be mixed with image textures to create highly detailed and randomized effects that are difficult to achieve with images alone. For instance, a subtle grunge map can be multiplied over a roughness map to simulate accumulated dirt or brake dust, especially on the inner barrel of the rim. Using a Mix Shader with masks (generated from ambient occlusion, curvature maps, or custom painted masks) allows you to blend different material layers, such as a clean base paint with a worn-edge material or brake dust accumulation, achieving a truly dynamic and believable surface.
While photorealistic renders are a primary goal for many automotive 3D artists, the utility of a high-quality 3D car model extends far beyond static images. Game developers, AR/VR content creators, and even 3D printing enthusiasts require models that are optimized for their specific platforms and constraints. A common mistake is to create an ultra-high-poly model for rendering and then assume it’s suitable for real-time applications or manufacturing without significant adjustments. Each target platform has unique technical demands regarding polygon count, texture memory, and overall asset complexity. Understanding these requirements and implementing effective optimization strategies is crucial for cross-platform compatibility and performance.
The process of optimizing involves a strategic reduction of polygon count, careful management of texture resources, and ensuring the mesh is robust enough for its intended purpose. For instance, game engines prioritize frame rate and draw call efficiency, while AR/VR applications focus on maintaining a smooth user experience on mobile devices with limited processing power. 3D printing, on the other hand, demands a watertight, manifold mesh with specific wall thickness and detail preservation. Adapting your exquisite Blender models for these diverse applications is a skill that significantly enhances their marketability and versatility, particularly for a platform like 88cars3d.com, which caters to a broad professional audience.
For game engines like Unity or Unreal Engine, performance is king. High-resolution tire and rim models, while stunning in a render, can quickly cripple frame rates. The solution lies in implementing Levels of Detail (LODs). LODs are simplified versions of your model that automatically swap in at different distances from the camera. A typical setup might include:
Blender’s ‘Decimate’ modifier can be used to generate lower LODs, though manual cleanup is often required to maintain shape integrity. Each LOD should be carefully checked to ensure it retains the visual essence of the original model.
Draw calls are another performance bottleneck. Each time the game engine has to tell the GPU to draw a new object or use a new material, it incurs a draw call. Reducing draw calls is vital. For wheels, this means consolidating materials. Instead of having separate materials for the rim, tire, brake caliper, and lug nuts, consider combining their textures into a single Texture Atlas. This is a large texture sheet containing all the individual textures. By re-UV mapping your components to use this atlas, the engine can render the entire wheel assembly with a single material, drastically cutting draw calls. While this adds complexity to the UV unwrapping process (requiring careful packing of multiple UV islands onto one sheet), the performance gains are substantial, making it an essential technique for game asset development.
AR/VR applications, particularly on mobile platforms, share similar optimization needs with games but often have even tighter constraints on polygon count and texture memory. Mobile AR/VR prioritizes extremely low poly counts (often < 50,000 triangles for an entire vehicle) and small texture sizes (512x512 to 1K resolution) to ensure smooth performance and prevent motion sickness. The optimization techniques for games (LODs, texture atlasing) are directly applicable here, but often pushed to more extreme levels. Furthermore, AR/VR models must be meticulously scaled and centered correctly within the scene to avoid placement issues in the real world.
3D printing introduces an entirely different set of requirements. The model must be manifold (watertight, with no holes or self-intersecting geometry) and free of non-manifold edges. Blender’s ‘3D Print Toolbox’ addon (available in preferences) is invaluable here, providing tools to analyze and fix common mesh issues like non-manifold edges, isolated vertices, and thin walls. The model also needs appropriate wall thickness—too thin, and it might break during printing; too thick, and it wastes material and print time. Internal cavities often need to be “shelled” or made solid. Finally, the scale of the model must be precise and exported in formats compatible with slicer software, such as STL or OBJ. Ensure all normals are consistently facing outwards for proper print preparation. Mesh repair for 3D printing is a critical step to avoid failed prints and costly material waste.
Even the most perfectly modeled and textured tire and rim can look dull without proper lighting and rendering. Lighting is the storyteller of your scene; it defines mood, highlights form, and brings out the intricate details of your materials. In Blender, Cycles and Eevee are the primary rendering engines, each offering distinct advantages. Cycles, a physically based ray-tracer, excels at producing photorealistic results with accurate light bounces and reflections, ideal for high-fidelity marketing renders. Eevee, a real-time renderer, offers lightning-fast previews and can achieve impressive results suitable for animations and quick visualizations. Mastering both is key to producing versatile and stunning automotive visuals.
Beyond the raw render, post-processing is the final crucial step that elevates an image from good to outstanding. Just as a photographer fine-tunes an image in a darkroom, 3D artists use post-processing to adjust colors, add effects like glare and depth of field, and enhance the overall visual impact. This phase can dramatically increase the perceived realism and professional polish of your tire and rim renders, making them truly stand out in portfolios or on platforms offering high-quality 3D car models.
For achieving clean, professional renders of tires and rims, especially for product showcases on platforms like 88cars3d.com, a studio lighting setup is often preferred. This typically involves a three-point lighting system:
Beyond this, additional area lights can be placed to highlight specific features like brake calipers or subtle reflections on the rim spokes. Using large area lights with soft falloffs helps create smooth, appealing reflections and prevents harsh highlights.
HDRI (High Dynamic Range Image) environments are indispensable for photorealistic rendering. An HDRI acts as both a light source and a background, projecting real-world lighting information onto your scene. A studio HDRI provides soft, diffused lighting and neutral reflections, while an outdoor HDRI (e.g., a cloudy sky or a city street) will cast realistic shadows and environmental reflections onto your car model. In Blender’s Cycles, you can easily set up an HDRI by adding an ‘Environment Texture’ node to your World Shader. For optimal results, combine an HDRI with additional targeted area lights to fine-tune reflections and shadows, creating a dynamic and believable scene. Remember to adjust the strength and rotation of the HDRI to get the desired look. For detailed instructions on Blender’s lighting and rendering, the official Blender 4.4 documentation on Cycles Render Engine and Lighting is an invaluable resource.
Once your render is complete, the journey isn’t over. Blender’s built-in Compositor is a powerful node-based editor that allows you to perform professional-grade post-processing without leaving the software. Key compositing techniques for automotive renders include:
By rendering out various passes (Cryptomatte, Z-Depth, Normal, Ambient Occlusion, Mist) you gain even greater control in the compositor, allowing you to selectively adjust specific parts of your image or create complex effects. The key is subtlety; post-processing should enhance, not overpower, the underlying render. Aim for a polished, photographic quality that makes your 3D work indistinguishable from reality.
Creating stunning tire and rim models in Blender is only half the battle; ensuring they can be seamlessly integrated into various pipelines and software environments is equally crucial. The 3D industry relies on a multitude of file formats, each with its strengths and weaknesses, and understanding which format to use for what purpose is a vital skill. Whether you’re supplying assets for a game studio, an architectural visualization firm, or simply sharing your creations on a marketplace, proper export settings and file format choices determine the compatibility and functionality of your automotive 3D models.
Incorrect export procedures can lead to lost data (like materials or animations), broken hierarchies, or scale issues, causing significant headaches down the line. For premium assets, particularly those sold on platforms specializing in high-quality 3D car models, providing a range of well-prepared file formats is a mark of professionalism. This section will guide you through the most common and important file formats for automotive 3D assets, discussing their optimal use cases and how to ensure smooth conversion and compatibility across different software and platforms.
Blender’s FBX exporter is robust, but always test the exported file in the target software (e.g., Unity, Unreal Engine, Maya) to confirm everything imports correctly.
Regardless of the chosen format, ensuring data integrity during export is paramount. Always apply all transforms (location, rotation, scale) in Blender before exporting to prevent scale or orientation issues in other software. Use ‘Ctrl+A > All Transforms’ or the ‘Apply’ menu in the object properties panel. Ensure your model’s origin point is correctly set, typically at the center of the wheel for easier placement in scenes. Check for flipped normals; these can cause shading errors in other applications. In Blender, you can visualize normals by enabling ‘Face Orientation’ in the Viewport Overlays.
When providing textures, especially if not embedded, ensure they are in common formats like JPG or PNG, and ideally, packed into a single, clearly named folder. Consistency in naming conventions for objects, materials, and textures across all files significantly aids in integration. Finally, always perform a thorough check of the exported asset in the target environment. Import your FBX into Unity, your GLB into a web viewer, or your USDZ onto an iPhone to verify that materials render correctly, scale is accurate, and geometry is intact. This proactive verification process is a hallmark of professional 3D asset creation and ensures a seamless experience for end-users and clients alike, reflecting the high standards expected from assets on marketplaces like 88cars3d.com.
Crafting hyper-realistic tire and rim models in Blender is a deeply rewarding endeavor that requires a blend of artistic vision, technical prowess, and meticulous attention to detail. We’ve journeyed through the intricate stages, from establishing flawless topology and precisely unwrapping complex surfaces to building physically accurate PBR materials and optimizing assets for diverse applications like game engines, AR/VR, and 3D printing. We’ve explored the nuances of studio lighting and post-processing in Cycles, and navigated the critical world of file formats to ensure cross-platform compatibility.
The techniques discussed, from strategic edge flow and support loops for subdivision surfaces to intelligent UV seam placement and texture atlasing, are not just theoretical concepts but actionable strategies employed by leading 3D artists. By embracing these best practices, you empower yourself to create automotive assets that not only look stunning but are also functionally robust and versatile for any professional pipeline. Remember, realism isn’t just about high polygon counts; it’s about the intelligent distribution of detail, the accurate representation of material properties, and the thoughtful presentation of your work.
Your ability to create such detailed and optimized models will undoubtedly elevate your portfolio and expand your opportunities in the competitive 3D industry. Continue to experiment, learn from real-world references, and push the boundaries of what’s possible in Blender. For those seeking a head start or looking to expand their libraries, platforms like 88cars3d.com offer a curated selection of high-quality 3D car models, providing excellent resources for further study and integration into your projects. Master these principles, and you’ll be well on your way to becoming an expert in automotive 3D modeling, where every tire and rim you create tells a story of precision and photorealism.
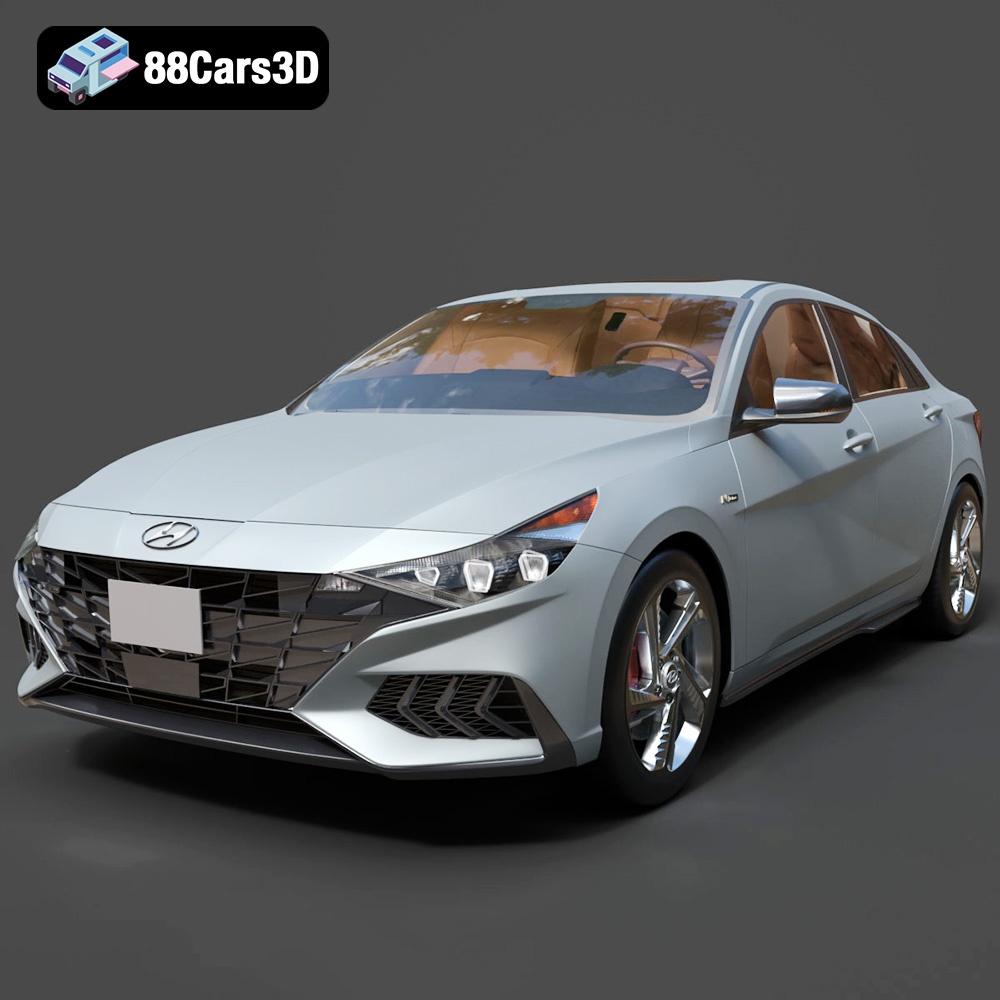
Texture: Yes | Material: Yes
Download the highly detailed, game-ready Hyundai Elantra N Line 2021 3D Model. Features aggressive N Line body styling, parametric jewel grille, and sport interior details. Includes .blend, .fbx, .obj, .glb, .stl, .ply, .unreal, and .max formats for game development, AR/VR, and rendering.
Price: $226.00
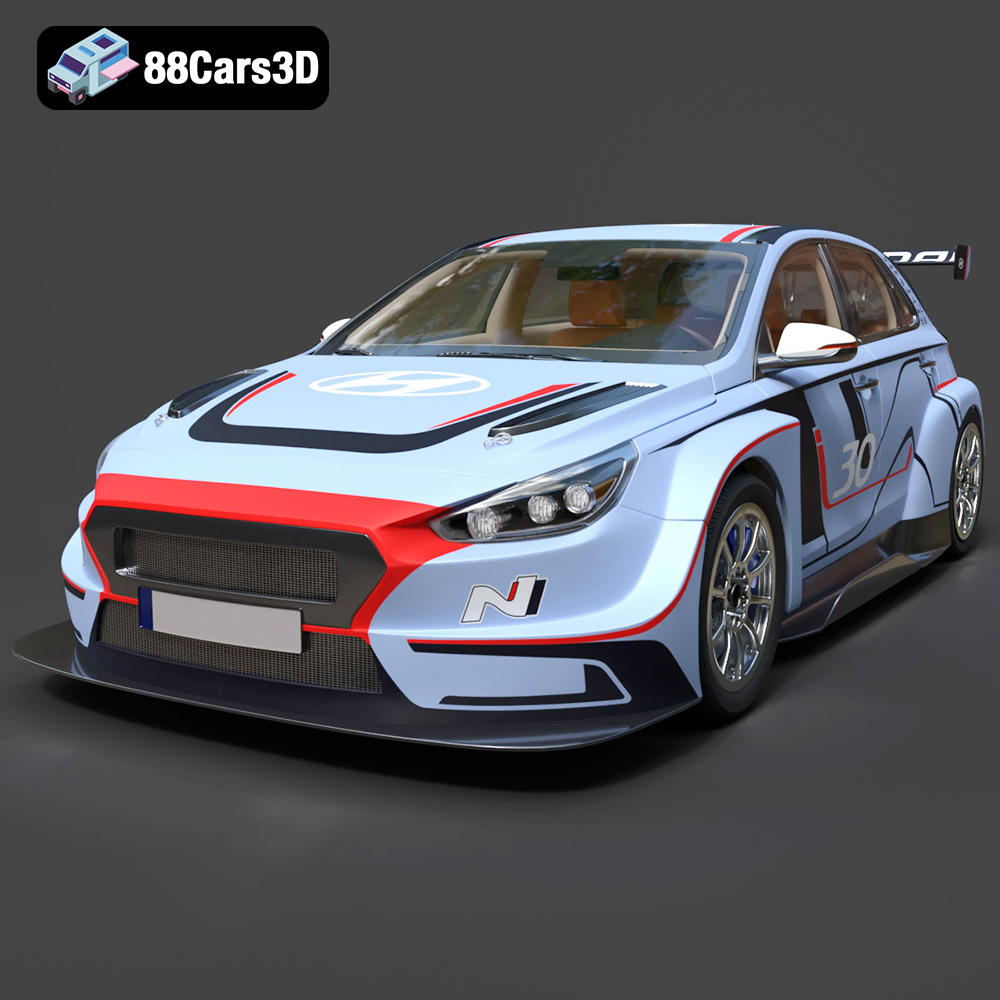
Texture: Yes | Material: Yes
Download the highly detailed, game-ready Hyundai i30 N TCR Hatchback 2020 3D Model. Features aggressive touring car aerodynamics, high-downforce rear wing, and race-spec interior. Includes .blend, .fbx, .obj, .glb, .stl, .ply, .unreal, and .max formats for game development, AR/VR, and rendering.
Price: $204.99
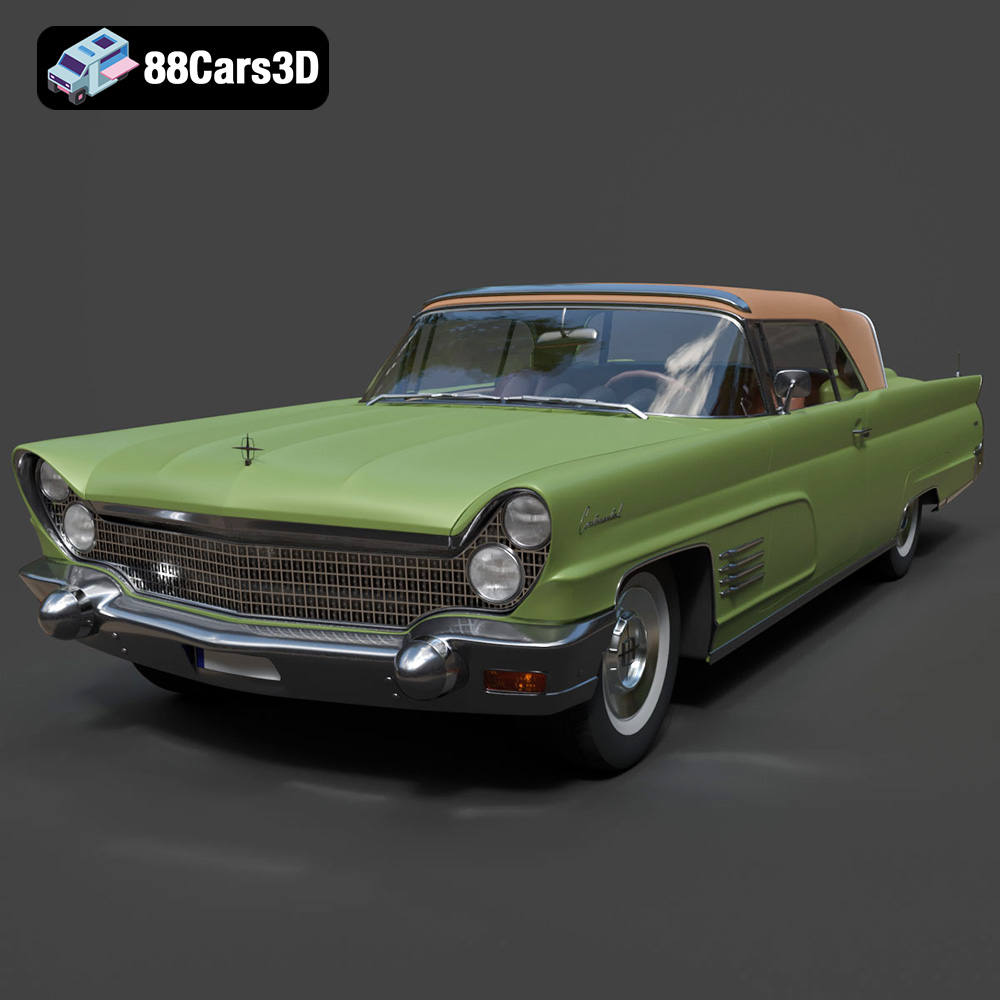
Texture: Yes | Material: Yes
Download the highly detailed, game-ready Lincoln Continental Mark V 1960 3D Model. Features iconic 1960s luxury cruiser styling, massive chrome grille, reverse-slant rear window, and sweeping tail fins. Includes .blend, .fbx, .obj, .glb, .stl, .ply, .unreal, and .max formats for game development, AR/VR, and rendering.
Price: $208.99
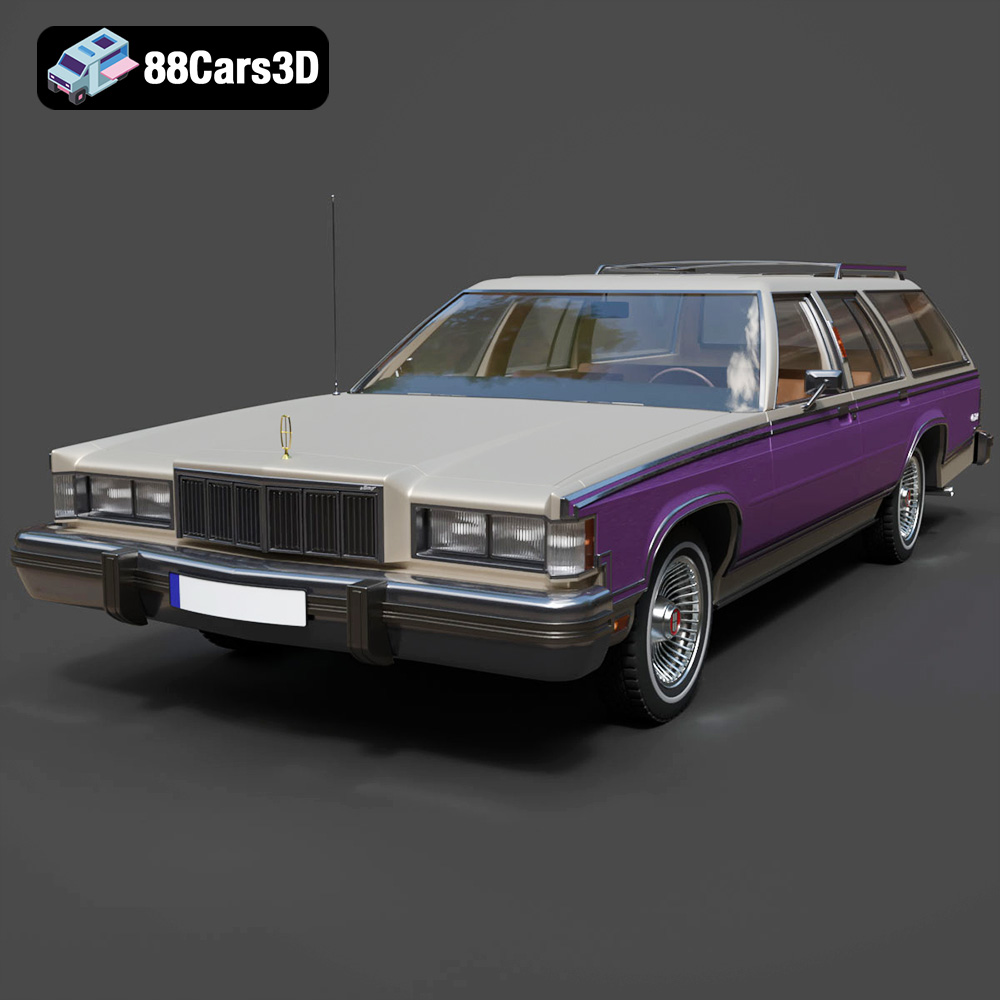
Texture: Yes | Material: Yes
Download the highly detailed, game-ready Mercury Marquis Colony Park 1981 3D Model. Features iconic simulated woodgrain siding, classic full-size wagon proportions, and realistic chrome exterior trim. Includes .blend, .fbx, .obj, .glb, .stl, .ply, .unreal, and .max formats for game development, AR/VR, and rendering.
Price: $262.50
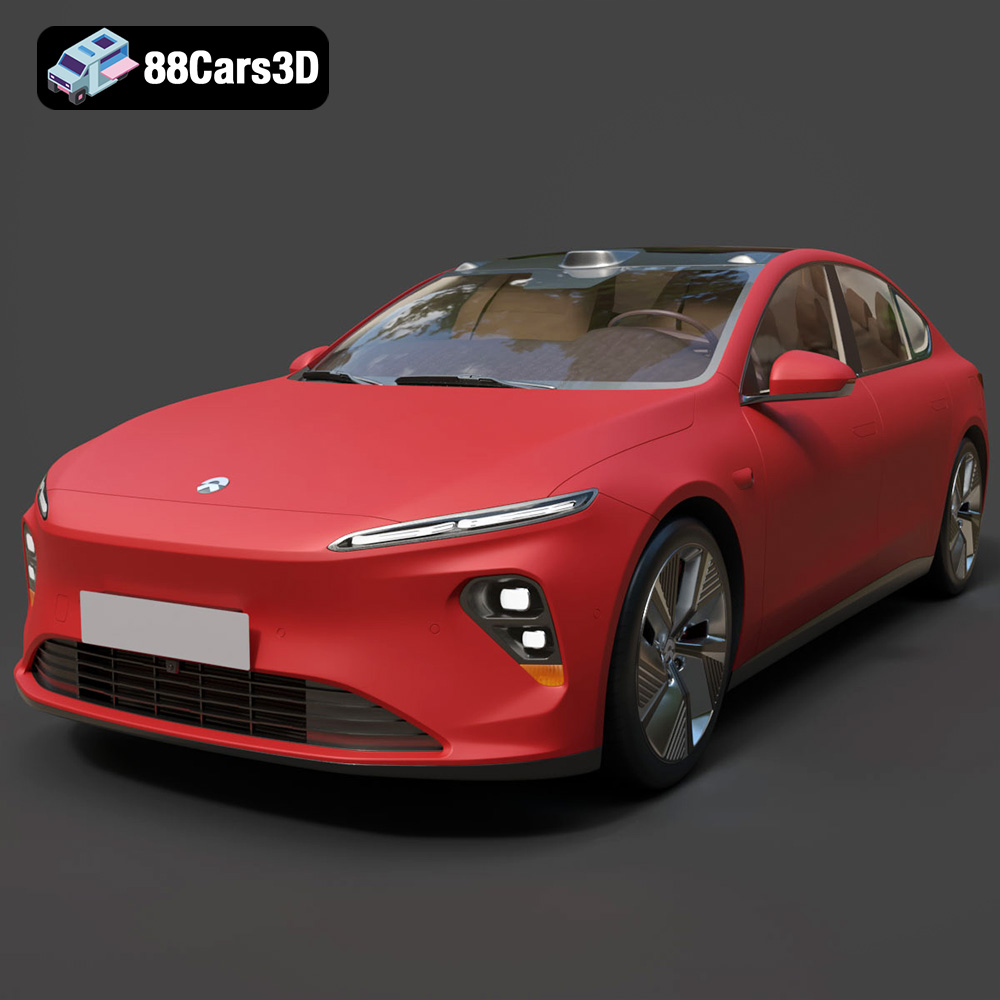
Texture: Yes | Material: Yes
Download the highly detailed, game-ready Nio ET7 2021 3D Model. Features sleek aerodynamic luxury electric sedan styling, integrated LiDAR sensors, and signature Double-Dash LED lights. Includes .blend, .fbx, .obj, .glb, .stl, .ply, .unreal, and .max formats for game development, AR/VR, and rendering.
Price: $207.99
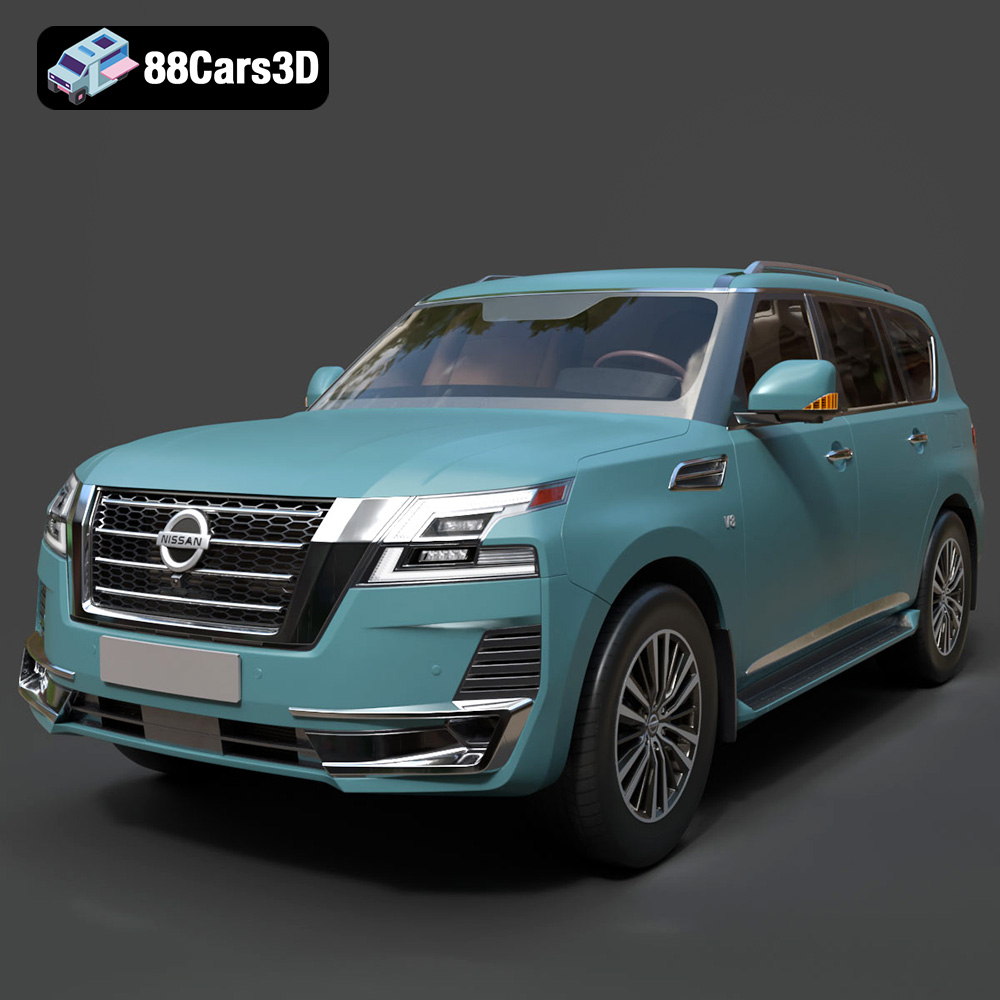
Texture: Yes | Material: Yes
Download the highly detailed, game-ready Nissan Patrol 2021 3D Model. Features signature V-motion grille, realistic exterior detailing, and a fully rendered luxury interior. Includes .blend, .fbx, .obj, .glb, .stl, .ply, .unreal, and .max formats for game development, AR/VR, and rendering.
Price: $297.99
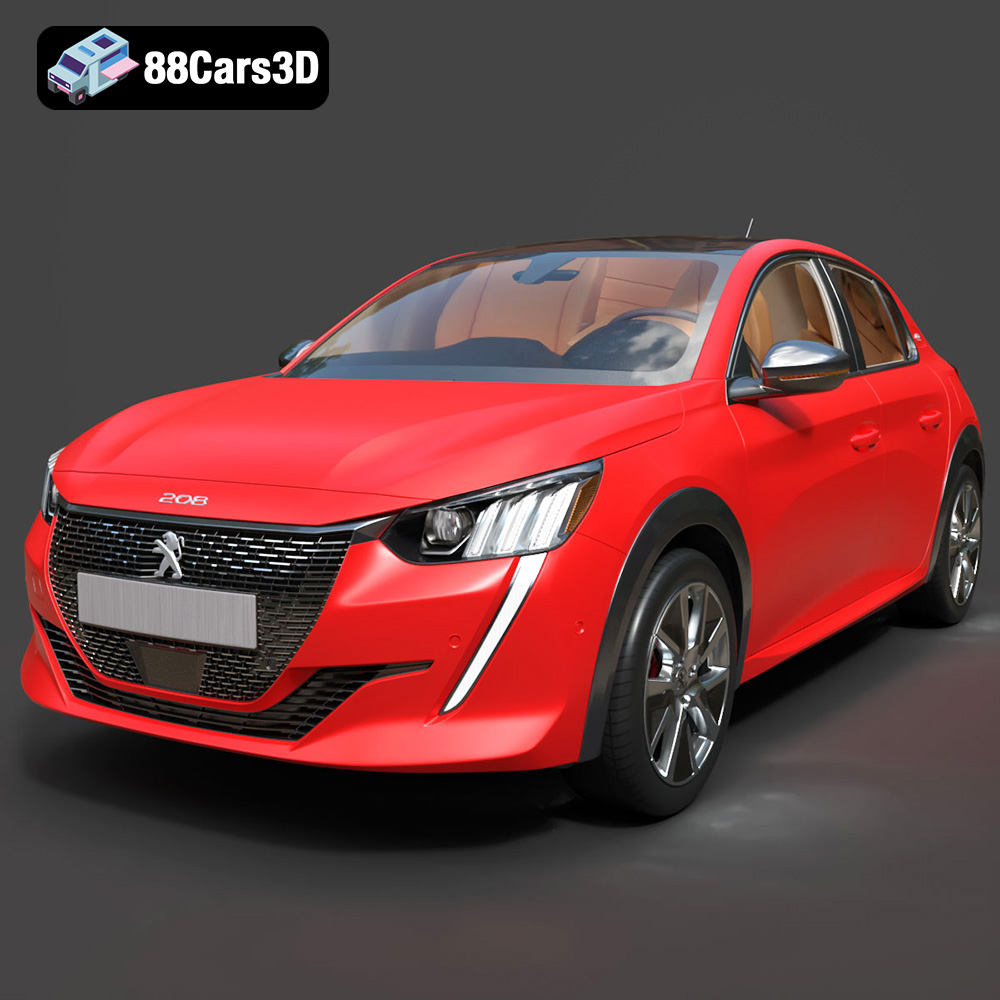
Texture: Yes | Material: Yes
Download the highly detailed, game-ready Peugeot e-208 2020 3D Model. Features 3-claw LED lighting, dynamic body geometry, and a fully detailed i-Cockpit interior. Includes .blend, .fbx, .obj, .glb, .stl, .ply, .unreal, and .max formats for game development, AR/VR, and rendering.
Price: $224.00
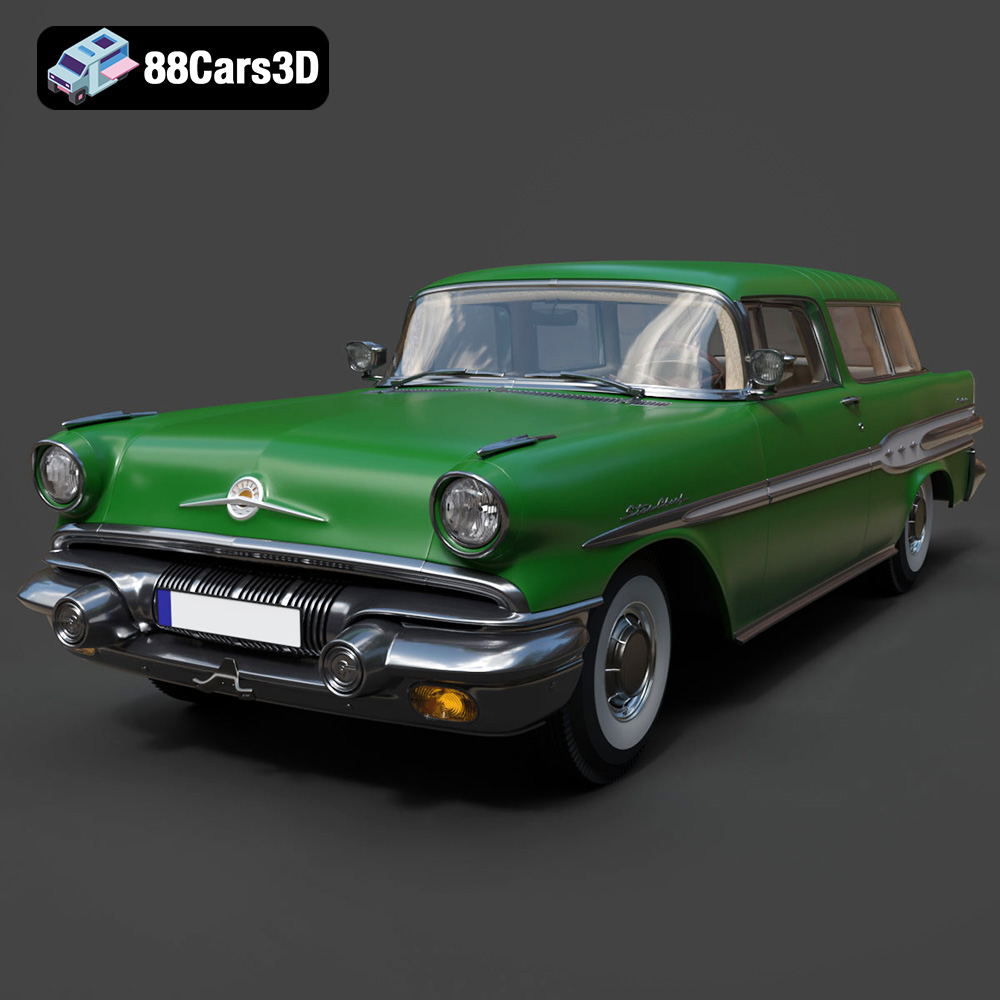
Texture: Yes | Material: Yes
Download the highly detailed, game-ready Pontiac Star Chief Custom Safari 2-door 1957 3D Model. Features classic 1950s two-door wagon bodywork, iconic chrome tail fins, and realistic interior detailing. Includes .blend, .fbx, .obj, .glb, .stl, .ply, .unreal, and .max formats for game development, AR/VR, and rendering.
Price: $203.50
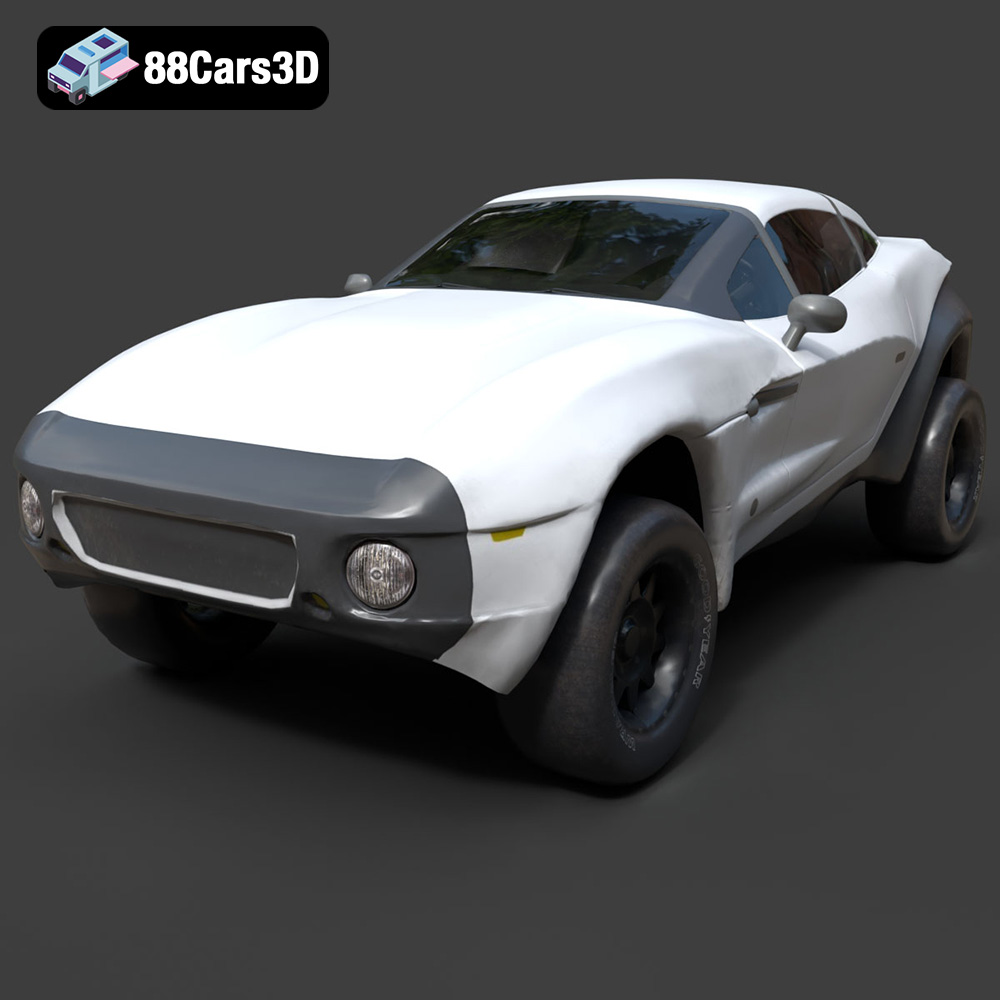
Texture: Yes | Material: Yes
Download the highly detailed, game-ready Local Motors Rally Fighter 3D Model. Features aggressive off-road long-travel suspension, detailed interior cockpit, and high-clearance body styling. Includes .blend, .fbx, .obj, .glb, .stl, .ply, .unreal, and .max formats for game development, AR/VR, and rendering.
Price: $99.99
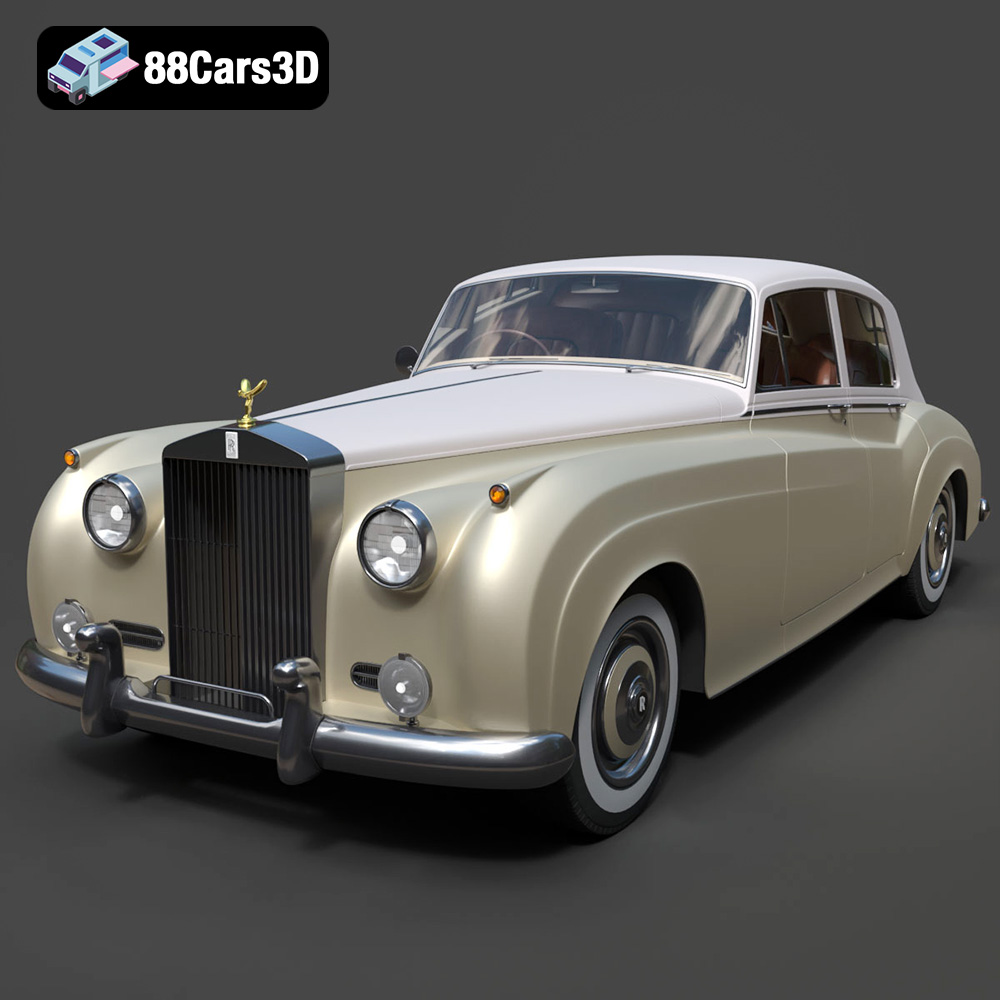
Texture: Yes | Material: Yes
Download the highly detailed, game-ready Rolls-Royce Silver Cloud II 1959 3D Model. Features classic chrome radiator grille, iconic Spirit of Ecstasy ornament, and elegant two-tone bodylines. Includes .blend, .fbx, .obj, .glb, .stl, .ply, .unreal, and .max formats for game development, AR/VR, and rendering.
Price: $201.00
