

The journey of a high-quality 3D car model from its initial creation in a modeling suite like Blender to its final, stunning presentation within a powerful real-time engine such as Unreal Engine is a testament to precision, technical expertise, and artistic vision. For automotive designers, game developers, architectural visualizers, and anyone requiring photorealistic 3D car models, a clean and optimized asset pipeline is not just a luxury—it’s an absolute necessity. It ensures that your meticulously crafted vehicles not only look incredible but also perform flawlessly, whether in a high-fidelity cinematic render, an interactive AR/VR experience, or a fast-paced game environment. This comprehensive guide will meticulously walk you through the critical steps of transforming your Blender creations into production-ready assets for Unreal Engine, focusing on the techniques and best practices that professionals employ. We’ll delve into everything from foundational modeling principles and advanced UV mapping to PBR material workflows, game engine optimization, and cutting-edge applications like AR/VR and 3D printing. By the end of this article, you’ll possess a robust understanding of how to maintain visual integrity while maximizing performance, allowing you to leverage the full potential of your automotive rendering projects. For those looking to source premium, production-ready models, platforms like 88cars3d.com offer an excellent starting point, providing the high-quality base assets essential for such demanding pipelines.
The quality of your 3D car models begins with the modeling process itself in Blender. A robust and clean mesh is the bedrock upon which all subsequent stages—UV mapping, texturing, rigging, and animation—are built. For complex subjects like cars, maintaining exceptional topology is paramount. This isn’t just about making the model look good; it’s about ensuring it deforms correctly, shades smoothly, and is efficient for game engines. Avoid overly dense meshes where details can be conveyed with textures or normal maps. Aim for a balance, where important contours and hard edges are supported by sufficient geometry, but flat surfaces remain economical.
When modeling, prioritize quads over triangles, as quads facilitate cleaner edge flow and subdivision surface modifiers. For intricate details, consider using a non-destructive workflow where possible, leveraging modifiers like Bevel, Solidify, and Subdivision Surface. For instance, creating the complex curves of a car body requires careful attention to curvature continuity. Use techniques such as mesh alignment with reference images, precise scaling, and proportional editing to maintain accurate dimensions and organic shapes. Remember, the goal is to create a model that is easy to edit, optimize, and export without introducing errors or visual artifacts. This meticulous approach in Blender sets the stage for flawless performance in Unreal Engine, ensuring your game assets are of the highest caliber.
For realistic automotive rendering, meticulous attention to topology and edge flow is crucial. Good topology ensures that your mesh deforms predictably and allows for clean subdivision when using modifiers like Subdivision Surface. For car bodies, this means creating edge loops that follow the natural contours and creases of the vehicle, especially around panels, wheel wells, and door lines. These loops provide the necessary support for sharp edges while allowing large, curved surfaces to remain smooth. Avoiding poles with more than five edges (n-gons) is generally a good practice, as they can cause shading artifacts and deformation issues.
When building a car model, consider starting with a low-polygon base mesh that captures the primary forms, then gradually add detail through subdivision or additional edge loops. Pay close attention to areas where different panels meet; here, precise edge loops are needed to define shut lines and gaps. Utilize Blender’s modeling tools such as Extrude, Loop Cut, and Slide Edge to refine the mesh. For instance, the Loop Cut tool (Ctrl+R) is indispensable for adding resolution where needed, while the Slide Edge tool (GG) helps maintain surface continuity. For detailed guidance on modeling tools and techniques, refer to the official Blender 4.4 documentation on Modeling, which provides comprehensive information on mesh editing and topology best practices.
While a clean base mesh is fundamental, achieving photorealism often requires high-poly detailing. This can involve adding intricate elements like intricate grilles, complex headlight internals, or subtle panel indents. For organic details or extremely high-frequency surface imperfections, sculpting in Blender can be invaluable. However, direct high-poly sculpting on the entire car body might not always be the most efficient approach for game assets. Instead, consider sculpting high-detail components separately or baking normal maps from high-resolution sculpts onto a lower-polygon game mesh. This technique allows you to achieve apparent detail without significantly increasing the polygon count of your final asset.
When baking normal maps, ensure that your low-poly and high-poly meshes are aligned correctly and that there are no overlapping faces or topology issues that could lead to baking errors. Tools like Blender’s Bake function in the Cycles renderer can efficiently transfer surface detail from a high-poly model to a normal map applied to a game-ready mesh. This workflow is critical for optimizing your 3D car models for performance in Unreal Engine, especially for game asset development, where polygon budgets are often strict. The goal is to capture maximum visual fidelity with minimal geometric overhead.
After perfecting your 3D car models‘ geometry in Blender, the next crucial step towards photorealism is meticulous UV mapping and texturing. UV mapping is the process of flattening the 3D surface of your model into a 2D space, allowing textures to be applied accurately. Poor UVs can lead to stretching, seams, and inefficient texture usage, undermining even the most detailed models. For complex automotive surfaces, strategic UV unwrapping is paramount to avoid these issues and ensure clean, high-resolution texture application, which is vital for any professional automotive rendering.
The key to effective UV mapping for cars lies in creating logical, organized UV islands. These islands should minimize distortion, align with prominent features, and maintain consistent texel density across the entire model. For efficient game engine performance and visual quality, PBR (Physically Based Rendering) materials are the industry standard. This involves creating a suite of textures (Albedo/Base Color, Metallic, Roughness, Normal, Ambient Occlusion) that accurately represent how light interacts with the material’s surface properties. Leveraging Blender’s robust node-based shader editor, you can build sophisticated material networks that translate seamlessly into Unreal Engine, ensuring your vehicle’s paint, glass, rubber, and chrome surfaces look incredibly realistic.
UV mapping a car model effectively requires a methodical approach. Begin by marking seams in logical places where cuts would be less visible or where surface direction changes drastically, such as along sharp edges, under the vehicle, or within shut lines. For example, separating the main body panels, doors, hood, and trunk into distinct UV islands is a common practice. Prioritize keeping UV islands as large as possible to minimize seams and maximize texture resolution. Use Blender’s “Smart UV Project” as a starting point, but always refine it manually for optimal results, rotating and scaling islands to fit the UV space efficiently.
A crucial aspect is maintaining consistent texel density. This means ensuring that the texture resolution per unit of surface area is uniform across all parts of the model. Inconsistent texel density can lead to blurry textures on some parts and overly sharp textures on others. Blender’s UV editor offers tools to help visualize and adjust texel density. Pack your UV islands efficiently within the 0-1 UV space, avoiding overlaps unless you are specifically using mirrored UVs for symmetrical parts to save texture space. For detailed information on Blender’s UV editing tools, including the “Pack Islands” feature and distortion display, consult the official Blender 4.4 documentation on UV Mapping.
Physically Based Rendering (PBR) is the cornerstone of modern automotive rendering, delivering unparalleled realism by simulating how light interacts with surfaces in a physically accurate way. In Blender, PBR materials are typically created using the Principled BSDF shader, which incorporates parameters for Base Color, Metallic, Roughness, Specular, Normal, and other properties. For a car model, you’ll need to define multiple materials: a highly reflective clear coat for the paint, a rougher metallic for engine components, transparent materials for glass, and so on.
Your PBR workflow should involve creating or acquiring high-quality texture maps for each material channel. For example, the Base Color map defines the diffuse color, the Metallic map indicates which parts are metallic (1 for metal, 0 for non-metal), and the Roughness map controls the micro-surface detail (0 for perfectly smooth, 1 for rough). Normal maps are essential for adding fine surface detail without increasing geometry. You can generate these textures through painting software, procedural generation, or by baking from high-poly models. In Blender’s Shader Editor, connect these texture maps to the appropriate inputs of the Principled BSDF node. For instance, a detailed car paint material might involve multiple layers: a base color, a metallic flake layer, and a clear coat, all achievable through complex node networks that blend different shader properties, bringing your 3D car models to life with stunning realism.
Bringing a highly detailed 3D car model from Blender into Unreal Engine requires a strategic approach to optimization. While a render engine can handle millions of polygons for a still image, a real-time environment like Unreal Engine demands efficiency to maintain high frame rates and a smooth user experience. This section focuses on essential optimization techniques that ensure your game assets are not just visually impressive but also performant across various platforms, from high-end PCs to AR/VR devices. The goal is to strike a delicate balance between visual fidelity and real-time responsiveness, a core challenge in game asset development.
Key strategies include implementing Levels of Detail (LODs), creating efficient collision meshes, and leveraging material instancing and texture atlasing. Understanding how Unreal Engine processes assets and draws objects is crucial for minimizing draw calls and memory footprint. By proactively optimizing your car models in Blender before export, you significantly reduce the workload in Unreal Engine, leading to a more efficient development pipeline and superior end-user experience. This careful optimization is what differentiates a usable real-time asset from one that bogs down performance.
Levels of Detail (LODs) are critical for optimizing performance in Unreal Engine. Instead of rendering a high-polygon model at all distances, LODs allow you to swap in progressively simpler versions of your model as the camera moves further away. This dramatically reduces the geometric complexity that the engine needs to process, freeing up resources for other elements. For a car model, you might have 3-5 LOD levels. LOD0 would be your full-detail model, LOD1 a slightly simplified version (e.g., fewer polygons on less visible details), and subsequent LODs increasingly simplified, even potentially replacing complex parts with simplified geometry or billboards at extreme distances.
Blender can be used to generate these LODs. You can create simplified versions of your mesh manually by dissolving edges and vertices, or by using modifiers like Decimate. When using the Decimate modifier, pay attention to the “Planar” and “Un-Subdivide” modes to preserve important details while reducing polygon count. Export each LOD level separately with consistent naming conventions (e.g., Car_LOD0, Car_LOD1) or export the base mesh and let Unreal Engine generate LODs automatically, though manual control usually yields better results. In Unreal Engine, you’ll assign these different mesh variations to the static mesh actor’s LOD settings, defining the screen space percentage at which each LOD transition occurs, ensuring smooth transitions and optimal performance for your 3D car models.
For interactive experiences, especially in games, your 3D car models need robust collision detection. Simply using the high-polygon visual mesh for collisions is highly inefficient. Instead, you should create simplified collision meshes in Blender. These are much lower-polygon approximations of your car’s shape, designed to accurately represent its physical boundaries without the computational overhead of the visual mesh. Common types of collision meshes include convex hulls (for individual components like wheels or major body parts) and simple primitives (boxes, spheres, capsules) for the overall vehicle.
In Blender, you can create these simplified meshes and name them according to Unreal Engine’s naming conventions (e.g., UCX_CarBody, UBX_Wheel). When exported, Unreal Engine will automatically recognize these as collision meshes. Alternatively, Unreal Engine can generate collision meshes automatically upon import, but for complex automotive shapes, manual creation often provides more accurate and efficient results. For more complex vehicle physics, especially for drivable cars, Unreal Engine utilizes Physics Assets. These are collections of rigid bodies and constraints that define how different parts of your vehicle interact physically. Setting these up correctly is vital for realistic vehicle behavior and interaction within the game world.
Optimizing materials and textures is as critical as mesh optimization. Unreal Engine’s material instancing system is a powerful tool for reducing draw calls. Instead of creating a new unique material for every variation of your car (e.g., different paint colors, wheel finishes), you create a master material with exposed parameters (scalars for values, vectors for colors, textures). Then, you create instances of this master material, allowing you to change these parameters without creating entirely new shaders. This significantly reduces the number of unique shaders the engine needs to process, boosting performance.
Texture atlasing is another key optimization technique. Instead of having dozens of small, individual texture files for various parts of your car (screws, badges, small vents), you consolidate them into a single, larger texture atlas. This reduces the number of texture lookups and draw calls, as the engine can sample multiple details from one texture rather than many. This is particularly useful for smaller, less prominent details on your 3D car models. Combining material instancing with texture atlasing creates a highly efficient asset that maintains visual quality while being exceptionally performant within the demanding real-time environment of Unreal Engine.
The transition from Blender to Unreal Engine is a critical phase where careful attention to export and import settings can prevent a host of issues, from incorrect scale and rotations to missing materials and broken animations. A clean export from Blender ensures that all your hard work on modeling, UV mapping, and material preparation translates perfectly into the real-time environment of Unreal Engine. Understanding the nuances of file formats, particularly FBX, is essential for a seamless pipeline. This stage bridges the gap between your creative workspace and the interactive world of game development and visualization.
Before exporting, it’s crucial to perform a final check in Blender: ensure all transforms are applied (Ctrl+A -> All Transforms), scale is set correctly (usually 1 unit = 1 meter), and normals are facing outwards. These small preparatory steps can save hours of troubleshooting in Unreal Engine. Once exported, the import process into Unreal Engine also requires specific settings to correctly interpret the FBX data, including mesh, materials, textures, and any associated animations or skeletal structures. By mastering these export and import settings, you establish a robust and reliable workflow, ensuring your high-quality 3D car models are always ready for prime time in Unreal Engine.
FBX is the industry-standard file format for transferring 3D assets between different software packages, and it’s your go-to for moving 3D car models from Blender to Unreal Engine. When exporting from Blender, navigate to File > Export > FBX (.fbx). Crucial settings to consider in the export dialog include:
Always select only the objects you intend to export before initiating the FBX export process to avoid unnecessary data in your file. For further details on Blender’s FBX export options, refer to the Blender 4.4 documentation on FBX Import/Export.
Once your FBX file is ready, open Unreal Engine and navigate to your Content Browser. Click the “Import” button or drag and drop your FBX file directly into the Content Browser. The FBX Import Options dialog will appear, presenting another set of critical choices:
After a successful import, drag your car’s static or skeletal mesh into your level. Perform a quick visual check: verify scale, rotation, and ensure materials are correctly assigned. Initially, the materials might look basic; this is where you replace the placeholder materials with your optimized PBR master materials and instances, ensuring your automotive rendering achieves its full potential within the Unreal Engine environment.
With your meticulously modeled and optimized 3D car models imported into Unreal Engine, the final stages of bringing them to life involve creating captivating lighting, setting up realistic rendering, and applying a polished post-processing pass. This is where your asset truly shines, transforming from a technical model into a visually stunning piece of interactive art or a cinematic scene. Unreal Engine’s powerful rendering capabilities, combined with its flexible lighting and post-processing tools, allow for an extraordinary level of realism in automotive rendering and visualization.
Effective lighting is not just about making things visible; it’s about defining mood, highlighting key features, and accurately representing surface materials. From physically accurate sky lights and directional lights simulating the sun to intricate fill lights and reflections, each element plays a role in enhancing realism. Post-processing, often overlooked, provides the final layer of polish, adding effects like bloom, depth of field, color grading, and vignetting that can dramatically elevate the perceived quality of your scene. Mastering these techniques will enable you to create truly immersive and photorealistic experiences with your visualization projects.
Creating compelling lighting for 3D car models in Unreal Engine involves a blend of artistic vision and technical understanding of real-world light behavior. Start with a foundational lighting setup. A common approach for automotive scenes includes:
Consider the environment your car is in. Is it indoors with artificial lights, or outdoors under natural light? Each scenario demands a different approach. Use Lumen (Unreal Engine 5) or Baked Lightmass for global illumination to ensure soft, realistic indirect lighting and bounced light, which are crucial for the metallic and reflective surfaces characteristic of automotive rendering.
The Post-Process Volume is your ultimate tool for adding cinematic polish and achieving photorealistic finishes in Unreal Engine. Placed in your scene, it allows you to apply a wide array of visual effects that subtly (or dramatically) alter the final rendered image. Key settings within the Post-Process Volume to refine your 3D car models‘ presentation include:
Experiment with these settings, often starting with subtle adjustments and gradually increasing their intensity until you achieve the desired photorealistic effect. The Post-Process Volume is the final touch that transforms a well-lit scene into a truly captivating visual experience, elevating your visualization to a professional standard.
The versatility of high-quality 3D car models extends far beyond traditional rendering and game development. With careful preparation and optimization, these assets can be deployed in a multitude of cutting-edge applications, unlocking new avenues for interaction, design, and manufacturing. Augmented Reality (AR) and Virtual Reality (VR) experiences offer immersive ways to explore and customize vehicles, while 3D printing allows for the rapid prototyping and creation of physical models. These advanced applications demand specific considerations regarding mesh optimization, material setup, and file format compatibility to ensure optimal performance and accuracy. Professionals using marketplaces like 88cars3d.com for their base models benefit from the clean topology and optimized meshes that are readily adaptable for these diverse uses.
Understanding the unique requirements of each domain is crucial for a successful implementation. From stringent polygon budgets and draw call limitations in AR/VR to watertight meshes and manifold geometry for 3D printing, each application presents its own set of technical challenges and best practices. By preparing your Blender-to-Unreal assets with these advanced uses in mind, you future-proof your work and expand its potential, demonstrating the true power of a meticulously crafted 3D car model pipeline.
Developing immersive AR/VR experiences with 3D car models requires a rigorous approach to optimization, as these platforms have extremely demanding performance budgets. High frame rates (typically 72-90 FPS per eye) are essential to prevent motion sickness and ensure a comfortable user experience. This means minimizing draw calls, polygon counts, and texture memory usage significantly more than for a standard PC game or cinematic render.
Key AR/VR optimization strategies for your automotive assets include:
Adhering to these principles ensures that your 3D car models provide a smooth and visually engaging experience in the demanding world of AR/VR, making your visualization projects truly interactive.
While 3D printing might seem like a departure from digital rendering, the foundation of a good 3D print lies in a well-prepared 3D car model. The requirements for 3D printing are fundamentally different from real-time rendering: meshes must be watertight, manifold, and have sufficient wall thickness. Unreal Engine typically isn’t the final destination for 3D printing, but the Blender asset that went into Unreal is the source. Your Blender model needs specific adjustments:
After preparing your model in Blender, export it and import it into a 3D slicer software (like Ultimaker Cura or PrusaSlicer) for final preparation before sending it to the printer. This meticulous attention to detail ensures that your digital 3D car models translate flawlessly into tangible, physical objects.
The journey from a blank canvas in Blender to a fully optimized, photorealistic 3D car model thriving within Unreal Engine is an intricate yet incredibly rewarding process. It demands a deep understanding of 3D modeling principles, meticulous UV mapping, sophisticated PBR material creation, and rigorous game asset optimization. We’ve explored how foundational modeling techniques in Blender, focusing on clean topology and edge flow, lay the groundwork for a flawless asset. We then delved into the crucial steps of UV unwrapping and developing physically accurate materials that leverage Blender’s node networks for stunning visual realism. The transition to Unreal Engine necessitated a strong emphasis on performance through LODs, efficient collision meshes, and smart material instancing, ensuring your assets are ready for any real-time application.
Furthermore, we’ve highlighted the importance of precise FBX export and import settings to maintain fidelity and covered the art of cinematic lighting and post-processing within Unreal Engine to achieve that coveted photorealistic finish. Finally, we looked beyond traditional rendering, examining the specific optimizations required for immersive AR/VR experiences and the technical considerations for preparing your 3D car models for 3D printing. By adhering to these best practices and leveraging the powerful tools available in Blender and Unreal Engine, you can consistently produce assets that meet the highest industry standards for automotive rendering, game development, and advanced visualization. Whether you’re a seasoned professional or an aspiring artist, mastering this pipeline empowers you to create truly exceptional 3D vehicles. Remember, the investment in quality at each step, from modeling to final polish, pays dividends in the form of breathtaking visuals and seamless performance, providing an unparalleled experience for your audience and enhancing the value of your creations, especially if you’re sourcing high-quality base models from platforms like 88cars3d.com.
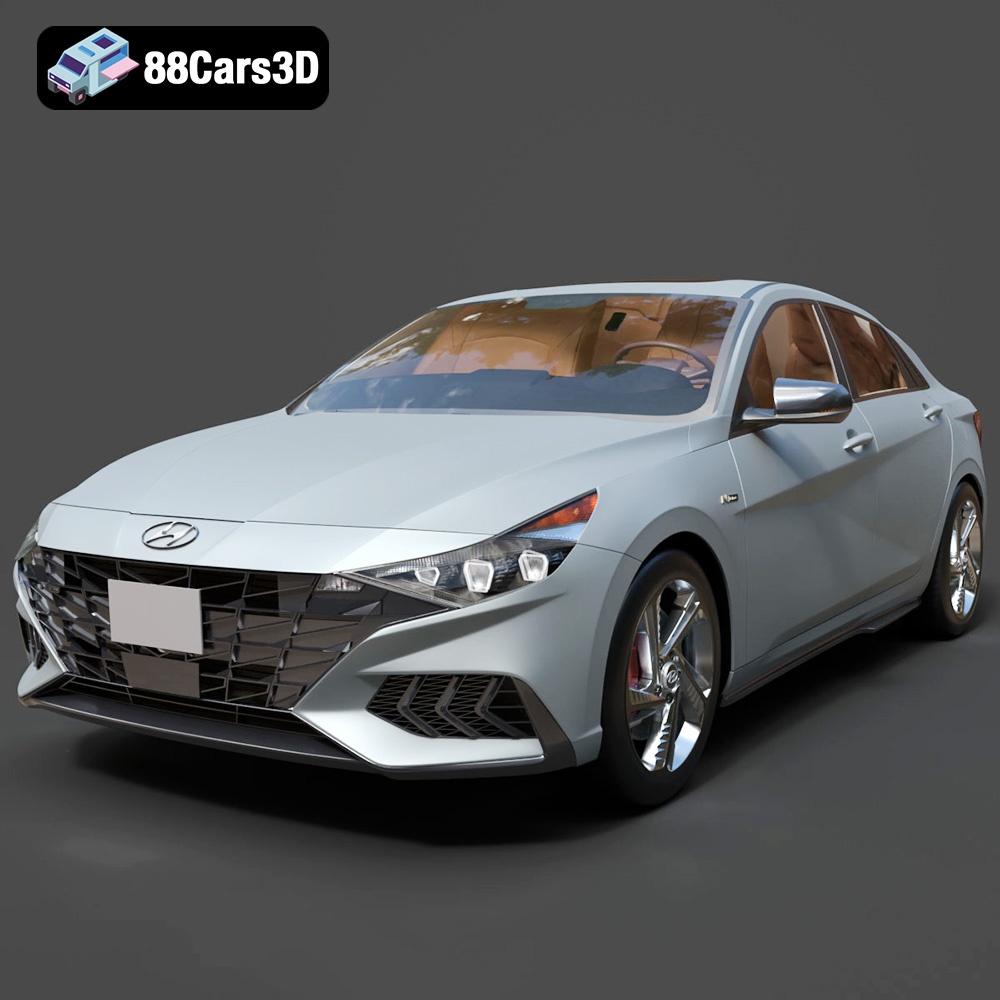
Texture: Yes | Material: Yes
Download the highly detailed, game-ready Hyundai Elantra N Line 2021 3D Model. Features aggressive N Line body styling, parametric jewel grille, and sport interior details. Includes .blend, .fbx, .obj, .glb, .stl, .ply, .unreal, and .max formats for game development, AR/VR, and rendering.
Price: $226.00
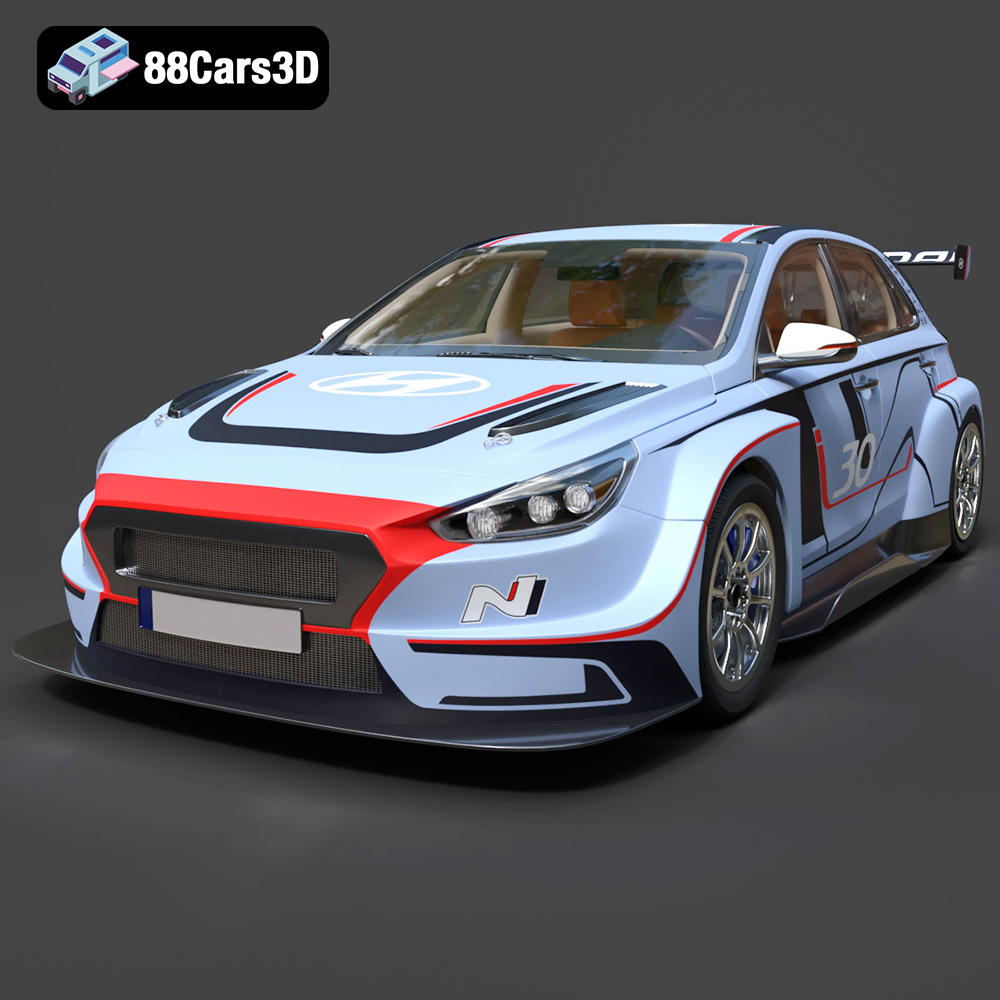
Texture: Yes | Material: Yes
Download the highly detailed, game-ready Hyundai i30 N TCR Hatchback 2020 3D Model. Features aggressive touring car aerodynamics, high-downforce rear wing, and race-spec interior. Includes .blend, .fbx, .obj, .glb, .stl, .ply, .unreal, and .max formats for game development, AR/VR, and rendering.
Price: $204.99
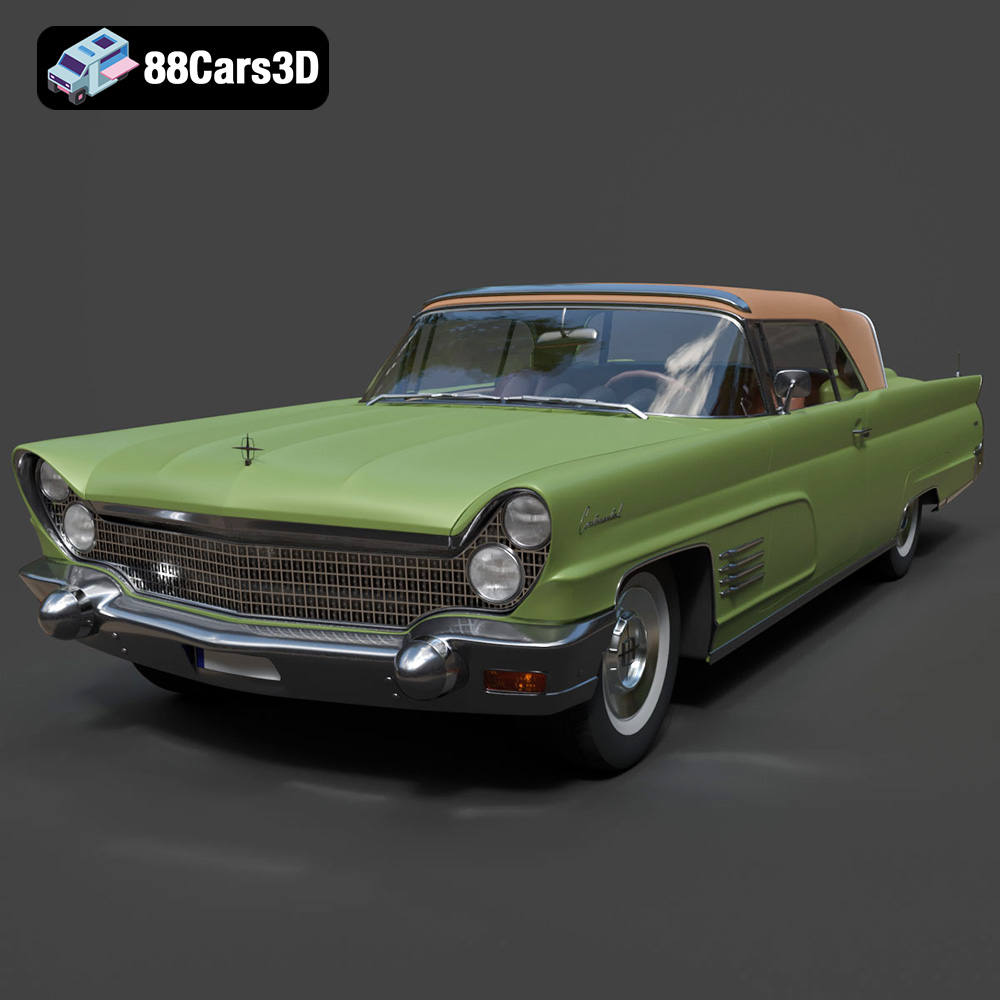
Texture: Yes | Material: Yes
Download the highly detailed, game-ready Lincoln Continental Mark V 1960 3D Model. Features iconic 1960s luxury cruiser styling, massive chrome grille, reverse-slant rear window, and sweeping tail fins. Includes .blend, .fbx, .obj, .glb, .stl, .ply, .unreal, and .max formats for game development, AR/VR, and rendering.
Price: $208.99
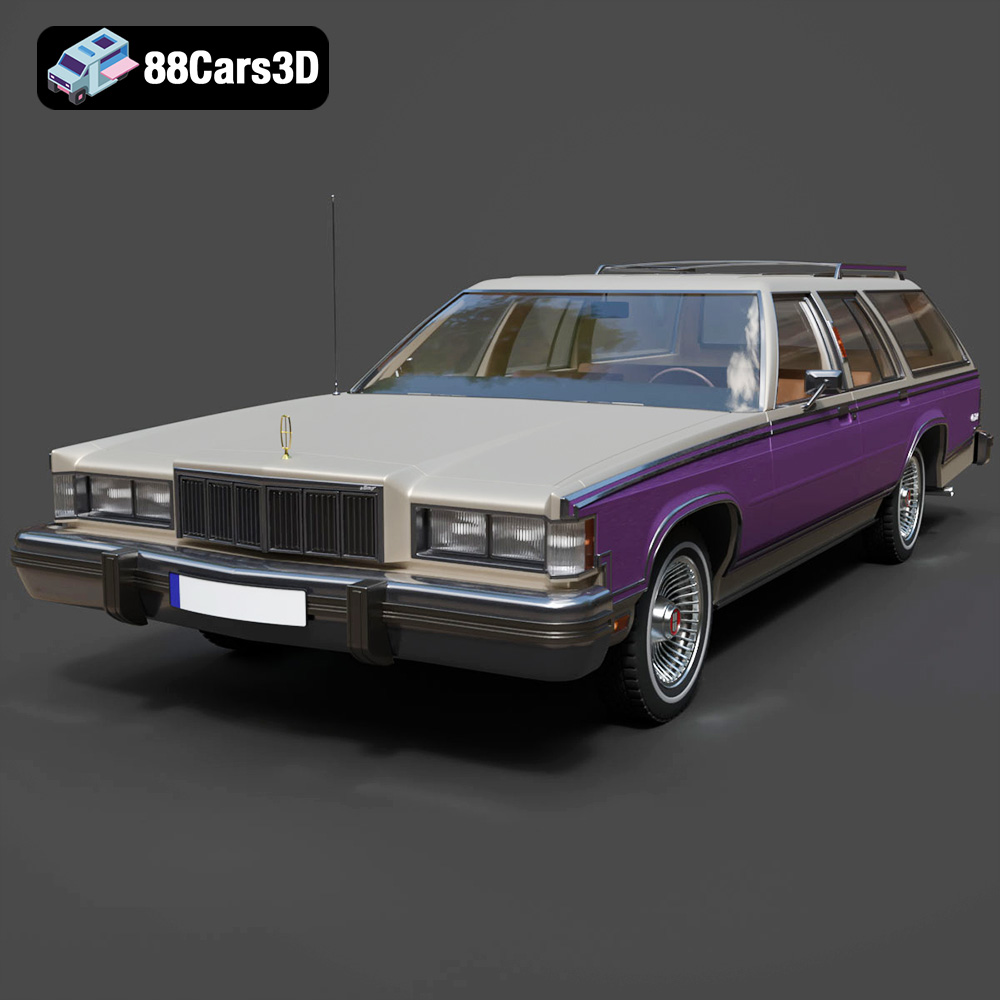
Texture: Yes | Material: Yes
Download the highly detailed, game-ready Mercury Marquis Colony Park 1981 3D Model. Features iconic simulated woodgrain siding, classic full-size wagon proportions, and realistic chrome exterior trim. Includes .blend, .fbx, .obj, .glb, .stl, .ply, .unreal, and .max formats for game development, AR/VR, and rendering.
Price: $262.50
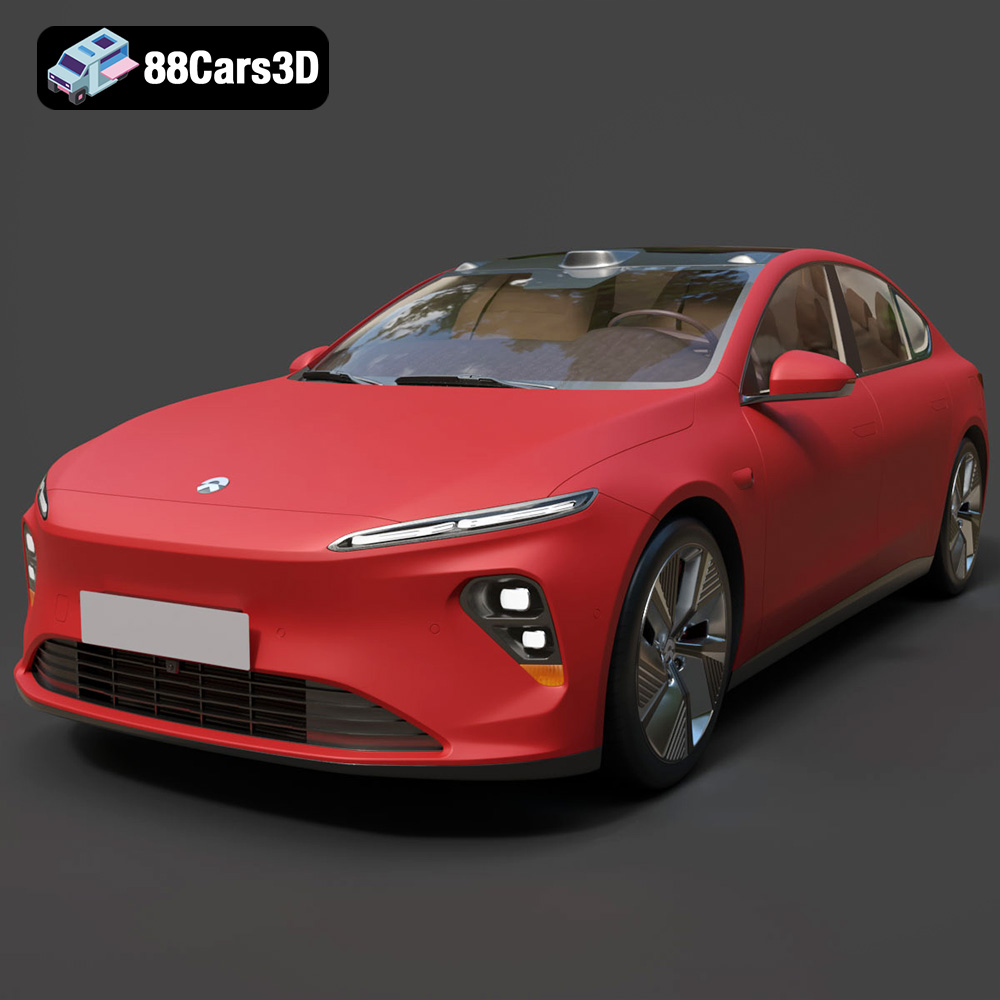
Texture: Yes | Material: Yes
Download the highly detailed, game-ready Nio ET7 2021 3D Model. Features sleek aerodynamic luxury electric sedan styling, integrated LiDAR sensors, and signature Double-Dash LED lights. Includes .blend, .fbx, .obj, .glb, .stl, .ply, .unreal, and .max formats for game development, AR/VR, and rendering.
Price: $207.99
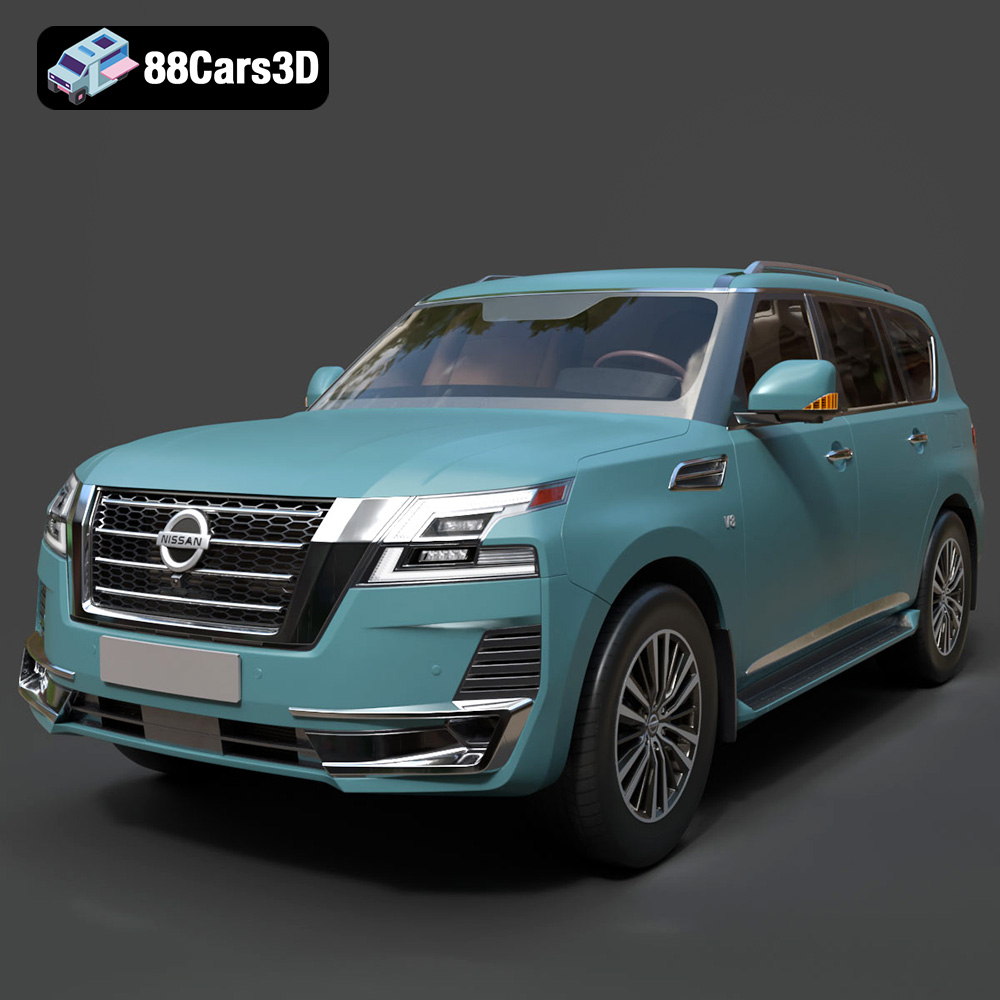
Texture: Yes | Material: Yes
Download the highly detailed, game-ready Nissan Patrol 2021 3D Model. Features signature V-motion grille, realistic exterior detailing, and a fully rendered luxury interior. Includes .blend, .fbx, .obj, .glb, .stl, .ply, .unreal, and .max formats for game development, AR/VR, and rendering.
Price: $297.99
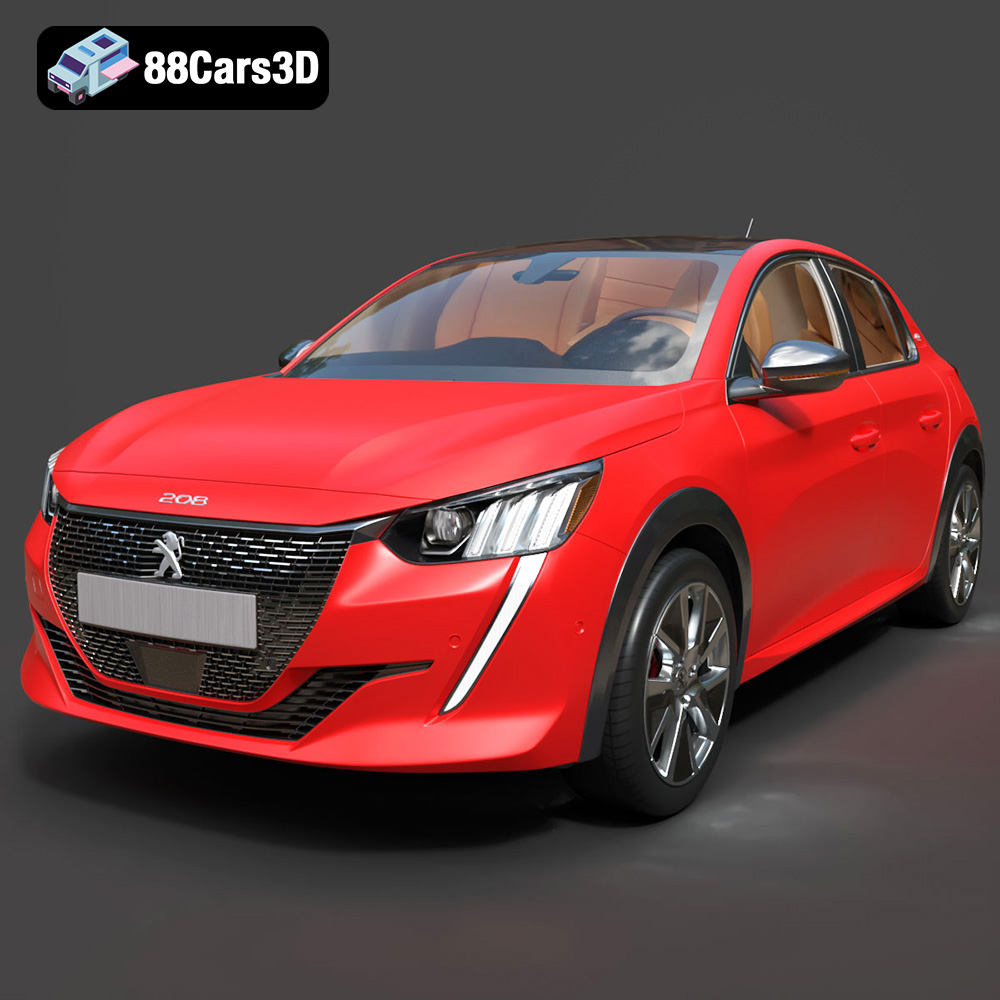
Texture: Yes | Material: Yes
Download the highly detailed, game-ready Peugeot e-208 2020 3D Model. Features 3-claw LED lighting, dynamic body geometry, and a fully detailed i-Cockpit interior. Includes .blend, .fbx, .obj, .glb, .stl, .ply, .unreal, and .max formats for game development, AR/VR, and rendering.
Price: $224.00
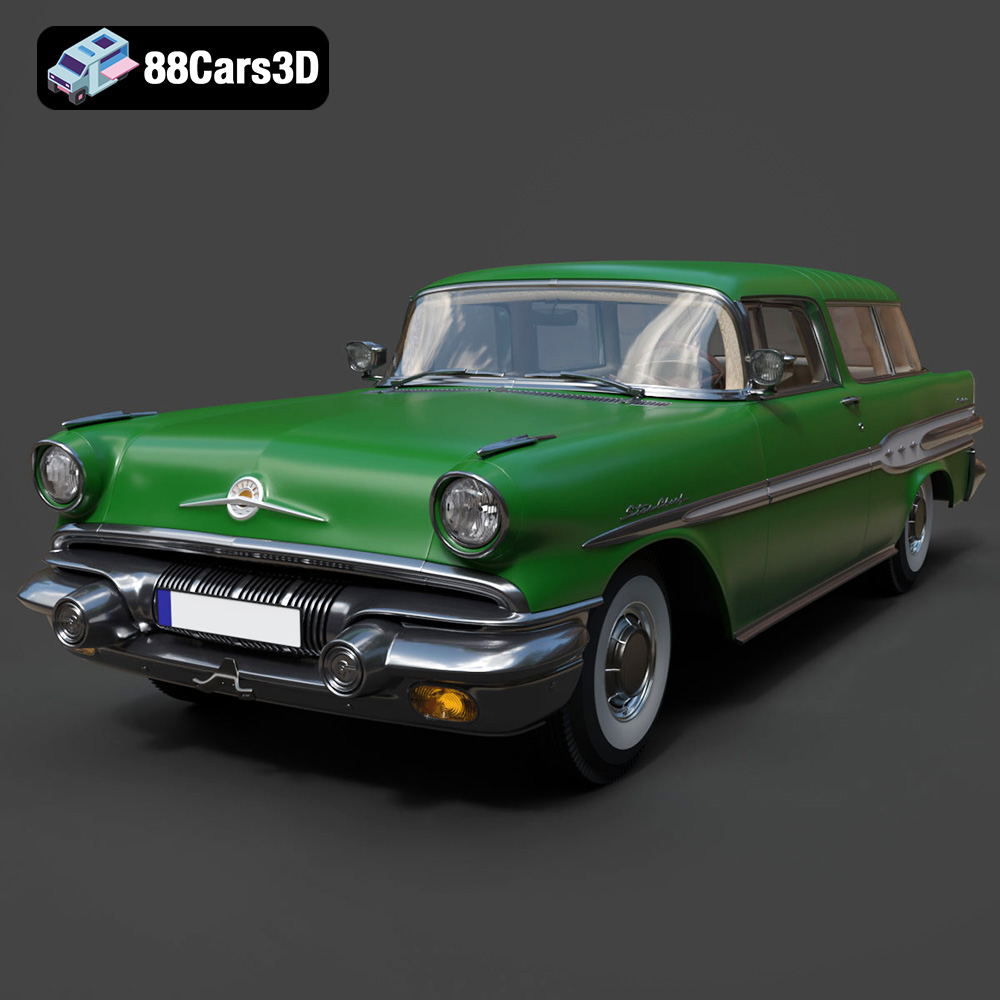
Texture: Yes | Material: Yes
Download the highly detailed, game-ready Pontiac Star Chief Custom Safari 2-door 1957 3D Model. Features classic 1950s two-door wagon bodywork, iconic chrome tail fins, and realistic interior detailing. Includes .blend, .fbx, .obj, .glb, .stl, .ply, .unreal, and .max formats for game development, AR/VR, and rendering.
Price: $203.50
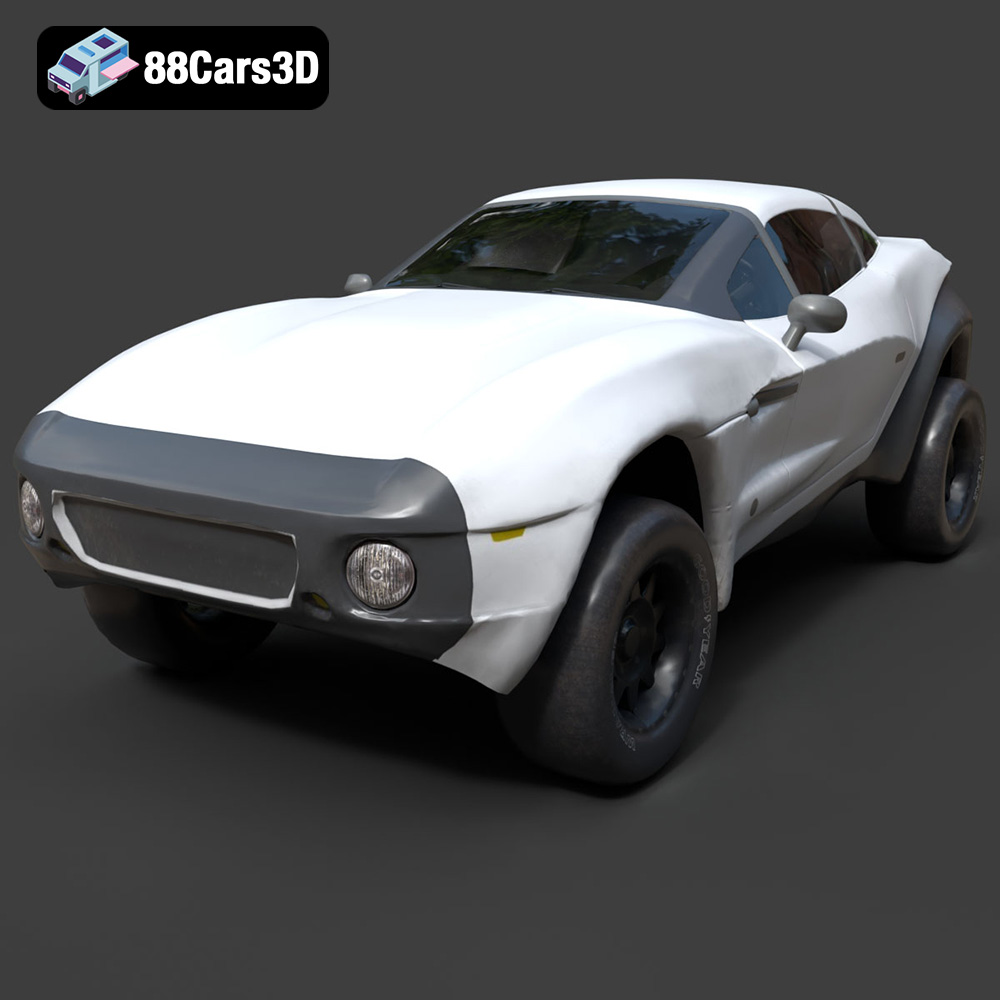
Texture: Yes | Material: Yes
Download the highly detailed, game-ready Local Motors Rally Fighter 3D Model. Features aggressive off-road long-travel suspension, detailed interior cockpit, and high-clearance body styling. Includes .blend, .fbx, .obj, .glb, .stl, .ply, .unreal, and .max formats for game development, AR/VR, and rendering.
Price: $99.99
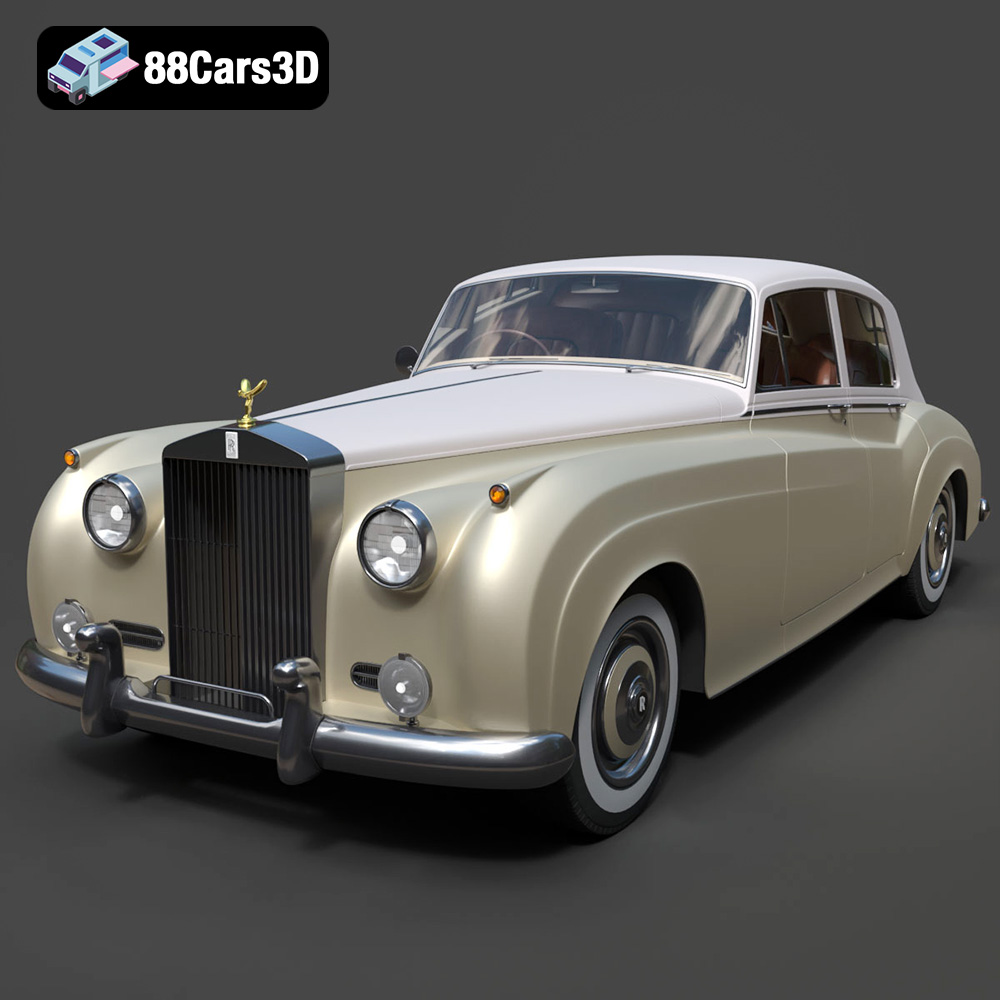
Texture: Yes | Material: Yes
Download the highly detailed, game-ready Rolls-Royce Silver Cloud II 1959 3D Model. Features classic chrome radiator grille, iconic Spirit of Ecstasy ornament, and elegant two-tone bodylines. Includes .blend, .fbx, .obj, .glb, .stl, .ply, .unreal, and .max formats for game development, AR/VR, and rendering.
Price: $201.00
