

In modern real-time rendering, the boundary between physical photography and synthetic computer graphics has virtually disappeared. Unreal Engine 5 has transformed automotive visualization, enabling artists, interactive designers, and virtual production teams to achieve photorealistic results in real time. However, achieving true cinematic photorealism requires more than high-poly geometry and calibrated PBR shaders; it demands a deep understanding of post-process effects and optical camera simulation.
Post-processing in Unreal Engine serves as the digital lens and color grading suite of your scene. It controls how light interacts with the virtual camera sensor, simulates mechanical lens artifacts, and establishes the atmospheric grade of your final frame. Whether building an interactive real-time vehicle configurator or rendering a high-end commercial spot, proper post-process configuration dictates the emotional weight and believability of your imagery.
This technical guide explores the post-processing workflows in Unreal Engine, focusing specifically on automotive visualization. We will examine physical camera controls, ACES color pipelines, optical lens simulations, custom post-process materials, dynamic lighting post-effects (Lumen and Ray Tracing), and production optimization techniques. For additional tutorials and foundational technical documentation, you can explore the official Unreal Engine Learning Portal.
—
The PostProcessVolume acts as the central hub for image modification in Unreal Engine. It allows developers to define spatial or global parameters that alter color, exposure, depth of field, and camera artifacts. Setting up an efficient volume pipeline is critical for automotive scenes, which often require distinct lighting and color profiles for exterior tracks, studio stages, and interior cabin shots.
By default, a PostProcessVolume only affects the camera when the camera enters its physical bounding box. For master environmental control, enable the Infinite Extent (Unbound) property in the Details panel. This applies the post-process settings globally across the entire world, establishing a baseline look for the project.
For complex automotive environments—such as a vehicle driving from an outdoor sunlit highway into a shaded tunnel or an indoor showroom—use local volumes with spatial boundaries. By adjusting the Blend Radius and Priority values, you can create smooth transitions between lighting conditions:
2.0 will override an unbound global volume with a Priority of 1.0.200–500 units ensures smooth visual transitions without jarring exposure shifts.Photorealistic automotive renders rely heavily on real-world camera math. Rather than using arbitrary auto-exposure curves, configure the PostProcessVolume to mirror physical camera setups using explicit EV100 exposure controls.
Under the Lens > Exposure tab, set the Metering Mode to Manual or Custom Logarithmic. Set the exposure using physical camera properties:
1/48s for 24fps motion, or 1/250s–1/1000s for high-speed tracking shots to capture crisp body panel details).100 to 400) to prevent artificial digital noise emulation unless stylistically required.f/2.8 or f/4.0 for dramatic automotive portraiture to isolate body panels and badges, and narrow apertures like f/8.0 or f/11.0 for sweeping environmental hero shots.By locking down physical camera parameters inside the PostProcessVolume, light intensity calculations retain real-world photometric scaling (measured in Lux or Candelas/m²), allowing high-fidelity 3D assets to render predictably under varying lighting scenarios.
When multiple local volumes intersect—for instance, when a camera moves from a vehicle’s exterior to an ultra-detailed interior cabin—volume blending order becomes critical. Manage this by organizing your volume stack logically in the World Outliner, labeling them by environment zone, and assigning explicit Priority hierarchy numbers. Use the Blend Weight slider (scaled from 0.0 to 1.0) via Blueprint scripting to dynamically fade specific post-processing volumes during cinematic sequences or user interaction in a car configurator.
—
Color grading in Unreal Engine allows technical artists to treat the frame as a digital intermediate film scan. The engine utilizes an ACES (Academy Color Encoding System) based color management pipeline by default, preserving dynamic range from deep metallic shadows to brilliant chrome highlight specular points.
Automotive paints, particularly multi-coat pearl finishes and tinted metallic clearcoats, react strongly to white balance shifts. Under the Color Grading > Temperature sub-section:
6500K. To accentuate warm sunset highlights on a vehicle’s body contours while maintaining cool sky reflections, lower ambient light temperature slightly while shifting the post-process white balance to 7000K–7500K.+0.05 to +0.1) can enhance luxury red and purple paint formulas.Unreal Engine provides isolated primary color wheels for Global, Shadows, Midtones, and Highlights. Each category allows discrete control over Saturation, Contrast, Gamma, Gain, and Offset.
| Color Grading Target | Recommended Setting Range | Automotive Visualization Impact |
|---|---|---|
| Shadow Contrast | 1.02 – 1.08 |
Deepens wheel wells and undercarriage shadows without crushing ambient occlusion details on carbon fiber diffusers. |
| Midtone Gain | 0.98 – 1.05 |
Maintains exposure stability across vehicle side doors and main body panels. |
| Highlight Saturation | 0.85 – 0.95 |
Desaturates bright specularity on chrome trim and LED headlight elements to prevent unpleasant color burn. |
| Toe (Tone Curve) | 0.55 – 0.65 |
Softens shadow falloff, simulating high dynamic range print film stocks. |
Avoid over-adjusting global contrast via the global wheel, as this can clip clearcoat specular reflections. Instead, refine the Tone Curve sub-menu parameters: Slope, Toe, Shoulder, Black Clip, and White Clip. Lowering the Shoulder value preserves intricate surface details on brightly lit metallic surfaces, preserving paint character even under direct spotlight illumination.
While native engine color controls are robust, custom 3D Look-Up Tables (LUTs) allow colorists to import precise color grades designed in DaVinci Resolve or Adobe Premiere. When integrating 3D LUTs into an Unreal Engine post-process pipeline:
256x16 neutral LUT texture strip from your color grading software in .png or .tga format.—
In physical automotive photography, camera lenses add characteristic optical optical artifacts—such as focal blur, aperture shapes, anamorphic flares, and subtle edge distortion. Replicating these traits using Unreal Engine’s post-processing settings bridges the gap between digital renders and photorealistic cinematography.
Unreal Engine’s Cinematic Depth of Field method calculates precise circle-of-confusion (CoF) physics based on focal length, aperture size, and object distance. When capturing dynamic car tracks or close-ups on badge details, proper focal tuning is critical.
To set up physical Depth of Field:
85mm for automotive beauty shots to eliminate wide-angle foreshortening).f/1.8 produces a shallow focal plane that isolates fine mesh grilles and headlight elements, while blurring background environments.7 or 9 blades) to shape background bokeh highlights, creating realistic polygonal highlights in out-of-focus background lights.When sourcing highly detailed vehicle assets—such as those available on platforms like 88cars3d.com—a shallow depth of field helps highlight clean geometry, layered headlight glass components, and intricate rim textures without sacrificing performance.
High-intensity light sources—such as modern LED automotive daytime running lights (DRLs), laser high beams, and direct sunlight reflections—should bleed into adjacent pixels to simulate physical lens scattering.
Unreal Engine provides two main Bloom methods:
To configure Convolution Bloom for cinematic automotive rendering, select Convolution as the Bloom Method, then assign a high-dynamic-range kernel texture that includes physical aperture star patterns. Adjust the Convolution Scale to control flare spread, ensuring headlight highlights bleed across body panels naturally without washing out adjacent paint detail.
Digital renders often appear unnaturally sharp. Introducing subtle optical flaws softens synthetic edges and matches real-world lens characteristics:
0.1 and 0.35). Excessive fringe distorts body panel panel gaps and badge lettering.0.2 and 0.4 to draw the viewer’s eye toward the center of the frame where the vehicle is situated.0.15–0.3 and keep Film Grain Texel Size low for clean 4K output.—
While the built-in PostProcessVolume settings provide comprehensive grading and optical tools, custom Post-Process Materials extend the engine’s capabilities. These custom HLSL-driven materials manipulate the final frame buffer to add advanced visuals like dynamic weather effects, edge enhancement, and specialized technical passes.
For cinematic scenes featuring rain or high-speed driving through wet environments, custom post-process shaders can simulate water droplets directly on the virtual camera lens.
This is achieved by creating a material set to the Post-Process material domain and assigning it to the Post-Process Materials (Blendables) array inside the PostProcessVolume. By sampling a dynamic UV-animated normal map of water drops and blending it with the scene’s PostProcessInput0 texture buffer, the shader refracts the rendered scene behind each individual droplet.
“`cpp
// HLSL Pseudo-code concept inside a Custom Material Node for Lens Refraction
float2 UVs = GetMaterialUV();
float3 NormalMap = Texture2DSample(LensWaterNormal, LensWaterNormalSampler, UVs).rgb;
float2 DistortionOffset = (NormalMap.rg – 0.5) * RefractionIntensity;
float3 SceneColor = Texture2DSample(PostProcessInput0, PostProcessInput0Sampler, UVs + DistortionOffset).rgb;
return SceneColor;
“`
Temporal Anti-Aliasing (TAA) and Temporal Super Resolution (TSR) effectively eliminate specular flicker on detailed vehicle grilles, but they can occasionally soften fine surface details like carbon fiber weaves or metallic paint flakes. Implementing a post-process sharpening pass restores surface detail without introducing harsh aliasing.
By creating a custom post-process material that samples the PostProcessInput0 texture and applies a unsharp mask or FidelityFX Contrast Adaptive Sharpening (CAS) algorithm, artists can selectively sharpen high-frequency details. This pass enhances intricate mechanical geometry—such as brake calipers, mesh patterns, and rim textures—ensuring high-detail models (like those sourced from 88cars3d.com) retain maximum visual clarity.
—
With Unreal Engine 5, lighting and post-processing work in tandem. Features like Lumen Global Illumination and Reflections and hardware Ray Tracing are largely configured directly within the PostProcessVolume, granting artists real-time control over light transport performance and visual quality.
Automotive paint acts as a complex optical system, featuring a highly reflective clearcoat layer positioned over a metallic or matte base layer. To capture accurate reflections using Lumen inside the PostProcessVolume:
2.0 (values up to 4.0 improve detail on curved metallic body panels).20,000 units) to ensure distant studio background elements and HDRI environments reflect continuously along long vehicle side panels without artificial clipping.Proper contact shadowing beneath a vehicle’s chassis anchors the model to the ground plane, preventing it from appearing floaty. Under Global Illumination > Lumen in the PostProcessVolume, set Lumen Scene Detail to 2.0 or higher to increase the resolution of the voxelized scene representation.
For fine contact occlusion beneath low-slung sports cars, balance Ambient Occlusion Intensity (typically 0.5–1.0) with Ambient Occlusion Radius (set tight, around 40–100 units). This adds subtle self-shadowing under side skirts, wheel arches, and lower splitters without creating unnatural dark halos.
Capturing rolling wheel motion and environmental background blur requires careful tuning of post-process Motion Blur settings. Unreal Engine calculates velocity vectors on moving geometry to apply real-time directional blur.
To capture accurate rolling shots:
0.4 and 0.6. Excessive blur degrades car shape silhouettes, while low values produce stepping or jittering artifacts.24 or 60 fps) to ensure velocity scale calculations remain accurate across different render hardware.8–16 Temporal Samples) to eliminate wheel-spoke strobing artifacts.—
Achieving cinematic visuals should not compromise interactive performance. Whether delivering a real-time 60fps car configurator or setting up offline 4K frame renders, optimizing post-process settings is critical to maintaining high framerates and stable GPU memory consumption.
Interactive applications require strict frame budgets (e.g., 16.6ms per frame for 60fps output). High-cost post-process effects must be scaled down during real-time interaction and dynamically scaled up when outputting final frames via the Movie Render Queue (MRQ).
The matrix below outlines optimal post-processing profiles across production stages:
| Post-Process Setting | Real-Time Configurator (60 FPS) | Virtual Production / LED Wall | Cinematic Offline Render (MRQ) |
|---|---|---|---|
| Bloom Method | Standard (Gaussian) | Standard / Convolution | Convolution (High Sample Kernel) |
| Depth of Field | Disabled or Low-Quality DoF | Physical (Controlled by Lens Tracking) | Cinematic DoF (High Quality Burst) |
| Lumen Reflection Quality | 1.0 (Surface Cache) |
2.0 (Hit Detail) |
4.0+ (Hit Detail + Max Ray Tracing) |
| Motion Blur | Low (0.2) / Off |
Disabled (Handled by Physical Camera) | Enabled (Sub-sampled temporal passes) |
When experiencing frame rate drops, use Unreal Engine’s internal GPU profiling tools to identify demanding post-processing passes. Open the console panel by pressing the tilde (~) key, then enter:
“`bash
stat gpu
“`
Alternatively, press Ctrl + Shift + Comma to bring up the GPU Visualizer. This tool captures a single frame breakdown, detailing execution time in milliseconds across passes such as PostProcessing, Lumen Reflections, and CinematicDOF.
If the PostProcessing node exceeds 2.5ms in a real-time application, consider optimizing performance by:
1024x1024 down to 512x512.Post-processing works best when built on top of high-quality base assets. Low-polygon counts, uneven topology, or incorrect normal maps tend to produce visible shading artifacts when enhanced by high-contrast post-processing, sharp bloom kernels, and ray-traced reflections.
Sourcing production-ready assets from dedicated automotive libraries like 88cars3d.com ensures your base models feature production-grade topology, precise material assignments, pre-configured UVs, and accurate physical geometry. Working with clean geometry ensures that your post-processing pipeline—from chromatic aberration to high-end Lumen reflections—behaves predictably and produces clean, photorealistic renders.
—
Mastering post-process effects in Unreal Engine 5 transforms standard 3D renders into rich, photo-realistic cinematic visuals. By taking control of the PostProcessVolume, aligning virtual cameras with physical exposure parameters, tuning the ACES color space, and simulating real-world optical artifacts, you can bring your automotive visualizer projects to life.
To deepen your understanding of Unreal Engine’s post-processing features, review the official technical guides available on the Unreal Engine Learning Hub. Pair those workflow fundamentals with high-grade automotive assets from 88cars3d.com to accelerate your real-time visualization pipeline and create photorealistic renders today.
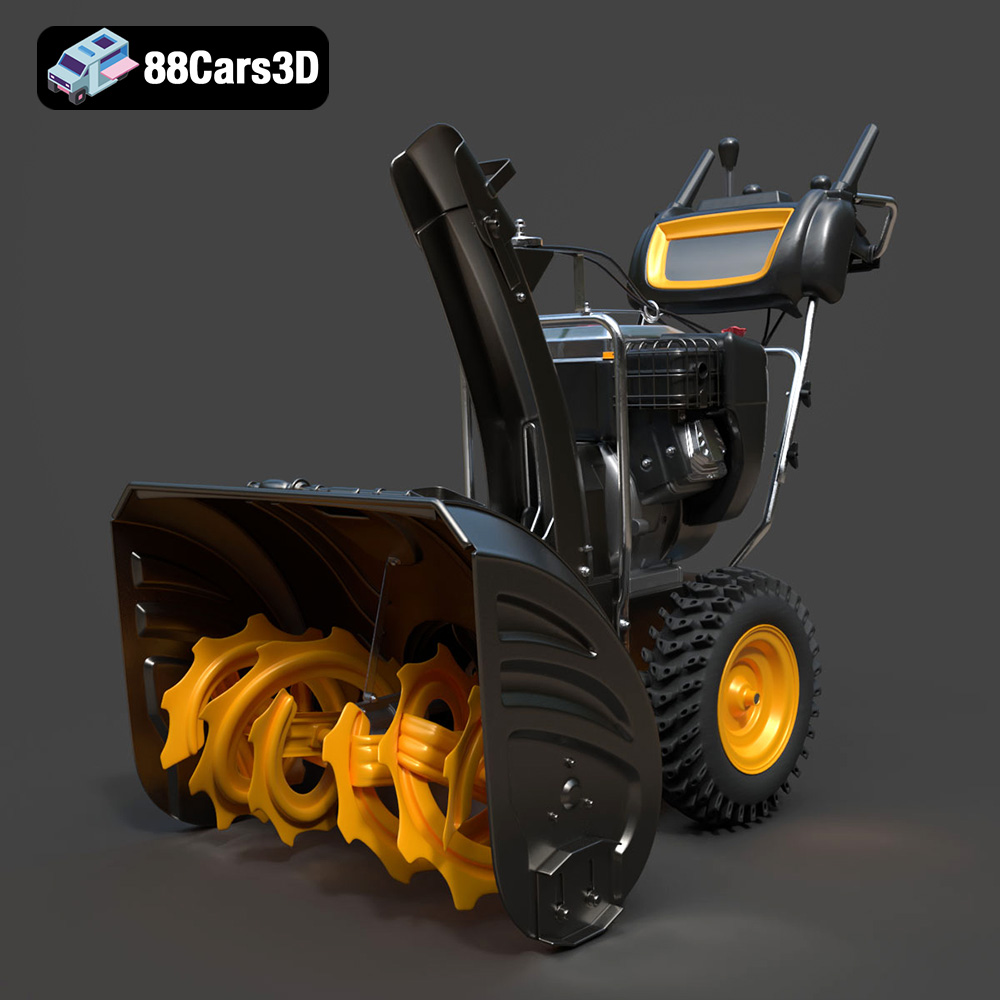
Texture: Yes | Material: Yes
Download the highly detailed, game-ready Husqvarna Snow Plow 3D Model. Features heavy-duty front plow blade, robust chassis, and realistic mechanical controls. Includes .blend, .fbx, .obj, .glb, .stl, .ply, .unreal, and .max formats for game development, AR/VR, and rendering.
Price: $9
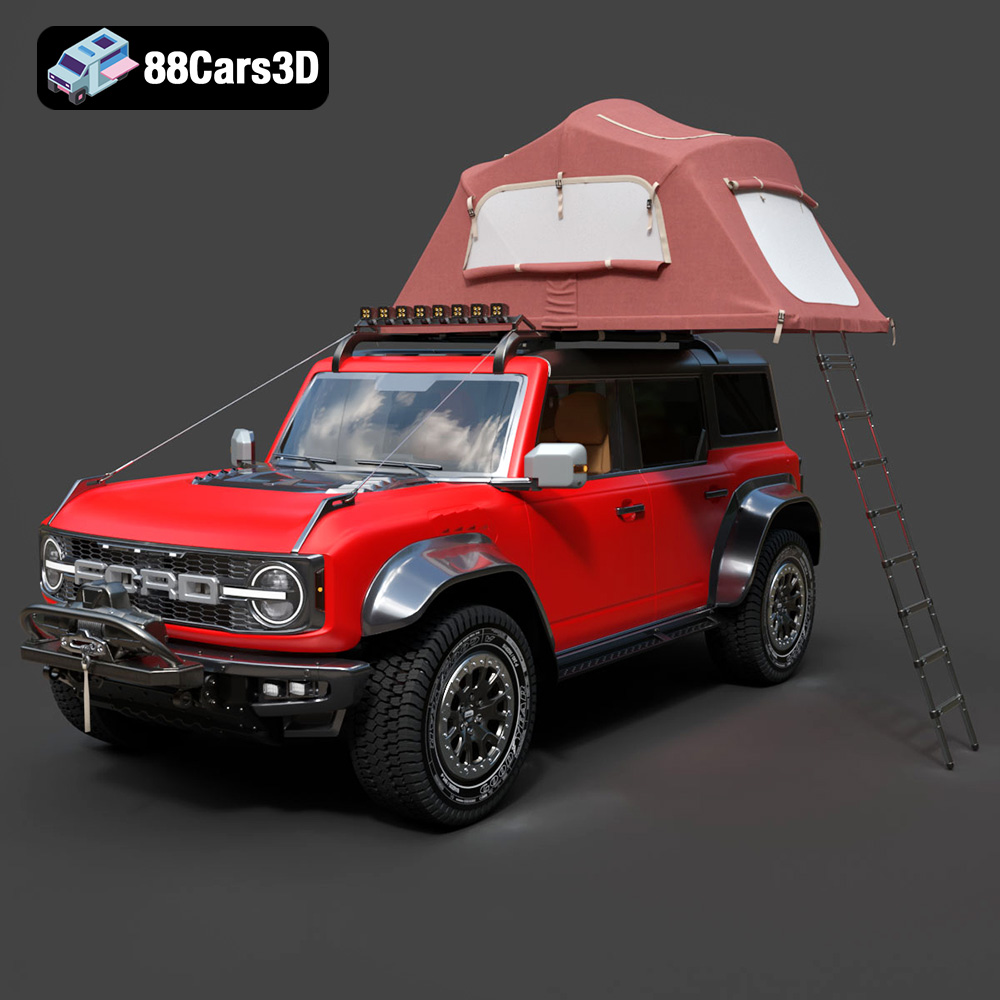
Texture: Yes | Material: Yes
Download the highly detailed, game-ready Ford Bronco Raptor Rooftop Tent 3D Model. Features aggressive widebody styling, detailed off-road suspension, and a fully modelled overland rooftop tent. Includes .blend, .fbx, .obj, .glb, .stl, .ply, .unreal, and .max formats for game development, AR/VR, and rendering.
Price: $9
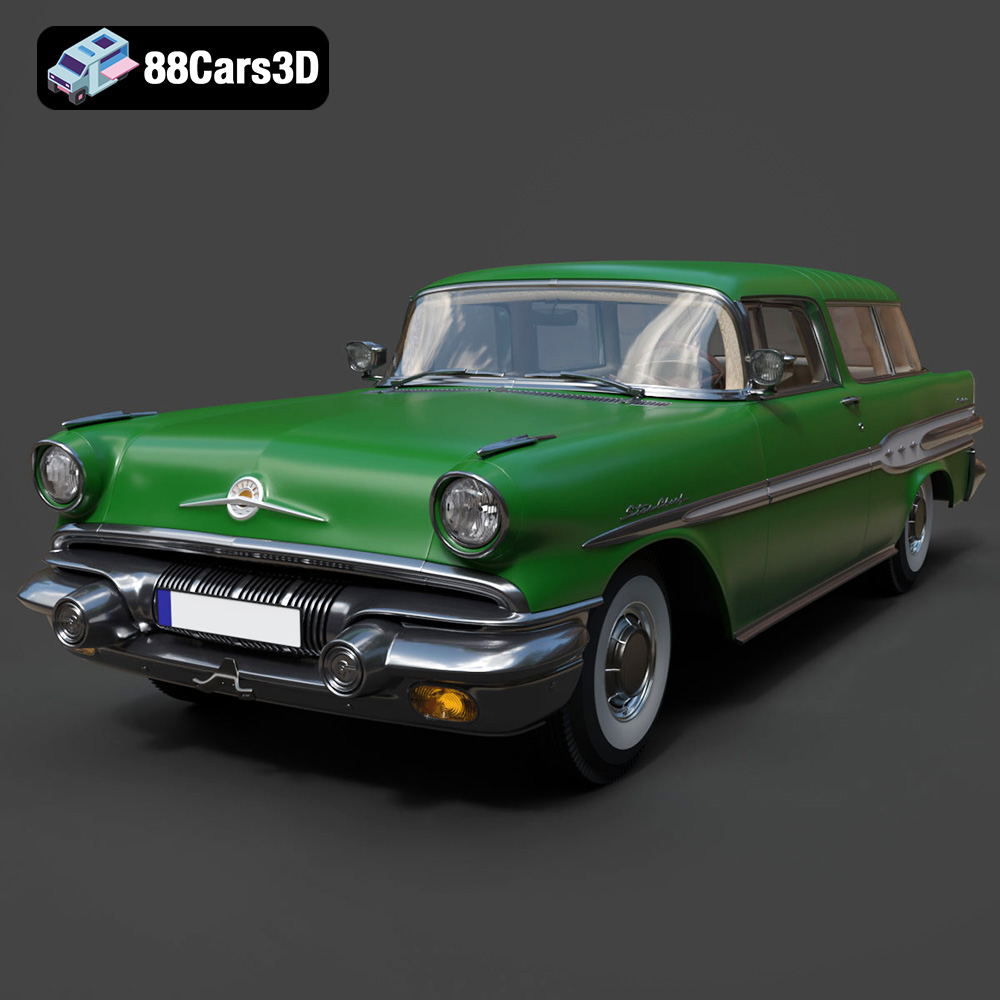
Texture: Yes | Material: Yes
Download the highly detailed, game-ready Pontiac Star Chief Custom Safari 2-door 1957 3D Model. Features classic 1950s two-door wagon bodywork, iconic chrome tail fins, and realistic interior detailing. Includes .blend, .fbx, .obj, .glb, .stl, .ply, .unreal, and .max formats for game development, AR/VR, and rendering.
Price: $203.50
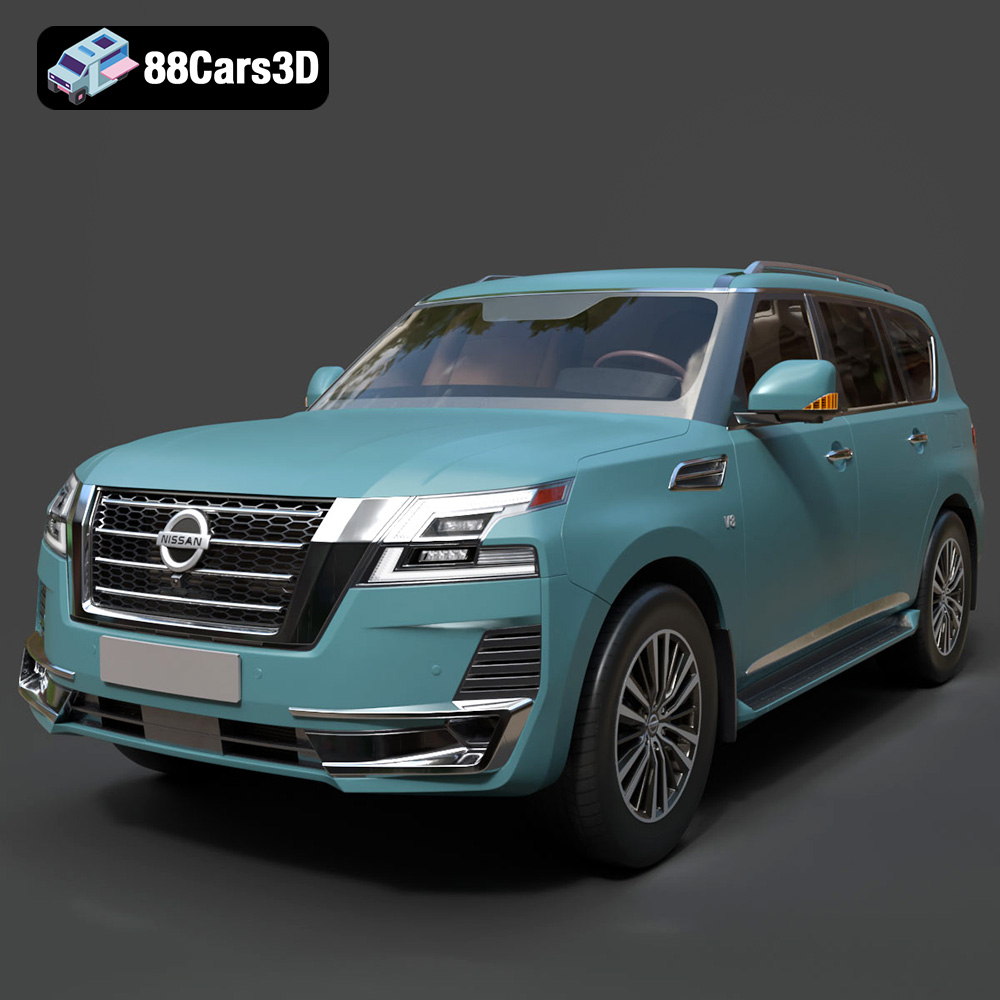
Texture: Yes | Material: Yes
Download the highly detailed, game-ready Nissan Patrol 2021 3D Model. Features signature V-motion grille, realistic exterior detailing, and a fully rendered luxury interior. Includes .blend, .fbx, .obj, .glb, .stl, .ply, .unreal, and .max formats for game development, AR/VR, and rendering.
Price: $297.99
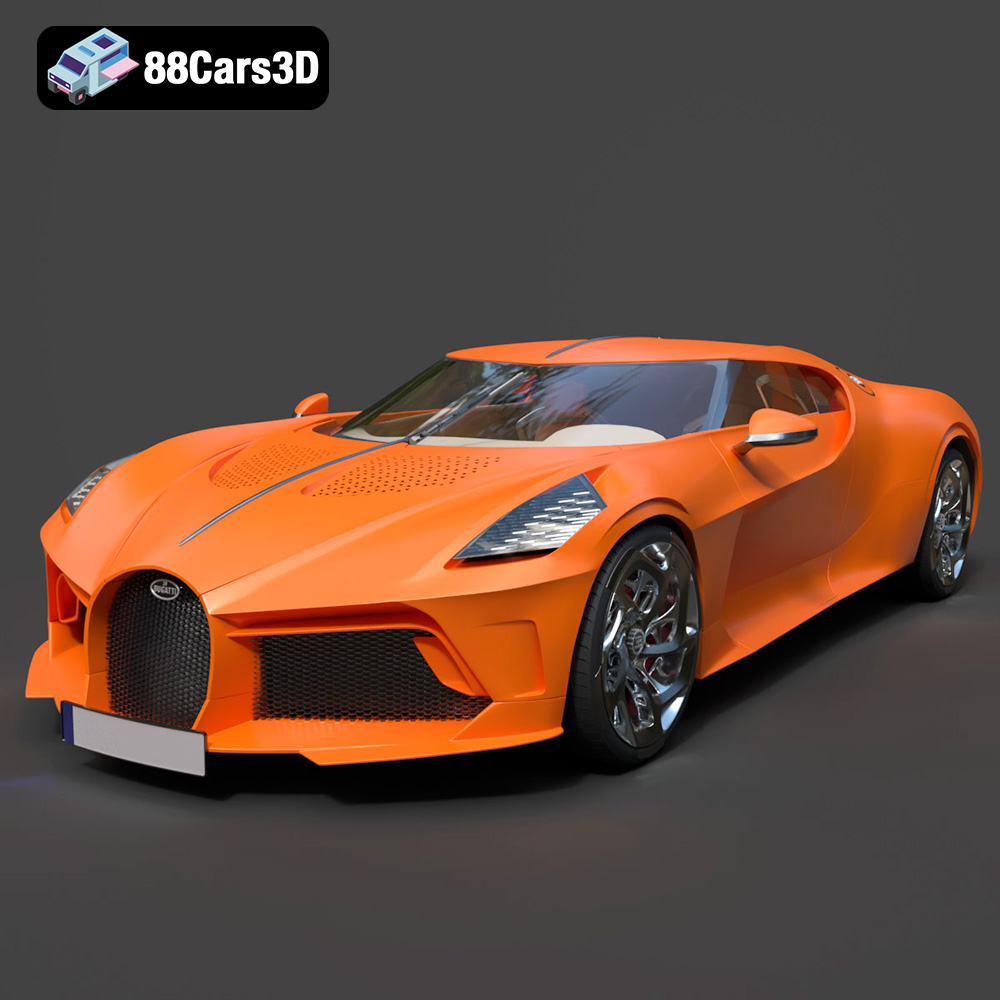
Texture: Yes | Material: Yes
Download the highly detailed, game-ready Bugatti La Voiture Noire 2019 3D Model. Features seamless jet-black carbon bodywork, distinctive six-tailpipe exhaust, and continuous LED light strip. Includes .blend, .fbx, .obj, .glb, .stl, .ply, .unreal, and .max formats for game development, AR/VR, and rendering.
Price: $9
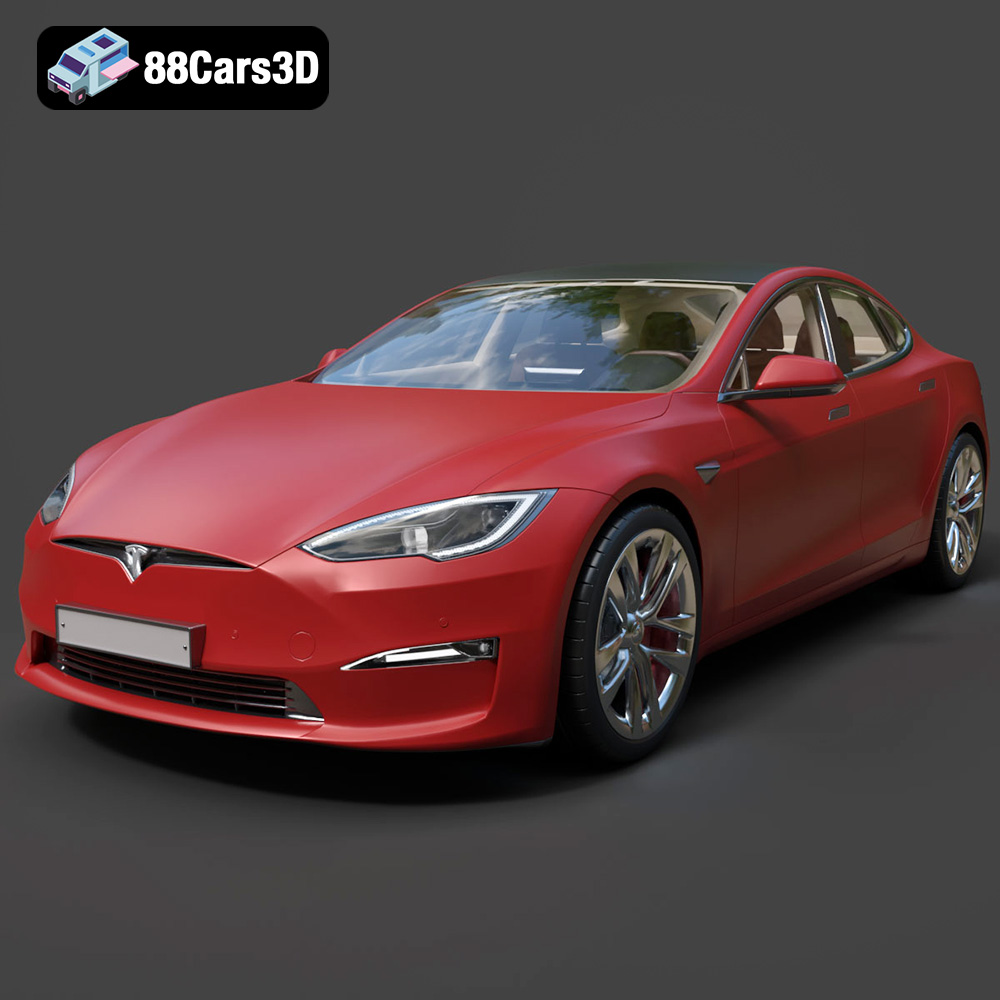
Texture: Yes | Material: Yes
Download the highly detailed, game-ready Tesla Model S Plaid 2023 3D Model. Features ultra-sleek aerodynamic proportions, distinctive Yoke interior layout, and realistic lighting graphics. Includes .blend, .fbx, .obj, .glb, .stl, .ply, .unreal, and .max formats for game development, AR/VR, and rendering.
Price: $120.50
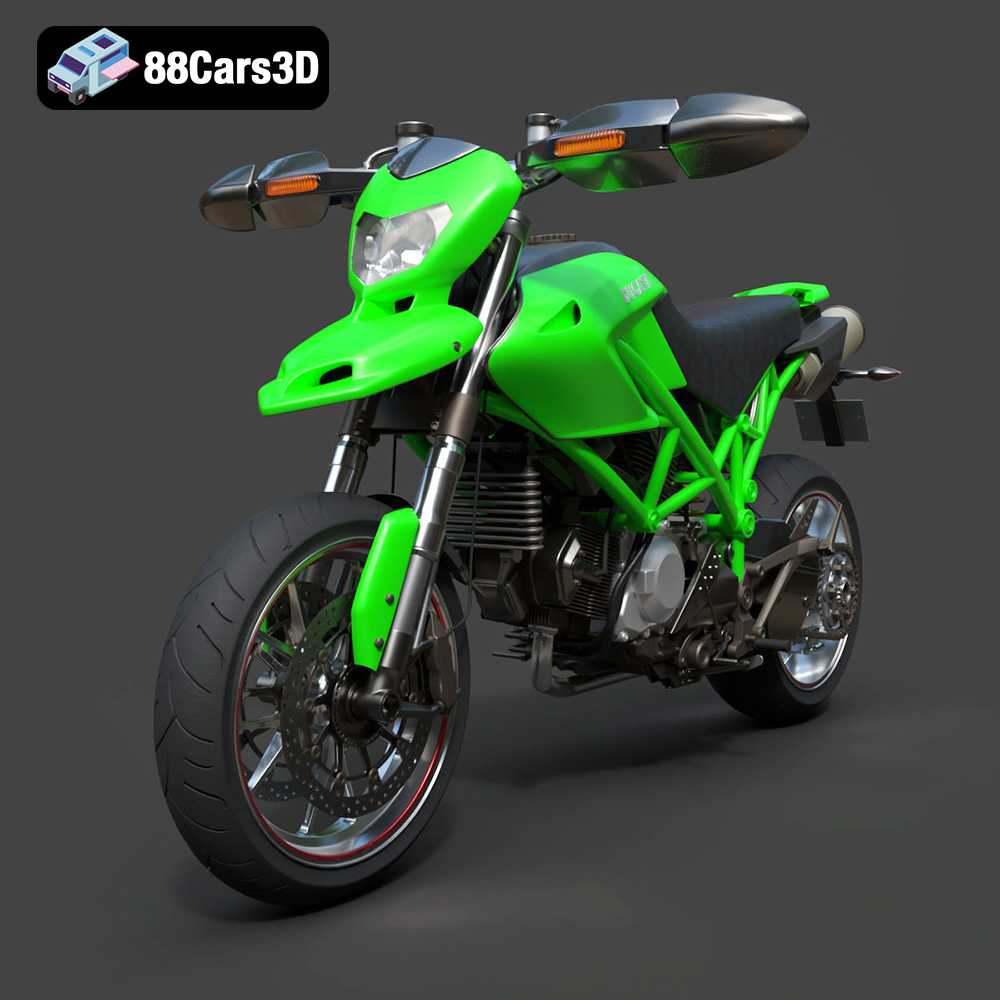
Texture: Yes | Material: Yes
Download the highly detailed, game-ready Ducati Hypermotard 1100 EVO 2011 3D Model. Features an iconic Desmodromic L-twin engine, trellis frame, and signature under-seat exhaust design. Includes .blend, .fbx, .obj, .glb, .stl, .ply, .unreal, and .max formats for game development, AR/VR, and rendering.
Price: $9
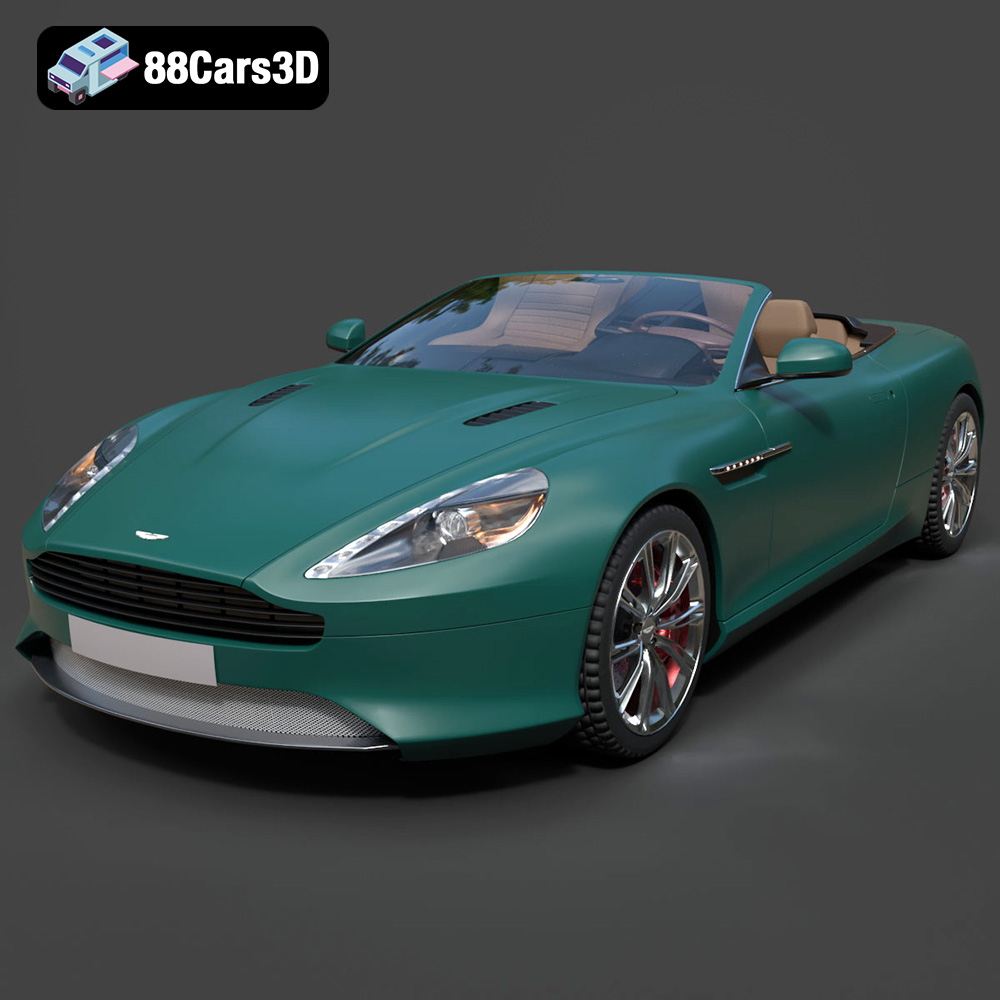
Texture: Yes | Material: Yes
Download the highly detailed, game-ready Aston Martin Virage Volante 2012 3D Model. Features sleek open-top GT design, iconic front grille, and detailed luxury interior trim. Includes .blend, .fbx, .obj, .glb, .stl, .ply, .unreal, and .max formats for game development, AR/VR, and rendering.
Price: $9
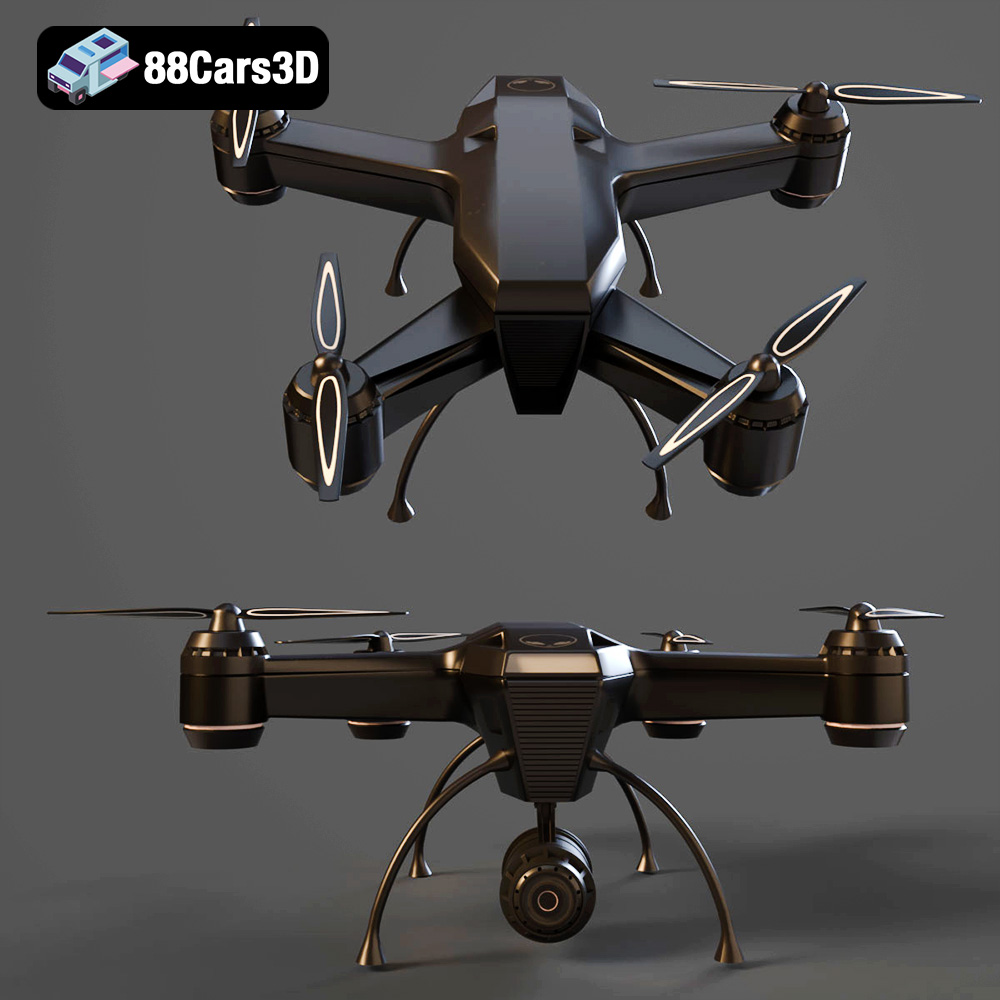
Texture: Yes | Material: Yes
Download the highly detailed, game-ready Tactical Drone 3D Model. Features rugged military chassis, multi-rotor propulsion, and integrated optical sensor array. Includes .blend, .fbx, .obj, .glb, .stl, .ply, .unreal, and .max formats for game development, AR/VR, and rendering.
Price: $99.99
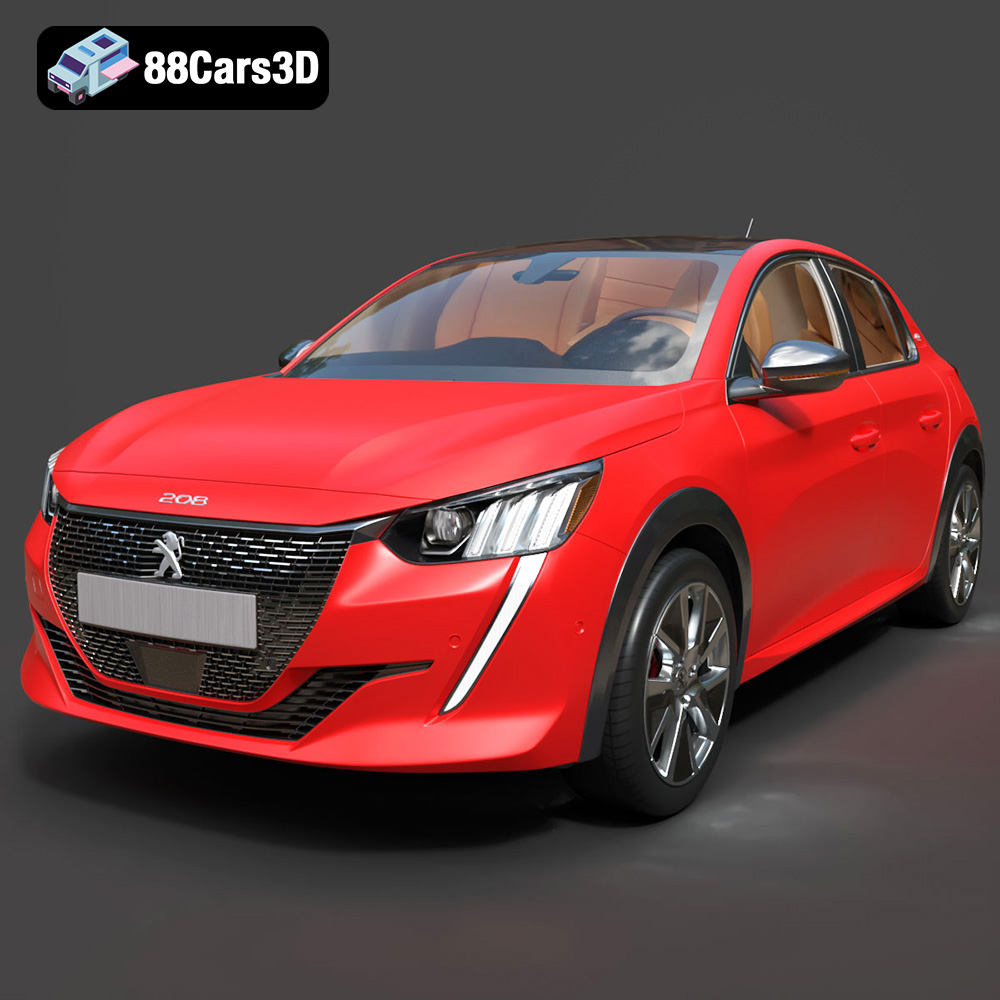
Texture: Yes | Material: Yes
Download the highly detailed, game-ready Peugeot e-208 2020 3D Model. Features 3-claw LED lighting, dynamic body geometry, and a fully detailed i-Cockpit interior. Includes .blend, .fbx, .obj, .glb, .stl, .ply, .unreal, and .max formats for game development, AR/VR, and rendering.
Price: $224.00
