

The automotive industry, game development, and architectural visualization sectors are constantly pushing the boundaries of realism and interactive experiences. At the heart of these advancements lies the meticulous creation and integration of high-quality 3D assets. For creators specializing in vehicle models, establishing a robust and efficient pipeline from a powerful modeling tool like Blender to a leading real-time engine such as Unreal Engine is paramount. This comprehensive guide will delve into the technical intricacies of crafting a clean asset pipeline, ensuring your 3D car models not only look stunning but also perform flawlessly across various applications, from game development and AR/VR experiences to professional visualization and even 3D printing preparation. We’ll explore everything from foundational modeling principles to advanced optimization techniques, empowering you to bridge the gap between artistic vision in Blender and real-time fidelity in Unreal Engine.
Creating a compelling 3D car model begins with impeccable topology. This foundational step dictates how your model deforms, how efficiently it can be textured, and its overall performance in real-time environments. For automotive subjects, which are characterized by sleek curves and intricate details, a clean, quad-dominant mesh with well-defined edge flow is non-negotiable. Blender, with its versatile modeling toolset, provides the perfect environment to sculpt these intricate forms while adhering to industry best practices. Understanding how to manage polygon count, ensure proper scaling, and plan for subdivision surfaces are critical aspects that influence the entire asset pipeline.
The golden rule of 3D modeling, especially for models intended for subdivision or deformation, is to prioritize **quadrilateral (quad) polygons**. Quads offer superior control over edge flow, allowing for smooth, predictable deformation and consistent surface curvature. For the flowing lines of a car body, maintaining a harmonious edge flow means directing polygons along the natural contours and creases of the vehicle. This is achieved by strategically placing **loop cuts** (Ctrl+R) and utilizing tools like **slide edge** (G G) to guide the topology. Consider how a car’s fender gently curves into the door; the edge loops should follow this curvature, preventing pinches or unsightly distortions when subdivision surface modifiers are applied. Tools such as the **knife tool** (K) in Blender are invaluable for creating precise new edges that respect existing topology. As detailed in the official Blender 4.4 documentation on modeling, understanding these fundamental operations is crucial for building robust and flexible meshes (https://docs.blender.org/manual/en/4.4/modeling/meshes/index.html).
Modern automotive models often achieve their high level of visual fidelity through the use of **subdivision surface modifiers**. These modifiers (like Blender’s `Subdivision Surface` modifier) smooth out a low-polygon base mesh, creating a high-resolution surface ideal for rendering. The key is to create an efficient base mesh – often referred to as a “cage” – that captures the primary forms and sharp details using minimal polygons. Strategic placement of supporting edge loops near sharp creases (e.g., around wheel wells, window frames, or body panel gaps) ensures that these details remain crisp even after subdivision. A common workflow involves modeling the core shape with a relatively low poly count, then adding supporting loops and applying the subdivision modifier as the last step in the modeling phase, or keeping it live for rendering purposes. For game engines, however, the subdivision modifier is typically *applied* to bake down the high-poly detail to a normal map, generating an optimized low-poly version for real-time performance.
Accuracy in scaling is a non-negotiable aspect of professional 3D asset creation. When modeling a car in Blender, always work in **real-world units** (e.g., meters or centimeters). Unreal Engine operates optimally when assets are created to scale, typically 1 unit = 1 centimeter. Before beginning, ensure your Blender scene units are correctly configured under `Scene Properties > Units`. Consistency here prevents scaling discrepancies upon export, which can lead to frustrating issues with physics, lighting, and material properties in Unreal Engine. A model that is too large or too small will disrupt lighting calculations, cause rendering artifacts, and complicate collision setup. Always double-check dimensions against real-world schematics or blueprints to ensure proportional accuracy, as precise scale is fundamental for realistic automotive visualization.
Once the geometry of your 3D car model is perfected, the next critical step is **UV mapping**. UVs are a 2D representation of your 3D model’s surface, essential for applying 2D textures (like color, roughness, and normal maps) accurately. For the complex, often curved, and highly reflective surfaces of an automotive model, strategic UV unwrapping is paramount. Poor UVs lead to visible seams, texture stretching, and inefficient use of texture space, severely impacting the visual quality of your **PBR materials** and ultimately, your **automotive rendering**. Efficient UVs are also a cornerstone of optimized **game assets**.
The art of UV mapping lies in intelligently placing **seams** – cuts that flatten your 3D mesh into a 2D layout. For cars, seams should be placed in areas that are naturally hidden or along sharp geometric breaks. Think about where real-world panel lines or joins occur: under the chassis, along the bottom edge of a bumper, or within door jambs. Avoid placing seams prominently across large, smooth, visible surfaces like the hood, roof, or side panels, as these will lead to noticeable visual breaks in your textures. Blender’s UV editor provides excellent tools for marking seams (Ctrl+E > `Mark Seam`), unwrapping (U > `Unwrap` or `Smart UV Project`), and visualizing potential stretching with the `Stretch` overlay. A well-planned seam strategy minimizes distortion and makes the texturing process significantly smoother, contributing directly to the realism of your **3D car models**.
**Texel density** refers to the number of texture pixels per unit of surface area on your model. Achieving consistent texel density across your entire car model is crucial for uniform detail. If some parts have high texel density and others low, textures will appear crisp in some areas and blurry in others. Use a checkerboard texture during UV unwrapping to visually inspect texel density. Adjust island scaling in the UV editor to ensure the checkerboard pattern appears uniform across all parts of the car. For example, a larger hood might require a larger UV island to maintain the same texel density as a smaller side mirror. Blender allows you to precisely control this within the UV Editor. You can select all UV islands and use `Average Island Scale` followed by `Pack Islands` to get a good starting point, then manually refine for critical areas. This consistency is vital for high-quality **visualization** and ensuring your textures hold up under close inspection.
While a primary UV set (often UV Map 0) is used for your main PBR textures (Albedo, Normal, Roughness, etc.), creating **multiple UV sets** can be highly beneficial, especially for Unreal Engine. A secondary UV set (UV Map 1) is typically reserved for **lightmaps** in Unreal Engine. Lightmaps are pre-calculated lighting information baked onto a texture, and they require non-overlapping UV islands to prevent lighting artifacts. This secondary UV channel can be automatically generated in Unreal Engine during import, but having control over it in Blender ensures cleaner results. Additionally, you might use a third UV set for decals, grunge masks, or specific effects that need to be overlaid without affecting the primary material. Blender allows you to create and manage multiple UV maps easily under the `Object Data Properties` tab, providing granular control over how different textures are applied to your complex **automotive models**.
The visual fidelity of any 3D car model hinges critically on its materials and shaders. **Physically Based Rendering (PBR)** is the industry standard for creating materials that react realistically to light, providing consistent and believable results across different lighting conditions and rendering engines. Understanding the PBR workflow and how to construct sophisticated shader networks in Blender that translate effectively to Unreal Engine’s material system is a cornerstone of professional **automotive rendering**. From the metallic sheen of the paint to the subtle reflections on glass and the intricate textures of tires, every surface contributes to the overall realism.
PBR materials are built upon a set of texture maps that describe how light interacts with a surface. The most common workflow for automotive models is the **Metallic/Roughness workflow**. Key maps include:
These maps work in concert to define the physical properties of a material, ensuring your car’s paint, tires, and glass react authentically to light in both Blender and Unreal Engine.
Blender’s **Principled BSDF shader** (found in the `Shader Editor`) is an all-in-one node that consolidates most PBR parameters, making it incredibly powerful for creating a wide array of materials. For automotive paint, for example, you would connect your Base Color texture to the `Base Color` input, a Roughness map to `Roughness`, and a Metallic map to `Metallic`. Beyond basic connections, you can build complex shader networks by blending multiple materials using `Mix Shader` nodes, creating layered effects like clear coat, subtle dust, or scratches. For car paint, you might layer a metallic base with a glossy clear coat, using procedural textures or masks to control wear and tear. Understanding node groups and instancing materials can streamline this process for similar car parts, making your workflow more efficient when developing **game assets** or complex **visualization** scenes.
When exporting your model to Unreal Engine, materials often need to be reconstructed. While Unreal can import some basic material information, it’s best practice to set up your **master materials** directly within Unreal Engine’s Material Editor. Use the imported textures (Albedo, Normal, Roughness, Metallic, AO) as inputs to Unreal’s standard PBR material nodes. Crucially, ensure that the **normal map format** (OpenGL vs. DirectX) is consistent – Unreal Engine typically uses DirectX (green channel flipped). You may need to flip the green channel of your normal maps if they appear incorrect. Create **Material Instances** from your master materials for variations (e.g., different car paint colors, tire wear levels). This approach ensures PBR accuracy is maintained from Blender to Unreal, guaranteeing that the car models you’ve meticulously crafted will look as intended in the real-time environment. This step is vital for ensuring high-quality **automotive rendering** within the engine.
Integrating high-quality 3D car models into a real-time environment like Unreal Engine requires more than just visual fidelity; it demands **performance optimization**. Unoptimized assets can quickly bog down frame rates, especially in complex scenes with multiple vehicles or interactive elements. This section focuses on strategies within Blender and during the export process to prepare your **game assets** for peak performance in Unreal Engine, ensuring your **3D car models** run smoothly in **AR/VR** experiences, games, or interactive configurators. Efficiency here is key to a truly clean asset pipeline.
**Levels of Detail (LODs)** are simplified versions of your mesh that are swapped in at varying distances from the camera. A high-polygon model is used when the camera is close, and progressively lower-polygon versions are used as the camera moves further away. This dramatically reduces the number of polygons rendered at any given time, significantly improving frame rates and reducing **draw calls**. While Unreal Engine can generate automatic LODs during import, creating custom, well-optimized LODs in Blender offers greater control and often better results. You can use Blender’s `Decimate` modifier (set to ‘Collapse’ or ‘Un-Subdivide’) to create different LOD stages. Export these as separate FBX files or as a single FBX with multiple meshes grouped, which Unreal Engine can then recognize and assign. Aim for 3-5 LODs for a complex car model: LOD0 (full detail), LOD1 (75% poly count), LOD2 (50%), LOD3 (25%), and potentially an extreme LOD4 (billboard or impostor) for very far distances.
For physics interactions and accurate raycasting in Unreal Engine, your car model needs **collision meshes**. Using the high-polygon visual mesh for collision detection is highly inefficient. Instead, create simplified proxy meshes in Blender. These can be basic convex shapes (boxes, capsules, spheres) for simple parts or a simplified, low-polygon version of the car body itself. Name these collision meshes with a `UCX_` prefix followed by the name of the main mesh (e.g., `UCX_CarBody`). When exported with the main model in the same FBX, Unreal Engine will automatically recognize these as collision geometry. For wheels, you might use simple cylinder primitives. For AR/VR applications, minimizing complex collision geometry is even more critical to maintain high frame rates.
**Texture atlasing** is the practice of combining multiple smaller textures into one larger texture map. For instance, instead of having separate texture maps for each individual car part (body, wheels, windows, interior), you could pack them all into a single, larger atlas texture. This is particularly beneficial for reducing **draw calls** – the number of times the CPU tells the GPU to render something. Each time a new material or texture is used, it often incurs an additional draw call. By atlasing textures, fewer materials are needed, thus reducing draw calls and improving rendering performance. This requires careful UV unwrapping to fit all parts into the single texture space. Blender’s texture packing add-ons or manual UV arrangement can help achieve this. Combined with material instancing in Unreal, texture atlasing can lead to substantial performance gains for complex **3D car models**.
For repeated components like wheels, calipers, or even entire cars in a scene, **mesh instancing** is a powerful optimization. Instead of having unique mesh data for every instance, Unreal Engine references a single mesh and applies transformations (position, rotation, scale) to each instance. This saves significant memory and CPU processing. Design your car models with modularity in mind in Blender; for example, model a single wheel and tire assembly, then duplicate and position it. When imported into Unreal, these instances will be optimized automatically. This approach is particularly effective for scenarios involving multiple identical **3D car models** in a single **visualization** or game environment, such as a car dealership showroom or a race track.
The transition of your meticulously crafted **3D car models** from Blender to Unreal Engine is a pivotal step. While seemingly straightforward, incorrect export or import settings can introduce a host of frustrating issues, from incorrect scale and flipped normals to broken materials and animation problems. Establishing a clean and consistent workflow for exporting from Blender using the FBX format and correctly importing into Unreal Engine is essential for a seamless **asset pipeline**. This section details the critical parameters and common pitfalls to navigate this crucial stage effectively.
The **FBX file format** is the industry standard for transferring 3D data between applications due to its comprehensive support for geometry, materials, animations, and more. When exporting from Blender (File > Export > FBX (.fbx)), meticulous attention to the settings is crucial:
A thorough understanding of these settings, which are well-documented in Blender’s export options, prevents common issues upon import into Unreal.
Once your FBX is exported from Blender, drag and drop it into your Unreal Engine Content Browser. This will trigger the FBX Import Options window, where you can fine-tune how Unreal processes your **game asset**.
Carefully selecting these options ensures that your **automotive models** are imported correctly and are ready for material setup and scene integration, maintaining the fidelity achieved in Blender.
Even with careful planning, issues can arise during the export-import process.
A systematic approach to troubleshooting, often involving re-exporting with minor setting changes, will resolve most integration challenges, leading to a smooth **Blender to Unreal Engine** pipeline.
Once your optimized **3D car models** are flawlessly integrated into Unreal Engine, the final step to achieving breathtaking **automotive rendering** lies in the art and science of lighting, reflections, and post-processing. Unreal Engine offers a powerful suite of tools to create physically accurate and visually stunning scenes that elevate your **visualization** projects, whether for static renders, interactive configurators, or dynamic real-time presentations. Mastering these elements transforms a well-modeled car into a photorealistic masterpiece.
Achieving photorealistic car renders in Unreal Engine starts with physically accurate lighting. **High Dynamic Range Image (HDRI) environment maps** are indispensable. An HDRI captures real-world lighting information (color and intensity) and projects it onto a sky sphere or a skydome, providing natural, complex lighting and reflections that directly impact the appearance of your car’s surfaces. Combine HDRIs with Unreal Engine’s advanced global illumination solutions like **Lumen** (for real-time GI) or the **Path Tracer** (for offline, physically accurate renders). For static scenes, consider baking lighting with **Lightmass** for optimized performance. Direct lights, such as `Directional Lights` (for sun) and `Spot Lights` (for localized highlights), should be used sparingly and strategically to enhance details and create specular highlights that define the car’s contours. The interplay of these lighting sources defines the character and realism of your **automotive visualization**.
Reflective surfaces are arguably the most defining characteristic of a car’s appearance. Unreal Engine provides several systems to handle reflections:
A combination of these techniques, tailored to your project’s performance budget, will yield stunning reflective qualities on your **3D car models**.
The final polish for any professional automotive render or real-time scene comes through **post-processing**. Unreal Engine’s `Post Process Volume` allows you to apply a wide array of visual enhancements that mimic real-world camera effects and color grading.
These post-processing effects are crucial for finessing the visual presentation, transforming a technically sound render into an emotionally impactful image, suitable for high-end **automotive design** reviews or marketing materials.
Establishing a clean and optimized asset pipeline from Blender to Unreal Engine for **3D car models** is a journey that combines artistic skill with technical precision. From crafting immaculate **topology** and executing sophisticated **UV mapping** to developing **PBR materials** that truly capture the essence of automotive surfaces, every step contributes to the final realism and performance. We’ve traversed the critical stages of **game asset** optimization, including **LODs** and collision meshes, demystified the often-tricky process of FBX export and Unreal Engine import, and explored the nuances of lighting, reflections, and post-processing that elevate **automotive rendering** to a professional standard.
The demand for high-quality, real-time ready **automotive models** continues to grow across industries, from cutting-edge **AR/VR** experiences to interactive product configurators. By mastering the techniques outlined in this guide, you not only ensure your models are visually stunning but also perform efficiently across diverse applications. Platforms like 88cars3d.com exemplify the high standards for professional **3D car models** available today, often adhering to the very principles discussed here. Whether you are a student, a seasoned 3D artist, or an automotive designer, embracing this clean pipeline will empower you to bring your vehicular visions to life with unparalleled fidelity and performance. Keep experimenting, keep optimizing, and leverage the powerful capabilities of Blender and Unreal Engine to drive your projects forward. The road to exceptional **automotive visualization** is paved with meticulous planning and technical excellence.
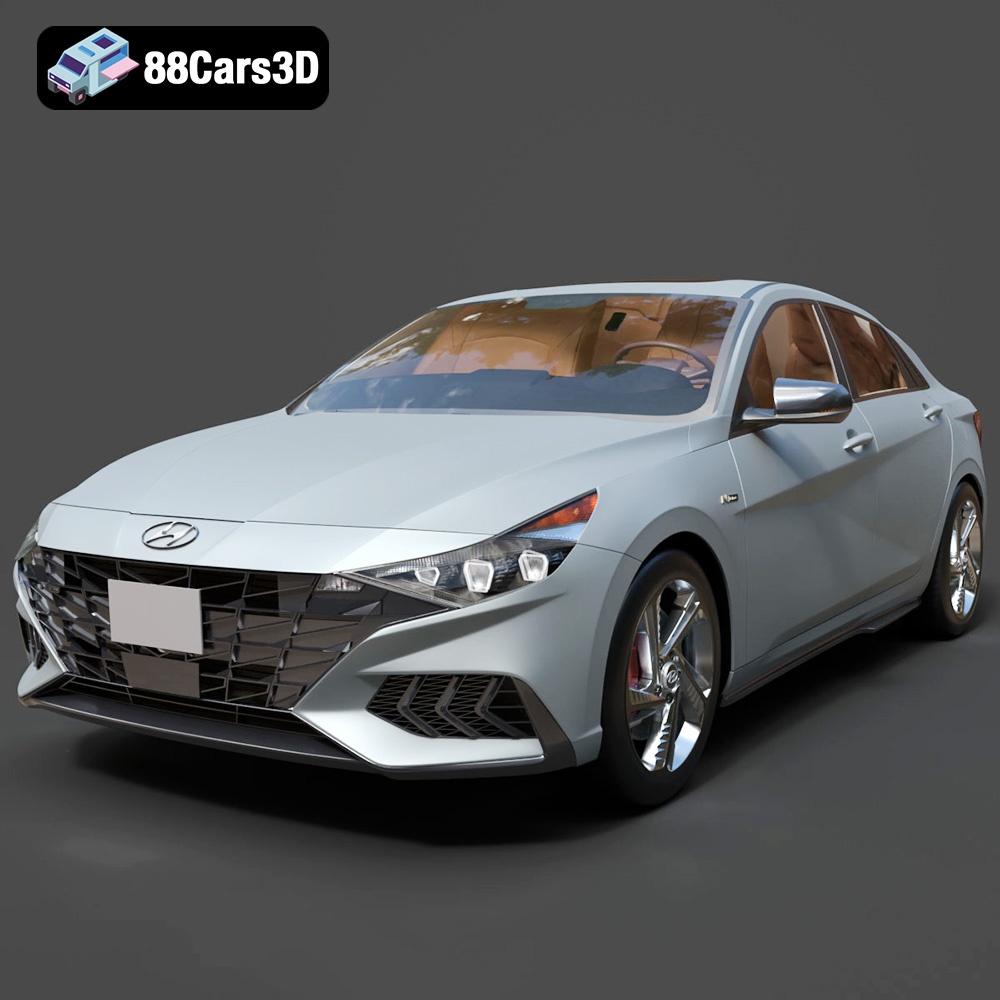
Texture: Yes | Material: Yes
Download the highly detailed, game-ready Hyundai Elantra N Line 2021 3D Model. Features aggressive N Line body styling, parametric jewel grille, and sport interior details. Includes .blend, .fbx, .obj, .glb, .stl, .ply, .unreal, and .max formats for game development, AR/VR, and rendering.
Price: $9
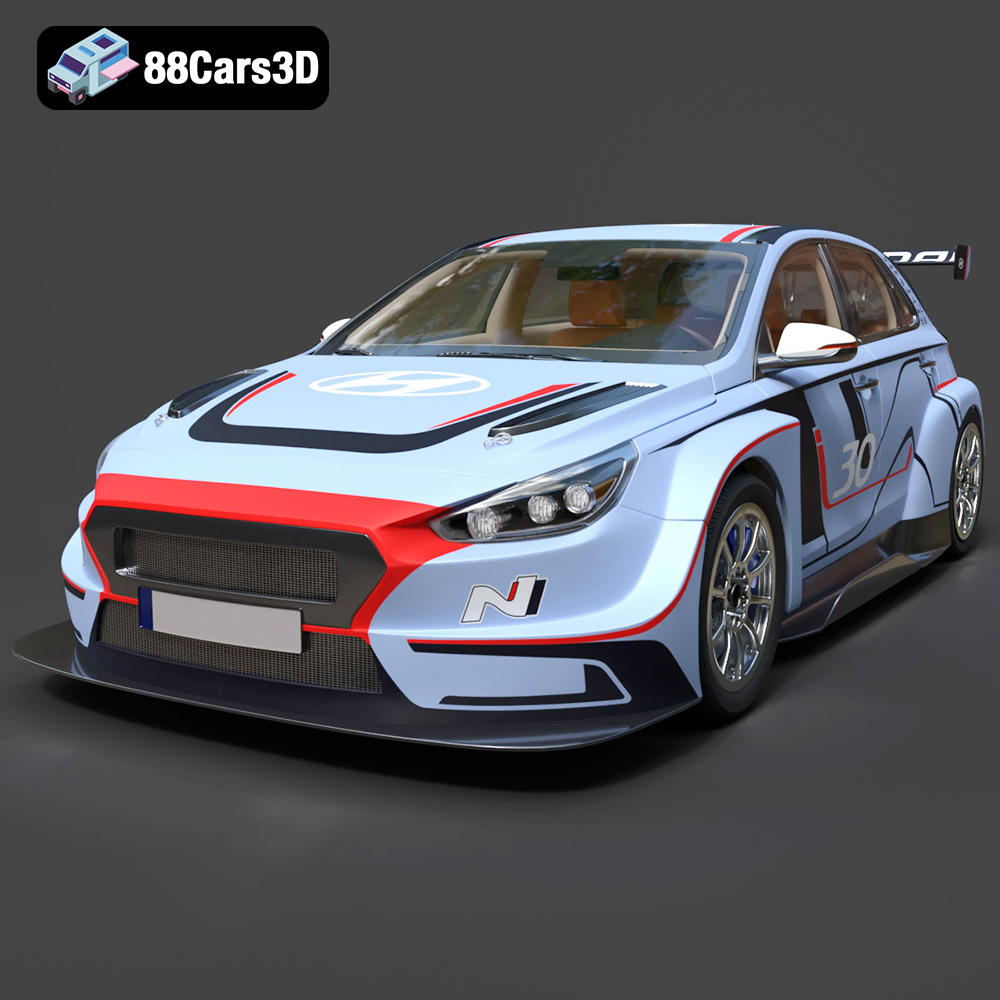
Texture: Yes | Material: Yes
Download the highly detailed, game-ready Hyundai i30 N TCR Hatchback 2020 3D Model. Features aggressive touring car aerodynamics, high-downforce rear wing, and race-spec interior. Includes .blend, .fbx, .obj, .glb, .stl, .ply, .unreal, and .max formats for game development, AR/VR, and rendering.
Price: $9
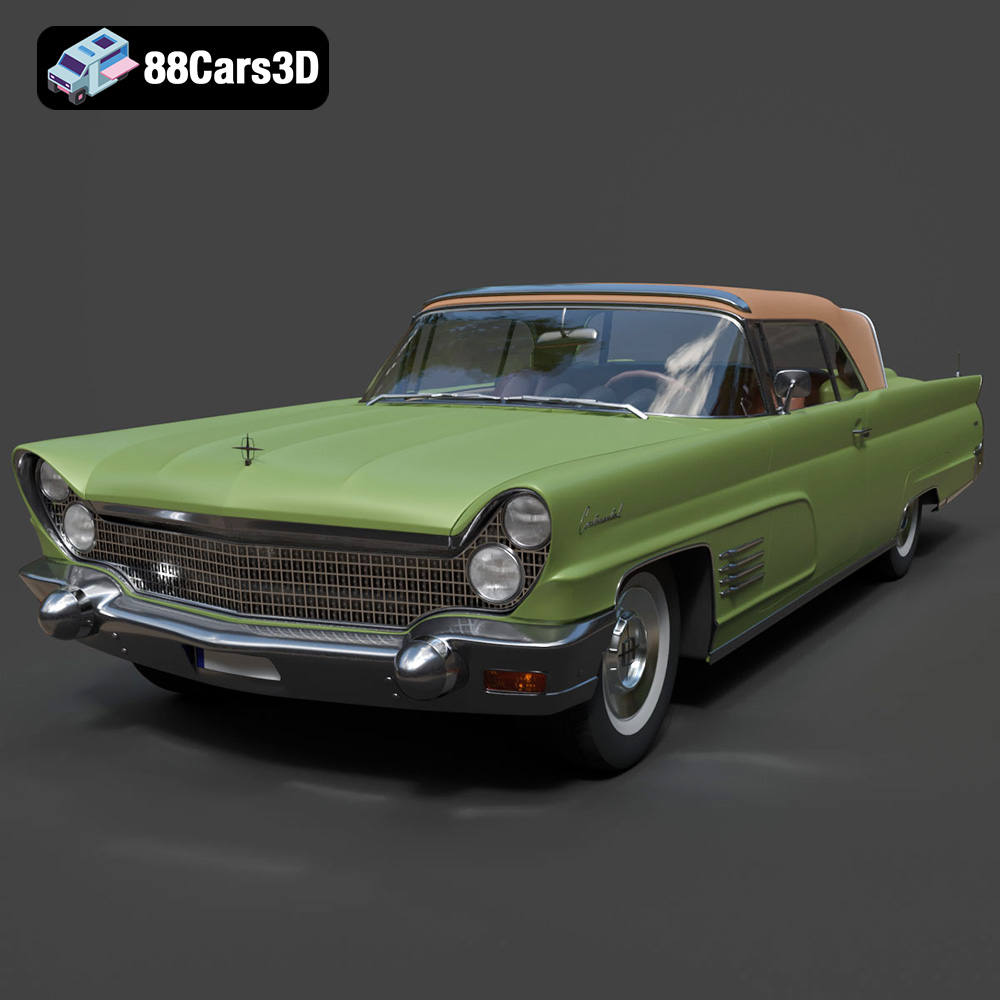
Texture: Yes | Material: Yes
Download the highly detailed, game-ready Lincoln Continental Mark V 1960 3D Model. Features iconic 1960s luxury cruiser styling, massive chrome grille, reverse-slant rear window, and sweeping tail fins. Includes .blend, .fbx, .obj, .glb, .stl, .ply, .unreal, and .max formats for game development, AR/VR, and rendering.
Price: $9
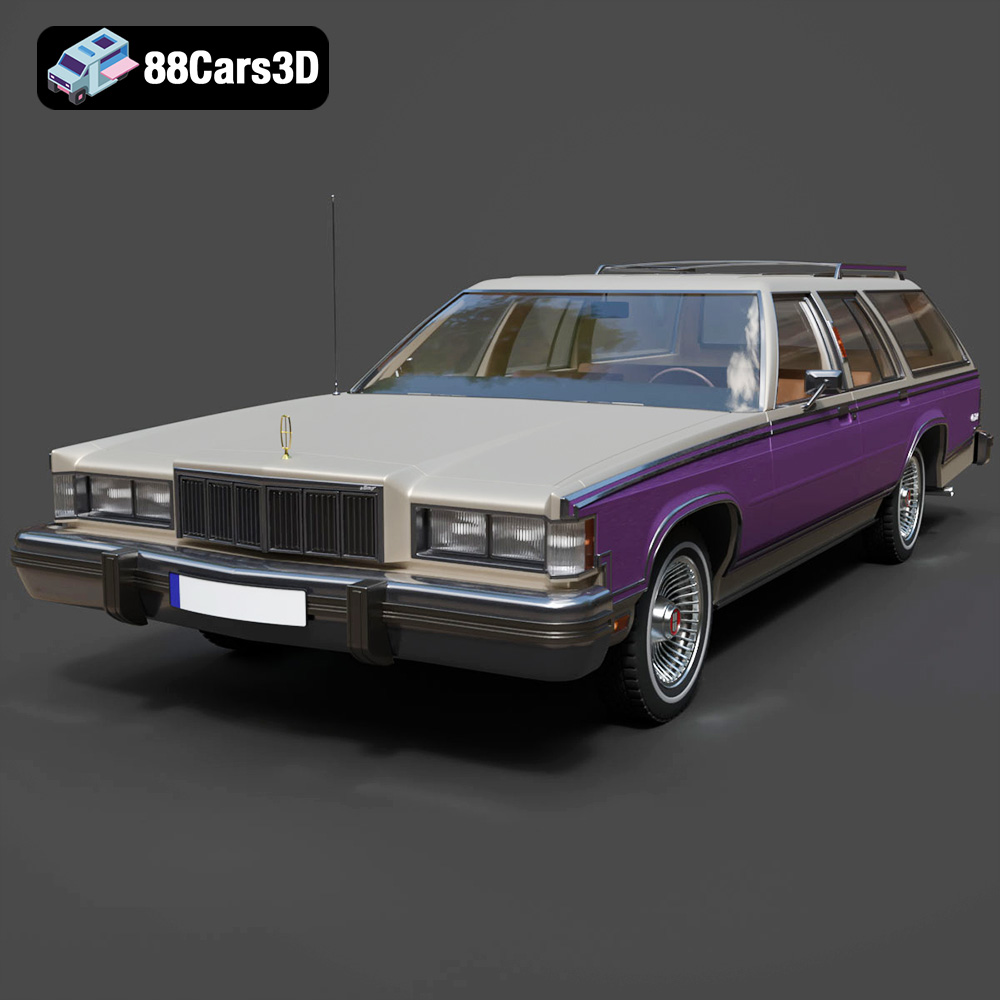
Texture: Yes | Material: Yes
Download the highly detailed, game-ready Mercury Marquis Colony Park 1981 3D Model. Features iconic simulated woodgrain siding, classic full-size wagon proportions, and realistic chrome exterior trim. Includes .blend, .fbx, .obj, .glb, .stl, .ply, .unreal, and .max formats for game development, AR/VR, and rendering.
Price: $9
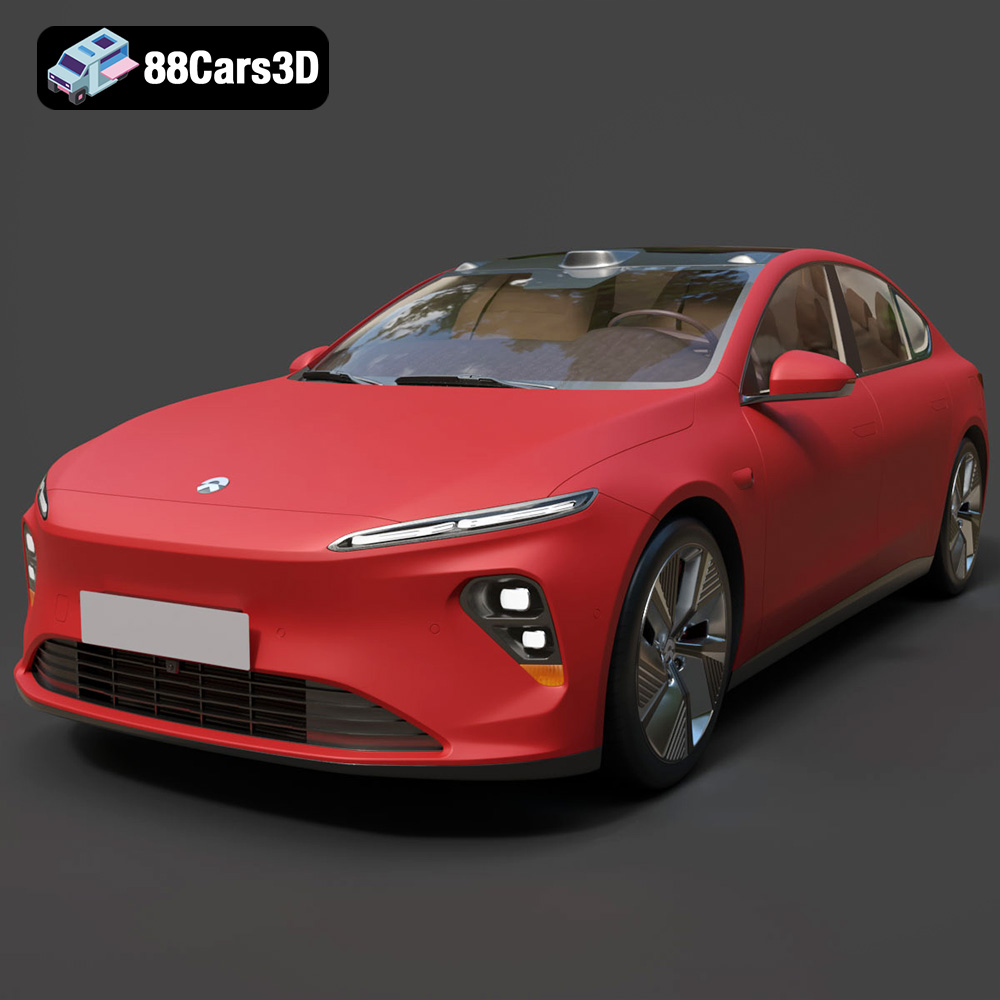
Texture: Yes | Material: Yes
Download the highly detailed, game-ready Nio ET7 2021 3D Model. Features sleek aerodynamic luxury electric sedan styling, integrated LiDAR sensors, and signature Double-Dash LED lights. Includes .blend, .fbx, .obj, .glb, .stl, .ply, .unreal, and .max formats for game development, AR/VR, and rendering.
Price: $9
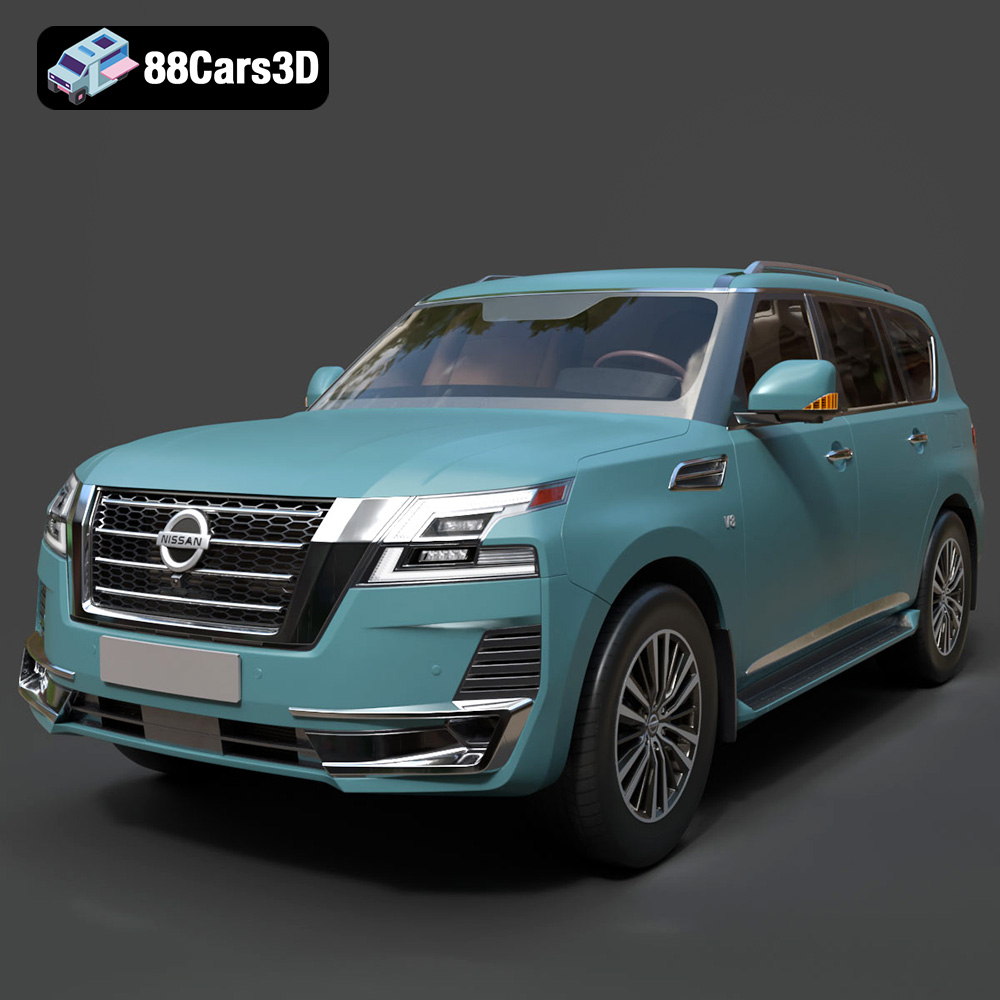
Texture: Yes | Material: Yes
Download the highly detailed, game-ready Nissan Patrol 2021 3D Model. Features signature V-motion grille, realistic exterior detailing, and a fully rendered luxury interior. Includes .blend, .fbx, .obj, .glb, .stl, .ply, .unreal, and .max formats for game development, AR/VR, and rendering.
Price: $9
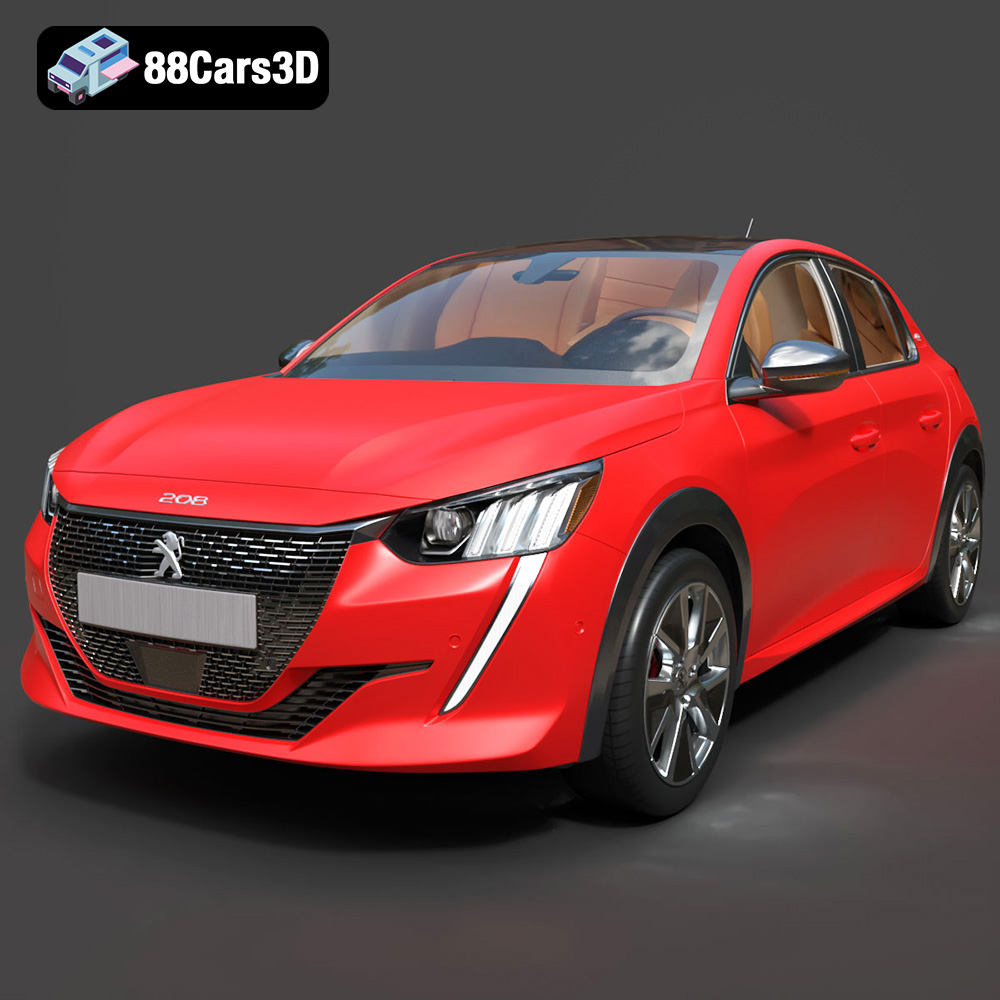
Texture: Yes | Material: Yes
Download the highly detailed, game-ready Peugeot e-208 2020 3D Model. Features 3-claw LED lighting, dynamic body geometry, and a fully detailed i-Cockpit interior. Includes .blend, .fbx, .obj, .glb, .stl, .ply, .unreal, and .max formats for game development, AR/VR, and rendering.
Price: $9
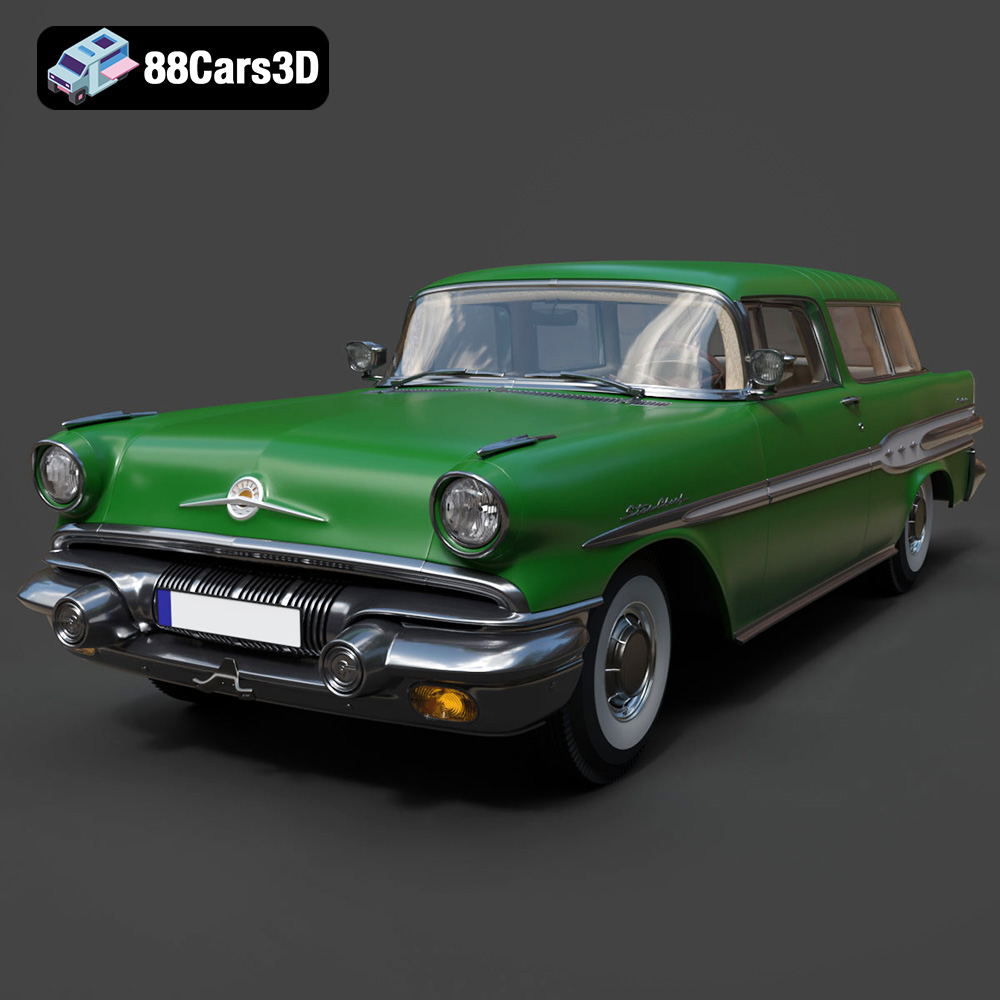
Texture: Yes | Material: Yes
Download the highly detailed, game-ready Pontiac Star Chief Custom Safari 2-door 1957 3D Model. Features classic 1950s two-door wagon bodywork, iconic chrome tail fins, and realistic interior detailing. Includes .blend, .fbx, .obj, .glb, .stl, .ply, .unreal, and .max formats for game development, AR/VR, and rendering.
Price: $9
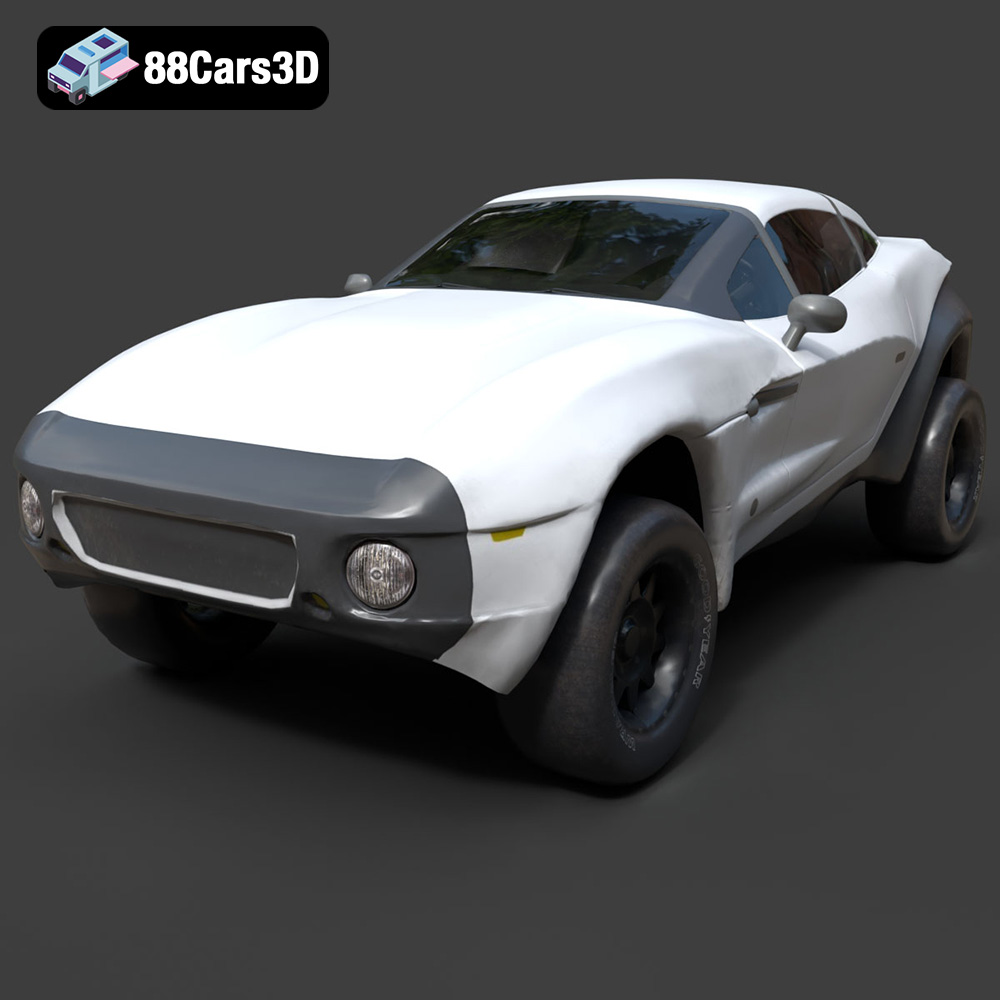
Texture: Yes | Material: Yes
Download the highly detailed, game-ready Local Motors Rally Fighter 3D Model. Features aggressive off-road long-travel suspension, detailed interior cockpit, and high-clearance body styling. Includes .blend, .fbx, .obj, .glb, .stl, .ply, .unreal, and .max formats for game development, AR/VR, and rendering.
Price: $9
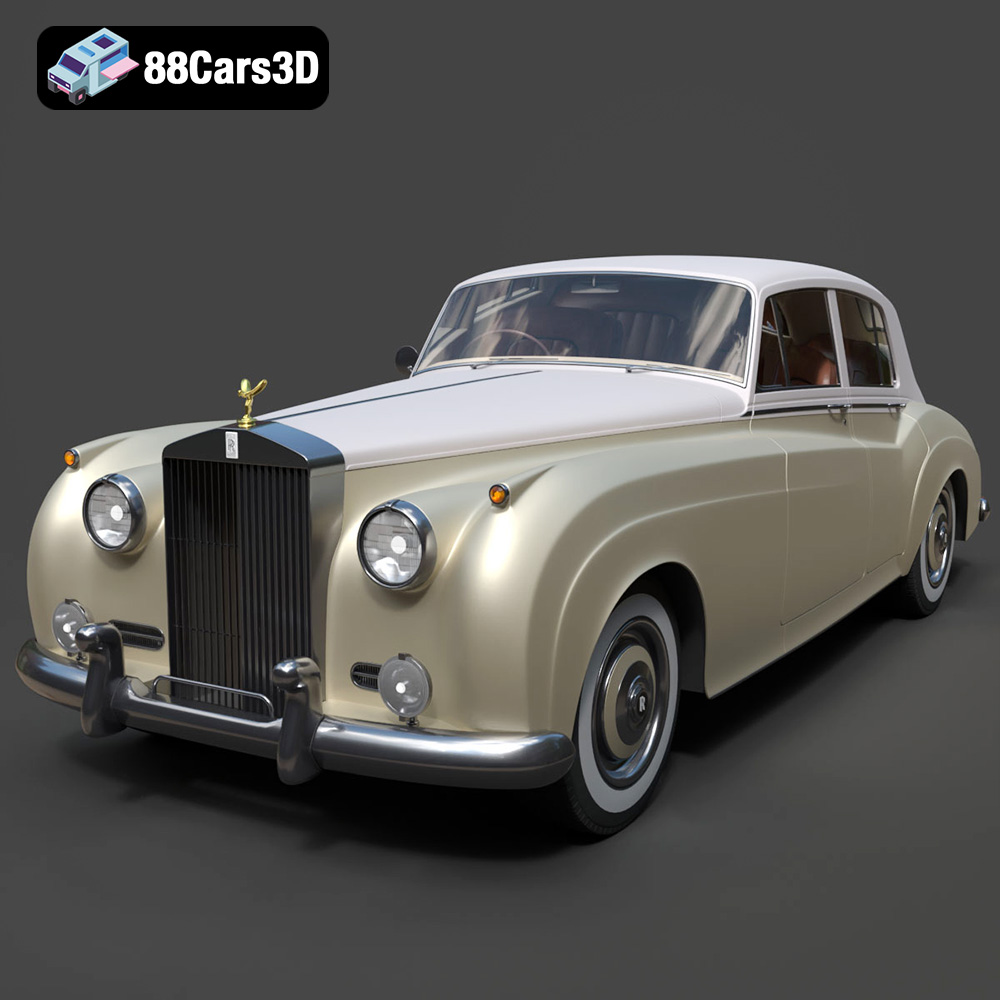
Texture: Yes | Material: Yes
Download the highly detailed, game-ready Rolls-Royce Silver Cloud II 1959 3D Model. Features classic chrome radiator grille, iconic Spirit of Ecstasy ornament, and elegant two-tone bodylines. Includes .blend, .fbx, .obj, .glb, .stl, .ply, .unreal, and .max formats for game development, AR/VR, and rendering.
Price: $9
