

Embarking on the journey of 3D modeling can seem daunting, but with the right tools and guidance, it opens up a world of creative possibilities. For automotive enthusiasts, game developers, and visualization professionals, creating stunning 3D car models is a coveted skill. And at the heart of accessible, powerful 3D creation lies Blender – a free, open-source 3D suite renowned for its versatility in modeling, sculpting, animation, and rendering. This comprehensive guide is designed for absolute beginners, providing a structured pathway to understanding Blender’s core functionalities and applying them specifically to the intricate art of automotive design. Whether your goal is to produce photorealistic renders, optimize game assets, prepare models for 3D printing, or craft immersive AR/VR experiences, Blender offers the robust toolset you need. We’ll demystify its interface, explore fundamental modeling techniques, delve into realistic PBR materials, master UV mapping, and touch upon rendering workflows, ensuring you gain a solid foundation to bring your automotive visions to life. Platforms like 88cars3d.com thrive on high-quality, meticulously crafted models, and by the end of this tutorial, you’ll be well-equipped to understand the principles behind creating such professional-grade assets.
When you first open Blender, the sheer number of panels and buttons can be overwhelming. However, understanding its logical layout is the first crucial step to becoming proficient. Blender’s interface is highly customizable, but we’ll focus on the default setup to get you started. At its core, Blender’s workspace is divided into several key editors, each serving a specific purpose in your 3D workflow. The central area, the 3D Viewport, is where you interact directly with your models, manipulate objects, and compose your scenes. Surrounding it, you’ll find the Outliner, which provides a hierarchical list of all objects, collections, and data blocks in your scene; the Properties Editor, where you adjust settings for selected objects, materials, rendering, and more; and the Timeline at the bottom, primarily used for animation but also useful for frame navigation.
Upon launch, you’re greeted with a default scene typically containing a camera, a light, and a cube. This cube will be our primary subject for learning basic manipulations. To select an object, simply left-click on it. Once selected, its outline will change, and its properties will appear in the Properties Editor. The fundamental transformations you’ll perform repeatedly are Move, Rotate, and Scale. These can be accessed via the Gizmos in the 3D Viewport (the colored axes that appear on selected objects), or more efficiently using hotkeys:
To confirm a transformation, left-click; to cancel, right-click or press ‘Esc’. Mastering these basic interactions is foundational to all subsequent 3D work.
Effective navigation is paramount for efficient modeling. You need to be able to orbit around your scene, pan across it, and zoom in or out with ease. Blender offers several ways to achieve this:
Spend some time practicing these navigation controls. They will become second nature, allowing you to fluidly inspect and manipulate your automotive models from every angle. For a deeper dive into Blender’s interface and navigation, consult the official Blender 4.4 documentation.
Creating compelling 3D car models demands a strong understanding of fundamental modeling concepts, particularly when aiming for the smooth, aerodynamic surfaces characteristic of vehicles. In Blender, we primarily work with polygonal modeling, which involves manipulating a mesh composed of vertices, edges, and faces. These basic elements are the building blocks of every 3D object you create. Automotive design often requires incredibly clean geometry and precise curves, making a solid grasp of topology and efficient modeling workflows essential.
A vertex is a single point in 3D space. An edge connects two vertices. A face (or polygon) is formed by three or more edges enclosing a planar area. While faces can be N-gons (more than 4 vertices), it’s generally best practice to stick to quads (4-sided faces) for automotive models, especially if you plan to use subdivision surfaces. Quads deform predictably and handle smoothing algorithms much better than triangles or N-gons, leading to cleaner results. To manipulate these components, you switch between selection modes in Edit Mode (Tab key to toggle between Object Mode and Edit Mode):
Practicing selecting and moving these elements will allow you to sculpt the basic forms of your car.
Topology refers to the arrangement of your mesh’s vertices, edges, and faces. For automotive models, clean topology is paramount. This means using predominantly quads, avoiding excessive poles (vertices with more or less than 5 connected edges), and ensuring logical edge flow. Edge flow describes how edges naturally follow the contours and curvature of your model, which is crucial for achieving smooth, realistic surfaces, especially when using subdivision surface modifiers. Proper edge flow ensures that when you add details, they integrate seamlessly, and when the model is deforming (e.g., during animation or impact simulations), it does so predictably.
To create accurate car models, you’ll heavily rely on reference images (blueprints, side views, top views) loaded into the 3D Viewport as background images. Model the main silhouette first, using simple shapes, and then progressively add detail. Tools like the Mirror Modifier are indispensable for symmetrical car bodies, saving you half the modeling work. Start by blocking out the main panels – hood, doors, fenders – ensuring that the edges define the natural separation lines and contours of the vehicle.
Blender provides a powerful suite of modeling tools to manipulate your mesh. Here are some of the most frequently used for automotive design:
These tools, combined with careful attention to edge flow, will allow you to build complex car geometries from simple primitives. Practice using them to refine shapes, create hard surfaces, and maintain the precise contours required for high-quality automotive models. For further reading on Blender’s modeling tools, refer to the official Blender documentation on modeling.
Once your car model’s geometry is complete, the next critical step is applying realistic textures. This is where UV mapping comes into play. UV mapping is the process of flattening out the 3D surface of your model into a 2D space, allowing you to paint or apply image textures accurately. Without proper UVs, your textures will appear stretched, distorted, or simply won’t align correctly with the model’s surfaces, severely impacting the realism of your automotive rendering.
Think of UV mapping as unwrapping a gift box. You’re taking a 3D object and laying its “skin” flat so you can draw on it. The “U” and “V” refer to the two axes of this 2D texture space, analogous to “X” and “Y” in 3D. When creating PBR materials (Physically Based Rendering), which rely on high-quality textures like Albedo, Metallic, Roughness, and Normal maps, precise UVs are non-negotiable. These maps define how light interacts with the surface, and if they’re applied incorrectly due to poor UVs, the material will look fake. For complex car surfaces with varying curvatures and sharp edges, careful planning of your UV seams is essential to minimize stretching and optimize texture resolution across the model.
Blender offers several methods for unwrapping your model. You can access these in Edit Mode by selecting your mesh (or parts of it), pressing ‘U’, and choosing an unwrapping option. It’s best to switch your workspace to the “UV Editing” layout (available from the top menu) to see both your 3D model and its flattened UV layout simultaneously:
For a car, you’ll want to mark seams along the edges of doors, hood, trunk, and around wheel arches. This ensures that major panels get their own, clean UV space. You might even separate the interior, chassis, and wheels into different UV sets or materials for better organization and texture fidelity.
After unwrapping, you’ll see your UV islands in the UV Editor window. Here’s how to refine them:
High-quality 3D car models, like those found on 88cars3d.com, always feature meticulously crafted UVs to support their realistic textures. Invest time in this step, as it directly impacts the visual fidelity of your final render or game asset.
The realism of your automotive rendering largely depends on the quality of your materials and how they interact with light. Physically Based Rendering (PBR) has become the industry standard for creating photorealistic materials because it accurately simulates the physics of light, regardless of the lighting conditions. In Blender, creating PBR materials involves using node-based shading, offering incredible flexibility and power.
PBR materials rely on a set of texture maps, each controlling a specific aspect of how light behaves on the surface:
By combining these maps, you can simulate a vast range of real-world materials with incredible accuracy.
Blender’s shader editor (accessible by changing one of your workspace windows to “Shader Editor”) uses a node-based system, allowing you to connect different functions and textures to build complex materials. The cornerstone of PBR in Blender is the Principled BSDF shader, a “universal shader” designed to handle most material types with minimal inputs. It has inputs for Base Color, Metallic, Specular, Roughness, Clearcoat, Transmission, Normal, and more.
To create a new material:
You then connect your texture maps to the corresponding inputs of the Principled BSDF node using “Image Texture” nodes. For instance, an Albedo map connects to “Base Color”, a Metallic map to “Metallic”, and so on. Remember that color maps (like Albedo) should be set to “sRGB” color space, while non-color data maps (like Metallic, Roughness, Normal) should be set to “Non-Color” in the Image Texture node settings to prevent incorrect gamma correction.
Let’s consider two essential automotive materials:
Experiment with these values and connections. Understanding how each PBR parameter affects the material’s appearance under different lighting conditions is key to achieving professional-grade visualization. High-quality PBR textures are a hallmark of the 3D car models available on platforms like 88cars3d.com.
With your meticulously modeled and textured car, the next step is to make it shine through compelling lighting and high-quality rendering. Lighting is an art form itself, capable of transforming a good model into a breathtaking visual. Blender offers powerful rendering engines like Cycles (for photorealistic, ray-traced renders) and Eevee (for real-time rendering), each with its strengths and use cases for automotive rendering and visualization.
Effective lighting can highlight the elegant curves and intricate details of your 3D car models. A common and highly effective setup for automotive renders often involves a combination of:
When setting up lights, pay close attention to the reflections on the car’s surface. These reflections define the contours and showcase the quality of your paint material. For more details on Blender’s lighting options, consult the Blender manual on lighting.
Just as in real-world photography, camera placement and composition are crucial for presenting your 3D car model effectively. A well-composed shot draws the viewer’s eye and emphasizes the model’s best features.
Blender offers two primary rendering engines:
For high-end automotive visualization, Cycles is typically preferred due to its superior realism. Always remember that rendering high-quality 3D car models requires patience and iteration. Experiment with your lighting and render settings until you achieve the desired visual impact. Advanced users might also explore external renderers like Corona or V-Ray, which are popular in professional architectural and automotive visualization and often supported by models from marketplaces like 88cars3d.com.
Creating a beautiful 3D car model in Blender is only half the battle. If your goal is to use it in a game engine, AR/VR experience, or another 3D application, you need to understand how to properly export and optimize your asset. Different platforms have unique requirements for file formats, polygon counts, and texture resolutions. Efficient optimization is crucial for maintaining performance, especially for real-time applications where every millisecond counts.
Choosing the correct file format is essential for seamless integration into other software. Here are the most common formats for 3D car models:
When exporting from Blender (File -> Export), ensure you select the appropriate settings for your target platform. For instance, when exporting FBX for a game engine, you might want to export only selected objects, apply modifiers, and limit scaling to avoid issues in the destination software.
For game development, performance is paramount. High-fidelity 3D car models must be optimized to run smoothly in real-time environments without taxing the GPU. Here are key strategies:
Marketplaces like 88cars3d.com specialize in providing models that are already optimized with clean topology and efficient UVs, making them ready for immediate integration into game engines or visualization projects.
AR/VR environments impose even stricter performance constraints due to the need for high frame rates and often limited mobile hardware. Beyond general game optimization, consider:
By applying these optimization strategies, you can ensure your beautiful 3D car models perform exceptionally well across a range of platforms, from high-end render farms to mobile AR experiences.
You’ve now completed a comprehensive overview of getting started with Blender, specifically tailored for the exciting world of 3D car models. From navigating the interface and mastering essential modeling techniques to creating realistic PBR materials, executing precise UV mapping, and understanding sophisticated rendering and optimization strategies, you’ve gained a foundational skill set. Blender’s power and flexibility, combined with your dedication to learning, will unlock endless creative possibilities in automotive rendering, game asset development, AR/VR experiences, and professional visualization.
The journey to becoming a 3D automotive master is continuous, filled with practice, experimentation, and constant learning. Don’t be afraid to try new techniques, explore advanced modifiers, and delve deeper into Blender’s expansive feature set. Remember that the quality of your output, whether for stunning portfolio renders or optimized game assets, directly stems from the care you put into every stage – from initial topology to final render settings. As you progress, consider exploring resources like 88cars3d.com, where you can find expertly crafted 3D car models that exemplify the quality and technical proficiency discussed in this guide. Use them for inspiration, learning, or as a starting point for your own projects. Keep practicing, keep creating, and enjoy the incredible satisfaction of bringing your automotive designs to life in three dimensions!
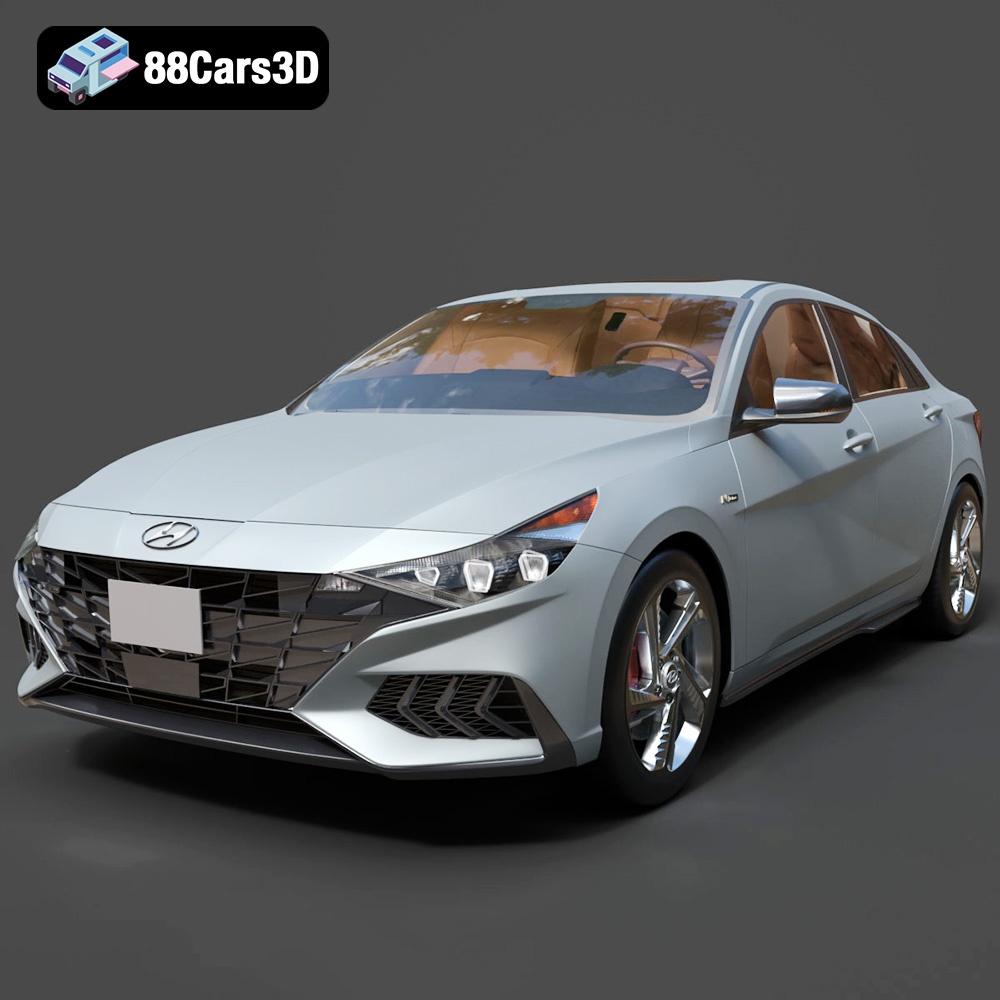
Texture: Yes | Material: Yes
Download the highly detailed, game-ready Hyundai Elantra N Line 2021 3D Model. Features aggressive N Line body styling, parametric jewel grille, and sport interior details. Includes .blend, .fbx, .obj, .glb, .stl, .ply, .unreal, and .max formats for game development, AR/VR, and rendering.
Price: $9
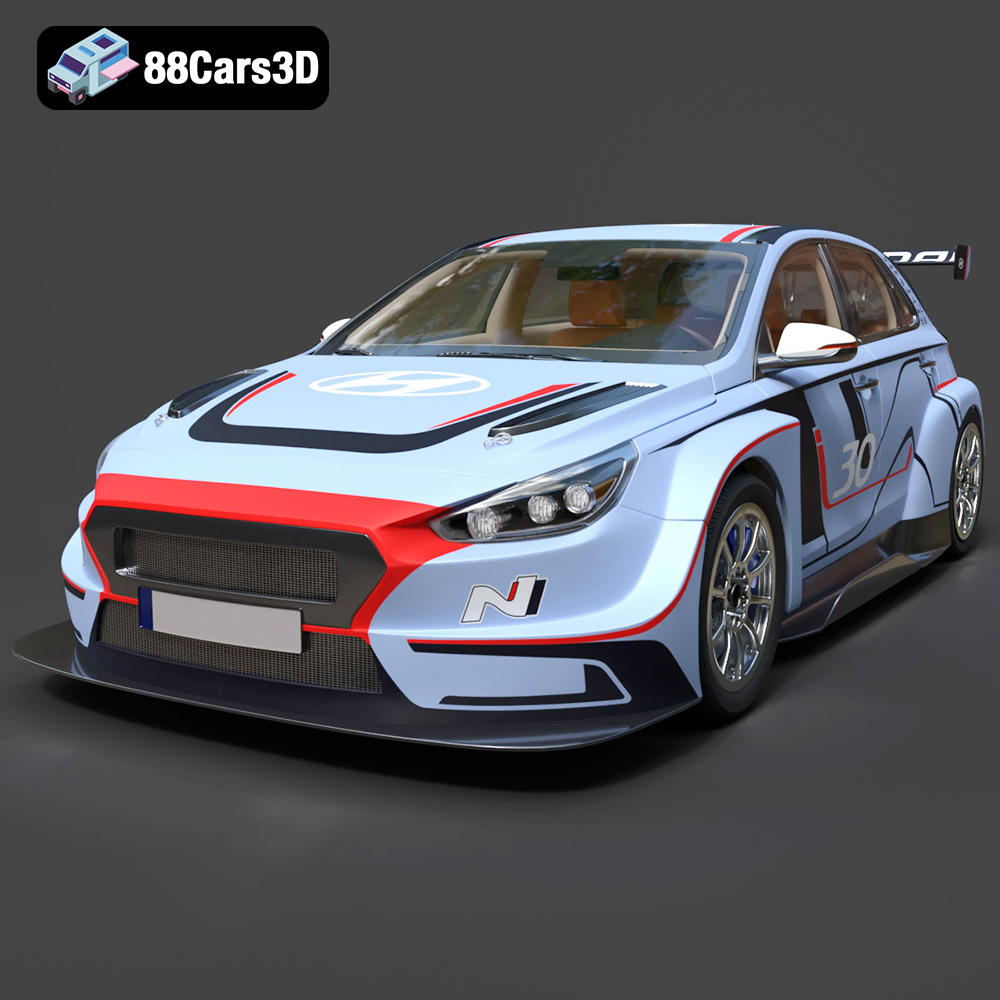
Texture: Yes | Material: Yes
Download the highly detailed, game-ready Hyundai i30 N TCR Hatchback 2020 3D Model. Features aggressive touring car aerodynamics, high-downforce rear wing, and race-spec interior. Includes .blend, .fbx, .obj, .glb, .stl, .ply, .unreal, and .max formats for game development, AR/VR, and rendering.
Price: $9
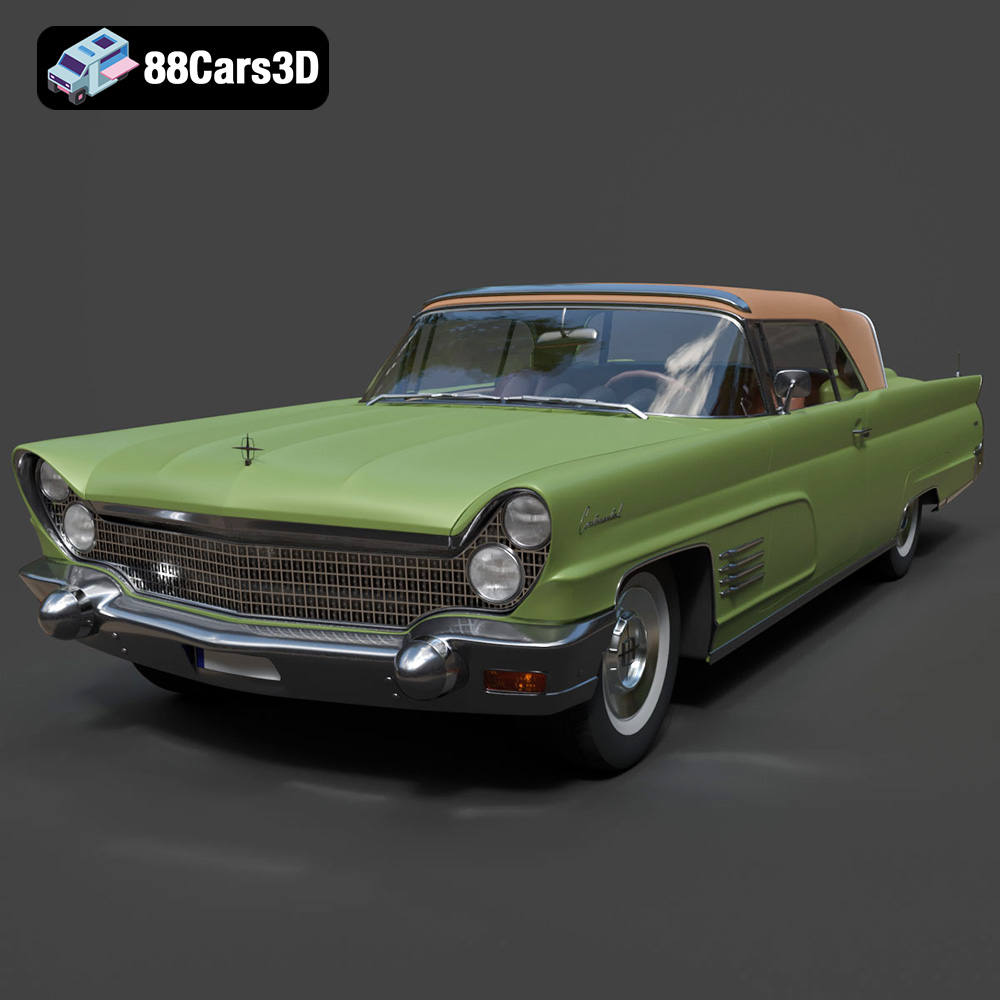
Texture: Yes | Material: Yes
Download the highly detailed, game-ready Lincoln Continental Mark V 1960 3D Model. Features iconic 1960s luxury cruiser styling, massive chrome grille, reverse-slant rear window, and sweeping tail fins. Includes .blend, .fbx, .obj, .glb, .stl, .ply, .unreal, and .max formats for game development, AR/VR, and rendering.
Price: $9
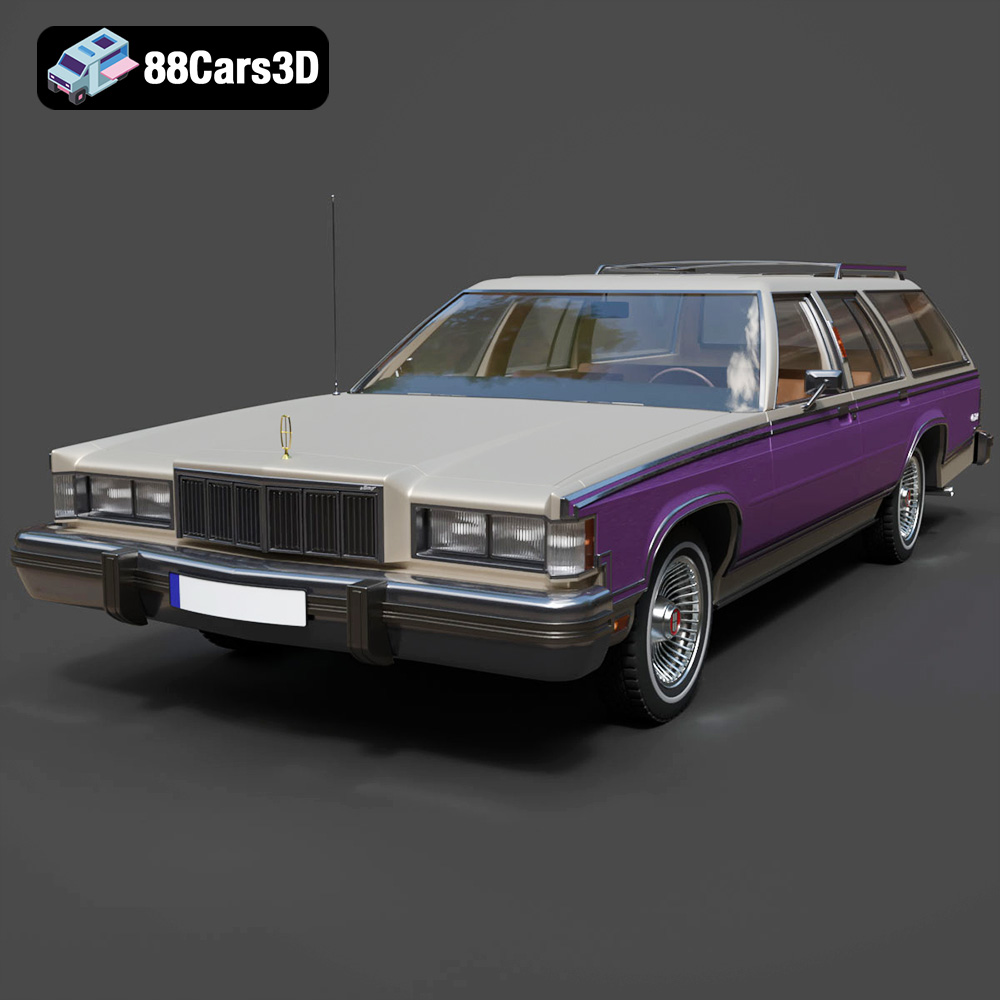
Texture: Yes | Material: Yes
Download the highly detailed, game-ready Mercury Marquis Colony Park 1981 3D Model. Features iconic simulated woodgrain siding, classic full-size wagon proportions, and realistic chrome exterior trim. Includes .blend, .fbx, .obj, .glb, .stl, .ply, .unreal, and .max formats for game development, AR/VR, and rendering.
Price: $9
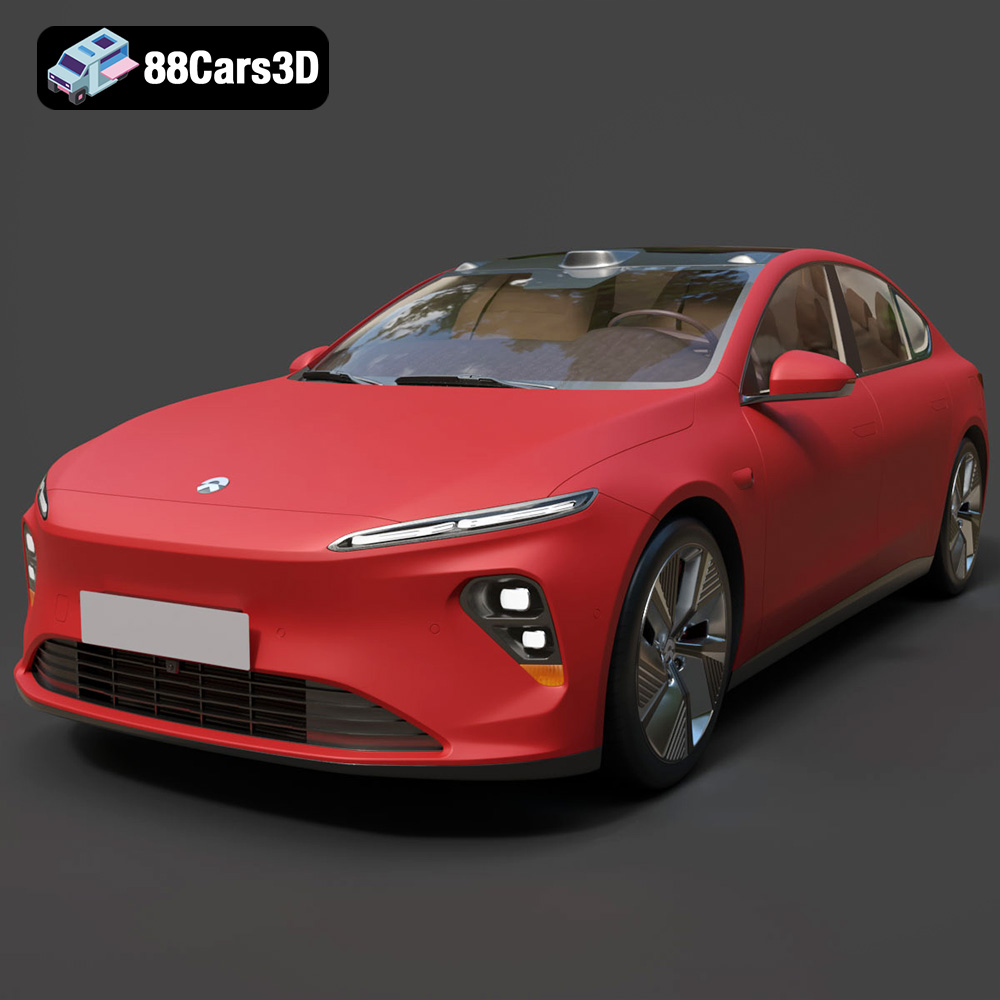
Texture: Yes | Material: Yes
Download the highly detailed, game-ready Nio ET7 2021 3D Model. Features sleek aerodynamic luxury electric sedan styling, integrated LiDAR sensors, and signature Double-Dash LED lights. Includes .blend, .fbx, .obj, .glb, .stl, .ply, .unreal, and .max formats for game development, AR/VR, and rendering.
Price: $9
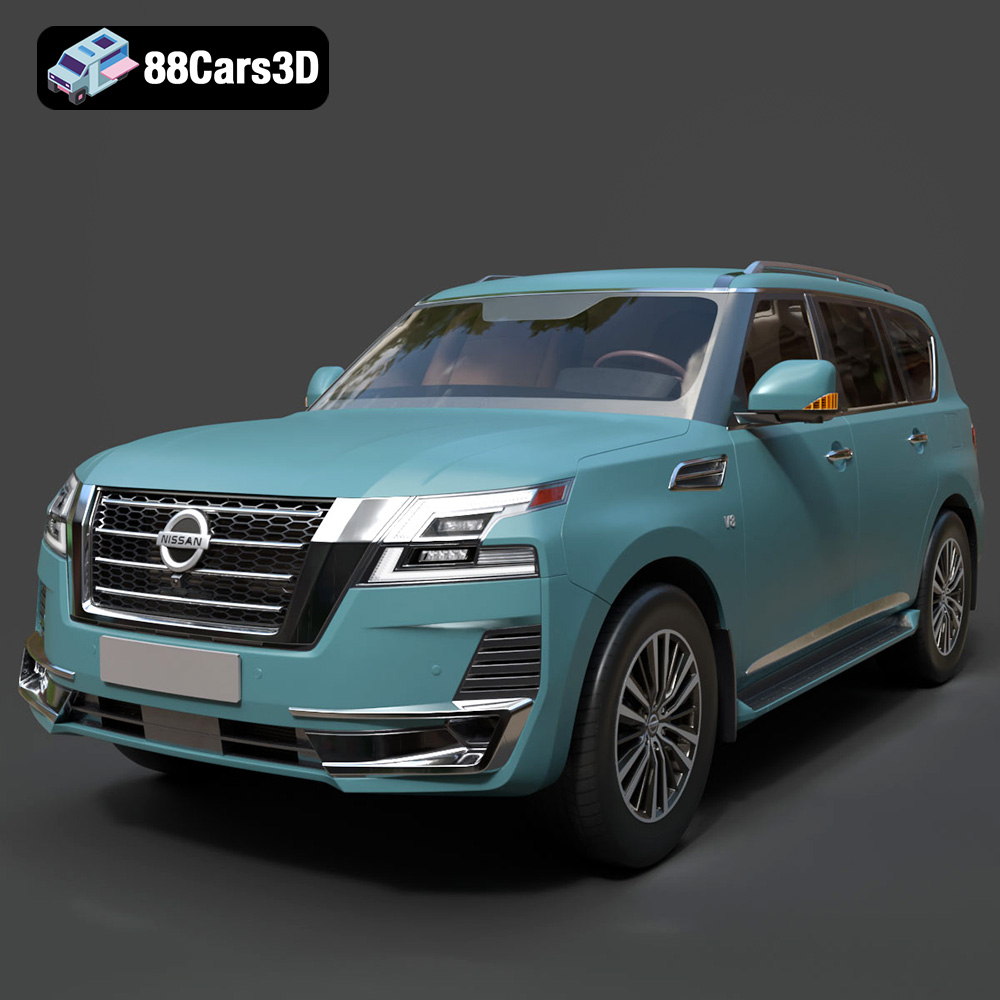
Texture: Yes | Material: Yes
Download the highly detailed, game-ready Nissan Patrol 2021 3D Model. Features signature V-motion grille, realistic exterior detailing, and a fully rendered luxury interior. Includes .blend, .fbx, .obj, .glb, .stl, .ply, .unreal, and .max formats for game development, AR/VR, and rendering.
Price: $9
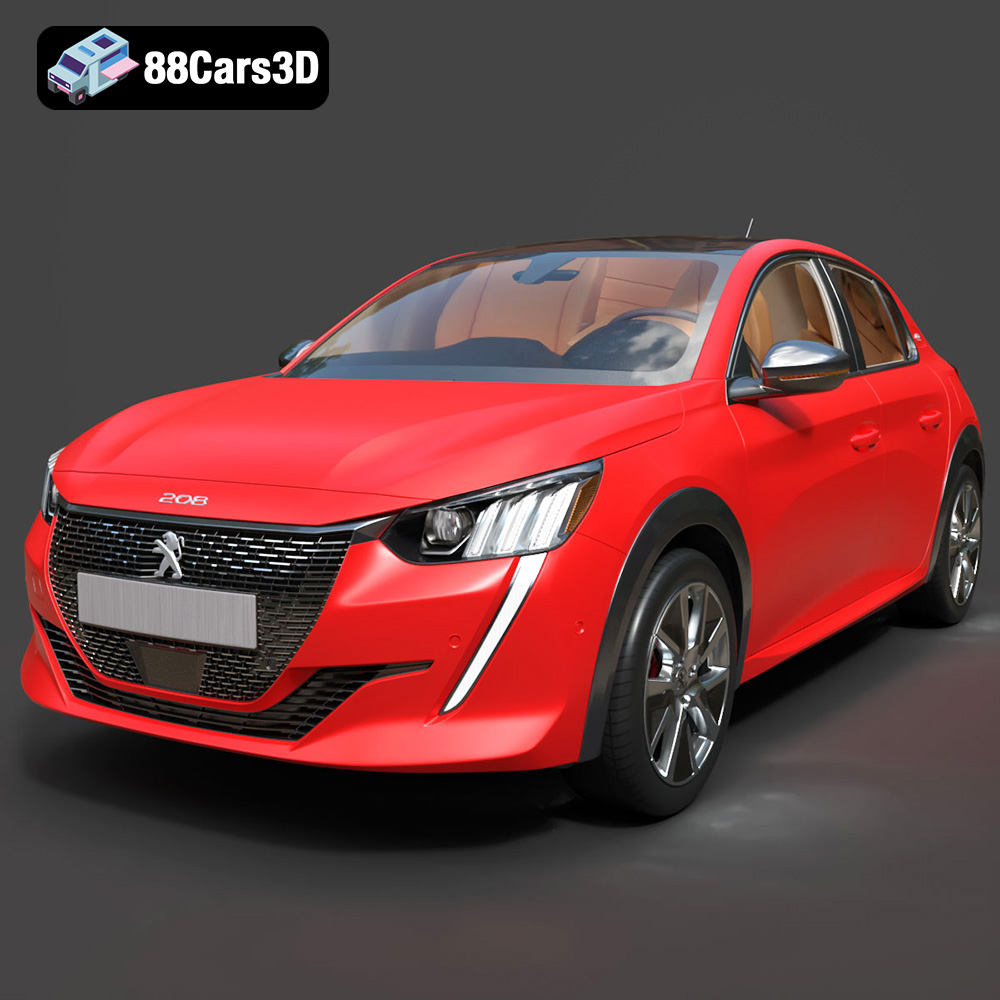
Texture: Yes | Material: Yes
Download the highly detailed, game-ready Peugeot e-208 2020 3D Model. Features 3-claw LED lighting, dynamic body geometry, and a fully detailed i-Cockpit interior. Includes .blend, .fbx, .obj, .glb, .stl, .ply, .unreal, and .max formats for game development, AR/VR, and rendering.
Price: $9
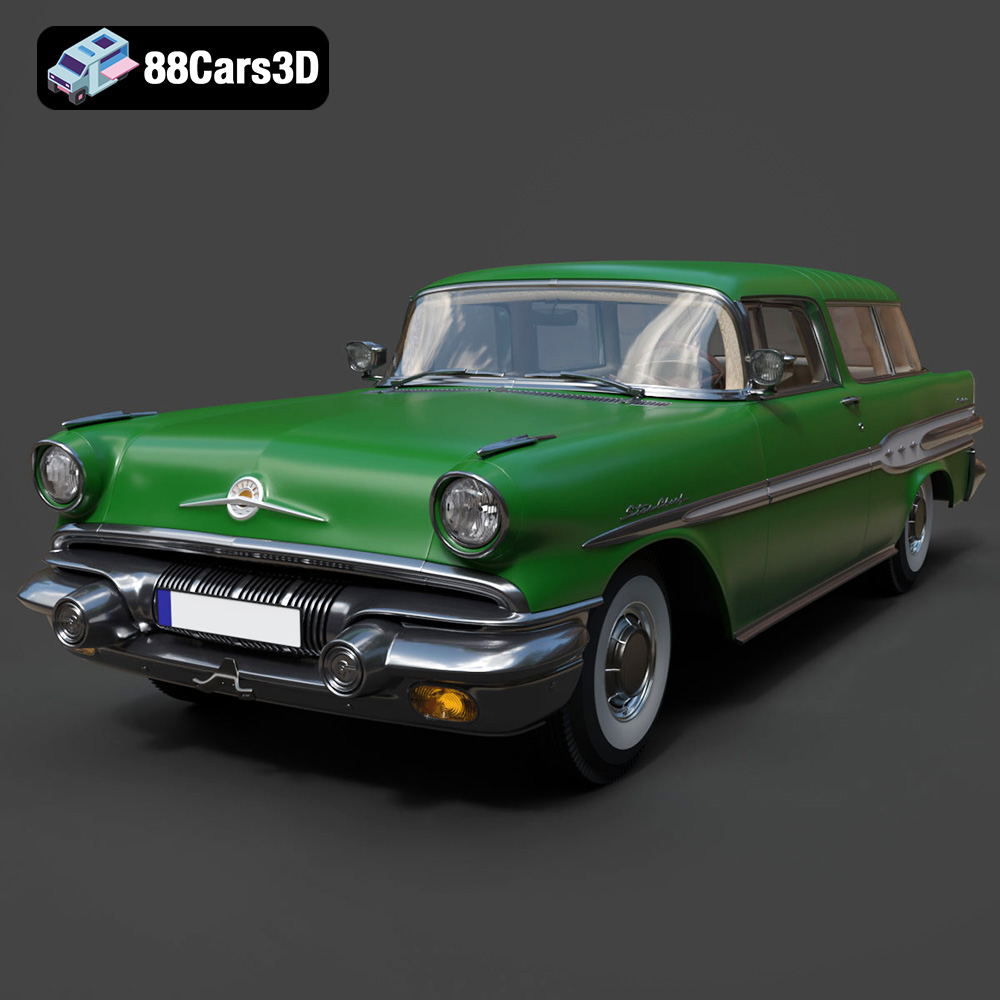
Texture: Yes | Material: Yes
Download the highly detailed, game-ready Pontiac Star Chief Custom Safari 2-door 1957 3D Model. Features classic 1950s two-door wagon bodywork, iconic chrome tail fins, and realistic interior detailing. Includes .blend, .fbx, .obj, .glb, .stl, .ply, .unreal, and .max formats for game development, AR/VR, and rendering.
Price: $9
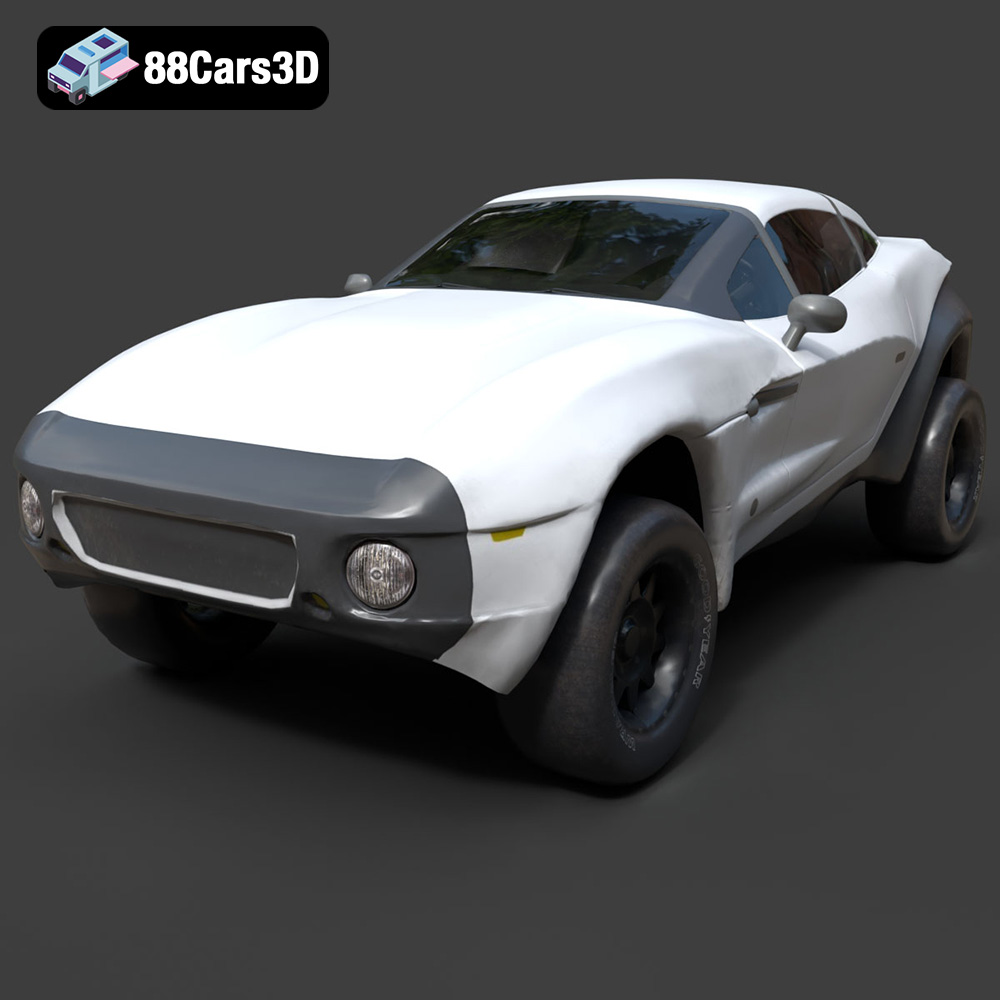
Texture: Yes | Material: Yes
Download the highly detailed, game-ready Local Motors Rally Fighter 3D Model. Features aggressive off-road long-travel suspension, detailed interior cockpit, and high-clearance body styling. Includes .blend, .fbx, .obj, .glb, .stl, .ply, .unreal, and .max formats for game development, AR/VR, and rendering.
Price: $9
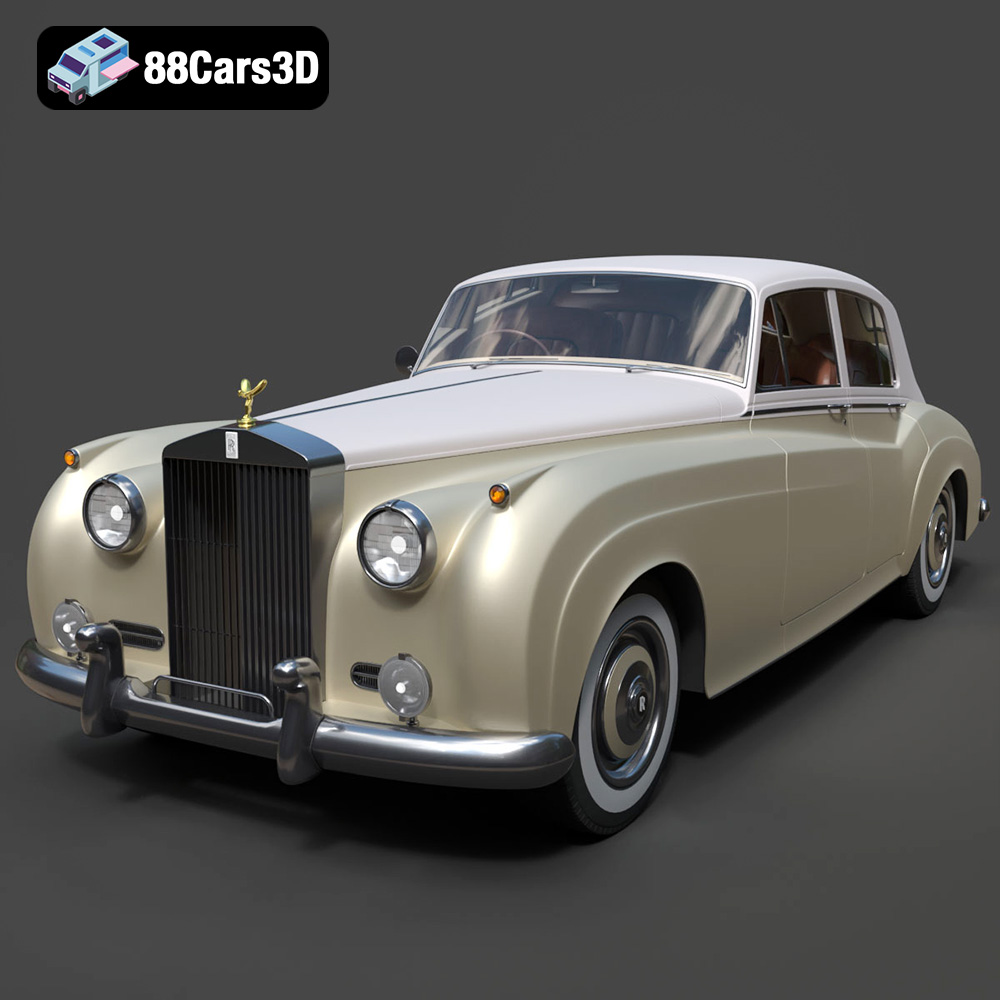
Texture: Yes | Material: Yes
Download the highly detailed, game-ready Rolls-Royce Silver Cloud II 1959 3D Model. Features classic chrome radiator grille, iconic Spirit of Ecstasy ornament, and elegant two-tone bodylines. Includes .blend, .fbx, .obj, .glb, .stl, .ply, .unreal, and .max formats for game development, AR/VR, and rendering.
Price: $9
