⚡ FLASH SALE: Get 60% OFF All Premium 3D & STL Models! ⚡
The pursuit of photorealism in 3D automotive visualization has reached unprecedented heights, largely thanks to the widespread adoption of Physically Based Rendering (PBR) materials. For 3D artists, game developers, and automotive designers, creating a convincing car model goes far beyond accurate geometry; it demands materials that react to light in a way that mirrors the real world. From the lustrous sheen of car paint to the subtle imperfections of tire rubber, PBR ensures that every surface behaves authentically under any lighting condition. This comprehensive guide will delve into the best practices for crafting and optimizing PBR materials specifically for high-quality 3D car models, covering everything from fundamental principles to advanced workflows, ensuring your automotive creations stand out in any project, whether for high-fidelity renders, interactive game environments, or immersive AR/VR experiences.
Understanding and applying PBR correctly is not just about achieving visual fidelity; it’s also about efficiency and consistency. PBR workflows simplify the material creation process by adhering to real-world physics, making assets more predictable and reusable across different rendering engines and lighting setups. Whether you’re a seasoned professional looking to refine your techniques or a student eager to master the art of automotive rendering, this article will equip you with the technical knowledge and practical insights needed to elevate your 3D car models to professional standards. We’ll explore the intricate details of material properties, discuss software-specific approaches, and touch upon optimization strategies crucial for diverse applications.
Physically Based Rendering (PBR) is a shading and rendering technique that aims to render graphics in a way that more accurately models the flow of light and energy, as opposed to traditional arbitrary approximations. At its core, PBR revolves around two fundamental principles: energy conservation and physical correctness. Energy conservation dictates that a surface cannot reflect more light than it receives. This means that if a surface is highly reflective (metallic), it will absorb less light for its diffuse component, and vice versa. Physical correctness ensures that light interacts with surfaces in a predictable manner, based on real-world properties like reflectivity (specular/metallic) and roughness.
For automotive 3D car models, these principles are paramount. The intricate interplay of light on car paint, glass, and metal surfaces is what makes them look convincing. A car’s paint, for instance, isn’t just a flat color; it’s a complex material with metallic flakes, clear coat, and various layers that contribute to its distinctive look. PBR helps to accurately simulate these nuances. The key PBR maps typically used include:
By carefully authoring and combining these maps, artists can create physically accurate and visually compelling materials that respond realistically to diverse lighting conditions, a non-negotiable aspect for high-quality automotive rendering.
There are two primary PBR workflows: Metallic-Roughness and Specular-Glossiness. The Metallic-Roughness workflow, favored by many modern engines and tools like Blender’s Principled BSDF shader (as detailed in the Blender 4.4 Manual on Principled BSDF), uses separate maps for Metallic and Roughness. This approach is generally simpler to understand and implement, as the Metallic map directly dictates whether a surface is a metal or a dielectric, and the Roughness controls the scattering. The Specular-Glossiness workflow uses a Specular map (color) and a Glossiness map (inverse of roughness). While both can achieve similar results, Metallic-Roughness is often preferred for its intuitive nature and ease of material definition.
Beyond stunning PBR materials, a strong foundation in 3D modeling topology and efficient UV mapping is critical for achieving exceptional automotive models. Clean topology ensures smooth deformations, efficient rendering, and simplifies the texturing process. For car models, this means maintaining a logical edge flow that follows the contours and panel lines of the vehicle. Quads are generally preferred over triangles, especially for organic shapes and areas that will be subdivided, as they handle subdivision surfaces (like Blender’s Subdivision Surface Modifier) more gracefully and prevent pinching or undesirable artifacts.
When modeling a car, focus on creating even polygon distribution. Areas of high curvature, such as wheel arches, fender flares, and door edges, will require a denser mesh to capture their shape accurately. Conversely, flat surfaces can have a sparser poly count. A common strategy involves using holding loops or support edges to sharpen creases and define hard edges without needing excessive geometry across the entire model. This technique is particularly vital for car panels, where crisp edges define the vehicle’s form and reflect light sharply. Aim for a balance between detail and polygon efficiency. For high-end cinematic renders, a higher polygon count (e.g., 500,000 to several million triangles for an entire car) with multiple subdivision levels is acceptable. For game assets, lower polygon counts with aggressive LOD (Level of Detail) systems are crucial.
UV mapping is the process of flattening a 3D model’s surface into a 2D space to apply textures accurately. For complex automotive surfaces, effective UV mapping is essential to prevent stretching, seams, and to maximize texture resolution. Strategic seam placement is key: hide seams in less visible areas, such as along the underside of body panels, inside door jams, or beneath trim pieces. Using multiple UV maps can also be beneficial, for instance, one map for the main body, another for interior details, and a third for wheels and tires.
When unwrapping, ensure that texture islands are appropriately scaled relative to the detail they need to represent. Larger, more prominent surfaces like the hood or side panels should receive a greater proportion of the UV space, allowing for higher texture resolution. Packing UVs efficiently minimizes wasted space within the 0-1 UV coordinate range, which in turn optimizes texture memory usage. Tools like Blender’s UV Editor, as described in the Blender 4.4 Manual on the UV Editor, offer robust features for unwrapping, aligning, and packing UV islands. Consider using UDIMs (U-Dimension) for extremely high-resolution models, especially for large, continuous surfaces like the entire car body, to avoid resolution limitations of a single UV tile and enable greater detail in your PBR textures.
For game development or AR/VR applications, it’s imperative to manage polygon count and UV layout meticulously. Decimation modifiers can reduce poly count while preserving visual fidelity, often used to create LODs. Ensure that UV islands are not overlapping unless intentionally used for mirroring textures, and maintain a consistent texel density across the model to prevent visual inconsistencies in texture resolution. By adhering to these topology and UV mapping best practices, you set the stage for applying realistic PBR materials that truly bring your 3D car models to life.
Achieving realistic automotive finishes with PBR materials requires a deep understanding of how different car components interact with light. Car paint, glass, rubber, and chrome each possess unique physical properties that must be accurately translated into PBR maps and shader networks. The complexity of automotive materials often necessitates a layered approach, combining multiple textures and shader effects to capture subtleties like metallic flakes, clear coat reflections, and surface wear.
Automotive paint is arguably the most challenging and visually impactful material to recreate. It typically consists of several layers: a base color coat (often metallic or pearlescent), a clear coat for gloss and protection, and sometimes a primer layer underneath. To simulate this in PBR, you’ll primarily work with the Base Color, Metallic, and Roughness maps, often supplemented by a Normal map for subtle imperfections. The clear coat effect is usually achieved by layering a very glossy, low-roughness shader on top of the base paint material, using a ‘Mix Shader’ node in Blender or similar layering functionalities in 3ds Max (e.g., using a Coat layer in V-Ray/Corona materials). The base color itself might involve a gradient or procedural texture for metallic flakes, influencing reflectivity and color shift based on viewing angle. For high-quality renders, procedural textures combined with image textures can provide unparalleled detail and control.
When working in Blender, the Principled BSDF shader (available via the Blender 4.4 Manual) is a versatile all-in-one solution that simplifies PBR material creation by encapsulating metallic, roughness, and other parameters into a single node. For 3ds Max and Corona/V-Ray, standard PBR materials offer similar controls, often with dedicated “Car Paint” shaders that include options for flakes and clear coats. The key is meticulous attention to detail in your texture maps and understanding how each parameter influences the final look.
Once your 3D car models are meticulously detailed with PBR materials, the next crucial step is rendering them to achieve breathtaking visualizations. The choice of rendering engine significantly impacts the final aesthetic, workflow, and render times. Popular renderers like Corona Renderer, V-Ray, Cycles, and Arnold each offer unique strengths, but the underlying principles of PBR integration and lighting remain consistent.
Effective lighting is paramount for showcasing PBR materials. High Dynamic Range Image (HDRI) maps are a cornerstone of modern automotive rendering, providing realistic environment lighting and reflections. A well-chosen HDRI can instantly place your car model in a believable scene, whether it’s a sunny outdoor vista or a professional studio setup. Combine HDRIs with additional light sources (e.g., area lights, spot lights) to emphasize specific features, create dramatic shadows, or add accent reflections.
For studio renders, a three-point lighting setup (key, fill, back light) is a classic approach. Experiment with softboxes and light planes to create appealing highlights on the car’s reflective surfaces. Pay close attention to how light falls across the car’s body lines and how reflections distort and slide along its curves, as this is what gives a car its sense of form and volume. Consider adding subtle fill lights to lift shadows and reveal details in darker areas, such as the wheel wells or under the bumpers.
Raw renders, no matter how good, almost always benefit from post-processing and compositing. Tools like Adobe Photoshop, Affinity Photo, or Blender’s Compositor (as outlined in the Blender 4.4 Manual on Compositing) allow you to refine your images. Key post-processing steps include:
Compositing passes (like Diffuse, Specular, Normals, Z-Depth, and Cryptomatte) from your renderer provides maximum control in post-production, allowing you to fine-tune individual components without re-rendering the entire scene. This iterative refinement process is critical for producing final images that meet the high standards of automotive visualization.
While PBR materials are essential for realism, their implementation in real-time environments like game engines (Unity, Unreal Engine) and AR/VR platforms demands significant optimization. The goal is to maintain visual fidelity while ensuring smooth performance, characterized by high frame rates and minimal load times. This often involves a careful balance between geometric detail, texture resolution, and shader complexity.
LODs are crucial for managing polygon counts in real-time. This technique involves creating multiple versions of a 3D car model, each with a progressively lower polygon count. The engine dynamically switches between these versions based on the object’s distance from the camera. For a complex automotive model, you might have:
Properly implemented LODs dramatically reduce the computational load on the GPU without a noticeable drop in quality at a distance. When creating LODs, ensure that the silhouette of the car remains consistent across levels to avoid popping artifacts.
Draw calls are instructions sent from the CPU to the GPU to draw objects. Minimizing draw calls is vital for performance. Each material on a model typically incurs at least one draw call. For cars with numerous individual parts and materials, this can quickly accumulate. Texture atlasing is an effective technique to combat this. It involves combining multiple smaller textures (e.g., textures for the engine, interior, and various small components) into a single, larger texture atlas. All the UVs from these individual parts are then laid out on this single atlas. This allows the engine to render multiple parts of the car with a single material, drastically reducing draw calls.
While atlasing, pay attention to texel density to ensure consistent resolution. A common practice is to use a 4K (4096×4096) or 8K (8192×8192) atlas for the main car body and larger components, and smaller atlases for less prominent or repeated elements like nuts and bolts.
AR/VR experiences have even stricter performance budgets. In addition to LODs and texture atlasing, consider these techniques:
Platforms like 88cars3d.com typically offer models that are already optimized for various uses, often including multiple LODs and clean UVs, which greatly assists game developers and AR/VR creators in maintaining performance.
The journey of a 3D car model often involves moving between different software packages and platforms. Ensuring seamless file format compatibility and correct material transfer is a critical, yet often overlooked, aspect of production. Different software has different ways of interpreting PBR materials and scene data, which can lead to visual discrepancies if not handled carefully.
The biggest challenge in file format conversion is preserving the integrity of your PBR materials. Different renderers have slightly different implementations of PBR shaders. For example, a “Principled BSDF” shader in Blender Cycles (as seen in the Blender 4.4 Manual) might translate differently to a V-Ray material in 3ds Max or a standard shader in Unity. Here are tips to minimize issues:
When sourcing models from marketplaces such as 88cars3d.com, check the provided file formats and material setups. High-quality models often come with pre-configured PBR materials in various formats, simplifying your workflow and ensuring visual consistency across your projects.
While the focus of PBR is often on rendering for screens, the detailed geometry and material precision can also be beneficial for other applications, such as 3D printing and static, high-resolution visualization. However, both require specific preparation steps that diverge from real-time rendering or animation workflows.
For 3D printing, PBR materials are irrelevant as the output is a physical object, not a rendered image. Instead, the focus shifts entirely to the 3D modeling topology and mesh integrity. Car models intended for printing must be “watertight” – meaning they have no holes, inverted normals, or non-manifold geometry. Common issues include:
Mesh Repair Workflow:
For high-quality models from 88cars3d.com, while the topology is typically clean for rendering, it’s still wise to perform these checks if 3D printing is your end goal.
For static visualization, such as creating hero shots for marketing or detailed portfolio pieces, the emphasis shifts back to maximizing visual quality without the real-time performance constraints. This means you can push the boundaries on polygon counts and texture resolutions.
In high-resolution static visualization, every detail counts. The goal is to make the automotive rendering indistinguishable from a photograph, requiring a meticulous approach to geometry, materials, lighting, and post-production.
Mastering PBR materials for automotive 3D models is a transformative skill that underpins hyper-realistic visualization across various industries. From understanding the core principles of energy conservation and physical correctness to applying meticulous topology and advanced UV mapping, each step contributes to the authenticity of your 3D car models. We’ve explored how to craft complex materials like car paint, glass, and chrome, utilizing PBR maps such as Albedo, Metallic, and Roughness to create surfaces that react to light with unparalleled realism.
Furthermore, we delved into optimizing these assets for diverse applications, from high-fidelity cinematic rendering using engines like Corona and V-Ray, to performance-critical real-time environments like Unity and Unreal Engine for game assets and AR/VR experiences. The importance of efficient Level of Detail (LOD) implementation, clever texture atlasing, and streamlined draw calls cannot be overstated for interactive projects. Finally, we touched upon the distinct requirements for 3D printing, emphasizing mesh integrity and watertight geometry, contrasting it with the pursuit of ultimate visual fidelity in static high-resolution renders.
The journey to creating truly convincing automotive visualizations is an iterative process, demanding both technical proficiency and an artistic eye. Platforms like 88cars3d.com provide high-quality base models, freeing artists to focus on these advanced material and rendering techniques. Continuously refine your PBR workflows, experiment with lighting setups, and leverage post-processing to push the boundaries of realism. The automotive industry, game development, and architectural visualization sectors are constantly evolving, and by staying at the forefront of PBR best practices, you ensure your 3D car models not only look stunning but also perform optimally across all mediums.

Meta Description:
Texture: Yes
Material: Yes
Download the Cadillac CTS-V Coupe 3D Model featuring detailed exterior styling and realistic interior structure. Includes .blend, .fbx, .obj, .glb, .stl, .ply, .unreal, and .max formats for rendering, simulation, AR VR, and game development.
Price: $13.9

Texture: Yes
Material: Yes
Download the Cadillac CTS SW 2010 3D Model featuring a detailed exterior, functional interior elements, and realistic materials. Includes .blend, .fbx, .obj, .glb, .stl, .ply, .unreal, and .max formats for rendering, simulation, and game development.
Price: $10.79
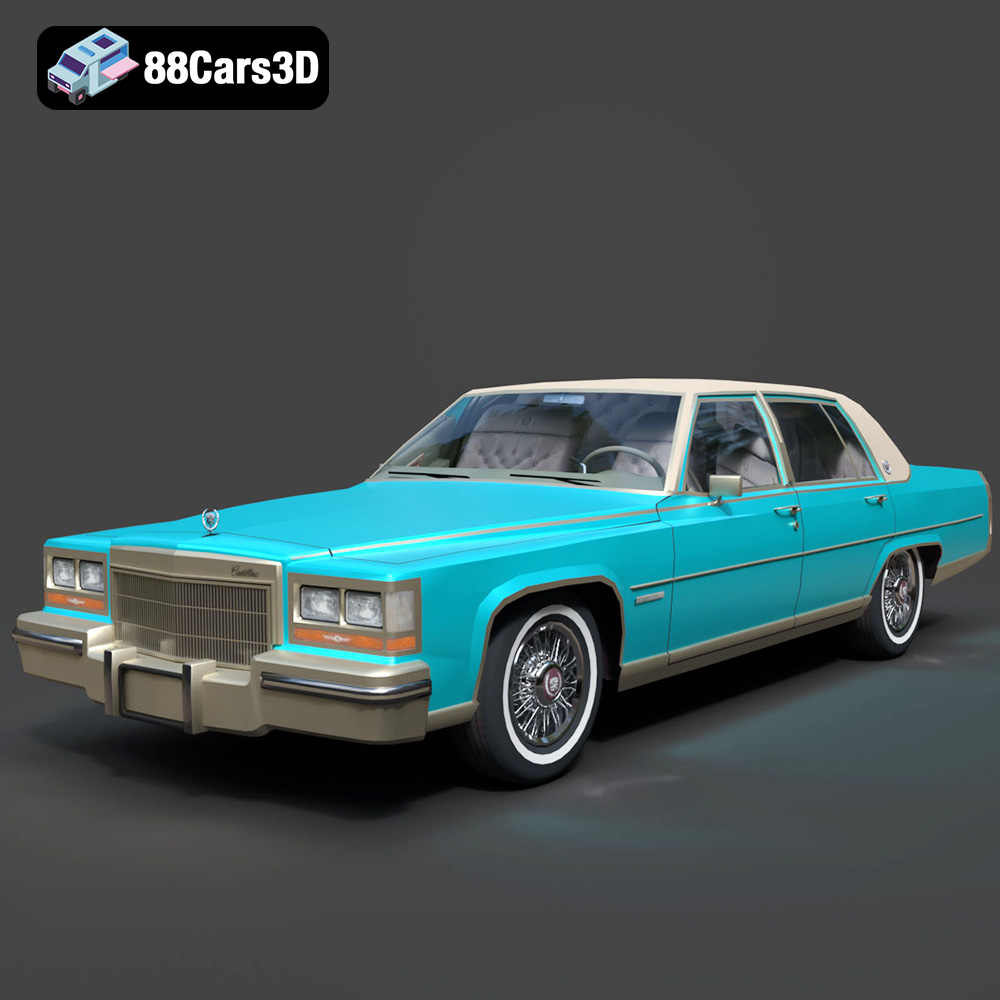
Texture: Yes
Material: Yes
Download the Cadillac Fleetwood Brougham 1985 3D Model featuring its iconic classic luxury design and detailed craftsmanship. Includes .blend, .fbx, .obj, .glb, .stl, .ply, .unreal, and .max formats for rendering, simulation, and game development.
Price: $10.79
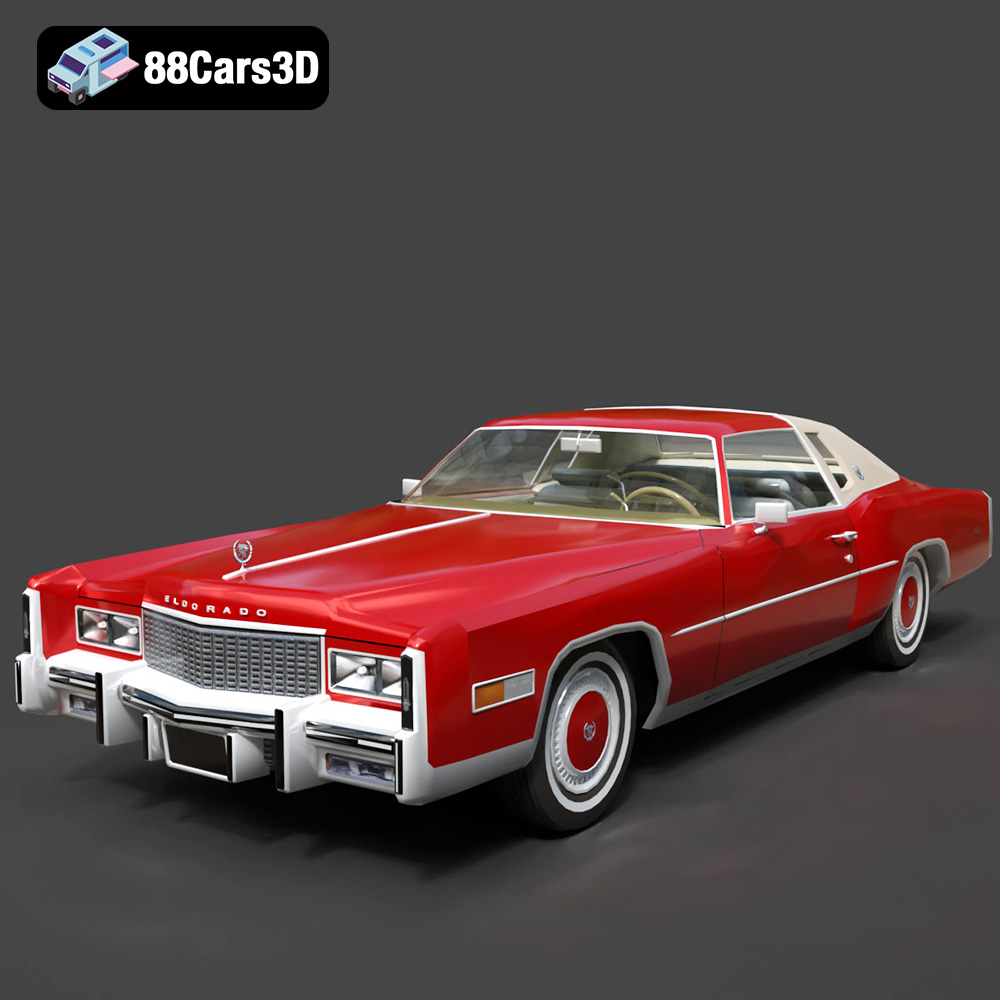
Texture: Yes
Material: Yes
Download the Cadillac Eldorado 1978 3D Model featuring accurately modeled exterior, detailed interior, and period-correct aesthetics. Includes .blend, .fbx, .obj, .glb, .stl, .ply, .unreal, and .max formats for rendering, simulation, and game development.
Price: $10.79
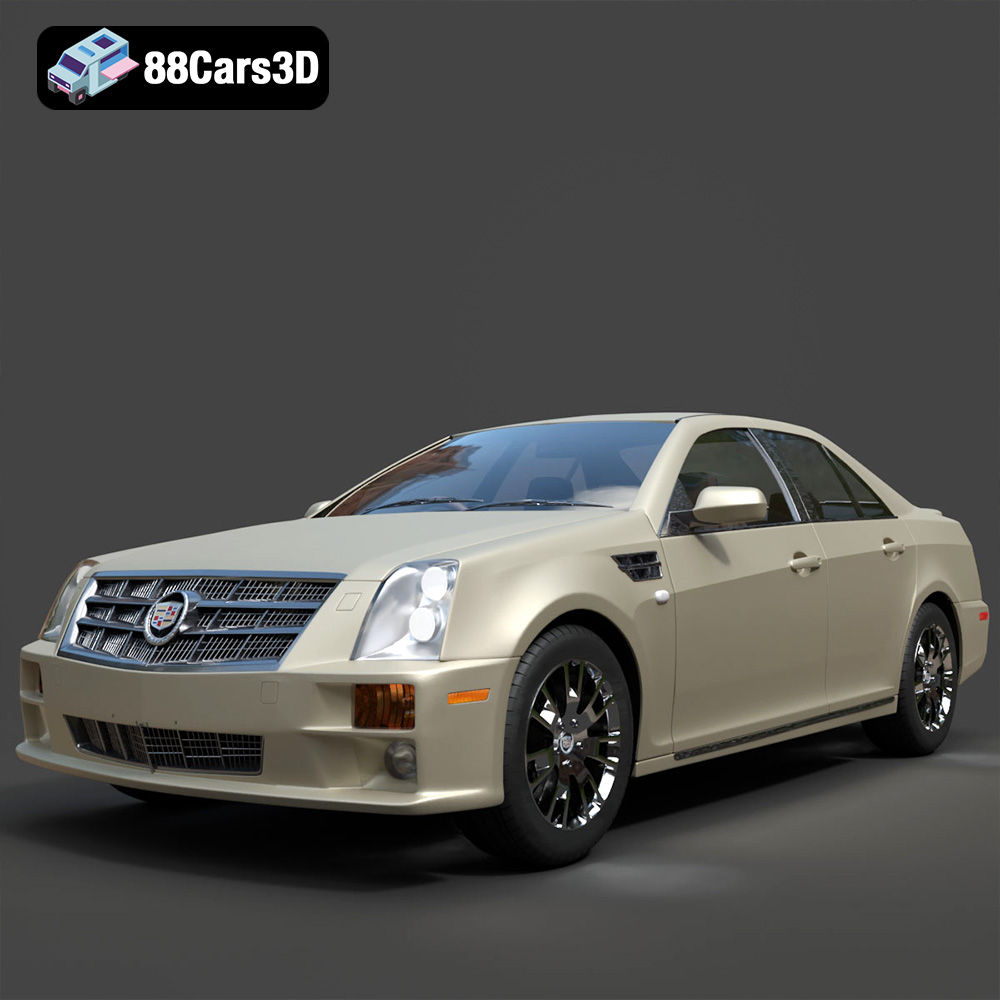
Texture: Yes
Material: Yes
Download the Cadillac STS-005 3D Model featuring a detailed exterior and interior. Includes .blend, .fbx, .obj, .glb, .stl, .ply, .unreal, and .max formats for rendering, simulation, and game development.
Price: $22.79
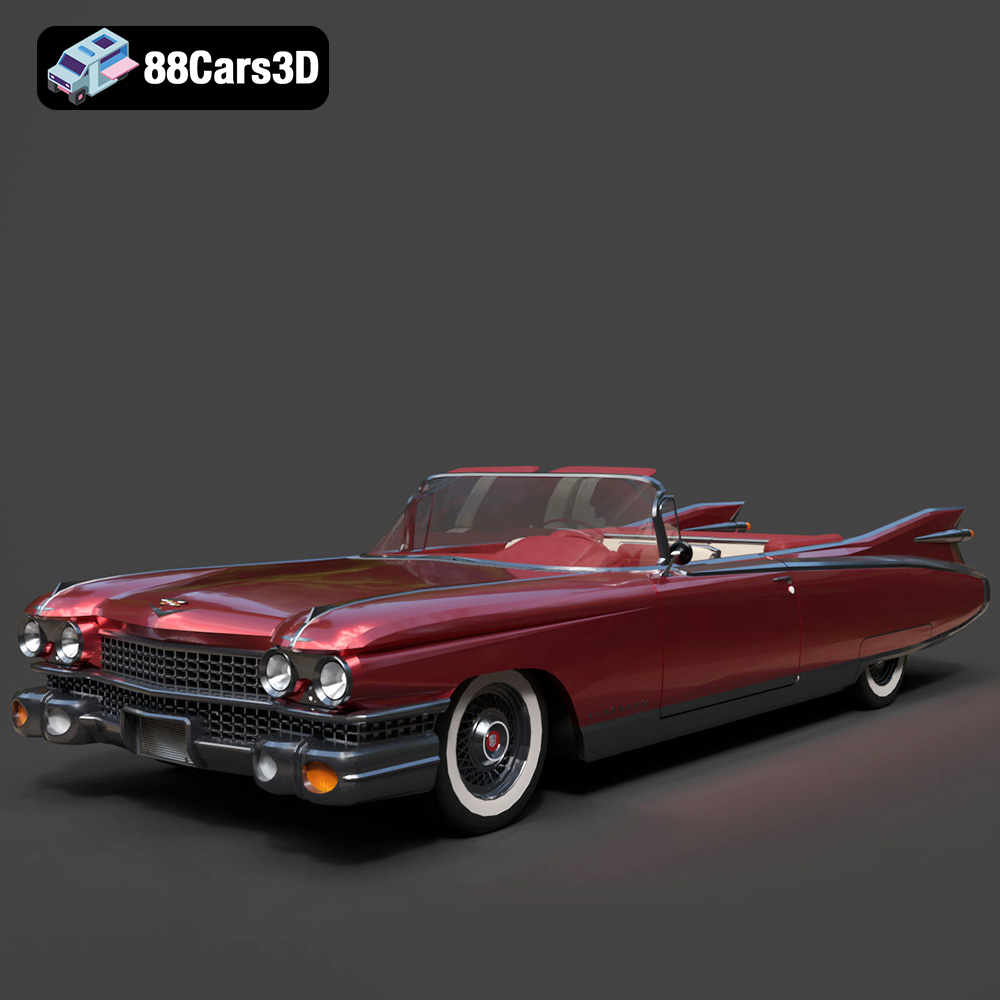
Texture: Yes
Material: Yes
Download the Cadillac Eldorado Convertible (1959) 3D Model featuring iconic fins, luxurious chrome details, and a classic vintage design. Includes .blend, .fbx, .obj, .glb, .stl, .ply, .unreal, and .max formats for rendering, simulation, and game development.
Price: $20.79

Texture: Yes
Material: Yes
Download the Cadillac DTS-005 3D Model featuring its iconic luxury design, detailed interior, and realistic exterior. Includes .blend, .fbx, .obj, .glb, .stl, .ply, .unreal, and .max formats for rendering, simulation, and game development.
Price: $10.79

Texture: Yes
Material: Yes
Download the Buick LeSabre 1998 3D Model featuring a classic American full-size sedan design. Includes .blend, .fbx, .obj, .glb, .stl, .ply, .unreal, and .max formats for rendering, simulation, and game development.
Price: $10.79
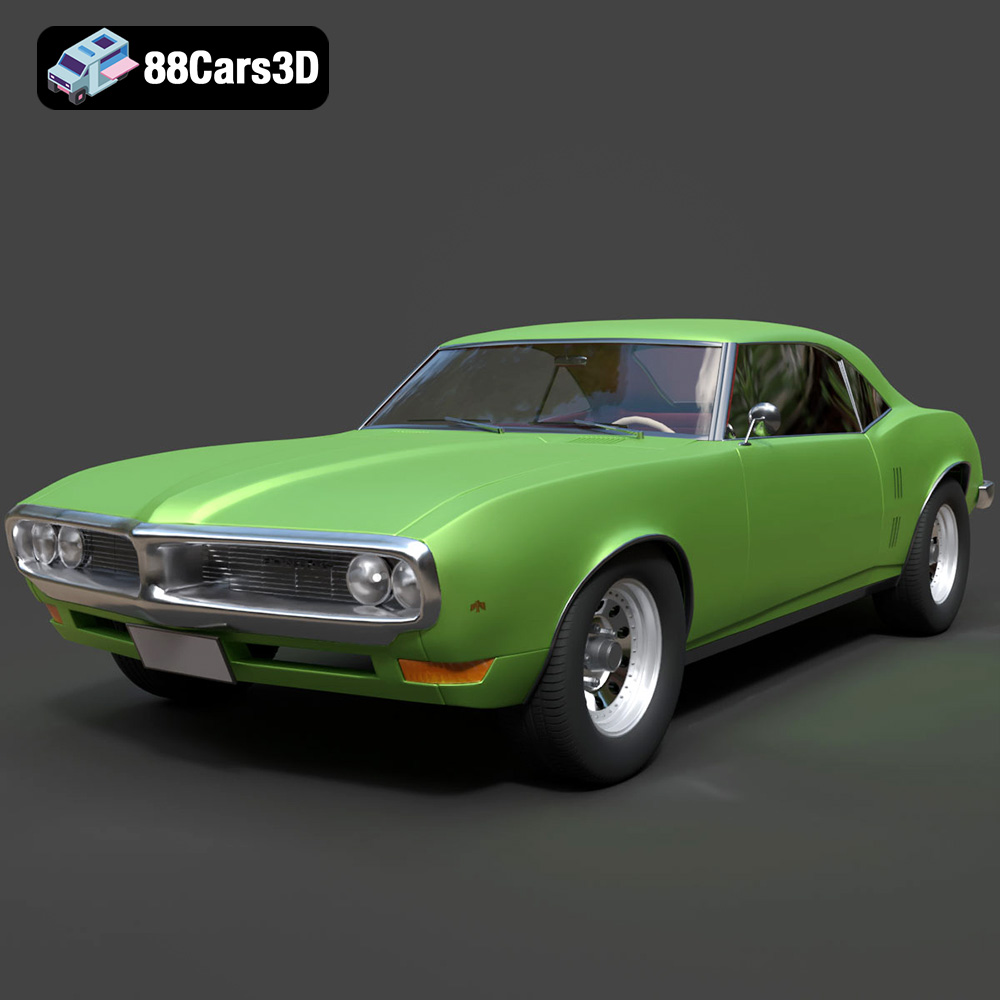
Texture: Yes
Material: Yes
Download the Pontiac Firebird 1998 3D Model featuring clean geometry, realistic detailing, and a fully modeled interior. Includes .blend, .fbx, .obj, .glb, .stl, .ply, .unreal, and .max formats for rendering, simulation, and game development.
Price: $10

Texture: Yes
Material: Yes
Download the Opel Astra 2008 3D Model featuring clean geometry, realistic detailing, and a fully modeled interior. Includes .blend, .fbx, .obj, .glb, .stl, .ply, .unreal, and .max formats for rendering, simulation, and game development.
Price: $10