Get 20% OFF All Premium 3D & STL Models!

The world of 3D automotive design is a captivating blend of technical precision and artistic vision. From the sleek curves of a concept car to the gritty realism of a racing simulator, creating compelling 3D car models requires a deep understanding of complex workflows. Whether you’re an aspiring 3D artist, a seasoned game developer, an automotive designer, or a visualization professional, the journey to producing high-quality automotive assets is both challenging and incredibly rewarding. This comprehensive guide will take you through the essential technical aspects, best practices, and advanced techniques required to master the art of 3D car modeling, rendering, and optimization. We’ll explore everything from the foundational principles of topology and UV mapping to the intricacies of PBR materials, game engine integration, and preparing models for AR/VR or 3D printing. Get ready to elevate your skills and bring your automotive visions to life with unparalleled realism and performance.
At the heart of any high-quality 3D car model lies immaculate topology. Good topology isn’t just about making a model look smooth; it’s fundamental for proper deformation, clean UV mapping, and efficient rendering. Automotive surfaces are characterized by their extreme precision, smooth reflections, and sharp creases, making topology even more critical. A clean, quad-dominant mesh ensures that subdivision surfaces behave predictably, creating perfect reflections and allowing for non-destructive detailing.
When modeling a car, aim for an even distribution of polygons, avoiding stretched or pinched faces. The edge flow should follow the natural contours and design lines of the vehicle, particularly around panel gaps, vents, and character lines. This thoughtful approach facilitates later stages, such as adding details, creating material selections, and ensuring smooth transitions between different surface types. Poor topology, often characterized by triangles, Ngons (faces with more than four vertices), or uneven polygon distribution, can lead to rendering artifacts, jagged edges, and difficulties in UV unwrapping or animation. Professional 3D car models, such as those found on platforms like 88cars3d.com, are meticulously crafted with this principle in mind, ensuring a solid foundation for any project.
The industry standard for organic and hard-surface modeling, especially for subdivision-ready meshes, is to use quad polygons. Quads (four-sided polygons) deform predictably when subdivided, producing smooth, continuous surfaces without pinching or creasing. When applied to automotive models, subdivision surfaces (like OpenSubdiv in 3ds Max/Maya or the Subdivision Surface modifier in Blender) allow artists to create a low-polygon base mesh that can be smoothed to extreme levels of detail at render time. This non-destructive workflow keeps the file size manageable during editing while providing unparalleled visual fidelity in the final output.
For example, a typical high-quality automotive model might have a base mesh of 50,000-150,000 polygons, which, when subdivided 1-2 times, can easily reach several hundred thousand to over a million polygons for render-ready detail. The key is to ensure every quad contributes meaningfully to the form, avoiding unnecessary edge loops that add density without visual benefit, or insufficient loops that leave surfaces looking flat or angular.
Automotive design often requires very specific hard-surface techniques to maintain sharp edges while still benefiting from subdivision. This is achieved through strategic placement of “control loops” or “holding edges” – extra edge loops run parallel and close to the main edge you want to sharpen. These loops prevent the subdivision algorithm from excessively smoothing the corner. Software like Blender (with Crease weights), Maya, and 3ds Max offer tools to control surface sharpness. In Maya, you can use the Crease Set Editor, while 3ds Max relies heavily on supporting edge loops around turbosmoothed areas.
Beyond control loops, understanding beveling is crucial. A subtle bevel on an edge catches the light, adding realism by mimicking real-world manufacturing tolerances. This technique is far superior to simply leaving a perfectly sharp edge, which often looks unnatural in renders. For panel gaps, consistent spacing (e.g., 1-2mm in scale) and appropriate depth are vital for realism, achieved by duplicating and offsetting edge loops or using boolean operations with careful mesh cleanup.
While high-fidelity models are essential for cinematic renders, practical applications like game development or real-time AR/VR experiences demand optimization. Polygon count directly impacts performance. A truly optimized 3D car model will offer different Levels of Detail (LODs) – multiple versions of the same model with varying polygon counts. The highest LOD might be 200,000-500,000 polygons for close-up shots, while a medium LOD could be 50,000-100,000, and a distant LOD might be under 10,000 polygons. This allows rendering engines to dynamically switch models based on distance from the camera, saving valuable processing power without sacrificing visual quality where it matters.
Manual retopology or automated decimation tools can be used to reduce polygon count, but careful consideration must be given to preserving crucial silhouette and structural details. Focus on removing polygons from flat, less visible areas first, and simplify complex curves where the visual impact of reduced detail is minimal. Efficient topology also means making wise choices about which details are modeled geometrically versus which are conveyed through normal maps or displacement maps.
UV mapping is the invisible art that bridges your 3D model with its 2D textures. For automotive models, which are often characterized by large, smooth, reflective surfaces, impeccable UVs are not just a nicety – they are a necessity. Poor UVs lead to distorted textures, visible seams, and ultimately, a less convincing final product. The goal is to create a set of UV coordinates that efficiently utilize the texture space while minimizing distortion and maintaining clean transitions across material boundaries.
When unwrapping a car, think about the different material zones: paint, glass, chrome, rubber, interior fabrics, etc. Each of these zones will likely require separate textures or at least clearly defined UV shells. A common strategy is to break the car into logical components – hood, doors, roof, bumpers, wheels, interior dashboard – and unwrap each independently. This modular approach helps manage complexity and ensures consistent texel density across corresponding parts. Pay particular attention to symmetry, as you can often mirror UVs for identical parts (e.g., left and right doors) to save texture space and ensure consistency. Tools like 3ds Max’s Unwrap UVW modifier, Blender’s UV Editor, or Maya’s UV Toolkit provide robust functionalities for this intricate process.
For large, smooth panels like the hood, roof, and side panels, projection mapping (planar, cylindrical, or spherical) can be a good starting point, followed by careful relaxation to minimize distortion. However, for most complex automotive shapes, especially those with compound curves, a cut-and-stitch approach is more effective. Identify logical seams that would be less visible (e.g., along panel edges, under trim pieces, or in areas of high curvature where visual distortion is less noticeable) and use these as UV island boundaries. The goal is to create UV islands that are as rectangular as possible to maximize texture packing efficiency.
For the main body panels, it’s often beneficial to have a single, large UV island for each major component to avoid texture seams interrupting reflections. However, for complex shapes, multiple, smaller islands might be unavoidable. In such cases, carefully align seams in less prominent areas or where they can be hidden by other geometry or material changes. Always check for overlapping UVs, especially critical for baking normal maps or ambient occlusion, as overlaps will cause artifacts.
Texel density refers to the number of texture pixels per unit of 3D surface area. Consistent texel density across all parts of your car model is crucial for maintaining a uniform level of detail in your textures. Imagine a car where the hood has a high-resolution texture, but the side panel looks blurry – this inconsistency breaks immersion. Use checkerboard patterns during UV unwrapping to visually inspect and adjust texel density. Most 3D software provides tools to unify or measure texel density, allowing you to scale UV islands proportionally.
UV overlap is generally undesirable, especially for baked textures. It means multiple 3D faces share the same 2D texture space, leading to incorrect light/shadow information or texture bleeding. The only exceptions are intentionally mirrored parts (e.g., symmetrical wheel components) where you want identical texture information. Even in these cases, ensure that the overlapping UVs are perfectly aligned. For game engines, unique UVs are often preferred for lightmaps and global illumination, even if other texture channels overlap.
For extremely high-resolution models, especially those destined for cinematic rendering or VFX, traditional single UV maps (0-1 space) may not provide enough texture resolution. This is where Multi-Tile UVs, also known as UDIMs (U-Dimension), come into play. UDIM allows you to spread your UV islands across multiple UV tiles (e.g., 1001, 1002, 1003…), each containing its own high-resolution texture. This is commonly used in applications like Mari, Substance Painter, and ZBrush and supported by renderers like V-Ray, Corona, and Arnold. A car body might have 4-8 UDIM tiles for paint alone, each at 4K or 8K resolution, providing incredible detail.
Alternatively, a Material ID workflow involves assigning different material IDs to distinct parts of your mesh. This allows you to apply separate materials or textures to specific areas, such as the car paint, chrome trim, plastic moldings, and rubber tires, all within a single mesh object. This simplifies scene management and can be very efficient for applying different PBR shaders, even without using UDIMs. Modern PBR texture painting tools integrate seamlessly with both UDIM and Material ID workflows, allowing for highly detailed and organized texturing.
To make your 3D car models truly convincing, you need more than just great geometry and UVs; you need hyper-realistic materials. Physically Based Rendering (PBR) has revolutionized this aspect, providing a standardized approach to material creation that ensures consistent and believable results across different lighting conditions and renderers. PBR materials simulate how light interacts with surfaces in the real world, accounting for properties like diffuse color, specularity, roughness, and reflectivity.
Creating PBR materials for a car is an intricate process. The car paint itself is a complex shader, often involving multiple layers of clear coat, metallic flakes, and subsurface scattering effects for deeper colors. Chrome and metallic trim require precise control over reflectivity and roughness. Glass needs accurate refraction and absorption. Tires demand realistic rubber textures with micro-scratches and dirt. The interior elements, from leather seats to plastic dashboards, each present their own material challenges. A successful PBR setup depends on meticulously crafted texture maps and a well-structured shader network that mimics these real-world interactions.
There are two primary PBR workflows: Metallic-Roughness and Specular-Glossiness. While they achieve similar results, their underlying parameters differ.
Regardless of the workflow, core principles apply: albedo/base color maps should be diffuse only, free of lighting or shadow information. Normal maps simulate surface details without adding geometry, and ambient occlusion maps enhance cavity shadowing. Always aim for consistent texture resolution (e.g., 4K or 8K) for primary surfaces like car paint, ensuring no detail is lost when viewed up close.
The resolution of your textures directly impacts the perceived realism of your model. For hero shots or cinematic quality, 4K (4096×4096 pixels) textures are a minimum for major components like the car body, and 8K (8192×8192) can be used for extreme close-ups or if using UDIM tiles across multiple large panels. For smaller details, 2K or even 1K textures might suffice, but always test them in your renderer. Modern texture painting software like Substance Painter, Substance Designer, and Mari are indispensable for creating these detailed PBR maps, offering powerful procedural and hand-painting capabilities.
When creating textures, ensure they are calibrated correctly. Color management (e.g., ACES, sRGB) is critical to prevent colors from appearing washed out or overly saturated. Pay attention to micro-details like fingerprints on glossy surfaces, dust accumulation in crevices, and subtle scratches or swirl marks on the paint – these imperfections add significant realism. Layering various grunge and wear masks procedurally is an effective way to achieve this without hand-painting every detail.
Beyond the basic PBR parameters, advanced shading techniques are essential for capturing the nuances of automotive materials:
By combining these advanced techniques, artists can create automotive materials that stand up to the closest scrutiny, producing renders that are indistinguishable from real-world photography.
Once your 3D car model is perfected with immaculate topology, UVs, and PBR materials, the next crucial step is to illuminate it in a way that accentuates its design and materials. Rendering hyper-realistic automotive scenes is an art form in itself, requiring a deep understanding of lighting, camera optics, and renderer-specific settings. A perfectly modeled car can look flat and uninteresting under poor lighting, while even a decent model can shine under expert illumination. The goal is to make the virtual car feel physically present in its environment, with convincing reflections, shadows, and mood.
Automotive rendering often focuses on showing off the car’s sculpted surfaces, its paint finish, and interior details. This typically involves controlled studio setups, dramatic outdoor environments, or sophisticated product visualization scenes. Each setup demands a different approach to lighting and environment creation. Renderers like V-Ray, Corona Renderer (for 3ds Max and Cinema 4D), Cycles (Blender), and Arnold (Maya, 3ds Max) are industry staples, offering powerful tools for photorealistic image synthesis. Mastering their individual nuances is key to achieving that coveted “photographic” look.
Effective lighting is paramount. Here are common approaches:
Always consider the mood you want to convey. A bright, sunny day evokes a different feeling than a moody sunset or a sleek, futuristic studio presentation.
Each renderer has its own strengths and optimal settings for automotive work:
Regardless of the renderer, test renders at lower resolutions are essential for quickly iterating on lighting and material adjustments before committing to a final, high-resolution render.
Just like in photography, camera settings dramatically influence the final image. Using a physically accurate camera (like a V-Ray Physical Camera or Corona Camera) allows control over:
Post-processing and Compositing: The final render is rarely the finished product. Post-processing in software like Adobe Photoshop or Affinity Photo is vital. This involves:
A professional render is often 50% rendering and 50% post-production, transforming a raw output into a polished masterpiece.
Bringing a 3D car model into a real-time game engine like Unity or Unreal Engine presents a unique set of challenges and opportunities. While the goal remains visual fidelity, the overriding concern shifts to performance. Game engines must render dozens, if not hundreds, of objects multiple times per second, demanding highly optimized assets. A high-poly render-ready model is often unusable directly in a game without significant optimization. The art of game-ready assets lies in making intelligent compromises that maximize visual quality while adhering to strict performance budgets.
When preparing your 3D car models for games, you must consider polygon count, draw calls, texture memory, and collision detection. The models must be robust enough to interact with physics systems, receive dynamic lighting, and often support real-time damage or customization. This involves creating various LODs, baking textures, setting up collision meshes, and potentially rigging and animating parts like doors and wheels. The models available on marketplaces like 88cars3d.com are typically designed with these considerations in mind, offering multiple LODs and clean, game-ready assets.
One of the most critical optimization techniques is implementing Level of Detail (LODs). As discussed earlier, LODs are multiple versions of the same model, each with a different polygon count.
Game engines automatically switch between these LODs based on the camera’s distance, dramatically reducing the number of polygons rendered at any given time. Tools within Unity and Unreal Engine (e.g., Unity’s LOD Group component, Unreal’s Static Mesh LODs) streamline this process.
Draw Call Reduction: A “draw call” is a command sent from the CPU to the GPU to render a set of triangles. Each material, texture, or separate mesh object typically incurs a draw call. Minimizing draw calls is crucial for performance. Combine meshes where possible (e.g., the car body might be one mesh, wheels separate). Utilize texture atlases and material instancing to reduce the number of unique materials and textures the engine has to process.
Texture Atlasing: Instead of having dozens of individual texture maps for different parts of the car (e.g., separate textures for each wheel, each interior component), a texture atlas combines multiple smaller textures into one larger texture sheet. The UVs for all those small parts are then remapped to fit into their respective areas on the atlas. This reduces the number of material samples the GPU needs to perform, significantly cutting down draw calls and memory usage. For example, all interior fabric textures might be on one atlas, and all chrome elements on another.
Material Instancing: Game engines allow you to create “instances” of a base material. These instances can have their parameters (like color, roughness, texture offsets) adjusted without creating a completely new material. For a car, you might have one base car paint material, and then create instances for different car colors, each referencing the same underlying shader code. This is very efficient for variations and customizations, as the engine only has to compile the base shader once.
Collision Meshes: Game engines need a way for physical objects to interact realistically. Instead of using the high-detail visual mesh for collision detection (which would be computationally expensive), a simplified “collision mesh” is used. This is often a convex hull, a box, or a series of simple primitives (capsules, spheres) that approximate the car’s shape. This collision mesh is invisible to the player but tells the physics engine where the car’s physical boundaries are. For complex interactions like damage, more detailed (but still optimized) collision meshes might be used for specific components.
Rigging: For interactive elements like opening doors, spinning wheels, or animated suspensions, the car needs to be rigged. This involves creating a skeletal hierarchy (bones) and parenting various parts of the mesh to these bones. For example, each wheel would have its own bone, allowing it to rotate independently. Doors would have pivot points defined, enabling smooth opening and closing animations. This rigging is crucial for any game that requires dynamic movement or interaction with the car model beyond simply driving.
The utility of high-quality 3D car models extends far beyond traditional rendering and game development. With the rise of immersive technologies like Augmented Reality (AR) and Virtual Reality (VR), and the increasing accessibility of 3D printing, professional 3D car assets are finding new and exciting applications. These emerging fields often impose their own unique technical requirements and optimization strategies, pushing artists to think about model integrity and performance in novel ways. From interactive virtual showrooms to physical scale models, the demand for versatile and robust 3D car models is growing rapidly.
Architectural visualization and product design also heavily rely on 3D car models to populate scenes and provide context. A realistic car can instantly ground a building render in reality or show how a new automotive accessory would look in a real-world setting. The flexibility to adapt a single high-quality 3D car model for these diverse applications underscores the value of investing in meticulously crafted assets, such as those offered on 88cars3d.com.
AR/VR environments are perhaps the most demanding in terms of real-time performance. Users expect smooth framerates (e.g., 60-90 FPS per eye for VR) and minimal latency. This requires extreme optimization:
The user experience in AR/VR is highly sensitive to performance, making meticulous optimization a non-negotiable step.
Transforming a digital 3D car model into a physical object via 3D printing introduces a new set of requirements focused on mesh integrity and physical properties:
Often, separate models are prepared for 3D printing, derived from the original high-poly version but specifically optimized for manufacturing constraints.
For automotive designers, marketing agencies, and architects, 3D car models are essential for visualization.
In these scenarios, the focus is on photorealism and showcasing the design in the best possible light, often requiring a blend of sophisticated rendering techniques and efficient real-time visualization.
Navigating the ecosystem of 3D software and applications requires a solid understanding of different file formats and how they impact your workflow. A high-quality 3D car model needs to be versatile, compatible across various platforms, and easy to integrate into diverse projects. This means more than just having the geometry; it’s about preserving materials, UVs, animations, and other critical data consistently across different programs. Effective workflow management, from initial modeling to final export, is key to success.
For many artists and studios, building every 3D car model from scratch is not feasible due to time and budget constraints. Sourcing pre-made, professional 3D car models is a highly efficient solution. However, the quality can vary wildly. Knowing what to look for in a professional asset – clean topology, proper UVs, PBR materials, and multiple file formats – is crucial for seamless integration into your projects. Platforms specializing in high-quality assets, like 88cars3d.com, ensure that you start with a robust foundation.
Each file format serves a specific purpose in the 3D pipeline:
The ability to export and import reliably between these formats is a cornerstone of modern 3D production.
Converting between formats isn’t always a straightforward “save as” process. Data can be lost or misinterpreted, especially with complex materials or animations.
Developing a robust conversion pipeline ensures your assets maintain quality across all target applications.
For many projects, acquiring pre-made 3D car models is a highly effective strategy. This saves countless hours of modeling, UV mapping, and texturing, allowing artists to focus on scene composition, lighting, and rendering. However, the quality of readily available models varies significantly.
When sourcing models, look for:
Platforms like 88cars3d.com specialize in providing high-quality, professional 3D car models that meet these rigorous standards. Investing in such assets ensures you start your project with a solid foundation, allowing you to achieve stunning results efficiently and effectively, whether for a cinematic render, a game engine, or an interactive AR experience.
Mastering the art of 3D automotive modeling and visualization is a journey that demands technical skill, artistic sensibility, and a continuous commitment to learning. From the foundational principles of clean topology and efficient UV mapping to the advanced techniques of PBR material creation and hyper-realistic rendering, every stage plays a critical role in bringing your virtual vehicles to life. We’ve explored how to craft assets for diverse applications, from high-fidelity cinematic renders to performance-optimized game assets and interactive AR/VR experiences, all while ensuring your models are robust enough for 3D printing and various visualization needs.
The intricate details of polygon counts, texture resolutions, shader networks, and file format compatibility are not just technical minutiae; they are the bedrock upon which truly professional 3D automotive projects are built. By embracing industry best practices and leveraging powerful software tools, you can overcome common challenges and produce compelling, immersive experiences. Whether you’re building a scene from the ground up or integrating pre-made assets, understanding these concepts will empower you to make informed decisions and achieve outstanding results.
As you continue your journey in 3D automotive design, remember the importance of quality assets. When time is of the essence or specialized expertise is required, sourcing meticulously crafted 3D car models from trusted marketplaces like 88cars3d.com can provide an invaluable head start, offering clean topology, realistic materials, and diverse file format support right out of the box. Keep experimenting, keep refining your skills, and let your creativity drive you towards ever more stunning and realistic automotive visualizations.
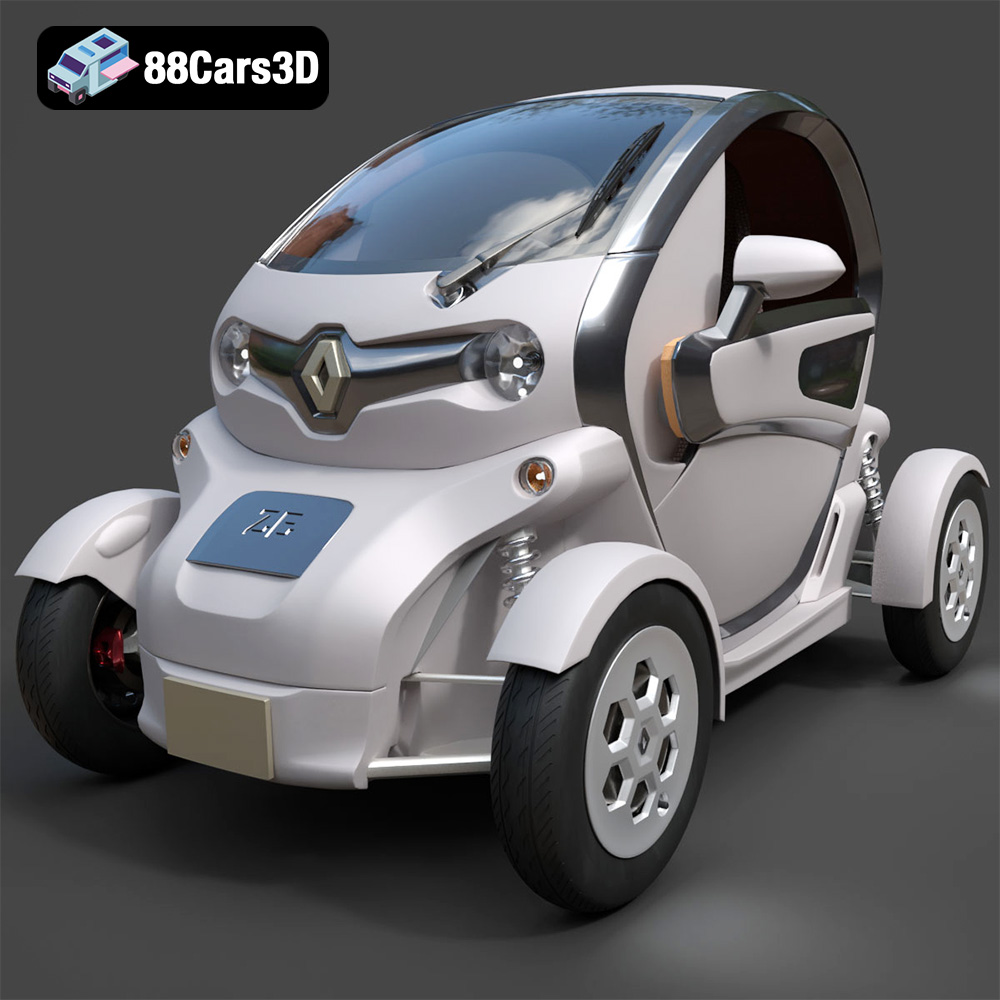
Texture: Yes
Material: Yes
Download the Renault Twizy ZE 3D Model featuring clean geometry, realistic detailing, and a fully modeled interior. Includes .blend, .fbx, .obj, .glb, .stl, .ply, .unreal, and .max formats for rendering, simulation, and game development.
Price: $4.99
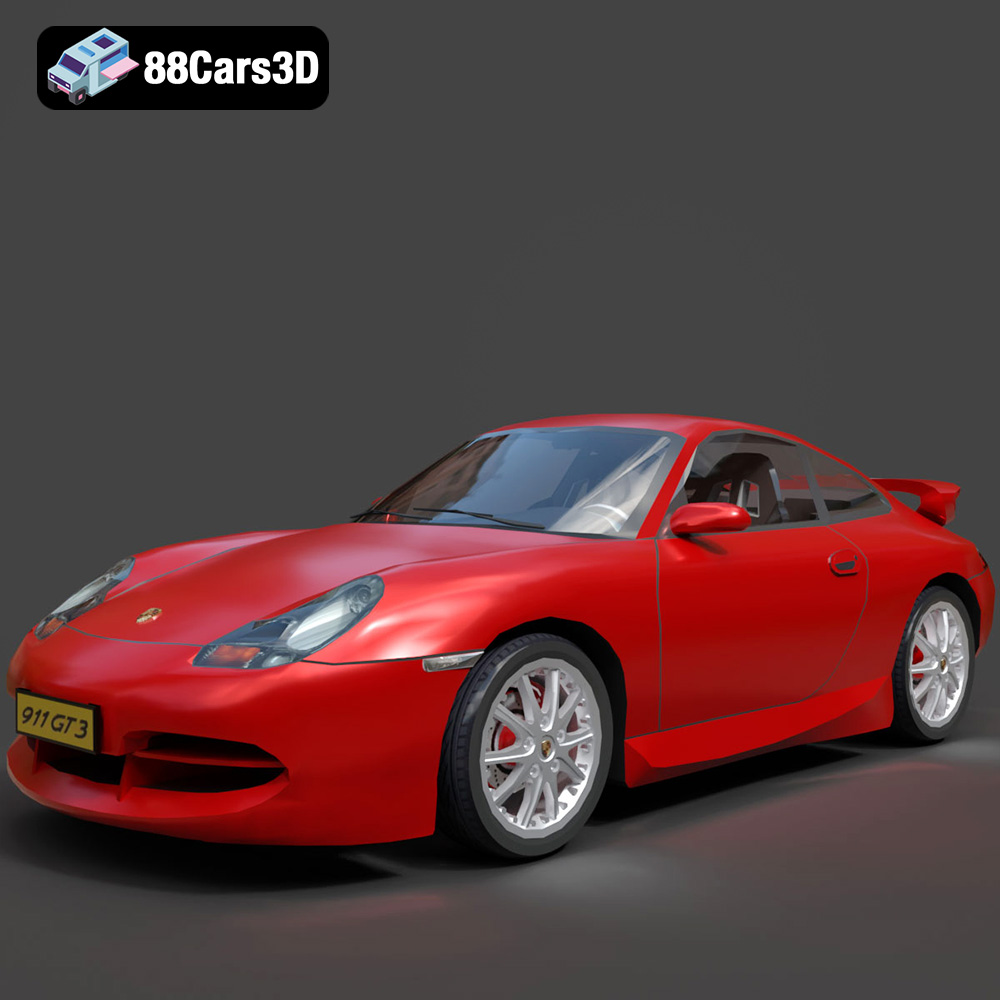
Texture: Yes
Material: Yes
Download the Porsche 911 GT3 3D Model featuring clean geometry, realistic detailing, and a fully modeled interior. Includes .blend, .fbx, .obj, .glb, .stl, .ply, .unreal, and .max formats for rendering, simulation, and game development.
Price: $4.99
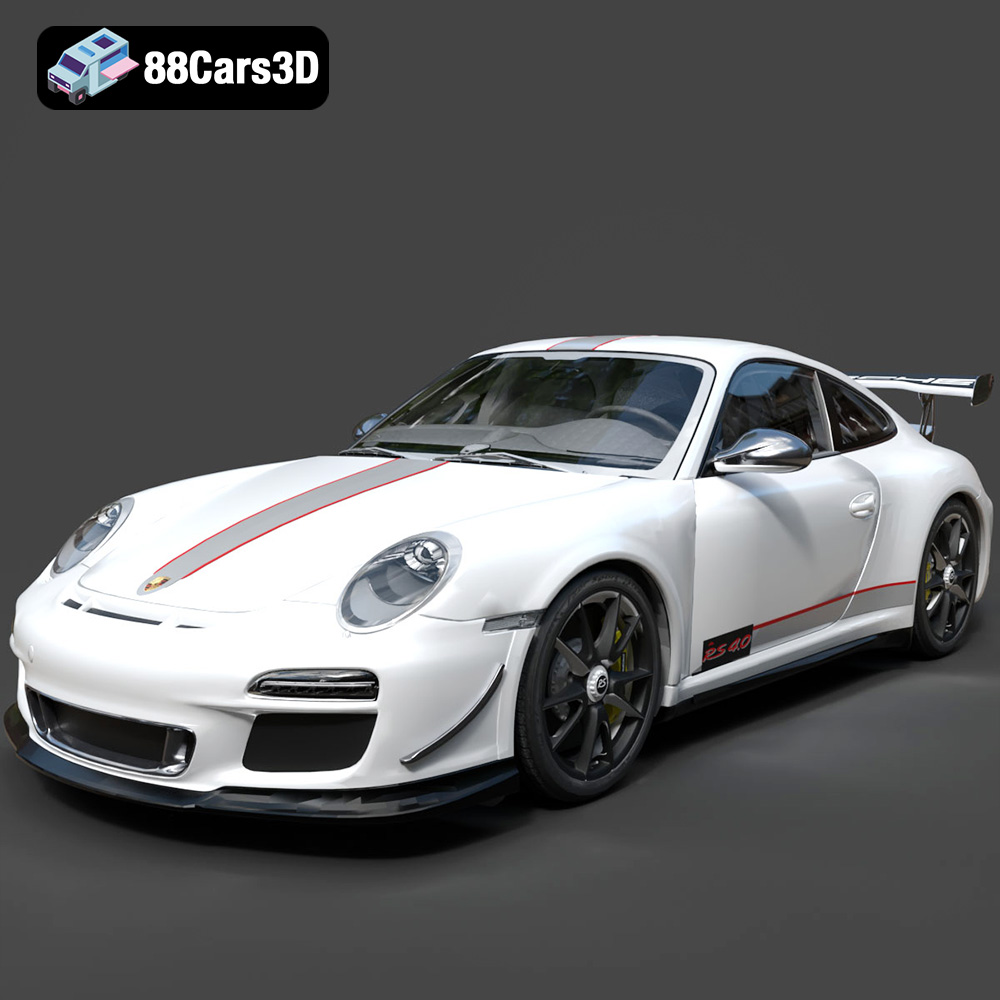
Texture: Yes
Material: Yes
Download the Porsche 911 997 GT3 RS 4.0 2011 3D Model featuring clean geometry, realistic detailing, and a fully modeled interior. Includes .blend, .fbx, .obj, .glb, .stl, .ply, .unreal, and .max formats for rendering, simulation, and game development.
Price: $4.99
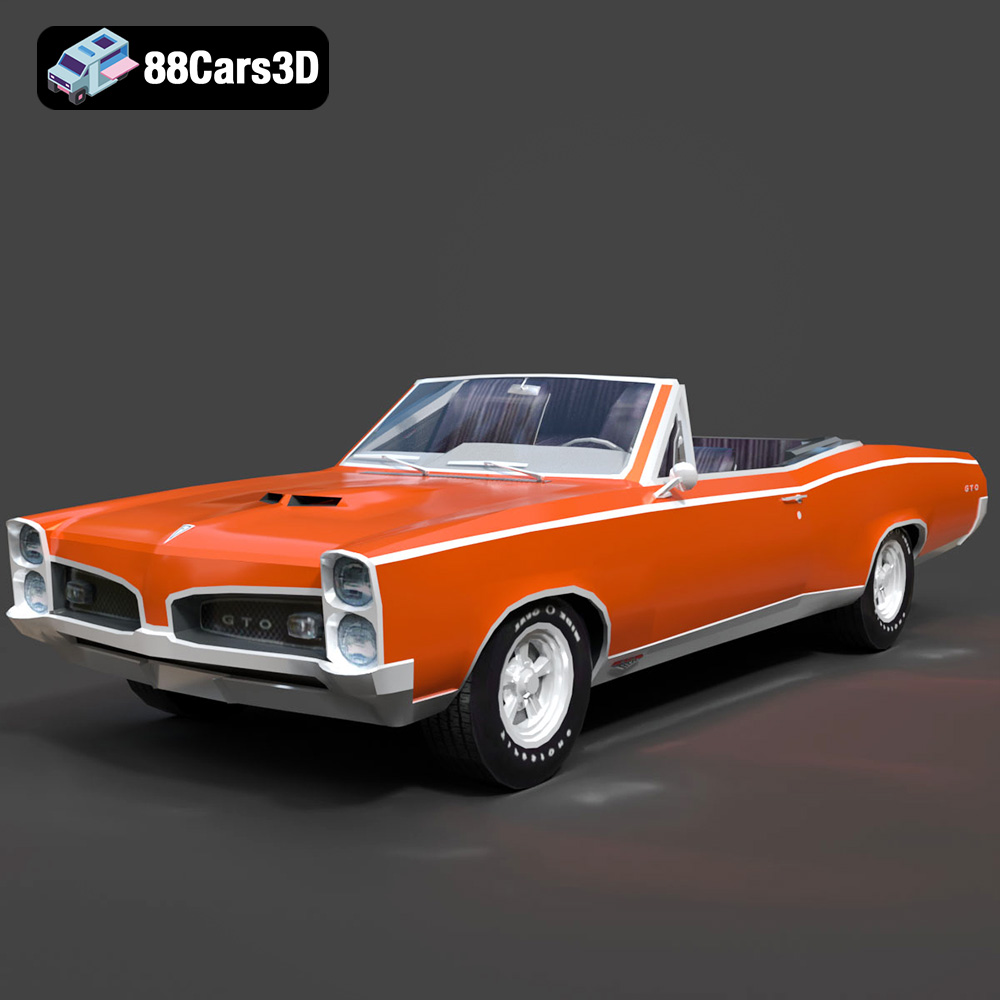
Texture: Yes
Material: Yes
Download the Pontiac GTO Cabrio 1967 3D Model featuring clean geometry, realistic detailing, and a fully modeled interior. Includes .blend, .fbx, .obj, .glb, .stl, .ply, .unreal, and .max formats for rendering, simulation, and game development.
Price: $4.99
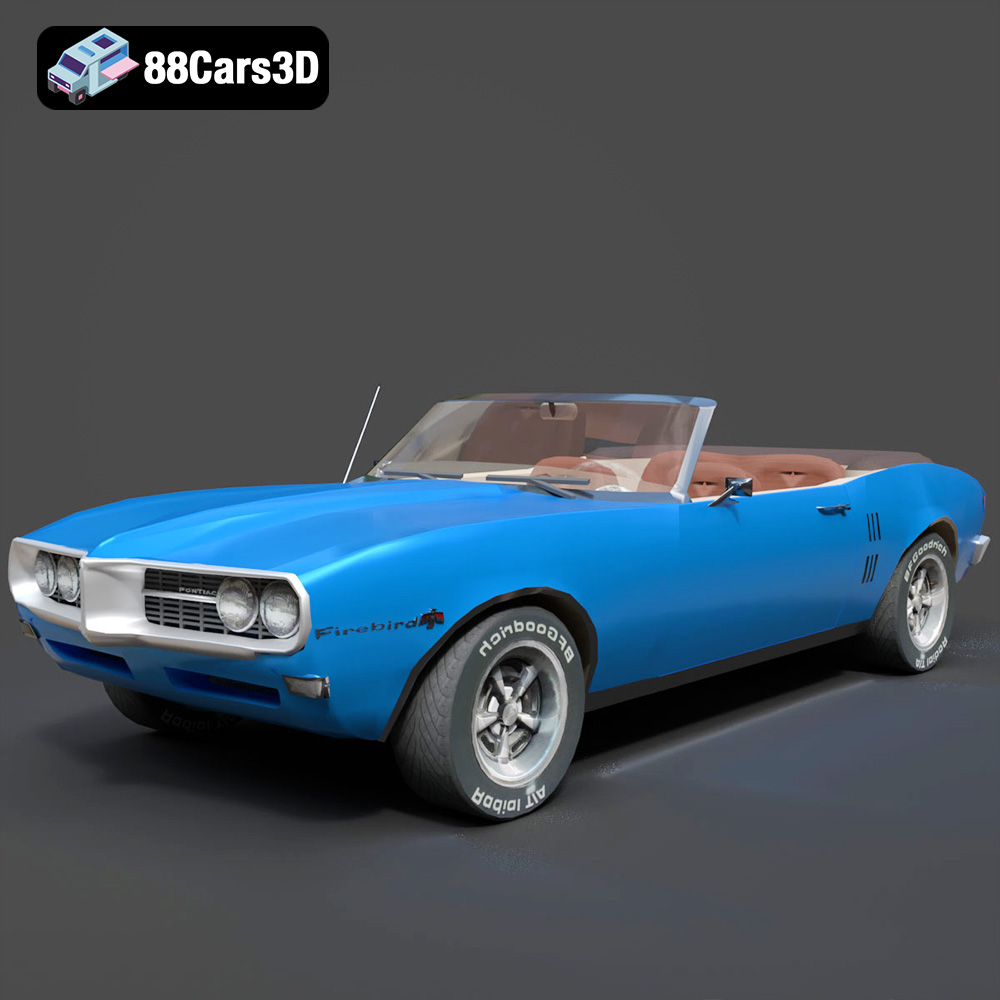
Texture: Yes
Material: Yes
Download the Pontiac Firebird Convertible 1968 3D Model featuring clean geometry, realistic detailing, and a fully modeled interior. Includes .blend, .fbx, .obj, .glb, .stl, .ply, .unreal, and .max formats for rendering, simulation, and game development.
Price: $4.99

Texture: Yes
Material: Yes
Download the Peugeot 508 2011 3D Model featuring clean geometry, realistic detailing, and a fully modeled interior. Includes .blend, .fbx, .obj, .glb, .stl, .ply, .unreal, and .max formats for rendering, simulation, and game development.
Price: $4.99
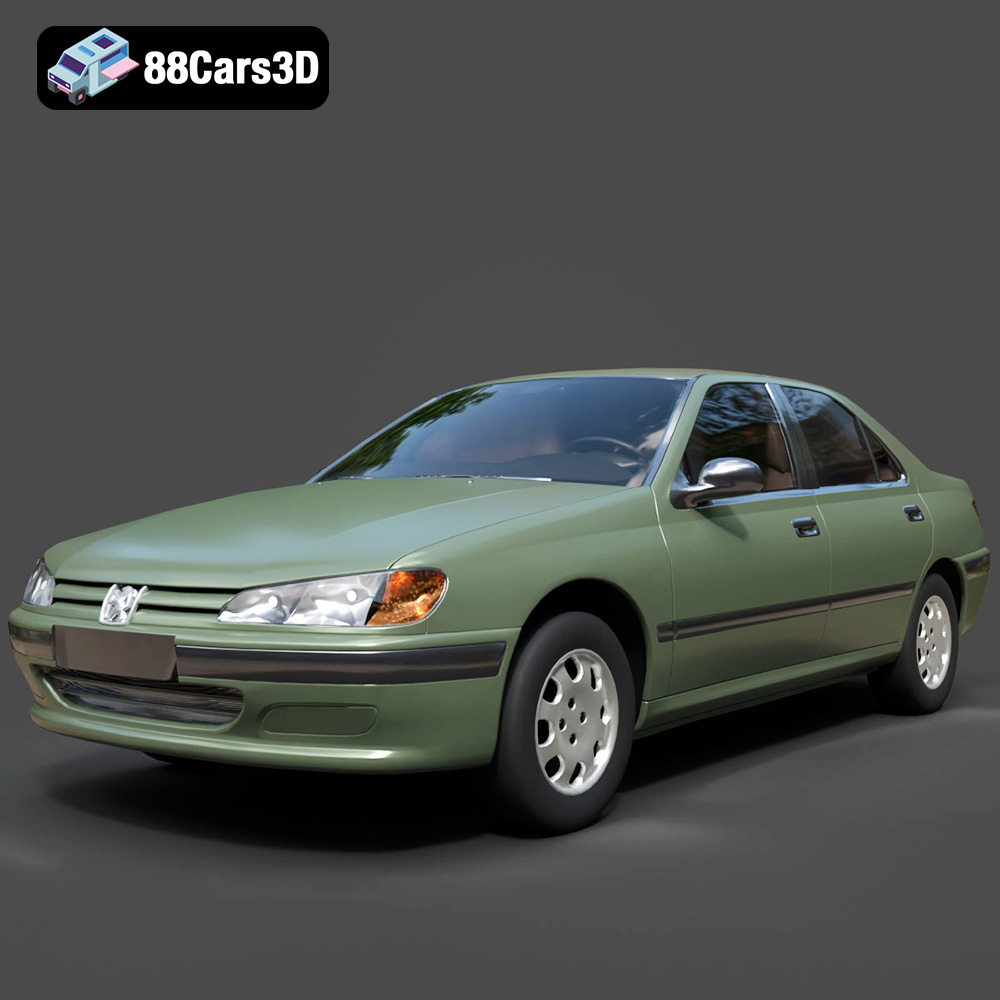
Texture: Yes
Material: Yes
Download the Peugeot 406 1996 3D Model featuring clean geometry, realistic detailing, and a fully modeled interior. Includes .blend, .fbx, .obj, .glb, .stl, .ply, .unreal, and .max formats for rendering, simulation, and game development.
Price: $10
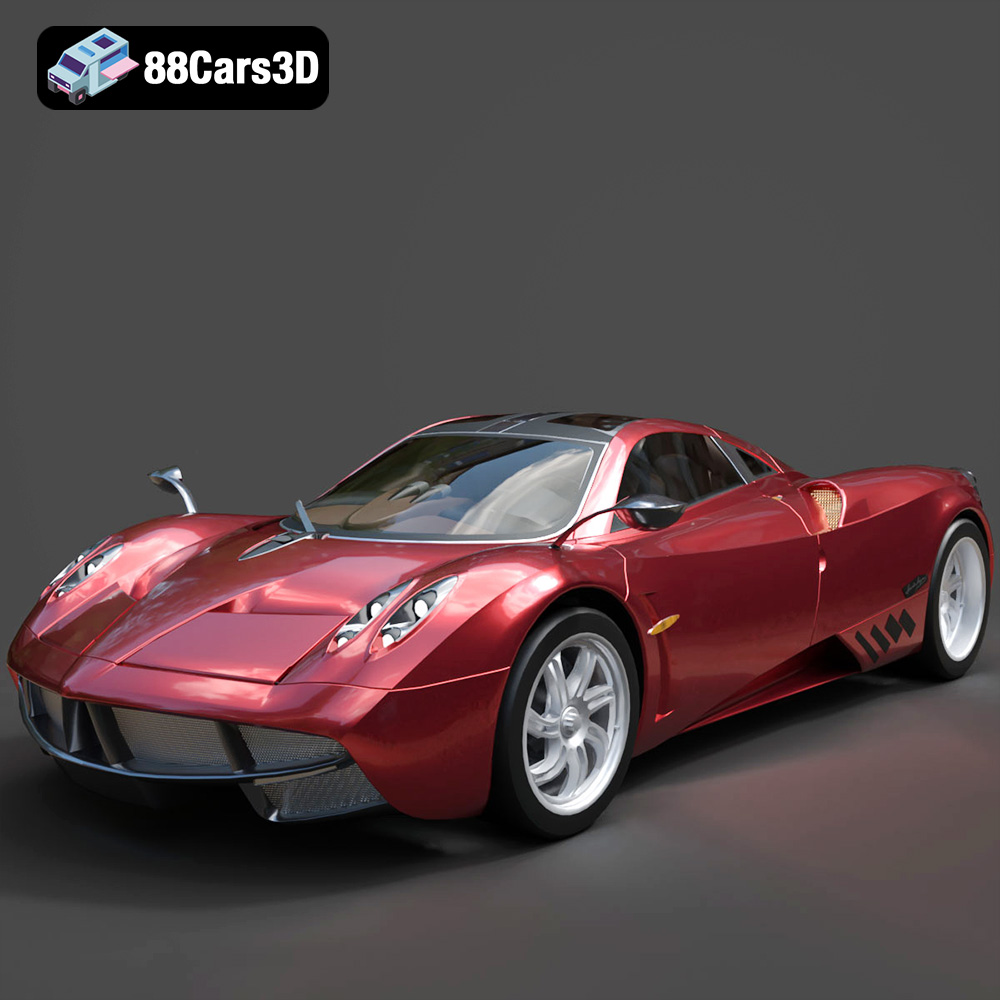
Texture: Yes
Material: Yes
Download the Pagani Huayra 2012 3D Model featuring clean geometry, realistic detailing, and a fully modeled interior. Includes .blend, .fbx, .obj, .glb, .stl, .ply, .unreal, and .max formats for rendering, simulation, and game development.
Price: $10
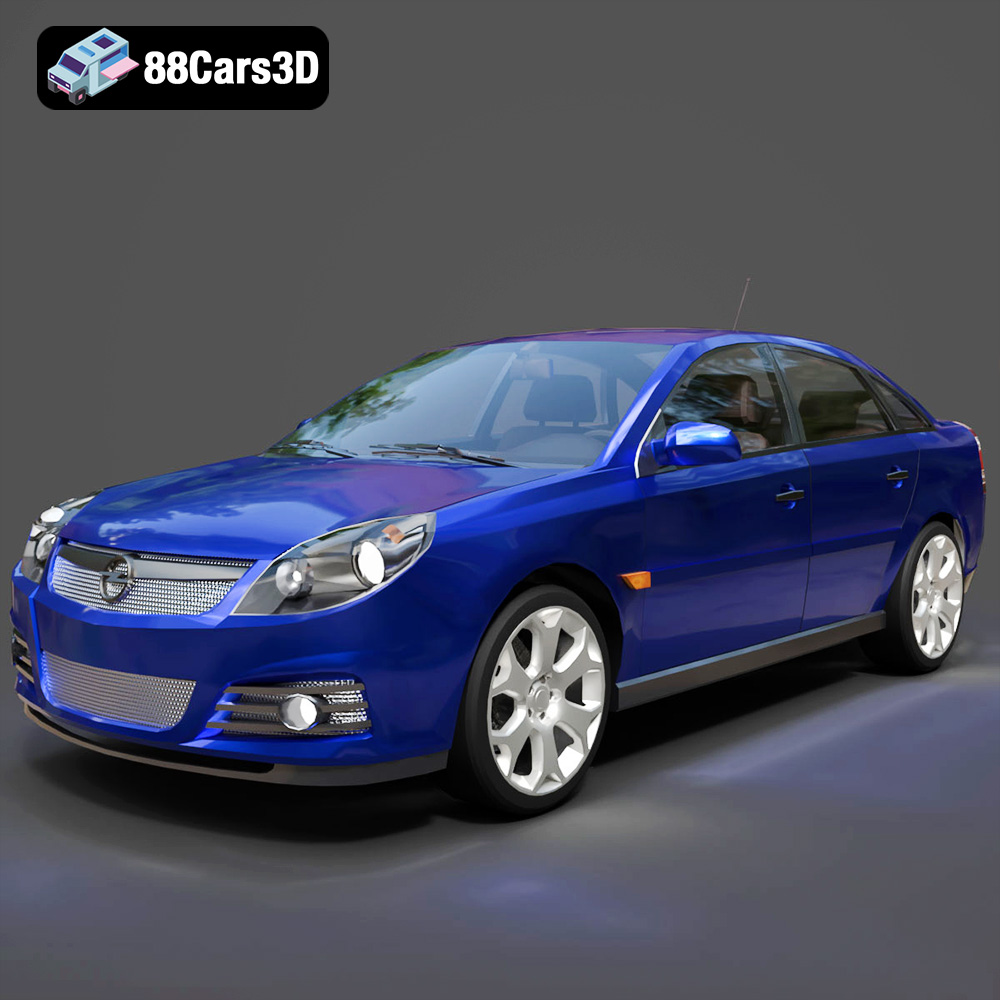
Texture: Yes
Material: Yes
Download the Opel Vectra C 2005 3D Model featuring clean geometry, realistic detailing, and a fully modeled interior. Includes .blend, .fbx, .obj, .glb, .stl, .ply, .unreal, and .max formats for rendering, simulation, and game development.
Price: $10

Texture: Yes
Material: Yes
Download the Opel Insignia OPC 3D Model featuring clean geometry, realistic detailing, and a fully modeled interior. Includes .blend, .fbx, .obj, .glb, .stl, .ply, .unreal, and .max formats for rendering, simulation, and game development.
Price: $10

