Get 20% OFF All Premium 3D & STL Models!

The world of automotive design has undergone a profound transformation, moving beyond traditional blueprints and clay models into the dynamic realm of 3D digital artistry. From concept visualization to the creation of custom 3D printed car parts, high-quality 3D car models are the bedrock of innovation across countless industries. Whether you’re a game developer crafting immersive open worlds, an automotive engineer prototyping new components, or an artist pushing the boundaries of photorealistic rendering, understanding the intricate technicalities of 3D car models is paramount.
This comprehensive guide delves deep into the essential workflows, advanced techniques, and industry best practices for creating, optimizing, and utilizing 3D car models. We’ll explore everything from the meticulous art of topology and UV mapping to the intricacies of PBR material creation, rendering photorealistic scenes, and optimizing assets for real-time applications like game engines and AR/VR. We’ll also specifically address the unique challenges and opportunities presented by 3D printing custom automotive components and models. By the end of this journey, you’ll possess a robust understanding of how to leverage the full potential of 3D car models in your professional projects.
At the heart of any exceptional 3D car model lies impeccable topology. This refers to the arrangement of vertices, edges, and faces that form the surface of your model. For automotive designs, where subtle curves, sharp creases, and reflective surfaces are critical, clean and efficient topology is not just a preference—it’s a necessity. Poor topology leads to shading artifacts, difficult deformations, and limitations in UV mapping and animation. The goal is always to achieve a quad-dominant mesh with evenly distributed polygons that follow the natural contours and design lines of the vehicle.
When modeling a car, especially for high-fidelity applications like automotive rendering or complex simulations, every edge loop has a purpose. These loops define the flow of the surface, allowing for precise control over curvature and the placement of details. Think of the crisp lines around headlights, the subtle bulges of wheel arches, or the aerodynamic curves of a spoiler—all are meticulously guided by well-placed edge loops. Achieving this requires a combination of experience, a keen eye for form, and a methodical approach to polygon placement, ensuring that the model holds up perfectly under various lighting conditions and subdivision levels.
The golden rule for automotive topology is maintaining an all-quad workflow wherever possible. Triangles should be minimized and ideally only used in flat, non-deforming areas if absolutely necessary, as they can cause pinching and undesirable shading. Key considerations include ensuring even polygon distribution to prevent stretching or compression, which can lead to texture distortion and jagged outlines. Edge loops should run parallel to major contours, such as door seams, window frames, and body panel edges. These loops act as “control lines” that define the shape and allow for easy manipulation, crucial for intricate details like panel gaps or vent designs. Pole management (vertices with more or less than four edges connected) is also vital; high-valence poles should be placed in areas of low curvature to minimize visual impact.
Different modeling techniques offer distinct advantages for automotive design. Polygonal modeling, often used in software like 3ds Max, Blender, and Maya, is the most common for game assets and rendering. It offers direct control over every vertex and face, making it ideal for creating intricate details and optimizing polygon counts. NURBS (Non-uniform rational B-spline) modeling, prevalent in CAD software like Rhino or Alias, excels at creating perfectly smooth, mathematically precise surfaces. These models are resolution-independent and often used for manufacturing, but converting them to polygons for real-time or rendering can be challenging due to high polygon counts and topology issues. Finally, Subdivision Surface modeling combines the best of both worlds, starting with a low-poly cage and smoothing it into a high-resolution mesh. This allows for iterative design and efficient detail addition, making it a favorite for production-quality 3D car models that need to scale from low to high detail.
Once your car model’s geometry is perfected, the next critical step is preparing it for texturing through UV mapping and then applying realistic materials. UV mapping is the process of flattening the 3D surface of your model into a 2D space, much like unfolding a cardboard box. This 2D layout, known as a UV map, dictates how textures are applied to the model. Without proper UVs, textures will appear stretched, distorted, or misaligned, ruining the realism of even the most detailed model. For complex automotive 3D designs, strategic seam placement and efficient space utilization on the UV map are crucial to avoid visible seams and maximize texture resolution.
Beyond UVs, Physically Based Rendering (PBR) materials are the industry standard for achieving photorealistic results. PBR shaders simulate how light interacts with real-world surfaces based on physical properties, resulting in materials that react correctly to any lighting environment. This means defining not just the color, but also how reflective a surface is (metallicness), how rough or smooth it is (roughness/glossiness), and how light scatters within it (subsurface scattering for translucent materials). Mastering PBR workflows allows artists to create everything from pristine showroom finishes to weathered, battle-scarred vehicle exteriors with unparalleled fidelity, making the car models truly come alive.
Effective UV mapping for car models involves careful planning. The goal is to minimize distortion, avoid overlapping UVs, and place seams in inconspicuous areas, such as along natural panel lines, hidden edges, or under trim pieces. For large, continuous surfaces like car body panels, it’s often beneficial to use multiple UV islands (separated pieces of the flattened mesh) to break down complex shapes and allow for more efficient unwrapping. Tools in software like Blender, 3ds Max, and Maya provide sophisticated unwrapping algorithms, often employing methods like LSCM (Least Squares Conformal Map) or ABF (Angle Based Flattening) to achieve minimal distortion. Checker maps are invaluable during this process to visually inspect for stretching or compression in the UV layout. For extremely high-resolution assets, UDIMs (UV Dimension tiles) allow artists to use multiple texture maps across a single material, preventing resolution limitations on large models.
PBR materials rely on a set of standardized maps to define surface properties. The most common maps include:
Creating these maps involves a combination of procedural generation, hand-painting, and projection from high-detail models (baking). Software like Substance Painter and Quixel Mixer are industry staples for texturing, allowing artists to layer materials, add wear and tear, and generate PBR maps with incredible precision. For automotive finishes, understanding the interplay between metallic, roughness, and clear coat layers is essential to replicate car paint, chrome, glass, and rubber with photorealistic accuracy. High-resolution textures (e.g., 2K or 4K per material) are often necessary for close-up shots and high-fidelity rendering.
Once a 3D car model is meticulously crafted and textured, the ultimate test of its realism comes in the rendering stage. Rendering is the process of generating a 2D image from a 3D scene, simulating how light interacts with materials, objects, and the environment. For automotive visualization, photorealism is almost always the goal. This means accurately replicating real-world lighting conditions, camera optics, and atmospheric effects. The choice of render engine, coupled with skillful lighting and environment setup, profoundly impacts the final image. Programs like 3ds Max with Corona or V-Ray, Blender with Cycles, Maya with Arnold, and dedicated real-time engines each offer unique strengths and workflows to bring your 3D car models to life.
Achieving a stunning automotive render is not merely about pressing a button; it’s a blend of technical expertise and artistic vision. It involves understanding global illumination, physically accurate cameras, and the nuances of various light types to highlight the car’s form, materials, and design features. Furthermore, the post-processing stage is where an already good render can be transformed into a truly spectacular piece of artwork, enhancing mood, color, and overall polish. This iterative process of lighting, rendering, and refining is what separates good visualizations from truly exceptional ones, making the 3D model an immersive experience.
Effective lighting is paramount for showcasing a car model. High Dynamic Range Images (HDRIs) are a staple, providing realistic environmental lighting and reflections from real-world scenes. Paired with direct light sources (e.g., area lights, spotlights, or dome lights in V-Ray/Corona) to emphasize specific contours or add studio-like highlights, HDRIs create a convincing sense of place. Key lighting techniques include:
Consider the ‘light wrapping’ effect on curved surfaces, using large, soft light sources to reveal the model’s form. Pay attention to reflection quality; metallic car paint requires sharp, clean reflections, while matte surfaces demand more diffused highlights. Experiment with different light temperatures and colors to evoke specific moods, from the cool tones of a winter morning to the warm glow of a sunset.
Each major render engine has its unique characteristics:
Understanding each engine’s strengths allows artists to choose the best tool for their specific project needs, often dictating how materials are set up and how lighting is approached for optimal performance and realism. Render elements (passes like diffuse, reflection, refractions, Z-depth, normals) are crucial for advanced post-production.
The rendering process doesn’t end with the final image. Post-processing in software like Photoshop, Affinity Photo, or GIMP is where a good render can become truly captivating. This stage involves adjustments like color correction, levels and curves, contrast enhancements, and adding atmospheric effects such as glare, lens flares, and subtle depth of field. Vignetting can draw attention to the subject, while chromatic aberration can add a touch of photographic realism. Compositing multiple render passes (e.g., separating reflection and diffuse layers) provides immense control, allowing precise adjustments without re-rendering the entire scene. The goal is to refine the image, correct minor imperfections, and inject artistic flair to achieve a polished, professional look that meets the highest standards of visualization.
While photorealistic rendering aims for static perfection, game engines and real-time applications demand dynamic performance. The challenge lies in making a 3D car model look stunning while maintaining a smooth frame rate in an interactive environment. This often means reducing polygon counts, optimizing textures, and streamlining material setups without sacrificing visual fidelity. Whether you’re developing a AAA racing game in Unreal Engine, an AR experience with a virtual car in Unity, or a VR showroom, intelligent optimization strategies are crucial. Performance in real-time environments is measured by frames per second (FPS) and is directly influenced by draw calls, polygon count, and texture memory usage.
A well-optimized 3D car model for game development is a balance between visual quality and performance efficiency. This involves creating multiple versions of the model for different distances from the camera (Levels of Detail), carefully managing texture atlases, and leveraging engine-specific features for material instancing and culling. The goal is to provide a seamless, high-quality experience for the end-user, regardless of their hardware capabilities. Platforms like 88cars3d.com specialize in providing game assets that are already optimized, saving developers significant time and effort in this critical phase.
Levels of Detail (LODs) are essential for optimizing performance. An LOD system creates several versions of a mesh, each with progressively lower polygon counts. The engine then automatically switches between these versions based on the camera’s distance from the object. For a high-fidelity car model, you might have LOD0 (full detail, ~50,000-150,000 triangles for a hero car), LOD1 (~20,000-50,000 triangles for mid-distance), LOD2 (~5,000-15,000 triangles for far distance), and even LOD3 (a few hundred triangles for extreme distance or shadows). These are often created through manual optimization, decimation tools, or automated LOD generation. The aim is to significantly reduce the number of polygons rendered when the model is far away, minimizing the GPU workload. Each LOD should maintain the silhouette and essential features of the car, with textures often baked down from the higher-poly versions to retain detail.
Draw calls are instructions from the CPU to the GPU to render a batch of triangles. Every unique material, object, or light source adds to the draw call count, which can quickly bottleneck performance. Minimizing draw calls involves:
A highly detailed car with many separate parts and unique materials can quickly accumulate hundreds of draw calls. Smart optimization reduces this to a manageable number, often under 50-100 for an entire car, ensuring smooth performance.
Texture atlasing is a crucial technique for game engine optimization. Instead of having separate texture maps for each car component (e.g., doors, hood, wheels, interior), all these textures are combined into one or a few large texture sheets. The UVs of the model are then remapped to point to the correct areas on these atlases. This reduces the number of texture lookups and material swaps, significantly lowering draw calls. For example, a car might have a body atlas, an interior atlas, and a wheel atlas, each containing all necessary albedo, normal, and roughness maps for their respective parts. This strategy is particularly effective for large environments and complex objects like cars.
Material instancing builds upon this by allowing artists to create multiple variations of a single base material. Instead of creating a unique material for metallic paint, matte paint, and clear coat, you create one “car paint master material” and then create instances of it. These instances inherit the base material’s properties but allow parameters (like color, metallic value, roughness) to be adjusted without incurring the overhead of a new draw call. This is incredibly efficient for variations (e.g., different car colors, subtle wear and tear) and is widely used in engines like Unreal Engine and Unity to keep projects lightweight and performant while maintaining visual diversity.
AR/VR optimization techniques for automotive models push the boundaries even further, demanding extreme efficiency. The need for a stable high frame rate (e.g., 90 FPS or higher) to prevent motion sickness means polygon counts and draw calls must be even lower than typical desktop games. For a VR car model, target polygon counts might be under 100,000 triangles for the entire vehicle, and even less for AR on mobile devices (e.g., 50,000 triangles). Key strategies include:
These considerations are vital for delivering compelling, immersive automotive experiences that run smoothly on target hardware, from high-end VR headsets to everyday smartphones.
The journey of a 3D car model doesn’t always end on a screen. With the advent of additive manufacturing, or 3D printing, digital models can transcend the virtual realm and become physical objects. This capability has revolutionized automotive design and manufacturing, enabling rapid prototyping of custom car parts, scale models, and even functional components. Engineers can quickly iterate on designs for aerodynamic elements, interior components, or unique accessories, dramatically shortening development cycles. Enthusiasts can print custom grilles, emblems, or interior trim pieces for their real-world vehicles, or create highly detailed collectible models.
However, preparing a 3D model for printing requires a different set of considerations than preparing it for rendering or game engines. Mesh integrity, wall thickness, and print orientation become paramount to ensure the physical object is strong, accurate, and successful. Understanding the nuances of different 3D printing technologies (FDM, SLA, SLS) and their material properties is also crucial for achieving the desired outcome. When sourcing models from marketplaces such as 88cars3d.com, it’s important to check if models are already prepared for 3D printing or if they require additional work.
For a 3D model to be printable, it must be “watertight” or “manifold.” This means the mesh must form a completely enclosed volume with no holes, inverted normals, or self-intersecting geometry. 3D printers cannot print surfaces that don’t have a clearly defined inside and outside. Software tools like Meshmixer, Netfabb, or even Blender’s 3D Print Toolbox offer functions to inspect and repair meshes, automatically closing holes, fixing non-manifold edges, and removing internal geometry.
Wall thickness is another critical factor. Every part of your model must be thick enough to withstand the printing process and function physically. The minimum wall thickness varies depending on the printing technology, material, and desired strength. For FDM (Fused Deposition Modeling), a minimum thickness of 0.8mm to 1.5mm is common, while for SLA (Stereolithography) or SLS (Selective Laser Sintering), it can be as low as 0.5mm. Too thin, and parts will break during printing or post-processing; too thick, and it wastes material and increases print time. Hollow parts with drain holes are often used for larger prints to save material and weight.
The most common file format for 3D printing is STL (Stereolithography). It’s a simple format that represents the surface of a 3D model as a collection of triangles. While widely supported, STL lacks color and material information. OBJ and AMF (Additive Manufacturing File Format) are also gaining traction, with AMF offering advantages like color, material, and even lattice structure information. For complex custom 3D car parts, these formats can be more versatile.
After exporting the prepared model, it’s imported into a slicer software (e.g., Cura, PrusaSlicer, Simplify3D). The slicer converts the 3D model into a series of thin layers, generating G-code—the instructions that tell the 3D printer exactly where to move the print head, how much material to extrude, and at what temperature. Slicer settings are crucial and include:
Optimizing these settings is key to successful and high-quality 3D prints, especially for intricate automotive shapes.
The choice of 3D printing material is critical and depends on the application.
After printing, most parts require post-processing. This can include removing support structures, sanding, filling, priming, painting, and sometimes curing (for resin prints). Achieving a professional, smooth finish on a 3D printed car model or part often involves extensive sanding and automotive-grade paints, replicating the high-gloss look of real vehicles. This meticulous attention to detail in both digital preparation and physical finishing is what truly elevates 3D printed automotive models.
The versatility of 3D car models is largely determined by their compatibility across different software and platforms. This hinges on understanding various file formats, each designed for specific purposes and carrying different types of data. From standard interchange formats to specialized real-time or AR/VR formats, knowing which format to use and when is crucial for efficient workflow and successful project delivery. A model’s journey often involves multiple software packages—modeling in Maya, texturing in Substance Painter, rendering in 3ds Max, and finally deploying to Unity or Unreal Engine, or even sending to a 3D printer. Seamless data transfer between these stages is key.
Furthermore, integrating 3D car models into existing production pipelines requires an understanding of how assets are managed, versioned, and shared within a team. This includes considerations for asset libraries, naming conventions, and establishing consistent workflows to ensure that everyone is working with the latest, optimized, and compatible versions of the models. By mastering file formats and workflow integration, artists and developers can unlock the full potential of their automotive 3D designs, maximizing their utility across diverse applications.
Understanding the strengths and weaknesses of different 3D file formats is paramount:
Choosing the correct format depends heavily on the intended use case, whether it’s for high-fidelity rendering, real-time interactive experiences, or physical manufacturing.
Achieving smooth cross-software compatibility for 3D car models requires attention to several details beyond just file formats:
Following these best practices minimizes troubleshooting and allows for a more efficient transfer of high-quality 3D models between different stages of a production pipeline.
Integrating custom 3D car models into a professional pipeline involves more than just exporting files. It requires standardization and clear communication.
By adhering to these principles, teams can efficiently collaborate, maintain asset quality, and seamlessly integrate custom automotive 3D designs into any production environment, from concept to final product.
The journey through the creation, optimization, and application of 3D car models reveals a multifaceted discipline that marries artistic vision with rigorous technical execution. From the foundational principles of clean topology and efficient UV mapping to the advanced techniques of PBR material creation and photorealistic rendering, every step contributes to bringing these digital vehicles to life. Whether your goal is to push the boundaries of real-time interactivity in game engines and AR/VR, or to bridge the gap between the digital and physical realms through 3D printing custom car parts, the demand for high-quality, meticulously crafted 3D assets is ever-increasing.
The tools and techniques covered here represent the industry’s best practices, offering a roadmap for anyone looking to excel in automotive 3D design and visualization. By embracing optimized workflows, understanding file format nuances, and continuously refining your technical skills, you can ensure your 3D car models are not only visually stunning but also highly functional across diverse applications. As the digital landscape evolves, so too will the possibilities for automotive 3D. Keep learning, keep creating, and remember that platforms like 88cars3d.com are an invaluable resource for sourcing professionally made, high-quality 3D car models to kickstart or enhance your next project, empowering you to drive innovation in this exciting field.
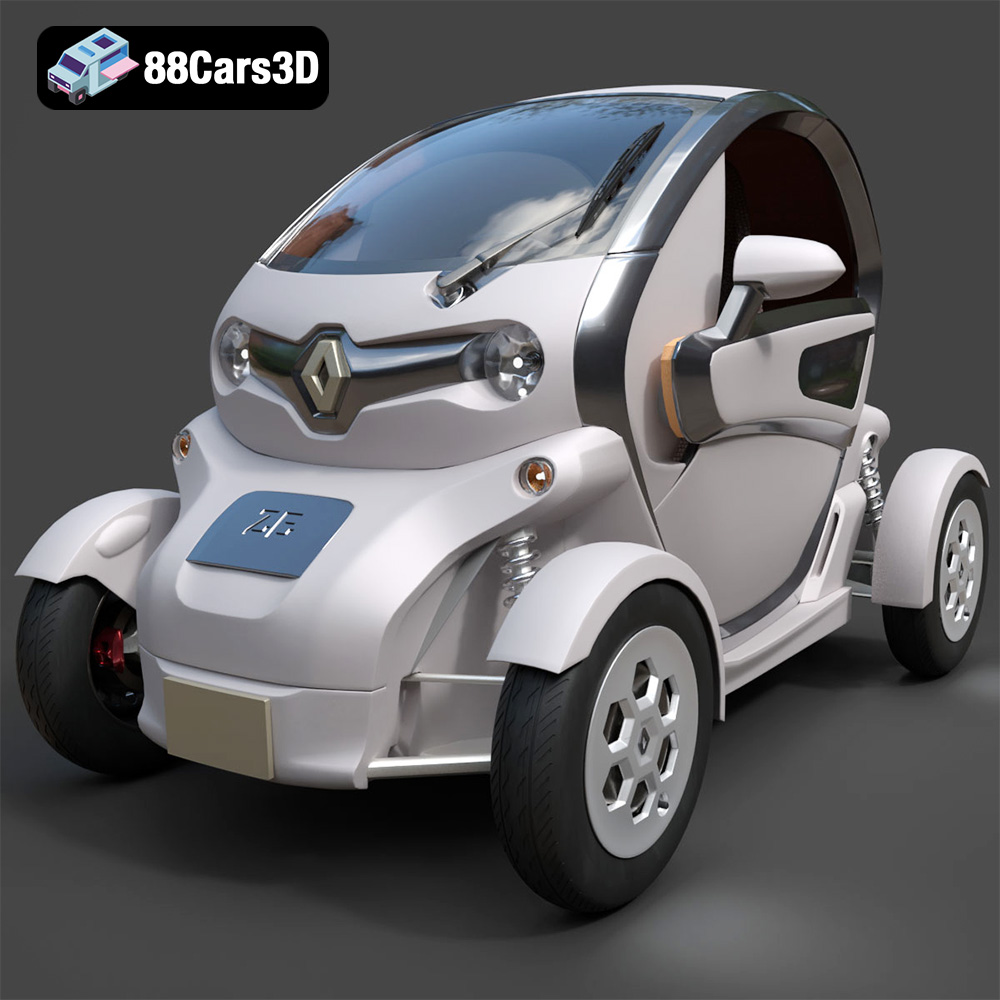
Texture: Yes
Material: Yes
Download the Renault Twizy ZE 3D Model featuring clean geometry, realistic detailing, and a fully modeled interior. Includes .blend, .fbx, .obj, .glb, .stl, .ply, .unreal, and .max formats for rendering, simulation, and game development.
Price: $4.99
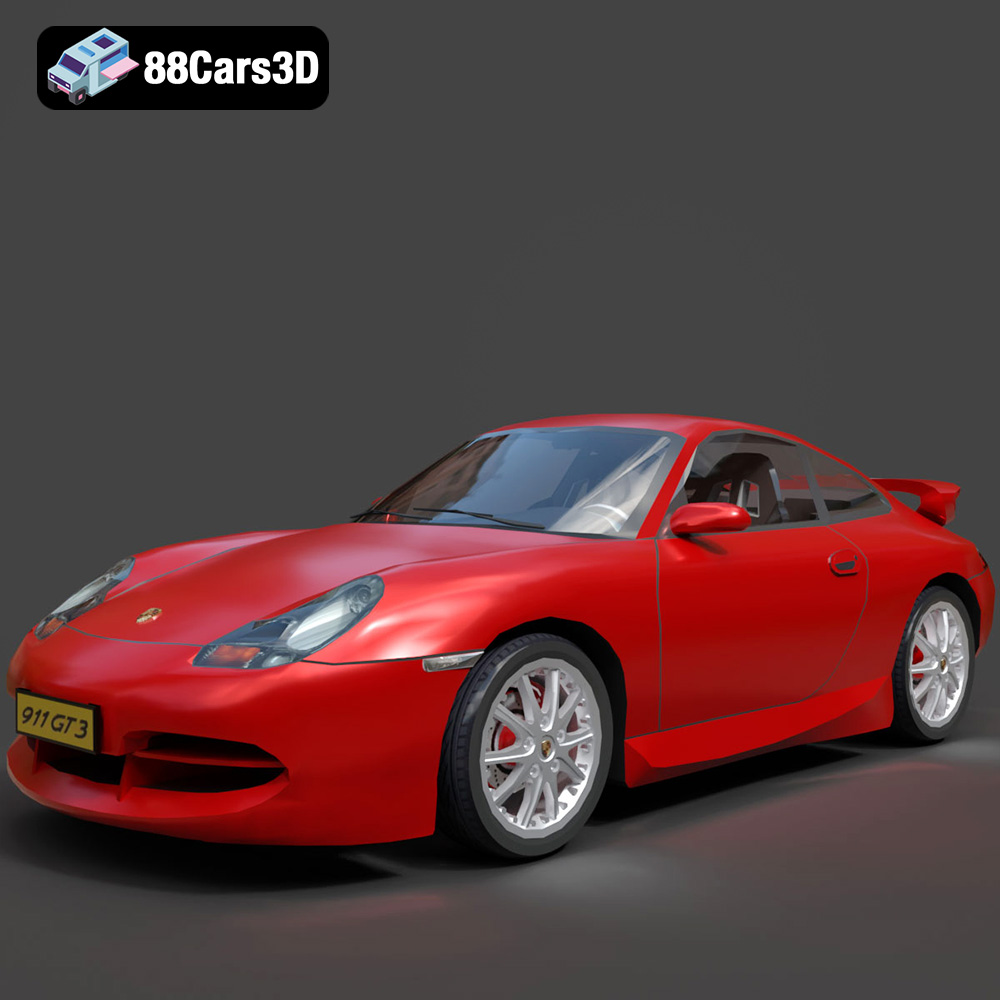
Texture: Yes
Material: Yes
Download the Porsche 911 GT3 3D Model featuring clean geometry, realistic detailing, and a fully modeled interior. Includes .blend, .fbx, .obj, .glb, .stl, .ply, .unreal, and .max formats for rendering, simulation, and game development.
Price: $4.99
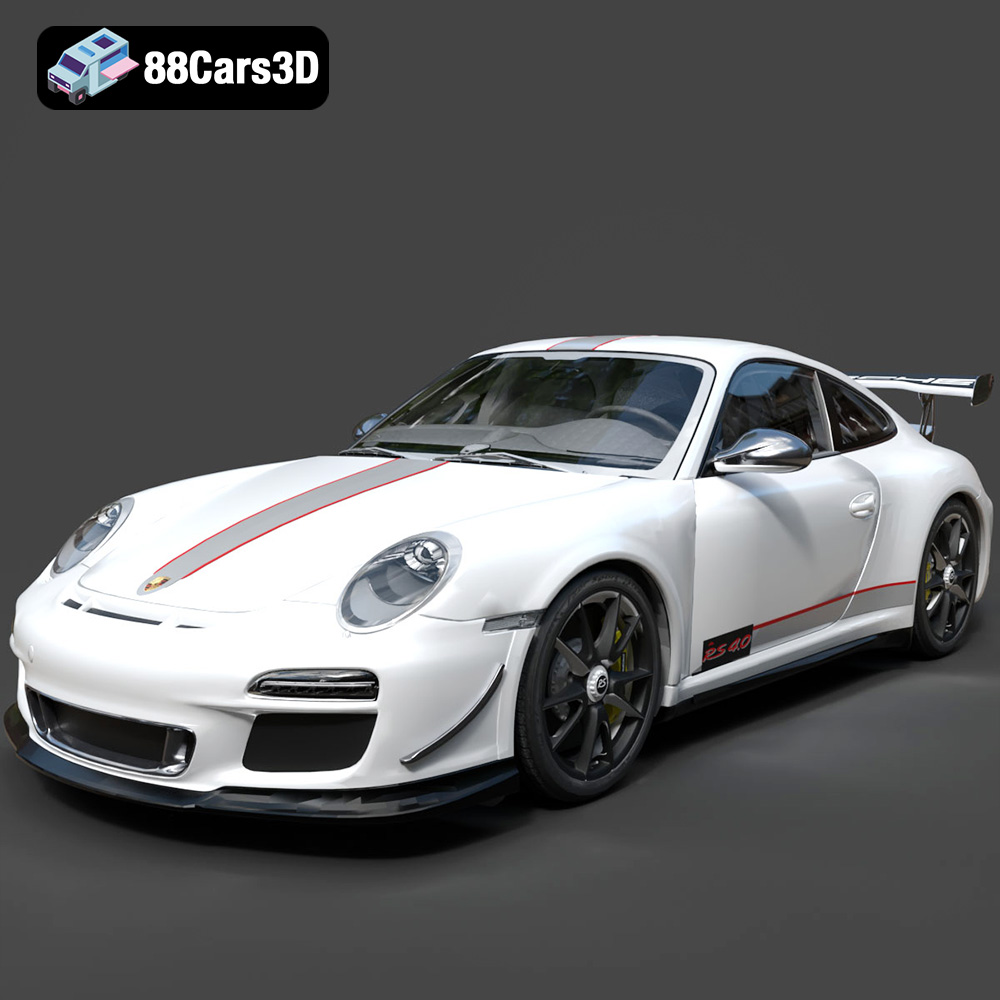
Texture: Yes
Material: Yes
Download the Porsche 911 997 GT3 RS 4.0 2011 3D Model featuring clean geometry, realistic detailing, and a fully modeled interior. Includes .blend, .fbx, .obj, .glb, .stl, .ply, .unreal, and .max formats for rendering, simulation, and game development.
Price: $4.99
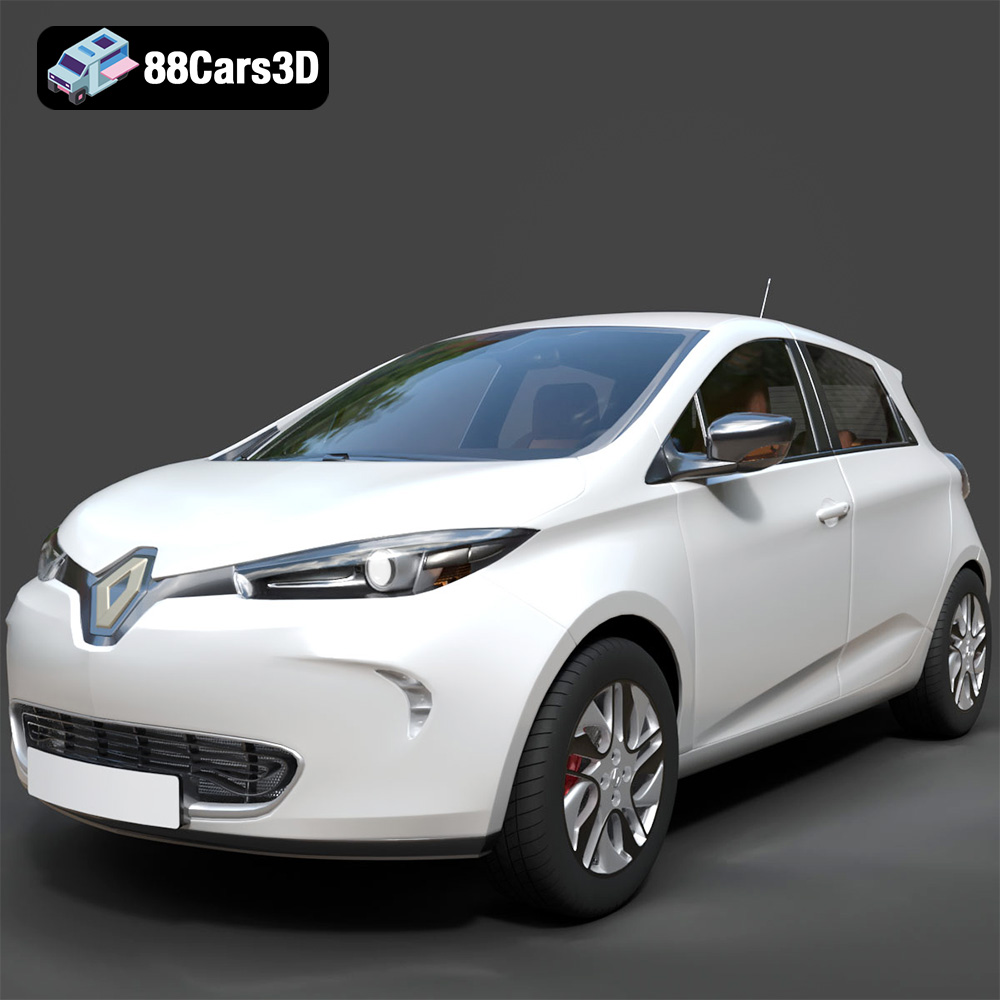
Texture: Yes
Material: Yes
Download the Renault Zoe 3D Model featuring clean geometry, realistic detailing, and a fully modeled interior. Includes .blend, .fbx, .obj, .glb, .stl, .ply, .unreal, and .max formats for rendering, simulation, and game development.
Price: $4.99
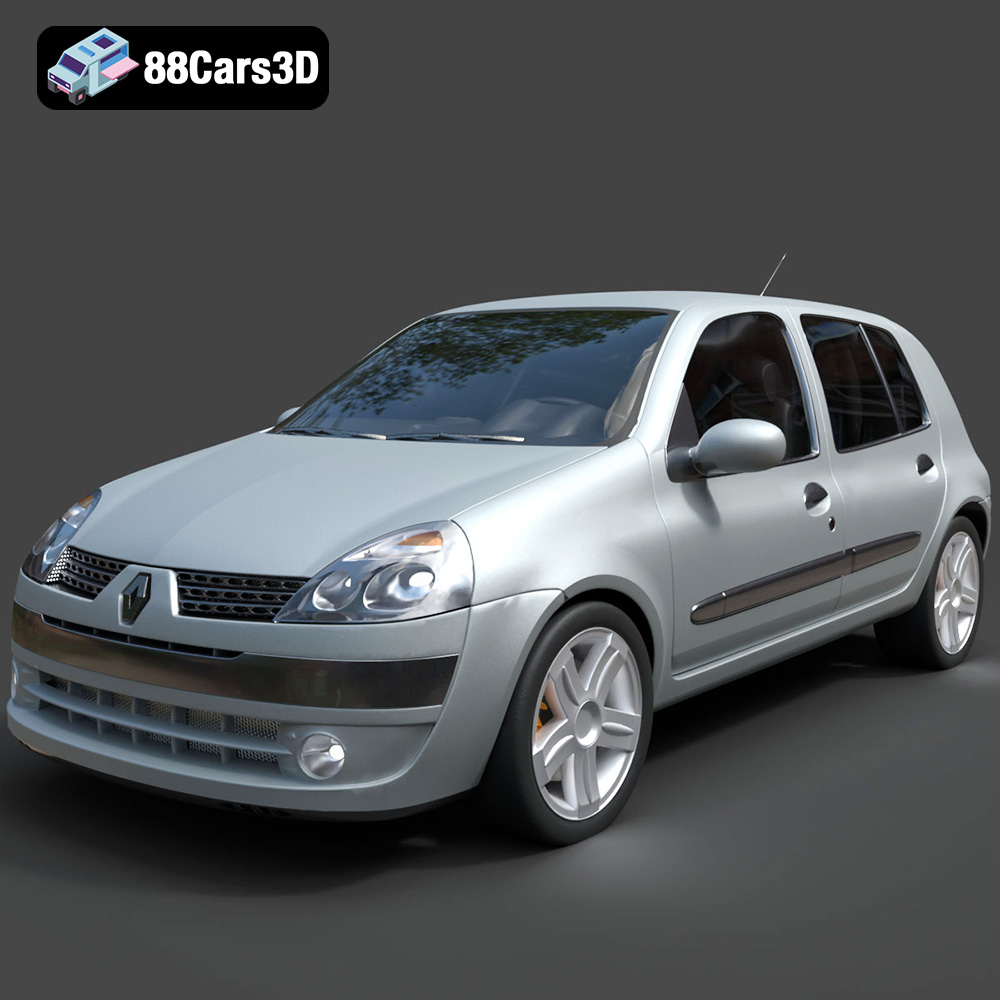
Texture: Yes
Material: Yes
Download the Renault Clio 2025 3D Model featuring clean geometry, realistic detailing, and a fully modeled interior. Includes .blend, .fbx, .obj, .glb, .stl, .ply, .unreal, and .max formats for rendering, simulation, and game development.
Price: $4.99
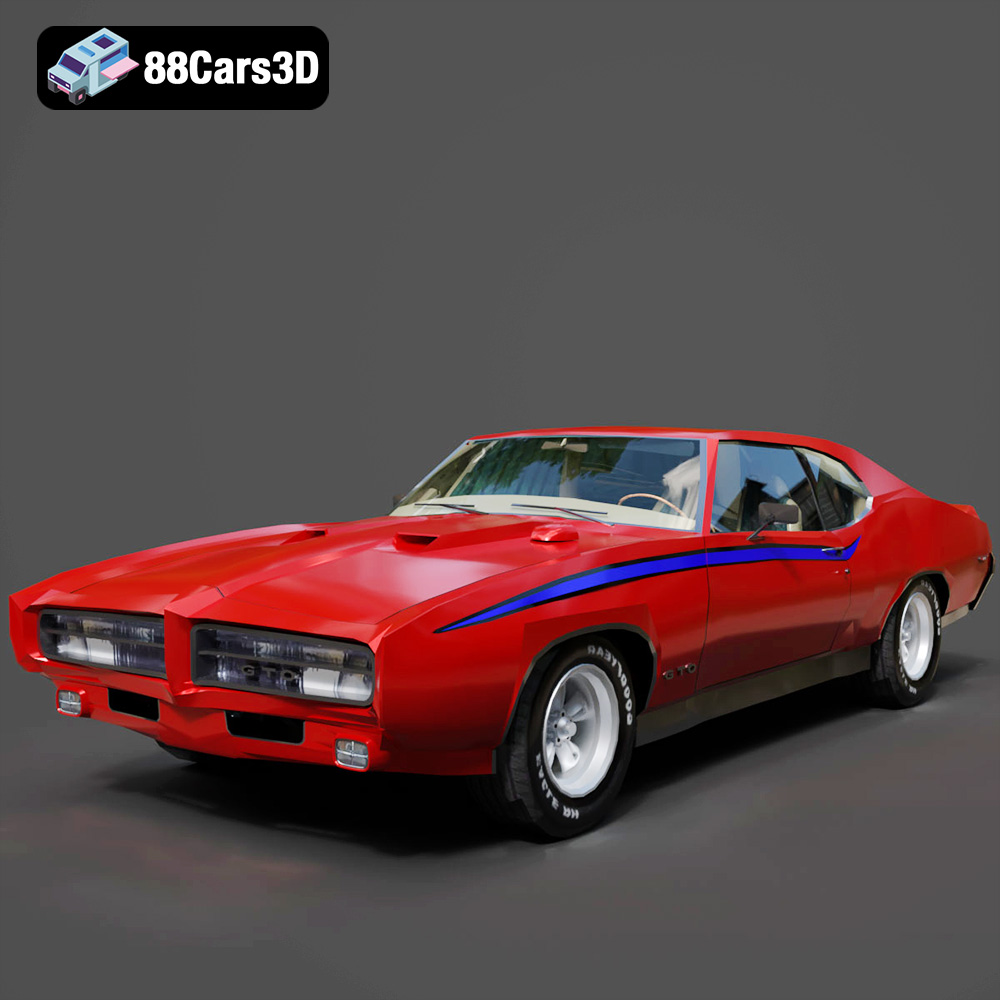
Texture: Yes
Material: Yes
Download the Pontiac GTO The Judge 1969 3D Model featuring clean geometry, realistic detailing, and a fully modeled interior. Includes .blend, .fbx, .obj, .glb, .stl, .ply, .unreal, and .max formats for rendering, simulation, and game development.
Price: $4.99
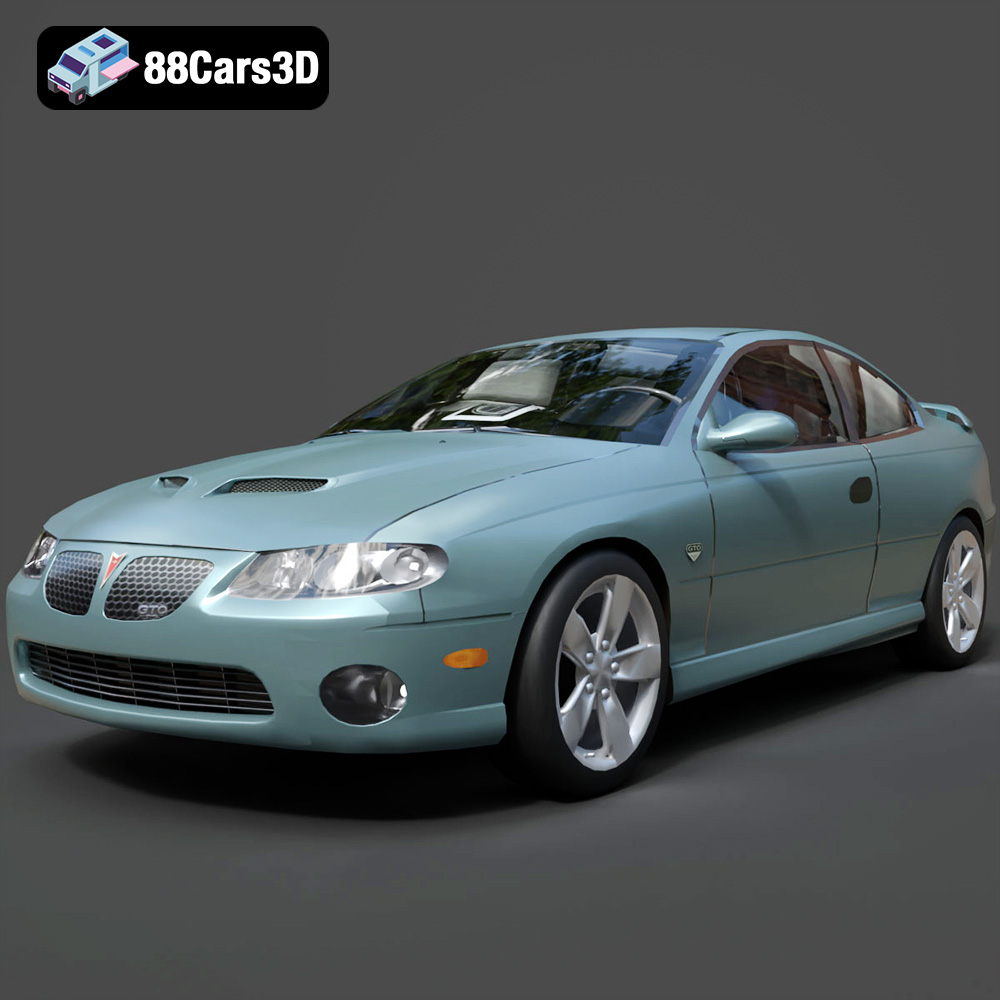
Texture: Yes
Material: Yes
Download the Pontiac GTO 2000 3D Model featuring clean geometry, realistic detailing, and a fully modeled interior. Includes .blend, .fbx, .obj, .glb, .stl, .ply, .unreal, and .max formats for rendering, simulation, and game development.
Price: $4.99
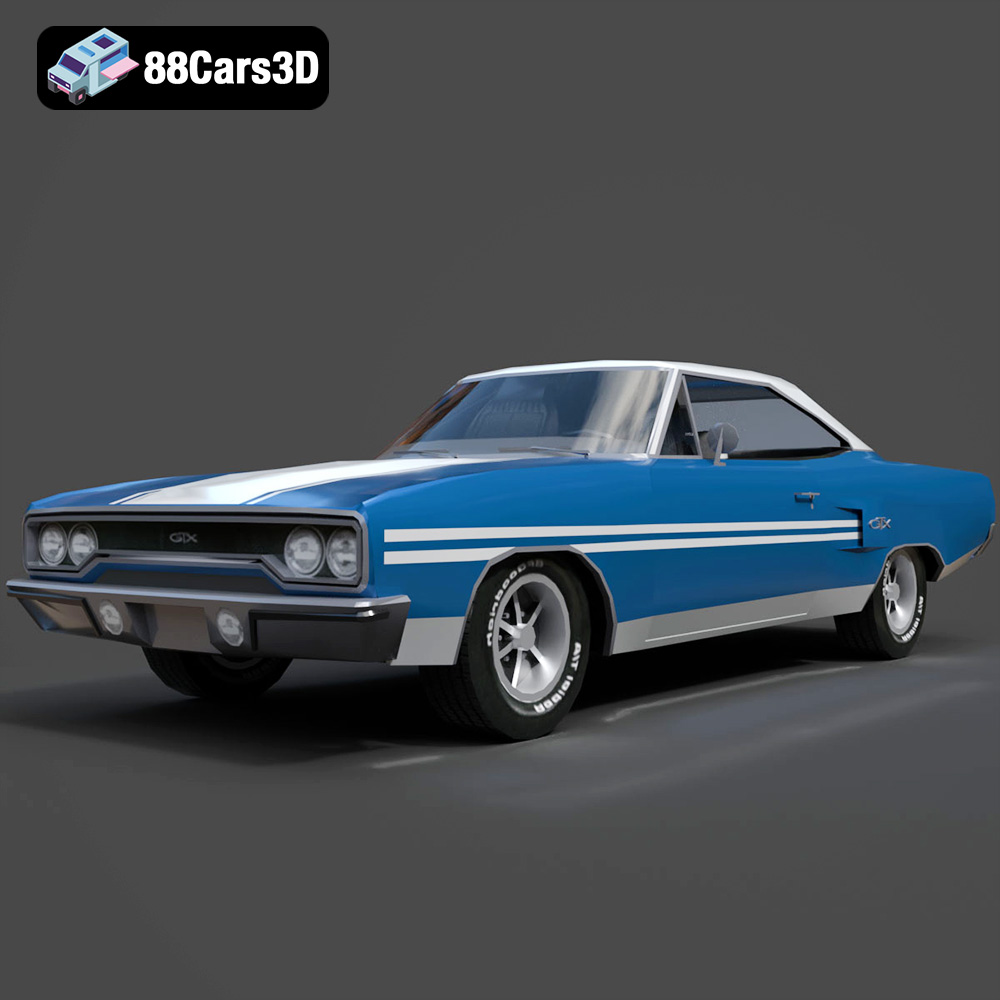
Texture: Yes
Material: Yes
Download the Plymouth GTX 1970 3D Model featuring clean geometry, realistic detailing, and a fully modeled interior. Includes .blend, .fbx, .obj, .glb, .stl, .ply, .unreal, and .max formats for rendering, simulation, and game development.
Price: $10
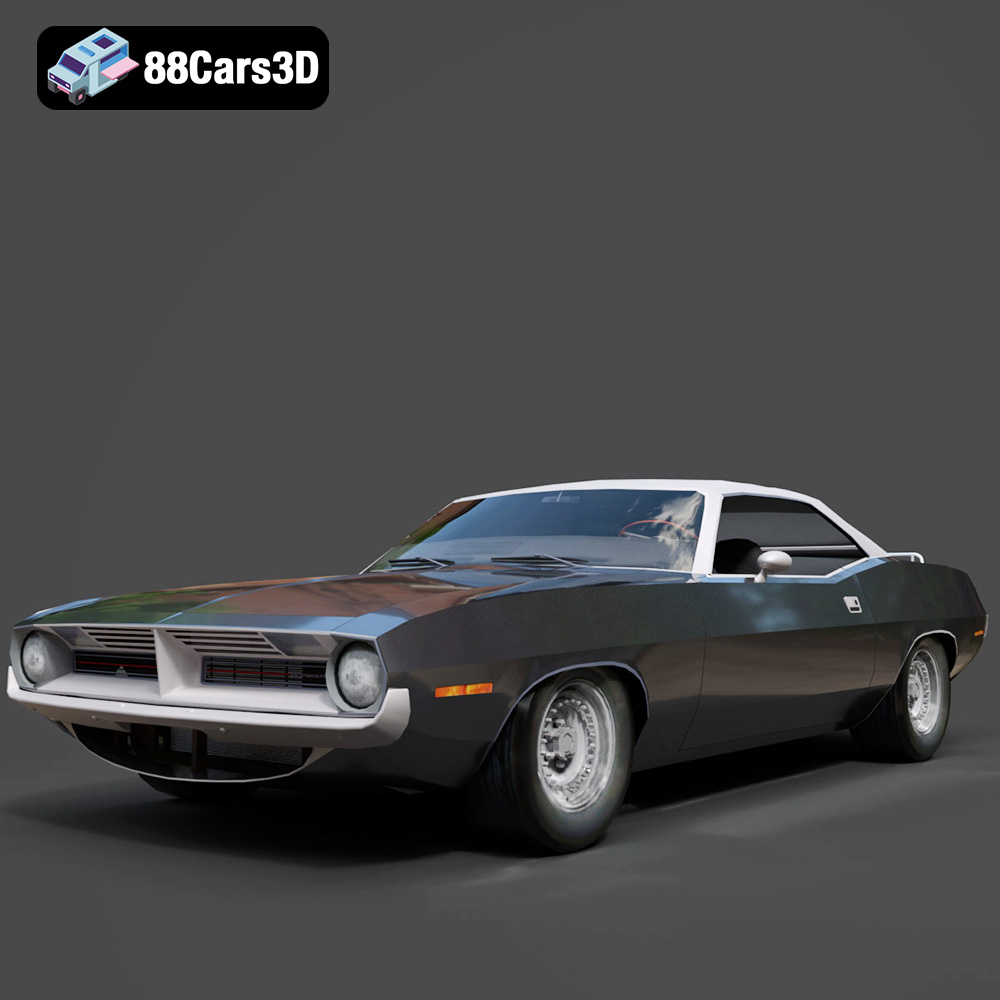
Texture: Yes
Material: Yes
Download the Plymouth Cuda Cabrio 1970 3D Model featuring clean geometry, realistic detailing, and a fully modeled interior. Includes .blend, .fbx, .obj, .glb, .stl, .ply, .unreal, and .max formats for rendering, simulation, and game development.
Price: $4.99
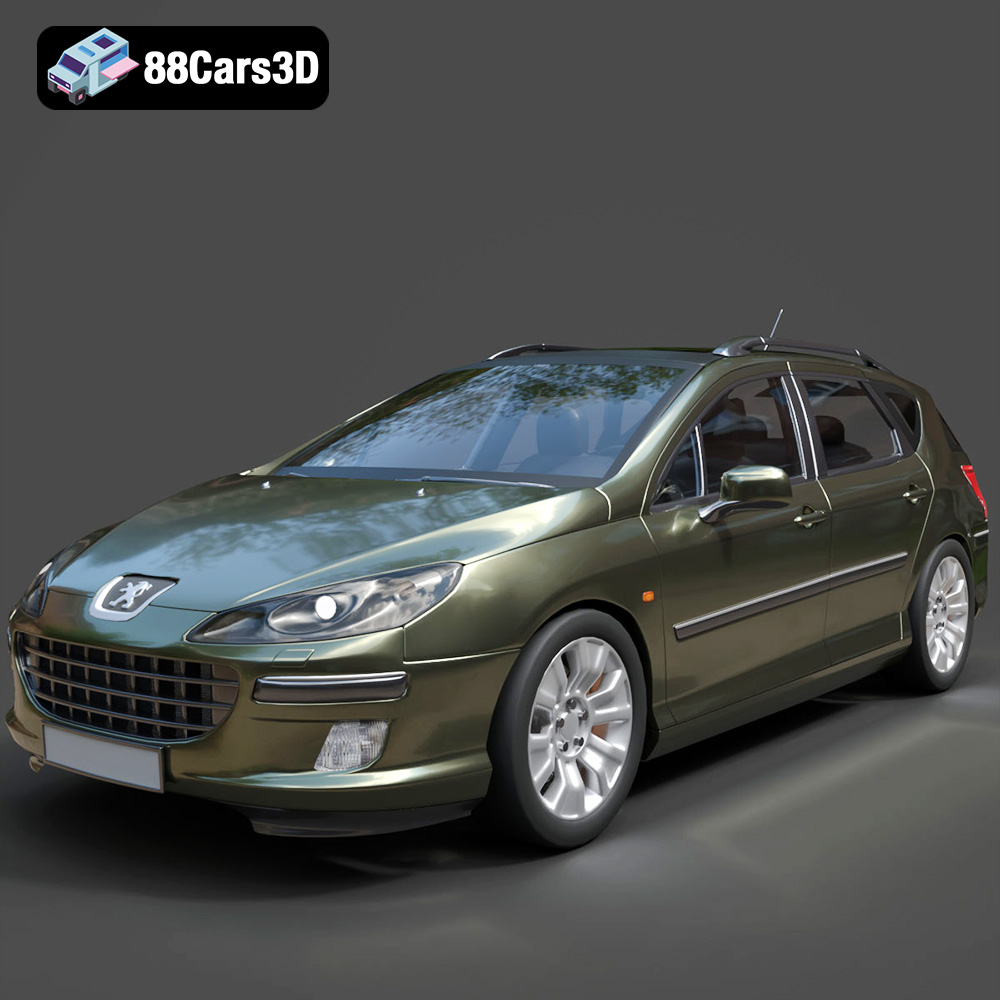
Texture: Yes
Material: Yes
Download the Peugeot 407 SW 3D Model featuring clean geometry, realistic detailing, and a fully modeled interior. Includes .blend, .fbx, .obj, .glb, .stl, .ply, .unreal, and .max formats for rendering, simulation, and game development.
Price: $4.99

