Get 20% OFF All Premium 3D & STL Models!

The sleek lines, the shimmering paint, the intricate details – 3D car models have an undeniable allure. More than just pretty pictures, these digital masterpieces are fundamental assets across a multitude of industries, from blockbuster film productions and cutting-edge video games to immersive AR/VR experiences, precise automotive design visualization, and even functional 3D printing. Crafting a high-quality 3D car model, however, is a journey that demands meticulous attention to detail, deep technical understanding, and adherence to industry best practices.
Whether you’re an aspiring 3D artist, a seasoned game developer, an automotive design engineer, or a visualization professional, understanding the intricate workflows behind these assets is crucial. This comprehensive guide will take you on a deep dive into the technical intricacies of creating, optimizing, and deploying 3D car models. We’ll explore everything from the foundational principles of clean topology and efficient UV mapping to advanced PBR material creation, high-fidelity rendering, game engine optimization, and preparing models for emerging technologies like AR/VR and 3D printing. Get ready to unlock the secrets to truly exceptional 3D automotive visualization.
At the heart of every great 3D car model lies impeccable topology. This isn’t merely about having enough polygons; it’s about the strategic placement and flow of those polygons to define shapes, facilitate smooth deformation, and ensure optimal performance. Good topology is the invisible backbone that dictates how your model looks, how it animates, and how easily it can be modified. For complex organic and hard-surface models like cars, the emphasis is almost always on quadrilateral (quad) polygons, as they subdivide predictably and handle deformation gracefully.
When modeling a car, the flow of your edges should trace the natural contours and creases of the vehicle’s design. This is especially critical around areas like wheel arches, door seams, hood lines, and body panel transitions. Poor edge flow can lead to unsightly pinching, artifacts during subdivision, or issues with normal mapping. Achieving clean, production-ready topology is a craft that blends artistic eye with technical precision, ensuring your 3D car models are both visually stunning and functionally robust across various applications.
The pursuit of smooth, production-quality surfaces in 3D car models begins with a steadfast commitment to quadrangulation. While triangulation (tris) can be unavoidable in specific, often flat areas or at the very end of a mesh, a model predominantly composed of quads allows for consistent subdivision and avoids undesirable pinching artifacts that frequently plague triangular meshes. Each quad acts as a predictable building block, ensuring that when subdivision modifiers like TurboSmooth (3ds Max) or Subdivision Surface (Blender, Maya) are applied, the surface remains uniform and elegant.
Edge flow is paramount in defining the character of the car. Strategic placement of edge loops around areas of curvature, such as the fender flares, ensures these forms retain their shape even after subdivision. Conversely, tight edge loops (support loops) placed alongside sharp edges—like those found on door cuts or panel gaps—are crucial for maintaining crisp details. These “crease edges” effectively tell the subdivision algorithm where to hold a sharp angle versus where to smooth gently. Avoiding N-gons (polygons with more than four sides) and T-junctions (where an edge terminates into the middle of another edge) is critical. N-gons often lead to unpredictable shading and triangulation, while T-junctions can cause kinks in subdivision and create problematic geometry that hinders efficient UV mapping and texturing. Techniques like box modeling, which starts from basic primitives, or spline modeling, which uses 2D curves to define outlines, are common starting points, often followed by painstaking manual retopology, especially if the source is a CAD model that needs to be converted for real-time or subdivision-ready workflows.
The appropriate polygon count for a 3D car model is not a fixed number but rather a flexible budget determined by its final application. A model destined for a cinematic animation might boast millions of polygons, capturing every minute detail, while the same car for a mobile AR experience could be limited to tens of thousands. This variable demand necessitates a strategic approach to polygon management, primarily through the implementation of Levels of Detail (LODs).
LODs are crucial for performance optimization, particularly in real-time environments like games or AR/VR. The concept involves creating multiple versions of a single asset, each with a progressively lower polygon count. LOD0, or the highest resolution model, is displayed when the car is close to the camera. As the camera moves further away, the engine automatically swaps to LOD1, then LOD2, and so on, reducing the computational load without a noticeable visual degradation to the end-user. For extreme distances, a simple billboard (a 2D texture plane) might suffice. Creating effective LODs often involves a combination of manual retopology for precise control and automated decimation tools. Software features like 3ds Max’s ProOptimizer or Blender’s Decimate modifier can intelligently reduce polygon count while striving to preserve visual fidelity. When creating LODs, it’s essential to consider all components of the car, including the exterior, interior, wheels, and any visible engine parts, ensuring a consistent reduction in detail across the entire vehicle. Leveraging high-quality base models from platforms like 88cars3d.com can provide an excellent starting point for generating your specific LOD requirements, saving significant development time.
While geometry defines the shape of your 3D car model, UV mapping and Physically Based Rendering (PBR) materials are what truly bring it to life, transforming a collection of polygons into a believable, visually rich object. UV mapping is the critical process of unwrapping your 3D mesh into a 2D space, creating a canvas upon which textures are painted. Without proper UVs, textures would stretch, distort, or fail to apply correctly, severely undermining realism.
PBR materials, on the other hand, represent a paradigm shift in shading technology, focusing on accurately simulating how light interacts with surfaces in the real world. This approach, which relies on a set of standardized texture maps, ensures that your 3D car models react realistically to any lighting environment, delivering consistent and believable results across different rendering engines. Mastering both UV mapping and PBR workflows is indispensable for achieving the highest levels of visual fidelity in automotive rendering.
The goal of efficient UV mapping is to create a clean, organized 2D representation of your 3D model that minimizes stretching, avoids overlaps, and maximizes texture resolution. For complex automotive surfaces, this means strategic placement of UV seams. Generally, seams should be hidden in less visible areas, such as along the underside of body panels or within panel gaps, to prevent visible breaks in textures. Hard edges on your model, which define sharp creases, are often natural places for UV seams, as they align with the geometric breaks.
A common strategy for car models is UV atlasing, where multiple smaller mesh components (e.g., individual body panels, interior elements, engine parts) are unwrapped and packed together into a single 0-1 UV space. This minimizes the number of materials and draw calls in game engines, significantly boosting performance. For extremely high-resolution assets, particularly for film or detailed visualization, UDIMs (U-Dimension) are employed. UDIMs allow artists to use multiple 0-1 UV tiles across different texture maps, providing immense pixel density without sacrificing efficiency. Specialized software like Unfold3D, along with integrated tools in 3ds Max, Blender, and Maya, offer robust solutions for unwrapping. For car components, body panels benefit from projection mapping or manual unfolding to maintain large, contiguous surfaces. Glass elements require careful unwrapping to avoid distortion of transparency, while tires typically use cylindrical or planar mapping for the sidewalls and tread, respectively, often with unique textures for displacement maps. Precision in this stage ensures that your meticulously crafted textures translate perfectly onto the 3D car model.
Physically Based Rendering (PBR) has become the gold standard for achieving photorealistic materials due to its scientific approach to light interaction. PBR workflows generally rely on a core set of texture maps: Albedo (or Base Color), Normal, Roughness, Metallic, Ambient Occlusion (AO), and sometimes Height or Displacement. The Metallic/Roughness workflow is prevalent, where the Metallic map defines whether a surface is metallic or dielectric, and the Roughness map controls the specularity (how diffused or sharp reflections are).
Creating these maps typically involves dedicated texturing software like Substance Painter, Mari, or Quixel Mixer, which allow artists to paint directly onto the 3D model with real-time PBR feedback. Once created, these maps are then integrated into shader networks within your chosen render engine. In 3ds Max, this might involve a V-Ray Material or Corona Physical Material; in Blender, the Principled BSDF shader is the go-to. Each map plugs into its corresponding channel, accurately dictating how light bounces off the surface.
Car paint shaders are particularly complex, often involving a multi-layered approach. This can include a base coat (Albedo), metallic flakes (simulated through specialized noise patterns or procedural textures), and a clear coat layer. The clear coat simulates the protective lacquer, adding distinct sharp reflections and often requiring specific IOR (Index of Refraction) settings for glass-like properties. Glass shaders demand transparency, refraction, and often a subtle tint, while tire shaders need to capture the dull, rubbery appearance, often enhanced with displacement maps for tread depth. Mastering these shader networks is key to giving your 3D car models their final, convincing sheen and realism.
Rendering is the crucible where all the meticulous modeling, UV mapping, and texturing come together to produce the final, breathtaking image. It’s the art and science of simulating light, shadow, and material interaction to create a photorealistic representation of your 3D car model. A successful render isn’t just about powerful hardware; it’s about a deep understanding of lighting principles, camera optics, and the specific capabilities of your chosen rendering engine. The goal is to evoke emotion, convey detail, and ultimately, convince the viewer that they are looking at a photograph, not a digital creation.
From the subtle nuances of studio lighting to the dramatic realism of an outdoor environment, every element plays a crucial role. This section delves into crafting compelling lighting setups, optimizing camera angles, and harnessing the unique strengths of leading renderers like Corona, V-Ray, Cycles, and Arnold to achieve stunning, high-fidelity automotive visualizations. Post-processing and compositing also form a critical final step, enhancing the raw render into a polished masterpiece.
Effective lighting is the single most critical factor in achieving photorealistic automotive renders. Light shapes form, defines volume, and creates mood. The most common and effective starting point for realistic car renders is an HDRI (High Dynamic Range Image) environment map. These 360-degree images capture real-world lighting information, providing accurate global illumination, reflections, and ambient light that perfectly wrap around your 3D car model, imparting instant realism.
Beyond HDRIs, carefully placed physical lights are essential for accentuation and fill. Area lights can simulate studio softboxes, emphasizing contours and creating elegant reflections. Photometric lights in software like 3ds Max can replicate real-world light fixtures, providing precise control over intensity and falloff. A classic three-point lighting setup (key, fill, and back/rim light) is excellent for studio renders, highlighting the car’s form and separating it from the background. For outdoor scenes, additional directional lights might simulate the sun, while reflection planes or large, subtle area lights placed strategically can enhance the specular highlights on the car’s body panels, adding that coveted “pop” to the paint. Camera settings are equally vital: adjusting ISO, shutter speed, and F-stop (aperture) mimics real-world photography, controlling exposure and depth of field to draw the viewer’s eye to specific details. Compositional rules like the rule of thirds or leading lines further elevate the artistic impact of your automotive renders.
Each major rendering engine offers unique strengths and workflows for automotive visualization:
Regardless of the renderer, understanding render settings like sample counts, ray depths, and the utility of render passes for compositing (e.g., reflections, refractions, Z-depth) is vital for maximizing quality and control over your final automotive images.
While cinematic renders prioritize raw visual fidelity, real-time applications like video games demand a delicate balance between stunning visuals and unwavering performance. A beautiful 3D car model that causes frame rate drops is ultimately unusable in a game environment. Therefore, extensive optimization is paramount when preparing automotive assets for game engines like Unity and Unreal Engine. This involves aggressive polygon reduction, intelligent material management, and clever use of engine-specific features to ensure your car models run smoothly at target frame rates on various hardware.
Game engine optimization is an iterative process, involving continuous testing and refinement. It’s about making smart compromises without sacrificing the essence of the vehicle’s design. From carefully crafted LODs to efficient texture atlasing and simplified collision meshes, every decision impacts the final performance footprint of your 3D car assets.
Preparing 3D car models for real-time engines involves a series of strategic optimizations:
In both engines, ensure your asset pivots are correctly aligned, and transforms are frozen before export to avoid unexpected scaling or rotation issues. Consistently optimized assets are crucial for a smooth gaming experience.
Integrating high-quality 3D car models into game engines often presents specific hurdles that require careful consideration and technical solutions:
By proactively addressing these challenges, developers can ensure their 3D car models not only look stunning but also perform flawlessly in the demanding real-time environment of modern video games. When sourcing models, platforms like 88cars3d.com can be invaluable, as they often provide 3D car models that are already optimized with clean topology, PBR materials, and multiple LODs, accelerating the game development pipeline.
The utility of 3D car models extends far beyond traditional screens. Augmented Reality (AR) and Virtual Reality (VR) are revolutionizing how we interact with digital content, offering immersive experiences for automotive configurators, virtual showrooms, and interactive training. Simultaneously, 3D printing provides a tangible output, transforming digital designs into physical prototypes or collectible models. However, each of these emerging applications presents its own unique set of technical requirements and optimization challenges that differ significantly from rendering for film or games.
Adapting a high-fidelity 3D car model for AR/VR demands even more aggressive optimization and adherence to specific file formats. For 3D printing, the focus shifts to ensuring the model is a watertight, manifold mesh with appropriate wall thickness. Understanding these specialized workflows is crucial for unlocking the full potential of your 3D automotive assets in these exciting new frontiers.
AR/VR environments, especially on mobile devices, impose extremely stringent performance requirements. The goal is to maintain high frame rates (typically 60-90 FPS per eye) to prevent motion sickness and ensure a smooth, immersive experience. This necessitates even more aggressive optimization than for traditional games:
Key file formats for AR/VR include:
When working with these formats, ensure assets are properly scaled to real-world dimensions for accurate AR placement and interaction.
Converting a 3D car model from a rendering asset to a 3D printable object requires a fundamental shift in technical focus. The primary concern is geometric integrity, as a 3D printer needs a perfectly enclosed, “watertight” mesh:
Proper preparation at this stage saves immense frustration and wasted material during the physical printing process.
In the interconnected world of 3D production, the ability to seamlessly transfer assets between different software, pipelines, and platforms is critical. This interoperability is governed by a diverse array of 3D file formats, each with its own strengths, limitations, and specific use cases. Understanding these formats – what data they can store, their compatibility, and potential pitfalls during conversion – is a cornerstone of an efficient 3D workflow.
Navigating the nuances of file formats means making informed decisions about which format to use for export, anticipating potential data loss, and troubleshooting common issues like scaling discrepancies or flipped normals. Mastery of this digital toolbox ensures that your painstakingly crafted 3D car models remain robust and versatile, ready for any application across the industry.
The 3D landscape is populated by numerous file formats, each serving specific purposes:
Understanding the strengths and weaknesses of each format is key to selecting the right one for your specific task, whether it’s exporting a model for a game, a client review, or a 3D print.
Despite the prevalence of various file formats, transferring 3D car models between software can still encounter challenges. Proactive measures and troubleshooting knowledge are essential for a smooth workflow:
By keeping these tips in mind, you can minimize headaches and ensure your 3D car models retain their integrity and quality throughout your pipeline. When sourcing assets, look for marketplaces like 88cars3d.com that explicitly state the included file formats (e.g., FBX, OBJ, GLB, USDZ) and their intended use, as this transparency ensures maximum compatibility with your specific project requirements.
The journey through the creation, optimization, and deployment of 3D car models is a testament to the intricate blend of art and engineering that defines the world of 3D visualization. From the foundational precision of clean topology and the detailed artistry of PBR materials to the performance-driven strategies for game engines and the specialized demands of AR/VR and 3D printing, every stage requires a deep understanding of technical principles and best practices.
Mastering these workflows not only elevates the visual quality of your automotive projects but also ensures their versatility and functionality across diverse platforms. The digital automotive landscape is constantly evolving, presenting new challenges and exciting opportunities for artists and developers alike. By embracing continuous learning, experimenting with new techniques, and leveraging high-quality resources, you can confidently navigate this complex domain and bring your vision of the ultimate 3D car to life. The tools and knowledge are at your fingertips; it’s time to build your next masterpiece.
Texture: Yes
Material: Yes
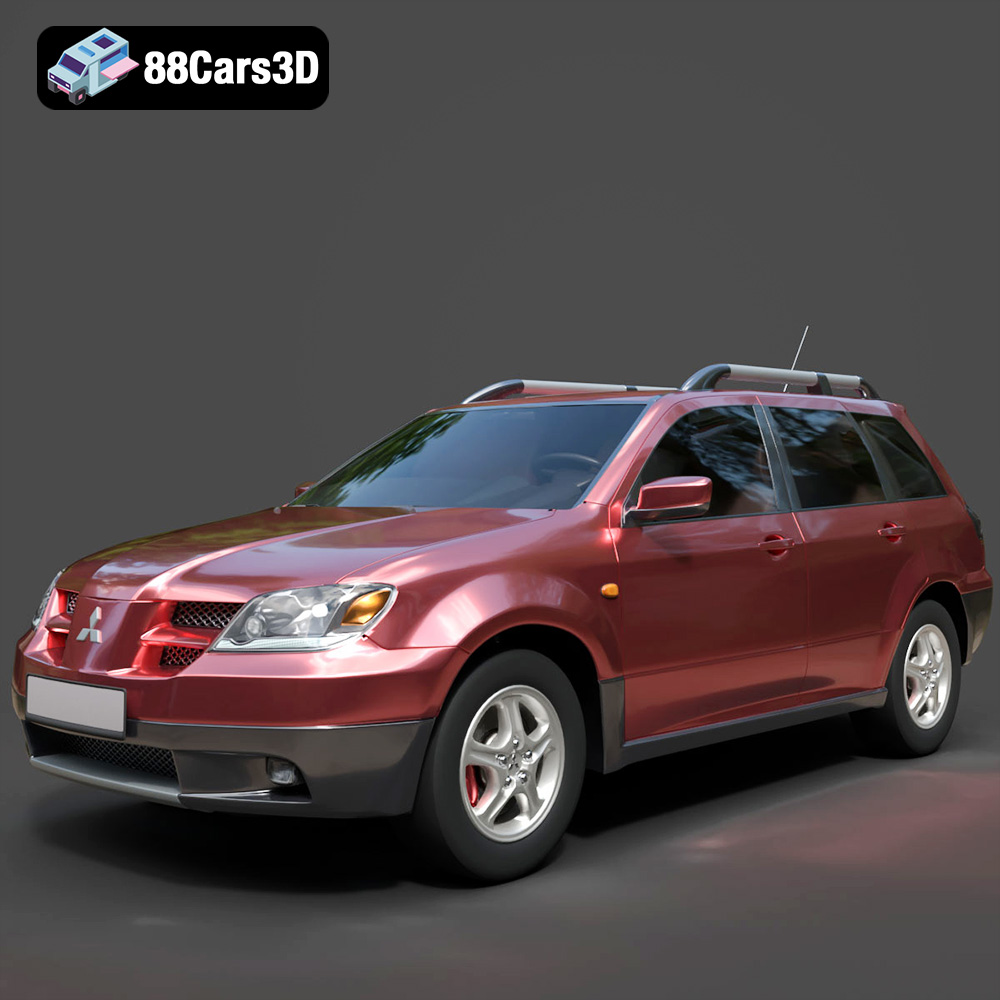
Download the Mitsubishi Outlander 2022 3D Model featuring clean geometry, realistic detailing, and a fully modeled interior. Includes .blend, .fbx, .obj, .glb, .stl, .ply, .unreal, and .max formats for rendering, simulation, and game development.
Price: $4.99
Texture: Yes
Material: Yes
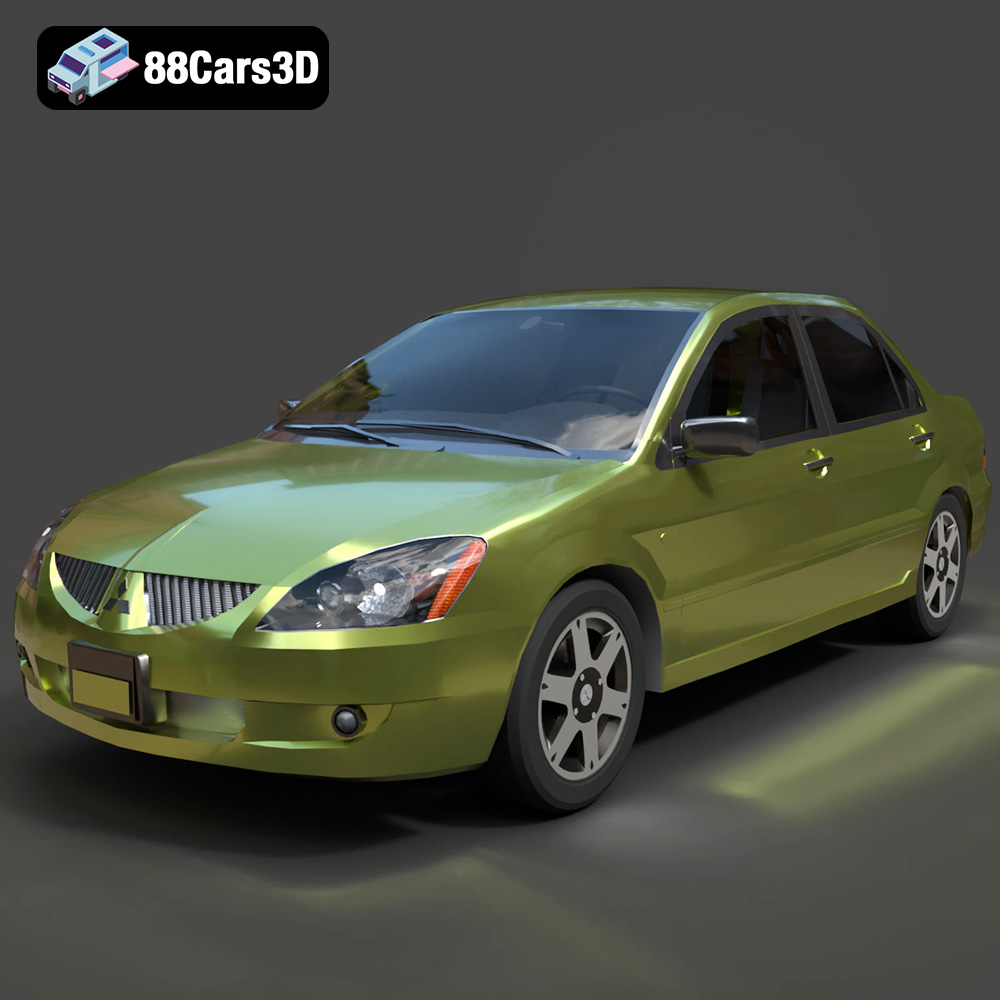
Download the Mitsubishi Lancer IX-001 3D Model featuring clean geometry, realistic detailing, and a fully modeled interior. Includes .blend, .fbx, .obj, .glb, .stl, .ply, .unreal, and .max formats for rendering, simulation, and game development.
Price: $4.99

Texture: Yes
Material: Yes
Download the MINI Cooper S-007 3D Model featuring clean geometry, realistic detailing, and a fully modeled interior. Includes .blend, .fbx, .obj, .glb, .stl, .ply, .unreal, and .max formats for rendering, simulation, and game development.
Price: $4.99
Texture: Yes
Material: Yes
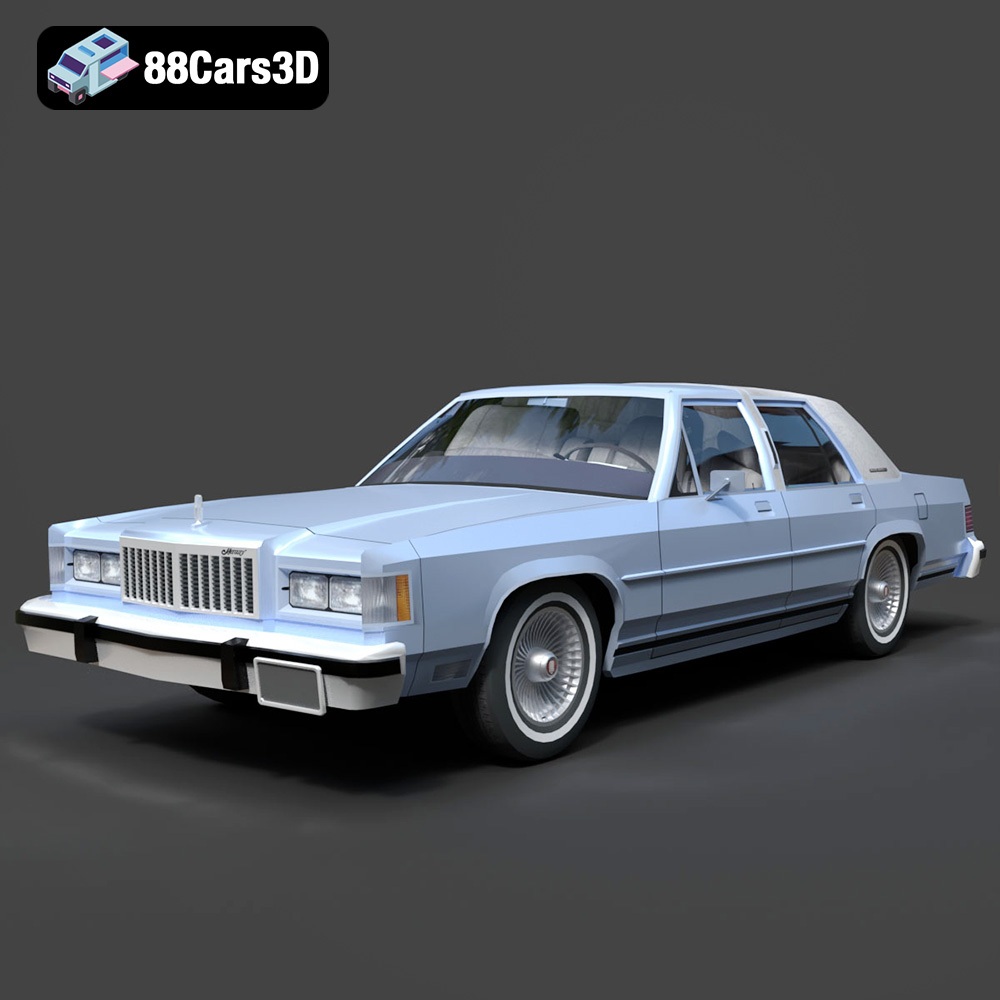
Download the Mercury Grand Marquis LS 1986 3D Model featuring clean geometry, realistic detailing, and a fully modeled interior. Includes .blend, .fbx, .obj, .glb, .stl, .ply, .unreal, and .max formats for rendering, simulation, and game development.
Price: $4.99

Texture: Yes
Material: Yes
Download the Mercedes-Benz SLS AMG 2010 3D Model featuring clean geometry, realistic detailing, and a fully modeled interior. Includes .blend, .fbx, .obj, .glb, .stl, .ply, .unreal, and .max formats for rendering, simulation, and game development.
Price: $4.99
Texture: Yes
Material: Yes
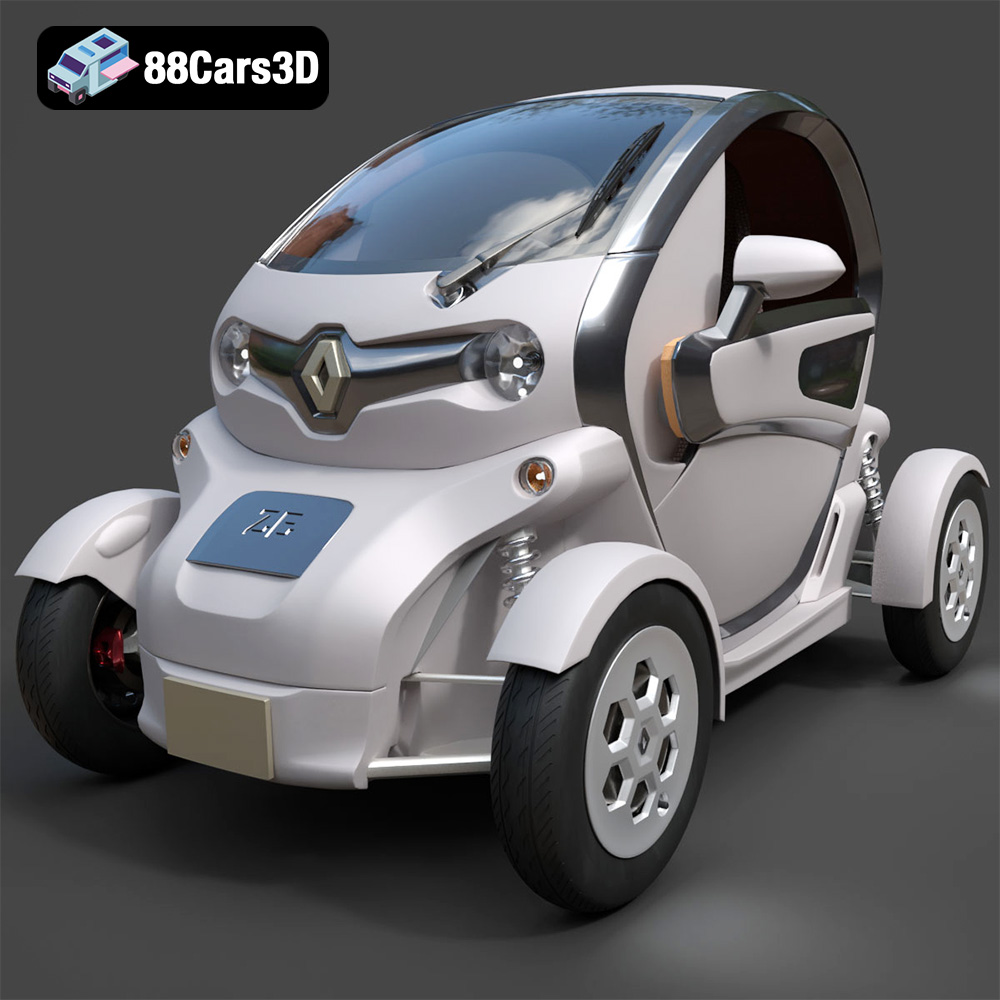
Download the Renault Twizy ZE 3D Model featuring clean geometry, realistic detailing, and a fully modeled interior. Includes .blend, .fbx, .obj, .glb, .stl, .ply, .unreal, and .max formats for rendering, simulation, and game development.
Price: $4.99
Texture: Yes
Material: Yes
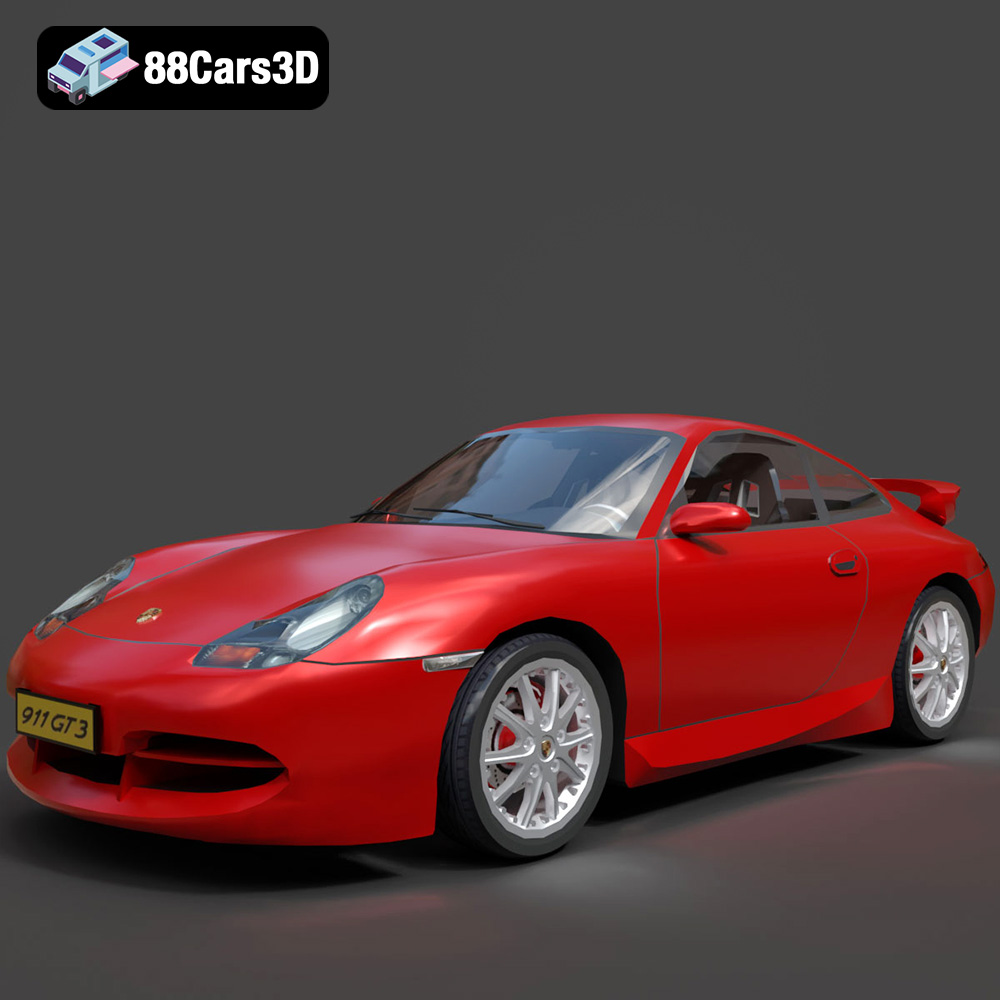
Download the Porsche 911 GT3 3D Model featuring clean geometry, realistic detailing, and a fully modeled interior. Includes .blend, .fbx, .obj, .glb, .stl, .ply, .unreal, and .max formats for rendering, simulation, and game development.
Price: $4.99
Texture: Yes
Material: Yes
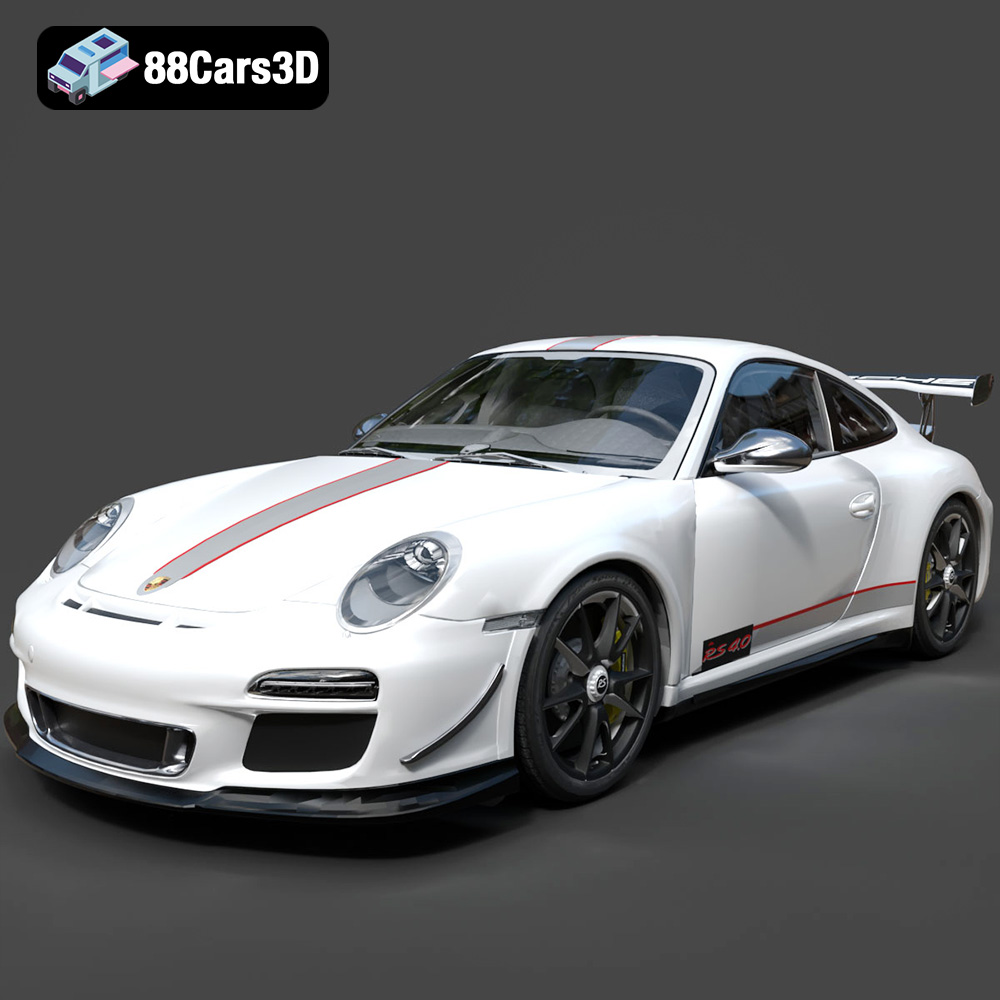
Download the Porsche 911 997 GT3 RS 4.0 2011 3D Model featuring clean geometry, realistic detailing, and a fully modeled interior. Includes .blend, .fbx, .obj, .glb, .stl, .ply, .unreal, and .max formats for rendering, simulation, and game development.
Price: $4.99
Texture: Yes
Material: Yes
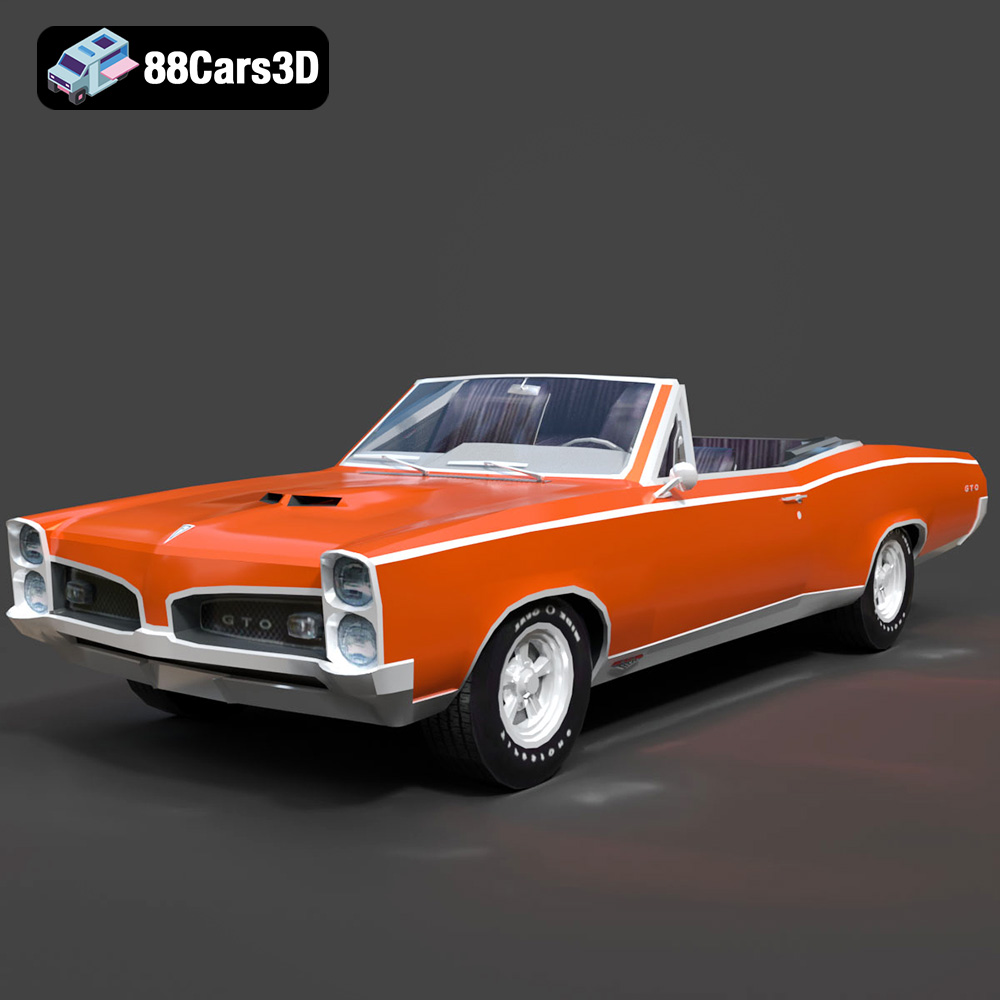
Download the Pontiac GTO Cabrio 1967 3D Model featuring clean geometry, realistic detailing, and a fully modeled interior. Includes .blend, .fbx, .obj, .glb, .stl, .ply, .unreal, and .max formats for rendering, simulation, and game development.
Price: $4.99
Texture: Yes
Material: Yes
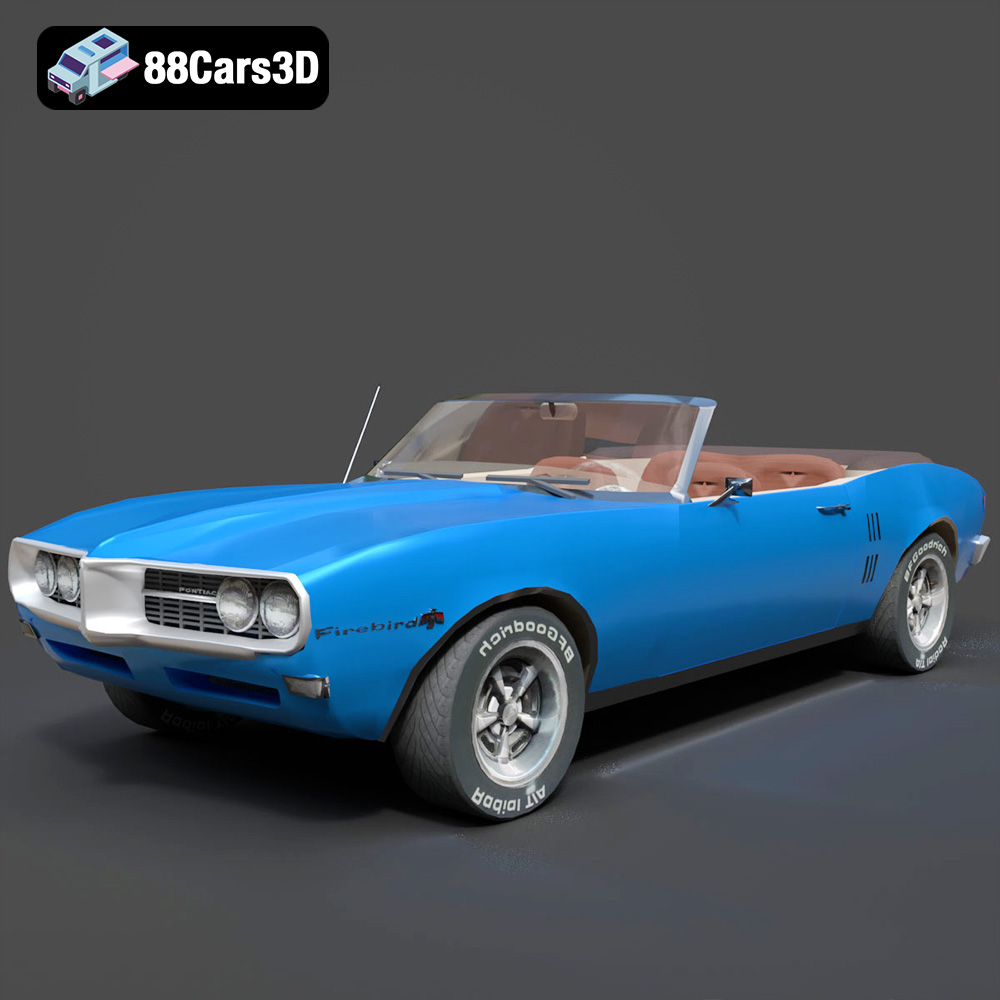
Download the Pontiac Firebird Convertible 1968 3D Model featuring clean geometry, realistic detailing, and a fully modeled interior. Includes .blend, .fbx, .obj, .glb, .stl, .ply, .unreal, and .max formats for rendering, simulation, and game development.
Price: $4.99

