Get 20% OFF All Premium 3D & STL Models!

In the dynamic world of 3D visualization, automotive design, and interactive experiences, the quality of your 3D car models can make or break a project. From breathtaking photorealistic renders that captivate clients to perfectly optimized game assets that ensure fluid gameplay, precision and technical mastery are paramount. Whether you’re an aspiring 3D artist, a seasoned game developer, an automotive designer pushing the boundaries of concept visualization, or a professional creating immersive AR/VR applications, understanding the intricacies of high-quality automotive 3D modeling is crucial.
This comprehensive guide delves deep into the technical workflows, industry best practices, and advanced techniques required to produce exceptional 3D car models. We’ll explore everything from the foundational principles of clean topology and efficient UV mapping to the advanced nuances of PBR material creation, rendering photorealism, and optimizing for real-time environments. Prepare to unlock the secrets behind crafting models that not only look stunning but also perform flawlessly across diverse platforms, ensuring your projects stand out in a competitive landscape. Let’s drive into the world of professional 3D car model creation and elevate your digital automotive journey.
At the heart of any high-quality 3D car model lies its topology – the arrangement of vertices, edges, and faces that define its surface. For automotive models, which are characterized by sleek curves, hard edges, and highly reflective surfaces, impeccable topology is not just a preference; it’s a necessity. Poor topology can lead to artifacts, shading issues, and difficulties in animation or deformation. Professional workflows prioritize a clean, quad-based mesh, ensuring smooth subdivisions and predictable deformation under various lighting conditions. Understanding how to manage polygon density is also key; while high polygon counts (e.g., 500,000 to 2 million triangles for hero models) enable extreme detail, they must be strategically placed to avoid unnecessary complexity. The goal is to capture the vehicle’s form with the fewest polygons possible while maintaining visual integrity.
Clean topology primarily involves adhering to a quad-dominant mesh structure. Triangles should be used sparingly and only in flat, non-deforming areas, as they can cause pinching and unpredictable shading when subdivided. N-gons (faces with more than four vertices) should be strictly avoided in modeling for subdivision surfaces. When modeling a car, focus on creating edge loops that flow naturally along the contours and design lines of the vehicle. These loops are essential for achieving smooth, predictable subdivision results in software like 3ds Max, Blender, or Maya. For instance, around wheel wells, door seams, and window frames, ensuring even edge distribution prevents visual distortion. A common technique is to block out the major forms with a low-polygon mesh, then iteratively refine and add detail using subdivision surface modifiers (e.g., Turbosmooth in 3ds Max, Subdivision Surface in Blender). This non-destructive workflow allows for flexibility and high-fidelity results, often leading to models with millions of polygons at render time, derived from a clean base mesh with significantly fewer faces.
Automotive surfaces are notoriously reflective, making any imperfections in the mesh glaringly obvious. This is where mastering edge flow becomes critical. Good edge flow ensures that reflections propagate smoothly across the car’s body panels, without breaks, wobbles, or unexpected distortions. This means running edge loops parallel to the vehicle’s prominent creases and curves, particularly along character lines, panel gaps, and around vents or grilles. For sharp edges, such as those found on body creases or around headlights, artists often use “support loops” or “holding edges.” These are additional edge loops placed very close to the hard edge, preventing excessive rounding when subdivision modifiers are applied. A typical setup might involve three parallel edges tightly packed to define a sharp crease, with the rest of the mesh flowing smoothly away. This technique allows for control over the sharpness of edges while maintaining a smooth, subdivision-friendly mesh across the larger panels, crucial for achieving that showroom-quality finish in your automotive rendering.
Once the geometric foundation is solid, the next critical step is to prepare the model for texturing and shading. This involves creating precise UV maps and developing sophisticated Physically Based Rendering (PBR) materials. High-quality UV mapping is essential for applying textures accurately and efficiently, preventing stretching or seams. PBR materials, on the other hand, simulate how light interacts with surfaces in the real world, providing a level of realism that traditional shading models simply cannot match. Together, these two elements are indispensable for creating believable and stunning 3D car models.
UV mapping for cars can be challenging due to their complex, curved surfaces and numerous components. The primary goal is to create a set of UV islands that are as distortion-free as possible, providing an ideal canvas for texture painting. For major body panels, techniques like planar mapping followed by relaxing algorithms (e.g., “Unfold3D” in 3ds Max, “UV Editor” in Blender) are commonly used. Interior components, wheels, and intricate parts require more detailed attention, often needing cylindrical or spherical projections, or careful manual unwrapping. A common strategy is to break the car into logical UV sets: one for the main body, one for interior plastics, one for glass, one for tires, etc. This helps manage texture resolution and allows for specific material properties. For example, a car body UV map might occupy a 0-1 UV space, with distinct islands for the hood, roof, doors, and fenders, ensuring consistent texel density across these key surfaces. When creating game assets, it’s also crucial to consider texture atlasing – packing multiple smaller UV islands into a single texture map to reduce draw calls and improve performance. This can involve combining UVs for smaller, non-critical components into shared texture sheets.
PBR materials are the cornerstone of photorealistic rendering. Unlike older methods, PBR materials adhere to physical laws, ensuring consistent and accurate appearance under various lighting conditions. A typical PBR workflow involves several key texture maps:
When creating car paint, a complex shader network might involve multiple layers: a base coat (Albedo, Roughness), a clear coat (adding an additional reflection layer with its own roughness and fresnel properties), and even flake maps for metallic or pearlescent finishes. Software like Substance Painter is invaluable for generating these maps, allowing artists to paint directly onto the 3D model and export PBR textures optimized for various renderers and game engines. For professional results, aim for texture resolutions of 2K or 4K for major components, ensuring crisp detail in close-up shots. Platforms like 88cars3d.com provide models with expertly crafted PBR materials, ready for immediate use in your projects.
With a meticulously modeled and textured car, the next step is to bring it to life through automotive rendering. This process involves setting up lights, environments, and camera views within a render engine to produce stunning, photorealistic images or animations. Achieving a professional look requires a deep understanding of lighting principles, material interactions, and render engine settings. Modern render engines like Corona, V-Ray, Cycles, and Arnold offer powerful tools, but knowing how to wield them is crucial for translating your 3D car model into a compelling visual narrative.
Effective lighting is the single most important factor in realistic rendering. For studio-style renders, common setups include:
For realistic outdoor or contextual renders, High Dynamic Range Image (HDRI) maps are indispensable. An HDRI acts as both a light source and an environment background, providing accurate lighting intensities, colors, and reflections from a real-world location. When using an HDRI, you typically load it into your render engine’s environment slot, rotate it to find the most flattering lighting angle, and adjust its intensity. Often, a combination of HDRI for overall ambient light and reflections, augmented by a few targeted area lights (e.g., simulating sunlight through a window), yields the most dynamic and believable results. Experiment with different HDRIs (e.g., industrial, urban, clear sky) to dramatically change the mood and context of your render, showcasing the versatility of your 3D car models.
Each render engine has its own set of parameters, but common settings to optimize include:
Post-processing is where you add the final polish to your renders, transforming a raw image into a captivating visual. This is typically done in software like Adobe Photoshop or Affinity Photo. Key post-processing steps include:
Many render engines also allow you to output render passes (e.g., Z-Depth, Object ID, Reflection, Shadow) which provide granular control during compositing. This non-destructive approach allows for maximum flexibility to fine-tune your final image without re-rendering, crucial for professional-grade visualization projects.
When a 3D car model transitions from static renders to interactive environments like video games, AR/VR experiences, or real-time configurators, a whole new set of technical considerations comes into play. Performance becomes paramount, requiring meticulous optimization to ensure smooth frame rates without compromising visual quality. This involves strategic mesh reduction, efficient texture management, and understanding how game engines process assets.
Levels of Detail (LODs) are critical for game optimization. Instead of using a single high-polygon model, multiple versions of the car are created, each with progressively fewer polygons. For instance:
Game engines automatically switch between these LODs based on the camera”s distance from the object, drastically reducing the polygon count rendered at any given time. This is especially important for open-world games with many vehicles.
Draw calls are instructions from the CPU to the GPU to render an object. Each material and texture typically incurs a separate draw call, which can bottleneck performance. To reduce draw calls, texture atlasing is employed. This involves combining multiple smaller textures (e.g., for different car parts like wheels, interior, undercarriage) into a single, larger texture sheet, and then re-mapping the UVs of those parts to reference the appropriate section of the atlas. This allows the engine to render multiple surfaces with a single material, significantly boosting frame rates. For maximum efficiency, car models sourced from marketplaces like 88cars3d.com often come with pre-configured LODs and optimized texture atlases.
Choosing the right file format and managing assets efficiently are vital for game development pipelines.
When exporting for game engines, ensure that:
Furthermore, managing asset libraries with proper naming conventions and folder structures is crucial for large-scale projects, allowing teams to collaborate effectively and iterate quickly on game assets.
The versatility of high-quality 3D car models extends far beyond conventional rendering and game development. They are increasingly vital for cutting-edge applications in Augmented Reality (AR), Virtual Reality (VR), and even physical production through 3D printing. Each of these domains presents unique technical challenges and requirements, demanding specialized preparation to ensure optimal performance and flawless results. Understanding these nuances allows artists and developers to unlock new possibilities for their automotive creations.
AR/VR optimization shares many principles with game optimization but often with even stricter performance budgets. For mobile AR (e.g., ARKit, ARCore) or standalone VR headsets (e.g., Meta Quest), polygon counts must be kept extremely lean. A common target for a hero car model in mobile AR might be 30,000-80,000 triangles, while high-end PC VR might allow up to 200,000-500,000.
The goal is to create an immersive experience that runs smoothly at high frame rates (e.g., 60-90 FPS per eye for VR) without inducing motion sickness or visual lag, making the most of your meticulously crafted visualization assets.
Converting a high-detail 3D car model designed for rendering into a printable object requires a completely different set of considerations. The digital model must be a “manifold” or “water-tight” mesh, meaning it has no holes, non-manifold edges, or inverted normals – essentially, it must represent a solid object with an inside and an outside.
Preparing a model for 3D printing is a precise process that bridges the digital and physical worlds, allowing you to hold a tangible representation of your exquisite 3D car models.
The journey of creating, optimizing, and deploying high-quality 3D car models is a multifaceted endeavor that demands technical proficiency, artistic vision, and a deep understanding of various industry workflows. From meticulously sculpting clean topology that allows for perfect reflections and smooth animations, to crafting intelligent UV maps and realistic PBR materials that truly bring surfaces to life, every stage is critical. We’ve explored the art of automotive rendering, harnessing powerful engines and post-processing techniques to achieve photorealistic results, and delved into the crucial optimization strategies for delivering seamless interactive experiences in game engines, AR/VR, and even preparing models for physical fabrication through 3D printing.
Mastering these techniques not only elevates the visual fidelity of your projects but also ensures their versatility and performance across a diverse range of applications. Whether your goal is a cinematic commercial, an immersive game, a cutting-edge AR configurator, or a stunning physical prototype, the principles outlined here form the bedrock of professional-grade 3D asset creation. As technology continues to evolve, the demand for exceptionally detailed, optimized, and adaptable 3D car models will only grow. By applying these best practices, you empower yourself to meet that demand, pushing the boundaries of what’s possible in the world of digital automotive design and visualization. For artists and developers looking for a head start, sourcing high-quality, pre-optimized 3D car models from trusted platforms like 88cars3d.com can provide the perfect foundation for your next groundbreaking project.

Texture: Yes
Material: Yes
Download the MINI Cooper S-007 3D Model featuring clean geometry, realistic detailing, and a fully modeled interior. Includes .blend, .fbx, .obj, .glb, .stl, .ply, .unreal, and .max formats for rendering, simulation, and game development.
Price: $4.99
Texture: Yes
Material: Yes
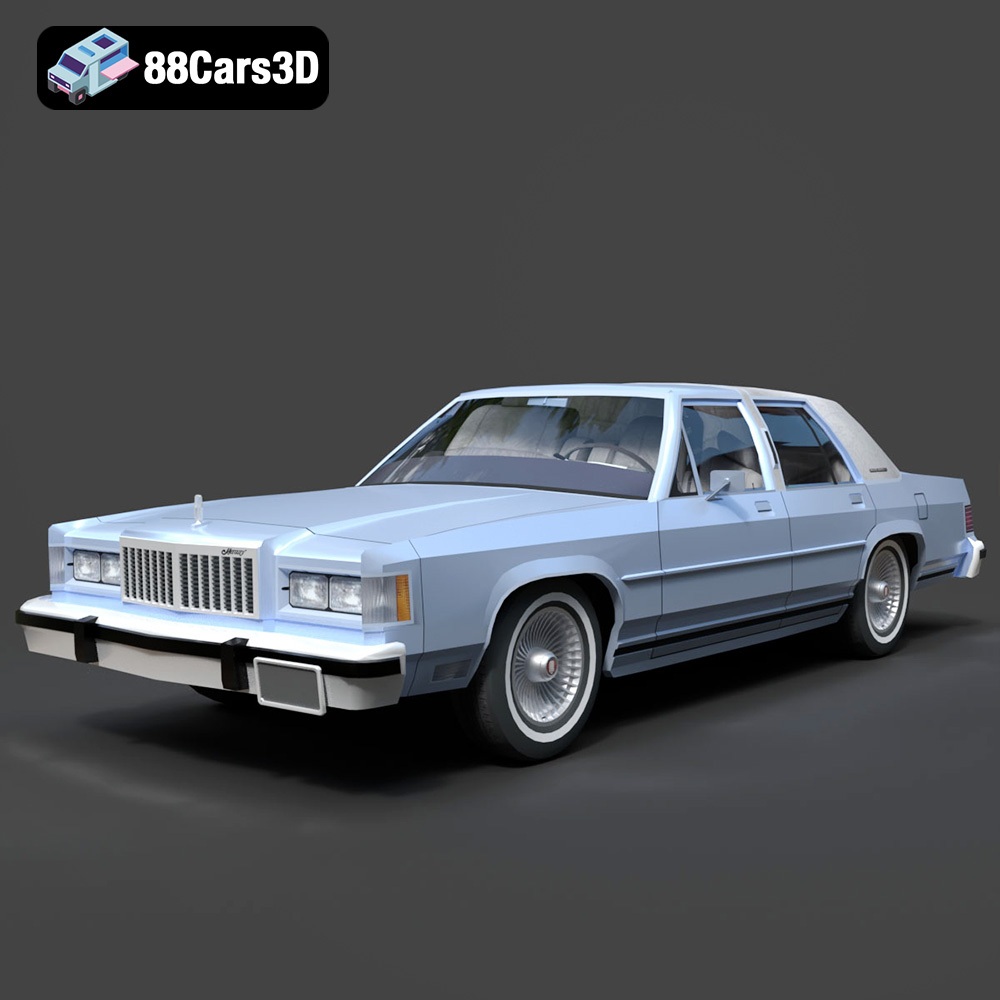
Download the Mercury Grand Marquis LS 1986 3D Model featuring clean geometry, realistic detailing, and a fully modeled interior. Includes .blend, .fbx, .obj, .glb, .stl, .ply, .unreal, and .max formats for rendering, simulation, and game development.
Price: $4.99

Texture: Yes
Material: Yes
Download the Mercedes-Benz SLS AMG 2010 3D Model featuring clean geometry, realistic detailing, and a fully modeled interior. Includes .blend, .fbx, .obj, .glb, .stl, .ply, .unreal, and .max formats for rendering, simulation, and game development.
Price: $4.99
Texture: Yes
Material: Yes
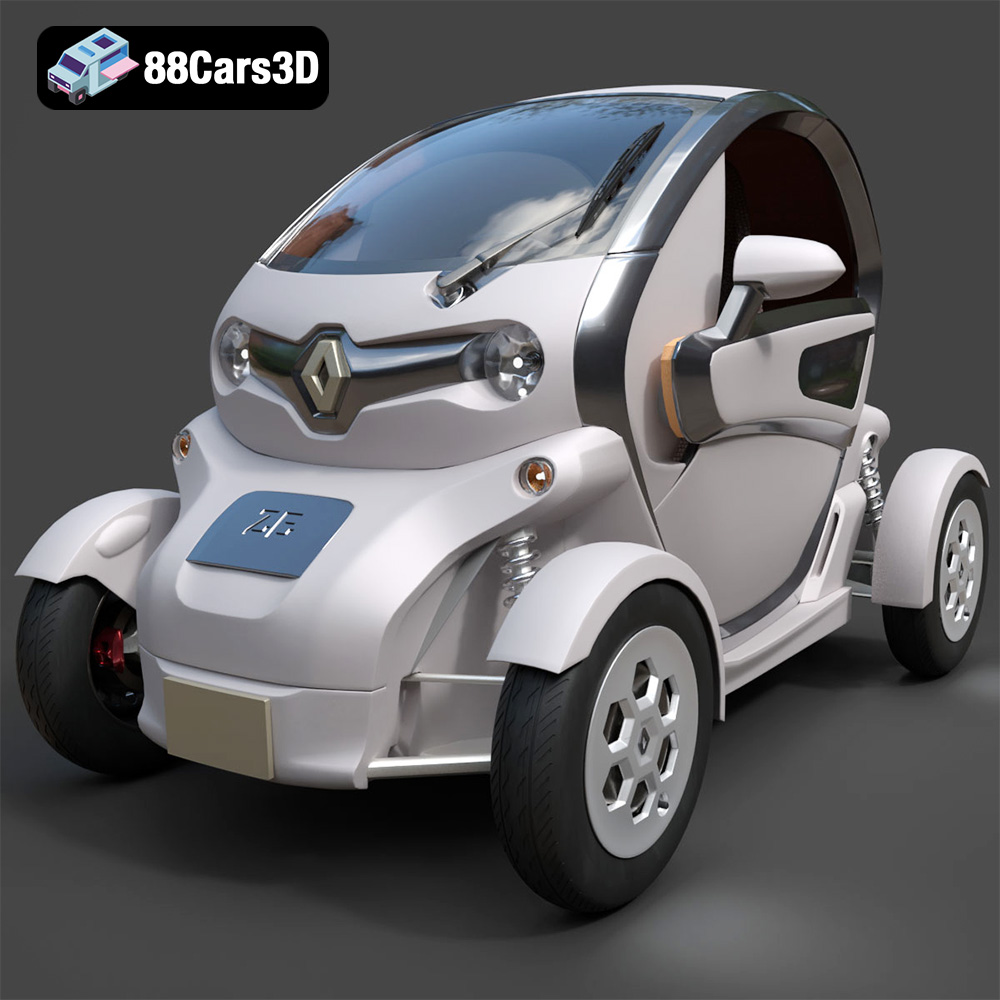
Download the Renault Twizy ZE 3D Model featuring clean geometry, realistic detailing, and a fully modeled interior. Includes .blend, .fbx, .obj, .glb, .stl, .ply, .unreal, and .max formats for rendering, simulation, and game development.
Price: $4.99
Texture: Yes
Material: Yes
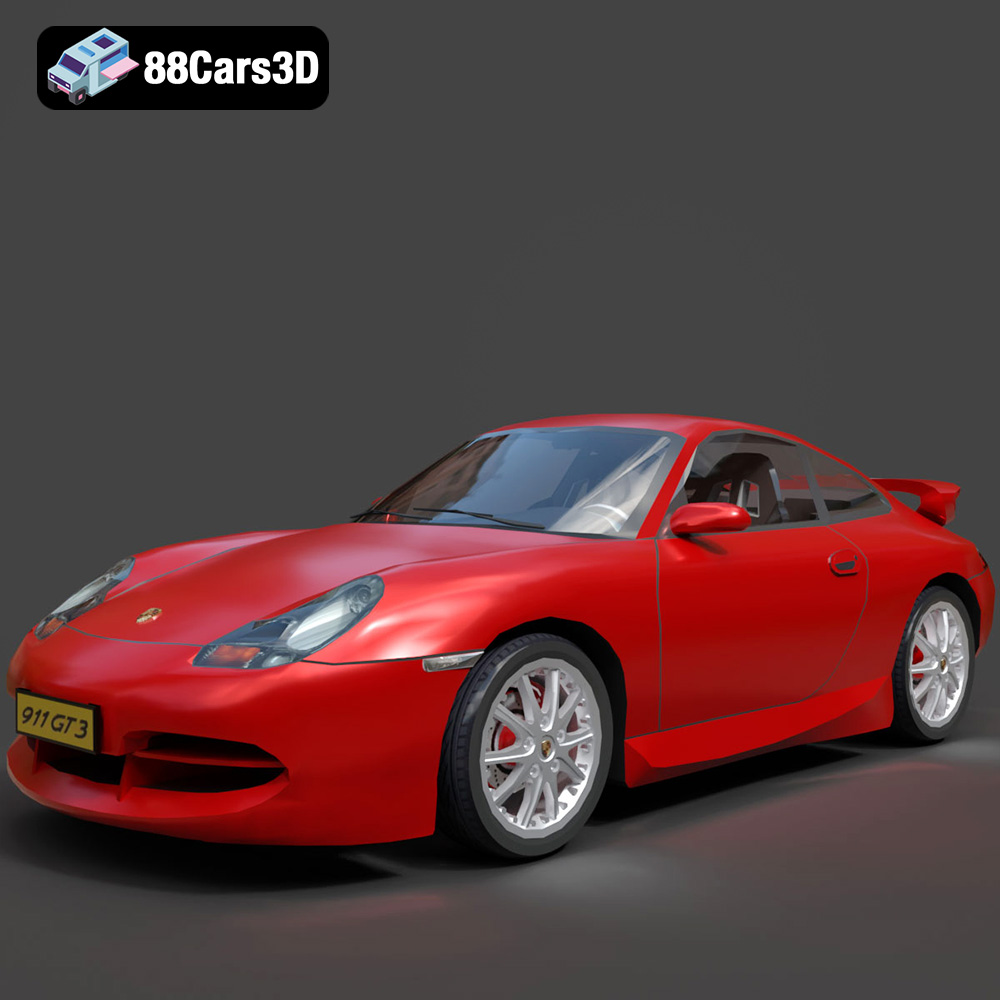
Download the Porsche 911 GT3 3D Model featuring clean geometry, realistic detailing, and a fully modeled interior. Includes .blend, .fbx, .obj, .glb, .stl, .ply, .unreal, and .max formats for rendering, simulation, and game development.
Price: $4.99
Texture: Yes
Material: Yes
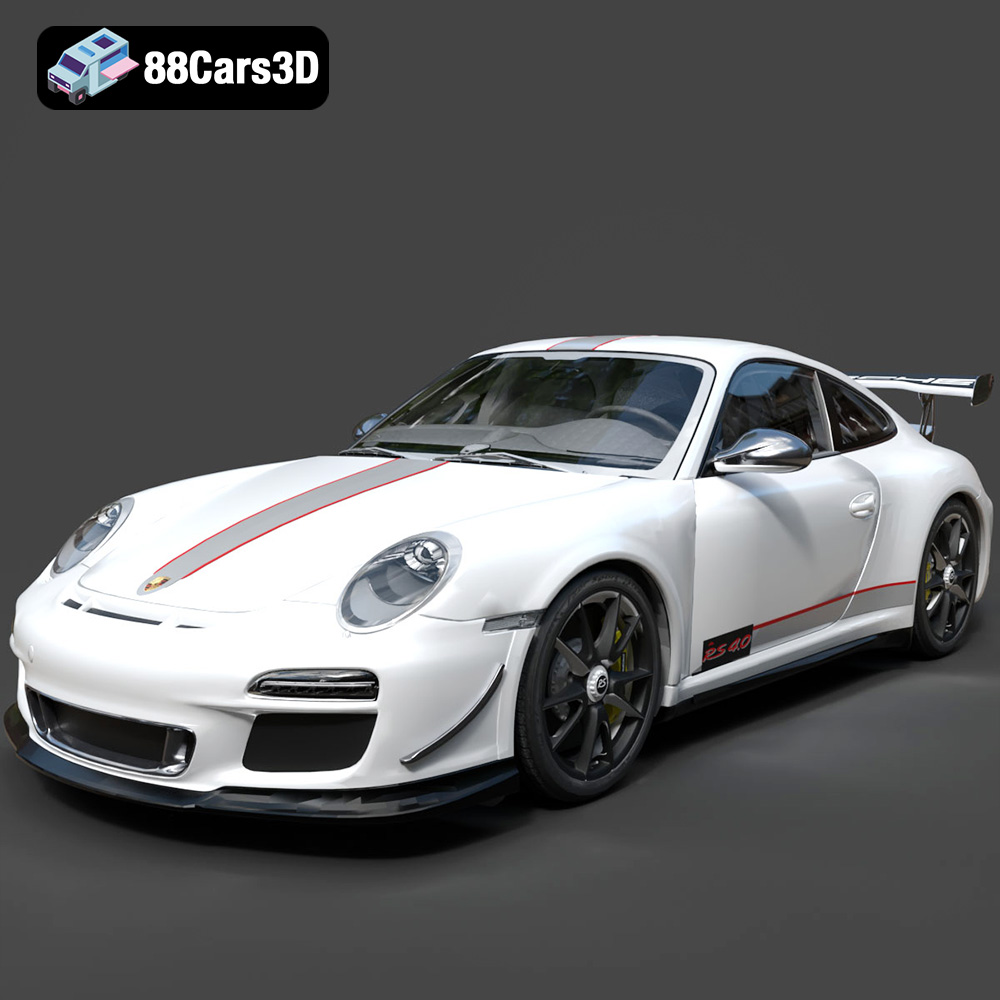
Download the Porsche 911 997 GT3 RS 4.0 2011 3D Model featuring clean geometry, realistic detailing, and a fully modeled interior. Includes .blend, .fbx, .obj, .glb, .stl, .ply, .unreal, and .max formats for rendering, simulation, and game development.
Price: $4.99
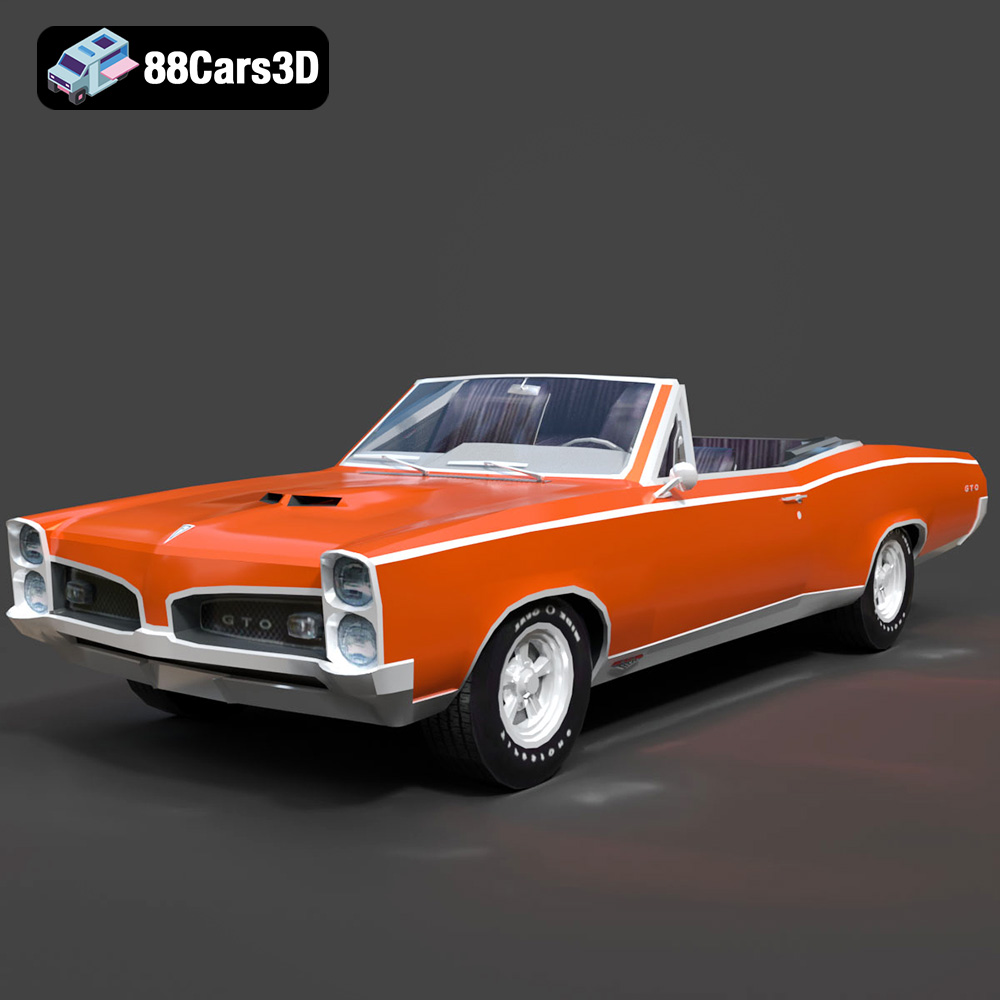
Texture: Yes
Material: Yes
Download the Pontiac GTO Cabrio 1967 3D Model featuring clean geometry, realistic detailing, and a fully modeled interior. Includes .blend, .fbx, .obj, .glb, .stl, .ply, .unreal, and .max formats for rendering, simulation, and game development.
Price: $4.99
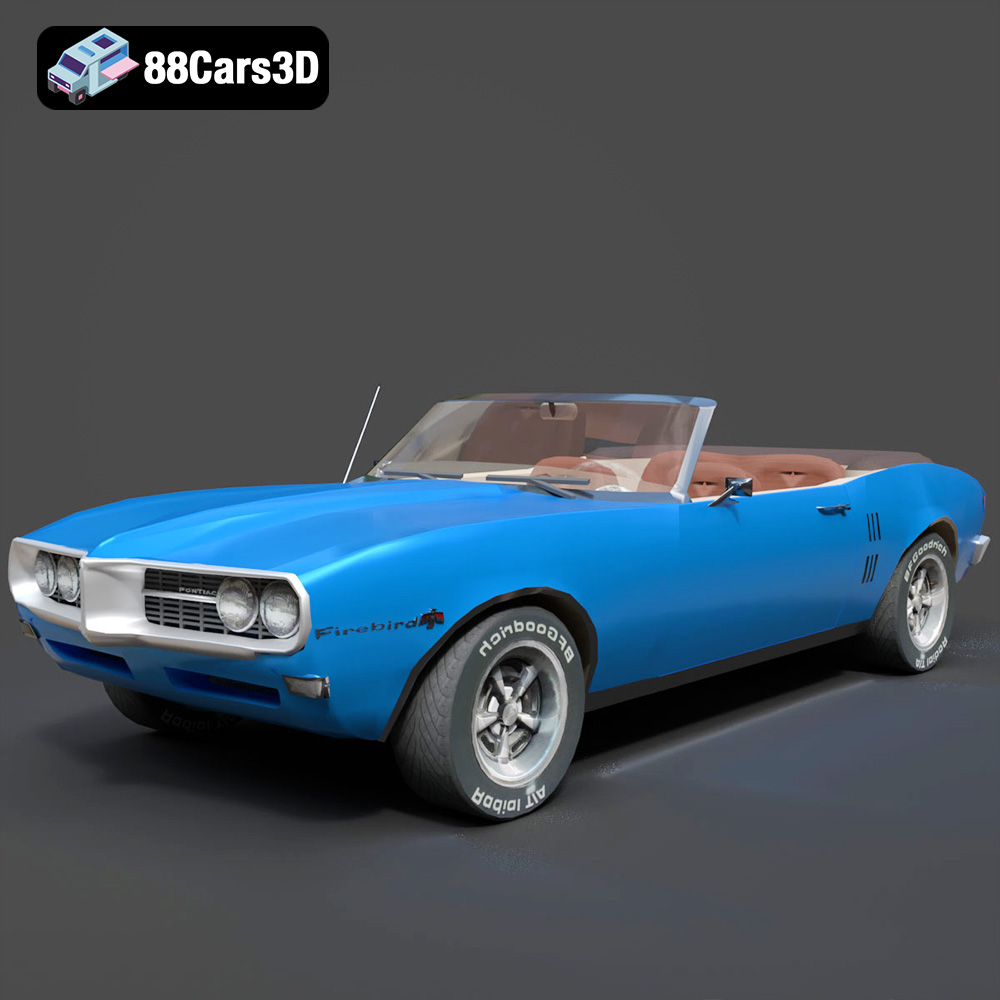
Texture: Yes
Material: Yes
Download the Pontiac Firebird Convertible 1968 3D Model featuring clean geometry, realistic detailing, and a fully modeled interior. Includes .blend, .fbx, .obj, .glb, .stl, .ply, .unreal, and .max formats for rendering, simulation, and game development.
Price: $4.99

Texture: Yes
Material: Yes
Download the Peugeot 508 2011 3D Model featuring clean geometry, realistic detailing, and a fully modeled interior. Includes .blend, .fbx, .obj, .glb, .stl, .ply, .unreal, and .max formats for rendering, simulation, and game development.
Price: $4.99
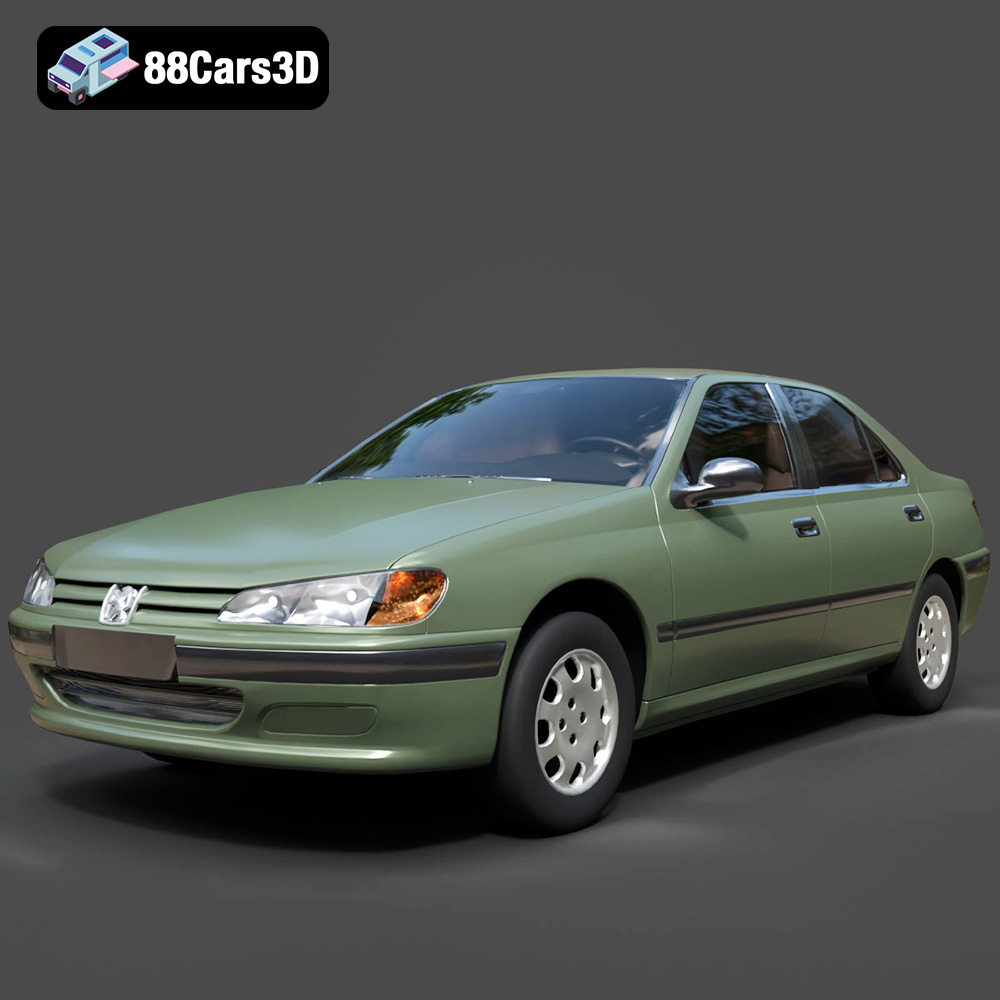
Texture: Yes
Material: Yes
Download the Peugeot 406 1996 3D Model featuring clean geometry, realistic detailing, and a fully modeled interior. Includes .blend, .fbx, .obj, .glb, .stl, .ply, .unreal, and .max formats for rendering, simulation, and game development.
Price: $10

