Get 20% OFF All Premium 3D & STL Models!

In the dynamic world of 3D visualization, automotive design, and game development, high-quality 3D car models are indispensable. These intricate digital assets form the backbone of everything from captivating marketing campaigns and immersive virtual experiences to cutting-edge game environments and precise engineering visualizations. Yet, creating or even effectively utilizing these models demands a deep understanding of complex technical workflows, from the foundational principles of mesh topology to the nuances of real-time optimization and stunning photorealistic rendering.
This comprehensive guide is designed to demystify the journey of 3D car models, equipping you with the advanced knowledge needed to navigate their creation, optimization, and application across diverse industries. We’ll delve into the critical aspects of clean topology, explain the intricacies of UV mapping for complex surfaces, unravel the secrets of physically based rendering (PBR) materials, and explore advanced techniques for achieving breathtaking renders. Furthermore, we’ll provide actionable insights into preparing models for game assets, AR/VR environments, and even 3D printing, ensuring your digital vehicles are ready for any challenge. Whether you’re a seasoned 3D artist, an aspiring game developer, or an automotive designer seeking digital excellence, prepare to elevate your understanding and harness the full potential of 3D automotive artistry.
The bedrock of any high-quality 3D car model lies in its topology – the arrangement of vertices, edges, and faces that define its surface. For automotive models, which are characterized by sleek curves, sharp creases, and precise panel gaps, impeccable topology and edge flow are not just desirable; they are absolutely critical. Poor topology leads to shading artifacts, complicates UV mapping, hinders animation, and makes future modifications a nightmare. A clean, efficient mesh ensures smooth deformations, accurate reflections, and predictable subdivision behavior, which is essential for capturing the distinct aesthetic of modern vehicles.
The goal is to maintain an all-quad mesh whenever possible, where each face consists of four vertices. While triangular faces (tris) might seem efficient, they can introduce pinching and uneven surface distribution, especially when subjected to subdivision surface modifiers (like TurboSmooth in 3ds Max or Subdivision Surface in Blender). N-gons (faces with more than four vertices) are generally to be avoided at all costs, as they are non-planar and will invariably cause severe shading issues and unpredictable triangulation upon export or rendering. For complex automotive surfaces, strategic edge loops are used to define curves and sharp creases, guiding the flow of geometry along the car’s body lines and ensuring that reflections behave naturally. These loops are also crucial for supporting panel gaps and detailing the intricate joins between different body parts.
A “clean” automotive mesh adheres to several core principles. Primarily, it should be composed almost entirely of quads. This allows for predictable subdivision, which is often used to create the smooth, high-fidelity surfaces seen in rendering and visualization. Edges should flow logically along the contours of the car, defining areas of curvature and flatness. Poles – vertices where more or less than four edges meet – are inevitable, but their placement must be strategic. Ideally, poles should be placed in areas of low curvature or on flat surfaces where their influence on shading is minimal. Avoid placing them on highly curved surfaces or prominent reflective areas, as they can cause visible pinching or undesirable shading artifacts. Triangulation, while sometimes necessary for very complex, non-deforming geometries or for optimizing for game engines, should be a conscious decision, not a byproduct of poor modeling. For high-resolution models, manual triangulation in controlled areas is preferable to automatic triangulation during export, which can lead to unpredictable results.
Automotive design presents unique topological challenges. The seamless blend of large, sweeping curves with crisp, sharp edges requires careful attention to edge density. To hold a sharp edge when using subdivision surfaces, you typically need three edge loops running very close together. The central loop defines the edge, while the two outer loops act as “support” or “crease” edges, preventing the surface from becoming overly rounded. Panel gaps, which are crucial for realism, are created by duplicating and slightly offsetting edge loops, then carefully refining their spacing and depth. This requires precise control over the mesh, ensuring that the gap width is consistent and the surrounding surfaces maintain their integrity. For areas like wheel wells, headlights, and grilles, the topology must be carefully built to integrate these complex components cleanly into the main body, often involving cutting into the primary surface and redirecting edge flow to maintain quad continuity. This meticulous approach ensures that even minor details like door handles or mirror mounts are seamlessly integrated into the car’s overall form without compromising the mesh’s integrity.
Once a 3D car model boasts impeccable topology, the next crucial step towards realism is accurate and efficient UV mapping. UV mapping is the process of flattening the 3D surface of your model into a 2D space, allowing you to apply 2D textures (like color, normal, roughness, and metallic maps) onto the model without distortion. For cars, which feature expansive, often curved surfaces and intricate details, effective UV mapping is paramount to achieving believable materials and preventing stretched or blurry textures. Poor UVs can ruin even the most meticulously modeled car, leading to visible seams, incorrect reflections, and an overall amateurish appearance. Proper UV layout ensures consistent texel density across the model, maximizing texture resolution and visual fidelity.
The goal is to create a UV layout that minimizes seams, avoids stretching, and efficiently utilizes the available UV space. While some parts, like flat panels, might be straightforward, complex curved surfaces, interiors, and engine components require thoughtful unwrapping strategies. For high-fidelity models, multiple UV sets might be employed: one for primary body paint, another for decals, and yet another for ambient occlusion or wear-and-tear maps. This layering approach provides greater control and flexibility during texturing. Artists typically use dedicated UV unwrapping tools within their 3D software, carefully projecting, cutting, and stitching UV islands to achieve the desired result, often visualizing the distortion with checker maps to ensure uniformity.
Different parts of a car model require different unwrapping approaches. For hard-surface components like the main body panels, doors, and hood, a projection-based approach (e.g., planar, cylindrical, or spherical) followed by strategic cuts is common. The key is to hide seams in less visible areas, such as under the car, along sharp edges, or where different materials meet. For instance, the main body might be unwrapped by separating it into several large islands (hood, roof, sides, trunk) and then stitching them where appropriate, or by using a single large projection for large sections, carefully cutting along natural breaks. Organic shapes, such as sculpted interior components or tire treads, might benefit from more automatic unwrapping algorithms that then require manual adjustment to optimize. Regardless of the method, constant vigilance for texture stretching is essential. Tools that display checker patterns or color gradients over the UV-mapped surface help artists identify and correct areas of distortion, ensuring that the pixel density remains consistent across the entire model.
Efficient utilization of the UV space is crucial, especially for game assets and real-time applications where texture memory is a concern. Texel density refers to the number of pixels per unit of surface area. Maintaining a consistent texel density across the entire model ensures that no part appears significantly more blurry or pixelated than another. This often involves scaling UV islands relative to their 3D surface area. Overlapping UVs can be a useful optimization strategy: for mirrored parts (e.g., left and right sides of the car, identical wheels), you can overlap their UVs in the 2D space, allowing them to share the same texture data. This effectively halves the texture memory required for those parts without a noticeable quality loss. However, overlapping UVs are generally only suitable for parts that will receive identical textures and cannot be used if unique dirt, damage, or decals are to be applied to one side. Texture atlasing involves combining multiple smaller textures for different parts of the model into a single, larger texture map. This reduces the number of draw calls in game engines, significantly improving performance. For example, all interior components might share one large UV atlas, or all undercarriage parts another. Platforms like 88cars3d.com often provide models with carefully optimized UV layouts, offering a strong foundation for various applications.
Achieving breathtaking realism in automotive rendering hinges on the meticulous creation of Physically Based Rendering (PBR) materials. PBR is a rendering technique that aims to simulate how light interacts with surfaces in a physically accurate way, resulting in materials that look convincing under any lighting conditions. Unlike older, more artistic approaches, PBR materials rely on a standardized set of maps and parameters that correspond to real-world material properties, making them highly predictable and consistent across different rendering engines and lighting setups. For 3D car models, this means meticulously defining everything from the metallic sheen of the paint to the subtle reflections on glass and the specific roughness of plastic components. Without accurate PBR materials, even the most detailed model will fall flat and appear artificial.
The core concept of PBR is that every surface has two primary responses to light: diffuse (or albedo) and specular. The diffuse component describes the color of the object and how much light it scatters, while the specular component dictates how light reflects off the surface, influencing its shininess and reflectivity. Modern PBR workflows typically fall into two categories: Metallic-Roughness or Specular-Glossiness. Both aim for the same photorealistic outcome but utilize different map sets to achieve it. Understanding which workflow your chosen renderer or game engine prefers is crucial for seamless integration and optimal results. Crafting these materials often involves sophisticated shader networks, combining various texture maps, procedural noises, and mathematical functions to simulate complex surface characteristics like car paint clear coats, rubber textures, and chrome finishes.
The Metallic-Roughness workflow is perhaps the most widely adopted in modern pipelines. It uses an Albedo (or Base Color) map for the diffuse color, a Metallic map (a grayscale map indicating which parts are metallic, with 1.0 for metal and 0.0 for dielectric), and a Roughness map (a grayscale map indicating how rough or smooth a surface is, with 0.0 for perfectly smooth/glossy and 1.0 for very rough). Metals in this workflow have their color defined by the Albedo map and derive their reflectivity entirely from the Metallic map. Non-metals use the Albedo map for color and the Roughness map for their specular properties. The Specular-Glossiness workflow uses an Albedo (or Diffuse) map for the diffuse color, a Specular map (an RGB map defining the color and intensity of specular reflections), and a Glossiness map (the inverse of roughness, where 0.0 is rough and 1.0 is perfectly glossy). This workflow gives artists more direct control over the specular color, which can be useful for certain materials but requires more artistic input to maintain physical correctness. Most modern renderers and game engines, including Blender’s Cycles, Unity’s Standard Shader, and Unreal Engine 4/5, support the Metallic-Roughness workflow, making it a good choice for broad compatibility.
Several key texture maps are fundamental to PBR materials for 3D car models:
These maps, often at resolutions like 2K, 4K, or even 8K for hero renders, work in concert within the shader network to create incredibly convincing surfaces.
Beyond the basic PBR maps, advanced shader techniques are vital for truly realistic automotive rendering.
Combining these techniques within sophisticated shader networks allows artists to craft materials that react to light with astonishing realism, making 3D car models virtually indistinguishable from their real-world counterparts in high-end renders.
Once a 3D car model is meticulously crafted with flawless topology, expert UV mapping, and sophisticated PBR materials, the final step towards showcasing its true potential is the rendering process. Automotive rendering is an art form in itself, demanding a keen eye for detail, an understanding of lighting principles, and mastery of rendering software. The goal is to produce images that not only highlight the aesthetic appeal of the vehicle but also convey its material properties, form, and design intent with stunning photorealism. This requires a systematic workflow, from setting up the scene to fine-tuning render parameters and post-processing the final image. Professional platforms like 88cars3d.com provide models that are often already optimized and sometimes pre-configured for leading renderers, offering a significant head start.
The choice of rendering engine plays a significant role in the workflow, with each offering unique strengths and features. Common choices include V-Ray and Corona Renderer for 3ds Max, Cycles for Blender, and Arnold for Maya. Regardless of the engine, the fundamental principles remain: compelling lighting, realistic camera settings, and a well-composed scene. The rendering process is iterative; it often involves test renders, adjustments to lighting and materials, and continuous refinement until the desired visual impact is achieved. Understanding how to efficiently manage render settings to balance quality and speed is also a critical skill, particularly when working on large projects or animations.
Different software combinations offer distinct advantages for automotive rendering:
Each platform offers similar PBR material setups, but their interfaces, scene management, and specific render parameters will differ, requiring familiarity with the chosen ecosystem.
Effective lighting is the single most important factor in bringing a 3D car model to life.
Often, a combination of these techniques is used, for example, an HDRI for global illumination and reflections, supplemented by additional area lights to emphasize specific details or create artistic highlights. Fine-tuning the light intensity, color temperature, and position is an iterative process that dramatically impacts the final image’s mood and realism.
Just like a real photographer, a 3D artist must carefully consider camera settings and composition.
A typical final render for a high-resolution image of a 3D car model can take anywhere from minutes to several hours, depending on scene complexity, material sophistication, and hardware. Optimizing these settings is a continuous learning process that yields significant dividends in output quality and efficiency.
For 3D car models to shine in real-time environments like video games, virtual reality (VR), and augmented reality (AR), they must undergo rigorous optimization. Unlike static renders where polygons and texture sizes can be lavish, real-time applications demand extreme efficiency to maintain high frame rates and smooth interactivity. A beautifully detailed, high-polygon model suitable for an offline render would cripple a game engine, leading to stuttering performance and an unsatisfying user experience. Therefore, a specialized workflow focuses on reducing computational load while preserving visual fidelity. This balance is an art form in itself, requiring an understanding of how game engines process geometry, textures, and materials.
The optimization process involves strategic reduction of polygon counts, intelligent texture management, careful material setup, and the implementation of various performance-enhancing techniques. The goal is to create “game-ready” assets that look stunning but are lean enough to run efficiently on target hardware, whether it’s a high-end PC, a console, or a mobile device. This is where the initial clean topology and good UV mapping from the modeling phase really pay off, as they provide a solid foundation for efficient optimization. When sourcing models from marketplaces such as 88cars3d.com, artists often look for assets explicitly labeled as “game-ready” or those that provide multiple LODs and optimized material setups.
Level of Detail (LOD) is a critical optimization technique for complex assets like 3D car models in game engines. The principle is simple: as the car moves further away from the camera, its visual importance decreases, and therefore, a less detailed, lower-polygon version of the model can be used. This significantly reduces the processing load on the GPU. A typical setup for a car might include 3-5 LODs:
These LODs are typically generated by carefully decimating the original high-poly mesh or by creating new, lower-poly versions and then baking normal maps from the high-poly model onto the lower-poly ones to retain visual detail. Game engines like Unity and Unreal Engine provide built-in LOD systems that automatically switch between these models based on screen size or distance, ensuring optimal performance without perceptible loss of quality to the player.
In real-time rendering, draw calls are instructions from the CPU to the GPU to draw something. Each draw call carries a performance cost. A complex 3D car model with many separate meshes and materials can generate a large number of draw calls, leading to performance bottlenecks. Reducing draw calls is crucial for optimization.
The goal is to have as few distinct meshes and materials as possible while maintaining the visual complexity of the car. This might involve baking multiple materials into a single texture set if possible, or intelligently assigning shared materials where visual differences are negligible. For a typical game-ready car, aiming for 5-10 materials (body, glass, tires, interior, lights, chrome) is a good target.
Beyond visual representation, cars in games often need to interact physically with their environment. This requires collision meshes and physics assets, which are separate, simplified geometries used for collision detection and physics simulation. Using the visual mesh for collision detection would be computationally expensive and unnecessary.
These underlying physics geometries are just as important as the visual model for a convincing real-time driving experience. The precision of these assets directly impacts the realism of crashes, turns, and overall vehicle handling.
The versatility of high-quality 3D car models extends far beyond traditional rendering and game development, venturing into the cutting-edge realms of Augmented Reality (AR), Virtual Reality (VR), and even physical 3D printing. Each of these applications presents its own unique set of technical requirements and optimization challenges, demanding specific adjustments to the model, materials, and file formats. Adapting a complex automotive model for these diverse uses requires a deep understanding of their respective limitations and best practices. Whether it’s showcasing a new concept car in an immersive VR showroom, overlaying a digital vehicle onto a real-world scene via AR, or producing a physical prototype, the foundational quality of the 3D model remains paramount.
The core challenge for AR/VR lies in delivering compelling visual fidelity on often less powerful hardware (especially mobile) while maintaining smooth, low-latency performance. For 3D printing, the focus shifts to ensuring physical integrity, printability, and adherence to manufacturing specifications. These diverse applications underscore the need for adaptable 3D car models that can be easily converted and optimized for different pipelines. This is precisely why platforms like 88cars3d.com prioritize providing models with clean topology and multiple file format options, easing the transition for artists and developers into these emerging technologies.
AR/VR environments demand extreme optimization, particularly for mobile AR experiences. Low latency (minimal delay between user action and visual response) and high frame rates (typically 90 FPS for comfortable VR) are critical to prevent motion sickness and ensure a smooth user experience.
These formats are designed for quick loading and efficient rendering in real-time AR/VR applications, making them essential for distributing 3D car models in these contexts. Exporting to these formats requires careful attention to material conversions and ensuring all assets are correctly packed.
Beyond technical optimization, the user experience in AR/VR is paramount. For a 3D car model, this involves:
3D printing converts a digital 3D car model into a tangible object. This physical translation introduces an entirely new set of technical requirements.
These meticulous steps ensure that the digital design translates flawlessly into a durable physical object, whether it’s a miniature collectible or a large-scale automotive prototype. This preparation stage is crucial for avoiding costly print errors and achieving a high-quality physical output.
The journey of a 3D car model involves a diverse ecosystem of software and applications, each often preferring or requiring specific file formats. Navigating this landscape, from initial modeling to final output in rendering, game engines, or AR/VR, necessitates a thorough understanding of common file formats, their capabilities, limitations, and the challenges associated with conversion. A professional workflow emphasizes not only the technical quality of the assets but also their interoperability and ease of management. Mistakes in file format handling can lead to lost data, broken materials, scale issues, and countless hours of re-work.
The ability to seamlessly transfer assets between different 3D packages (e.g., 3ds Max to Blender, Maya to Unity) is a cornerstone of modern production pipelines. This often involves standardized interchange formats that aim to preserve as much information as possible, including geometry, UVs, PBR materials, and animations. However, no single format is perfect, and each has its quirks. Understanding these nuances helps artists anticipate potential issues and implement best practices for smooth data exchange. Furthermore, efficient data management and version control are critical for collaborative projects and for maintaining a robust asset library, ensuring that high-quality 3D car models are always accessible and up-to-date.
Here’s a breakdown of the most prevalent file formats for 3D car models:
Platforms like 88cars3d.com typically offer models in multiple formats (e.g., MAX, BLEND, FBX, OBJ, GLB, USDZ) to ensure maximum compatibility and flexibility for their diverse customer base.
Converting a 3D car model from one format or software to another is rarely a perfect, one-click process. Common challenges include:
Best practices for conversion:
For any serious 3D project, especially those involving multiple assets or team members, robust data management and version control are essential.
Car_ModelX_Body_LOD0.fbx, Tire_Normal_4k.png).Project/Models/Cars/CarX/, Project/Textures/CarX/).These practices streamline workflows, minimize errors, and maximize efficiency, ensuring that your investment in high-quality 3D car models is protected and fully leveraged throughout their lifecycle.
The journey through the world of 3D car models is a complex yet rewarding endeavor, touching upon intricate technical skills, artistic vision, and a deep understanding of diverse industry applications. From the foundational principles of flawless topology and strategic UV mapping to the nuanced creation of PBR materials and the art of automotive rendering, every stage demands precision and expertise. We’ve explored how to prepare these digital vehicles for high-fidelity visualization, optimize them as efficient game assets, adapt them for immersive AR/VR experiences, and even translate them into physical objects through 3D printing. The emphasis throughout has been on clean workflows, technical best practices, and the strategic use of file formats to ensure versatility and compatibility.
The demand for high-quality, production-ready 3D car models continues to grow across industries. Mastering these techniques not only elevates your personal projects but also positions you as a valuable professional in fields ranging from game development and film production to product visualization and architectural presentation. By prioritizing clean geometry, optimized textures, and adaptable materials, you ensure your assets are not just visually stunning but also technically robust and future-proof. Platforms like 88cars3d.com serve as excellent resources for sourcing pre-built, high-quality models that adhere to these very standards, providing a solid foundation for any project.
Embrace the challenge of continuous learning and practice. Experiment with different software, delve deeper into shader development, and always strive for efficiency and photorealism. The digital automotive landscape is constantly evolving, and by mastering these core concepts, you’ll be well-equipped to drive innovation and create breathtaking visual experiences that captivate and inspire. Your next masterpiece awaits!
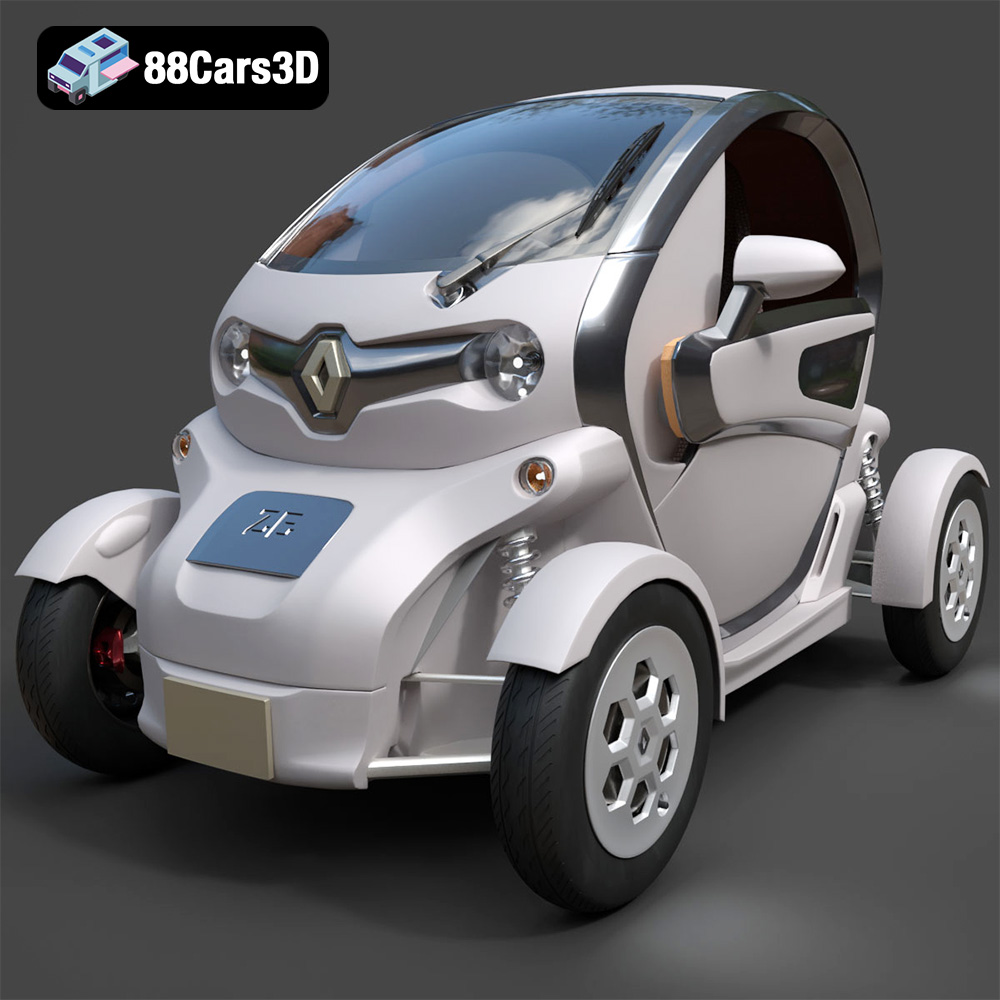
Texture: Yes
Material: Yes
Download the Renault Twizy ZE 3D Model featuring clean geometry, realistic detailing, and a fully modeled interior. Includes .blend, .fbx, .obj, .glb, .stl, .ply, .unreal, and .max formats for rendering, simulation, and game development.
Price: $4.99
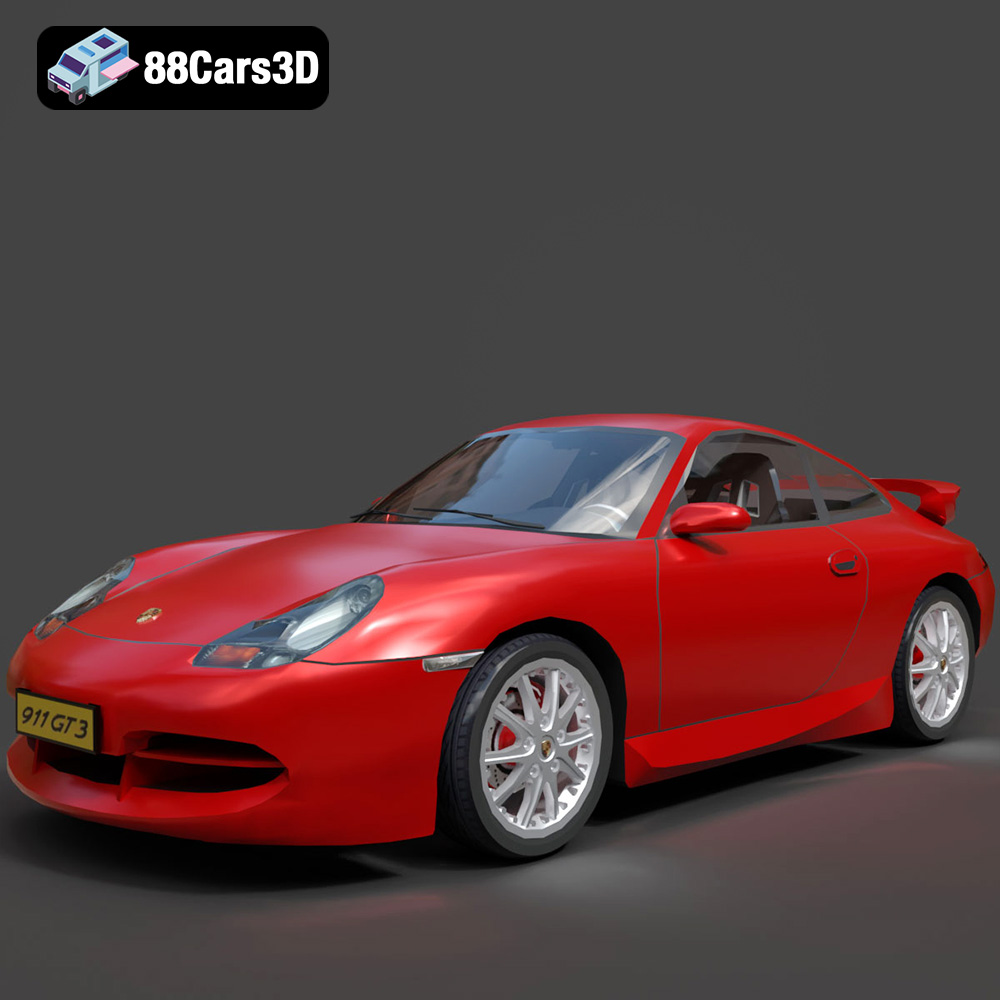
Texture: Yes
Material: Yes
Download the Porsche 911 GT3 3D Model featuring clean geometry, realistic detailing, and a fully modeled interior. Includes .blend, .fbx, .obj, .glb, .stl, .ply, .unreal, and .max formats for rendering, simulation, and game development.
Price: $4.99
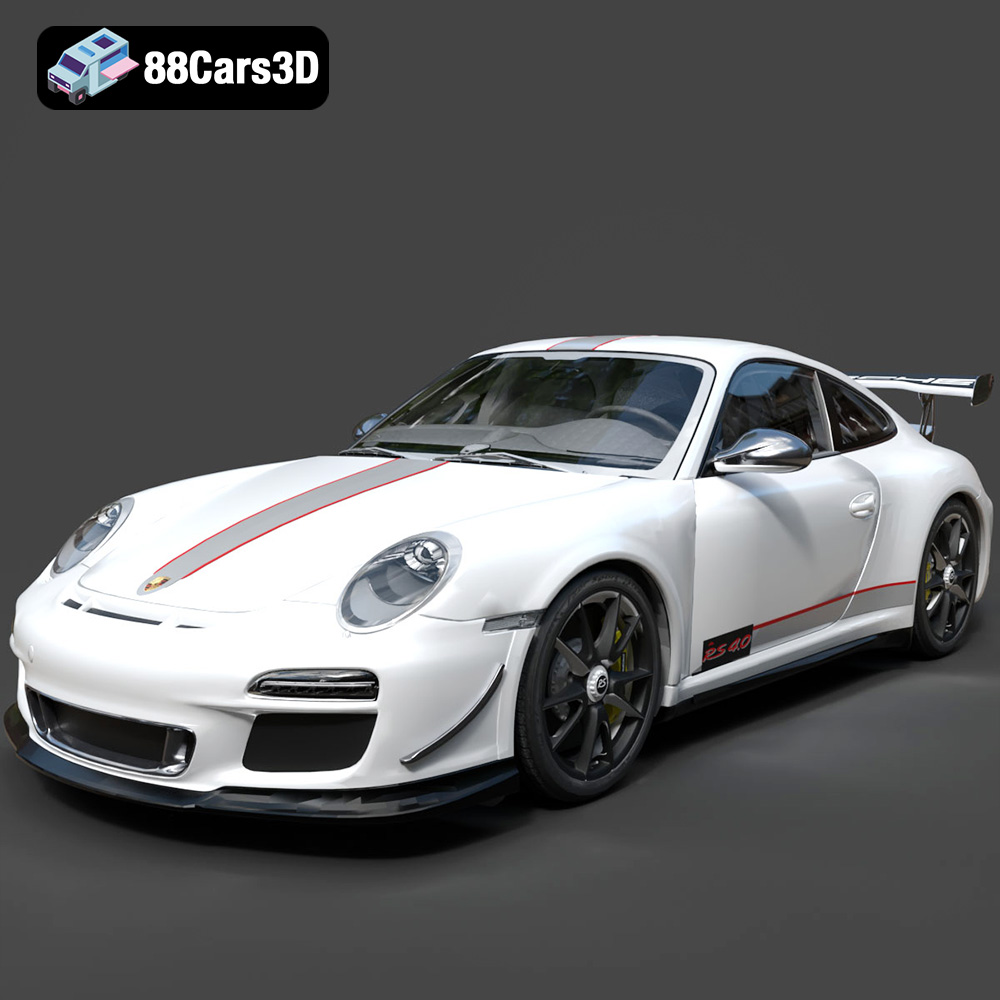
Texture: Yes
Material: Yes
Download the Porsche 911 997 GT3 RS 4.0 2011 3D Model featuring clean geometry, realistic detailing, and a fully modeled interior. Includes .blend, .fbx, .obj, .glb, .stl, .ply, .unreal, and .max formats for rendering, simulation, and game development.
Price: $4.99
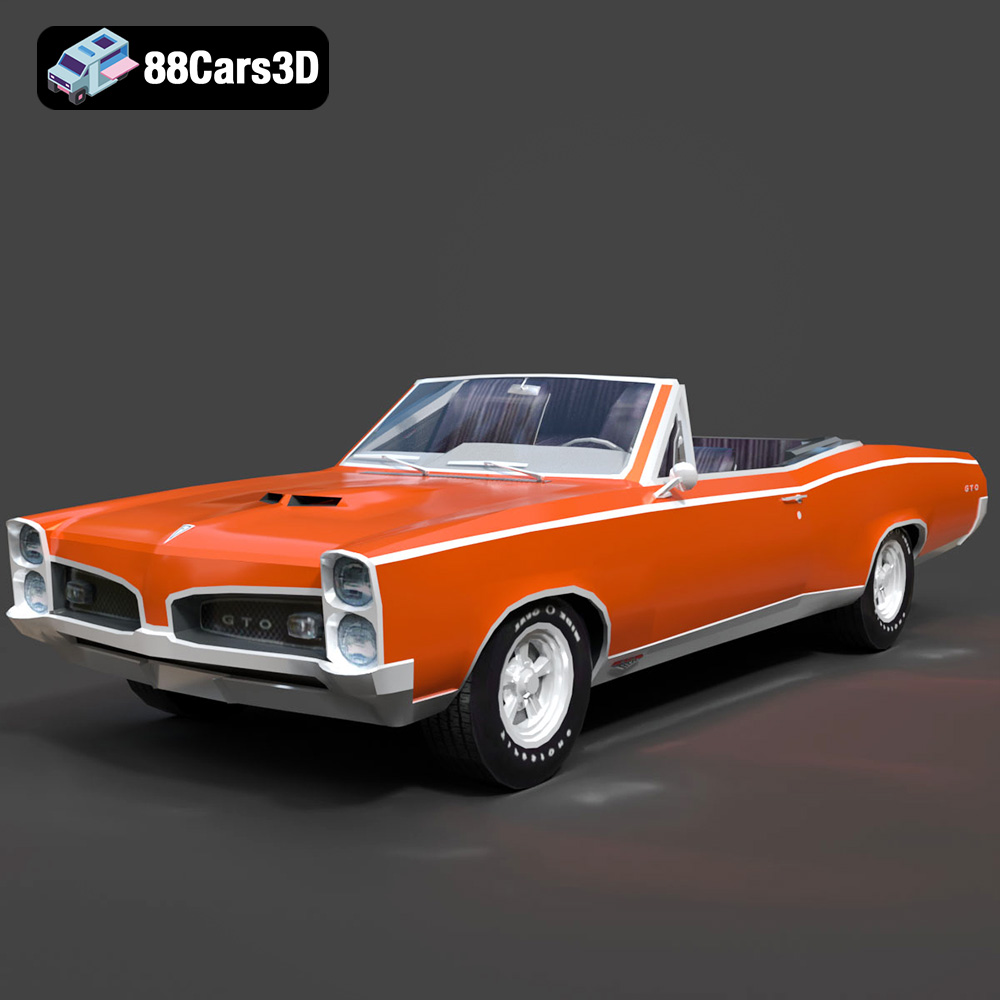
Texture: Yes
Material: Yes
Download the Pontiac GTO Cabrio 1967 3D Model featuring clean geometry, realistic detailing, and a fully modeled interior. Includes .blend, .fbx, .obj, .glb, .stl, .ply, .unreal, and .max formats for rendering, simulation, and game development.
Price: $4.99
Texture: Yes
Material: Yes
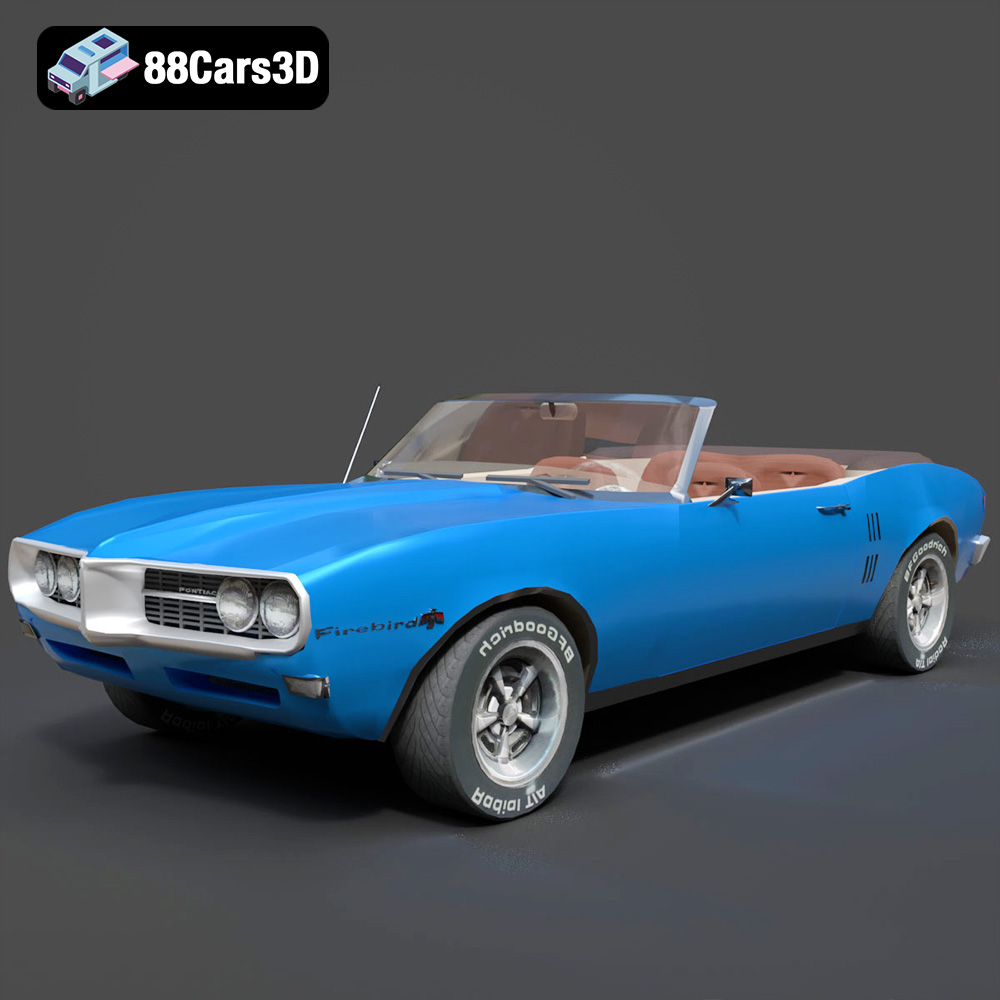
Download the Pontiac Firebird Convertible 1968 3D Model featuring clean geometry, realistic detailing, and a fully modeled interior. Includes .blend, .fbx, .obj, .glb, .stl, .ply, .unreal, and .max formats for rendering, simulation, and game development.
Price: $4.99

Texture: Yes
Material: Yes
Download the Peugeot 508 2011 3D Model featuring clean geometry, realistic detailing, and a fully modeled interior. Includes .blend, .fbx, .obj, .glb, .stl, .ply, .unreal, and .max formats for rendering, simulation, and game development.
Price: $4.99
Texture: Yes
Material: Yes
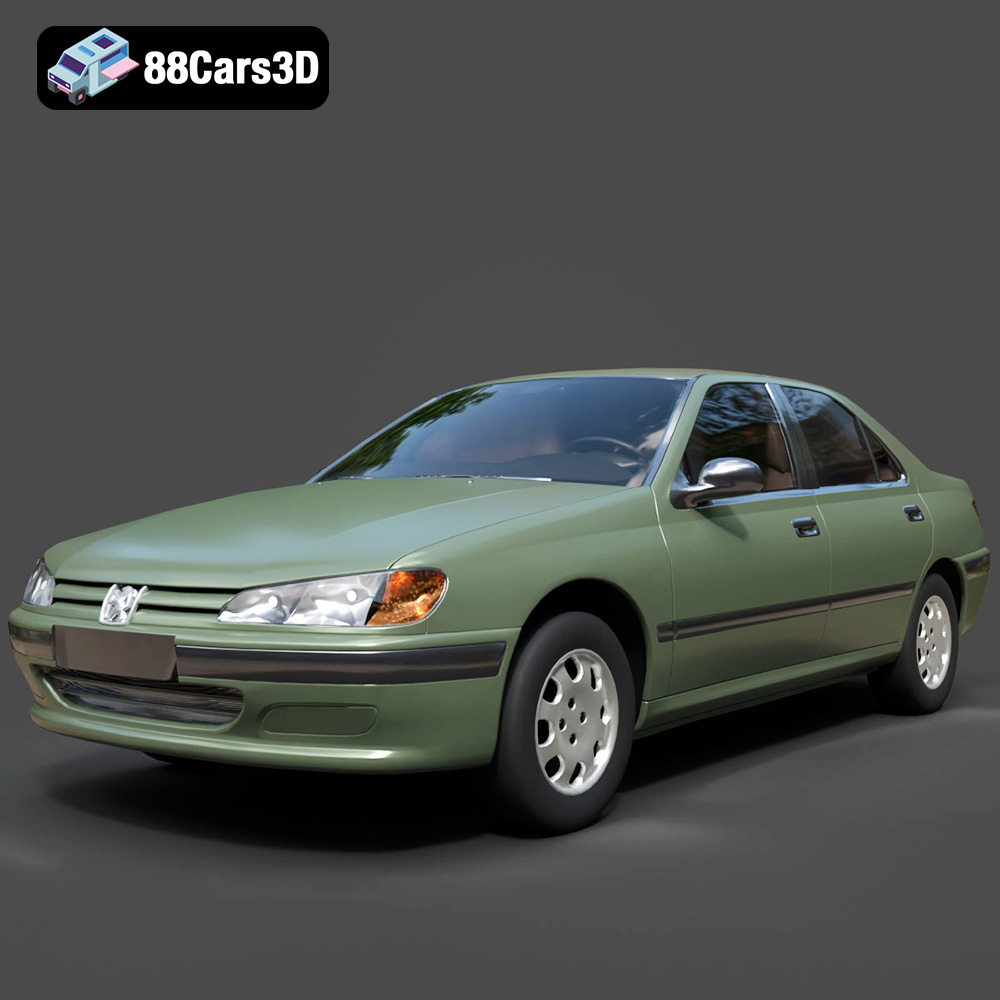
Download the Peugeot 406 1996 3D Model featuring clean geometry, realistic detailing, and a fully modeled interior. Includes .blend, .fbx, .obj, .glb, .stl, .ply, .unreal, and .max formats for rendering, simulation, and game development.
Price: $10
Texture: Yes
Material: Yes
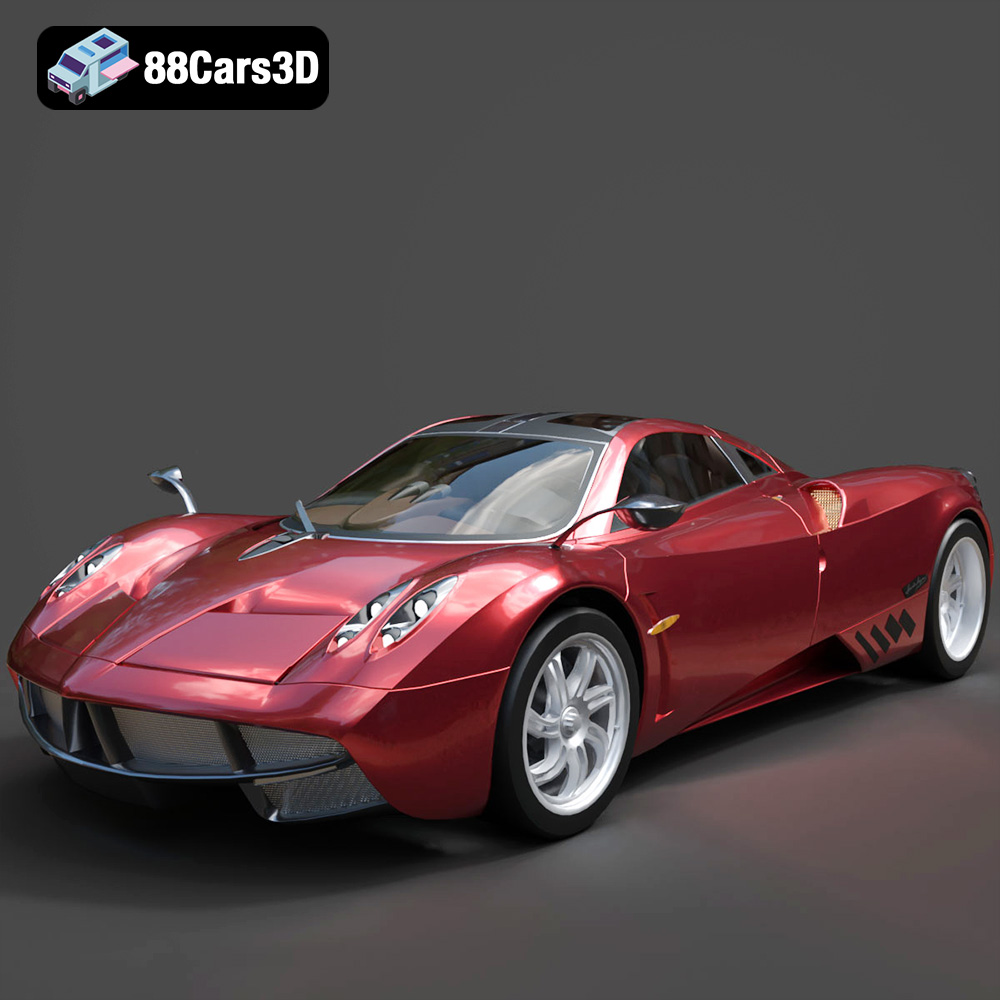
Download the Pagani Huayra 2012 3D Model featuring clean geometry, realistic detailing, and a fully modeled interior. Includes .blend, .fbx, .obj, .glb, .stl, .ply, .unreal, and .max formats for rendering, simulation, and game development.
Price: $10
Texture: Yes
Material: Yes
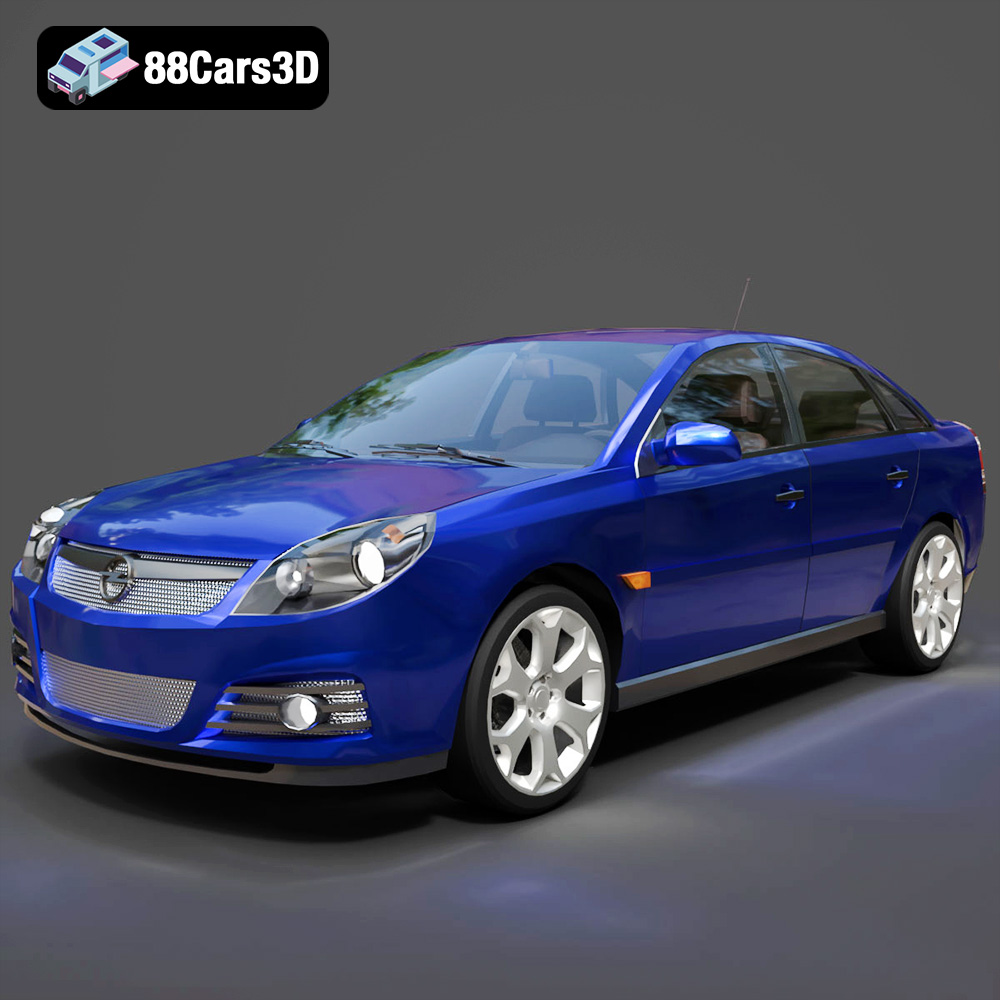
Download the Opel Vectra C 2005 3D Model featuring clean geometry, realistic detailing, and a fully modeled interior. Includes .blend, .fbx, .obj, .glb, .stl, .ply, .unreal, and .max formats for rendering, simulation, and game development.
Price: $10

Texture: Yes
Material: Yes
Download the Opel Insignia OPC 3D Model featuring clean geometry, realistic detailing, and a fully modeled interior. Includes .blend, .fbx, .obj, .glb, .stl, .ply, .unreal, and .max formats for rendering, simulation, and game development.
Price: $10

