Get 20% OFF All Premium 3D & STL Models!

In the dynamic world of 3D visualization, automotive design, and interactive media, 3D car models stand as cornerstone assets. Whether you’re an architect visualizing a new development with a fleet of vehicles, a game developer crafting an immersive racing simulation, an automotive engineer prototyping a concept, or a marketing professional creating a stunning advertisement, the quality and technical prowess of your 3D car models are paramount. The journey from a raw concept to a polished, ready-to-use car model is an intricate dance of technical skill, artistic vision, and a deep understanding of digital workflows. It involves meticulous attention to detail in modeling, precise texturing, sophisticated material creation, and intelligent optimization strategies for various applications.
This comprehensive guide delves deep into the technical intricacies of working with 3D car models, covering everything from fundamental topology principles to advanced rendering techniques and real-time optimization for game engines and AR/VR. We’ll explore best practices, software-specific workflows, common challenges, and professional tips to help you master the craft. By the end of this article, you’ll have a robust understanding of what goes into creating and utilizing high-quality automotive assets, empowering you to push the boundaries of realism and performance in your projects. Let’s buckle up and dive into the fascinating world of digital automotive creation.
The foundation of any high-quality 3D car model lies in its topology – the arrangement of vertices, edges, and faces that form the mesh. For automotive subjects, clean and efficient topology isn’t just about aesthetics; it’s critical for smooth deformations, accurate reflections, and efficient rendering. Poor topology can lead to pinching, artifacts, and difficulties in UV mapping and animation. The goal is always to create a mesh that faithfully represents the complex curves and hard surfaces of a vehicle while being as light and manageable as possible.
Professional modelers prioritize quad-dominant meshes (faces with four edges) as they subdivide predictably and produce smoother results. Minimizing N-gons (faces with more than four edges) and poles (vertices with more or less than five connecting edges) is crucial for maintaining proper edge flow. For a car’s body, especially, the flow of edges should follow the natural curves and contours of the design, guiding the viewer’s eye and ensuring reflections behave realistically across the surface. This meticulous approach ensures that when the model is subdivided for high-resolution renders or deforms during animation, it does so cleanly and without unexpected glitches.
Edge flow is paramount for automotive models due to their reliance on smooth, reflective surfaces. Good edge flow means edges are aligned with the curvature of the car, allowing for crisp, natural-looking reflections and seamless subdivision. For instance, around wheel arches, headlights, and door seams, edge loops should tightly define these features. This precision allows for accurate creasing and ensures that when a subdivision surface modifier (like Meshsmooth in 3ds Max or Subdivision Surface in Blender) is applied, the model maintains its intended sharp edges and smooth curves without distortion. Avoiding triangulation on flat surfaces and ensuring consistent quad density across critical areas prevents pinching and maintains visual integrity, especially under dynamic lighting conditions. This attention to detail in the fundamental structure of the mesh directly impacts the final visual fidelity of the automotive rendering.
Automotive modeling predominantly falls under hard surface modeling. Techniques typically involve creating base shapes with simple primitives, then refining them using tools like extrusion, beveling, and cutting. Support loops, or “control loops,” are essential. These are additional edge loops placed near hard edges to sharpen them when a subdivision modifier is applied, without adding excessive geometry to the entire mesh. For example, around a car’s grille or window frames, tight support loops ensure sharp transitions. While Boolean operations can be quick for complex cutouts, they often result in messy, triangulated topology. Professional workflows usually involve cleaning up Boolean outputs or modeling intricate details with pure quad topology from the start to maintain control and mesh integrity, which is vital for high-quality game assets and cinematic renders alike.
The polygon count of a 3D car model varies significantly depending on its intended application. For cinematic renders or high-end visualization, polycounts can range from hundreds of thousands to several million polygons, allowing for incredibly detailed and smooth surfaces. For real-time applications like game development or AR/VR, polycount needs to be much lower to maintain performance. A typical next-gen game car might have a base model (LOD0) between 50,000 and 150,000 polygons, with multiple Levels of Detail (LODs) progressively reducing the count for objects further from the camera. LOD1 might be 25,000-50,000, and LOD2 as low as 10,000-20,000 polygons. Striking this balance between visual fidelity and performance is a constant challenge, requiring careful optimization and strategic geometry reduction without sacrificing crucial detail. For example, the detailed models found on platforms like 88cars3d.com often come with optimized polycounts suitable for various professional uses, minimizing the need for extensive manual re-topology.
Once the geometric foundation is solid, the next critical step is UV mapping. This process involves flattening the 3D surface of the model into a 2D space, creating a set of coordinates (UVs) that tell the texturing software how to apply images or procedural maps to the model. For complex objects like cars, meticulous UV mapping is essential to ensure textures appear without stretching, distortion, or visible seams. Poor UVs can ruin even the most beautifully modeled car, leading to blurry textures, misaligned patterns, and an overall unprofessional look. Efficient UV layouts maximize texture space, reduce memory usage, and simplify the texturing process, making them a cornerstone of creating high-quality game assets and realistic visualizations.
The goal is to create UV islands (individual flattened pieces of the mesh) that are as large and rectangular as possible, minimizing the number of seams and distributing texel density evenly. For automotive models, this often means treating different parts of the car – body panels, interior, wheels, glass – as separate UV sets or islands within a single UV space, allowing for different levels of detail and material properties. Understanding where to place seams naturally, such as along existing hard edges or hidden areas, is key to an invisible transition and a polished final product. Mastering UV mapping is not just a technical task; it’s an art that requires foresight and an understanding of how textures will ultimately interact with the model’s surface.
An efficient UV layout is characterized by minimal stretching, optimal packing of UV islands, and strategically placed seams. For a car body, seams are typically placed along natural panel lines, under the car, or where different materials meet, making them less noticeable. For example, a car door might have its UVs cut along the edges where it meets the fender and the roof, then flattened. Interior components like seats or dashboards require careful consideration to ensure patterns like fabric weaves or stitching align correctly. Many artists use multiple UV sets: one for general PBR textures, another for lightmaps in game engines, and perhaps a third for decals or specific imperfections. Software like 3ds Max’s Unwrap UVW modifier, Blender’s UV Editor, or Maya’s UV Toolkit provide robust tools for cutting, unfolding, and arranging UVs efficiently, often with real-time feedback on stretching and overlap.
Texture resolution directly impacts visual fidelity, while texel density refers to the number of texture pixels per unit of 3D space. For a realistic automotive rendering, critical areas like the main body paint, tires, and interior dashboards often require high-resolution textures (e.g., 4K or 8K) to capture fine details. Less critical areas, such as the underside of the car or hidden engine components, might use 2K or even 1K textures to save memory. Maintaining a consistent texel density across all visible surfaces is crucial for preventing some parts from looking blurry while others are sharp. This involves scaling UV islands appropriately within the UV space. For performance-sensitive applications, careful balancing is needed. Texel density checkers in DCC tools help ensure uniformity. Optimizing textures by combining smaller details into atlases also reduces draw calls and improves real-time performance.
Each major car component presents unique UV mapping challenges. The main body, with its sweeping curves and complex panel lines, often requires a combination of planar, cylindrical, or spherical projections followed by careful unwrapping and stitching. Wheels, particularly the intricate rim designs, benefit from cylindrical unwraps for the barrel and planar projections for spokes, ensuring radial patterns align correctly. Tires require specific care for the tread pattern, often using a cylindrical unwrap with extra seams to flatten the tread. Interiors, being a collection of diverse materials and shapes (dashboard, seats, steering wheel), usually have many small UV islands grouped together. Glass surfaces are typically very simple unwraps as they often use tiling materials or clean UVs for specific decals. Understanding these component-specific strategies is vital for producing a cohesive and high-quality textured vehicle.
Beyond impeccable modeling and UVs, the true magic of photorealistic automotive rendering lies in the creation of Physically Based Rendering (PBR) materials. PBR shaders simulate how light interacts with real-world surfaces, resulting in highly convincing visuals that respond accurately to various lighting conditions. This approach differs significantly from older, “legacy” shading models by focusing on physically accurate properties like albedo (base color), roughness, metalness, and normal information, rather than arbitrary color and reflectivity values. Mastering PBR is essential for achieving the stunning realism seen in modern games, architectural visualizations, and cinematic sequences.
Creating compelling PBR materials for cars involves understanding these core principles and then building intricate shader networks that accurately represent a wide array of surfaces: from the highly reflective clear coat of a metallic paint job to the subtle texture of leather seats or the gritty rubber of tires. Each material demands a nuanced approach, often requiring multiple texture maps and procedural nodes to achieve the desired effect. The goal is to mimic the natural imperfections and light scattering properties of real materials, making the digital car indistinguishable from its physical counterpart in a well-lit scene. Platforms like 88cars3d.com often provide models with expertly crafted PBR materials, saving artists significant development time.
PBR relies on a set of standardized maps to define material properties:
Understanding how these maps interact is fundamental to building any realistic PBR shader, regardless of the rendering engine (e.g., Corona, V-Ray, Cycles, Arnold, Unity’s HDRP, Unreal Engine).
Car paint is one of the most challenging PBR materials to replicate due to its complex layered structure. A typical car paint shader involves:
In 3ds Max with Corona Renderer, for example, a Corona layered material is often used, combining a base metal shader with a clear coat layer on top, allowing for precise control over each aspect of the paint.
For large projects or when working with multiple car models, efficient material management is key. Developing a robust material library allows for quick asset creation and consistent quality. This involves:
Proper naming conventions for materials and textures are also crucial for organization and collaboration, especially when dealing with complex vehicles that can have dozens of unique materials.
Once a 3D car model is expertly modeled and textured, the ultimate goal for many is to showcase it through stunning, photorealistic renders. This involves a sophisticated interplay of lighting, camera settings, and post-processing, transforming raw 3D data into captivating imagery. High-fidelity rendering is not merely about pressing a button; it’s a deliberate, artistic, and technical process that requires a deep understanding of how light behaves, how cameras capture reality, and how to enhance the final image through compositing. Renderers like V-Ray, Corona Renderer, Arnold, and Blender’s Cycles are industry standards, each offering powerful tools for achieving breathtaking results.
The core of a successful render lies in mimicking real-world photographic principles. This means carefully crafting lighting environments that accentuate the car’s design, choosing camera angles and lenses that convey emotion and dynamism, and then refining the raw output through detailed post-production. From studio-style product shots to dynamic action scenes, every element in the rendering pipeline contributes to the final impact. Understanding these workflows is what elevates a good 3D model into a truly spectacular visual asset, perfect for marketing, advertising, or high-end visualization projects.
Effective lighting is the single most important factor in achieving realistic automotive renders.
The careful placement and intensity of these light sources sculpt the car’s form and reveal its design language.
Just like a real photographer, a 3D artist must carefully consider camera settings and composition.
The raw output from the renderer (the “beauty pass”) is just the beginning. Post-processing and compositing in software like Photoshop, Nuke, or After Effects elevate the render to a final polished image.
This iterative process, from raw render to final composite, is where much of the artistic refinement takes place, transforming a great 3D model into an unforgettable image.
While cinematic renders prioritize absolute visual fidelity, real-time applications like video games, augmented reality (AR), and virtual reality (VR) demand a delicate balance between visual quality and performance. A photorealistic 3D car model designed for rendering might have millions of polygons and dozens of high-resolution textures, which would cripple a game engine or a mobile AR/VR experience. Optimization is key to ensuring smooth frame rates, responsive interactions, and a seamless user experience in interactive environments. This involves strategic reduction of complexity without sacrificing the essential visual appeal of the vehicle. Game developers, in particular, spend considerable time ensuring their game assets are lean and efficient.
The optimization process touches every aspect of the model: geometry, textures, materials, and even the hierarchy of objects. Techniques range from creating multiple levels of detail to clever texture packing and reducing draw calls. For the burgeoning AR/VR markets, these optimization strategies become even more critical due to the typically lower processing power of target devices (smartphones, standalone VR headsets) and the stringent frame rate requirements for comfortable immersion. Ensuring your models are optimized for real-time performance extends their utility and broadens their application, making them valuable assets for a wider range of projects.
Levels of Detail (LODs) are crucial for real-time performance. This technique involves creating multiple versions of a 3D car model, each with a progressively lower polygon count.
Game engines (Unity, Unreal Engine) automatically switch between these LODs based on the camera’s distance to the object, ensuring that only necessary detail is rendered, significantly reducing the GPU workload. The challenge is to reduce polygon count without making the transitions between LODs noticeable.
Draw calls are instructions from the CPU to the GPU to render a batch of triangles. Every unique material, mesh, or object can trigger a draw call, and too many draw calls can quickly bottleneck performance. Strategies to reduce them include:
These techniques are critical for keeping game frames per second (FPS) high and reducing CPU overhead, especially in scenes with many complex objects like a bustling city with multiple cars.
AR/VR applications have even more stringent optimization requirements due to the need for very high, stable frame rates (typically 60-90 FPS per eye to prevent motion sickness) and often operate on less powerful mobile hardware.
These considerations ensure that users experience smooth, immersive AR/VR experiences without performance hitches.
The utility of a high-quality 3D car model extends far beyond rendering and real-time interactive experiences. With advancements in manufacturing technology, 3D printing has emerged as a powerful application, allowing digital models to be brought into the physical world. From prototyping automotive parts to creating collector’s scale models, 3D printing demands a specific set of technical preparations. Concurrently, the diverse ecosystem of 3D software means that understanding file formats and their compatibility is paramount for seamless workflows and collaboration across different platforms and pipelines. Whether you’re moving a model from 3ds Max to Blender, or preparing it for export to a game engine, knowing the strengths and weaknesses of various formats is crucial.
The ability to adapt a 3D car model for different purposes—be it a photorealistic marketing image, an immersive VR experience, or a physical prototype—underscores the versatility and value of well-constructed assets. This section explores these broader applications and the technical knowledge required to navigate them successfully, ensuring your 3D car models are not only visually stunning but also functionally robust for any intended use.
3D printing requires models to be “manifold” or “watertight” – meaning they have no holes, internal geometry, or flipped normals that would prevent the printer from understanding what’s inside versus outside.
Converting a visually perfect render model into a print-ready mesh often requires a dedicated cleanup and preparation phase, as aesthetic topology often differs from structural integrity requirements.
The 3D industry uses a multitude of file formats, each with its strengths and specific uses:
Understanding the nuances of these formats helps ensure data integrity and smooth transitions between different stages of a project.
To maximize the longevity and versatility of your 3D car models:
When sourcing models from marketplaces such as 88cars3d.com, you often benefit from models that are already built with these best practices in mind, providing clean topology, efficient UVs, and well-organized assets, ready for diverse applications from stunning visualization to efficient game integration.
The journey through the world of 3D car models reveals a sophisticated landscape of technical craftsmanship and artistic expression. From the foundational principles of clean topology that dictate a model’s form and reflection behavior, to the intricate process of UV mapping for flawless texturing, and the scientific art of PBR material creation, every stage demands precision and expertise. We’ve explored how lighting and camera techniques transform raw data into cinematic renders, and delved into the rigorous optimization required to bring these stunning vehicles to life in real-time game engines and immersive AR/VR experiences. Finally, we touched upon the practical considerations of 3D printing and the crucial role of file format compatibility in a multi-software pipeline.
Mastering these aspects of 3D automotive design empowers artists, developers, and designers to create truly compelling digital experiences and physical prototypes. The demand for high-quality 3D car models continues to grow across industries, highlighting the importance of understanding these detailed workflows and best practices. Whether you are creating from scratch or leveraging professional assets, a solid grasp of these technical details is your passport to success.
As you embark on your next project, remember that the quality of your base assets is paramount. Explore high-quality resources, continually refine your skills, and never stop experimenting with new techniques. For those seeking a head start with meticulously crafted, render-ready, and game-optimized 3D car models, platforms like 88cars3d.com offer a vast selection designed to meet professional standards across a spectrum of applications. Unleash your creativity and drive your visions forward with the power of expertly crafted 3D automotive assets!
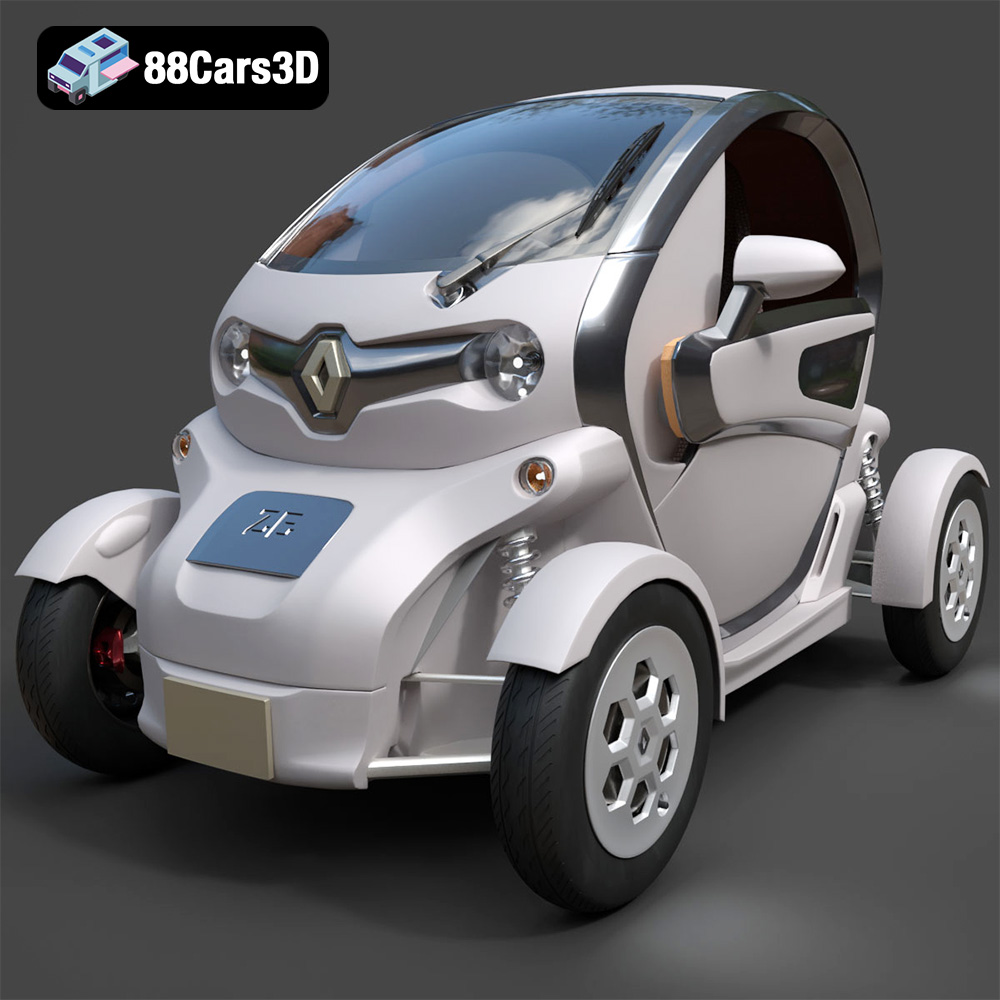
Texture: Yes
Material: Yes
Download the Renault Twizy ZE 3D Model featuring clean geometry, realistic detailing, and a fully modeled interior. Includes .blend, .fbx, .obj, .glb, .stl, .ply, .unreal, and .max formats for rendering, simulation, and game development.
Price: $4.99
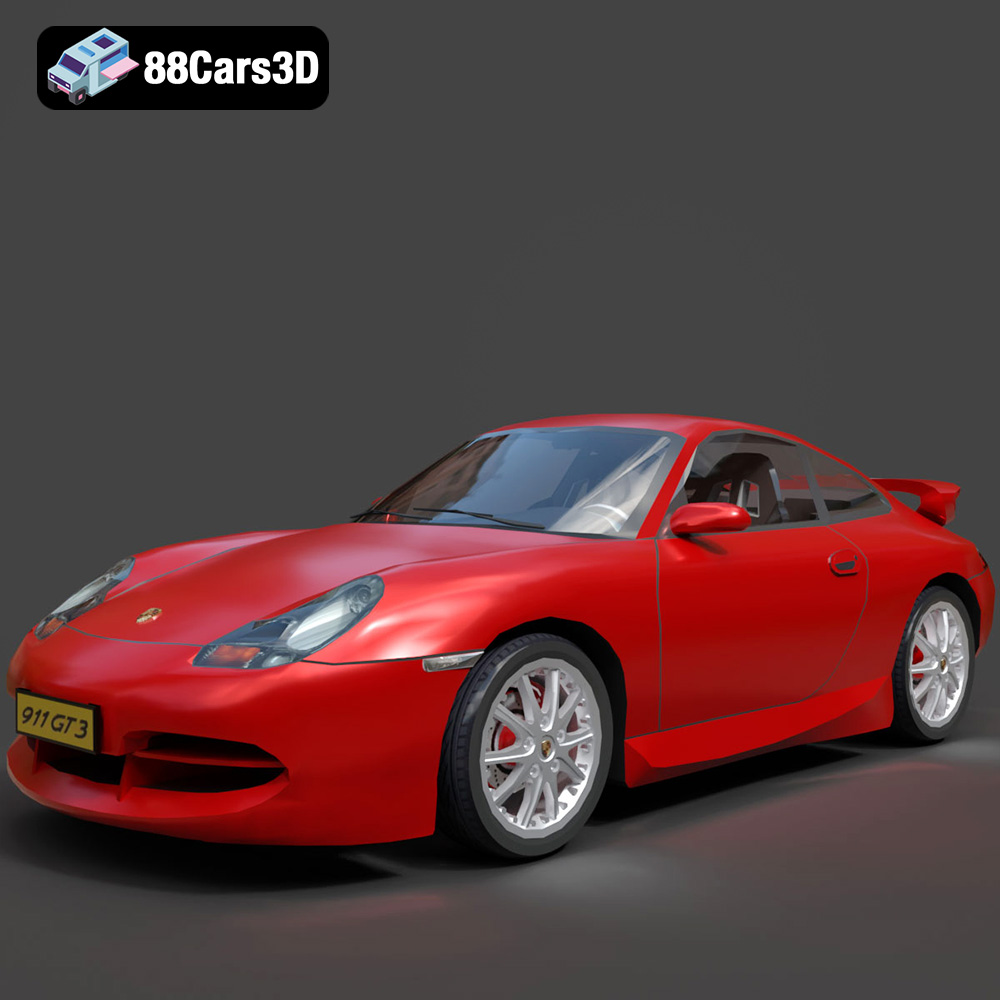
Texture: Yes
Material: Yes
Download the Porsche 911 GT3 3D Model featuring clean geometry, realistic detailing, and a fully modeled interior. Includes .blend, .fbx, .obj, .glb, .stl, .ply, .unreal, and .max formats for rendering, simulation, and game development.
Price: $4.99
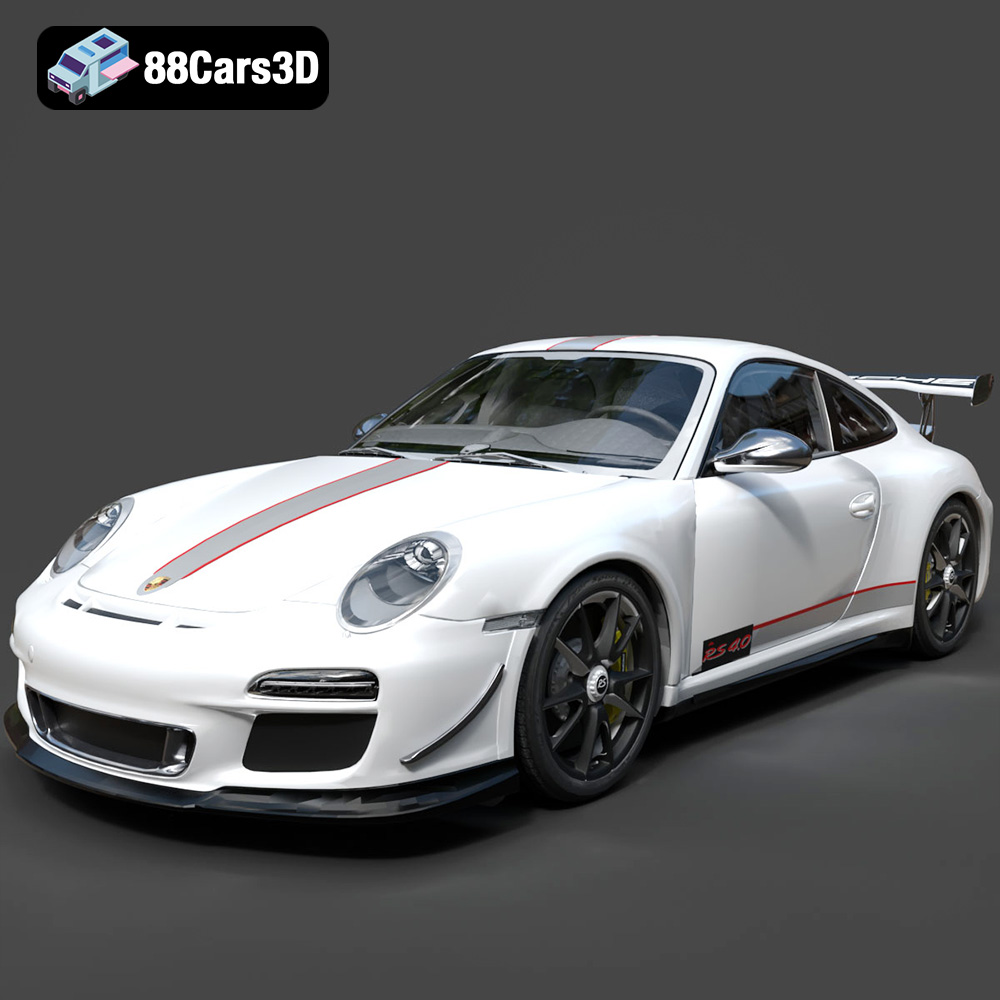
Texture: Yes
Material: Yes
Download the Porsche 911 997 GT3 RS 4.0 2011 3D Model featuring clean geometry, realistic detailing, and a fully modeled interior. Includes .blend, .fbx, .obj, .glb, .stl, .ply, .unreal, and .max formats for rendering, simulation, and game development.
Price: $4.99
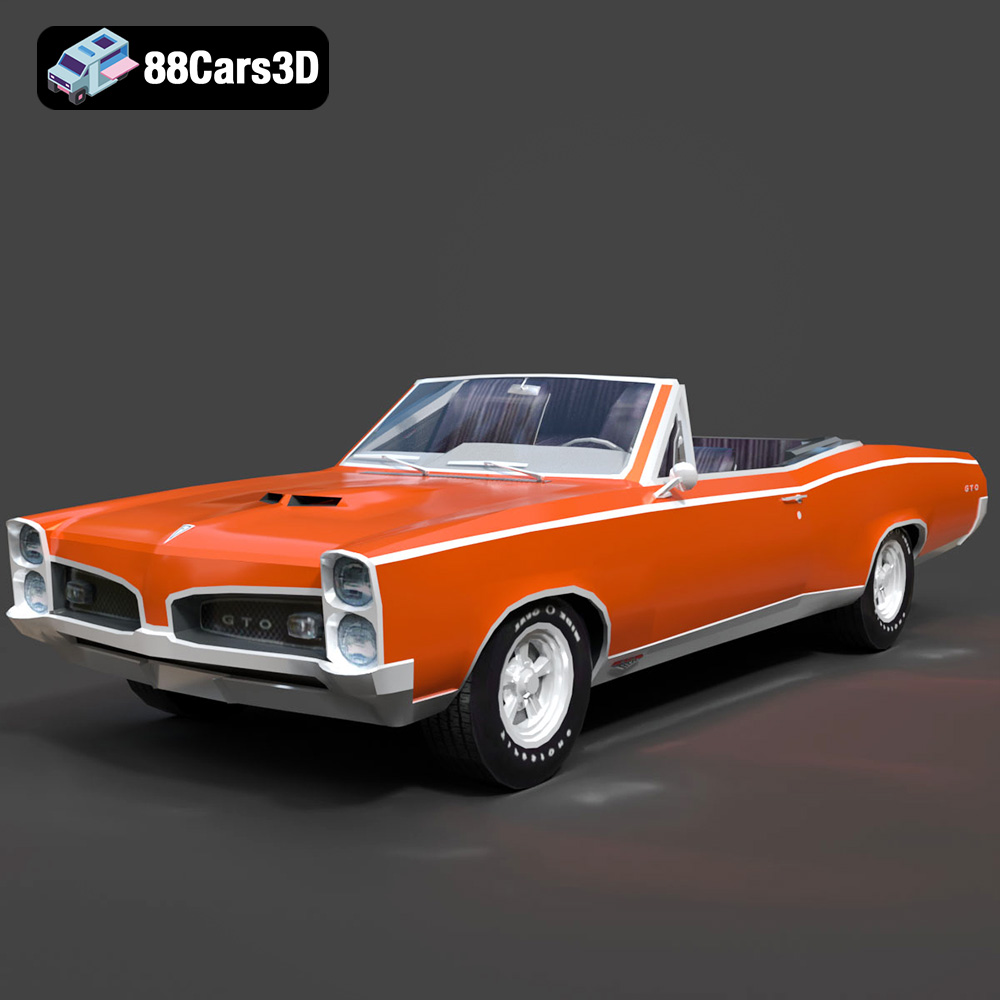
Texture: Yes
Material: Yes
Download the Pontiac GTO Cabrio 1967 3D Model featuring clean geometry, realistic detailing, and a fully modeled interior. Includes .blend, .fbx, .obj, .glb, .stl, .ply, .unreal, and .max formats for rendering, simulation, and game development.
Price: $4.99
Texture: Yes
Material: Yes
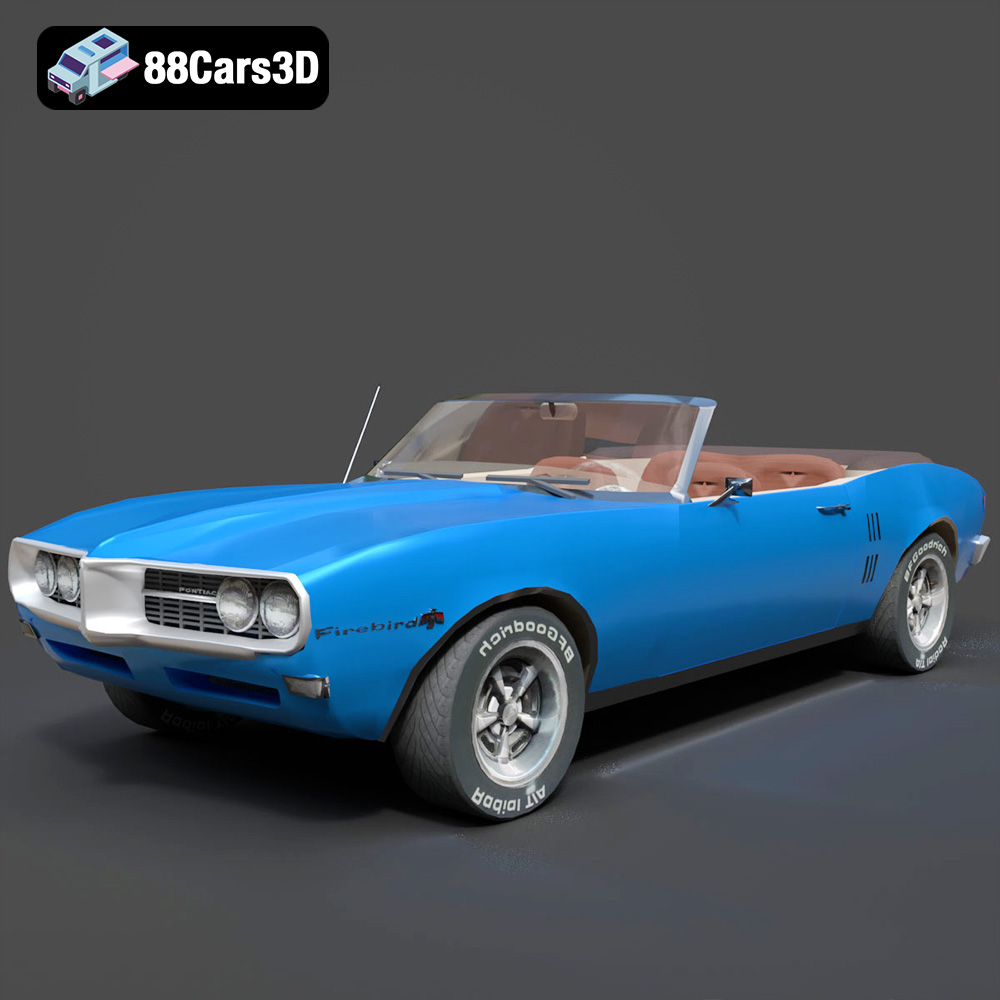
Download the Pontiac Firebird Convertible 1968 3D Model featuring clean geometry, realistic detailing, and a fully modeled interior. Includes .blend, .fbx, .obj, .glb, .stl, .ply, .unreal, and .max formats for rendering, simulation, and game development.
Price: $4.99

Texture: Yes
Material: Yes
Download the Peugeot 508 2011 3D Model featuring clean geometry, realistic detailing, and a fully modeled interior. Includes .blend, .fbx, .obj, .glb, .stl, .ply, .unreal, and .max formats for rendering, simulation, and game development.
Price: $4.99
Texture: Yes
Material: Yes
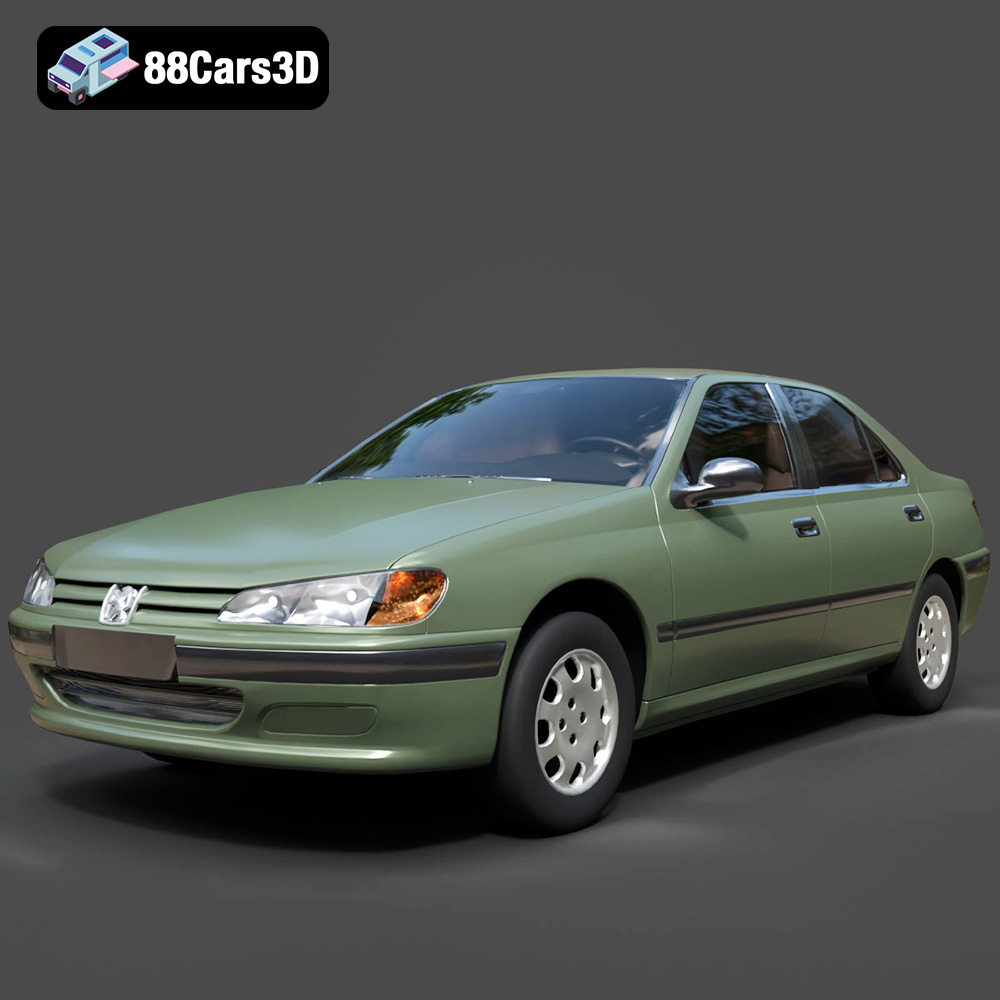
Download the Peugeot 406 1996 3D Model featuring clean geometry, realistic detailing, and a fully modeled interior. Includes .blend, .fbx, .obj, .glb, .stl, .ply, .unreal, and .max formats for rendering, simulation, and game development.
Price: $10
Texture: Yes
Material: Yes
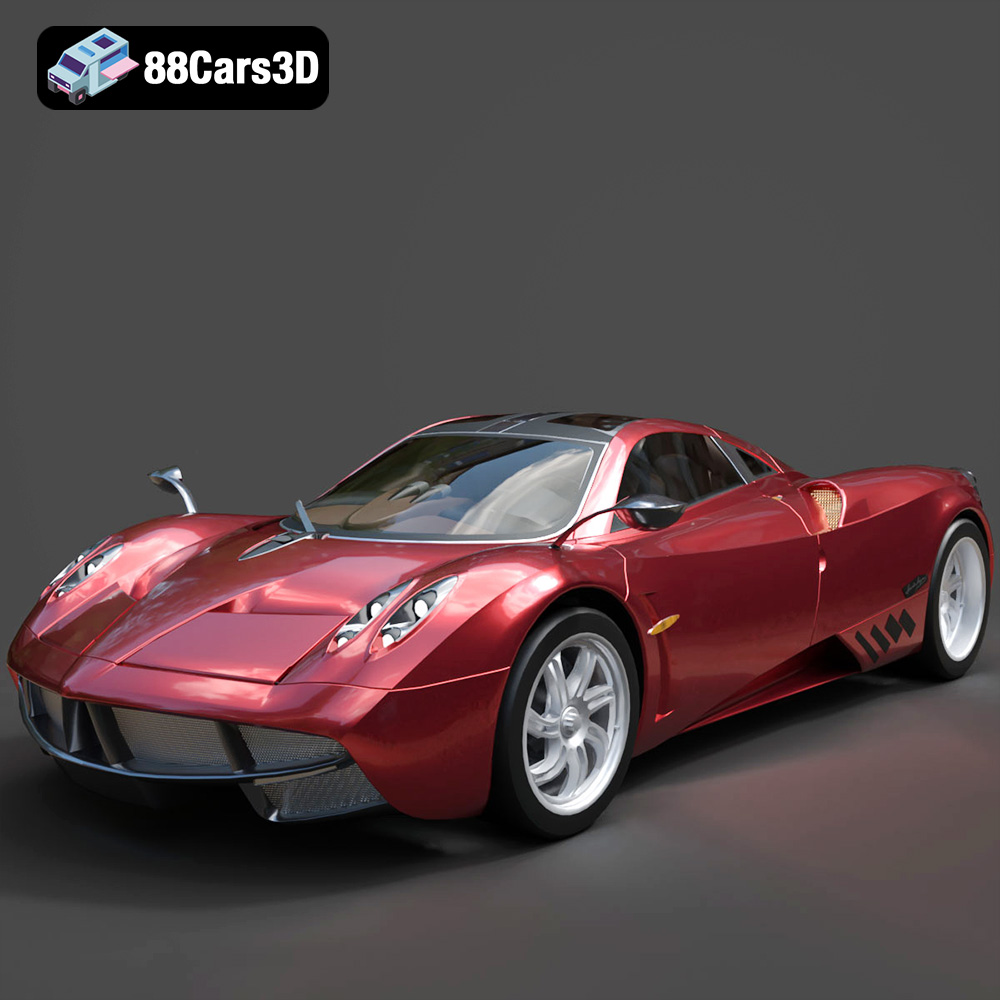
Download the Pagani Huayra 2012 3D Model featuring clean geometry, realistic detailing, and a fully modeled interior. Includes .blend, .fbx, .obj, .glb, .stl, .ply, .unreal, and .max formats for rendering, simulation, and game development.
Price: $10
Texture: Yes
Material: Yes
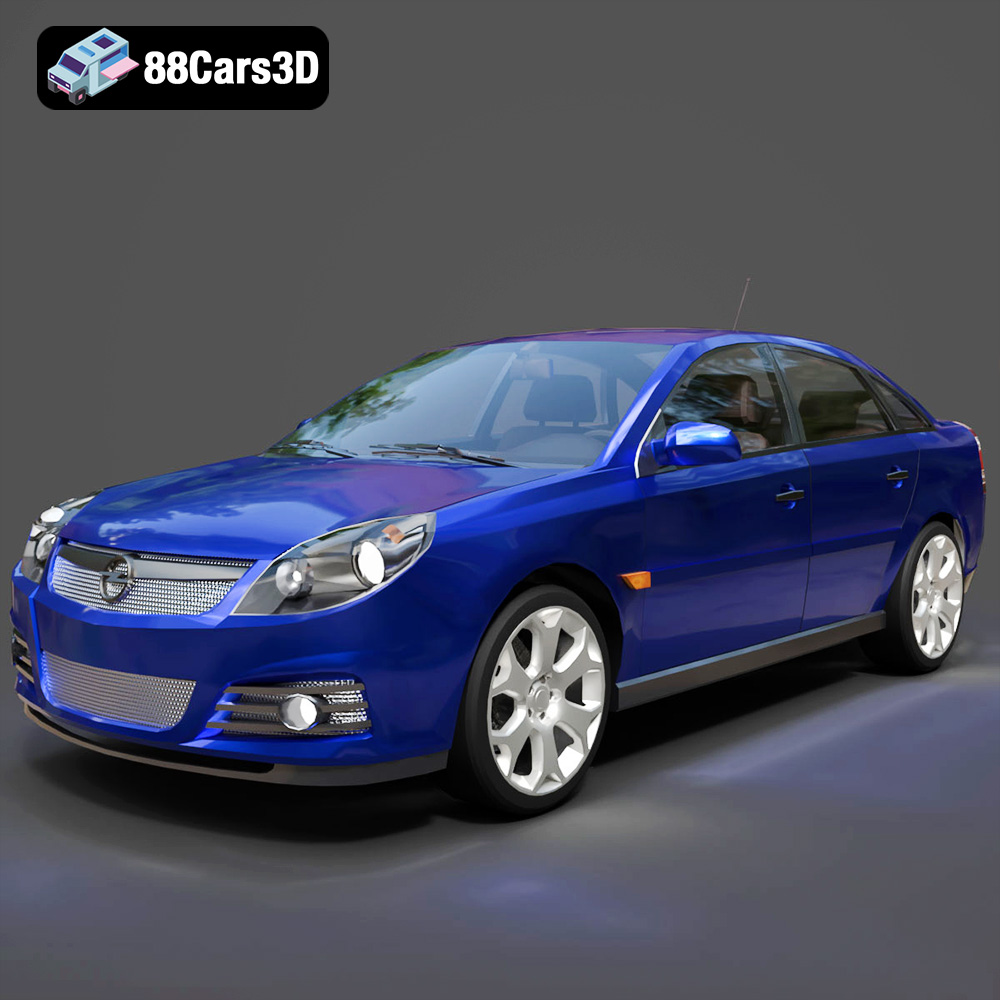
Download the Opel Vectra C 2005 3D Model featuring clean geometry, realistic detailing, and a fully modeled interior. Includes .blend, .fbx, .obj, .glb, .stl, .ply, .unreal, and .max formats for rendering, simulation, and game development.
Price: $10

Texture: Yes
Material: Yes
Download the Opel Insignia OPC 3D Model featuring clean geometry, realistic detailing, and a fully modeled interior. Includes .blend, .fbx, .obj, .glb, .stl, .ply, .unreal, and .max formats for rendering, simulation, and game development.
Price: $10

