Get 20% OFF All Premium 3D & STL Models!

The allure of meticulously crafted 3D car models extends far beyond simple aesthetics. In today’s rapidly evolving digital landscape, these sophisticated assets are the cornerstone of automotive design visualization, blockbuster game titles, immersive AR/VR experiences, and even precise 3D printing applications. From showcasing revolutionary vehicle concepts to driving virtual simulations, the demand for high-quality, technically sound 3D car models has never been greater. But what exactly defines a “high-quality” model, and what technical expertise is required to bring these digital automotive masterpieces to life?
This comprehensive guide will take you on an in-depth journey through the intricate world of 3D car model creation and deployment. We’ll peel back the layers of complex workflows, dissecting everything from foundational topology and advanced UV mapping to physically based rendering (PBR) materials, game engine optimization, and preparation for emerging technologies like AR/VR and 3D printing. Whether you’re a seasoned 3D artist, a game developer, an automotive designer, or a student aspiring to master the craft, understanding these technical nuances is paramount. Prepare to elevate your skills and discover the professional strategies that transform good 3D car models into truly exceptional ones, ready for any demanding digital frontier.
The skeleton of any outstanding 3D car model is its topology – the arrangement of vertices, edges, and faces that define its geometric structure. For automotive models, which are characterized by sleek, often reflective surfaces, impeccable topology is not just a preference, it’s a necessity. Poor topology leads to shading artifacts, difficulty in deformation, and inefficient resource usage. The goal is to create a clean, all-quad mesh that accurately captures the vehicle’s design intent while remaining optimized for subsequent stages like UV mapping, texturing, and animation. A common starting point for high-detail car models is a polygon count ranging from 150,000 to 500,000 triangles, depending on the level of detail required for close-up shots or specific components like engine bays and interiors.
Edge flow dictates how edges run across the surface of your model, directly influencing how light reflects and how the mesh deforms. For cars, crucial areas like fender lines, door gaps, and body panels require precise edge loops that follow the natural curvature and creases of the design. Good edge flow ensures smooth, consistent shading without pinching or ripples, especially vital for highly reflective car paint. Techniques often involve starting with blueprint images in software like 3ds Max, Blender, or Maya, and then building up the mesh using box modeling, spline cages, or NURBS (Non-Uniform Rational B-Splines) conversion. While NURBS offer mathematical precision for curves, they often need to be converted to polygon meshes (tessellated) for rendering and game engines, where careful triangulation is critical to maintain surface quality.
Poles (vertices where more or less than four edges meet) should be strategically placed in areas of minimal visual impact or flat surfaces to prevent undesirable shading artifacts. Maintaining an even distribution of polygons, especially on large, curved surfaces like hoods and roofs, prevents visible facets or “stair-stepping” under close scrutiny. Using subdivision surface modeling (SubD) workflows is highly effective for automotive bodies, allowing artists to create low-polygon base meshes that can be smoothed into high-resolution, continuous surfaces at render time, offering flexibility and efficient iteration.
The ideal polygon count for your 3D car model is heavily dependent on its final application. A model destined for a cinematic animation or high-resolution architectural visualization might feature several million polygons, meticulously detailing every screw, stitch, and panel gap. Conversely, a car model for a mobile game might be restricted to a few thousand polygons. For high-fidelity desktop games or AR/VR experiences, a balance is struck, typically ranging from 50,000 to 200,000 triangles for the main vehicle body, excluding individual components like wheels and interiors. The process of optimization often involves creating multiple versions of the same model at varying levels of detail (LODs), which we will explore later. Techniques include carefully merging redundant edges and vertices, using planar dissolves where appropriate, and simplifying non-critical internal components. The key is to achieve visual fidelity while minimizing performance impact.
Once the geometry is solidified, the next critical step is UV mapping – the process of flattening the 3D surface of your car model into a 2D space, allowing textures to be applied accurately. For complex forms like cars with intricate curves, multiple materials, and highly visible surfaces, UV mapping can be one of the most challenging yet rewarding stages. Flawed UVs lead to stretched, blurry, or misaligned textures, severely compromising the realism of your PBR materials. The goal is to create clean, non-overlapping UV islands with minimal distortion and consistent texel density across all visible parts of the car.
Effective UV seam placement is an art. For car models, seams should be strategically hidden in natural breaks or inconspicuous areas, such as along sharp edges, under trim pieces, or in areas that will be obscured by other geometry (e.g., inside wheel wells, beneath the chassis). Avoid placing seams on large, smooth, reflective surfaces like the hood or doors, as they can become visually apparent, especially with metallic paint or clear coats. Tools in software like Blender, Maya, and 3ds Max allow artists to paint seams directly onto the 3D model, providing immediate visual feedback. After marking seams, projection methods like cylindrical, planar, or pelting are used to unwrap the UV shells, followed by relaxing algorithms to minimize stretching. Checking for distortion using a checker map pattern is an essential step, ensuring that the squares appear uniform across the entire surface.
To optimize for game engines and rendering performance, UV atlasing is a common practice. This involves combining multiple smaller UV shells from different parts of the car onto a single, larger UV map. This reduces the number of material slots and draw calls, improving rendering efficiency. For example, all interior components might share one UV atlas, while exterior body panels and trim share another. When atlasing, it’s crucial to maximize the 0-1 UV space by efficiently packing the shells, leaving minimal empty areas. Dedicated UV packing algorithms in software like RizomUV or even built-in tools can automatically arrange shells to optimize space. For common repeating elements like tire treads or bolt patterns, overlapping UVs can be used to share the same texture space, further saving resources. Texture resolution for car atlases typically ranges from 2K (2048×2048) to 8K (8192×8192) depending on the required detail and target platform.
Physically Based Rendering (PBR) has revolutionized the way we create realistic materials in 3D, providing a consistent and predictable result under varying lighting conditions. For 3D car models, PBR is indispensable for achieving the nuanced reflections, metallic sheens, and subtle imperfections that define a truly photorealistic vehicle. Understanding the core principles and how to build complex shader networks is key to unlocking this level of visual fidelity.
PBR workflows fundamentally rely on two main approaches: Metallic-Roughness and Specular-Glossiness. The Metallic-Roughness workflow, prevalent in game engines like Unity and Unreal Engine, as well as renderers like Cycles and Substance Painter, uses a ‘Base Color’ map (diffuse + metallic), a ‘Metallic’ map (0-1 value for metallic vs. dielectric), and a ‘Roughness’ map (0-1 value for micro-surface imperfections). The Specular-Glossiness workflow separates diffuse and specular color, with a ‘Glossiness’ map controlling reflectivity. Both workflows adhere to energy conservation, meaning light reflected from a surface cannot exceed the light that hits it. This consistency allows materials to look correct regardless of the lighting environment, a crucial advantage for automotive visualization where lighting setups often change.
Creating convincing car paint is one of the most challenging aspects of PBR. It typically involves a layered shader approach to mimic the multi-coat nature of real-world automotive paint: a base metallic color, an intermediate clear coat containing metallic flakes, and a final glossy clear coat. The metallic flake effect is often achieved through anisotropic reflections, where the reflection highlights stretch based on the angle and direction of the surface. Maps for roughness, normal, and even custom flake patterns contribute to the final look. For interiors, attention to detail on materials like leather, plastics, and fabrics is vital. Leather shaders require intricate normal maps for grain, subtle roughness variations, and perhaps even a slight subsurface scattering component for realism. Plastics might use specific Fresnel curves and varying levels of roughness to distinguish between matte and glossy finishes. When sourcing models from marketplaces such as 88cars3d.com, look for models that already provide well-defined PBR texture sets (Albedo/Base Color, Metallic, Roughness, Normal, AO, Opacity) at high resolutions like 4K or 8K.
High-quality textures are paramount for PBR. Software like Substance Painter and Substance Designer are industry standards for creating procedural and hand-painted PBR textures, allowing for dynamic layering of wear, dirt, scratches, and precise material definitions. Photoshop remains invaluable for final adjustments, color correction, and combining texture maps. Texture resolutions typically range from 2K (2048×2048) for smaller components to 8K (8192×8192) for the main body and high-detail elements, ensuring crisp detail even in close-up renders. Efficient texture management includes channel packing (combining multiple grayscale maps like Roughness, Metallic, and Ambient Occlusion into the R, G, B channels of a single texture) to reduce file size and memory footprint, and generating mipmaps for smoother rendering at varying distances.
The rendering stage is where your meticulously crafted 3D car model truly comes to life, transformed from a digital mesh into a captivating image or animation. Achieving photorealism in automotive rendering requires a deep understanding of lighting, camera principles, and advanced renderer settings. Whether you’re aiming for a pristine studio shot or a dynamic on-road scene, every parameter plays a crucial role.
For high-end automotive visualization, studio lighting is fundamental. This typically involves a combination of High Dynamic Range Image (HDRI) environments for overall ambient light and reflections, paired with strategically placed area lights or photometric lights to define contours and add highlights. A common setup might include a large softbox overhead for general illumination, a key light to emphasize the car’s primary forms, a fill light to soften shadows, and multiple rim lights (often long, thin emissive planes) to accentuate edges and create dramatic separation from the background. The goal is to sculpt the car’s surfaces with light, revealing its design language and material properties. Using physical cameras with real-world lens properties (focal length, aperture for depth of field) further enhances realism, mimicking professional automotive photography.
Modern renderers like Corona Renderer, V-Ray, Blender Cycles, and Arnold offer powerful capabilities for photorealistic output. Mastering their settings is crucial for both quality and render time. For instance, in Corona and V-Ray, adjusting global illumination (GI) settings (e.g., Path Tracing, Brute Force), sampling limits, and denoisers can drastically impact clarity and noise levels. Cycles and Arnold, often used in animation pipelines, provide similar controls over ray depth, light sampling, and progressive vs. bucket rendering. GPU rendering (e.g., Cycles with OptiX/CUDA, V-Ray GPU) has become increasingly popular for its speed, leveraging the parallel processing power of graphics cards. Understanding render passes (e.g., diffuse, specular, reflection, normal, Z-depth, object ID) is also vital, as they allow for greater control during post-processing and compositing without re-rendering the entire scene.
The raw render output is rarely the final image. Post-processing and compositing in software like Adobe Photoshop, Blackmagic Fusion, or Adobe After Effects are essential steps to elevate the visual impact. This involves using the generated render passes to make precise adjustments. Techniques include:
These steps collectively enhance realism, correct minor rendering imperfections, and infuse the image with a polished, professional finish.
For interactive applications like video games, AR/VR experiences, and real-time configurators, rendering performance is paramount. A beautiful 3D car model is useless if it causes frame rate drops or long load times. Optimizing 3D car models for real-time engines like Unity and Unreal Engine involves a series of technical strategies aimed at reducing computational overhead while maintaining visual fidelity. This balance is crucial for delivering smooth, immersive user experiences.
Level of Detail (LODs) is a fundamental optimization technique for complex assets like car models. It involves creating multiple versions of the same model, each with a progressively lower polygon count. When the car is close to the camera, the highest detail (LOD0) model is rendered. As it moves further away, the engine switches to lower detail versions (LOD1, LOD2, etc.), significantly reducing the number of polygons that need to be processed. This transition is typically handled automatically by game engines based on screen space percentage. Manual LOD creation offers the best quality control, ensuring that visual integrity is maintained at each level by strategically removing edges and faces that contribute least to the silhouette. Tools within Maya, 3ds Max, and Blender, or external software like InstaLOD, facilitate this process, aiming for reduction percentages like 50%, 75%, and 90% for subsequent LOD levels.
Draw calls are instructions from the CPU to the GPU to draw objects on the screen. Minimizing draw calls is critical for performance. Each unique material, mesh, and texture typically incurs a separate draw call. Strategies for reducing these include:
These techniques are vital for keeping the polygon and draw call budget in check, especially for scenes with multiple vehicles.
Successfully integrating a 3D car model into game engines like Unity or Unreal Engine involves careful attention to import settings, material setup, and physics.
Understanding engine-specific profilers is key to identifying and addressing performance bottlenecks, ensuring your 3D car models run smoothly in any interactive environment.
The utility of high-quality 3D car models extends far beyond traditional static renders and game development. Emerging technologies like Augmented Reality (AR), Virtual Reality (VR), and 3D printing present unique challenges and opportunities for these sophisticated assets. Adapting models for these diverse applications requires specific technical considerations for optimization, mesh integrity, and file format compatibility.
AR and VR environments demand even stricter optimization than traditional games due to the need for high, consistent frame rates (e.g., 90 FPS for VR) to prevent motion sickness. For 3D car models in AR/VR:
Testing on target hardware is crucial to validate performance and visual quality in these immersive environments.
3D printing a car model shifts focus from visual fidelity to physical integrity. The digital model must be “watertight” – meaning it has no holes, non-manifold edges, or inverted normals – to be successfully sliced and printed.
These steps transform a beautiful render asset into a tangible physical object, a testament to the versatility of 3D modeling.
The landscape of 3D file formats can be complex, each with its strengths and weaknesses for different workflows:
When sourcing models from marketplaces such as 88cars3d.com, look for platforms that offer models in multiple formats to ensure maximum compatibility with your specific software and project needs. Understanding the nuances of each format helps in maintaining data integrity and streamlining your workflow, from initial modeling to final deployment.
The journey from a conceptual sketch to a fully realized, optimized, and render-ready 3D car model is a testament to technical skill and artistic vision. We’ve explored the foundational importance of clean topology, the intricate process of UV mapping for flawless texture application, and the power of PBR materials to achieve stunning photorealism. We delved into advanced rendering techniques for cinematic quality, dissected the strategies for game engine optimization crucial for interactive experiences, and navigated the specialized requirements for cutting-edge applications like AR/VR and 3D printing.
Mastering these disciplines means not just creating beautiful visuals but understanding the underlying technical demands that ensure performance, compatibility, and versatility across a myriad of platforms. The digital automotive world is dynamic, constantly pushing the boundaries of realism and interactivity. By internalizing these professional workflows and best practices, you equip yourself with the knowledge to tackle any challenge, turning complex technical hurdles into creative opportunities.
Ready to put your newfound knowledge into practice or accelerate your projects with high-quality assets? Explore the extensive collection of meticulously crafted 3D car models available on 88cars3d.com. Each model is built with clean topology, realistic materials, and multiple file formats, providing an excellent foundation for your rendering, game development, or visualization needs. Elevate your automotive projects today!
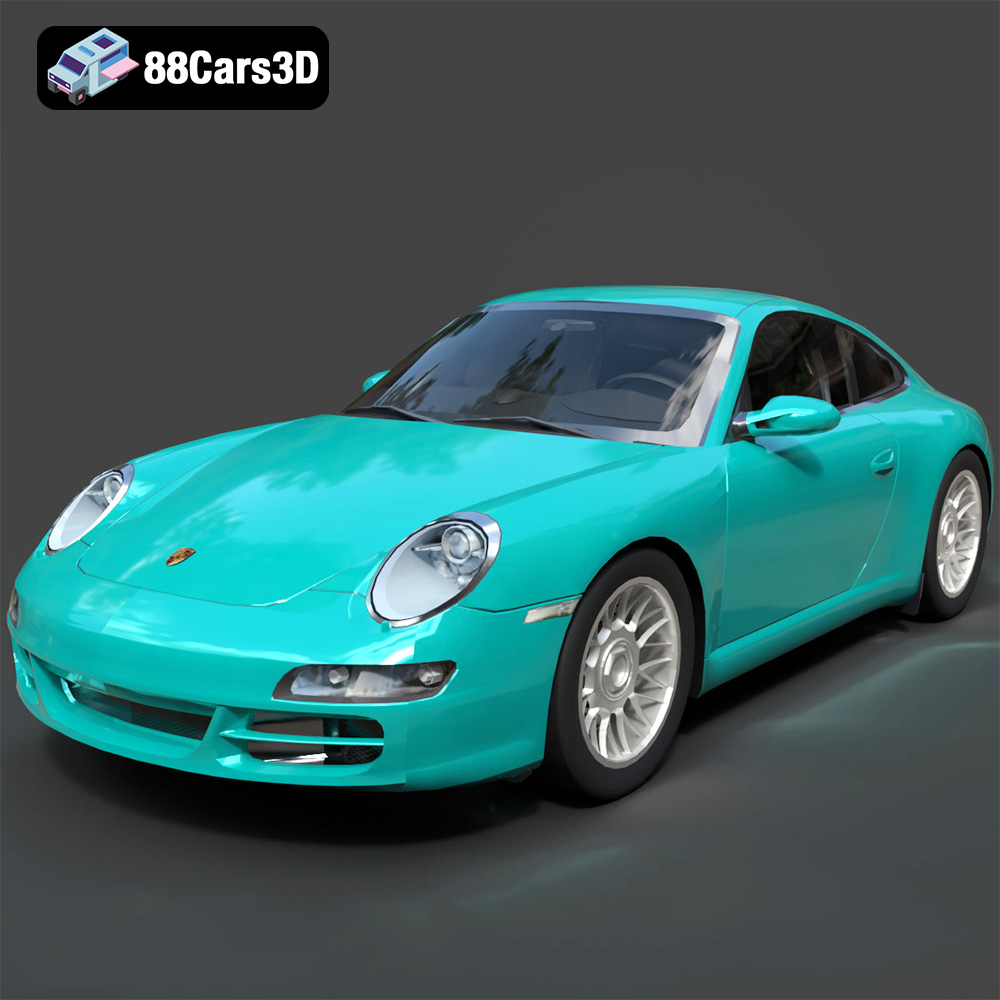
Texture: Yes
Material: Yes
Download the Porsche 911 Carrera S 2005 3D Model featuring clean geometry, realistic detailing, and a fully modeled interior. Includes .blend, .fbx, .obj, .glb, .stl, .ply, .unreal, and .max formats for rendering, simulation, and game development.
Price: $4.99
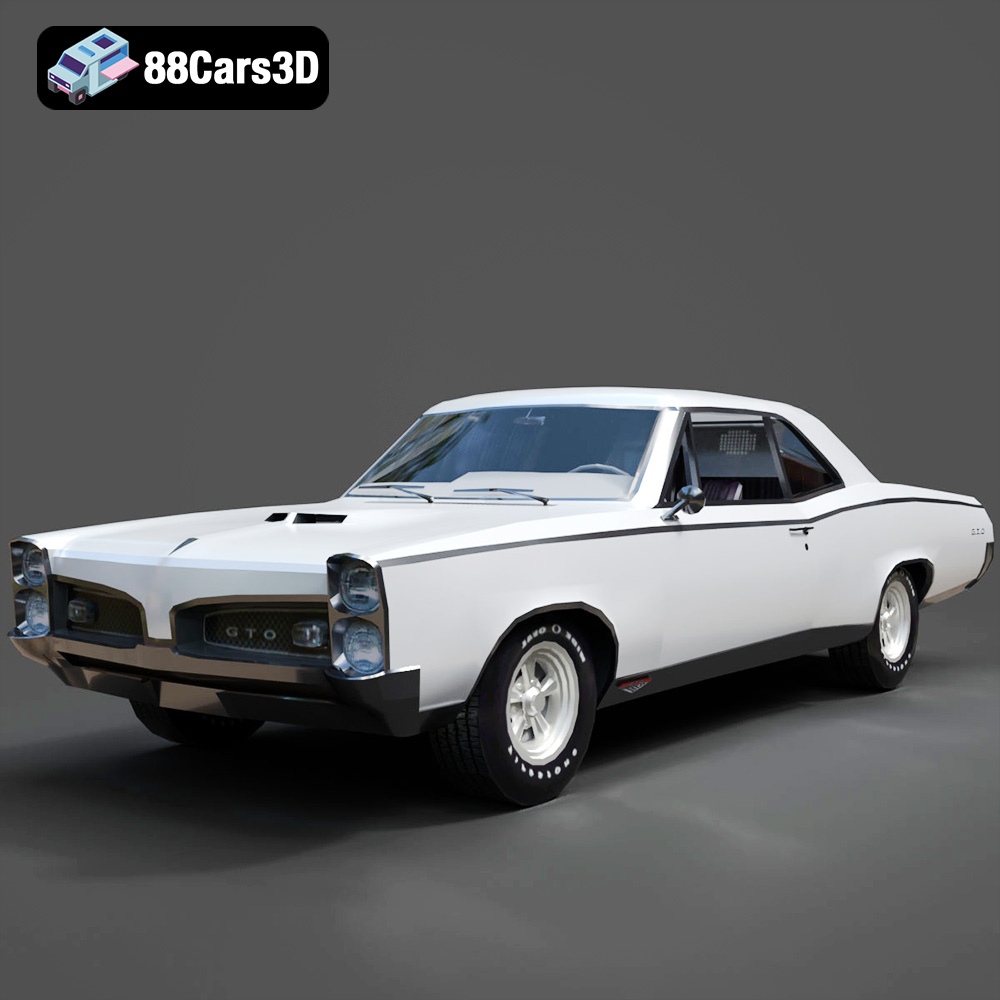
Texture: Yes
Material: Yes
Download the Pontiac GTO 1967 3D Model featuring clean geometry, realistic detailing, and a fully modeled interior. Includes .blend, .fbx, .obj, .glb, .stl, .ply, .unreal, and .max formats for rendering, simulation, and game development.
Price: $4.99
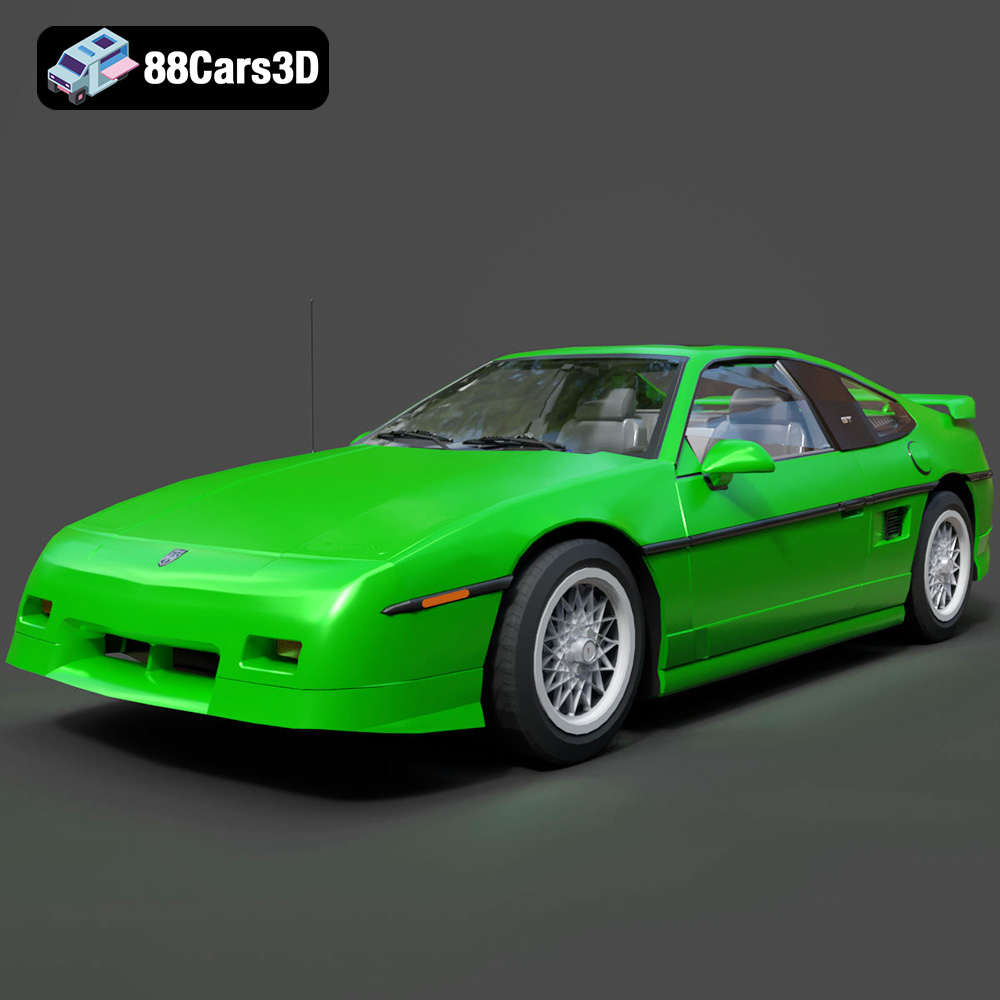
Texture: Yes
Material: Yes
Download the Pontiac Fiero GT 1987 3D Model featuring clean geometry, realistic detailing, and a fully modeled interior. Includes .blend, .fbx, .obj, .glb, .stl, .ply, .unreal, and .max formats for rendering, simulation, and game development.
Price: $4.99
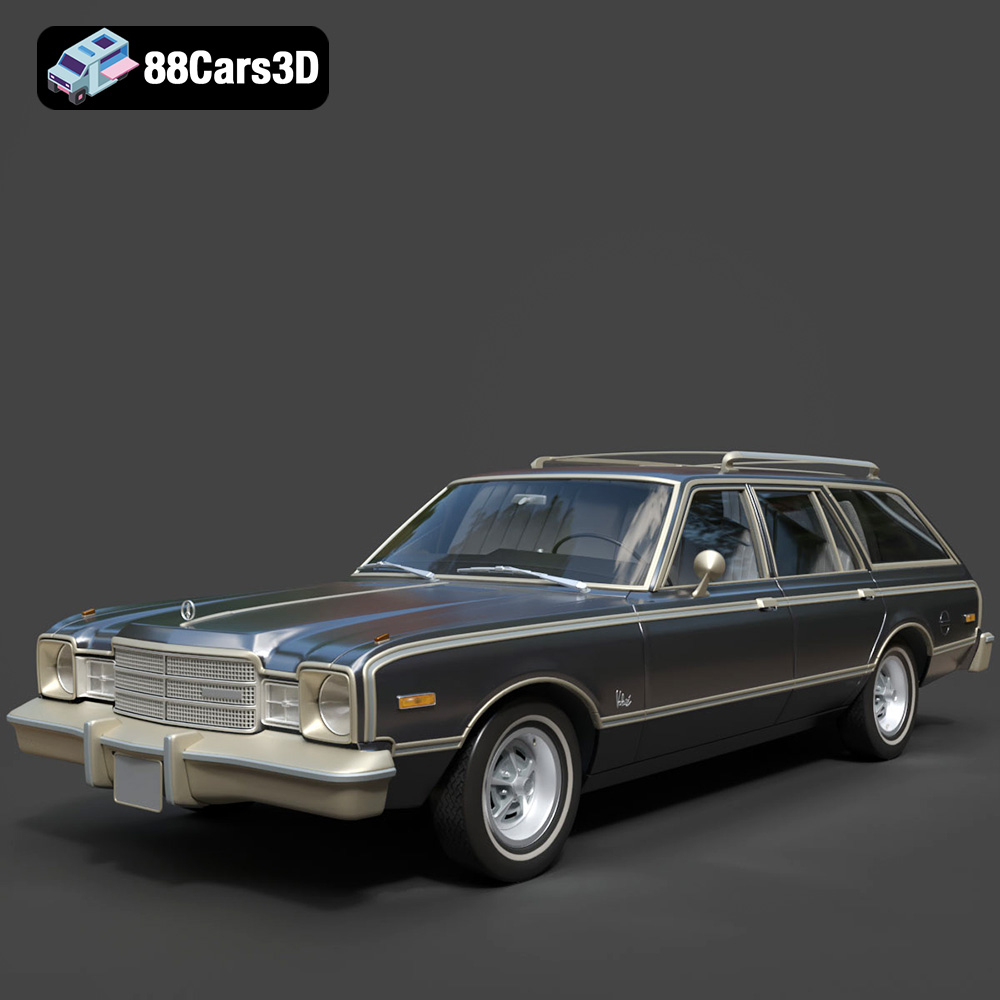
Texture: Yes
Material: Yes
Download the Plymouth Volare Wagon 3D Model featuring clean geometry, realistic detailing, and a fully modeled interior. Includes .blend, .fbx, .obj, .glb, .stl, .ply, .unreal, and .max formats for rendering, simulation, and game development.
Price: $4.99
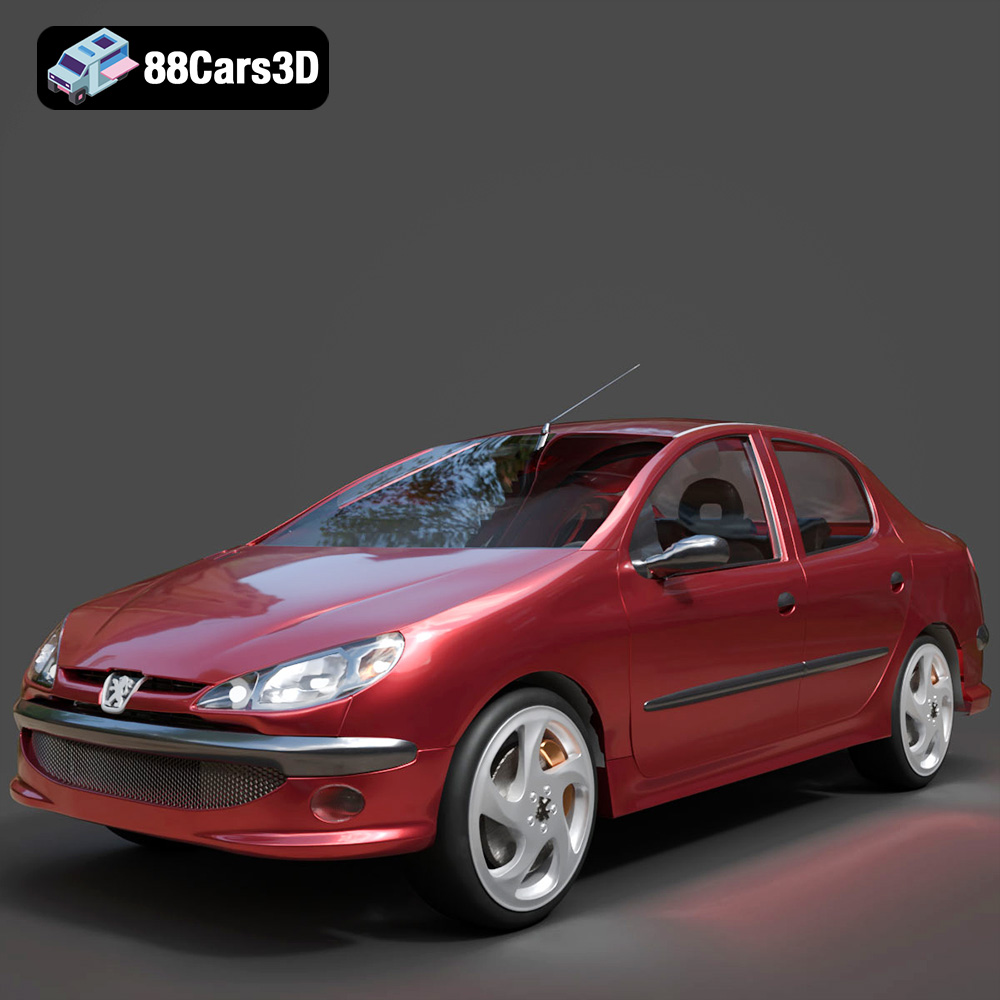
Texture: Yes
Material: Yes
Download the Peugeot 206 Sedan 2002 3D Model featuring clean geometry, realistic detailing, and a fully modeled interior. Includes .blend, .fbx, .obj, .glb, .stl, .ply, .unreal, and .max formats for rendering, simulation, and game development.
Price: $4.99
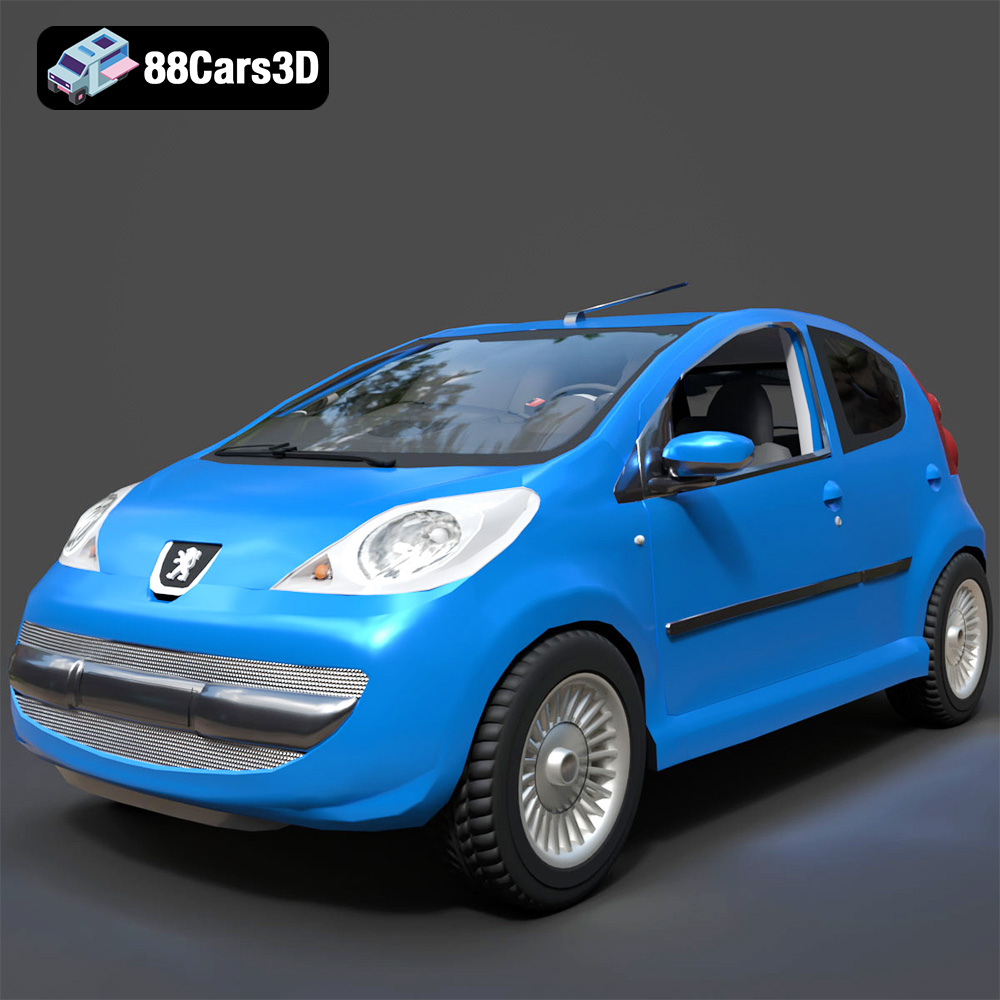
Texture: Yes
Material: Yes
Download the Peugeot 107 2005 3D Model featuring clean geometry, realistic detailing, and a fully modeled interior. Includes .blend, .fbx, .obj, .glb, .stl, .ply, .unreal, and .max formats for rendering, simulation, and game development.
Price: $4.99
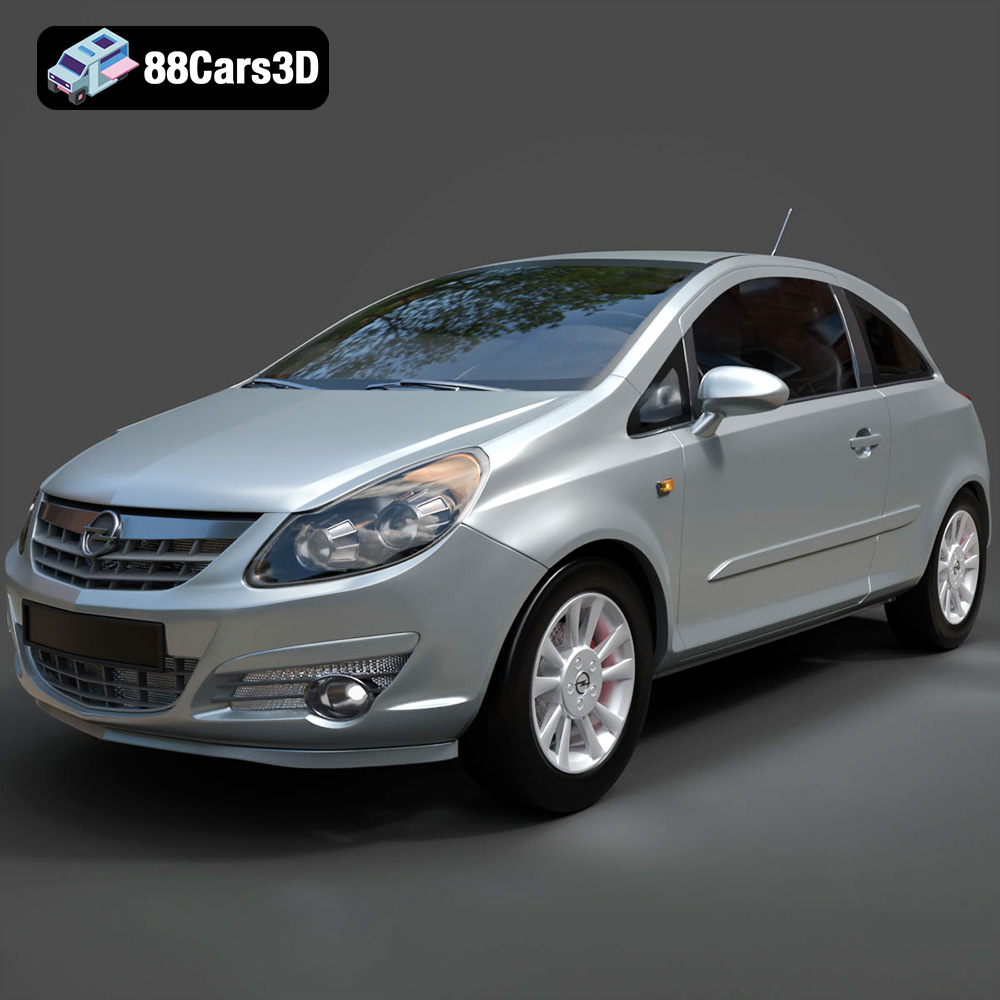
Texture: Yes
Material: Yes
Download the Opel Corsa 2007 3D Model featuring clean geometry, realistic detailing, and a fully modeled interior. Includes .blend, .fbx, .obj, .glb, .stl, .ply, .unreal, and .max formats for rendering, simulation, and game development.
Price: $4.99
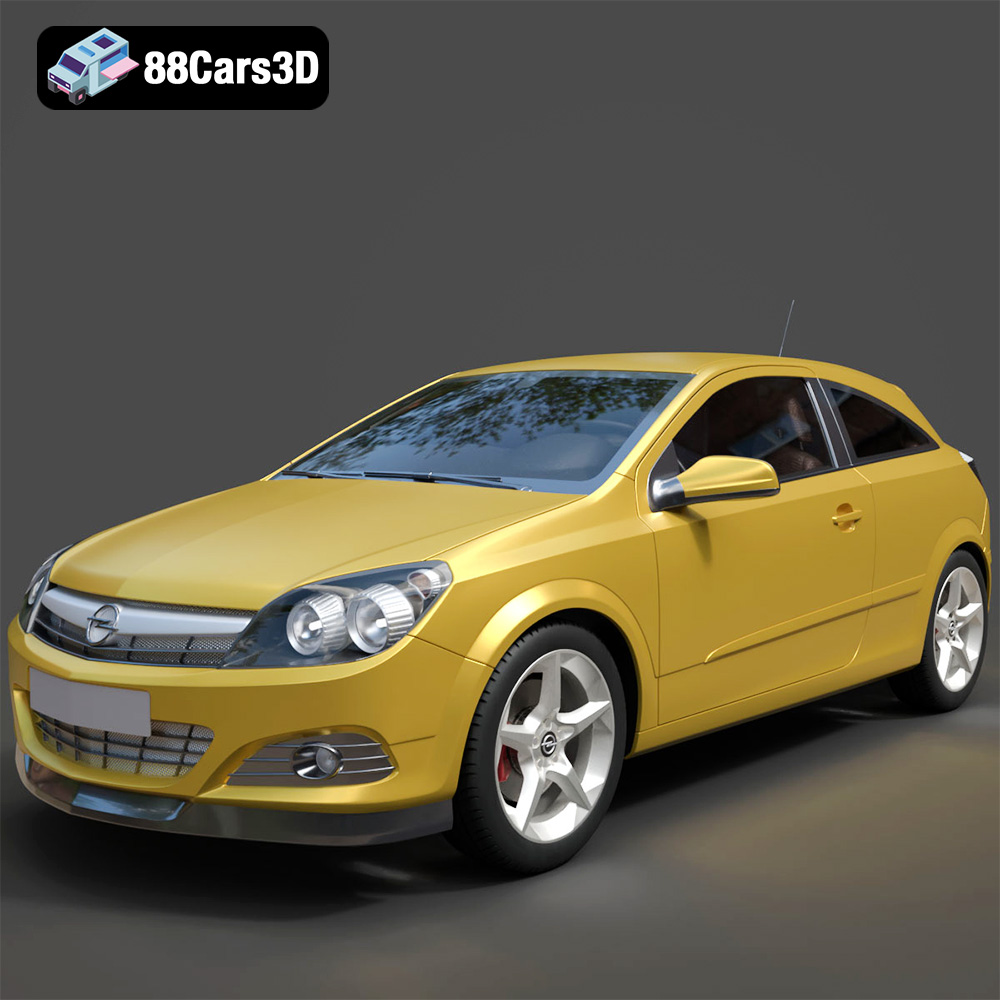
Texture: Yes
Material: Yes
Download the Opel Astra H GTC 3D Model featuring clean geometry, realistic detailing, and a fully modeled interior. Includes .blend, .fbx, .obj, .glb, .stl, .ply, .unreal, and .max formats for rendering, simulation, and game development.
Price: $4.99
Texture: Yes
Material: Yes
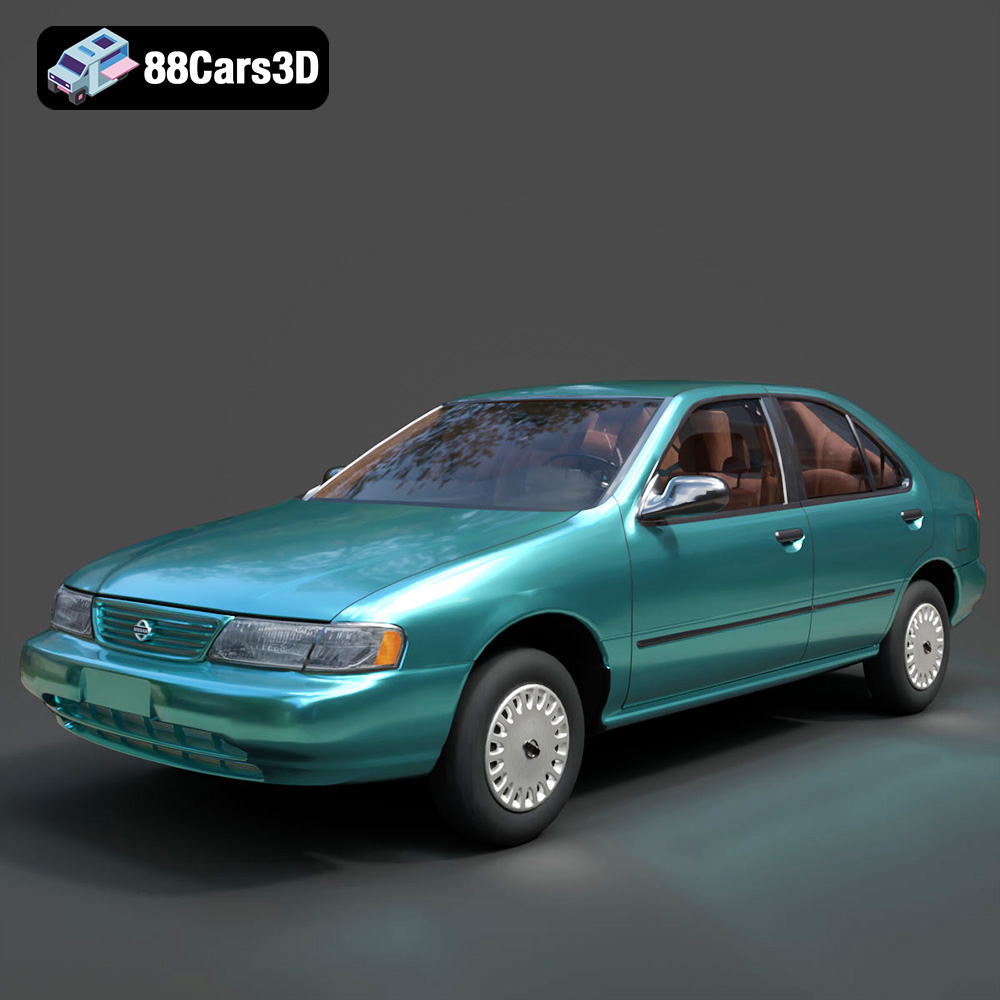
Download the Nissan Sentra GXE 1996 3D Model featuring clean geometry, realistic detailing, and a fully modeled interior. Includes .blend, .fbx, .obj, .glb, .stl, .ply, .unreal, and .max formats for rendering, simulation, and game development.
Price: $4.99
Texture: Yes
Material: Yes
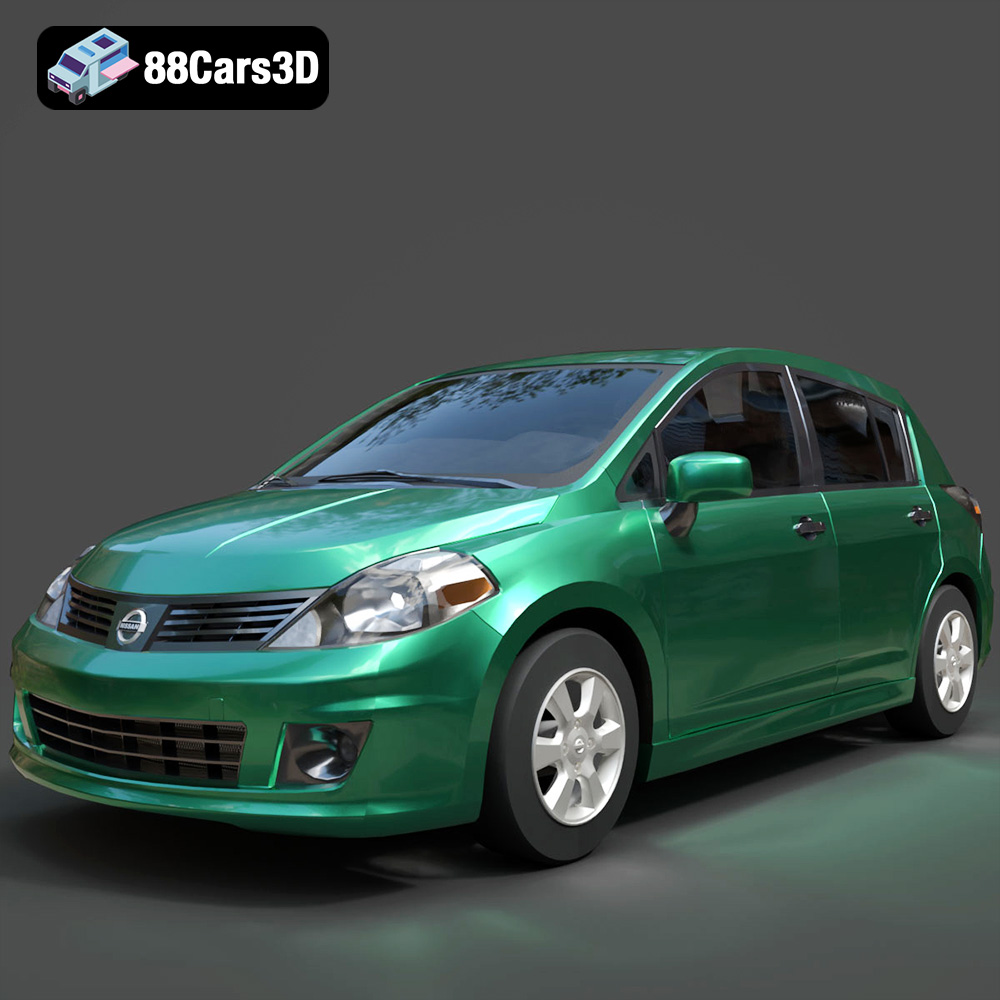
Download the Nissan Tiida 3D Model featuring clean geometry, realistic detailing, and a fully modeled interior. Includes .blend, .fbx, .obj, .glb, .stl, .ply, .unreal, and .max formats for rendering, simulation, and game development.
Price: $4.99

