Get 20% OFF All Premium 3D & STL Models!

In the dynamic world of 3D visualization, few assets capture the imagination and demand as much technical prowess as a high-quality 3D car model. From the sleek lines of a supercar gracing an advertising campaign to the intricate details of a vintage classic navigating a virtual world, these digital vehicles are at the heart of innovation across industries. Automotive designers use them for rapid prototyping and concept validation, game developers integrate them for immersive driving experiences, and filmmakers leverage them for breathtaking visual effects. But what truly defines a “high-quality” 3D car model? It’s a harmonious blend of pristine topology, accurate proportions, realistic materials, and intelligent optimization.
This comprehensive guide will take you on an in-depth journey through the multifaceted world of 3D car modeling. We’ll explore the foundational principles of clean mesh construction, delve into the art of creating lifelike materials, uncover the secrets of stunning rendering, and demystify the critical optimization techniques required for real-time applications like gaming and AR/VR. Whether you’re a seasoned 3D artist, an aspiring game developer, or an automotive professional seeking to enhance your visualization capabilities, preparing models for diverse outputs such as 3D printing, this article will equip you with the knowledge and actionable insights to elevate your projects to professional standards. Let’s buckle up and dive into the mechanics of crafting truly exceptional 3D automotive assets.
The structural integrity of any 3D model, especially complex hard-surface objects like cars, begins with its topology. Clean, efficient topology isn’t just an aesthetic choice; it’s a fundamental requirement that dictates how a model deforms, how light reflects off its surfaces, and how easily it can be textured and animated. For automotive models, which are characterized by smooth, flowing curves and sharp, precise edges, impeccable topology is paramount. It ensures that reflections appear seamless across panels and that the model holds its shape under various subdivision levels. The goal is to create a mesh primarily composed of quadrilaterals (quads), as these provide the most predictable and controllable results for subdivision surfaces and deformation. While triangles are acceptable in some low-poly contexts or specific areas where deformation isn’t critical, N-gons (polygons with more than four sides) should generally be avoided, as they can lead to unpredictable shading, pinching, and issues with UV unwrapping.
A well-modeled car will have an optimized polygon count tailored to its intended use. A hero asset for a high-fidelity cinematic render might comfortably sit between 150,000 to 500,000 polygons, capturing every subtle curvature and detail. In contrast, a mid-poly model for a real-time configurator might target 50,000 to 100,000 polygons, while a low-poly version for a mobile game could be as lean as 5,000 to 20,000 polygons. Striking the right balance between detail and performance requires careful planning and execution. This often involves starting with a high-detail sculpt or base mesh and then creating optimized versions, or utilizing advanced retopology techniques to build a clean quad-based mesh over a high-resolution scan or sculpt. This disciplined approach to topology ensures versatility and efficiency across all project types.
Automotive design is defined by the interplay of sweeping curves and crisp, defined edges. Achieving this balance in 3D requires specific modeling techniques. For smooth surfaces, the goal is to maintain an even distribution of quads, allowing subdivision modifiers (like Turbosmooth in 3ds Max or Subdivision Surface in Blender) to produce flawlessly smooth results. Support loops, or “control loops,” are critical here. These are additional edge loops placed near corners or edges that you want to sharpen. By tightening these loops, you effectively reduce the rounding effect of subdivision, creating a hard edge without resorting to excessively dense geometry. For instance, a door panel might use two or three tight support loops along its edges to maintain a crisp separation from the body, while the main surface remains broad and smooth. Advanced techniques also involve using crease sets or edge weights, which allow for localized sharpness control on subdivision surfaces without adding extra geometry, offering immense flexibility during the modeling process.
The concept of Level of Detail (LOD) is crucial for optimizing 3D car models, especially for interactive applications like games and AR/VR. Instead of using a single, high-polygon model everywhere, LODs involve creating multiple versions of the same asset, each with a progressively lower polygon count. A common strategy involves three to four LODs: LOD0 (highest detail, for close-ups, e.g., 150k-300k polygons), LOD1 (medium detail, for typical viewing distances, e.g., 50k-100k polygons), LOD2 (lower detail, for distant views, e.g., 10k-30k polygons), and LOD3 (simplest version, for very far distances or shadows, e.g., 1k-5k polygons). Implementing LODs correctly reduces the computational burden on the rendering engine, as it only renders the necessary detail for a given camera distance, significantly improving frame rates and overall performance. Tools within software like 3ds Max, Maya, Blender, and directly within game engines like Unity and Unreal Engine, provide robust features for generating and managing LODs, often with automatic decimation algorithms that aim to preserve mesh integrity.
Once the geometric foundation of a 3D car model is solid, the next critical step is to give it a convincing visual identity through texturing and materials. This process heavily relies on effective UV mapping and the creation of Physically Based Rendering (PBR) materials. UV unwrapping is essentially flattening the 3D surface of your model into a 2D space, allowing you to paint or apply textures to it without distortion. Poor UVs lead to stretched or pixelated textures, making even the highest resolution maps look bad. For complex automotive surfaces with intricate curves and overlapping panels, careful UV unwrapping is essential to ensure uniform texel density – meaning that the resolution of your textures is consistent across the entire model, preventing some areas from appearing blurry while others are sharp.
Modern rendering relies almost exclusively on PBR workflows, which simulate how light interacts with real-world materials more accurately than traditional lighting models. PBR materials are defined by a set of texture maps that describe various surface properties, ensuring consistent and realistic rendering across different lighting conditions and rendering engines. Understanding how these maps interact and how to create them is key to achieving photorealistic automotive finishes, from the glossy sheen of car paint to the subtle grain of interior leather and the intricate details of engine components.
Automotive models present unique UV challenges due to their vast, often curved surfaces and numerous distinct parts. For the car body, strategies often involve segmenting panels (doors, hood, trunk, fenders) and unwrapping them individually to minimize distortion and create logical seams in less visible areas. Techniques like “cut and sew” in 3ds Max, Maya, or Blender allow precise control over seam placement. For interiors, many small components like buttons, vents, and dashboard elements can be UV-mapped individually and then packed efficiently into a single UV space. A crucial best practice is to achieve uniform texel density across all UV shells. This means that a texture applied to a small button will appear at the same resolution as a texture applied to a large door panel. Tools like “UV Checker” maps can help visualize texel density. Furthermore, UV atlasing – combining multiple smaller textures into one larger texture map – is an excellent optimization technique, especially for game engines. This reduces the number of material calls (draw calls), improving performance significantly by allowing the renderer to process more surfaces with fewer texture changes.
PBR materials are the backbone of photorealistic rendering. They typically consist of several key texture maps:
These maps are typically created using dedicated texturing software like Substance Painter or Quixel Mixer, which allow artists to paint directly on the 3D model with layers, procedural generators, and smart materials, streamlining the PBR workflow. Node-based material editors in renderers like Corona, V-Ray, Cycles, and Arnold facilitate connecting these maps to build complex shader networks that accurately mimic real-world materials such as glossy car paint, matte plastic, reflective chrome, and textured leather.
Even the most meticulously modeled and textured 3D car model will fall flat without compelling lighting and a robust rendering workflow. Rendering is the process of generating a 2D image from a 3D scene, and for automotive visualization, this means transforming raw data into stunning, lifelike imagery that captures the vehicle’s essence. Modern renderers utilize advanced algorithms, particularly Global Illumination (GI), to simulate how light bounces around a scene, creating soft shadows, color bleeding, and realistic reflections that are crucial for automotive realism. Popular engines like Chaos Group’s V-Ray and Corona Renderer for 3ds Max, Blender’s Cycles, Autodesk’s Arnold, and Otoy’s Octane Render each offer unique strengths in speed, quality, and workflow, but all share the common goal of delivering photorealistic results.
A successful automotive render isn’t just about technical settings; it’s about artistic vision. It involves carefully crafting an environment, positioning lights, selecting camera angles, and fine-tuning materials to highlight the vehicle’s design and features. Whether it’s a sterile studio setup designed to showcase every detail, or a dynamic environmental shot that places the car in a believable context, the lighting setup is the primary driver of visual impact. Moreover, professional workflows often involve rendering in passes (e.g., diffuse, reflection, refractions, shadows, alpha) which provides maximum flexibility during the post-processing and compositing stages, allowing artists to make precise adjustments without re-rendering the entire image.
For pristine product shots that highlight a car’s form and finish, studio lighting setups are standard. A common starting point is using a High Dynamic Range Image (HDRI) map for environment lighting. HDRIs provide a wide range of light information from a real-world or studio environment, offering realistic ambient light, reflections, and subtle shadows. When sourcing models from marketplaces such as 88cars3d.com, often high-quality studio HDRIs are included or recommended. This can be combined with strategically placed area lights or plane lights to sculpt the car’s surfaces and emphasize its contours. A typical setup might include:
The size, intensity, color, and position of each light are crucial. Using softbox-like area lights with a low intensity and broad coverage mimics professional photography studios. Paying close attention to how reflections behave on the car’s paintwork is key to achieving a truly convincing render.
Beyond studio shots, placing a 3D car model into a dynamic, realistic environment creates compelling narratives and showcases its real-world presence. This involves integrating the vehicle seamlessly into a pre-existing 3D environment or a backplate image/video. Key considerations include:
After rendering, the image often undergoes post-processing in software like Adobe Photoshop or Blackmagic Design Fusion. This involves color correction, adding lens effects (bloom, glare, depth of field), sharpening, and blending render passes to achieve the final, polished look. This compositing stage is where subtle details are enhanced, and the overall mood of the image is perfected, bringing the car to life in its chosen environment.
While cinematic renders prioritize raw visual fidelity, real-time applications like video games, interactive configurators, and architectural walkthroughs demand a different approach: uncompromising performance alongside visual quality. Game engines such as Unity and Unreal Engine process thousands, sometimes millions, of polygons and textures per frame, and every asset, especially something as detailed as a 3D car model, must be meticulously optimized to maintain smooth frame rates. Unoptimized models can cause significant slowdowns, leading to a poor user experience. The key challenge lies in balancing visual integrity with efficient resource management, reducing the computational load on the GPU and CPU without sacrificing critical detail.
Optimization is not an afterthought; it’s an integral part of the game asset creation pipeline. It involves strategic reductions in polygon count, clever management of textures and materials, and the intelligent use of various techniques to simplify the rendering process when possible. Game-ready 3D car models, like those found on 88cars3d.com, are often specifically prepared with these optimizations in mind, ensuring they perform well out-of-the-box in real-time environments. Understanding these techniques is crucial for any developer aiming to deliver a seamless and engaging interactive experience with automotive assets.
As discussed previously, LODs are indispensable for game engine optimization. Implementing them in Unity or Unreal Engine involves creating multiple mesh versions of the car, each with a successively lower polygon count.
Game engines automatically swap between these LODs based on the camera’s distance to the object. This dramatically reduces the number of triangles the GPU needs to process at any given moment, significantly boosting frame rates. Tools within these engines allow for easy LOD generation and management, often with visual thresholds to define when each LOD should be active.
Another critical optimization for game engines is reducing the number of “draw calls.” A draw call occurs every time the CPU instructs the GPU to draw something, often a material. Each unique material on a model (even if it uses the same texture) typically results in a new draw call. If a car has 50 different materials for its various parts (paint, glass, chrome, plastic, interior fabrics, etc.), that’s 50 draw calls just for one car.
Texture Atlasing: This technique involves combining multiple small textures (e.g., textures for headlights, taillights, side mirrors, interior buttons) into one larger “atlas” texture. By packing all these textures into a single sheet, the engine only needs to load and sample from one texture, drastically reducing draw calls.
Material Consolidation: By extension, if multiple parts can share the same material and texture atlas, this further reduces draw calls. For example, all interior plastic elements might use the same plastic material and sample from the same texture atlas, regardless of whether they are part of the dashboard or a door panel. While this can sometimes require more complex UV mapping, the performance benefits are substantial. Artists will often bake high-resolution details into normal maps on a lower-polygon mesh to maintain visual quality with fewer materials and polygons.
For interactive game experiences, cars need more than just a visual mesh; they need functional components for physics and animation.
Collision Meshes: Instead of using the high-polygon visual mesh for physics calculations, which would be computationally expensive, a separate, much simpler collision mesh is created. This mesh is usually a series of basic primitives (boxes, spheres, capsules) or a very low-polygon approximation of the car’s shape. This “collider” mesh determines how the car interacts with the environment and other objects, allowing for realistic crashes and bumps without burdening the physics engine with unnecessary detail.
Rigging for Animation: If the car needs to be animated (e.g., doors opening, wheels turning, suspension compression), it requires a skeletal rig. This involves creating a hierarchy of bones (joints) that control different parts of the car. For a basic vehicle, this might include bones for each wheel, steering, and a root bone for the car body. More complex rigs can include bones for doors, hood, trunk, and even interior elements. Proper rigging ensures that animations are smooth and realistic, providing a dynamic interactive experience.
The versatility of 3D car models extends far beyond static renders and game engines. As technology evolves, so do the applications for these digital assets. From augmenting reality experiences on smartphones to creating physical replicas through 3D printing, a single high-quality 3D car model can serve a multitude of purposes, provided it’s prepared with the specific requirements of each application in mind. Adapting a model for these specialized uses often involves unique optimization strategies, file format considerations, and sometimes even fundamental changes to the mesh structure. This adaptability is what makes a truly valuable 3D asset in today’s diverse digital landscape.
Augmented Reality (AR) and Virtual Reality (VR) environments demand extremely tight optimization due to the real-time processing required for immersive experiences and the limitations of mobile hardware for AR.
Transforming a digital 3D car model into a physical object via 3D printing introduces an entirely new set of technical considerations. Unlike rendering, where non-manifold geometry or open edges might go unnoticed, 3D printing requires a “watertight” or “manifold” mesh – essentially, a solid object with no holes, inverted normals, or self-intersecting geometry.
For high-quality models from platforms like 88cars3d.com, you often start with a well-structured base, but some adjustments are typically needed to ensure printability.
The ability to convert 3D car models between various file formats is crucial for cross-software workflows and diverse applications. Each format has its strengths and preferred use cases:
When converting, always check the integrity of the mesh, UVs, and material assignments in the target software. Export settings (e.g., triangulate mesh, embed media, scene scale) are critical to ensure a clean conversion, especially when sharing models across different pipelines or with team members using different software.
The journey through the creation, optimization, and application of high-quality 3D car models is a testament to the blend of technical expertise and artistic vision required in today’s 3D industry. We’ve explored the fundamental importance of clean topology for seamless reflections and efficient deformation, delved into the intricacies of UV mapping and PBR material creation to achieve photorealistic surfaces, and uncovered the magic behind stunning automotive renders through advanced lighting techniques. Furthermore, we’ve dissected the critical optimization strategies – from LODs and texture atlasing to collision meshes and appropriate file formats – essential for bringing these incredible vehicles to life in demanding real-time environments like games and AR/VR, and even prepared them for tangible creation via 3D printing.
Mastering 3D car models is an ongoing process of learning and refinement, but by adhering to these best practices and embracing the specialized requirements of each application, artists and developers can consistently produce assets that stand out. The demand for highly detailed, accurately represented, and efficiently optimized 3D car models will only continue to grow across all sectors. Whether you’re building a hyper-realistic automotive configurator, designing the next big racing game, or visualizing future car concepts, the foundational knowledge shared here will serve as your roadmap.
Ready to accelerate your projects with professional-grade assets? Explore the vast collection of meticulously crafted 3D car models available on platforms like 88cars3d.com. These pre-optimized, high-fidelity models provide an excellent starting point, saving countless hours and ensuring your visualizations are built on the best possible foundation. Invest in quality assets and elevate your automotive visualization today.
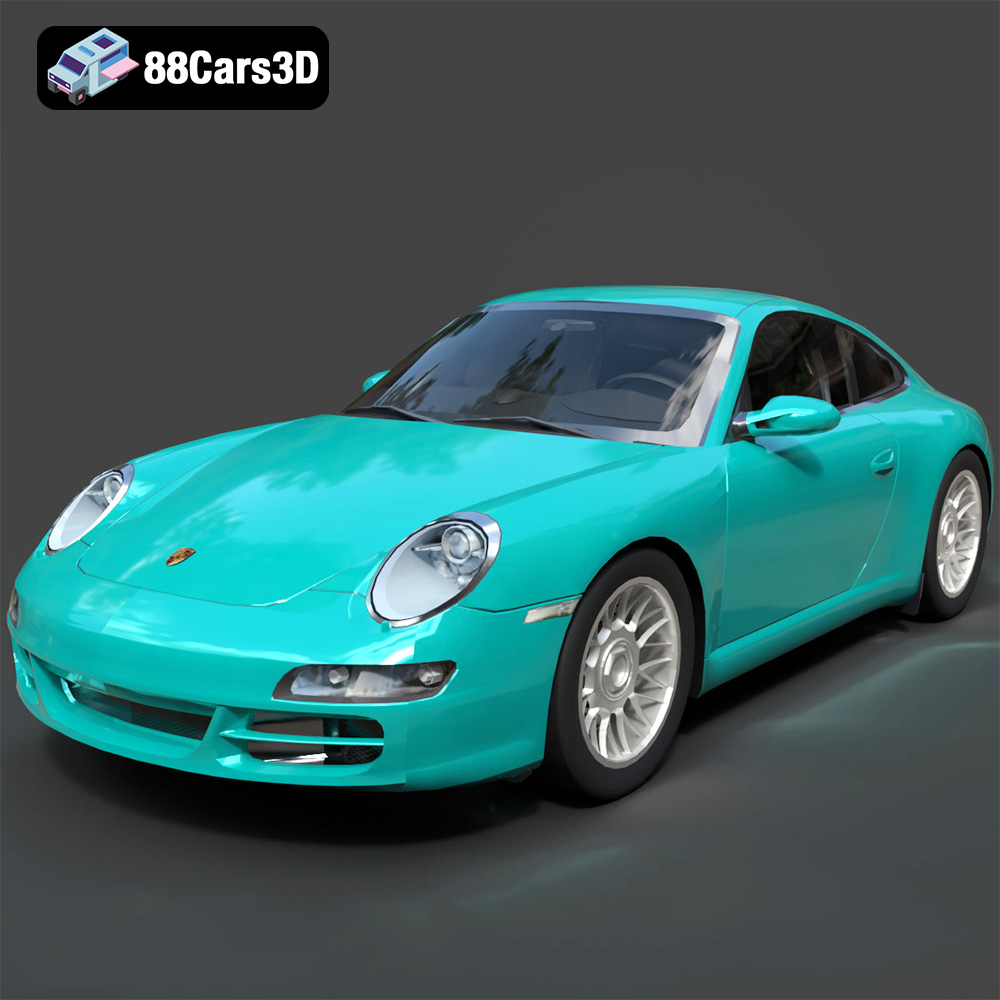
Texture: Yes
Material: Yes
Download the Porsche 911 Carrera S 2005 3D Model featuring clean geometry, realistic detailing, and a fully modeled interior. Includes .blend, .fbx, .obj, .glb, .stl, .ply, .unreal, and .max formats for rendering, simulation, and game development.
Price: $4.99
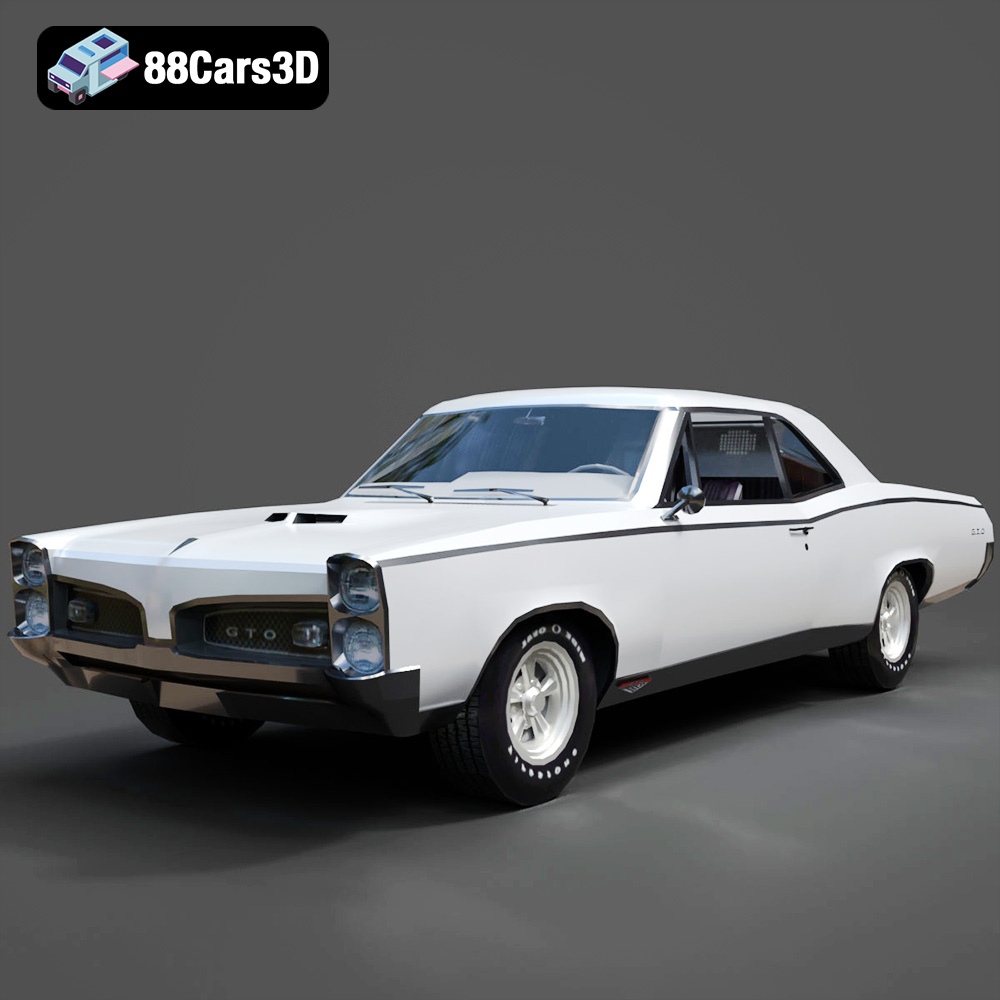
Texture: Yes
Material: Yes
Download the Pontiac GTO 1967 3D Model featuring clean geometry, realistic detailing, and a fully modeled interior. Includes .blend, .fbx, .obj, .glb, .stl, .ply, .unreal, and .max formats for rendering, simulation, and game development.
Price: $4.99
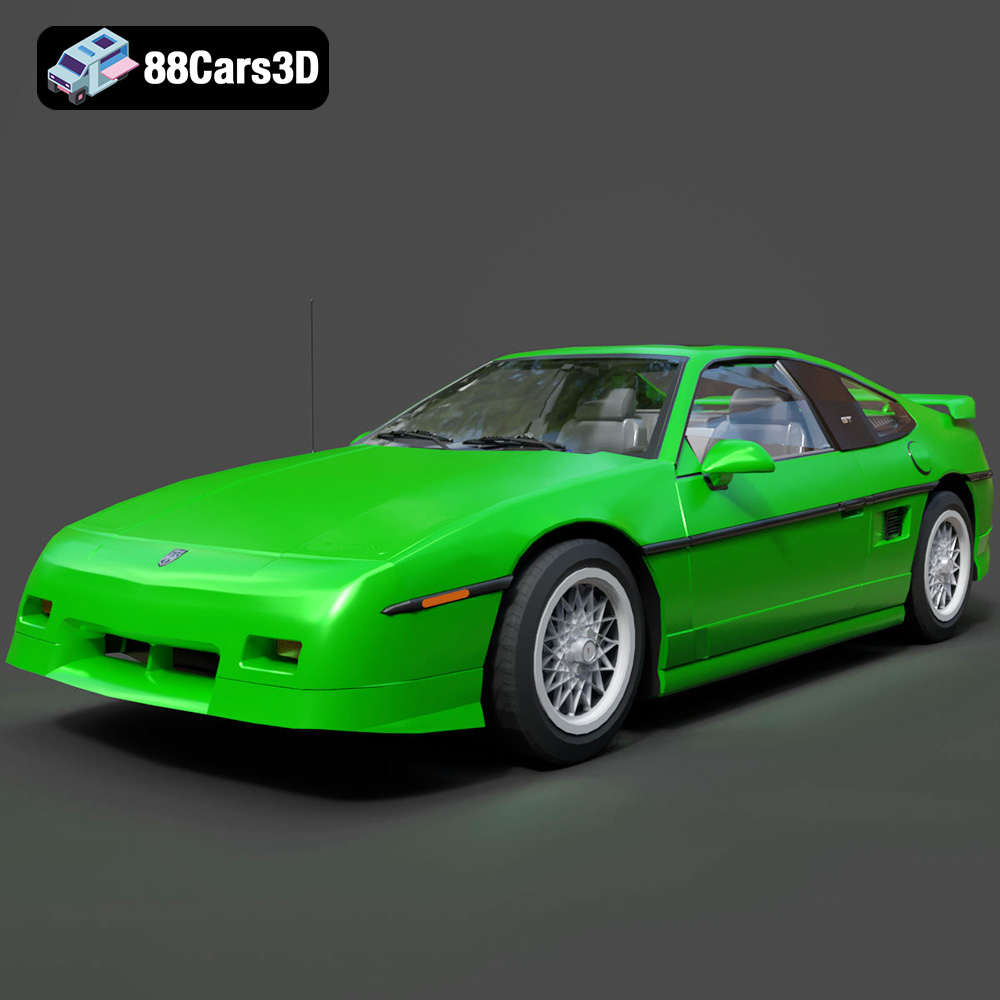
Texture: Yes
Material: Yes
Download the Pontiac Fiero GT 1987 3D Model featuring clean geometry, realistic detailing, and a fully modeled interior. Includes .blend, .fbx, .obj, .glb, .stl, .ply, .unreal, and .max formats for rendering, simulation, and game development.
Price: $4.99
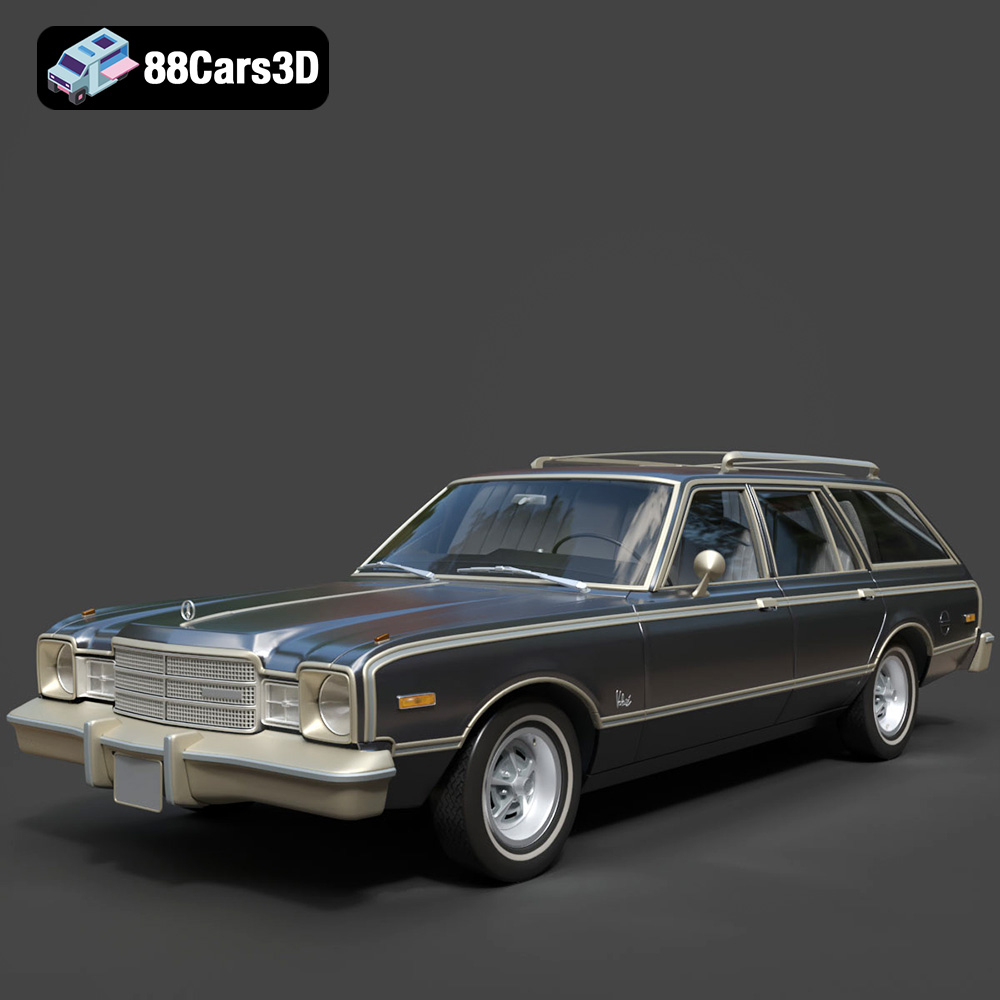
Texture: Yes
Material: Yes
Download the Plymouth Volare Wagon 3D Model featuring clean geometry, realistic detailing, and a fully modeled interior. Includes .blend, .fbx, .obj, .glb, .stl, .ply, .unreal, and .max formats for rendering, simulation, and game development.
Price: $4.99
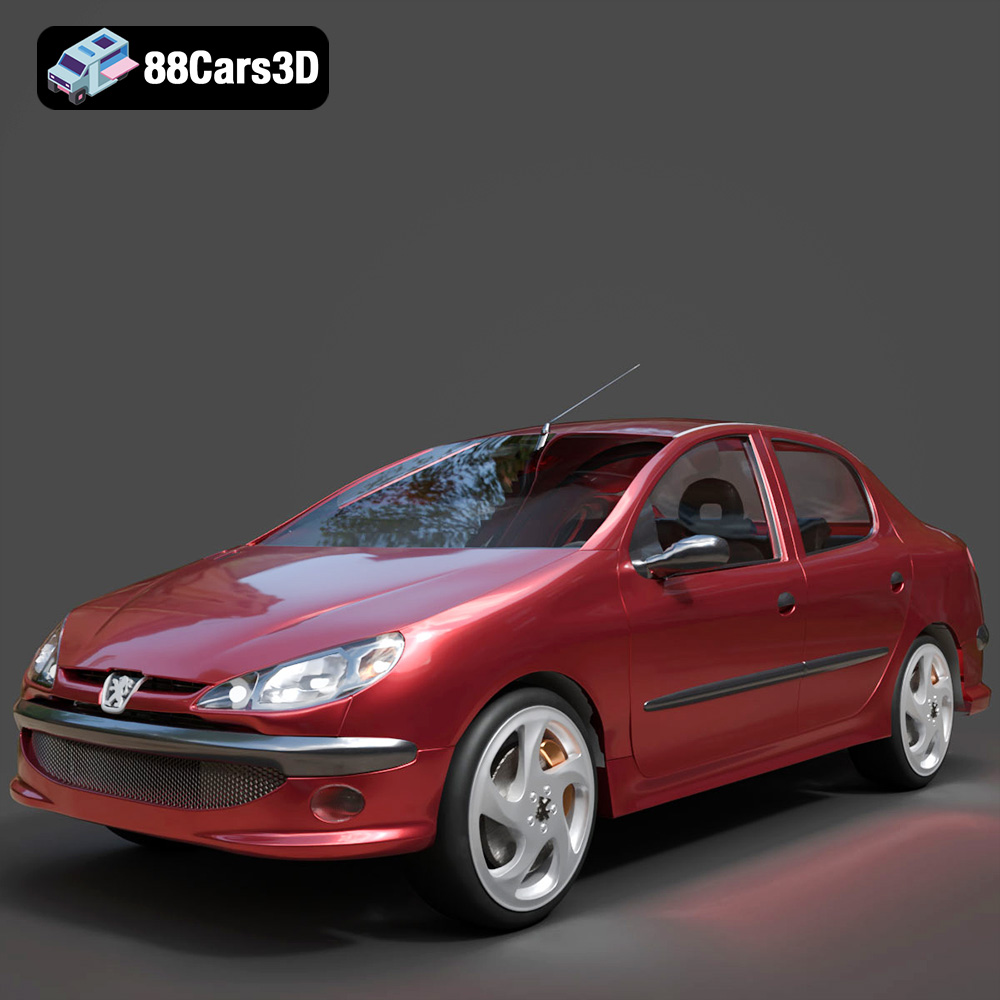
Texture: Yes
Material: Yes
Download the Peugeot 206 Sedan 2002 3D Model featuring clean geometry, realistic detailing, and a fully modeled interior. Includes .blend, .fbx, .obj, .glb, .stl, .ply, .unreal, and .max formats for rendering, simulation, and game development.
Price: $4.99
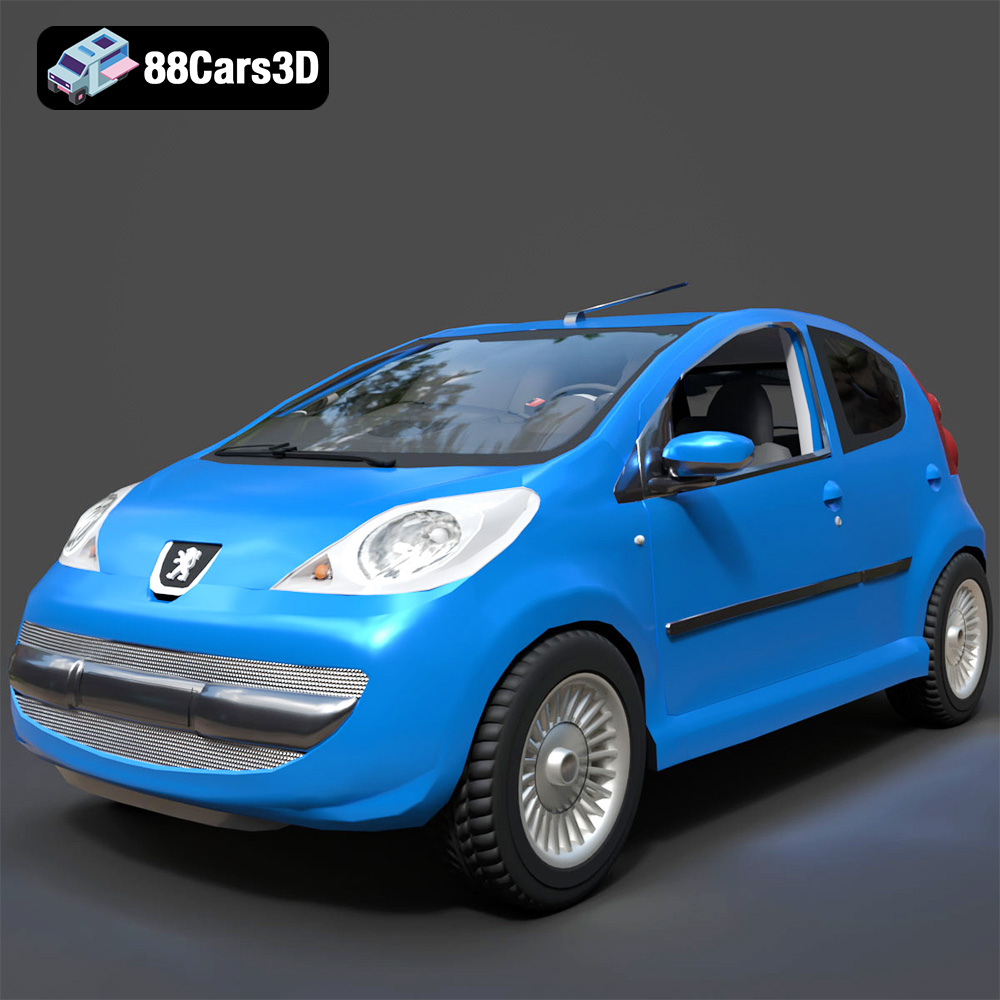
Texture: Yes
Material: Yes
Download the Peugeot 107 2005 3D Model featuring clean geometry, realistic detailing, and a fully modeled interior. Includes .blend, .fbx, .obj, .glb, .stl, .ply, .unreal, and .max formats for rendering, simulation, and game development.
Price: $4.99
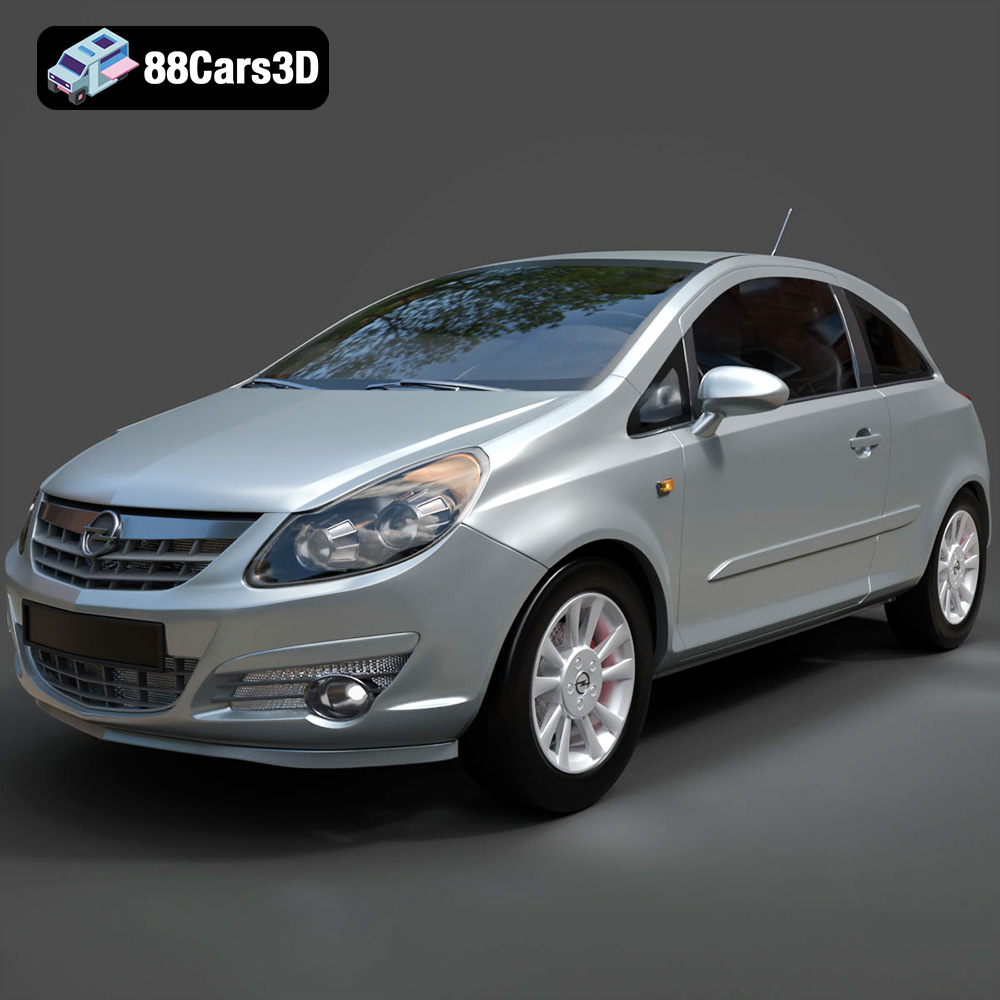
Texture: Yes
Material: Yes
Download the Opel Corsa 2007 3D Model featuring clean geometry, realistic detailing, and a fully modeled interior. Includes .blend, .fbx, .obj, .glb, .stl, .ply, .unreal, and .max formats for rendering, simulation, and game development.
Price: $4.99
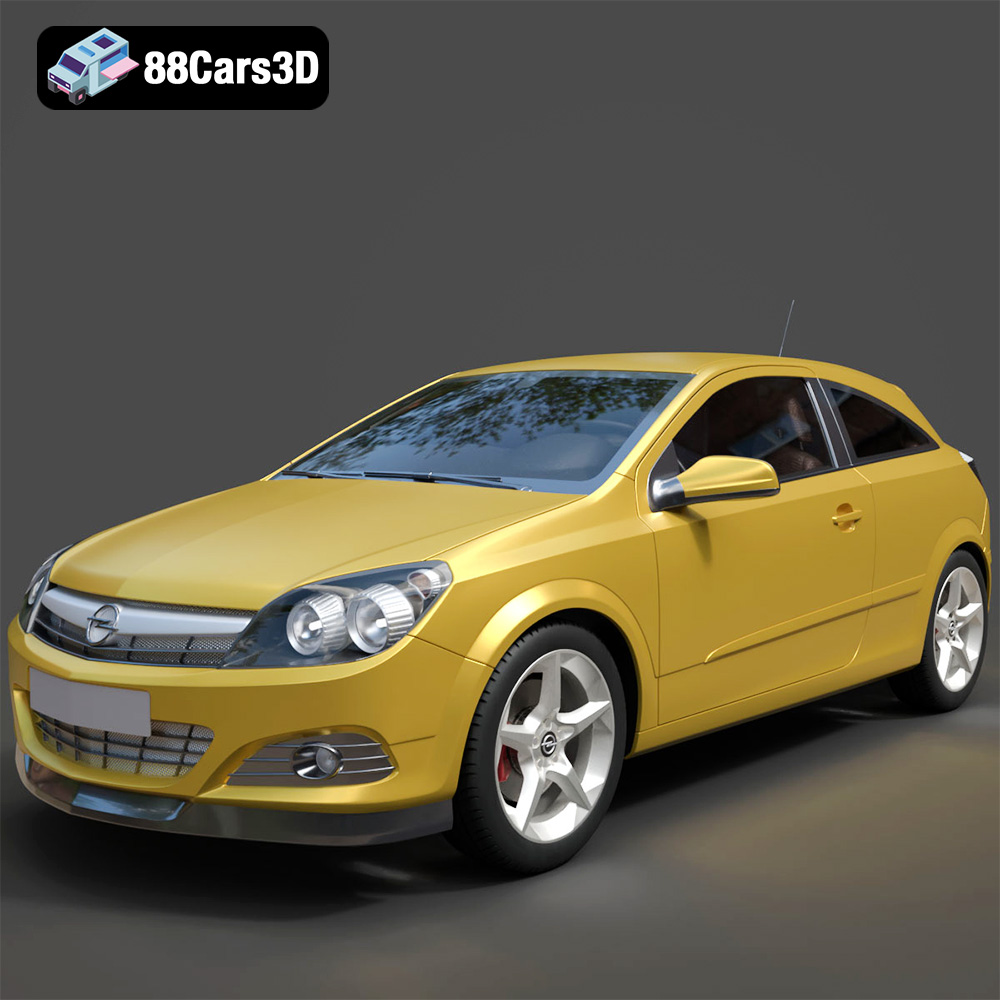
Texture: Yes
Material: Yes
Download the Opel Astra H GTC 3D Model featuring clean geometry, realistic detailing, and a fully modeled interior. Includes .blend, .fbx, .obj, .glb, .stl, .ply, .unreal, and .max formats for rendering, simulation, and game development.
Price: $4.99
Texture: Yes
Material: Yes
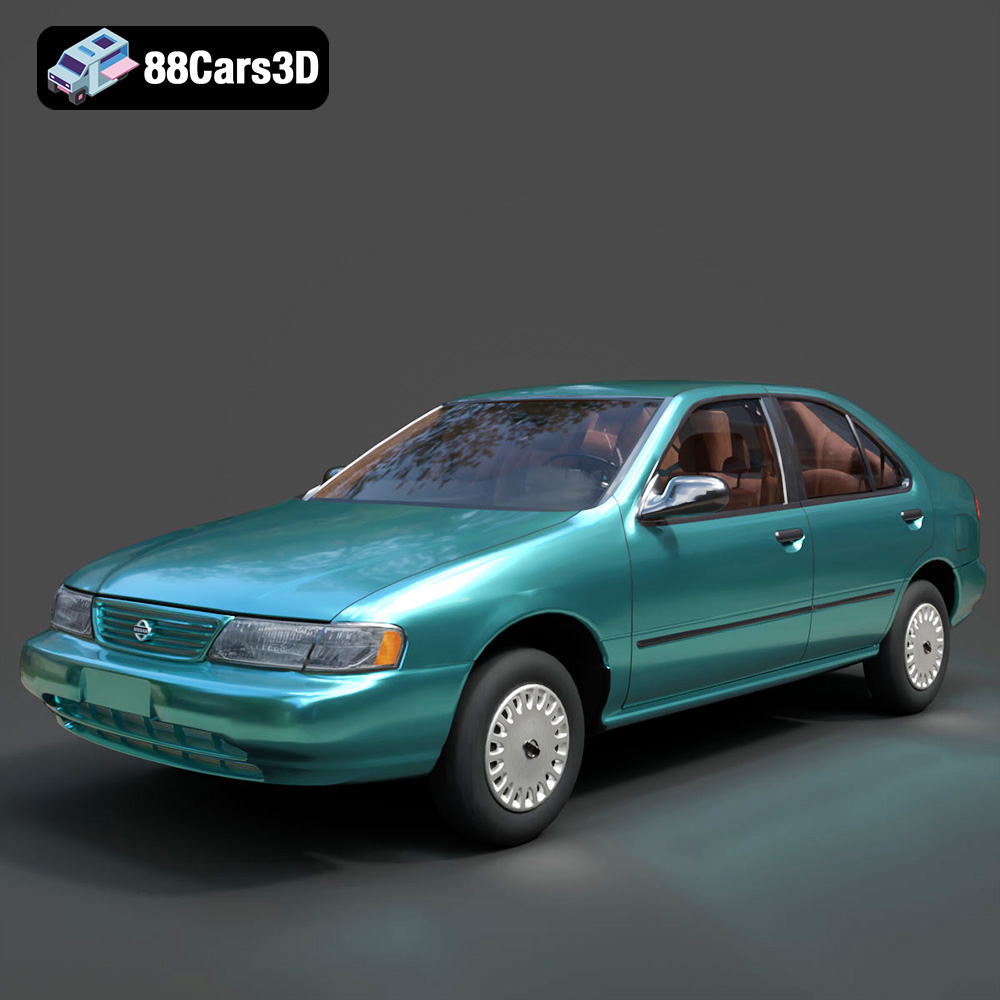
Download the Nissan Sentra GXE 1996 3D Model featuring clean geometry, realistic detailing, and a fully modeled interior. Includes .blend, .fbx, .obj, .glb, .stl, .ply, .unreal, and .max formats for rendering, simulation, and game development.
Price: $4.99
Texture: Yes
Material: Yes
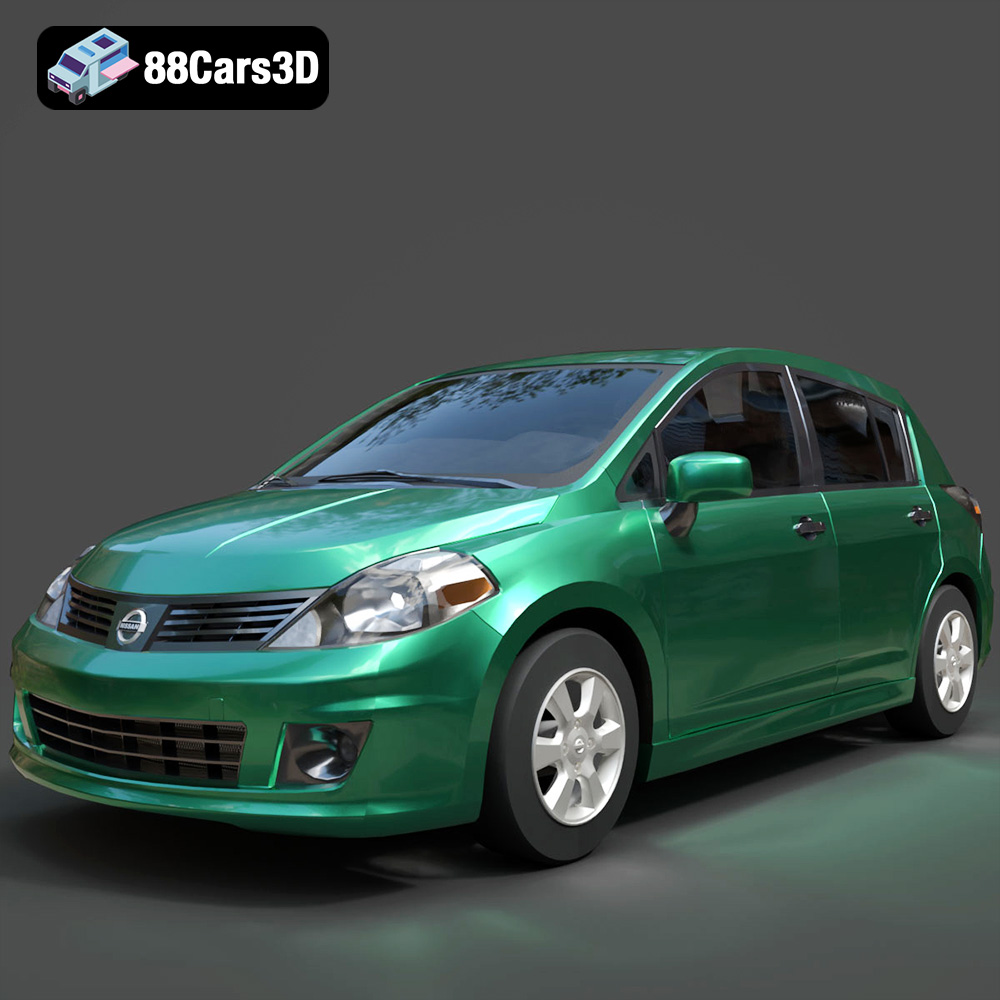
Download the Nissan Tiida 3D Model featuring clean geometry, realistic detailing, and a fully modeled interior. Includes .blend, .fbx, .obj, .glb, .stl, .ply, .unreal, and .max formats for rendering, simulation, and game development.
Price: $4.99

