The Art and Science of Crafting High-Fidelity 3D Car Models: An End-to-End Guide
The Art and Science of Crafting High-Fidelity 3D Car Models: An End-to-End Guide
In the vibrant world of 3D visualization, few subjects capture the imagination quite like the automobile. From sleek sports cars to rugged off-roaders, 3D car models are indispensable assets for a myriad of industries: game development, automotive design, architectural visualization, film production, marketing, and the rapidly expanding realms of AR/VR. However, creating truly high-fidelity, production-ready 3D car models is a complex undertaking, demanding a deep understanding of artistic principles, technical precision, and intricate workflows.
This comprehensive guide will take you on an in-depth journey through the entire lifecycle of developing professional-grade 3D car models. We’ll peel back the layers of sophisticated workflows, from the foundational principles of clean topology and efficient UV mapping to the advanced nuances of PBR material creation, photorealistic rendering, and crucial optimization techniques for real-time applications. Whether you’re a seasoned 3D artist aiming to refine your automotive craft, a game developer seeking performant assets, or an automotive designer looking to enhance your visualization pipeline, this post will equip you with the knowledge and actionable strategies to elevate your projects. When you need a head start with professionally crafted assets, platforms like 88cars3d.com offer a vast selection of ready-to-use, high-quality 3D car models, ensuring a strong foundation for any project.
Mastering 3D Car Model Topology and Edge Flow
The foundation of any exceptional 3D car model lies in its topology. Topology refers to the arrangement of polygons (faces, edges, and vertices) that make up a 3D mesh. For automotive models, clean and efficient topology is paramount, directly impacting shading, deformation, UV mapping, and overall model performance. Poor topology can lead to pinching, artifacting, and difficulty in achieving smooth, curvature-accurate surfaces.
The core principle for car modeling is a quad-dominant mesh. This means the vast majority of your polygons should be quadrilaterals (four-sided faces). Quads subdivide predictably, making them ideal for subdivision surface (SDS) modeling, which is the gold standard for creating the smooth, flowing curves characteristic of vehicle bodies. Aim for uniform polygon density across surfaces to ensure consistent detail and prevent stretching during subdivision. Avoid triangles and N-gons (polygons with more than four sides) in critical areas, especially on curved surfaces, as they can cause shading anomalies and unpredictable deformation.
Hard Surface Modeling Techniques
Creating precise automotive surfaces often involves a blend of techniques. For organic, flowing body panels, subdivision surface modeling (also known as Catmull-Clark subdivision) is typically employed. You start with a relatively low-polygon base mesh and let the subdivision algorithm smooth it out. This method allows for iterative refinement and natural curvature.
Alternatively, some workflows begin with CAD data, often provided in formats like STEP or IGES. While these offer incredible precision, they are typically NURBS (Non-Uniform Rational B-Spline) surfaces, which are mathematically defined curves, not polygon meshes. For visualization or real-time applications, this NURBS data often needs to be converted into polygons, a process called tessellation. Following tessellation, a crucial step is retopology – rebuilding a clean, quad-dominant polygonal mesh over the high-detail CAD geometry. This ensures optimal performance and shading, as direct tessellation can often result in dense, irregular triangulation.
Maintaining Edge Flow for Smooth Deformation and Shading
Edge flow is the path that edges take across the surface of your model. For cars, excellent edge flow is critical for defining panel gaps, creases, and subtle surface transitions. Thoughtful edge placement ensures that when your model is subdivided, these details remain crisp and well-defined, and light reflects off the surface smoothly.
- Edge Loops for Creases: Strategic edge loops running along areas like panel lines, character lines, and around windows help define their sharpness.
- Support Loops (Control Edges): When using SDS, adding extra edge loops very close to a hard edge “supports” that edge, preventing it from becoming too soft when subdivided. This is essential for maintaining the distinct lines of car bodywork without introducing unnecessary polygons further into the mesh.
- Minimizing Triangles and N-gons: While occasional triangles may be unavoidable in very flat or complex converging areas, they should be minimized and placed where they won’t interfere with deformation or visible curvature. N-gons should be avoided entirely on subdividable surfaces due to their unpredictable subdivision behavior.
For high-detail render models, polygon counts can range from 150,000 to 500,000 polygons for a complete car, ensuring fine detail and smooth surfaces. For game engines, targets are significantly lower, often aiming for 50,000 to 100,000 polygons for the main vehicle, with more aggressive optimization via Level of Detail (LOD) models.
Advanced UV Mapping for Seamless Automotive Surfaces
Once your 3D car model’s topology is solid, the next crucial step is UV mapping. UVs are 2D coordinates that tell your 3D software how to project a 2D texture onto the 3D surface of your model. Flawless UV mapping is essential for creating realistic materials, preventing texture stretching, minimizing visible seams, and optimizing texture memory usage, especially on the large, curved surfaces of an automobile.
The primary goal of UV unwrapping for car models is to create a clean, organized, and distortion-free 2D representation of your 3D mesh. Strategic placement of UV seams is vital. For car bodies, seams should generally be placed in less visible areas, such as along natural panel breaks, beneath the car, or within interior crevices. Avoiding long, continuous seams across highly reflective surfaces minimizes their visibility in the final render.
UV Unwrapping Strategies for Complex Geometry
Unwrapping a complex object like a car requires a methodical approach. Different parts of the car will benefit from different unwrapping techniques:
- Hard Surface UVs: For flat or slightly curved panels (like doors, hoods, roofs), cylindrical or planar projections followed by careful relaxation often yield good results. Tools in software like 3ds Max (Unwrap UVW modifier), Blender (UV Editor), and Maya (UV Toolkit) offer robust projection and straightening functionalities.
- Pelting/Relaxing: Once initial projections are made, techniques like “pelting” (similar to skinning an animal) and “relaxing” algorithms help to evenly distribute UV faces and minimize distortion. The goal is to make the 2D UV island as flat and undistorted as possible, resembling its 3D counterpart.
- Channel Packing: For game engines and real-time applications, channel packing is a vital optimization. This involves combining multiple grayscale texture maps (e.g., Metallic, Roughness, Ambient Occlusion) into the Red, Green, and Blue channels of a single RGB texture. This reduces the number of texture lookups and memory usage.
Optimizing UV Layout for PBR Texturing
A well-optimized UV layout is not just about avoiding seams; it’s about maximizing efficiency for PBR (Physically Based Rendering) texturing and runtime performance:
- Maximizing UV Space: Arrange your UV islands (the individual unwrapped pieces) efficiently within the 0-1 UV space. Minimize empty space to ensure textures are not wasted.
- Consistent Texel Density: Maintain a consistent texel density across all parts of the model. Texel density refers to the number of texture pixels per unit of 3D space. Inconsistent density means some areas will appear blurry, while others might have unnecessarily high resolution, wasting texture memory. Many 3D applications offer tools to visualize and unify texel density.
- UDIM Workflow: For extremely high-resolution models, particularly those destined for film or close-up marketing renders, the UDIM workflow (U-Dimension) is invaluable. UDIMs allow you to spread UV islands across multiple UV tiles (e.g., 1001, 1002, 1003…), effectively using multiple texture maps for a single mesh, circumventing the 0-1 space limitation for incredibly detailed surfaces. This is commonly used for automotive paint and interior details where extreme clarity is required.
Typical texture resolutions for a main car body can range from 4K to 8K for high-end rendering, while smaller components like wheels, tires, and interior elements might use 1K to 2K maps. For real-time applications, these values are often halved to 2K-4K for the body and 512-1K for details to maintain performance.
Crafting Realistic PBR Materials and Shaders
Once your 3D car model is expertly UV mapped, the next step is to give it a lifelike appearance through realistic materials and shaders. Physically Based Rendering (PBR) is the industry standard for achieving photorealistic results, simulating how light interacts with surfaces in the real world. PBR shaders use a set of textures that define a material’s intrinsic properties, ensuring consistent and predictable rendering across different lighting conditions.
The two most common PBR workflows are Metallic-Roughness and Specular-Glossiness. Metallic-Roughness is generally preferred for its intuitive nature and efficiency in modern engines and renderers. Key maps involved typically include:
- Albedo/Base Color: Defines the diffuse color of the surface (without lighting information).
- Metallic: A grayscale map (0 = dielectric/non-metal, 1 = metallic) indicating which parts of the surface are metallic.
- Roughness: A grayscale map (0 = perfectly smooth/mirror-like, 1 = perfectly rough/matte) determining how scattered light reflections are.
- Normal Map: Provides fine surface detail by faking bumps and dents without adding actual geometry.
- Ambient Occlusion (AO): Simulates soft shadows where surfaces are close together.
- Opacity Map: For transparent or cutout areas (e.g., window tint, grilles).
Automotive Paint Shaders and Layered Materials
Automotive paint is notoriously complex, often consisting of multiple layers. A typical car paint shader setup in a PBR renderer will emulate this:
- Base Coat: The primary color of the paint, often driven by the Albedo map.
- Metallic/Flake Layer: A subtle metallic or colored flake embedded within the paint, which becomes visible at certain angles. This can be simulated using a custom shader or by blending metallic and roughness values.
- Clear Coat: A glossy, highly reflective top layer that gives car paint its characteristic depth and sheen. This is usually implemented as a secondary specular/reflection layer with its own set of roughness/glossiness controls and a strong Fresnel effect (where reflectivity increases at grazing angles).
Achieving realistic glass and chrome materials also requires careful attention. Chrome should have very low roughness (approaching 0) and high metallic (1). Glass requires specific transparency, refraction (using an Index of Refraction, IOR, typically around 1.5 for common glass), and often a subtle tint. Many renderers offer dedicated “physical glass” and “physical metal” shaders for this purpose, such as Corona Physical Material, V-Ray PBR Material, or Blender’s Principled BSDF shader, which are excellent starting points for these material types.
Texturing Techniques and Smart Materials
Creating these detailed maps often involves specialized software and techniques:
- Substance Painter/Designer: Adobe Substance Painter is a powerful tool for painting PBR textures directly onto 3D models. It leverages smart materials (pre-made material definitions that adapt to your model’s geometry through baked maps like curvature and ambient occlusion) and procedural masks to quickly generate complex, realistic surfaces, including wear, dirt, and scratches. Substance Designer, on the other hand, is used for creating procedural textures from scratch.
- Baking: This process involves transferring high-detail information (like normal maps, ambient occlusion, curvature, or position maps) from a high-polygon model onto a low-polygon model. This allows for stunning visual detail without the performance cost of actual geometry.
- Grunge and Wear Maps: Layering subtle grunge, dust, and scratch maps can significantly enhance realism, breaking up perfectly clean surfaces that would otherwise look synthetic. These maps are typically used to drive roughness, color variations, or even normal map details.
The process of material creation is highly iterative. Constant test renders under various lighting conditions are essential to ensure your materials behave as expected and contribute to the overall photorealism of your automotive rendering.
High-Fidelity Automotive Rendering Workflows
With a meticulously modeled and textured 3D car, the final step in bringing it to life is rendering. Automotive rendering is an art form itself, demanding a keen eye for lighting, composition, and post-processing. The choice of renderer, coupled with a well-planned lighting and environment setup, determines the final visual fidelity of your car model.
Renderers generally fall into two categories: CPU-based (e.g., older V-Ray versions, Arnold, Corona) and GPU-based (e.g., Cycles, Redshift, newer V-Ray GPU). Each has its strengths in terms of speed, feature set, and integration with specific 3D software. Unbiased renderers (like Corona, Cycles, Arnold) aim for physical accuracy with minimal user intervention but can be slower, while biased renderers (like V-Ray) offer more controls for optimization, potentially at the cost of some physical accuracy.
Studio Lighting and Environment Setup
Effective lighting is crucial for showcasing the complex curves and reflective surfaces of a car. A common starting point is an HDRI (High Dynamic Range Image) environment. HDRIs provide both realistic ambient lighting and highly detailed reflections, instantly grounding your car in a plausible setting. Websites like Poly Haven offer a vast collection of free, high-quality HDRIs.
For more controlled “studio” shots, additional artificial lights are typically employed:
- Three-Point Lighting: A classic setup comprising a key light (main illumination), fill light (softens shadows), and back/rim light (separates the subject from the background, highlighting contours).
- Area Lights: Large, soft area lights are ideal for creating appealing reflections and smooth falloffs on car bodies.
- Physical Cameras: Emulating real-world camera properties like focal length, aperture (for depth of field), and shutter speed helps achieve a photographic look. A longer focal length (e.g., 85mm-120mm) is often preferred for cars to minimize perspective distortion.
Rendering in Specific Software (3ds Max, Blender, Maya)
Regardless of your chosen renderer, a few general principles apply:
- 3ds Max + Corona/V-Ray: These are industry powerhouses for architectural and automotive visualization. Key settings include adjusting render samples (Corona) or noise threshold (V-Ray) for image quality, utilizing denoisers (Intel Open Image Denoise, NVIDIA OptiX), and employing Light Mix (Corona) or Light Selects (V-Ray) to adjust individual lights after rendering.
- Blender + Cycles/Eevee: Cycles is Blender’s robust unbiased renderer, offering excellent PBR support. Pay attention to render samples, light path settings (to control bounces), and always use Filmic color management for a naturalistic dynamic range. Eevee is Blender’s real-time renderer, fantastic for quick previews and stylized renders, but less physically accurate.
- Maya + Arnold: Arnold is a high-end, CPU-based renderer known for its quality in film VFX. Focus on adaptive sampling (which intelligently allocates samples where needed), light groups (for compositing flexibility), and optimizing volumes and displacement settings.
For advanced post-processing, render multiple render passes or AOV (Arbitrary Output Variables). These include Z-depth (for precise depth of field in compositing), Normal, Ambient Occlusion, Reflection, Refraction, and Cryptomatte (for easy mask generation). These passes provide immense control during the compositing stage in software like Photoshop or Nuke.
Optimizing 3D Car Models for Game Engines and Real-time Applications
While photorealistic renders prioritize visual fidelity, game assets and real-time applications like AR/VR demand a delicate balance between visual quality and performance. A model optimized for rendering typically has too many polygons and high-resolution textures for real-time engines to handle efficiently. Optimization is about intelligent compromise, ensuring smooth frame rates without sacrificing too much visual impact.
The core challenge is that every polygon, every texture, and every draw call adds to the computational load. High frame rates (e.g., 60 FPS for desktop games, 90 FPS for VR) are paramount for a fluid user experience.
LODs (Level of Detail) and Mesh Optimization
Level of Detail (LOD) is a critical optimization technique. Instead of using a single high-polygon model at all distances, you create multiple versions of the same model with progressively lower polygon counts. The game engine then automatically switches between these LODs based on the camera’s distance to the object.
- LOD0 (Highest Detail): Used when the car is close to the camera (e.g., 50,000-100,000 polygons for a next-gen game, ~20,000 for mobile).
- LOD1: Slightly reduced polygon count, used at medium distances (e.g., 10,000-30,000 polygons).
- LOD2, LOD3, etc.: Significantly reduced polygon counts for far distances, sometimes down to a few thousand or even hundreds of polygons, or a simple billboard.
LODs can be created manually through careful retopology and simplification, or using automated tools within 3D software (e.g., Maya’s Mesh > Reduce) or game engines (e.g., Unity’s LOD Group, Unreal Engine’s Auto LOD Generation). Always prioritize maintaining the silhouette and key features of the car, even at lower LODs.
Texture Atlasing and Draw Call Reduction
In game engines, a draw call is an instruction to the GPU to draw objects. Each time the engine has to switch materials or textures, it incurs a new draw call, which can be computationally expensive. Reducing draw calls is a major optimization target:
- Texture Atlasing: Combine multiple small textures (e.g., for individual interior components, engine parts) into one larger texture atlas. This means the engine only needs to make one draw call to render all parts using that atlas.
- Material Batching: Grouping objects that share the same material and texture atlas allows the engine to render them in a single batch, further reducing draw calls.
- Static Batching/Instancing: For identical objects (e.g., multiple car models or their wheels), engines can use instancing to render them very efficiently with a single draw call.
When preparing your 3D car models, consolidate materials and textures where possible. Exporting models in formats like FBX (for Unity/Unreal) or GLB/glTF (for web/AR/VR) ensures broad compatibility and often comes with PBR material definitions embedded.
AR/VR Specific Optimizations
AR/VR optimization techniques are even more stringent due to the high frame rate requirements (often 90 FPS per eye for VR) and limited device resources. Key considerations include:
- Aggressive Polygon Reduction: Target even lower polygon counts for LOD0 (e.g., 20,000-50,000 polygons for high-end VR, 5,000-20,000 for mobile AR/VR).
- Lower Texture Resolutions: Opt for 1K or 2K textures for the main body, and 256-512 for smaller details, carefully balancing visual quality with memory footprint.
- Baked Lighting: Pre-calculate and bake lighting information directly into texture maps (lightmaps). This saves significant real-time computation compared to dynamic lighting.
- Occlusion Culling: Implement systems that prevent rendering of objects that are hidden behind other objects, further reducing draw calls.
- Single-Pass Stereo Rendering: VR applications often render each eye sequentially. Single-pass stereo renders both eyes in one pass, significantly improving performance.
Every decision, from topology to texturing, must prioritize efficiency. The goal is to deliver an immersive experience without performance hiccups.
File Formats, Compatibility, and 3D Printing Preparation
The journey of a 3D car model doesn’t end with rendering or game integration. Depending on its final application, understanding various file formats and preparing your model for diverse uses, such as 3D printing, is essential. The right format ensures compatibility, preserves data integrity, and supports specific workflows.
Common 3D File Formats and Their Use Cases
The 3D landscape is rich with file formats, each serving a particular purpose:
- FBX (.fbx): Developed by Autodesk, FBX is arguably the industry standard for interoperability, especially in game development. It can store not just mesh data but also animations, materials (PBR included), lights, and cameras. It’s the go-to for transferring models between 3ds Max, Maya, Blender, Unity, and Unreal Engine.
- OBJ (.obj): A venerable, universal mesh format. OBJ is excellent for transferring raw polygonal mesh data, UVs, and vertex normals. It typically doesn’t support animations or advanced material properties natively, often requiring an accompanying MTL (Material Template Library) file for basic material definitions.
- GLB/glTF (.glb, .gltf): The “JPEG of 3D,” glTF (Graphics Language Transmission Format) is an open-standard, royalty-free format designed for efficient transmission and loading of 3D scenes and models by applications. GLB is the binary version, packing everything into a single file. It’s becoming the standard for web-based 3D, AR/VR, and mobile applications due to its compact size and native support for PBR materials.
- USDZ (.usdz): Apple’s proprietary AR format, built on Pixar’s Universal Scene Description (USD). USDZ is optimized for mobile AR experiences on iOS devices. It’s a compact, single-file format that supports PBR materials and is ideal for showcasing 3D car models in augmented reality.
- STEP/IGES (.step, .iges): These are CAD (Computer-Aided Design) formats, primarily used for manufacturing and engineering. They store precise geometric definitions (NURBS surfaces, solids) rather than polygonal meshes. While excellent for design accuracy, they require tessellation and often retopology to be used in real-time or rendering pipelines.
When sourcing 3D car models from marketplaces such as 88cars3d.com, you’ll often find models provided in multiple formats to cater to diverse professional needs, saving you valuable conversion time.
Preparing Models for 3D Printing
Turning a beautiful render model into a physical object via 3D printing requires specific preparation, as 3D printers need mathematically watertight, “manifold” geometry.
- Manifold Meshes: The most critical requirement. A manifold mesh has a clear inside and outside; every edge must be shared by exactly two faces. Non-manifold geometry includes:
- Holes in the Mesh: Gaps in the surface.
- Inverted Normals: Faces pointing inwards instead of outwards.
- Internal Geometry: Faces or polygons existing completely inside the mesh, invisible from the outside.
- Zero-Thickness Walls: Surfaces with no volume (e.g., a single plane).
Tools like Blender’s 3D Print Toolbox, Autodesk Netfabb, or online services are invaluable for analyzing and repairing these issues.
- Wall Thickness: Ensure all parts of your model have a sufficient wall thickness to be physically printable. Minimum wall thickness varies by printer technology and material, but typically ranges from 0.8mm to 2mm. Thin, unsupported features may break during printing or post-processing.
- Mesh Resolution: While too many polygons can lead to large file sizes, too few can result in blocky prints. Find a balance where curves are smooth enough for the desired print quality.
- Export Format: The most common file formats for 3D printing are STL (.stl) and sometimes OBJ. STL is a simple triangulation of your mesh, widely supported by slicing software (e.g., PrusaSlicer, Cura).
Thorough preparation ensures a successful print, avoiding frustrating failures and wasted material. A detailed final check of your mesh’s integrity before export is always recommended.
Conclusion
The creation of high-fidelity 3D car models is a challenging yet deeply rewarding endeavor, demanding a blend of artistic vision, technical prowess, and meticulous attention to detail. We’ve journeyed through the entire pipeline, from sculpting clean topology and precisely unwrapping UVs to crafting physically accurate PBR materials, orchestrating stunning renders, and optimizing assets for the demanding environments of game engines and AR/VR. Each stage builds upon the last, with careful planning and execution being the cornerstones of success.
Understanding concepts like quad-dominant topology, consistent texel density, layered PBR shaders, and strategic LOD implementation is not just about making things look good; it’s about making them perform efficiently and consistently across diverse platforms. Whether your goal is a breathtaking cinematic render, an immersive real-time experience, or a tangible 3D print, mastering these techniques will empower you to create truly exceptional 3D car models.
The journey of a 3D artist is one of continuous learning and adaptation. Experiment with different software, explore new techniques, and always strive for perfection in your craft. And remember, for those times when you need a jumpstart with expertly crafted, high-quality 3D models, platforms like 88cars3d.com are an invaluable resource, providing the foundation you need to accelerate your creative projects and achieve professional results.
Featured 3D Car Models
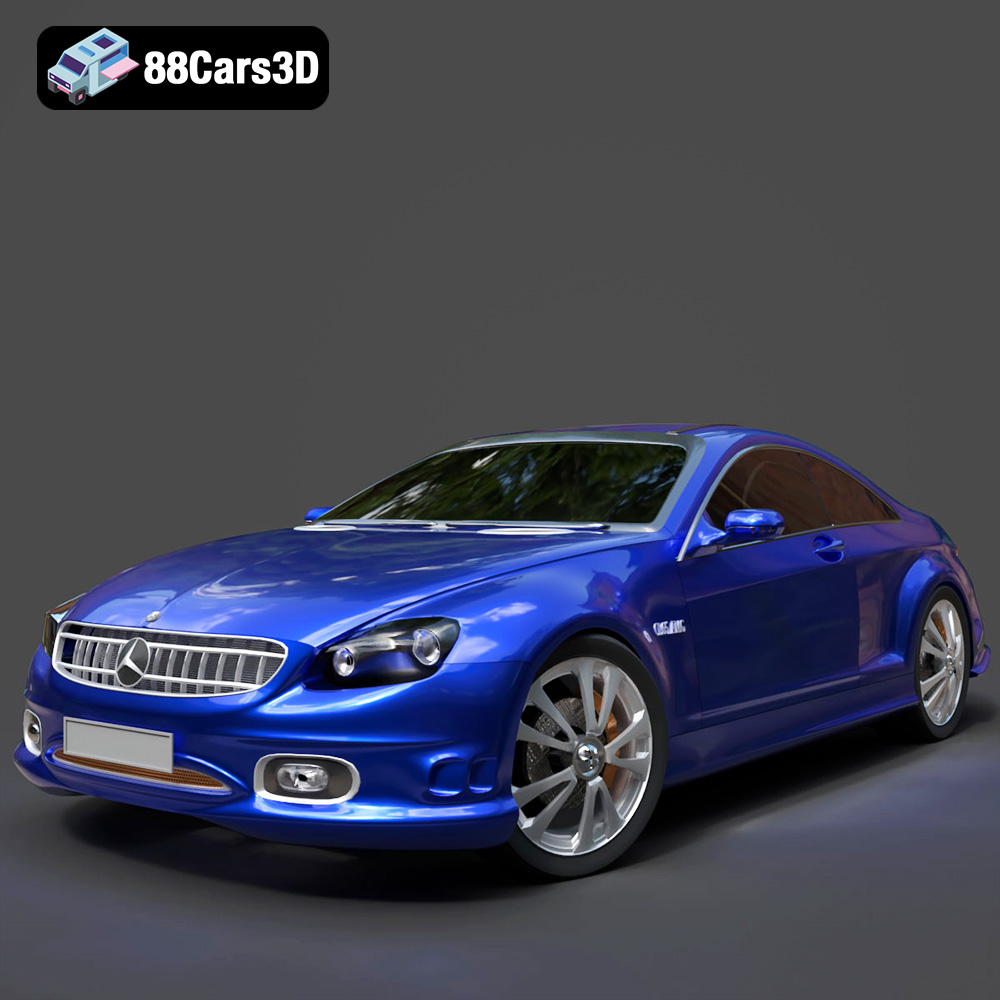
Mercedes-Benz CL6540-005 3D Model
Texture: Yes
Material: Yes
Download the Mercedes-Benz CL6540-005 3D Model featuring clean geometry, realistic detailing, and a fully modeled interior. Includes .blend, .fbx, .obj, .glb, .stl, .ply, .unreal, and .max formats for rendering, simulation, and game development.
Price: $4.99
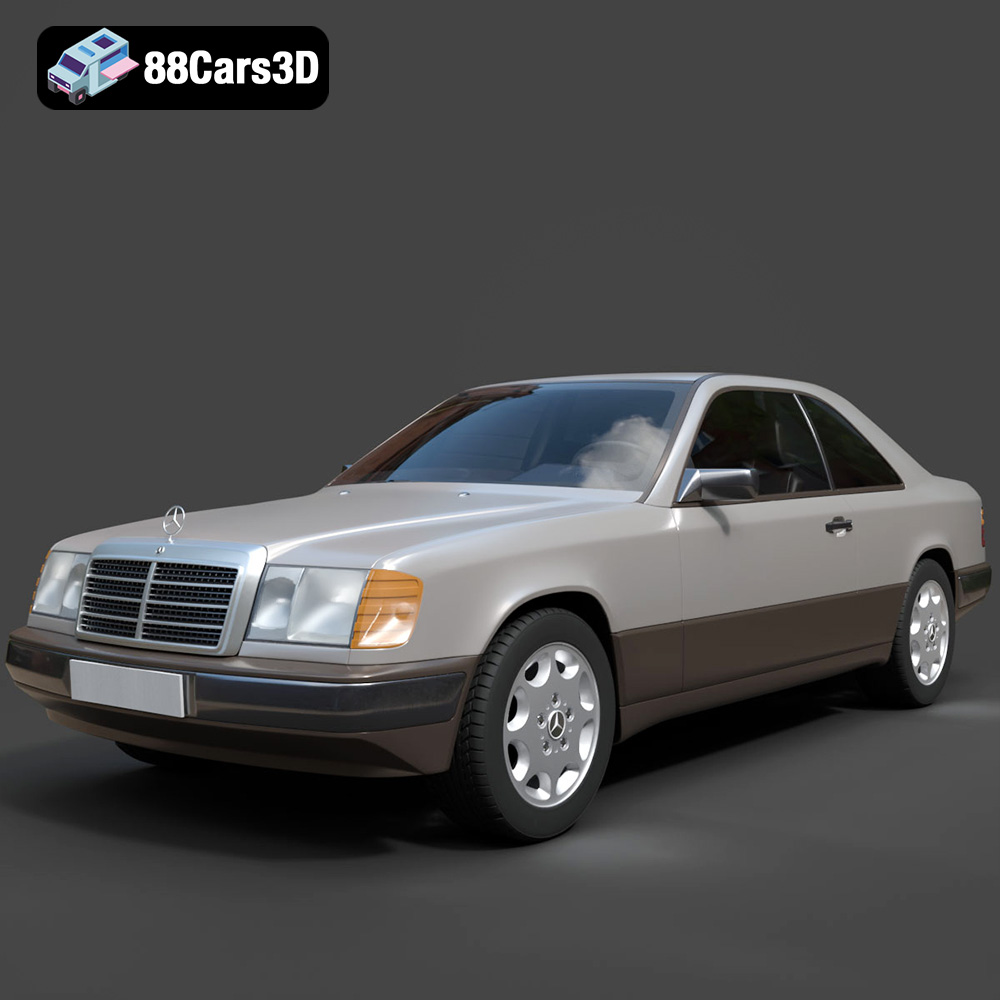
Mercedes E-Class w124 Coupe 3D Model
Texture: Yes
Material: Yes
Download the Mercedes E-Class w124 Coupe 3D Model featuring clean geometry, realistic detailing, and a fully modeled interior. Includes .blend, .fbx, .obj, .glb, .stl, .ply, .unreal, and .max formats for rendering, simulation, and game development.
Price: $4.99
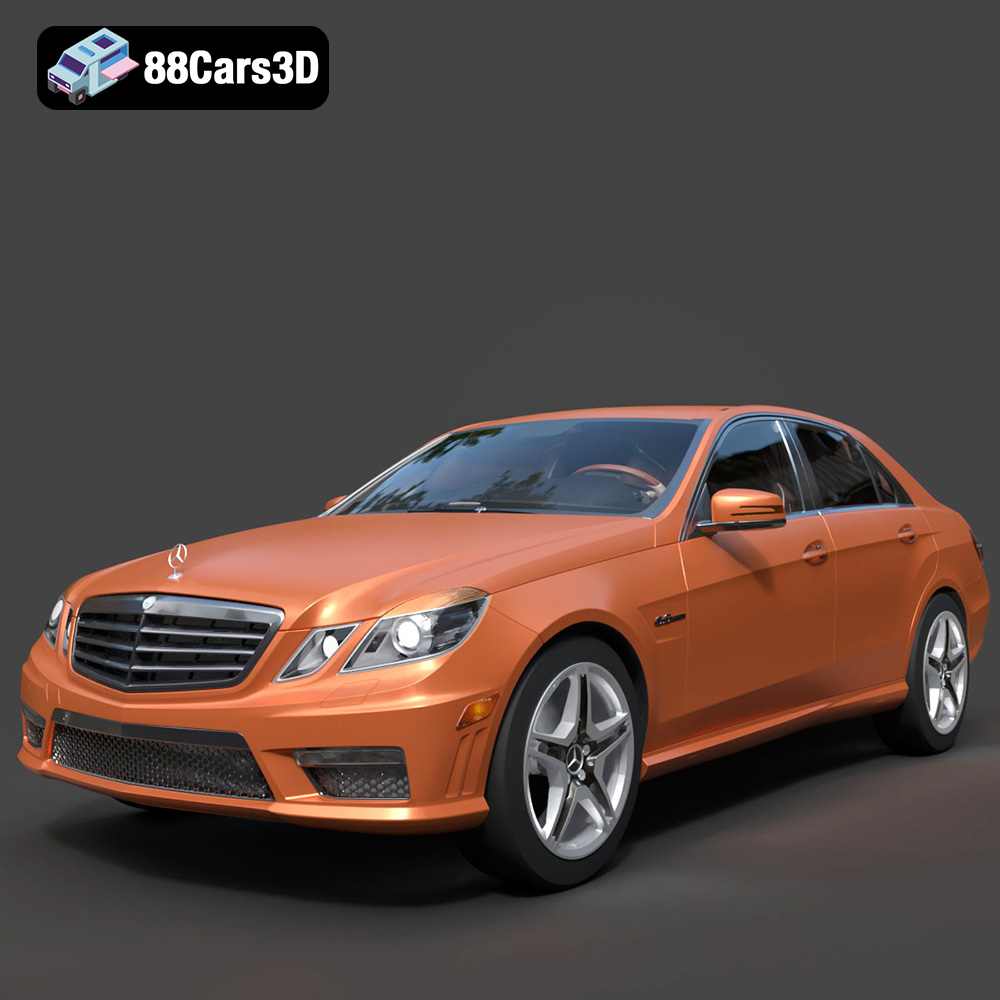
Mercedes-Benz E-Klasse 63 AMG 3D Model
Texture: Yes
Material: Yes
Download the Mercedes-Benz E-Klasse 63 AMG 3D Model featuring clean geometry, realistic detailing, and a fully modeled interior. Includes .blend, .fbx, .obj, .glb, .stl, .ply, .unreal, and .max formats for rendering, simulation, and game development.
Price: $4.99
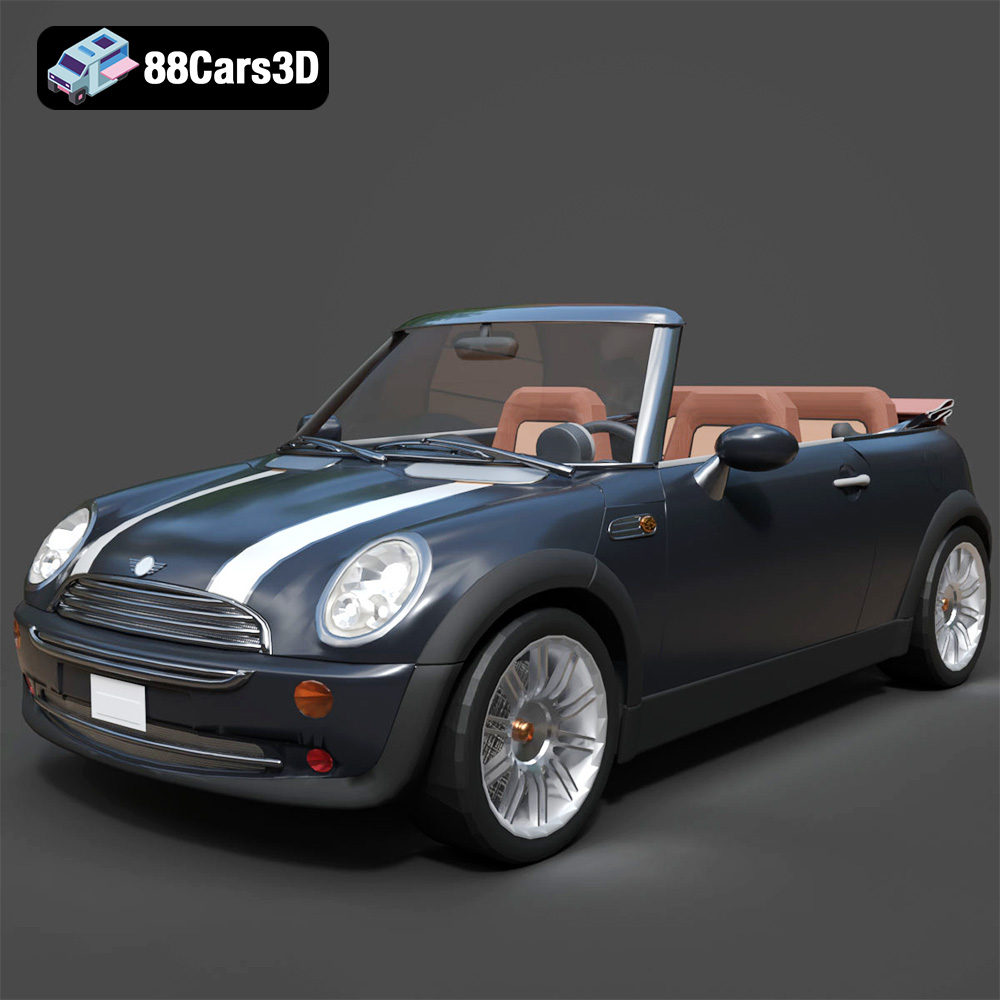
Mini Cabrio 2025 3D Model
Texture: Yes
Material: Yes
Download the Mini Cabrio 2025 3D Model featuring clean geometry, realistic detailing, and a fully modeled interior. Includes .blend, .fbx, .obj, .glb, .stl, .ply, .unreal, and .max formats for rendering, simulation, and game development.
Price: $4.99
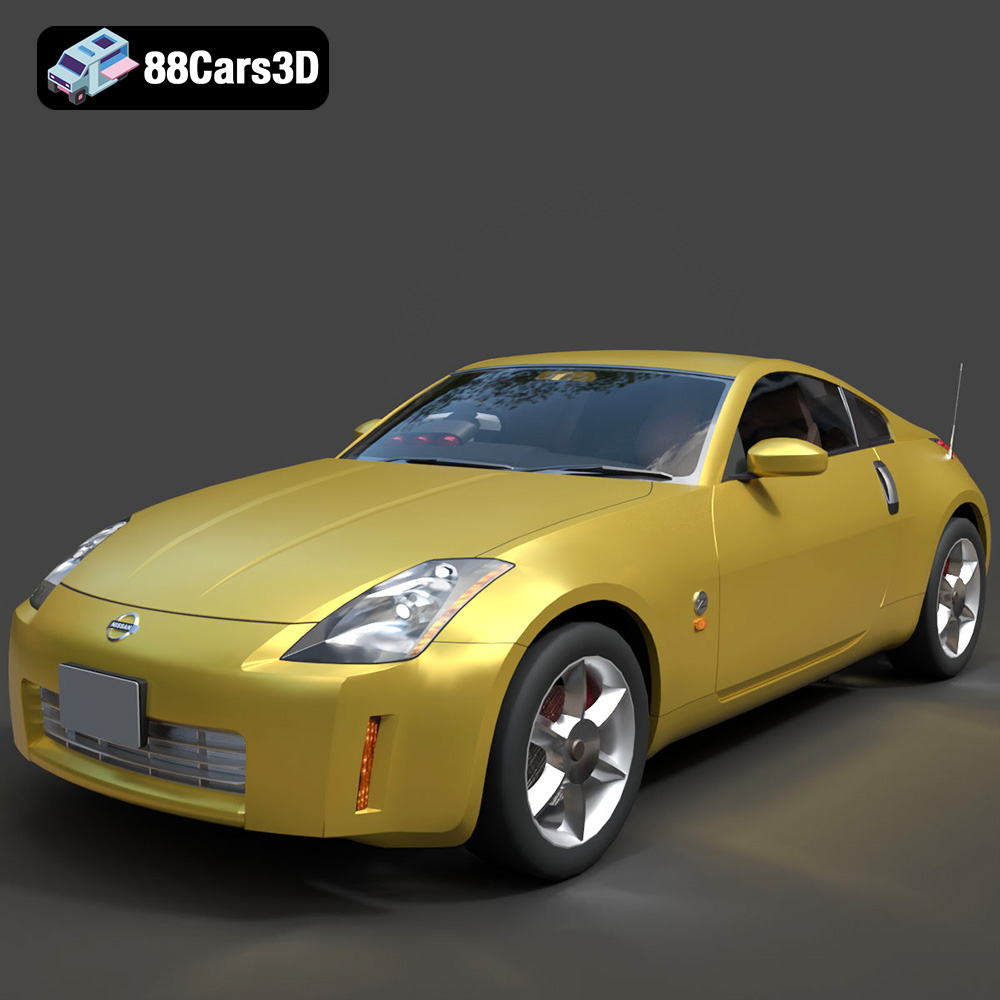
Nissan 350Z 3D Model
Texture: Yes
Material: Yes
Download the Nissan 350Z 3D Model featuring clean geometry, realistic detailing, and a fully modeled interior. Includes .blend, .fbx, .obj, .glb, .stl, .ply, .unreal, and .max formats for rendering, simulation, and game development.
Price: $4.99
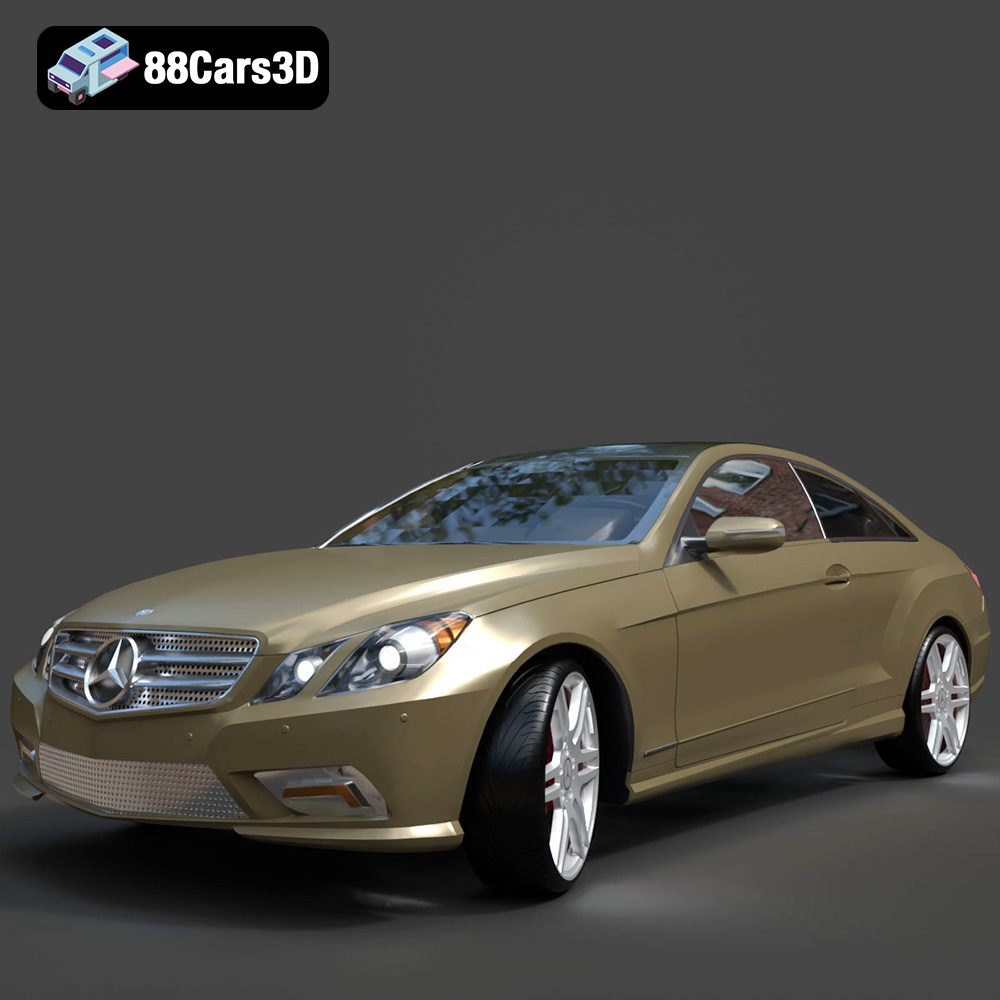
Mercedes-Benz E-Klasse Coupe 2010 3D Model
Texture: Yes
Material: Yes
Download the Mercedes-Benz E-Klasse Coupe 3D Model featuring clean geometry, realistic detailing, and a fully modeled interior. Includes .blend, .fbx, .obj, .glb, .stl, .ply, .unreal, and .max formats for rendering, simulation, and game development.
Price: $4.99
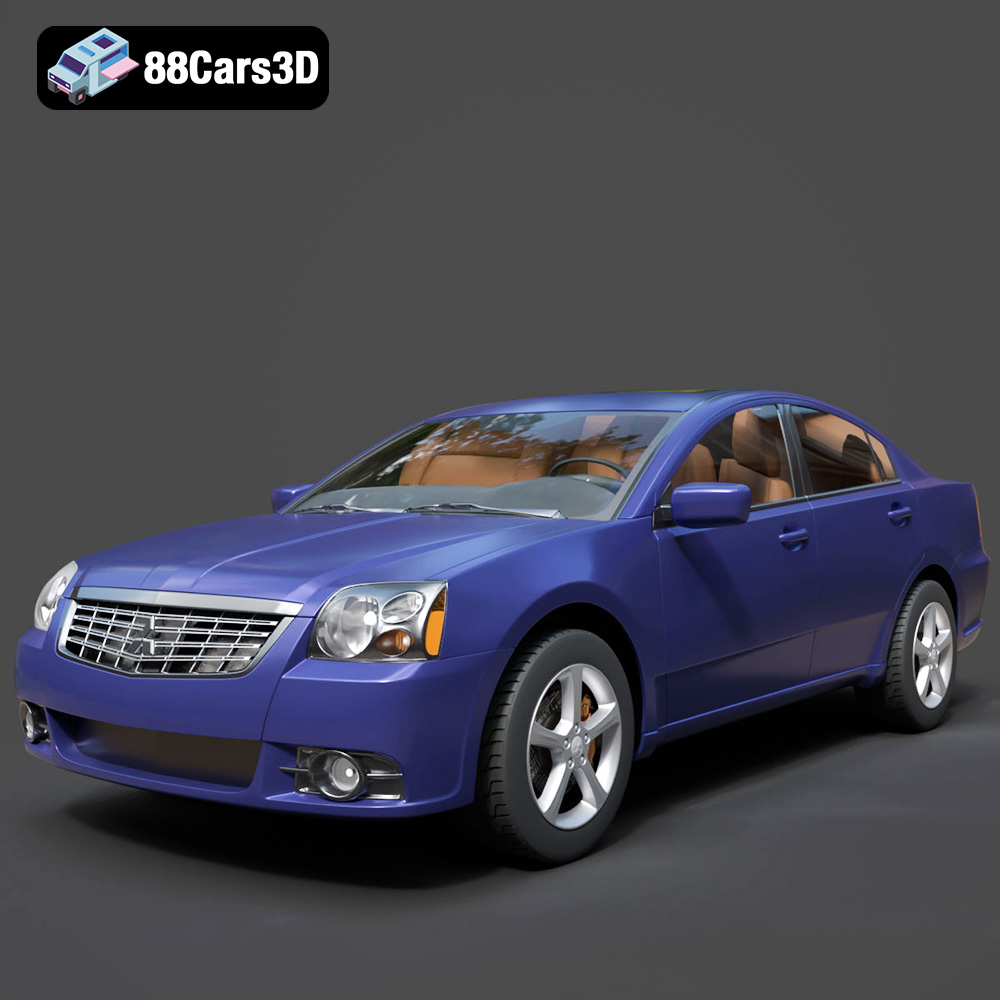
Mitsubishi Galant 2009 3D Model
Texture: Yes
Material: Yes
Download the Mitsubishi Galant 2009 3D Model featuring clean geometry, realistic detailing, and a fully modeled interior. Includes .blend, .fbx, .obj, .glb, .stl, .ply, .unreal, and .max formats for rendering, simulation, and game development.
Price: $4.99
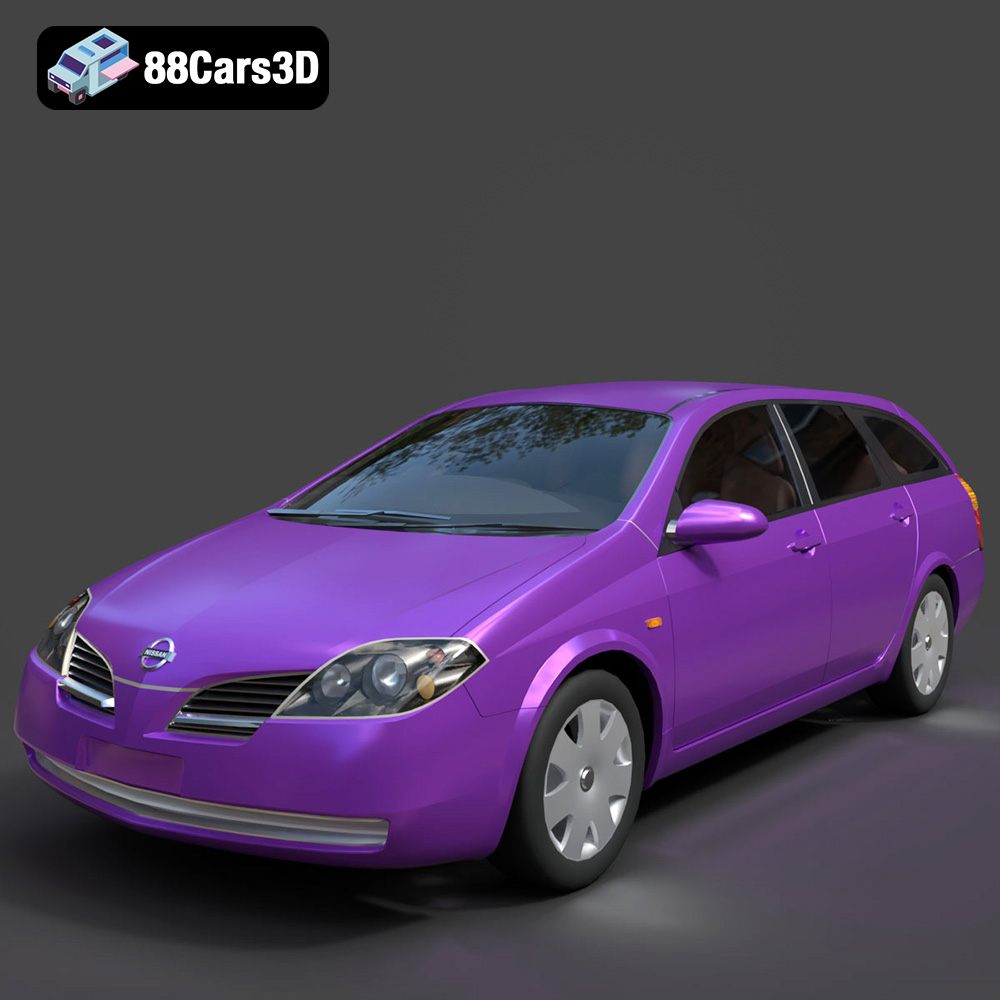
Nissan Primera Wagon 3D Model
Texture: Yes
Material: Yes
Download the Nissan Primera Wagon 3D Model featuring clean geometry, realistic detailing, and a fully modeled interior. Includes .blend, .fbx, .obj, .glb, .stl, .ply, .unreal, and .max formats for rendering, simulation, and game development.
Price: $4.99
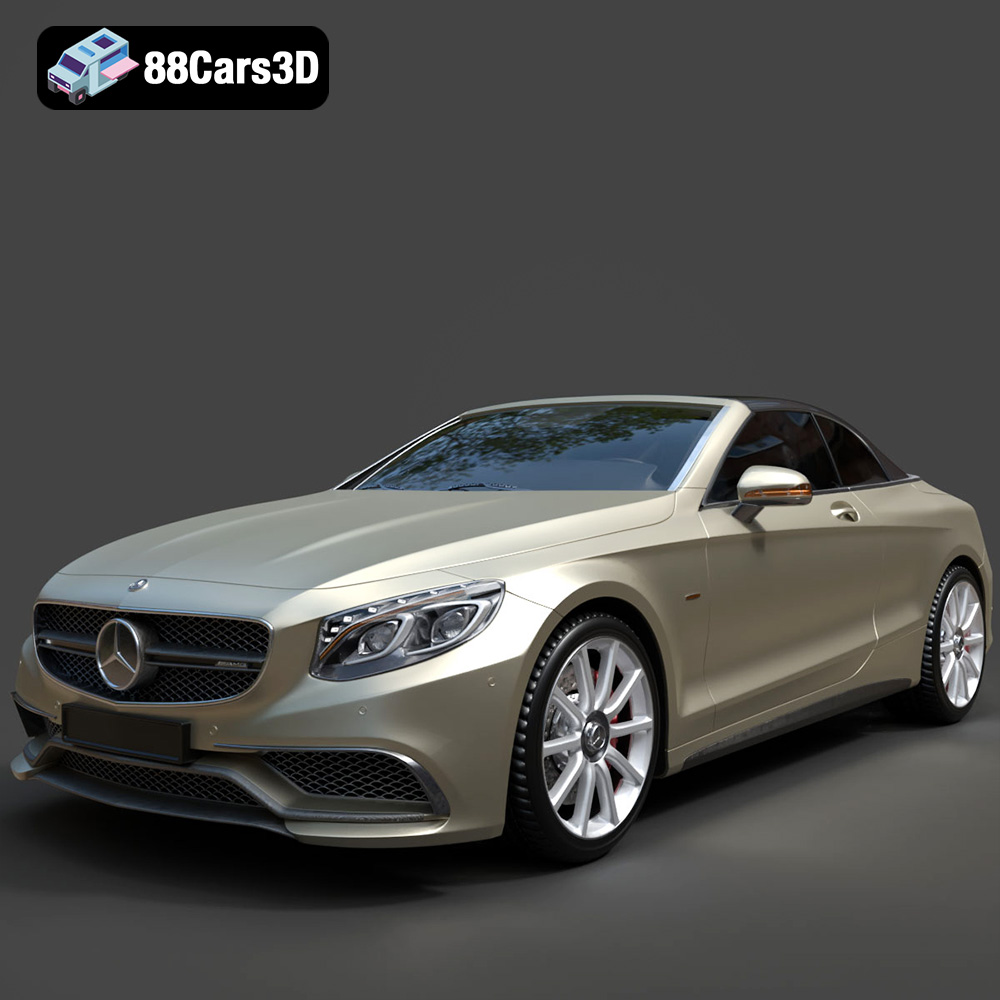
Mercedes-Benz S63 AMG Cabriolet 2017 3D Model
Texture: Yes
Material: Yes
Download the Mercedes-Benz S63 AMG Cabriolet 2017 3D Model featuring clean geometry, realistic detailing, and a fully modeled interior. Includes .blend, .fbx, .obj, .glb, .stl, .ply, .unreal, and .max formats for rendering, simulation, and game development.
Price: $20.99
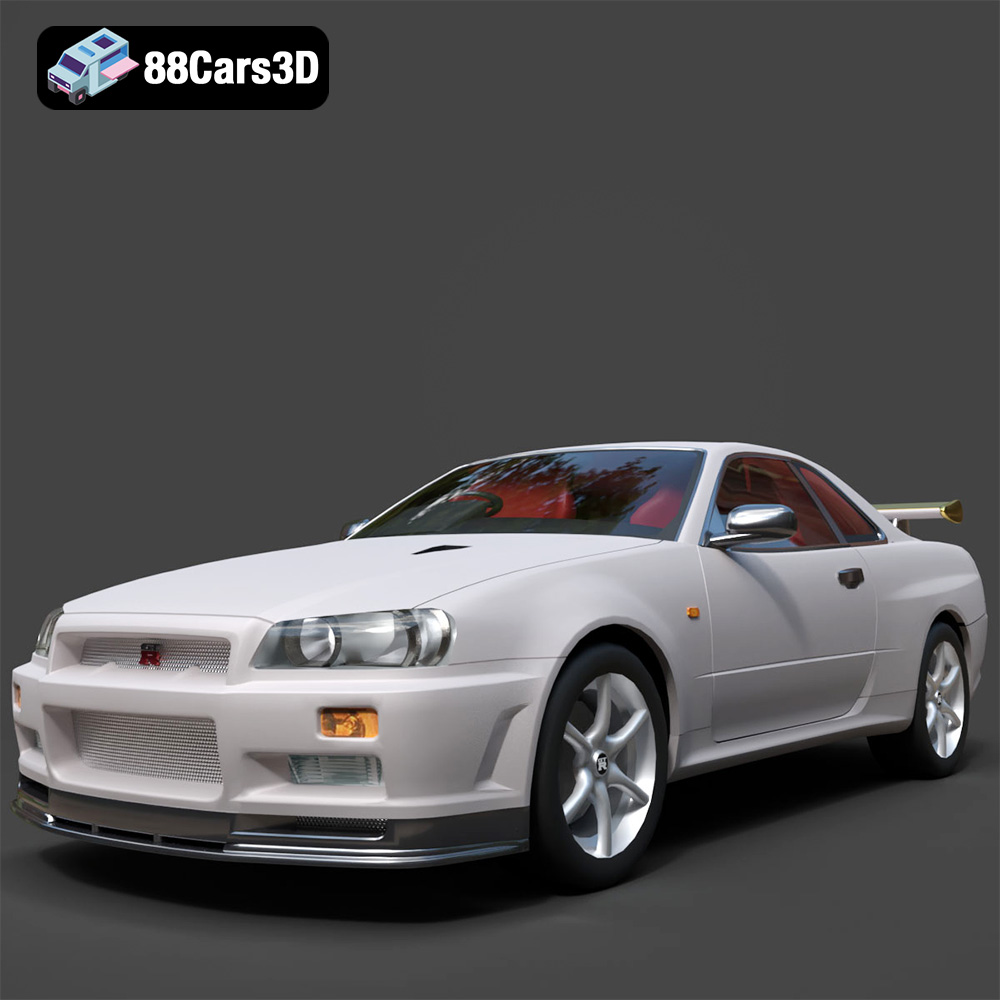
Nissan Skyline R34 2002 3D Model
Texture: Yes
Material: Yes
Download the Nissan Skyline R34 2002 3D Model featuring clean geometry, realistic detailing, and a fully modeled interior. Includes .blend, .fbx, .obj, .glb, .stl, .ply, .unreal, and .max formats for rendering, simulation, and game development.
Price: $4.99
