Get 20% OFF All Premium 3D & STL Models!

There’s an undeniable magic to a flawlessly rendered 3D car. It’s a perfect fusion of engineering precision and artistic vision, where every curve, reflection, and shadow works in harmony to create an image that can be indistinguishable from reality. But achieving this level of quality is a complex technical challenge. Whether you’re an automotive designer creating a virtual prototype, a game developer building an immersive racing experience, or a visualization artist crafting a stunning commercial, the journey from a simple mesh to a final, polished asset is filled with critical decisions and technical hurdles. How do you ensure your model’s topology is clean enough for silky-smooth reflections? What’s the best strategy for UV mapping and creating believable PBR materials for complex car paint? How do you optimize a million-polygon model for real-time performance in AR/VR without sacrificing visual fidelity?
This comprehensive guide will deconstruct the entire lifecycle of a professional 3D car model. We will dive deep into the foundational principles of polygonal modeling, explore advanced texturing and rendering workflows, and demystify the optimization techniques required for game engines and emerging technologies. By the end, you’ll have a clear roadmap and actionable insights to elevate your own automotive 3D projects, ensuring your work not only looks incredible but also performs flawlessly across any platform.
Before any material is applied or a single ray of light is cast, the quality of a 3D car model is determined by its underlying geometry—its topology. For automotive models, characterized by large, smooth surfaces and sharp, designed creases, clean topology isn’t just a best practice; it’s a fundamental requirement. Proper edge flow dictates how light reflects off the surface, how the model behaves when subdivided for higher detail, and how cleanly it deforms. It is the invisible skeleton that gives the model its strength and beauty, and getting it right from the start saves countless hours of frustration down the line.
The gold standard for hard-surface modeling, especially for vehicles, is an all-quad mesh. Quads (polygons with four sides) subdivide predictably and create smooth, flowing surfaces. Triangles (tris) and N-gons (polygons with more than four sides) can introduce pinching, shading artifacts, and unpredictable behavior when smoothing modifiers are applied. The primary goal is to have your edge loops—the continuous lines of edges—follow the natural curvature and panel lines of the car. For example, the edge loops around a wheel arch should flow perfectly with its circular shape. This ensures that when a subdivision modifier like 3ds Max’s TurboSmooth or Blender’s Subdivision Surface is applied, the curve remains pristine and free of lumps or dents. A model built with sloppy topology will immediately reveal its flaws under direct, reflective lighting.
The required polygon count of a model is entirely dependent on its intended use. A “hero” car for a cinematic render or a close-up marketing shot might have anywhere from 500,000 to over 2 million polygons to capture every minute detail. In contrast, a real-time game asset must be far more economical, typically ranging from 50,000 to 150,000 polygons for a player vehicle. To manage this, modelers use support loops (also called holding edges). These are extra edge loops placed close to a hard edge. When the mesh is subdivided, these support loops “hold” the geometry in place, creating a crisp, sharp line without adding excessive polygons across the entire surface. When sourcing models from marketplaces such as 88cars3d.com, look for descriptions that specify “clean topology” or “subdivision-ready,” as this indicates the model is professionally built to these standards.
Even experienced modelers can run into common issues. One of the most frequent is the “pole”—a vertex where five or more edges converge. While poles are unavoidable, their placement is critical. A pole on a perfectly flat surface is generally harmless. However, placing a pole on a curved surface is a recipe for disaster, as it will almost always create a visible pinch or dimple in the final render. The key is to strategically move poles to flatter, less conspicuous areas of the model. Another issue to avoid is creating long, thin, or stretched polygons, as these can cause strange artifacts during UV mapping, texturing, and rendering.
If topology is the skeleton of a 3D model, UV mapping is its tailored suit. It is the crucial process of “unwrapping” the 3D mesh into a 2D plane so that textures can be applied accurately. For a complex object like a car, with its mix of large panels, intricate details, and hidden components, a strategic UV mapping workflow is essential for achieving professional results. A poorly unwrapped model will suffer from stretched textures, visible seams, and inconsistent detail, completely shattering the illusion of realism no matter how good the materials are.
The first step in UV mapping is defining the seams—the edges where the 3D mesh will be “cut” to lay it flat. The art of this process lies in hiding these seams where the viewer is least likely to see them. For 3D car models, the best places for seams are:
By thoughtfully placing seams, you can ensure a seamless appearance on the most visible parts of the car, like the hood and side panels.
Texel density refers to the resolution of your texture map relative to the size of the model in 3D space. Maintaining a consistent texel density across the entire model is crucial for uniform detail. If the doors have a higher texel density than the roof, any texture applied (like dirt or dust) will appear sharper on the doors and blurrier on the roof. For ultimate detail, professionals often use a UDIM (U-Dimension) workflow. Instead of cramming all UV islands into a single 0-1 UV square, UDIMs allow you to spread them across multiple texture tiles. This means you could have one 4K texture set dedicated entirely to the main body, another for the interior, and another for the wheels and chassis. This approach is standard in film and high-end visualization for achieving pristine, high-resolution results.
Modern 3D software provides a powerful suite of tools for unwrapping. In 3ds Max, Maya, or Blender, the process typically involves a combination of projection mapping and manual refinement. Simple, flat objects like a license plate can be unwrapped with a simple Planar Map. Cylindrical parts like an exhaust pipe use a Cylindrical Map. For the complex, curved panels of the car body, you’ll need to use more advanced unfolding or pelt-mapping tools. These algorithms relax the UVs to minimize stretching and distortion, giving you a clean foundation that you can then manually stitch, scale, and arrange for optimal texture space usage.
Physically Based Rendering (PBR) has revolutionized 3D graphics by simulating the real-world flow of light. Instead of faking material properties, a PBR workflow uses a set of standardized texture maps—like Albedo, Roughness, and Metallic—to define how a surface reacts to light in a physically plausible way. For automotive visualization, PBR is the key to creating materials that look realistic in any lighting condition, from the complex flake and coat of metallic paint to the subtle wear on a leather seat.
A realistic car paint material is one of the most complex shaders to build. It’s not just a single color; it’s a multi-layered material designed to replicate the real-life painting process. A typical setup in a render engine like Corona, V-Ray, or Arnold involves:
Using a layered material shader (like the CoronaLayeredMtl or VrayBlendMtl) allows you to stack these components for ultimate control and realism.
Beyond the paint, a car is a collection of diverse materials, each with unique properties:
For high-end automotive rendering, high-resolution textures are a must. A common standard is to use 4K (4096×4096) textures for major components like the car body and interior, with 2K or 1K textures used for smaller parts. When creating or working with textures, always use a lossless file format like .PNG or .TGA to preserve quality. For environment maps or HDRIs, the .EXR or .HDR formats are essential as they store a much wider range of light intensity data.
With a perfectly modeled and textured car, the final step is to place it in a scene and bring it to life with light. The lighting setup is what creates mood, defines shape, and produces the stunning reflections that make automotive renders so captivating. Whether you’re aiming for a clean studio shot or a dynamic environmental portrait, a deliberate approach to lighting and rendering is what separates a good image from a great one.
The fastest and most effective way to achieve realistic lighting is with a High-Dynamic Range Image (HDRI). An HDRI is a 360-degree panoramic image that contains a vast range of lighting information. When used as an environment map in a 3D scene, it projects light from all directions, providing both soft, nuanced illumination and crisp, detailed reflections simultaneously. The choice of HDRI dictates the entire mood of the render. A studio HDRI with softboxes will create clean, commercial-style reflections, perfect for product showcases. An outdoor HDRI of a desert road at sunset will produce warm light and dramatic, natural reflections.
While an HDRI provides an excellent base, it often needs to be supplemented with manual lights for more artistic control, especially in a studio setting. This allows you to sculpt the light and specifically highlight the car’s design features. A typical setup involves:
This controlled approach gives you the power to guide the viewer’s eye and emphasize the most compelling aspects of the car’s design.
Before hitting the final render button, you need to configure your render engine (like Corona, V-Ray, or Blender’s Cycles). Key settings include adjusting the noise threshold or sample count to ensure a clean, artifact-free image. It’s also vital to enable and export different render passes (also called render elements), such as Reflections, Ambient Occlusion (AO), Z-Depth, and Material ID. Rendering in passes allows you to re-composite the final image in software like Photoshop or After Effects. This non-destructive workflow gives you immense power in post-production to tweak the intensity of reflections, enhance contact shadows with the AO pass, add depth of field using the Z-Depth pass, and perform precise color grading without needing to re-render the entire image.
When the destination for a 3D car model is a game engine like Unreal Engine or Unity, or an AR/VR application, the priorities shift dramatically from pure visual fidelity to a balance of quality and performance. A model that takes ten minutes to render a single frame offline must be able to render in a fraction of a millisecond in real-time. This requires a completely different set of techniques focused on polygon reduction, material consolidation, and efficient data management.
The first step in optimization is reducing the polygon count to a manageable budget without losing significant visual detail. This is often achieved by manually creating a low-polygon version of the high-polygon render model. The fine details of the high-poly model (like panel lines, vents, and bolts) are then “baked” into a normal map. This normal map is applied to the low-poly model, creating the illusion of high-resolution detail with a fraction of the geometric complexity. To further optimize performance, game engines use a Level of Detail (LOD) system. This involves creating multiple versions of the model at decreasing levels of detail:
The engine automatically switches between these LODs based on the car’s distance from the camera, drastically reducing the rendering workload.
In a game engine, a draw call is a command sent from the CPU to the GPU to draw an object on the screen. Each object with a unique material generates at least one draw call. A high number of draw calls can quickly bottleneck the CPU and tank performance. A common mistake with complex models is having dozens of separate materials for small parts (e.g., one for chrome trim, one for rubber seals, one for plastic grilles, etc.). The solution is to create a texture atlas. This involves combining the UVs of multiple objects into a single UV layout and baking their individual textures into one large texture set. By doing this, you can consolidate dozens of materials into a single material, reducing the number of draw calls from many to just one, which provides a massive performance boost.
For Augmented Reality, Virtual Reality, and mobile platforms, performance constraints are even tighter. Polygon counts for hero assets should ideally be kept under 50k-75k triangles. File format is also critical. The industry standards are GLB (for web and Android AR) and USDZ (for Apple AR). These formats are highly efficient because they package the mesh, materials, and textures into a single, compressed binary file. This makes them easy to transmit over a network and load quickly on less powerful devices, which is essential for a smooth AR experience.
Taking a digital 3D car model and turning it into a physical object via 3D printing introduces a new set of unique challenges that are entirely different from on-screen visualization. A model that looks perfect in a render can fail completely on a 3D printer if it’s not properly prepared. The focus shifts from visual properties like textures and shaders to the physical and structural integrity of the geometric mesh itself.
The single most important requirement for a 3D printable model is that it must be “watertight” or “manifold.” This means the mesh must be a single, continuous, closed shell with no holes. Any gaps or openings will confuse the printer’s slicing software. Furthermore, the model must not have any non-manifold errors, which include internal faces, overlapping geometry, or edges shared by more than two polygons. Tools like Autodesk Meshmixer, the STL Check modifier in 3ds Max, or Blender’s 3D-Print Toolbox addon are indispensable for identifying and repairing these issues. They can automatically patch holes and fix problematic geometry to ensure the model is a solid, printable volume.
In the digital world, polygons have no thickness. A car window can be represented by a single plane. For 3D printing, however, every part of the model must have a physical thickness. Thin parts like mirrors, spoilers, and window glass must be shelled or extruded to have a minimum wall thickness, which typically ranges from 1-2mm for FDM printing to as low as 0.5mm for high-resolution SLA resin printing. Similarly, very fine details like panel lines, emblems, or grilles that look great in a render might be too small to resolve on a physical print. These details often need to be manually exaggerated—making panel lines deeper and emblems thicker—so they are clearly visible in the final physical product.
We’ve traveled the entire pipeline, from the foundational grid of a polygonal mesh to the final glow of a photorealistic render, the lean efficiency of a game-ready asset, and the tangible form of a 3D print. It’s clear that creating or effectively using a professional 3D car model is a discipline that marries technical skill with artistic sensibility. The quality of the final output, regardless of its destination, is always a direct result of the care and expertise invested at every stage of the process.
The key takeaways are universal: a foundation of clean topology is non-negotiable; strategic UVs and high-quality PBR materials are what breathe life and realism into the model; and optimization is a game of intelligent trade-offs tailored to the specific demands of the final application. Every choice, from where you place an edge loop to how you structure your LODs, has a cascading effect on the final result. As you embark on your next automotive project, use these principles as your guide. Whether you’re meticulously crafting a model from scratch or leveraging a high-quality, production-ready asset from a platform like 88cars3d.com to accelerate your workflow, a deep understanding of this process will empower you to push creative boundaries and achieve truly spectacular results.

Texture: Yes
Material: Yes
Download the Mercedes-Benz SLK 350 2005 3D Model featuring clean geometry, realistic detailing, and a fully modeled interior. Includes .blend, .fbx, .obj, .glb, .stl, .ply, .unreal, and .max formats for rendering, simulation, and game development.
Price: $9.99

Texture: Yes
Material: Yes
Download the Mercedes-Benz SL 65 AMG 3D Model featuring clean geometry, realistic detailing, and a fully modeled interior. Includes .blend, .fbx, .obj, .glb, .stl, .ply, .unreal, and .max formats for rendering, simulation, and game development.
Price: $9.99
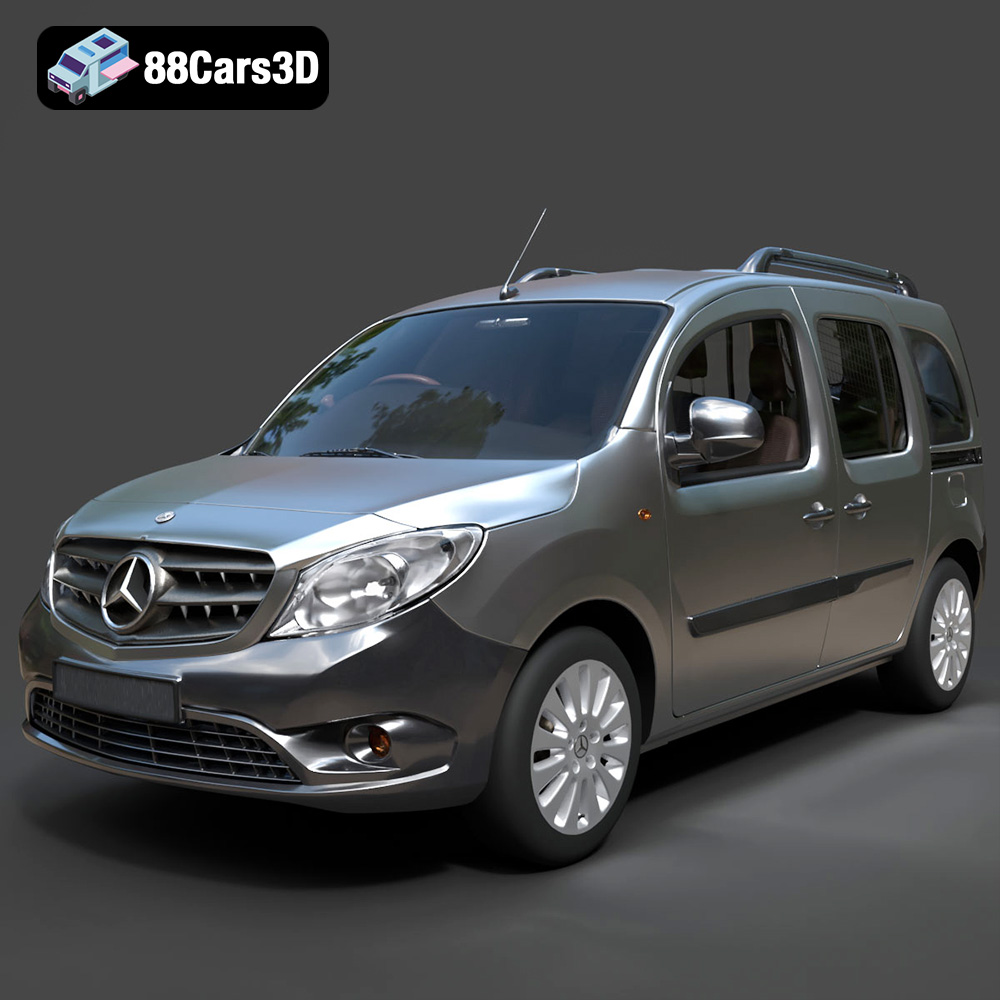
Texture: Yes
Material: Yes
Download the Mercedes-Benz Citan 2025 3D Model featuring clean geometry, realistic detailing, and a fully modeled interior. Includes .blend, .fbx, .obj, .glb, .stl, .ply, .unreal, and .max formats for rendering, simulation, and game development.
Price: $14.99
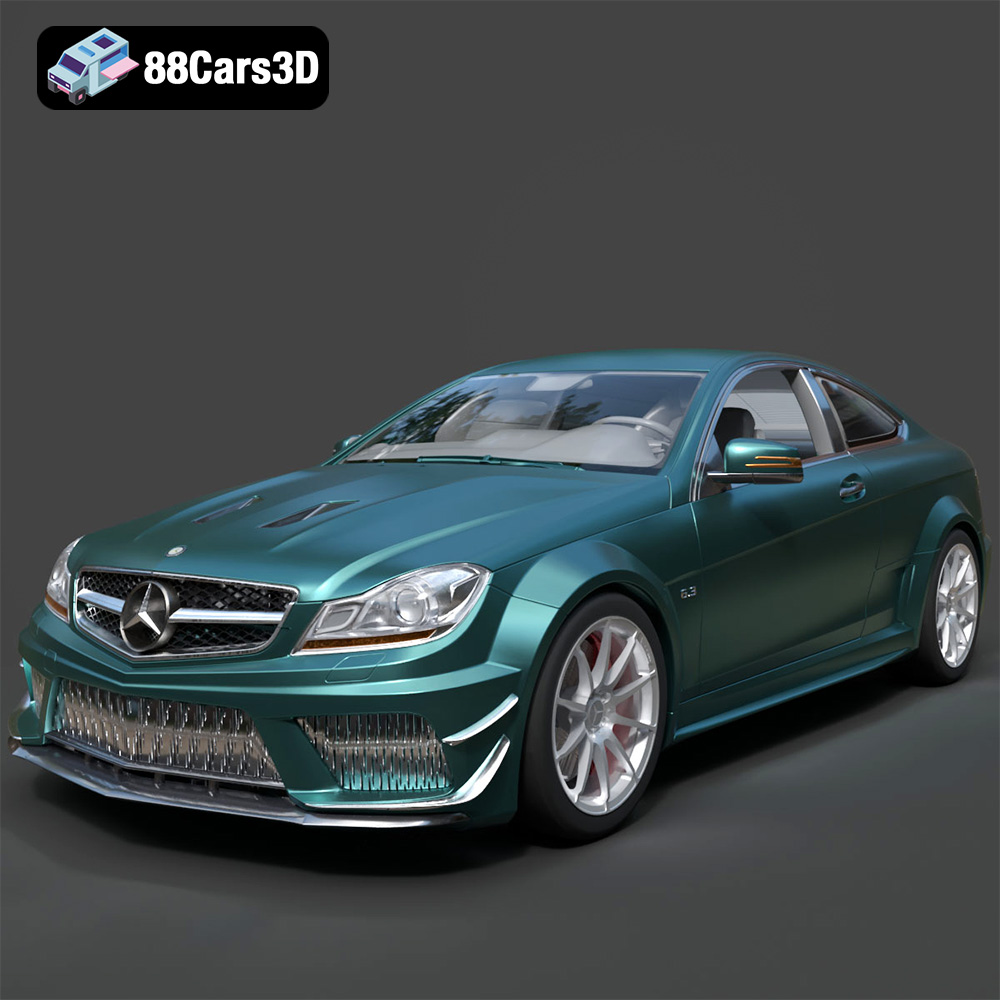
Texture: Yes
Material: Yes
Download the Mercedes-Benz C63 AMG 2012 3D Model featuring clean geometry, realistic detailing, and a fully modeled interior. Includes .blend, .fbx, .obj, .glb, .stl, .ply, .unreal, and .max formats for rendering, simulation, and game development.
Price: $14.99
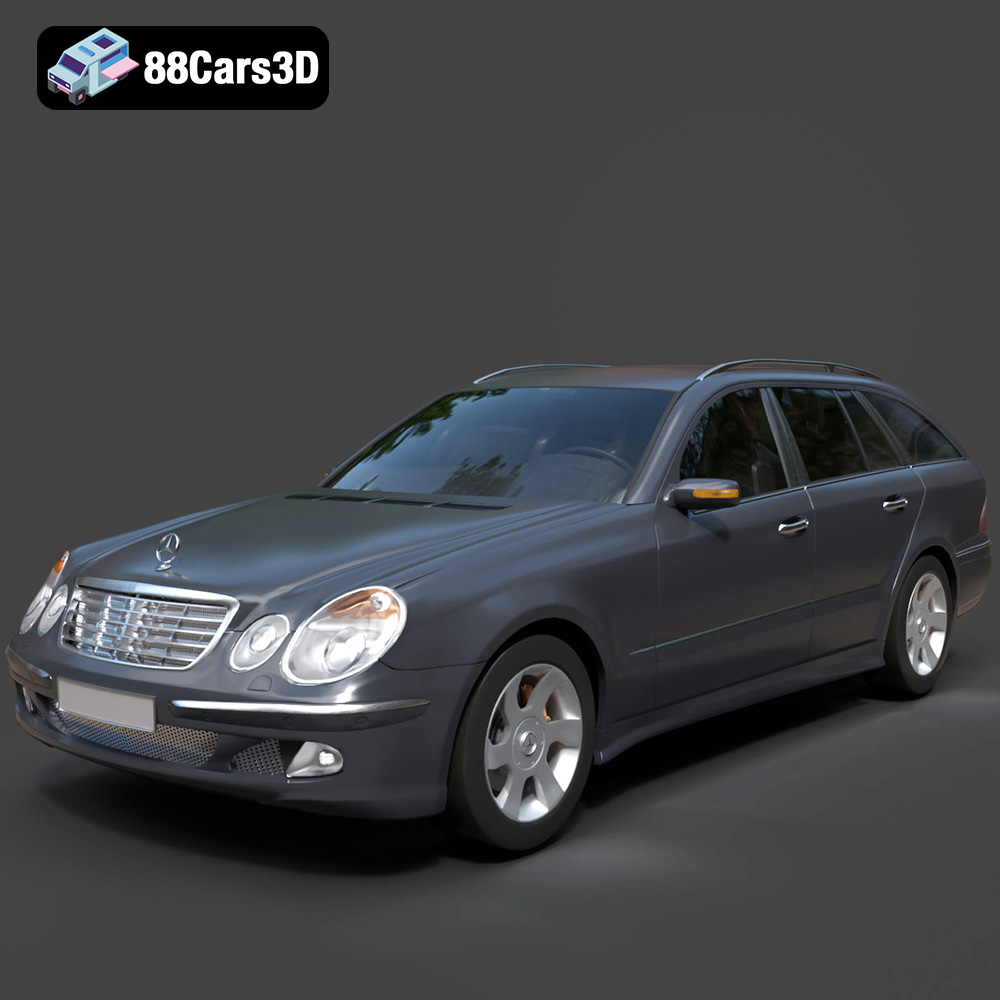
Texture: Yes
Material: Yes
Download the Mercedes-Benz E-Class S211 3D Model featuring clean geometry, realistic detailing, and a fully modeled interior. Includes .blend, .fbx, .obj, .glb, .stl, .ply, .unreal, and .max formats for rendering, simulation, and game development.
Price: $14.99
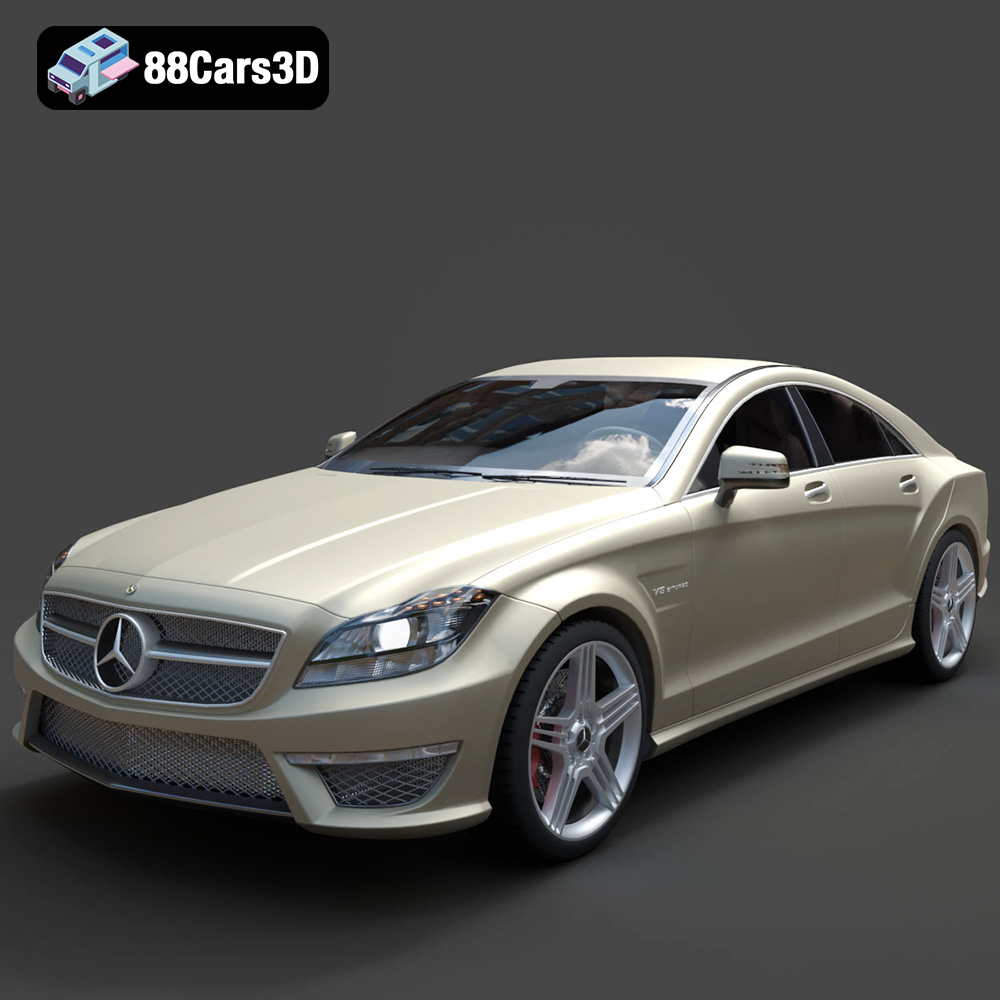
Texture: Yes
Material: Yes
Download the Mercedes-Benz CLS63 AMG (C218) 2014 3D Model featuring clean geometry, realistic detailing, and a fully modeled interior. Includes .blend, .fbx, .obj, .glb, .stl, .ply, .unreal, and .max formats for rendering, simulation, and game development.
Price: $14.99
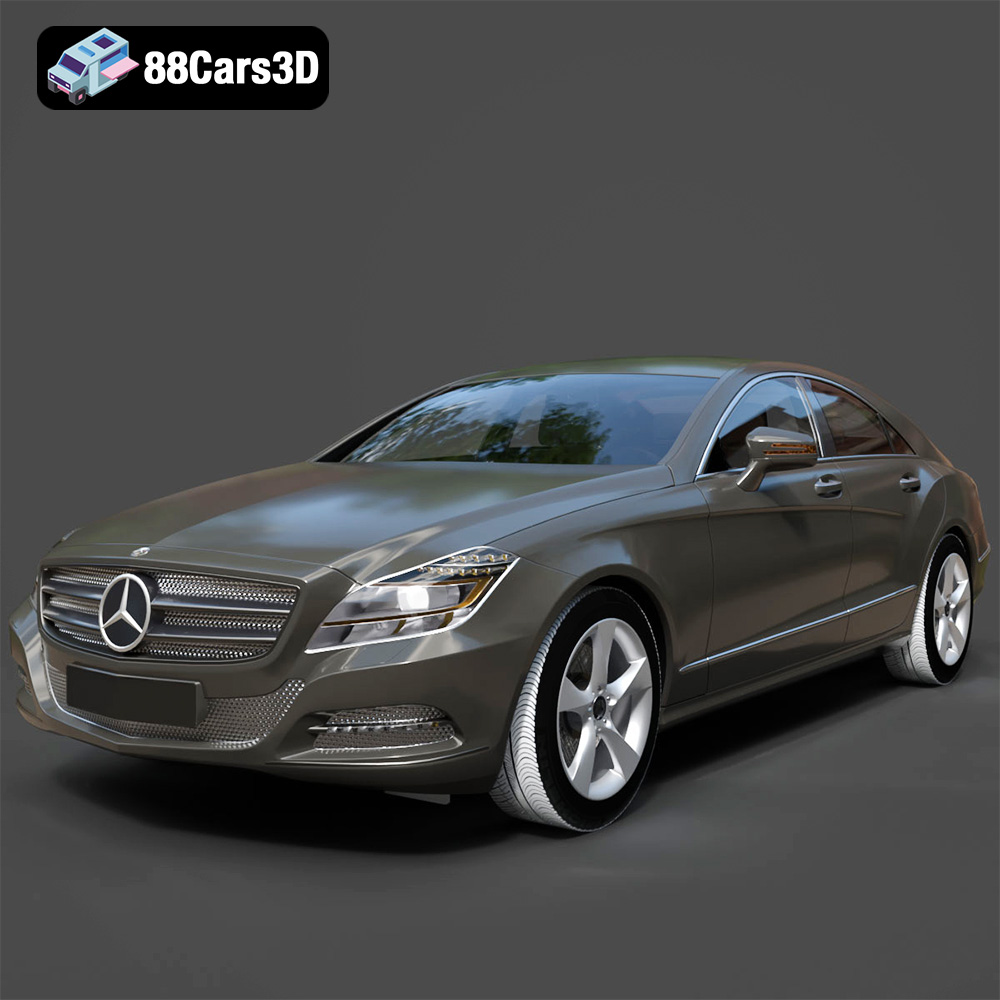
Texture: Yes
Material: Yes
Download the Mercedes-Benz CLS-Klasse 3D Model featuring clean geometry, realistic detailing, and a fully modeled interior. Includes .blend, .fbx, .obj, .glb, .stl, .ply, .unreal, and .max formats for rendering, simulation, and game development.
Price: $14.99
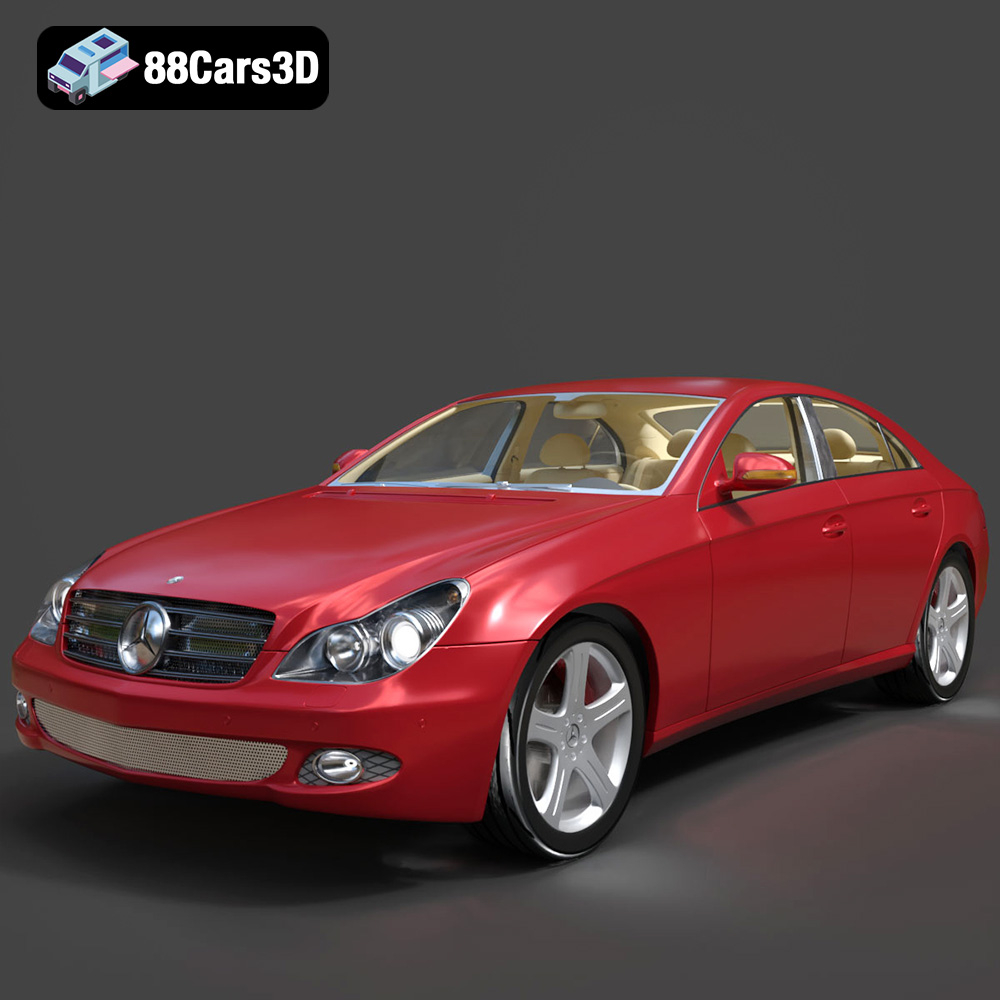
Texture: Yes
Material: Yes
Download the Mercedes-Benz CLS 500 3D Model featuring clean geometry, realistic detailing, and a fully modeled interior. Includes .blend, .fbx, .obj, .glb, .stl, .ply, .unreal, and .max formats for rendering, simulation, and game development.
Price: $14.99

Texture: Yes
Material: Yes
Download the Mercedes-Benz CL-Klasse 2001 3D Model featuring clean geometry, realistic detailing, and a fully modeled interior. Includes .blend, .fbx, .obj, .glb, .stl, .ply, .unreal, and .max formats for rendering, simulation, and game development.
Price: $14.99
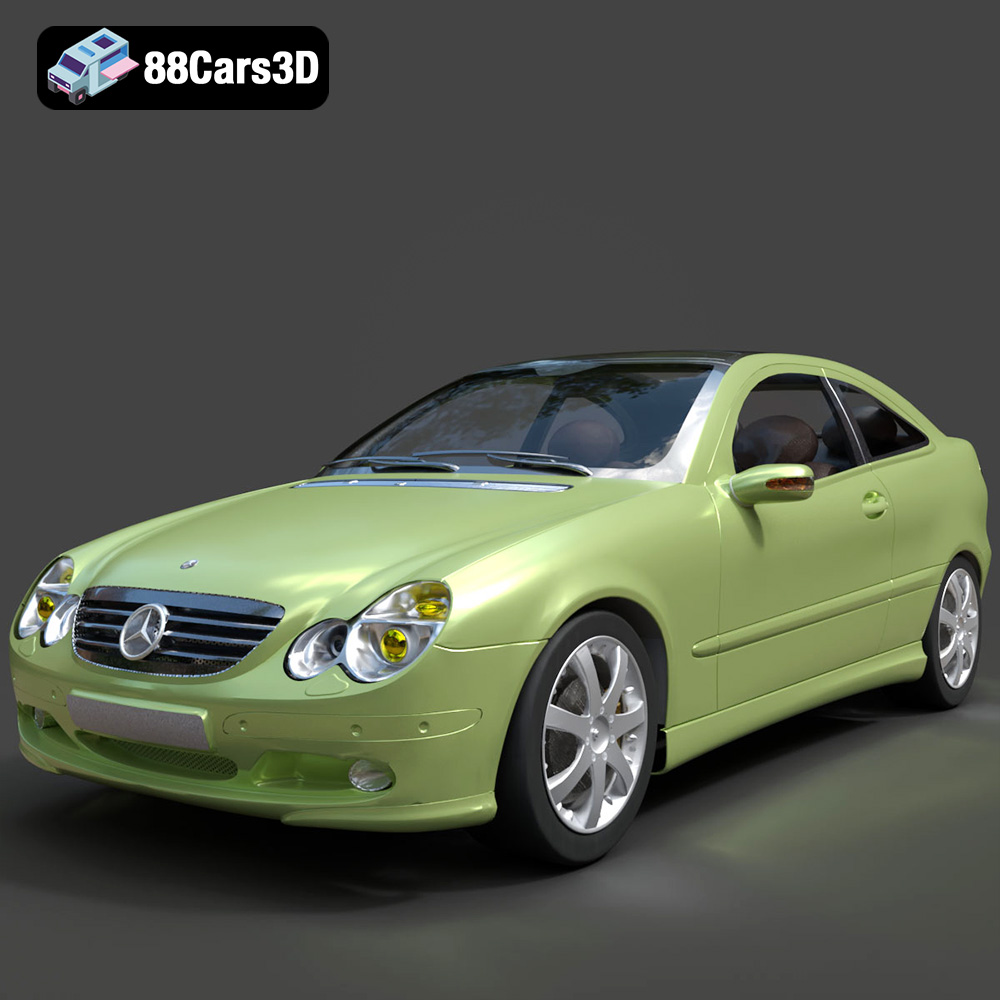
Texture: Yes
Material: Yes
Download the Mercedes-Benz C-Klasse Sportcoupe 2000 3D Model featuring clean geometry, realistic detailing, and a fully modeled interior. Includes .blend, .fbx, .obj, .glb, .stl, .ply, .unreal, and .max formats for rendering, simulation, and game development.
Price: $14.99

