Get 20% OFF All Premium 3D & STL Models!

A high-quality 3D car model is a masterpiece of digital craftsmanship, a versatile asset that can power a stunning automotive commercial, become the hero vehicle in a video game, or even manifest in the physical world through 3D printing. However, a model perfectly suited for a cinematic close-up in V-Ray will bring a game engine to its knees. Likewise, a game-ready asset will lack the detail needed for a high-resolution print. The key to unlocking a model’s full potential lies in understanding how to prepare it for its specific destination. This process, a blend of technical optimization and artistic refinement, separates amateur work from professional results.
In this comprehensive guide, we will journey through the entire pipeline of preparing 3D car models for a vast range of applications. We will dissect the foundational principles of topology and UV mapping, dive deep into the creation of photorealistic PBR materials, and contrast the workflows for generating breathtaking renders versus hyper-optimized game assets. We’ll explore the unique demands of AR/VR and 3D printing, ensuring your digital vehicle is ready for any reality. Whether you are a seasoned 3D artist, an aspiring game developer, or an automotive designer, this guide will equip you with the technical knowledge to transform any 3D car model into a flawless, purpose-built asset.
Before any texturing, lighting, or rendering, a model’s success is determined by its underlying geometry—its topology. For automotive models, with their blend of sweeping curves and sharp, manufactured edges, proper topology is non-negotiable. It dictates how the model subdivides, how it catches light and reflections, and how efficiently it can be optimized. A clean, deliberate mesh is the bedrock upon which all subsequent work is built, and neglecting it will cause significant problems down the line.
The industry standard for hard-surface models like cars is to use a predominantly quadrilateral (quad) mesh. While triangles (tris) and polygons with more than four sides (n-gons) have their place, quads are superior for several critical reasons. Quads deform predictably and are essential for creating clean subdivisions using modifiers like TurboSmooth in 3ds Max or the Subdivision Surface modifier in Blender. An n-gon can create pinching, artifacts, and unpredictable shading when subdivided. Triangles, while the final format for all game engine geometry, should be avoided during the modeling phase as they terminate edge flow. The goal is to model entirely in quads, allowing triangles to be formed automatically by the export or triangulation process where necessary.
For a car, reflections are everything. The way light streaks across a door panel or hood defines its shape and material quality. This is controlled by edge flow—the directional lines that the polygon edges follow across the surface. For automotive models, edge loops must follow the primary contours and curves of the car body. This ensures that when the model is smoothed or subdivided, the surface curvature is maintained without lumps or pinching. Holding edges—closely spaced parallel edge loops—are used to define sharp panel gaps, creases, and character lines. A common mistake is to terminate an edge loop abruptly on a flat surface, which creates a visible shading artifact. Instead, loops should be redirected discreetly into other parts of the mesh, maintaining an even surface tension.
The required polygon count varies dramatically by application.
The professional workflow often involves creating an extremely high-poly “source” model and then creating a lower-poly, optimized version from it through a process called retopology.
If modeling is the sculpture, UV unwrapping is the creation of the canvas. A UV map is a 2D representation of the 3D mesh, dictating how textures are applied to its surface. A poor UV map leads to stretched textures, visible seams, and wasted texture space, completely undermining the realism of the model. For a complex object like a car, with its countless individual parts, a strategic and meticulous approach to UV unwrapping is essential.
UV seams are the cuts made in the 3D mesh to allow it to be flattened into 2D space. The primary rule of seam placement is to hide them where they are least visible. For cars, ideal locations for seams are along hard edges and panel gaps—the natural seams of the real-world object. For example, place seams along the edges of doors, the hood, and bumpers. On a tire, a seam can be placed along the center of the tread where it contacts the ground. Avoid placing seams in the middle of a large, smooth, highly visible panel like a hood or a door, as this can cause visible interruptions in the texture or reflections, even with excellent texturing.
The method for laying out UVs also depends on the final application.
Texel density refers to the number of texture pixels per unit of 3D space. For consistent visual quality, the texel density should be uniform across the entire model. You don’t want a highly detailed door handle next to a blurry door panel. Most 3D software has tools to visualize and equalize texel density. When packing UVs, scale shells of important, visible parts larger (e.g., the car body) and smaller, less-seen parts smaller (e.g., the undercarriage). The key is to use the UV space as efficiently as possible, minimizing empty areas to ensure every pixel of your texture map is contributing to the final look.
Physically Based Rendering (PBR) has revolutionized 3D art by simulating the real-world flow of light. Creating convincing materials for a car—from the multi-layered paint to the greasy rubber of the tires—is an art form in itself. A PBR workflow typically uses a set of texture maps to define a material’s properties, such as its base color (Albedo), microsurface roughness (Roughness), and metallic properties (Metallic).
Car paint is one of the most complex materials to replicate digitally. It’s not a simple color; it’s a multi-layered material. A typical car paint shader in renderers like Corona or V-Ray involves:
Achieving this in a game engine often involves using a specific “Clear Coat” shader that is optimized for real-time performance but simulates the same principles.
Beyond the paint, other materials complete the car.
With a perfectly modeled and textured car, the final step for creating marketing imagery or portfolio pieces is the rendering process. This is where you become a digital photographer, using light, cameras, and composition to showcase the vehicle in its best possible form. The goal is to create an image that is not just realistic, but also emotionally resonant and aesthetically pleasing.
Lighting will make or break your automotive render. Two common professional approaches are:
Treat your 3D camera like a real DSLR. Don’t just point and shoot.
The workflow for real-time applications like Unity or Unreal Engine is a different discipline, one governed by strict performance budgets. The goal is to create a model that looks fantastic while maintaining a smooth frame rate (typically 60 FPS or higher). This is a game of smoke and mirrors, where perceived detail is more important than actual geometric complexity.
Level of Detail (LOD) meshes are critical for any game with an open world. An LOD system uses multiple versions of the car model, each with a progressively lower polygon count.
The game engine automatically switches between these LODs based on the car’s distance from the camera, drastically reducing the total number of polygons being rendered at any given time.
A draw call is a command from the CPU to the GPU to draw an object. Each object with a unique material generates at least one draw call. Too many draw calls can create a CPU bottleneck, tanking the frame rate even if the polygon count is low. To optimize this:
Starting with a well-organized model, like those available from 88cars3d.com, where parts are clearly separated and named, makes this consolidation process much easier.
For Augmented Reality (AR) and web-based 3D viewers, specific file formats are required.
Converting a model to these formats requires baking the complex PBR materials into a simplified set of textures (Albedo, Normal, and a combined Occlusion/Roughness/Metallic map) and ensuring the polygon count is extremely low (typically under 100k triangles for smooth AR performance).
Taking a digital car model and bringing it into the physical world via 3D printing presents a unique set of geometric challenges. A model that looks perfect on screen can fail to print if it isn’t properly prepared. The focus shifts from visual appearance to structural integrity and manufacturability.
A 3D model for printing must be a “manifold” or “watertight” solid. This means it must have no holes. Imagine filling the 3D model with water—if there are any gaps, the water would leak out. Every single edge must be connected to exactly two polygons. Tools like MeshMixer or the 3D-Print Toolbox in Blender can help identify and fix non-manifold edges, flipped normals, and other geometric errors that would confuse the 3D printer’s slicing software.
Unlike a render model, which is just a collection of surfaces, a print model must have physical thickness. Elements like car panels, window frames, and spoilers cannot be single planes; they must be extruded to have a minimum wall thickness (e.g., 1-2mm depending on the print scale and material). Thin, fragile parts like side mirrors or antennas may need to be thickened or reinforced to ensure they don’t break during printing or cleanup. Sometimes, the car must be sliced into several pieces for easier printing and later assembly, requiring the artist to engineer connection points and keys into the model.
The journey of a 3D car model from a pristine digital file to its final application is a testament to the diverse skill set required in the modern 3D industry. We’ve seen that the same vehicle requires fundamentally different preparation strategies whether it’s destined for a glossy magazine cover, a fast-paced video game, or a physical collector’s shelf. The path to a photorealistic render is paved with high-polygon detail, complex multi-layered shaders, and UDIM textures. In contrast, the road to real-time performance is about ruthless optimization, clever use of texture atlases, and the meticulous creation of LODs.
The central lesson is that a successful outcome in any pipeline begins with a high-quality foundation. A model with clean topology, logical part separation, and thoughtful UVs is infinitely more adaptable. Whether you are building a model from scratch or sourcing one from a professional marketplace, always consider the end-use from the very beginning. By mastering these diverse workflows, you can ensure that your automotive creations not only look incredible but also perform flawlessly in any medium, truly bringing your digital vision to life.

Texture: Yes
Material: Yes
Download the Mercedes-Benz SLK 350 2005 3D Model featuring clean geometry, realistic detailing, and a fully modeled interior. Includes .blend, .fbx, .obj, .glb, .stl, .ply, .unreal, and .max formats for rendering, simulation, and game development.
Price: $9.99

Texture: Yes
Material: Yes
Download the Mercedes-Benz SL 65 AMG 3D Model featuring clean geometry, realistic detailing, and a fully modeled interior. Includes .blend, .fbx, .obj, .glb, .stl, .ply, .unreal, and .max formats for rendering, simulation, and game development.
Price: $9.99

Texture: Yes
Material: Yes
Download the Mercedes-Benz S500 3D Model featuring clean geometry, realistic detailing, and a fully modeled interior. Includes .blend, .fbx, .obj, .glb, .stl, .ply, .unreal, and .max formats for rendering, simulation, and game development.
Price: $9.99
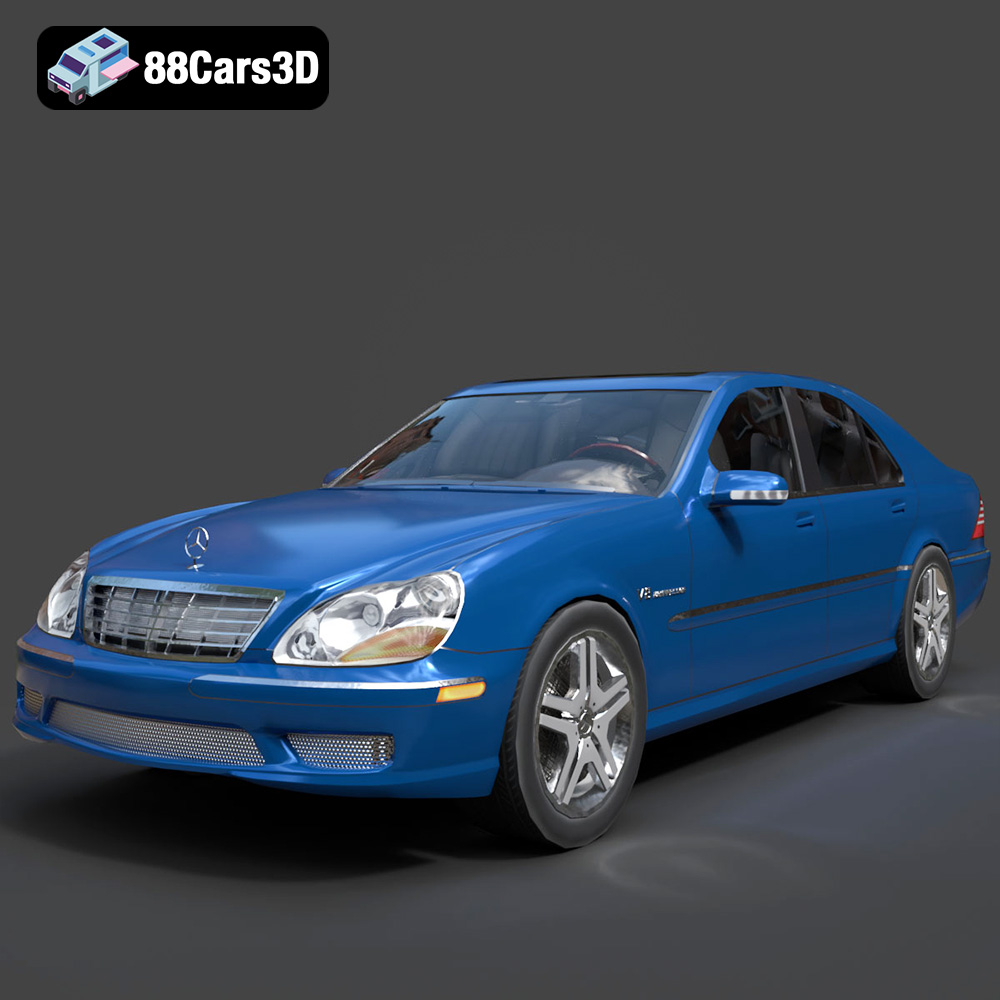
Texture: Yes
Material: Yes
Download the Mercedes-Benz S55 W220 AMG 1999 3D Model featuring clean geometry, realistic detailing, and a fully modeled interior. Includes .blend, .fbx, .obj, .glb, .stl, .ply, .unreal, and .max formats for rendering, simulation, and game development.
Price: $9.99
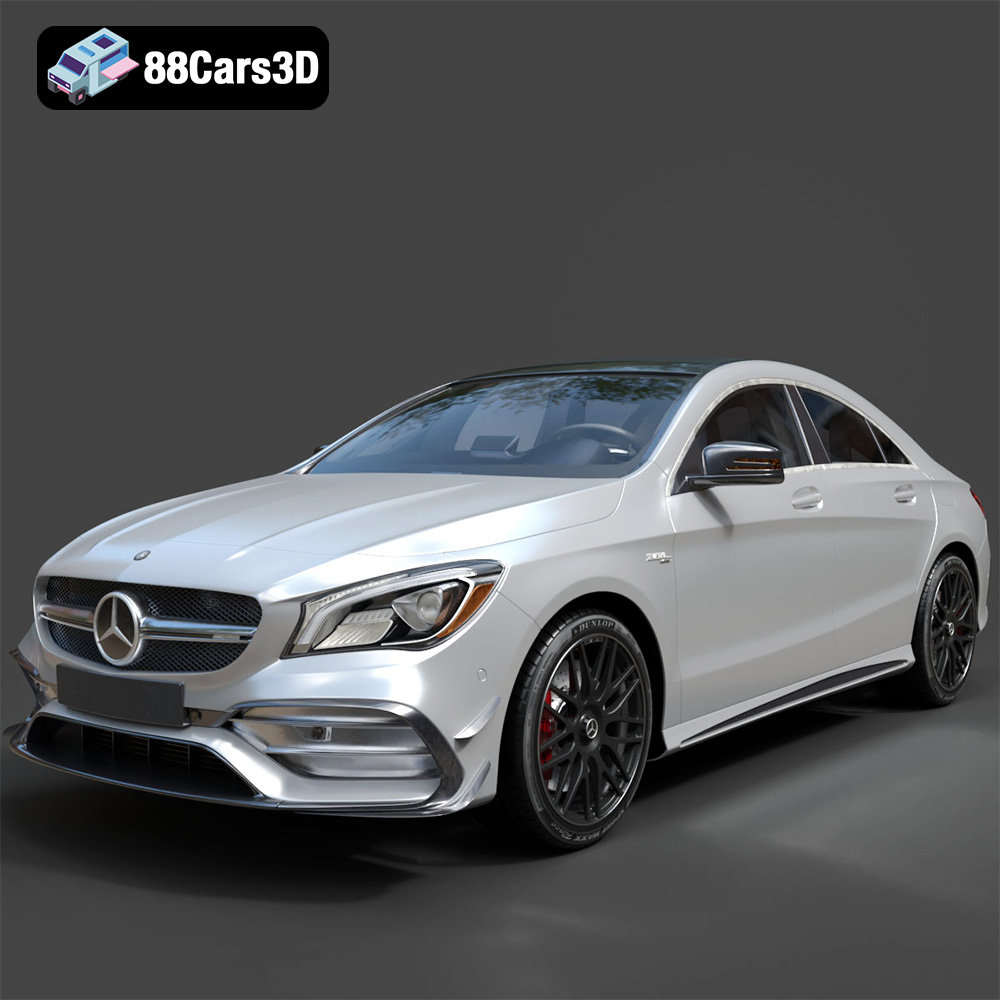
Texture: Yes
Material: Yes
Download the Mercedes-Benz CLA45 AMG 2017 3D Model featuring clean geometry, realistic detailing, and a fully modeled interior. Includes .blend, .fbx, .obj, .glb, .stl, .ply, .unreal, and .max formats for rendering, simulation, and game development.
Price: $29.99
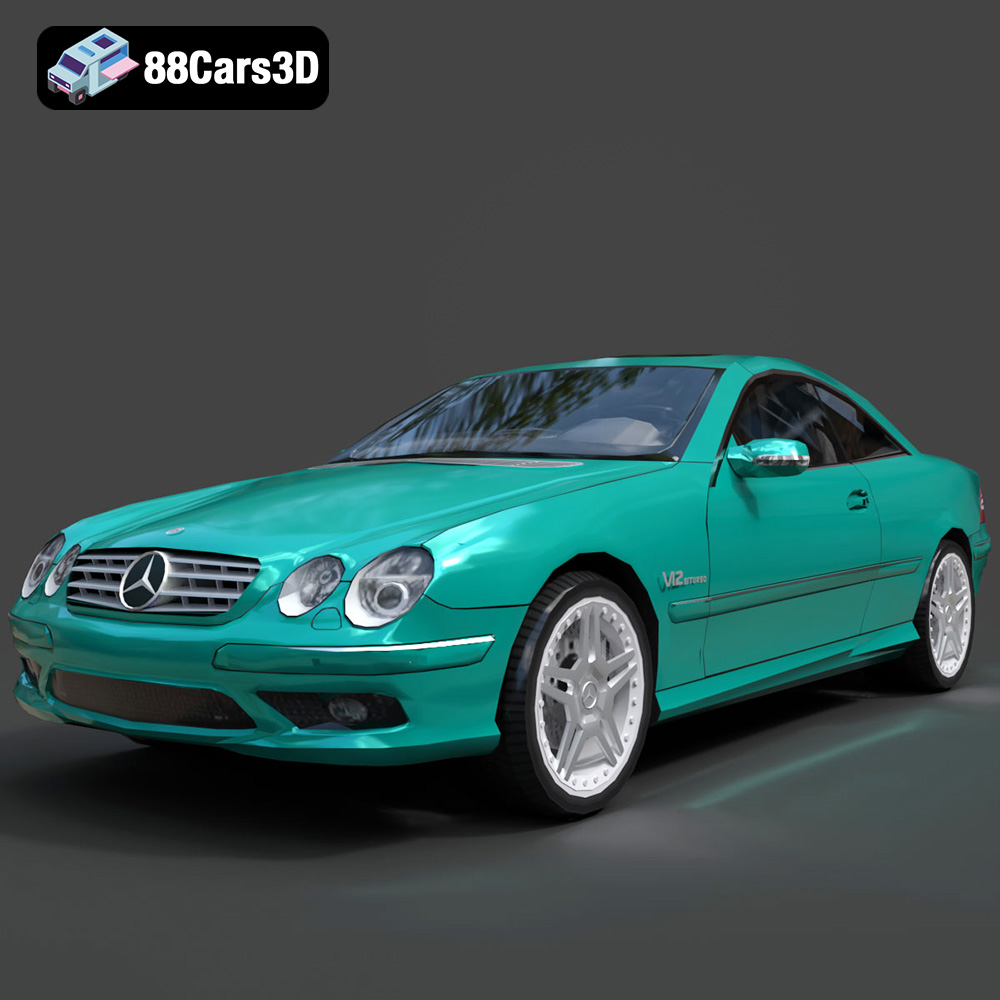
Texture: Yes
Material: Yes
Download the Mercedes-Benz CL65 C215 AMG 3D Model featuring clean geometry, realistic detailing, and a fully modeled interior. Includes .blend, .fbx, .obj, .glb, .stl, .ply, .unreal, and .max formats for rendering, simulation, and game development.
Price: $9.99
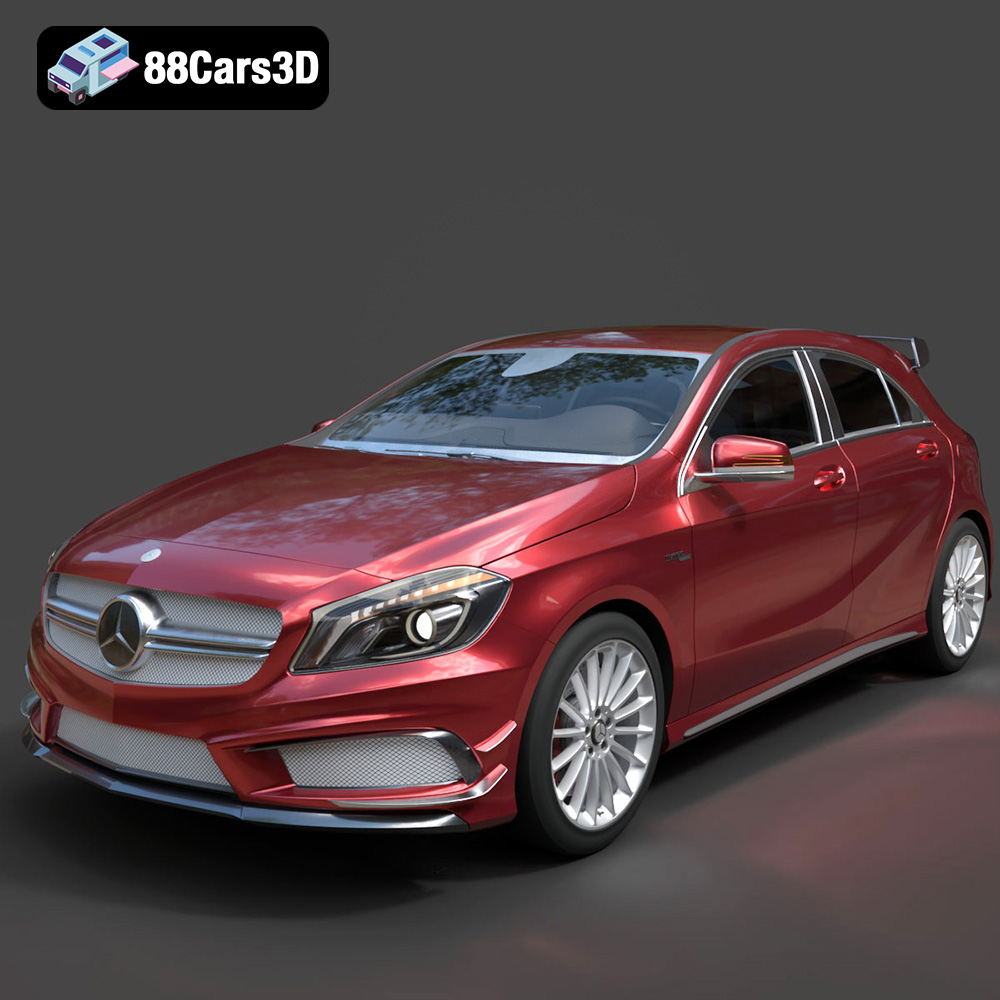
Texture: Yes
Material: Yes
Download the Mercedes-Benz A45 2021 3D Model featuring clean geometry, realistic detailing, and a fully modeled interior. Includes .blend, .fbx, .obj, .glb, .stl, .ply, .unreal, and .max formats for rendering, simulation, and game development.
Price: $9.99
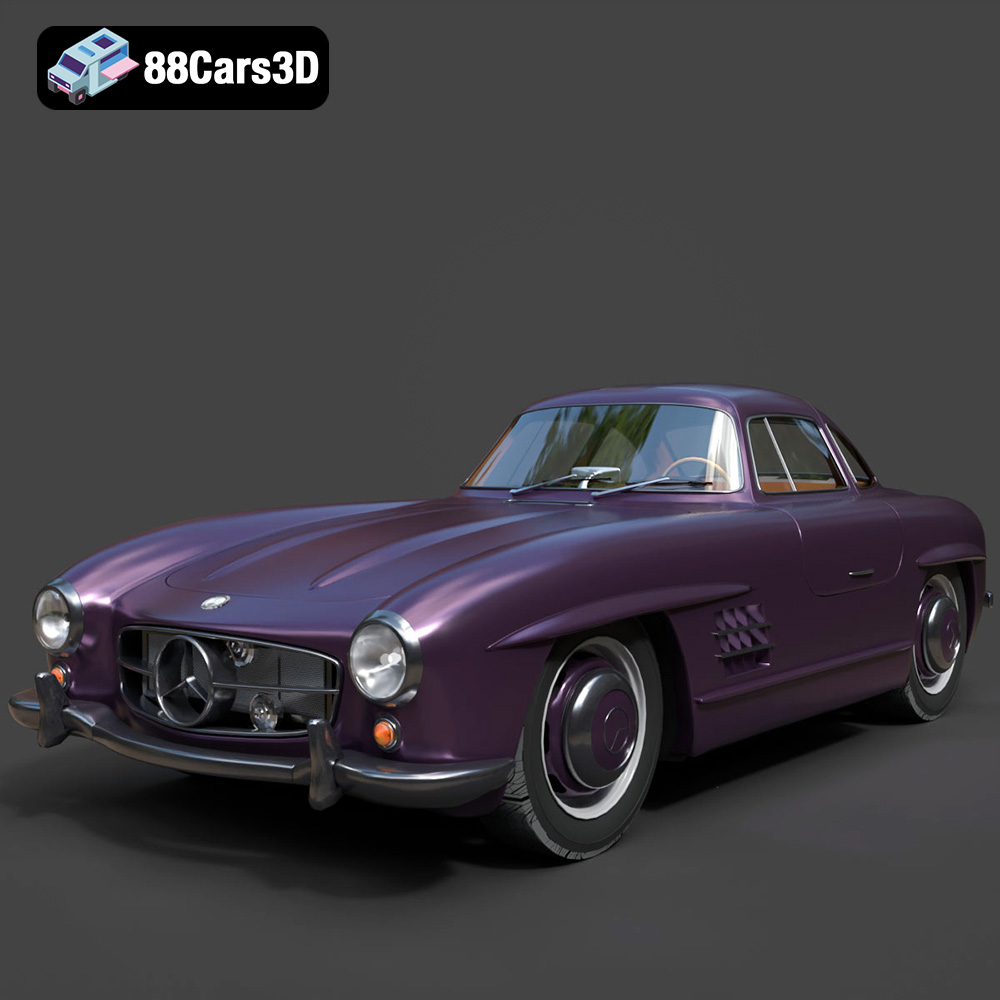
Texture: Yes
Material: Yes
Download the Mercedes-Benz 300SL 1955 3D Model featuring clean geometry, realistic detailing, and a fully modeled interior. Includes .blend, .fbx, .obj, .glb, .stl, .ply, .unreal, and .max formats for rendering, simulation, and game development.
Price: $9.99
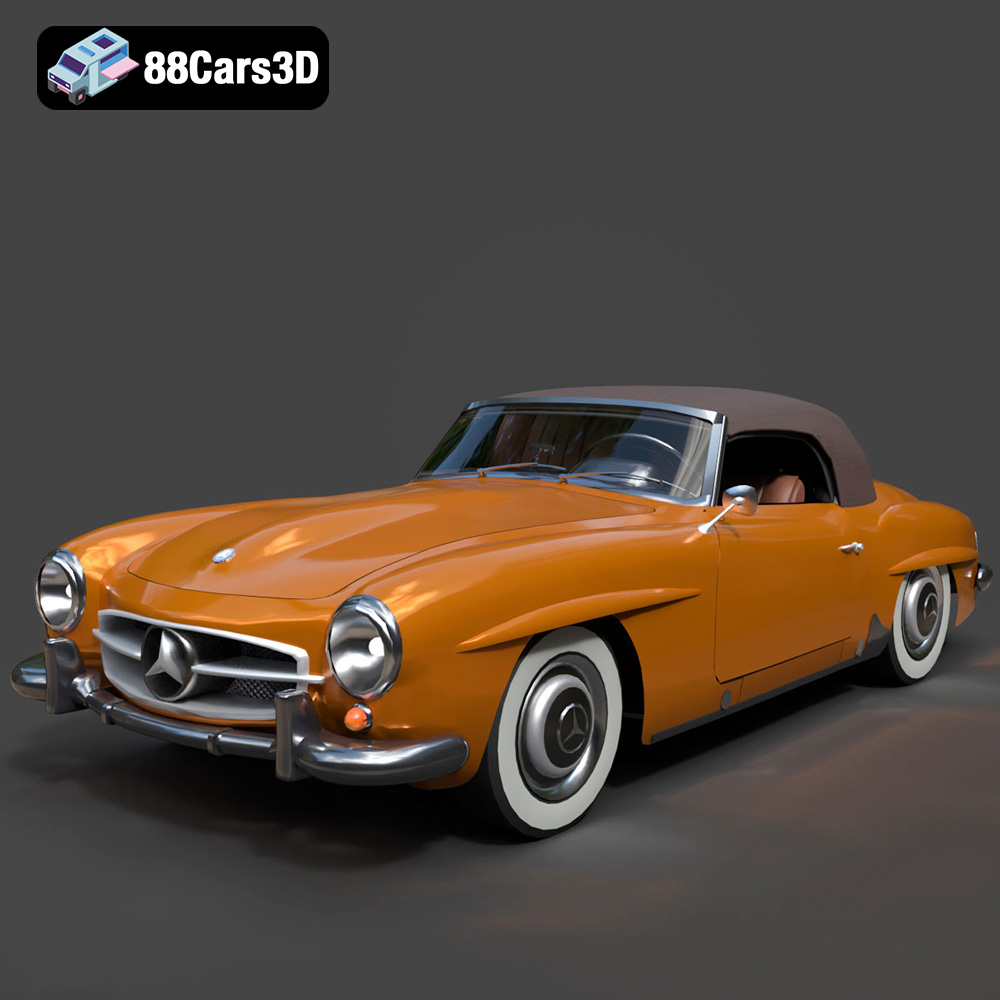
Texture: Yes
Material: Yes
Download the Mercedes-Benz 190SL 1955 3D Model featuring clean geometry, realistic detailing, and a fully modeled interior. Includes .blend, .fbx, .obj, .glb, .stl, .ply, .unreal, and .max formats for rendering, simulation, and game development.
Price: $9.99
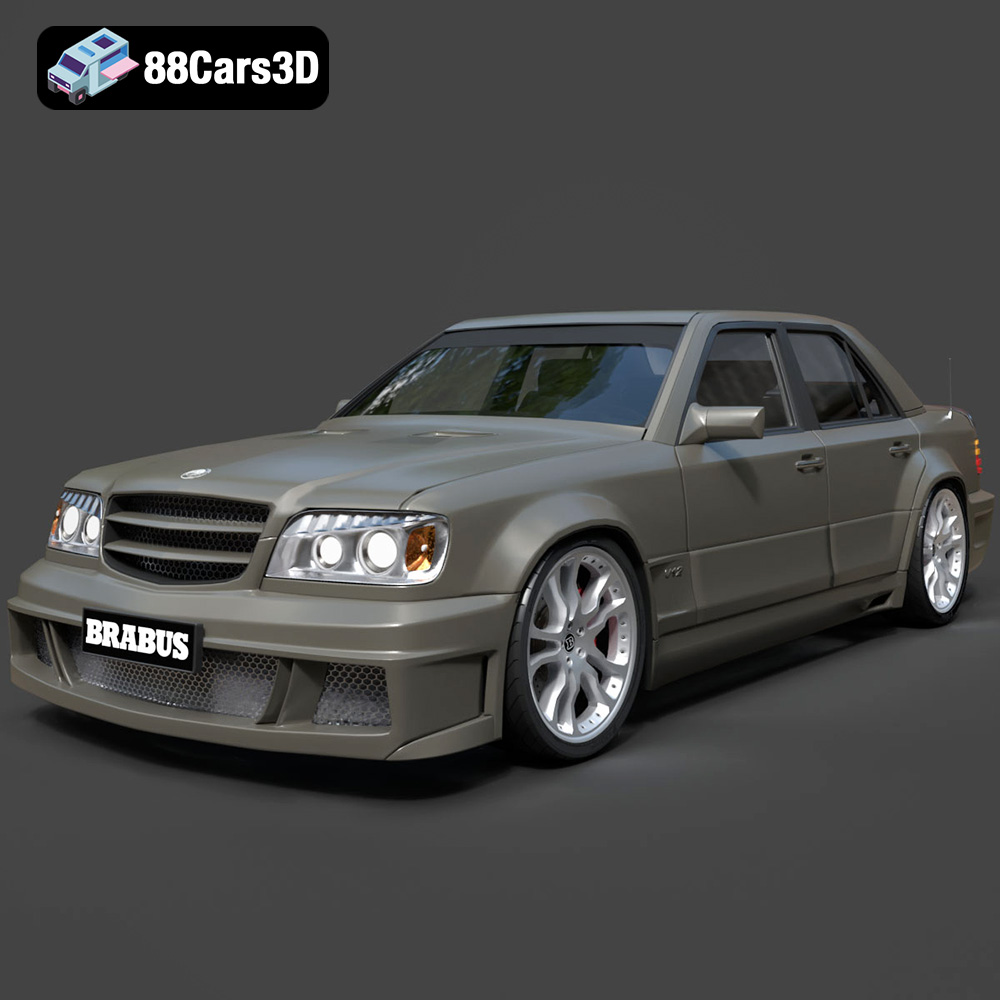
Texture: Yes
Material: Yes
Download the Mercedes-Benz W124 Brabus V12 3D Model featuring clean geometry, realistic detailing, and a fully modeled interior. Includes .blend, .fbx, .obj, .glb, .stl, .ply, .unreal, and .max formats for rendering, simulation, and game development.
Price: $9.99

