Get 20% OFF All Premium 3D & STL Models!

“`html
The gleaming reflections on a perfectly curved fender, the intricate detail of a brake caliper seen through a spinning wheel, the satisfying realism of a digital car in a virtual showroom—these are the moments that captivate us as artists and developers. Achieving this level of quality with 3D car models is both an art and a science, a meticulous process that blends technical precision with creative vision. Whether you’re an automotive designer creating stunning marketing renders, a game developer building the next blockbuster racing title, or a visualization specialist crafting an immersive AR experience, understanding the entire lifecycle of a 3D vehicle asset is paramount. This guide is your roadmap to mastering that process.
In this deep dive, we will navigate the complete pipeline for working with professional 3D car models. We’ll start with the absolute foundation: clean and efficient topology. From there, we’ll unravel the complexities of UV mapping, build photorealistic PBR materials from the ground up, and explore advanced rendering techniques in industry-standard software. Finally, we’ll shift gears into optimization, covering the essential steps for preparing your vehicles for real-time game engines, AR/VR applications, and even 3D printing. Get ready to elevate your automotive 3D work from good to breathtaking.
Before any texture is applied or any light is cast, the quality of a 3D car model is determined by its underlying geometry, or topology. For automotive subjects, with their blend of long, flowing curves and sharp, manufactured details, topology is not just a technical requirement—it’s the very DNA of the model. Poor topology leads to rendering artifacts, shading errors, and difficulties in every subsequent stage of the pipeline. Conversely, clean, deliberate topology ensures smooth surfaces, predictable deformations, and beautiful highlights that flow realistically across the car’s body.
Edge flow refers to the direction and arrangement of polygons (quads, specifically) that form the model’s surface. For cars, the goal is to have your edge loops follow the primary contours and curves of the body panels. Think of how light reflects off a real car; it creates long, unbroken highlight streaks. A proper edge flow mimics this. If your edges fight against the curvature, you’ll see visible faceting, pinching, and unnatural breaks in those reflections, especially when using subdivision surfaces (like OpenSubdiv in 3ds Max or a Subdivision Surface modifier in Blender). The golden rule is to maintain evenly spaced, parallel edge loops along the length of panels like the hood, doors, and roof. This ensures that when the mesh is subdivided, the new geometry is added predictably, preserving the intended shape and creating a silky-smooth finish perfect for automotive rendering.
Polygon density must be managed strategically. A common mistake is to add detail everywhere, resulting in an unnecessarily heavy mesh. Instead, density should be concentrated where it’s needed most: in areas of high curvature like wheel arches, headlight housings, and sharp panel creases. To define these sharp edges without creating a hard, unnatural crease, we use control loops or support edges. These are extra edge loops placed closely on either side of a primary edge. They “hold” the geometry in place during subdivision, creating a tight, clean bevel instead of a soft, rounded corner. For a car door, you would place control loops along the interior and exterior edges of the panel gap to maintain that crisp, manufactured look. It’s a delicate balance: too far apart and the edge is too soft; too close and you risk visible pinching in reflections.
Modeling a car from scratch with perfect topology is a time-consuming discipline. For many projects, it’s more efficient to start with a professionally crafted base. When sourcing assets from marketplaces like 88cars3d.com, carefully inspect the wireframe previews. Look for the principles discussed above: clean, quad-based topology, consistent edge flow that follows the car’s form, and intelligent use of control loops to define detail. A high-quality source model saves dozens, if not hundreds, of hours in cleanup and preparation, allowing you to focus on the creative aspects of texturing, lighting, and rendering.
Once you have a pristine model, the next critical step is UV mapping. This is the process of “unflattening” the 3D mesh into a 2D space so that textures can be applied correctly. For a complex object like a car, with its countless individual parts and intricate surfaces, a strategic approach to UV mapping is essential for achieving professional results and maintaining an efficient workflow. A lazy or automated unwrap will result in distorted textures, inconsistent resolution, and visible seams in the final render.
The key to a great unwrap is intelligent seam placement. A UV seam is an edge on the 3D model where the mesh will be “cut” to lay flat. Your goal is to place these seams in the least conspicuous locations possible. For cars, this often means placing them along natural panel gaps, on the underside of the vehicle, or on the backside of components like side mirrors. For a car door, you would place seams along the sharp edges where the inner panel meets the outer shell. This creates a clean UV island (or shell) for the main door panel, free of any distorting seams on its visible surface. Group related parts logically within the UV space. For example, keep all the components for the left-front wheel assembly together. This makes the texturing process in software like Substance Painter far more intuitive.
Texel density is a measure of how many texture pixels (texels) are allocated to a given surface area on your 3D model. Maintaining a consistent texel density across the entire vehicle is crucial for realism. If the door has a much higher resolution than the adjacent fender, the difference will be jarringly obvious in close-up shots. Before you begin unwrapping, decide on a target texel density (e.g., 1024 pixels per meter). Most modern UV tools in 3ds Max, Blender, and Maya have features to visualize and normalize texel density across different UV shells. Use a checkerboard map to visually inspect for consistency. The squares on the map should appear roughly the same size across the entire car body. You can strategically increase density for hero assets like badges or a dashboard, but the main body panels should remain uniform.
For high-end film, visualization, and automotive rendering, a single 4K or 8K texture map may not provide enough resolution for the entire vehicle. This is where the UDIM (U-Dimension) workflow comes in. UDIMs allow you to spread your UV shells across multiple texture sets, or tiles, within the same material. For example, you could dedicate one UDIM tile (e.g., 1001) for the main car body, another (1002) for the interior, a third (1003) for the wheels and undercarriage, and so on. This enables you to use multiple 4K or 8K textures on a single object, achieving incredible close-up detail without managing dozens of separate materials. It’s the standard for high-fidelity assets and is supported by most modern renderers and texturing applications.
With a perfectly modeled and unwrapped car, the next step is to breathe life into it with realistic materials. The industry standard for this is the Physically Based Rendering (PBR) workflow. PBR aims to simulate how light interacts with materials in the real world, resulting in more predictable and convincing visuals across different lighting conditions. Creating a believable car requires building complex, multi-layered shaders that accurately represent everything from metallic paint to weathered tire rubber.
The PBR workflow primarily relies on a set of texture maps that control different surface attributes. For automotive assets, the most important ones are:
A simple PBR material isn’t enough for a convincing car paint finish. Real automotive paint is a complex system of layers. In 3D, we replicate this using a layered shader. In renderers like Corona, V-Ray, or Arnold, this is a common technique:
Adding a subtle “orange peel” effect to the clear coat’s normal map is the final touch that sells the realism.
A pristine, factory-fresh car can look sterile. Realism comes from imperfections. Use procedural masks and grunge maps to add subtle layers of dust in crevices, light water spots on the windows, and fine scratches on the clear coat (controlled by the Roughness map). Decals, such as racing stripes or sponsor logos, should be applied using planar projections or as a separate geometry “shell” placed just above the car’s surface. Layering these details thoughtfully is what separates a good render from a photograph.
Rendering is where all your hard work on modeling, UV mapping, and texturing culminates in a final, stunning image. The process is more than just hitting the “Render” button; it involves carefully crafting a virtual photography studio. Choosing the right render engine, mastering lighting, and dialing in camera settings are the final steps to creating portfolio-worthy automotive rendering visuals.
While many render engines can produce great results, a few stand out for automotive work:
The best engine often comes down to personal preference and workflow integration, but all three are top-tier choices.
Lighting is everything in automotive visualization. There are two primary approaches:
Often, the best results come from combining both methods: using an HDRI for general ambient light and reflections, and then adding manual lights to create specific, sharp highlights.
Pay close attention to your virtual camera settings. Use a realistic focal length (typically 35mm-85mm for cars) to avoid perspective distortion. Enable depth of field (DoF) with a low f-stop value (e.g., f/2.8 – f/5.6) to create a soft, out-of-focus background that draws attention to the vehicle. For animation, adding motion blur is essential for realism. Finally, render out separate passes like Ambient Occlusion (AO), Reflection, and Z-Depth. These passes give you immense control during post-processing in Photoshop or After Effects, allowing you to fine-tune shadows, enhance reflections, and adjust atmospheric haze without having to re-render the entire image.
Creating a game asset from a high-poly 3D car model is a process of strategic simplification. While a render might use a model with millions of polygons, a real-time application like Unity or Unreal Engine requires a much more efficient asset to maintain a smooth frame rate. The goal of optimization is to reduce the model’s complexity while preserving its visual fidelity as much as possible, often using clever shader tricks and Level of Detail systems.
Level of Detail (LOD) is the most critical optimization technique for vehicles in games. It involves creating multiple versions of the car model, each with a progressively lower polygon count.
The game engine automatically swaps between these LODs based on the car’s distance from the camera, drastically reducing the rendering load. When sourcing 3D car models for game development, look for packages that already include pre-made LODs, as this saves a significant amount of manual work.
Every time the game engine renders an object with a unique material, it issues a “draw call” to the GPU. Too many draw calls can cripple performance. To optimize this, we consolidate materials. Instead of having separate materials for the rubber, chrome, and alloy on a wheel, these parts are unwrapped to share a single UV space and use one material with one set of textures. This technique, called texture atlasing, combines multiple material properties into a single texture set. A well-optimized car might use only a handful of materials: one for the exterior paint, one for the interior, one for glass, and one for all the wheel/undercarriage components. This dramatically reduces draw calls and improves performance.
The visible car model is not what the game’s physics engine interacts with. For that, we use a separate, much simpler, invisible collision mesh. This is often a series of convex hull shapes or a highly simplified “blockout” of the car’s form. Using the high-poly visual mesh for physics calculations would be incredibly performance-intensive. Creating a clean, simple collision mesh that accurately represents the car’s general shape is essential for realistic driving physics and efficient performance.
The utility of a high-quality 3D car model extends far beyond traditional rendering and gaming. The rise of immersive technologies and additive manufacturing has opened up exciting new frontiers for these digital assets, from interactive augmented reality car configurators to physical, 3D-printed scale models.
For Augmented Reality (AR) and Virtual Reality (VR) applications, performance is absolutely critical, as the system must render two scenes (one for each eye) at a very high frame rate (typically 90fps) to avoid motion sickness. Optimization is even more aggressive than for traditional games. The key is to balance visual quality with file size and rendering cost.
Taking a digital car and making it a physical object via 3D printing requires a different set of preparations. A rendering model can have intersecting geometry and non-manifold edges, but a 3D printing model must be a single, solid, “watertight” volume.
We’ve journeyed through the entire production pipeline, from the fundamental importance of clean topology to the specific optimization demands of real-time and physical applications. It’s clear that a masterfully executed 3D car model is far more than just a pretty picture; it’s a versatile, high-performance digital asset built on a foundation of technical excellence. Each stage—modeling, UV mapping, texturing, rendering, and optimization—is a crucial link in a chain that leads to a final product that is both beautiful and functional.
The key takeaway is that success in any of these areas begins with a high-quality source model. A clean mesh saves you from hours of frustrating fixes, an intelligent UV layout simplifies texturing, and a well-structured object makes optimization a straightforward process rather than a daunting overhaul. As you embark on your next automotive project, use this guide as your blueprint. Focus on these core principles, whether you’re building from scratch or leveraging a professional asset. By investing in a solid foundation and understanding the requirements of your final delivery platform, you’ll be well on your way to creating stunning, professional-grade automotive visuals that truly stand out.
“`

Texture: Yes
Material: Yes
Download the Mercedes-Benz SLK 350 2005 3D Model featuring clean geometry, realistic detailing, and a fully modeled interior. Includes .blend, .fbx, .obj, .glb, .stl, .ply, .unreal, and .max formats for rendering, simulation, and game development.
Price: $9.99

Texture: Yes
Material: Yes
Download the Mercedes-Benz SL 65 AMG 3D Model featuring clean geometry, realistic detailing, and a fully modeled interior. Includes .blend, .fbx, .obj, .glb, .stl, .ply, .unreal, and .max formats for rendering, simulation, and game development.
Price: $9.99

Texture: Yes
Material: Yes
Download the Mercedes-Benz S500 3D Model featuring clean geometry, realistic detailing, and a fully modeled interior. Includes .blend, .fbx, .obj, .glb, .stl, .ply, .unreal, and .max formats for rendering, simulation, and game development.
Price: $9.99
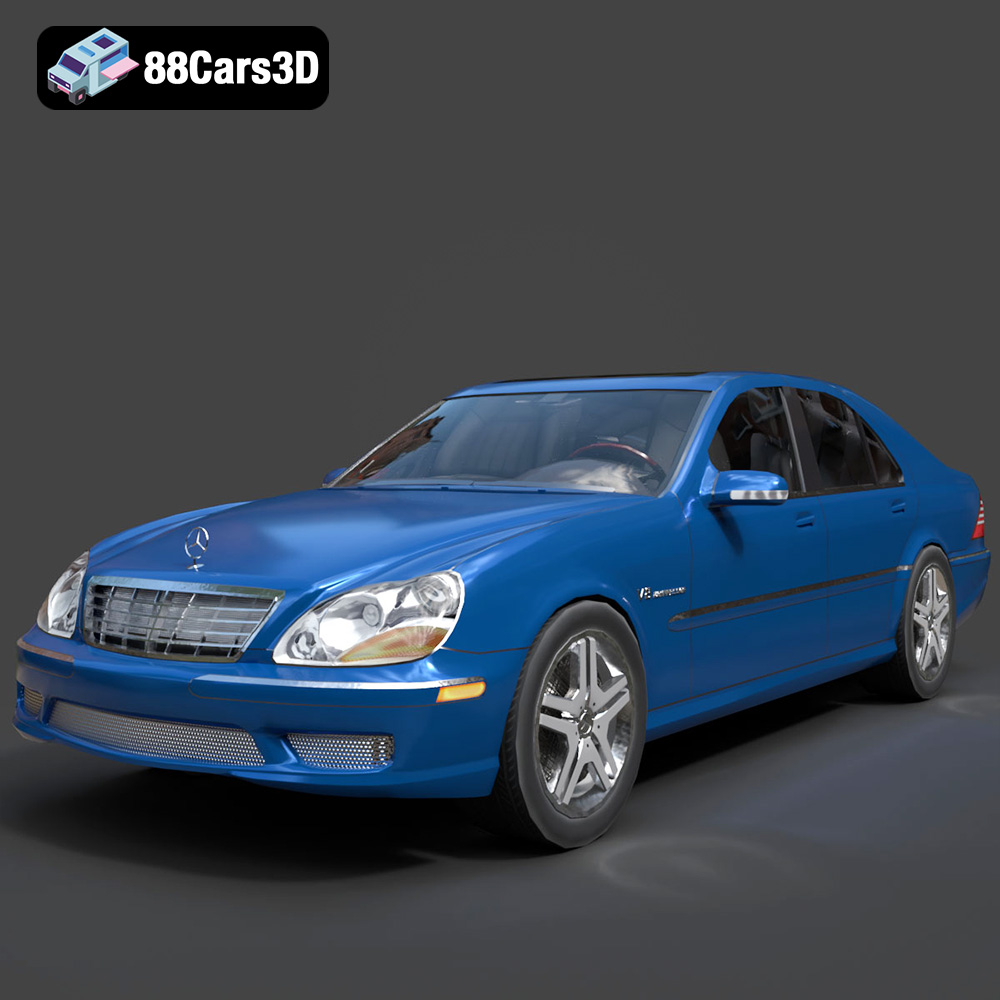
Texture: Yes
Material: Yes
Download the Mercedes-Benz S55 W220 AMG 1999 3D Model featuring clean geometry, realistic detailing, and a fully modeled interior. Includes .blend, .fbx, .obj, .glb, .stl, .ply, .unreal, and .max formats for rendering, simulation, and game development.
Price: $9.99
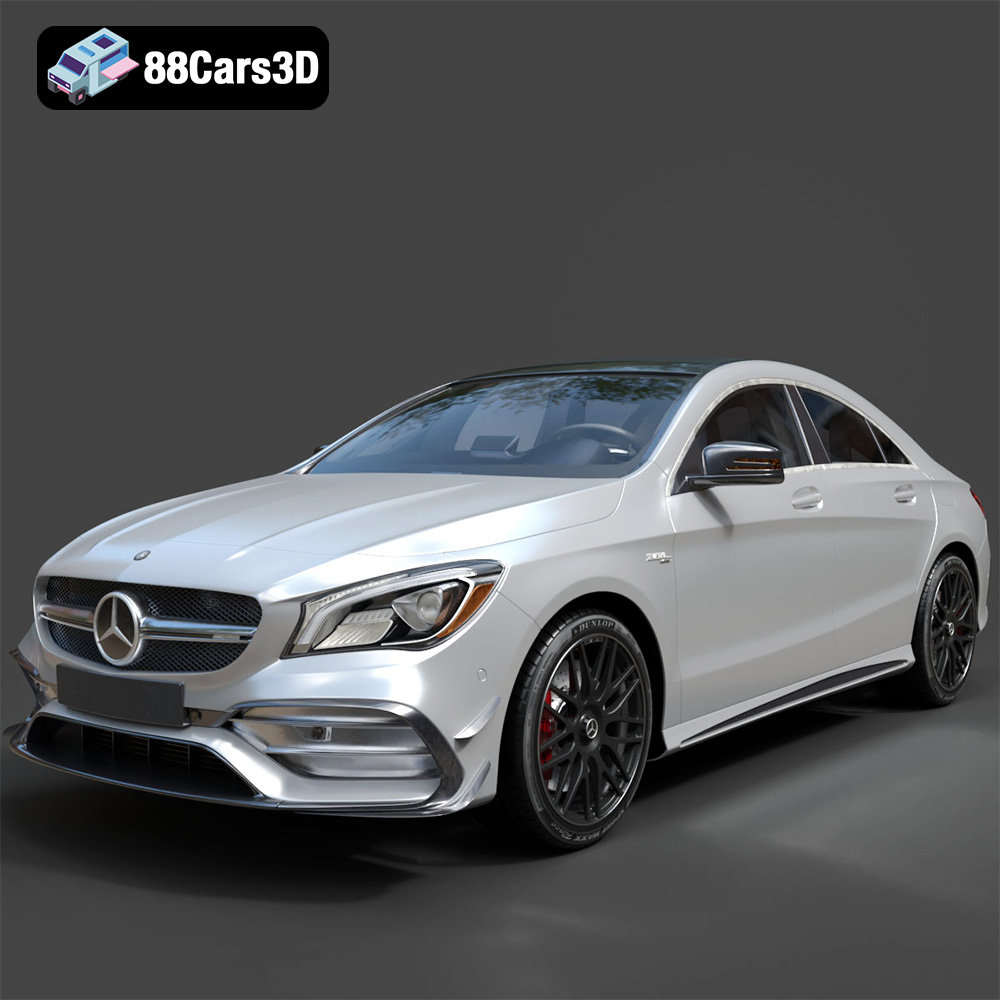
Texture: Yes
Material: Yes
Download the Mercedes-Benz CLA45 AMG 2017 3D Model featuring clean geometry, realistic detailing, and a fully modeled interior. Includes .blend, .fbx, .obj, .glb, .stl, .ply, .unreal, and .max formats for rendering, simulation, and game development.
Price: $29.99
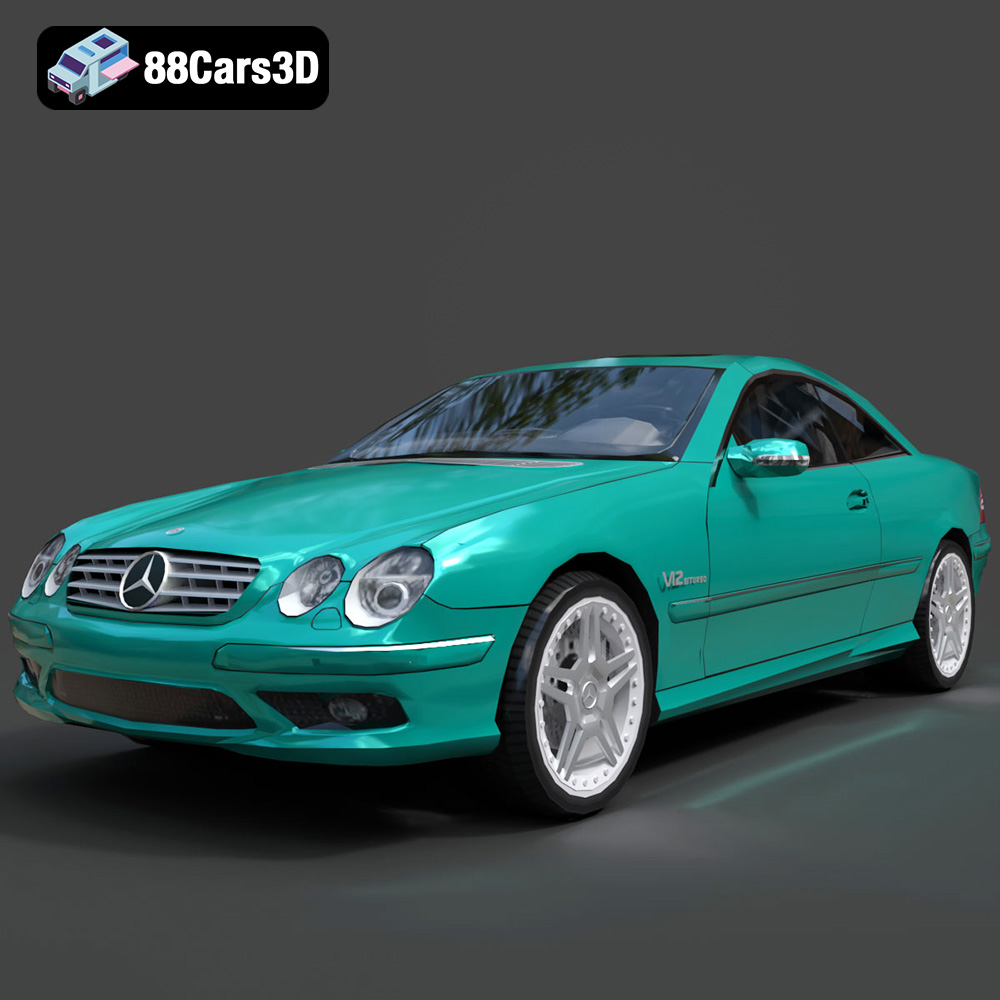
Texture: Yes
Material: Yes
Download the Mercedes-Benz CL65 C215 AMG 3D Model featuring clean geometry, realistic detailing, and a fully modeled interior. Includes .blend, .fbx, .obj, .glb, .stl, .ply, .unreal, and .max formats for rendering, simulation, and game development.
Price: $9.99
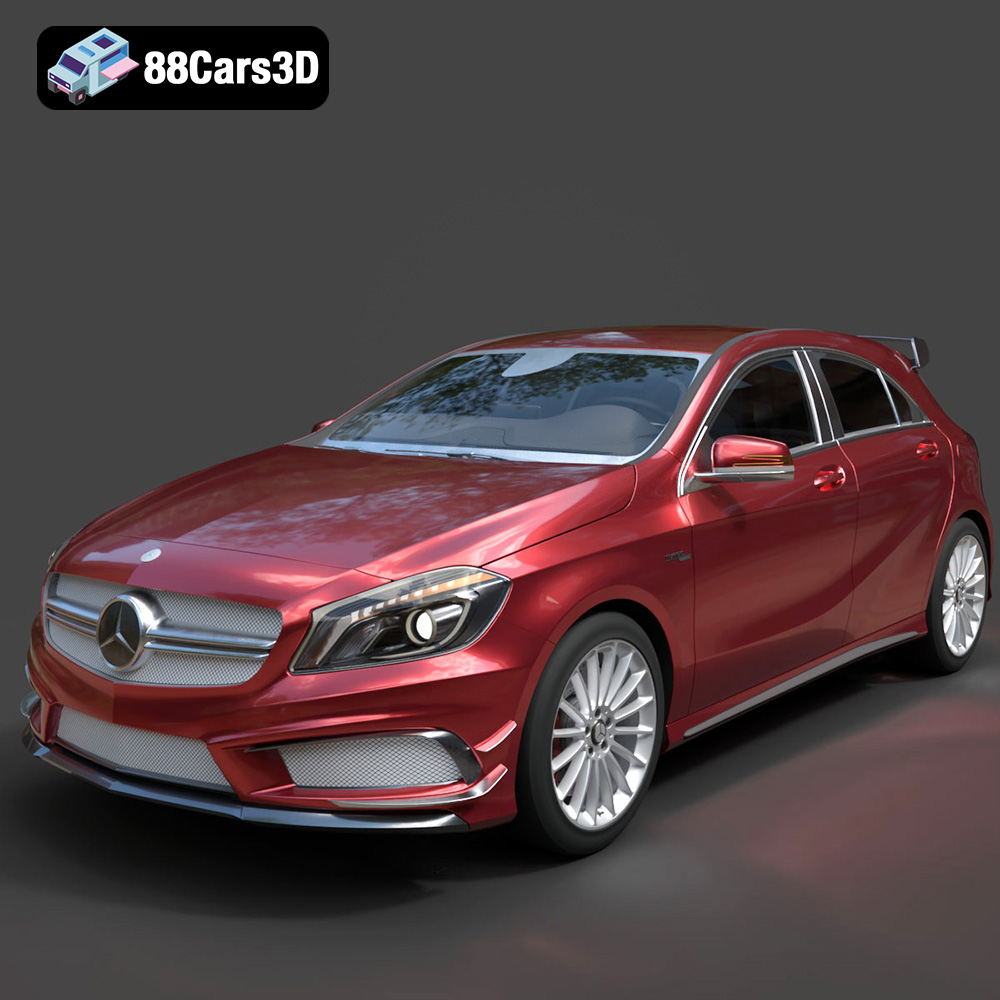
Texture: Yes
Material: Yes
Download the Mercedes-Benz A45 2021 3D Model featuring clean geometry, realistic detailing, and a fully modeled interior. Includes .blend, .fbx, .obj, .glb, .stl, .ply, .unreal, and .max formats for rendering, simulation, and game development.
Price: $9.99
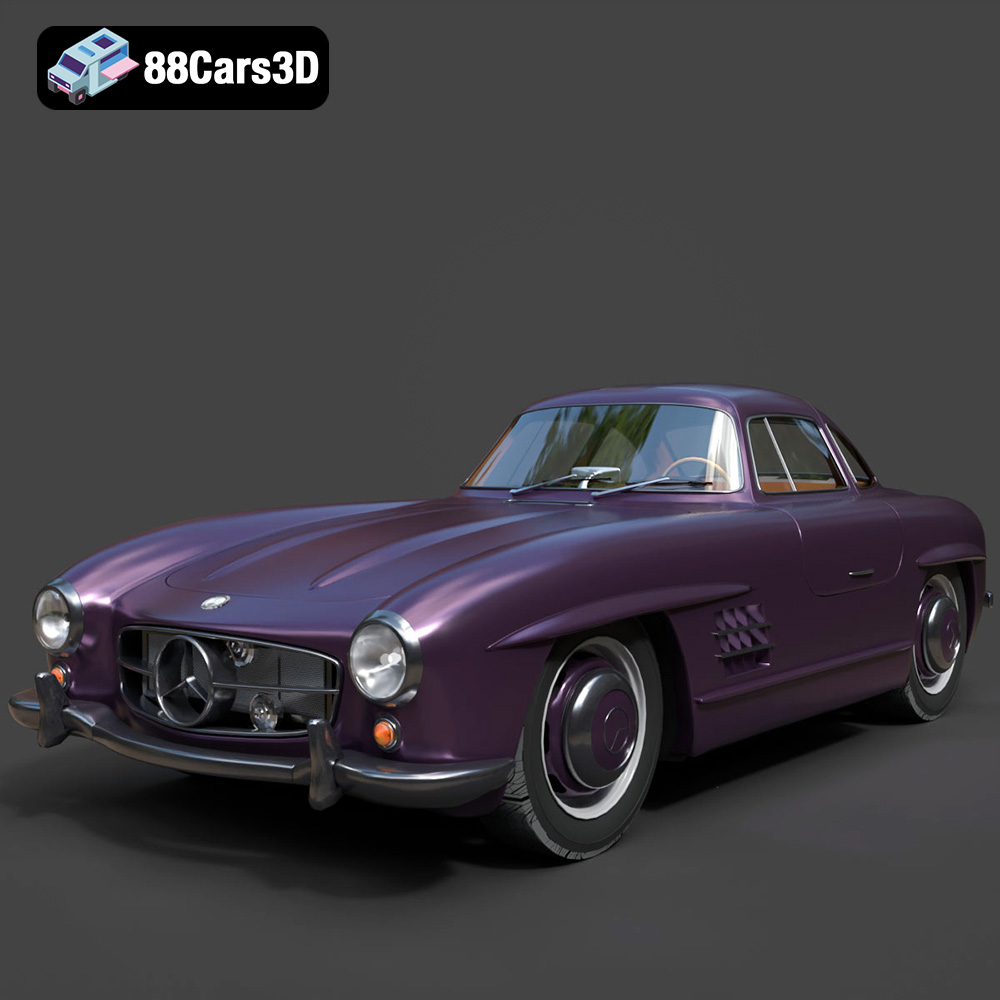
Texture: Yes
Material: Yes
Download the Mercedes-Benz 300SL 1955 3D Model featuring clean geometry, realistic detailing, and a fully modeled interior. Includes .blend, .fbx, .obj, .glb, .stl, .ply, .unreal, and .max formats for rendering, simulation, and game development.
Price: $9.99
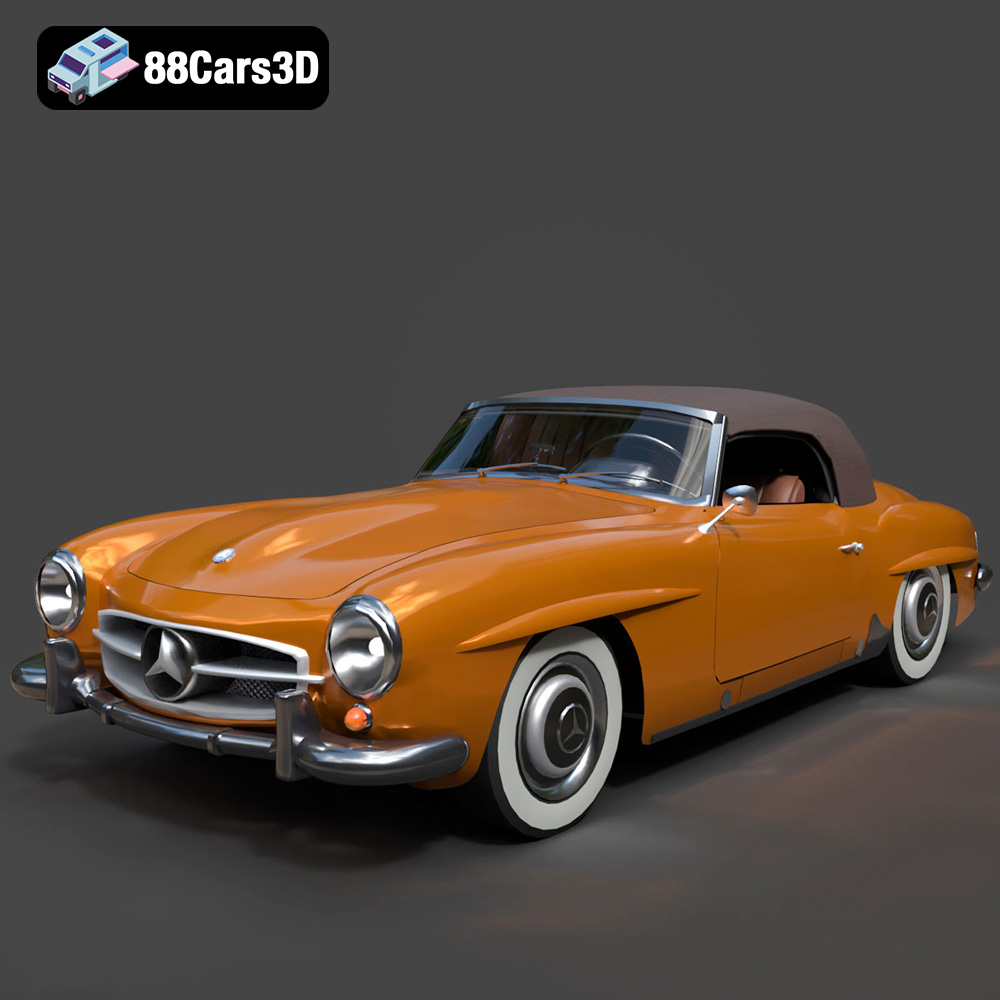
Texture: Yes
Material: Yes
Download the Mercedes-Benz 190SL 1955 3D Model featuring clean geometry, realistic detailing, and a fully modeled interior. Includes .blend, .fbx, .obj, .glb, .stl, .ply, .unreal, and .max formats for rendering, simulation, and game development.
Price: $9.99
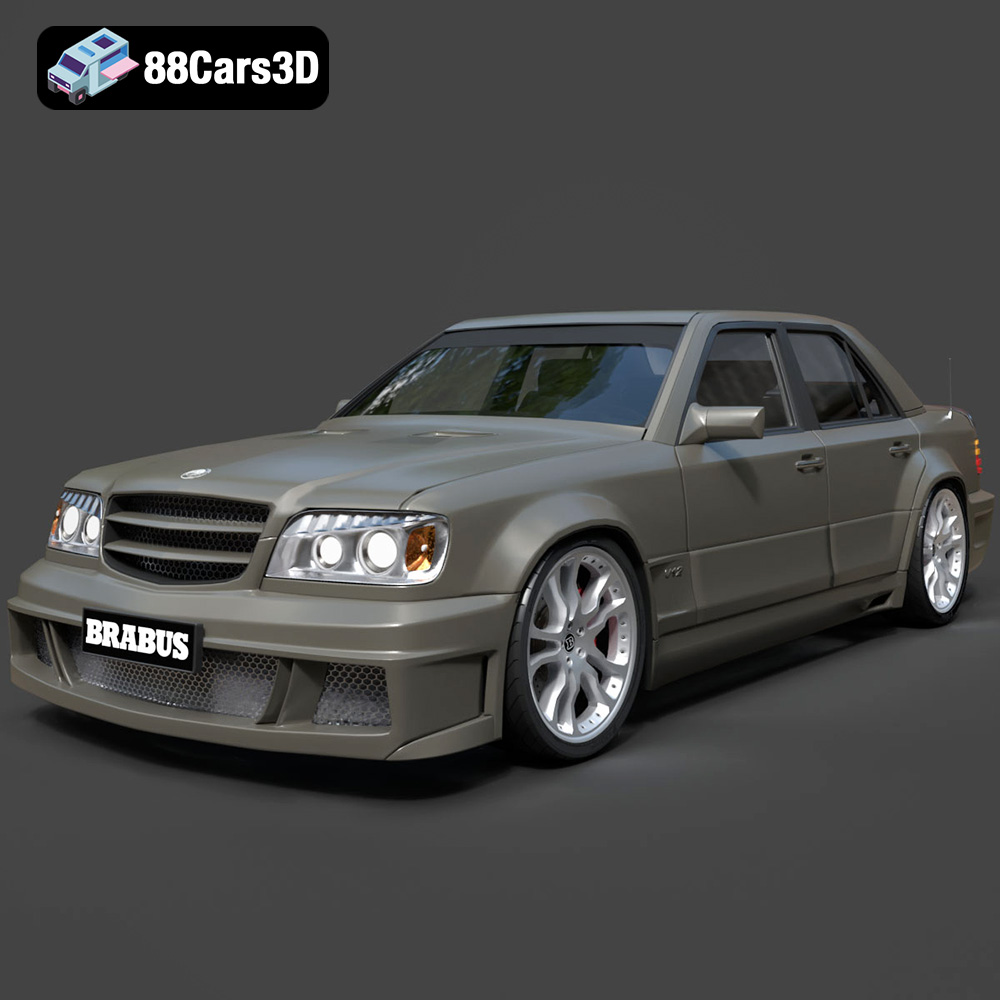
Texture: Yes
Material: Yes
Download the Mercedes-Benz W124 Brabus V12 3D Model featuring clean geometry, realistic detailing, and a fully modeled interior. Includes .blend, .fbx, .obj, .glb, .stl, .ply, .unreal, and .max formats for rendering, simulation, and game development.
Price: $9.99

